In this post, we will look at using the Power Query (M) Builder in XrmToolBox, developed by Mohamed Rashid and Ulrik “CRM Chart Guy” Carlsson. This tool is a great way to quickly help build Dynamics 365 reports in Power BI. It generates M queries with and without FetchXML as well as handles fields such as option sets.
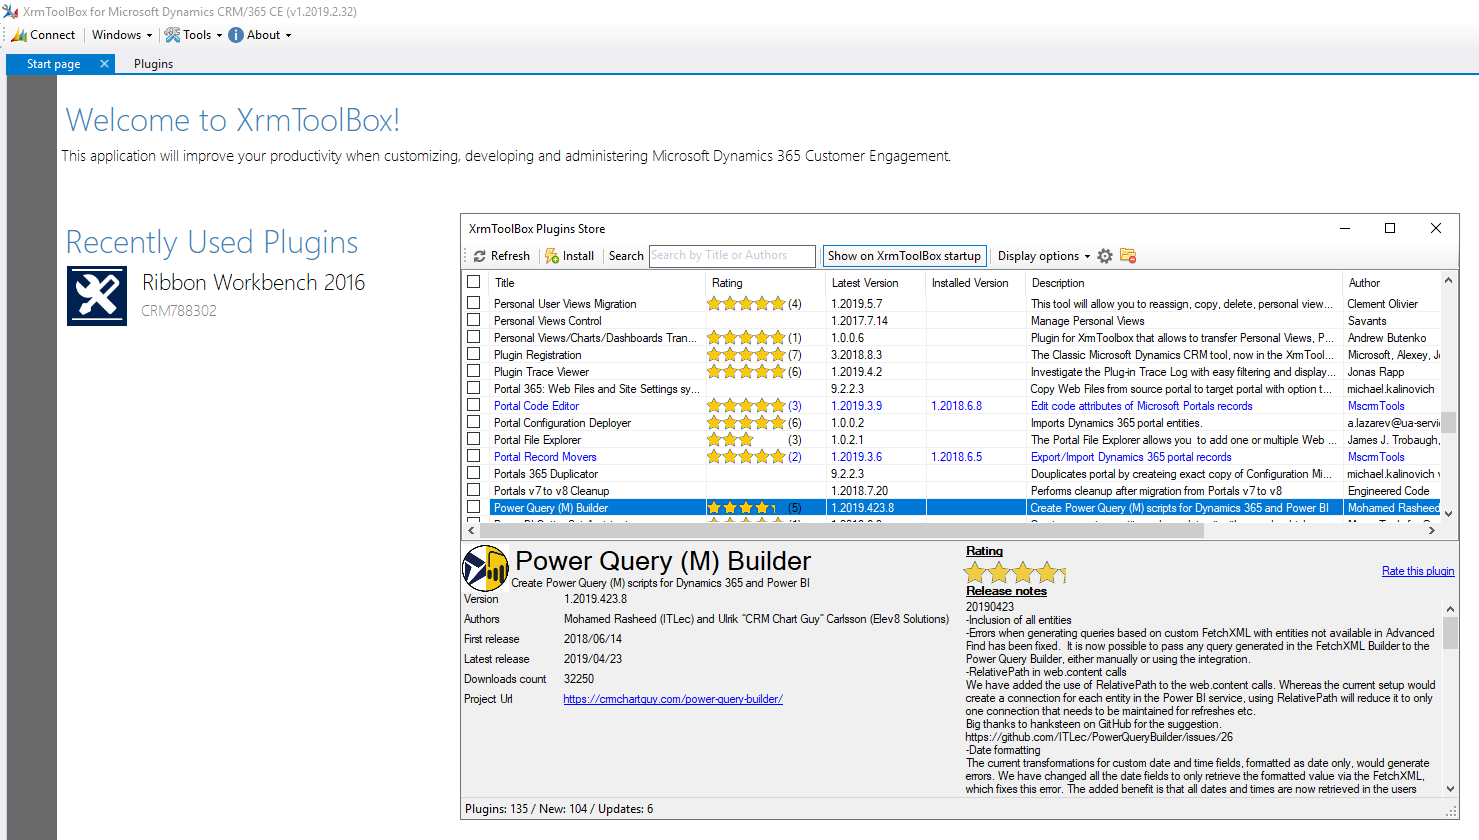
To install it, open the XRMToolBox and find the Power Query (M) Builder app. Click Install:
Next, connect to an organization and open the app:
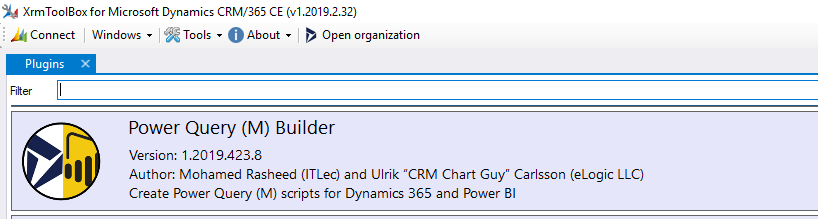
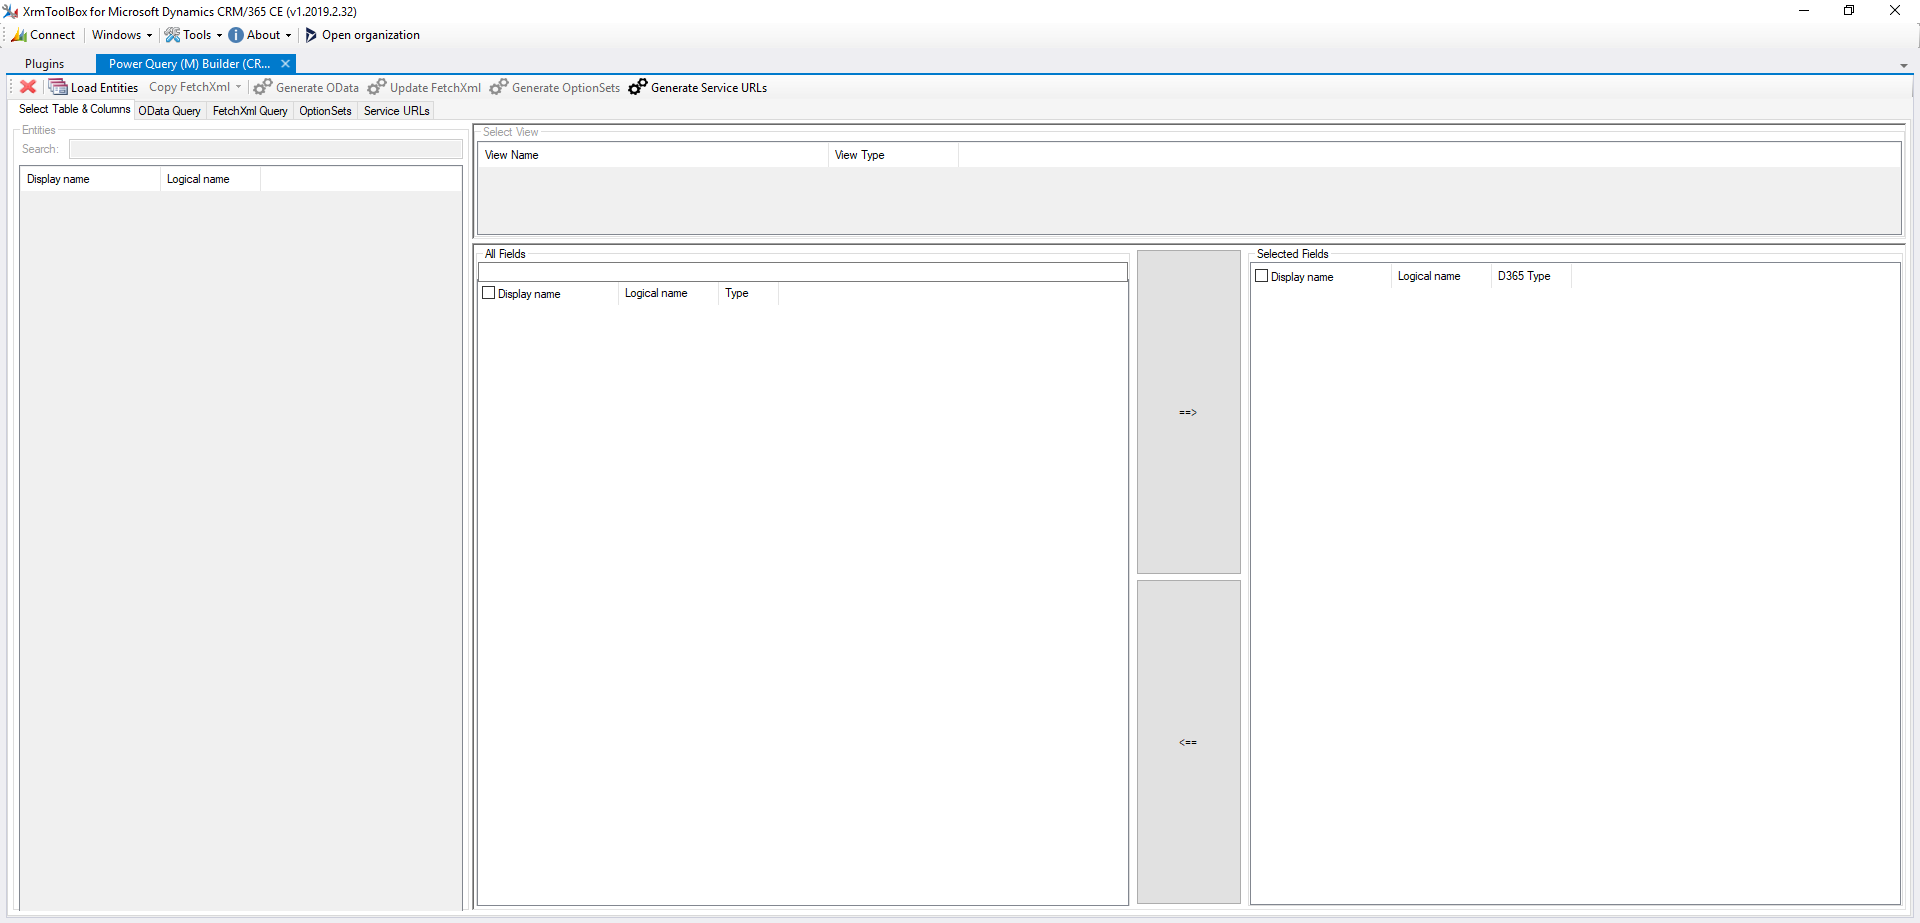
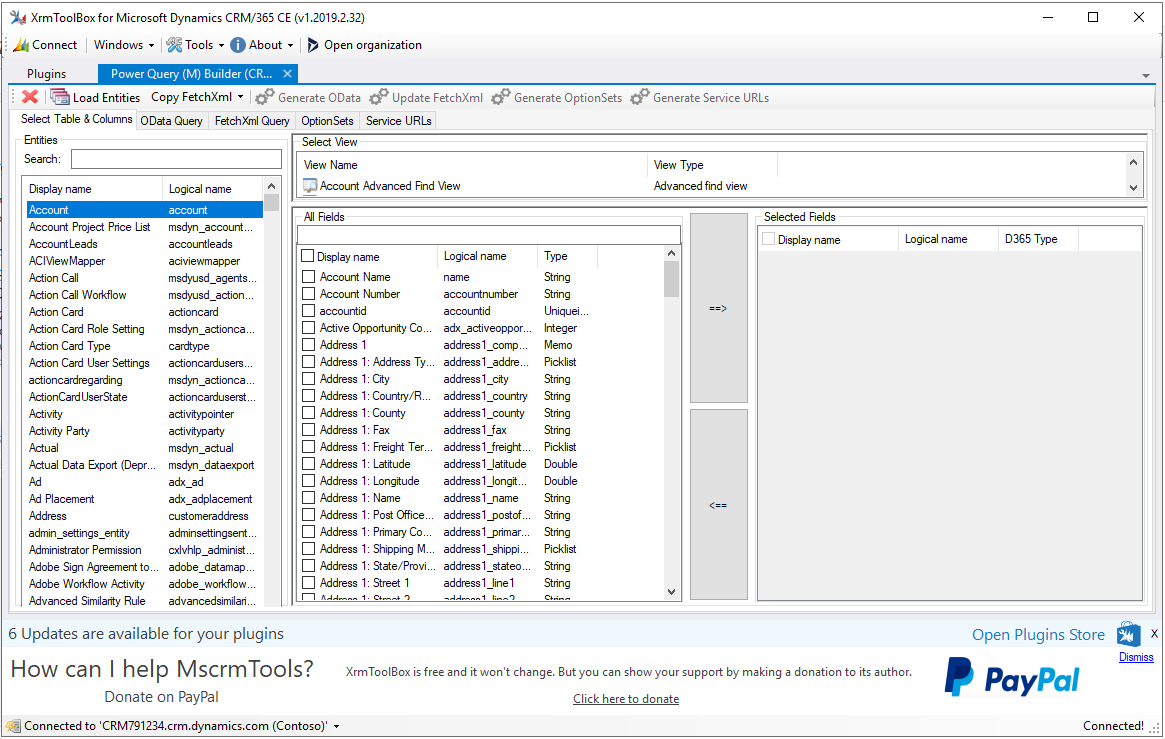
You will see:
Click Load Entities:
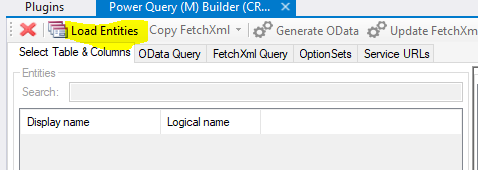
This will display a list of entities. Select Account. This will display account fields:
First thing we will need is to generate the Service URLs for Power BI. These will be the base URLs that our queries will use. Click Generate Service URLs to generate 2 URLs:

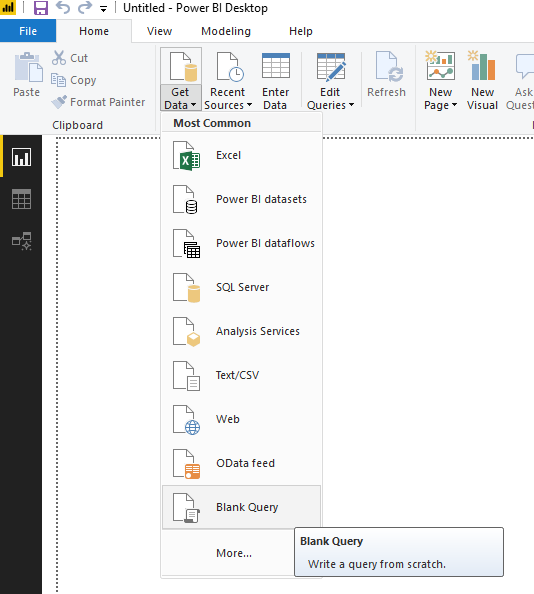
Now open Power BI Desktop. Select Blank Query:
Now copy the Dyn365CEBaseURL into the blank query and rename the query Dyn365CEBaseURL:

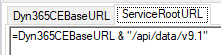
Now create another blank query and this time copy the ServiceRootURL:
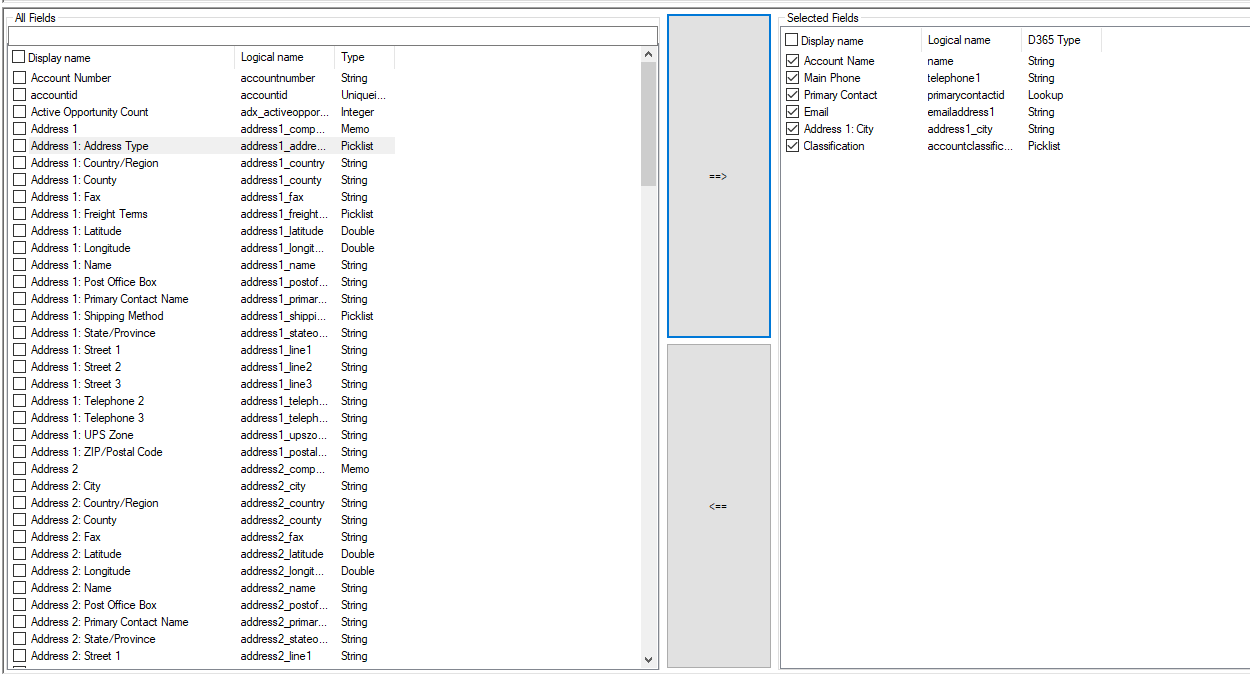
Let’s add some fields to our query from Select Table and Columns tab by selecting the fields on the left and clicking the ==> arrow:
Now let’s generate the FetchXML for this query. Click Update FetchXML. You will see a list of the FetchXML fields:
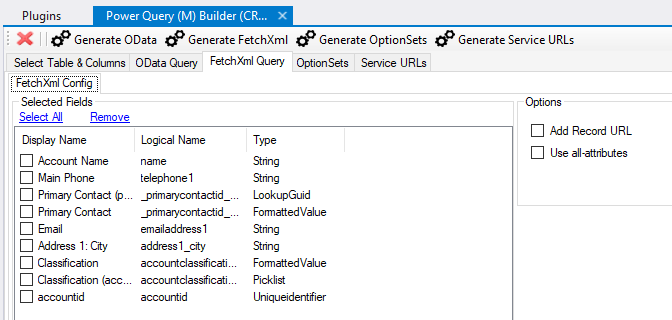
Note the accountid field is added automatically. Clicking on it, we can move it to the top:
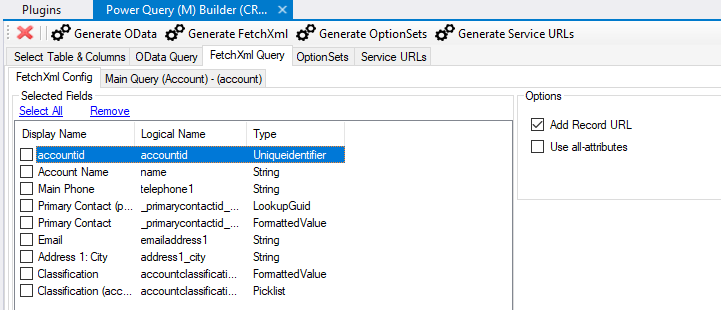
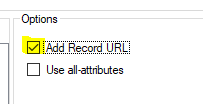
Let’s select Add Record URL as well. This will provide a link to the record back to Dynamics 365:
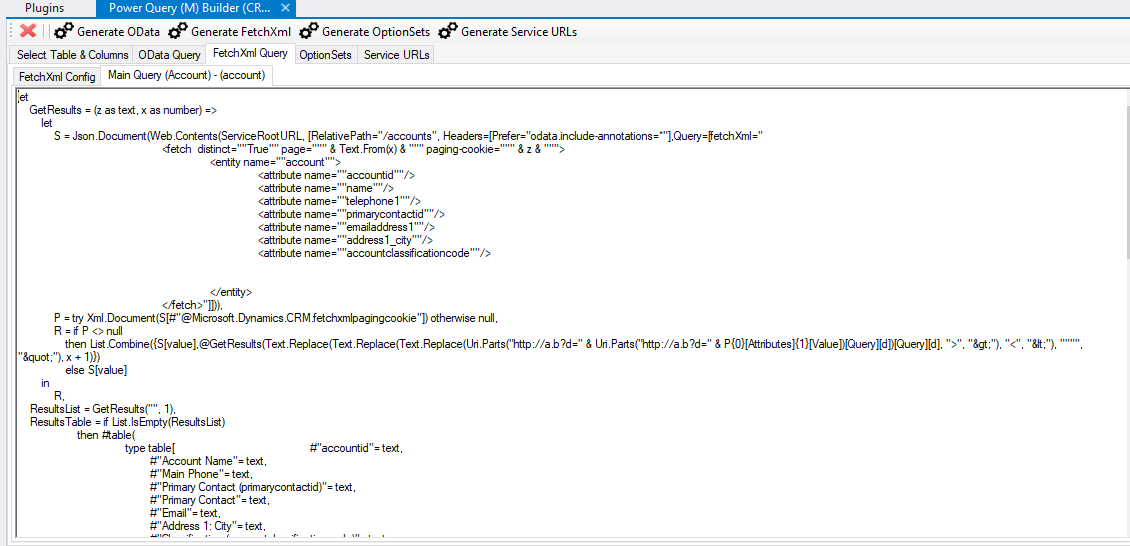
Now click Generate FetchXML. This will generate the FetchXML:
In Power BI, create a new query and select Advanced Editor:
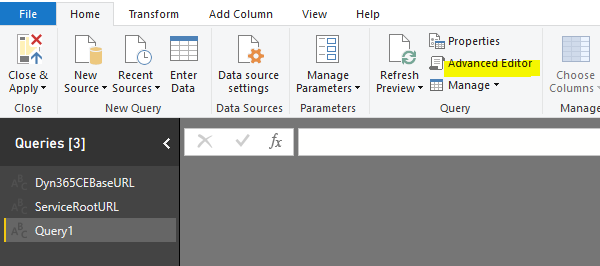
Paste in the code from the generated FetchXML:
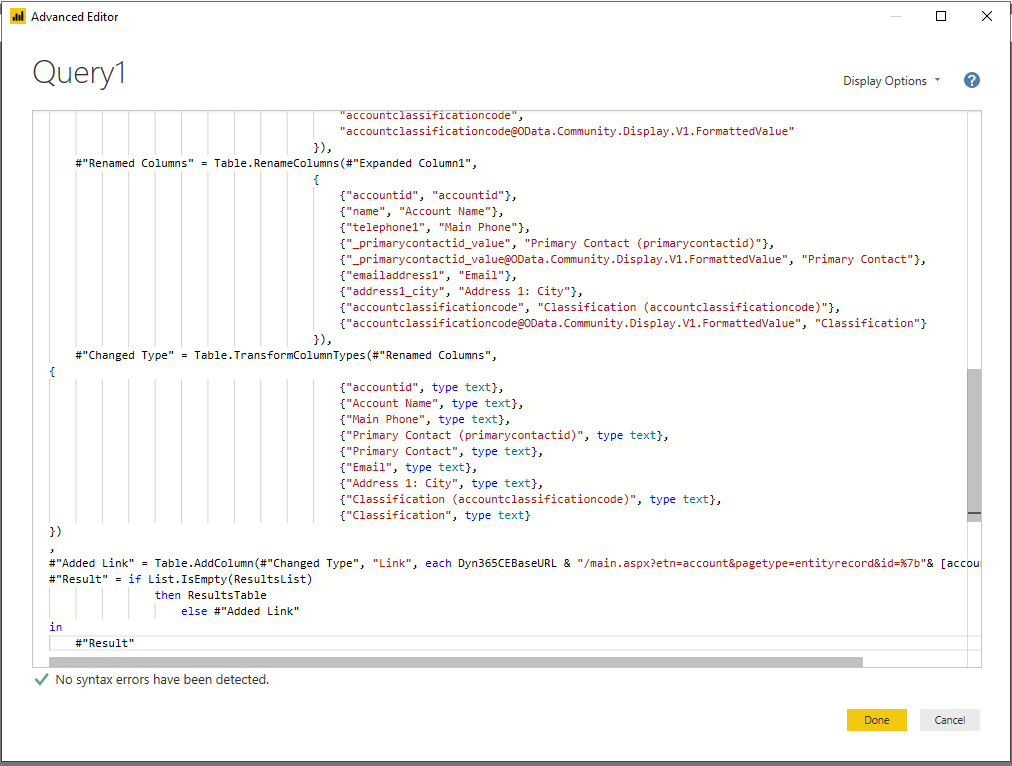
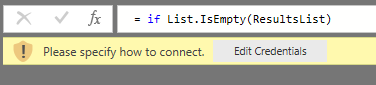
Click Done. You may need to reauthenticate:
The query will then be loaded:
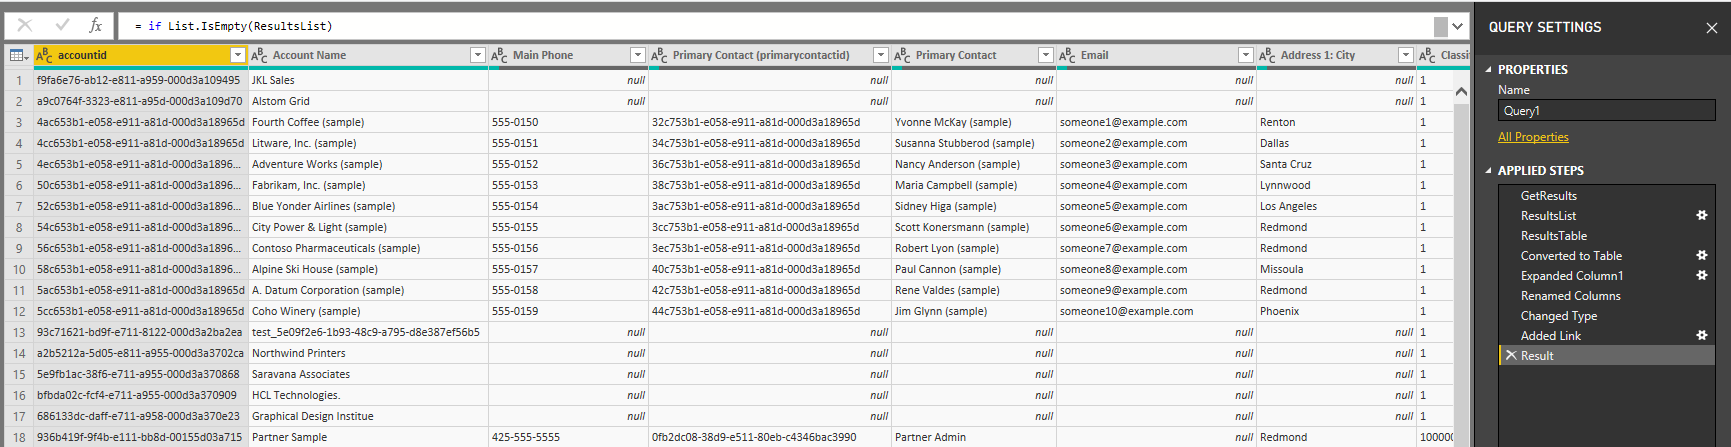
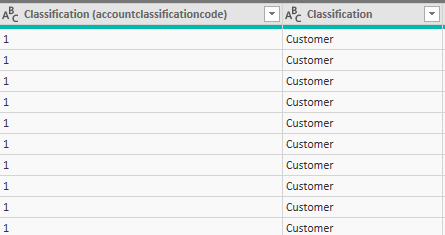
Note the Classification field is an option set, and with this query we get the option set number and label:
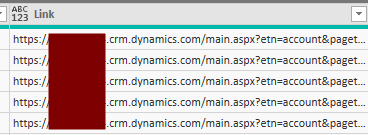
As we checked Add Record URL we get a field with the record link:
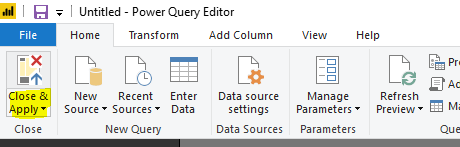
Click Close and Apply:
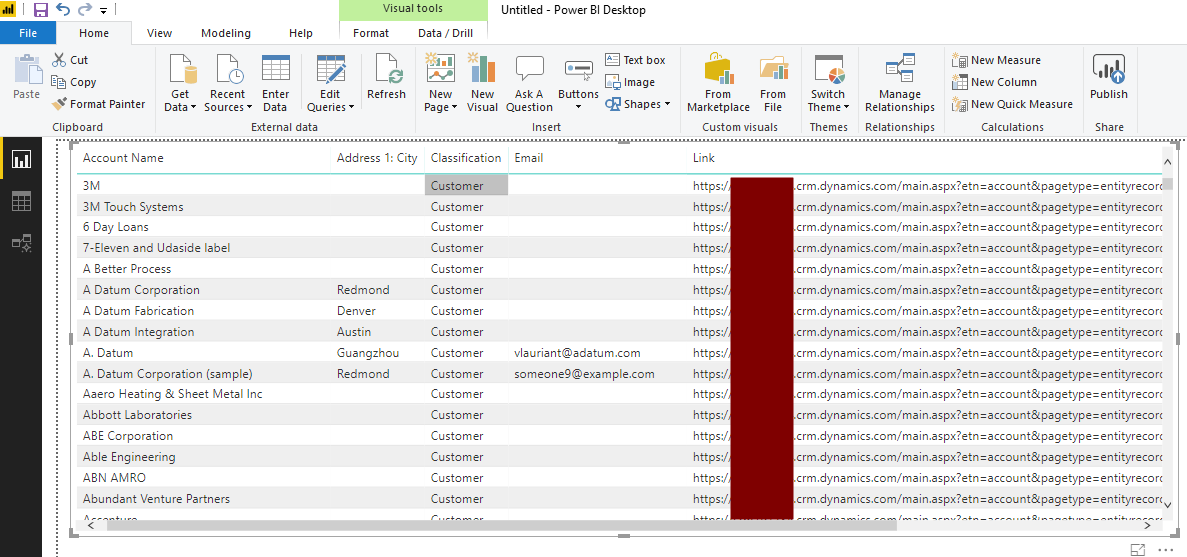
We can then build our report using this query:
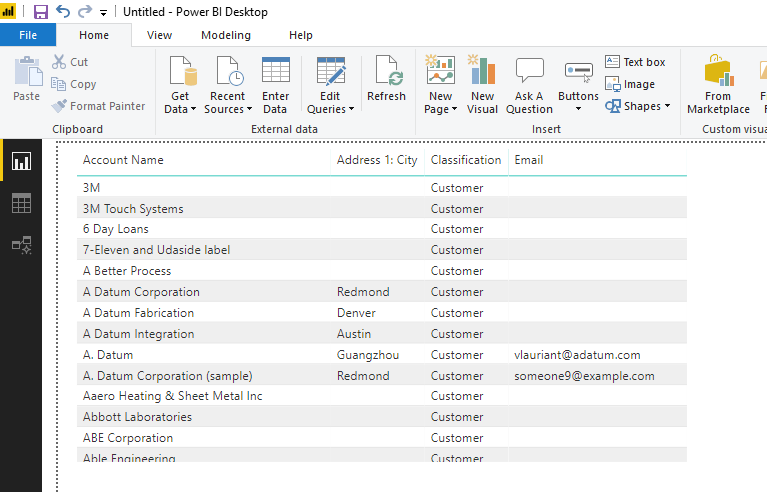
Let’s add the Link URL. At this point it is displaying just the text of the link:
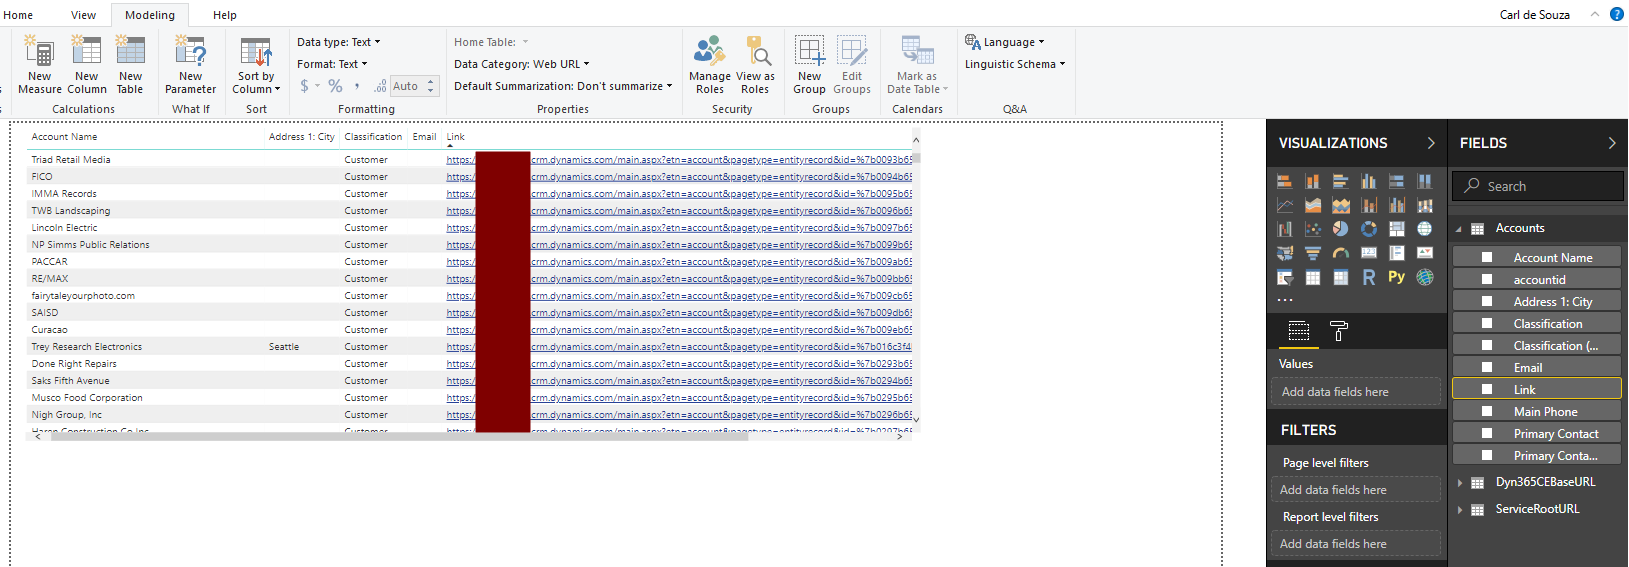
We can change this field to a web URL. Select the field and under Modeling change Data Category to Web URL:
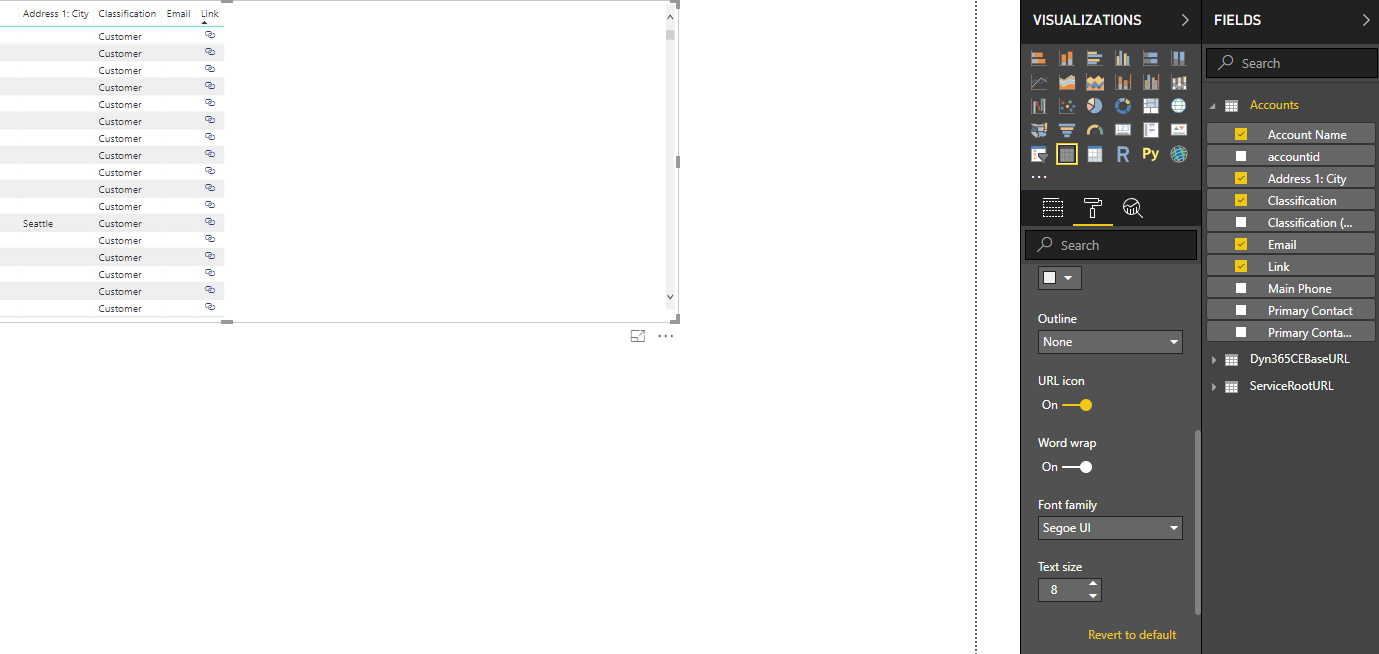
This now displays the URL as hyperinks. We can then change it to an icon by selecting URL Icon under the Format options of the field:
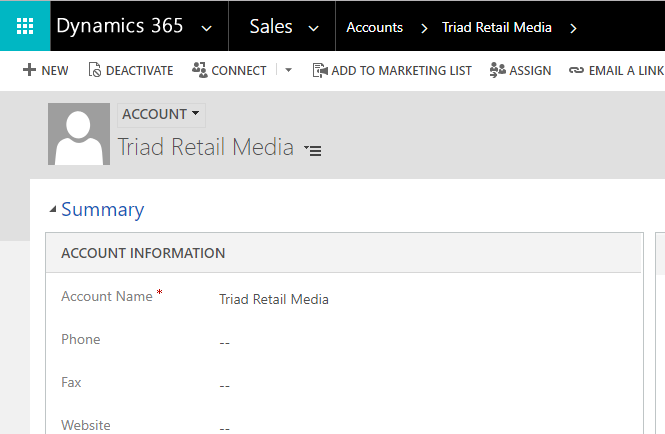
Clicking one of these links opens Dynamics 365:
Back in the XrmToolbox, click Generate OData so we can compare between using this and FetchXML:

The M Query to retrieve these fields is generated:

Note the fields have been renamed as well:
let
    Source = OData.Feed(ServiceRootURL, null, [Implementation="2.0"]),
    entity_table = Source{[Name = "accounts", Signature = "table"]}[Data],
    #"Removed Other Columns" = Table.SelectColumns(entity_table,{"name","telephone1","primarycontactid","emailaddress1","address1_city","accountclassificationcode"}),
    #"Renamed Columns" = Table.RenameColumns( #"Removed Other Columns",{{"name","Account Name"},{"telephone1","Main Phone"},{"primarycontactid","Primary Contact"},{"emailaddress1","Email"},{"address1_city","Address 1: City"},{"accountclassificationcode","Classification"}})
in #"Renamed Columns"
Copy the query into a blank query in Power BI Desktop. It will look like below. Note the Primary Contact is not expanded and the Classification field is only the number value, not the label:
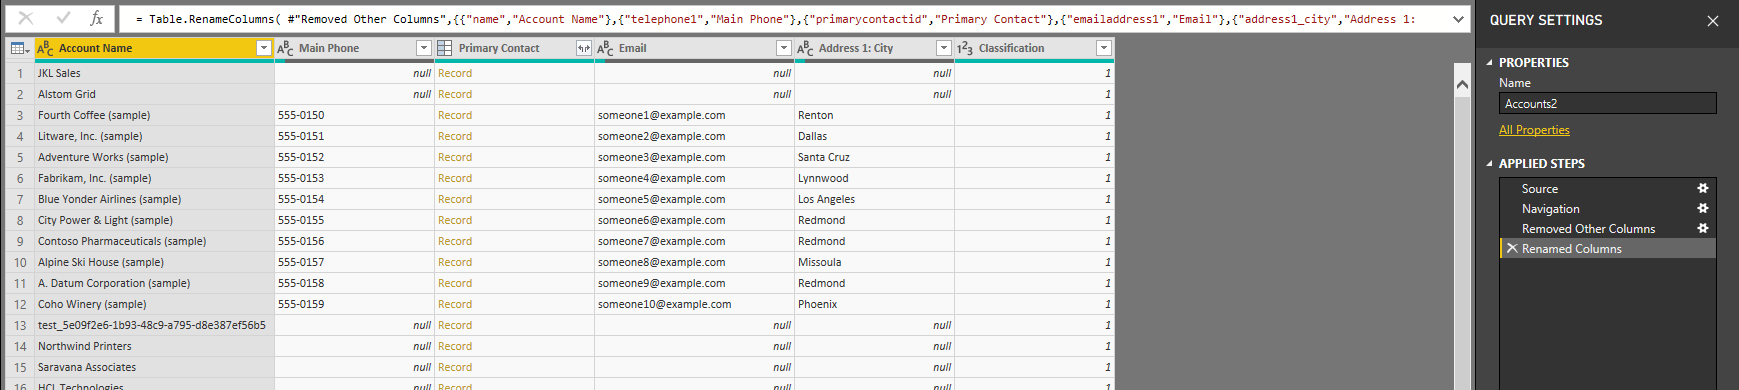
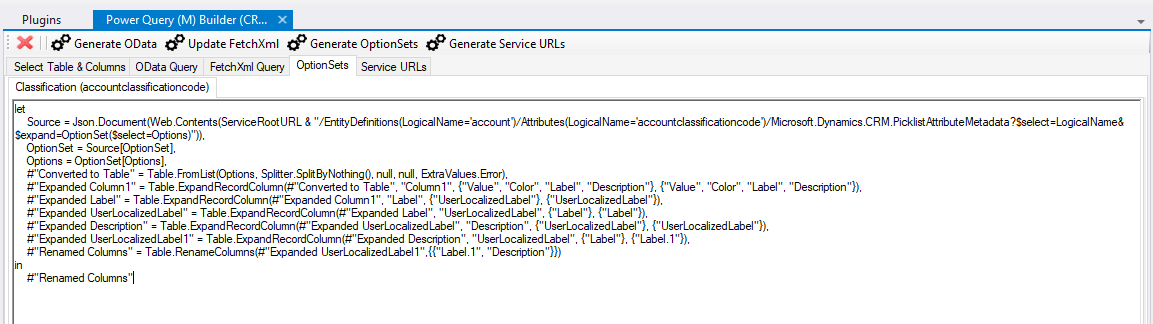
In the tool, let’s click Generate OptionSets. This gives us a query of our Classification optionset:
The query in Power BI brings in the value and label:

For more information, visit https://crmchartguy.com/power-query-builder/.
I AM SPENDING MORE TIME THESE DAYS CREATING YOUTUBE VIDEOS TO HELP PEOPLE LEARN THE MICROSOFT POWER PLATFORM.
IF YOU WOULD LIKE TO SEE HOW I BUILD APPS, OR FIND SOMETHING USEFUL READING MY BLOG, I WOULD REALLY APPRECIATE YOU SUBSCRIBING TO MY YOUTUBE CHANNEL.
THANK YOU, AND LET'S KEEP LEARNING TOGETHER.
CARL

I keep getting “We couldn’t authenticate with the credentials provided” … Any ideas?
Hello Carl.
I’m trying to generate a M query for appointments entity.
I’m having some troubles with the requiredattendees field.
When I let the field _requiredattendees_value@Odata.Community.Display.V1.FormattedValue on the query, I get errors on Power BI.
“Expression.Error: The field ‘_requiredattendees_value@OData.Community.Display.V1.FormattedValue’ already exists in the record.
Details:
Name=_optionalattendees_value@OData.Community.Display.V1.FormattedValue
Value=”
When I remove the field, the requiredattendees are not displayed.
How do I list the requiredattendees in BI?
Regardings.
Hello,
Thanks for the information, When I press on Load entities I’m being asked to make a connection, to do that I press on new connection and I get a menu with 6 options.
Connection wizard
SDK login control
Certificate
Connection string
OAuth/MFA
Client ID/ Secret
Which one is the right one to use to connect to the CRM dynamics and where can I find the orgenization URL ?
Thanks for the help
It seems some dates show as “error” in PowerBI when using this. Any way around it?
Does the power query with embedded FetchXML support joins? I transplanted a FetchXML join query into a generated power query, it executes but the joined table looks ups did not bring back values. Not sure if I need to add some additional configurations to the power query. The power query is going into a DataFlow. Thx.
When reaching the step in the process ‘Select Table and Columns’ some fields will not migrate over to the right box when clicking the ==> option. Some of these fields would migrate over in the past.
Any thoughts appreciated.
After using this, most of the date fields display “error”, how to fix it ?