Following on from a previous example, we can use Excel to update records in Dynamics 365 by exporting the records to an Excel file. To do this, select the records you would like to export in Advanced Find:
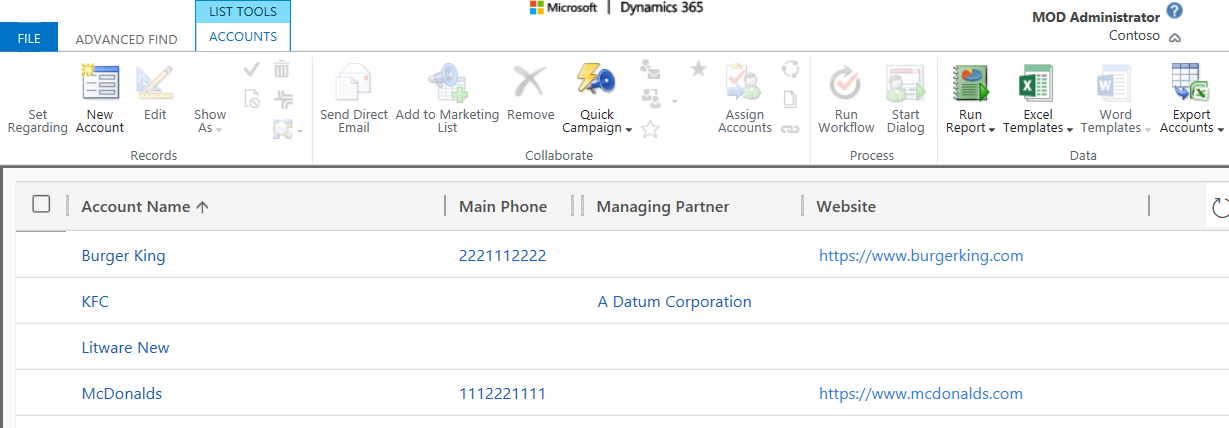
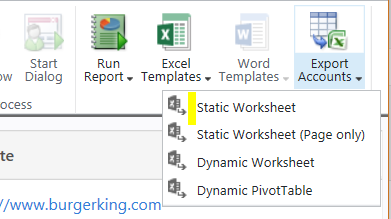
Export:
Open the downloaded spreadsheet and make an update to an account:

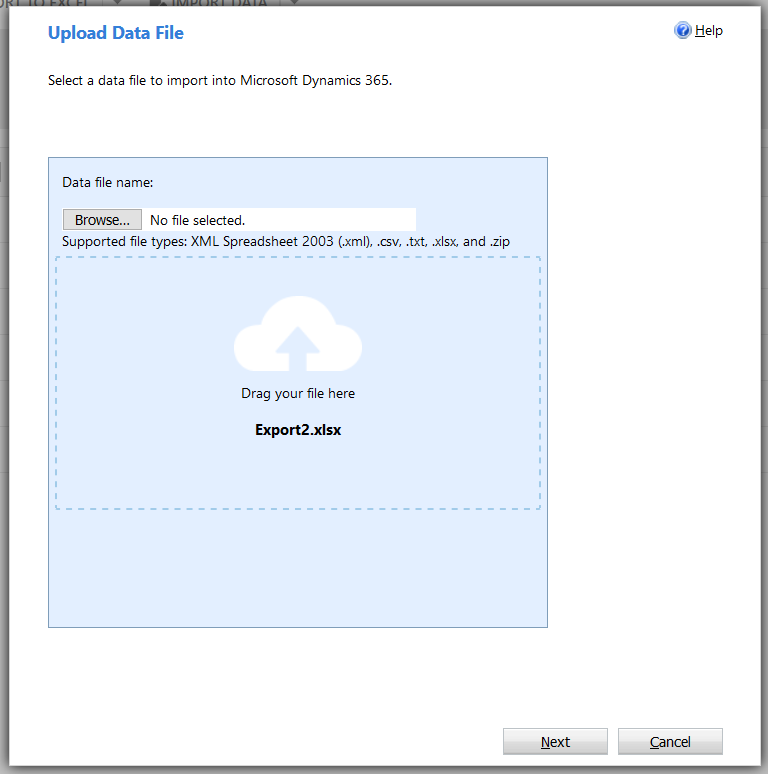
Save the Excel file. Create a new Import in Dynamics 365 under Data Management->Imports:
Select No to Allow Duplicates:
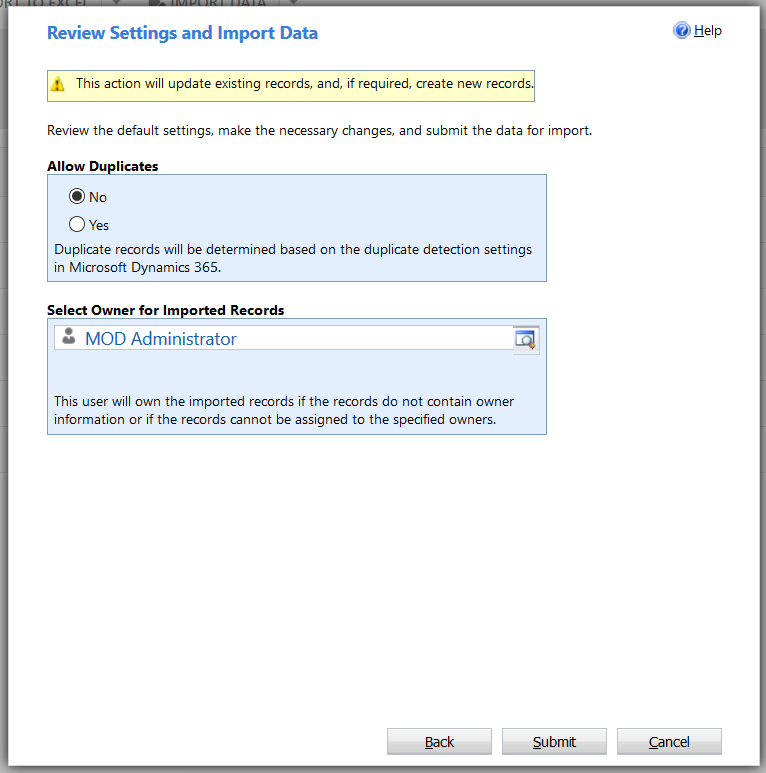
Click Submit to run the import. It will show the one updated record as successful:

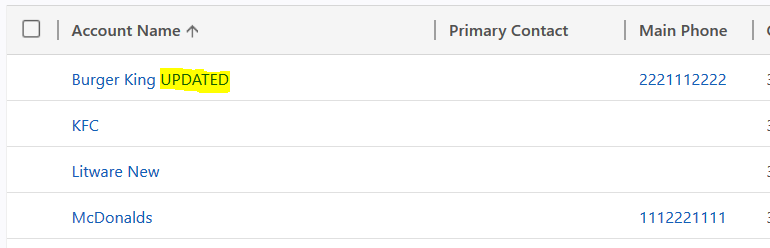
Confirm in Dynamics 365 the record has been updated:
I AM SPENDING MORE TIME THESE DAYS CREATING YOUTUBE VIDEOS TO HELP PEOPLE LEARN THE MICROSOFT POWER PLATFORM.
IF YOU WOULD LIKE TO SEE HOW I BUILD APPS, OR FIND SOMETHING USEFUL READING MY BLOG, I WOULD REALLY APPRECIATE YOU SUBSCRIBING TO MY YOUTUBE CHANNEL.
THANK YOU, AND LET'S KEEP LEARNING TOGETHER.
CARL

[…] Please refer to this: https://carldesouza.com/updating-dynamics-365-records-using-export-and-import-with-excel/ […]
Thank you Carl, very helpful.
Could the Excel worksheet be corrupted if I use a formula (like VLOOKUP) to update the data?
is possible update a related record (N:1), with excel?