In this post, we will look at how to run FetchXML using the Xrm.WebApi with JavaScript in Dynamics 365.
First, let’s create some FetchXML. We will use the FetchXML Builder in XrmToolbox to create FetchXML with single quotes. You can use your preferred tool to create FetchXML:
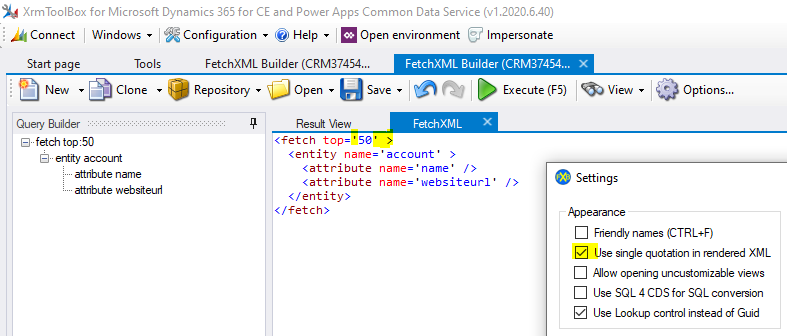
Now the code. We will place our FetchXML inside back ticks to create a multi-line string in JavaScript. We will then encode the FetchXML and send it to the Xrm.WebApi.
The code:
[sourcecode language=”JavaScript”] var fetchXML = `<fetch top=’50’ ><entity name=’account’ >
<attribute name=’name’ />
<attribute name=’websiteurl’ />
</entity>
</fetch>`;
var encodedFetchXML = encodeURIComponent(fetchXML);
var req = new XMLHttpRequest();
req.open("GET", Xrm.Page.context.getClientUrl() + "/api/data/v9.1/accounts?fetchXml=" + encodedFetchXML, true);
req.setRequestHeader("OData-MaxVersion", "4.0");
req.setRequestHeader("OData-Version", "4.0");
req.setRequestHeader("Accept", "application/json");
req.setRequestHeader("Prefer", "odata.include-annotations=\"*\"");
req.onreadystatechange = function() {
if (this.readyState === 4) {
req.onreadystatechange = null;
if (this.status === 200) {
var results = JSON.parse(this.response);
} else {
Xrm.Utility.alertDialog(this.statusText);
}
}
};
req.send();
[/sourcecode]
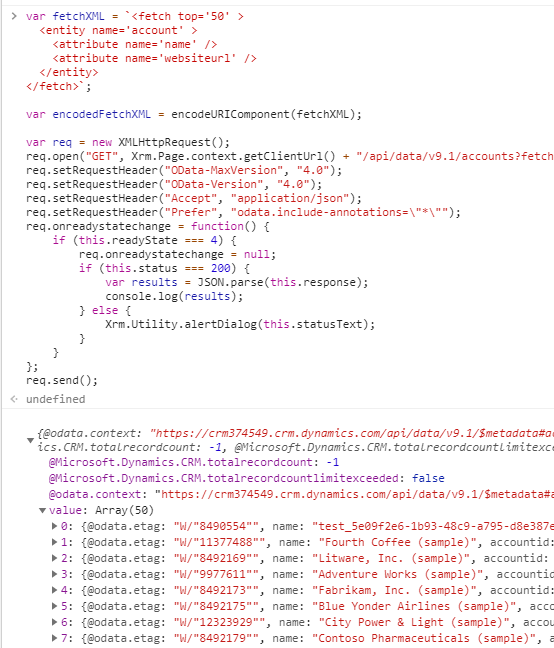
When we run this, and output the results to the console, we get our response:

Explore AI, agents & Microsoft technology.
I share practical ideas, tutorials, and videos about AI, AI agents, Microsoft technologies, and the Power Platform.
Subscribe on YouTube →