To download the Ribbon Workbench, go here.
Select Download, enter your details and you will be sent the download link.
The download will look like this:

In CRM, import the solution:
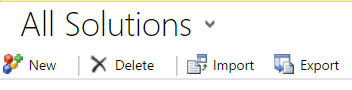

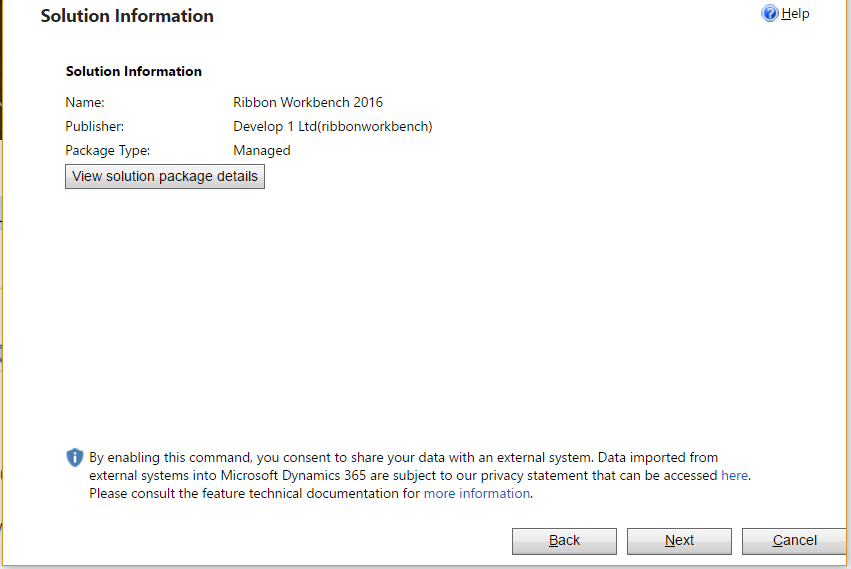
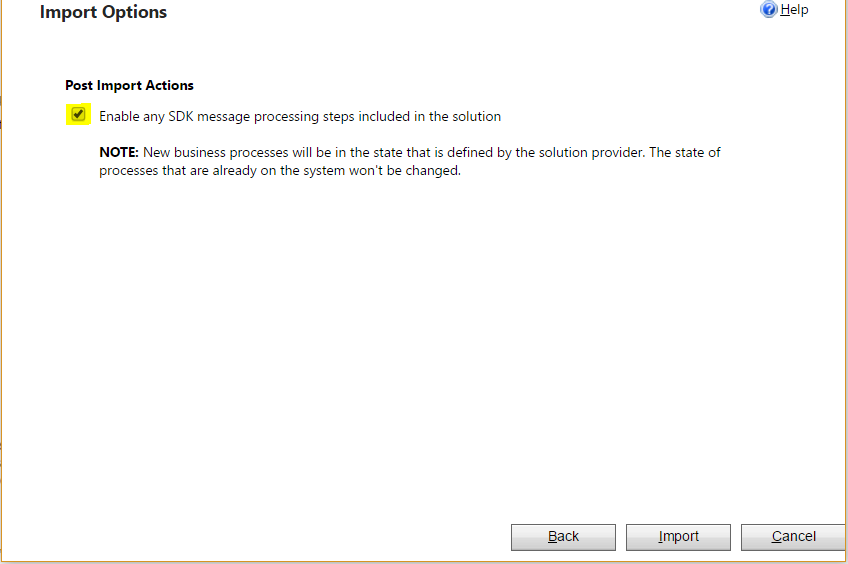

Once installed, the Ribbon Workbench can be accessed as a new item in Solutions:
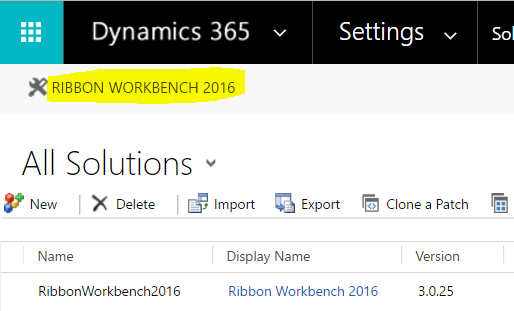
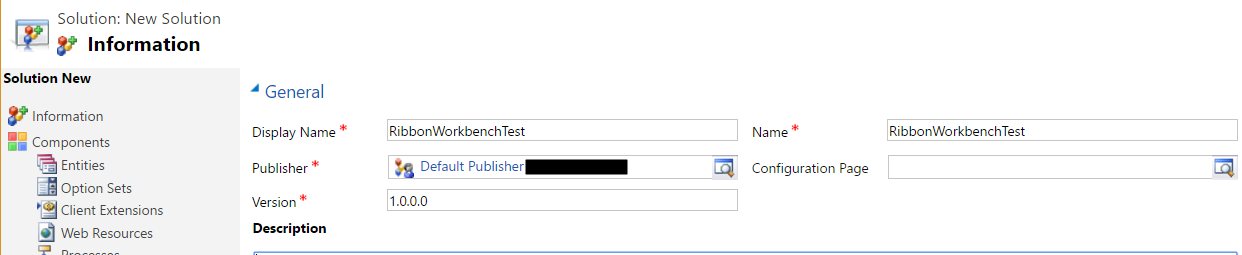
The next step is to create a new solution where we will add the ribbon for our entity. This solution will appear in the Ribbon Workbench screen.
Create a new solution as normal in CRM.
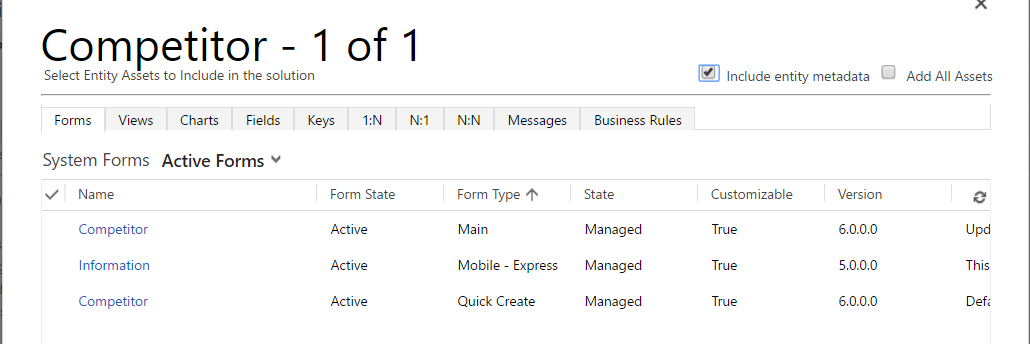
We will add the Competitor entity to our solution. Save and publish.
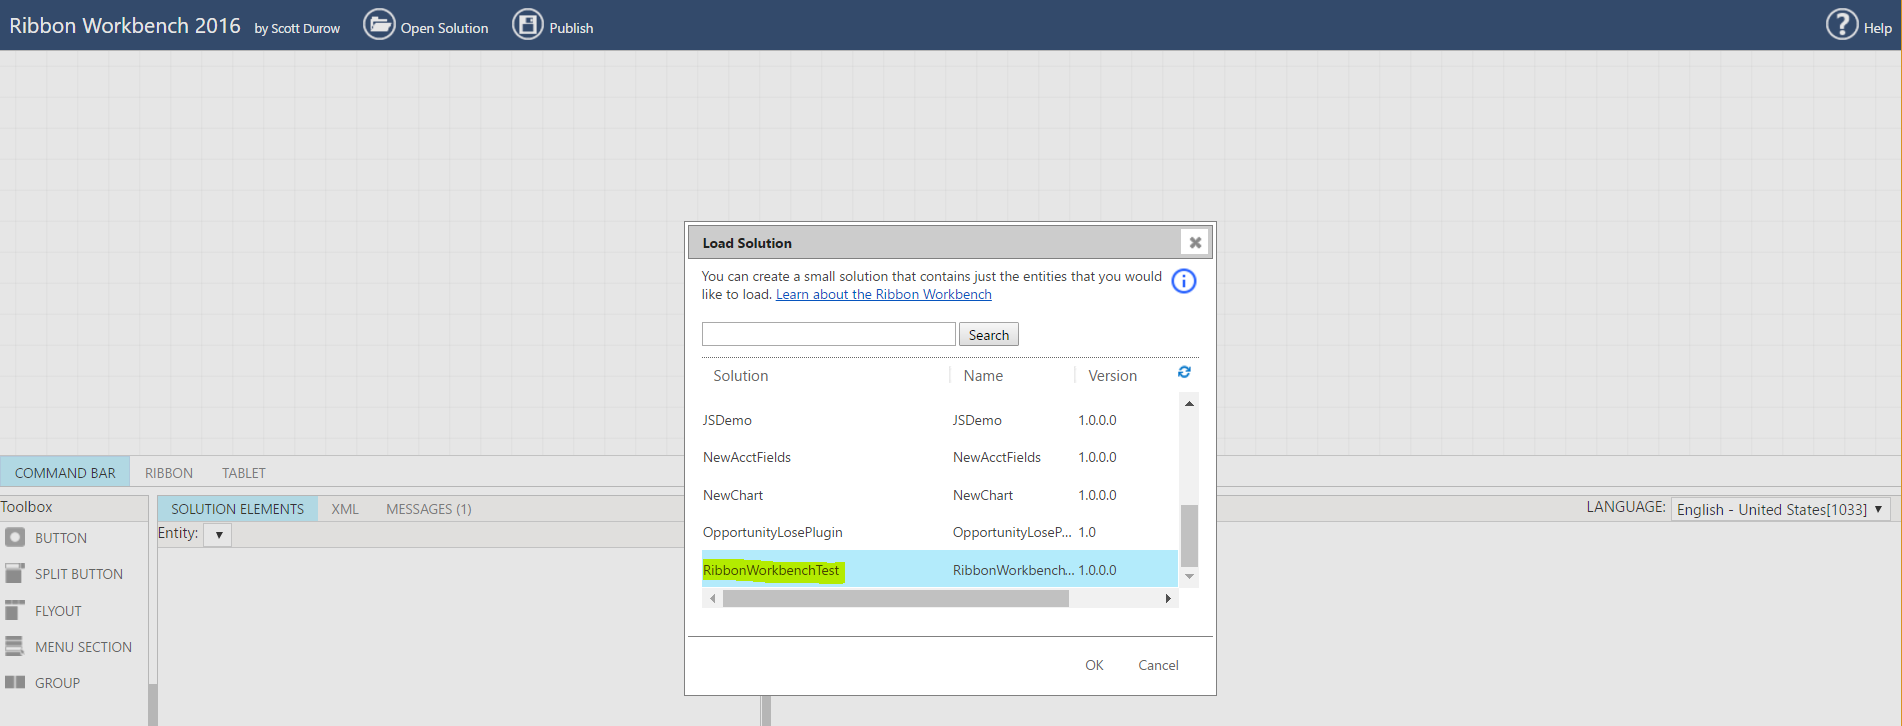
Next, open Ribbon Workbench. You will be prompted to select your project. Select the project just created..
Once imported, you will see the screen below.
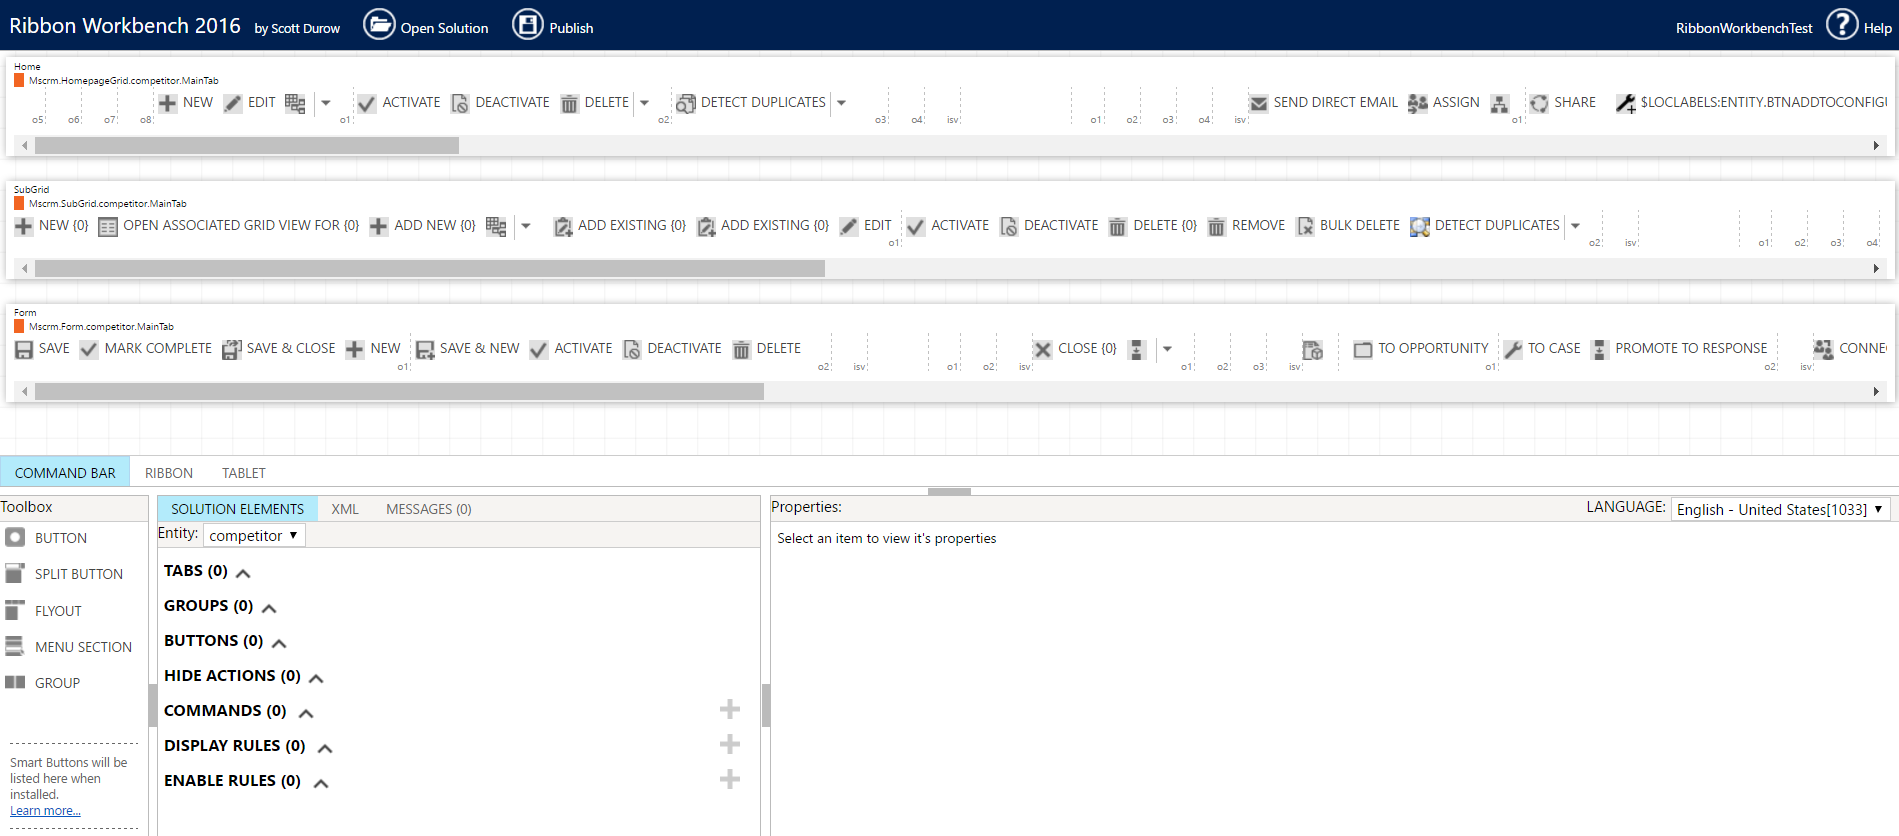
Let’s go through an example of adding a button to a form. Drag a button from the Toolbox to the Form area:
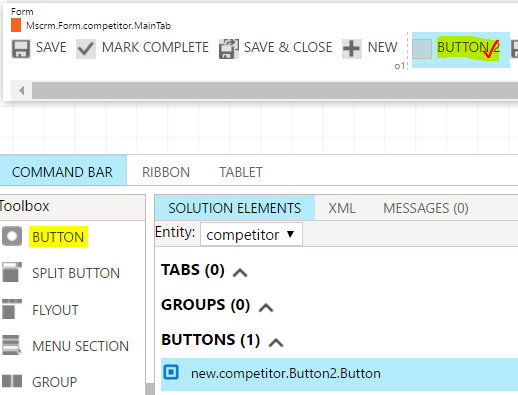
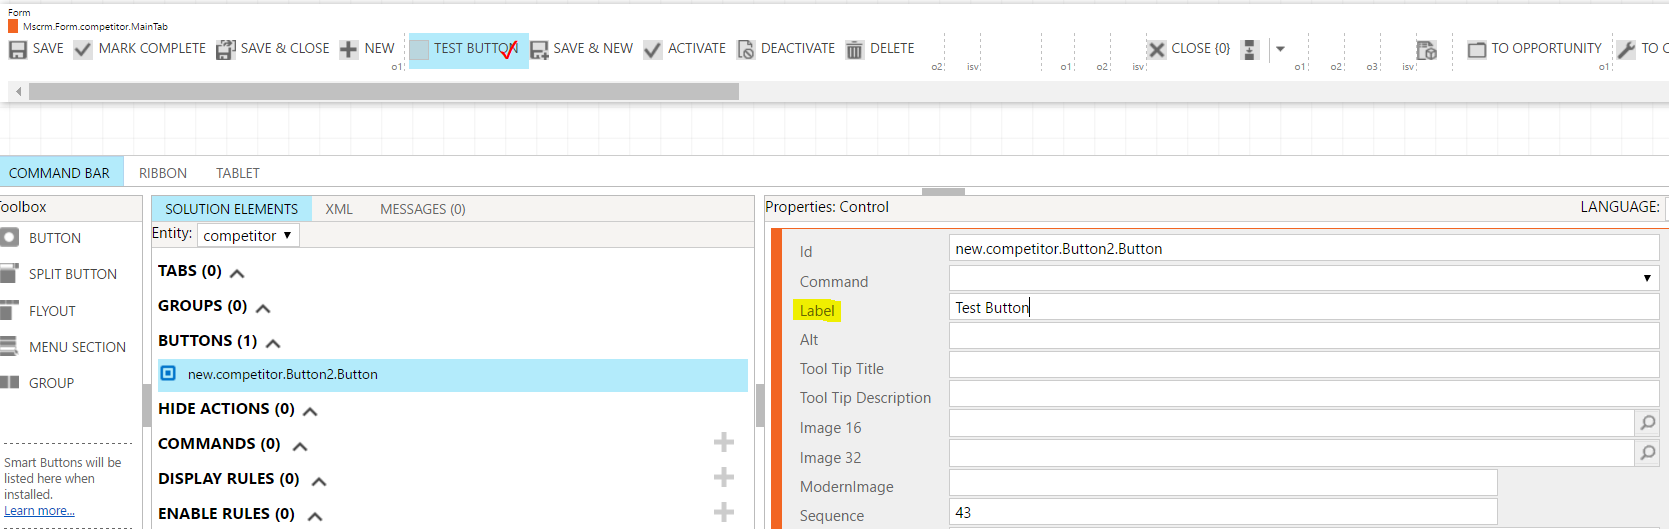
Rename the label of the button.
Click on commands and +:
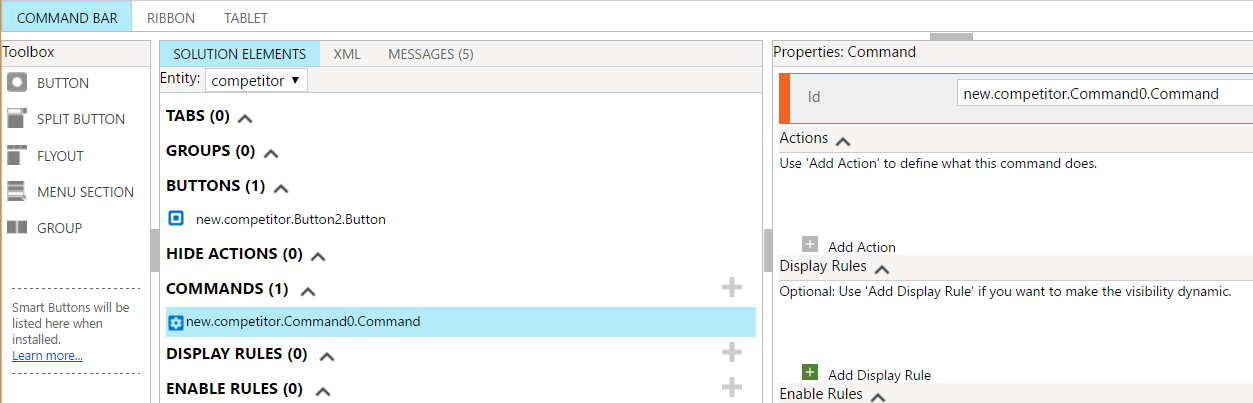
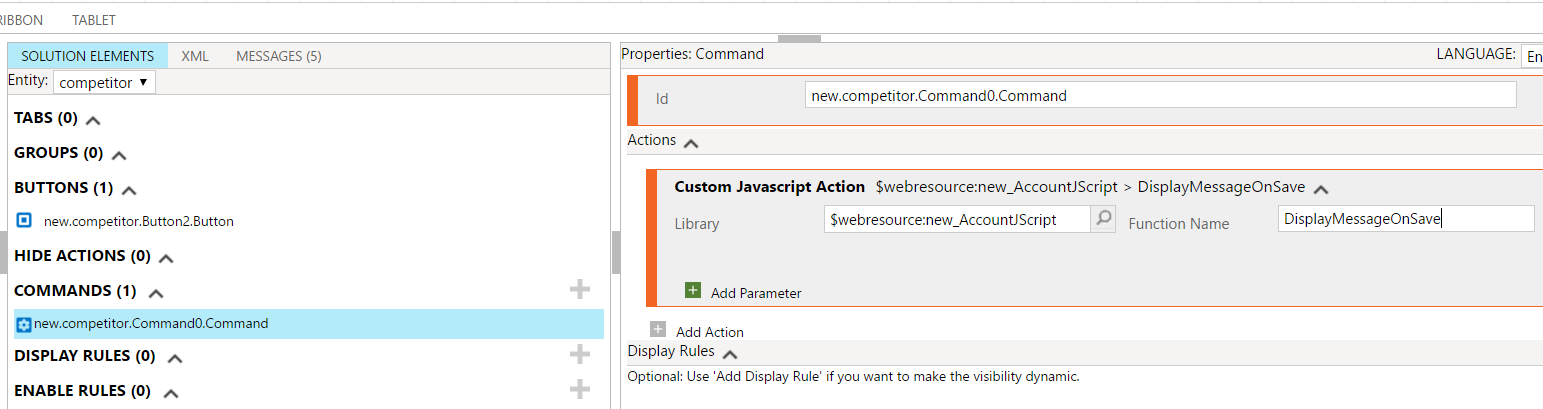
Enter a new Action (JavaScript). Here we will use one I created earlier that displays a simple Alert:
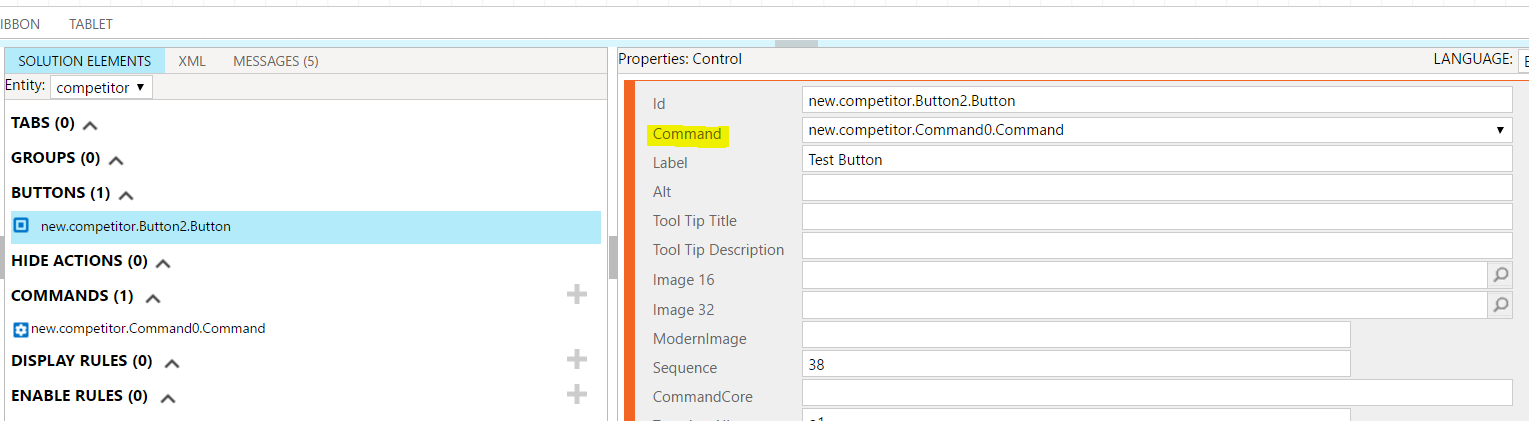
Back in the button, select the command:
Click Publish:

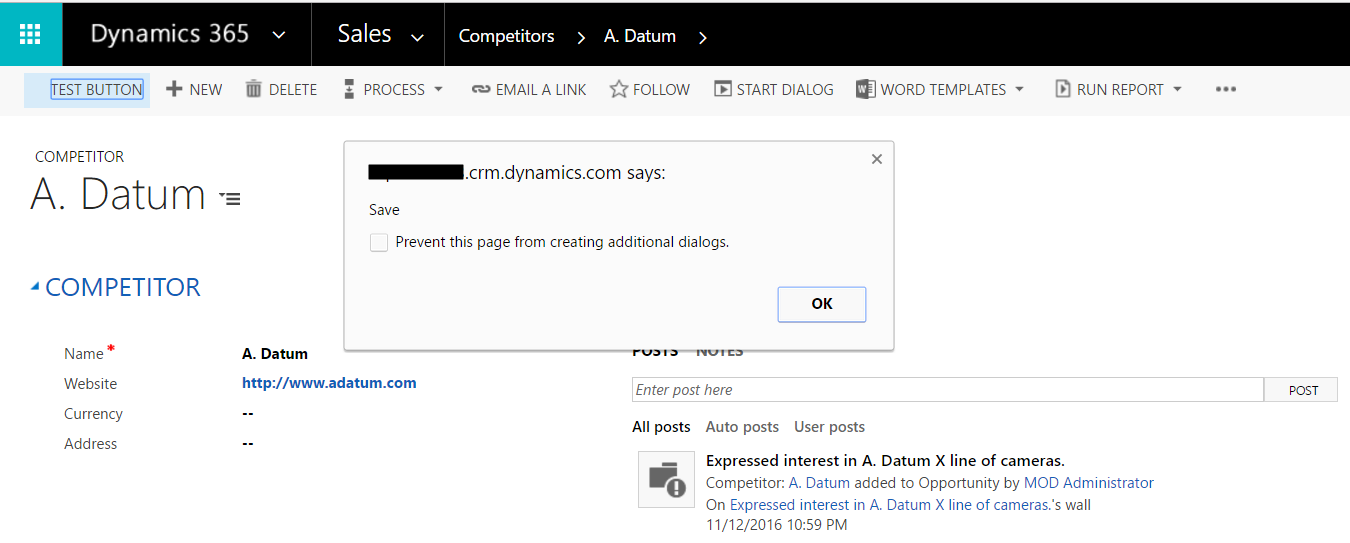
Go to the competitors page, and you will see a new Test Button appearing. Clicking the button will invoke the JavaScript described in the command.

Explore AI, agents & Microsoft technology.
I share practical ideas, tutorials, and videos about AI, AI agents, Microsoft technologies, and the Power Platform.
Subscribe on YouTube →