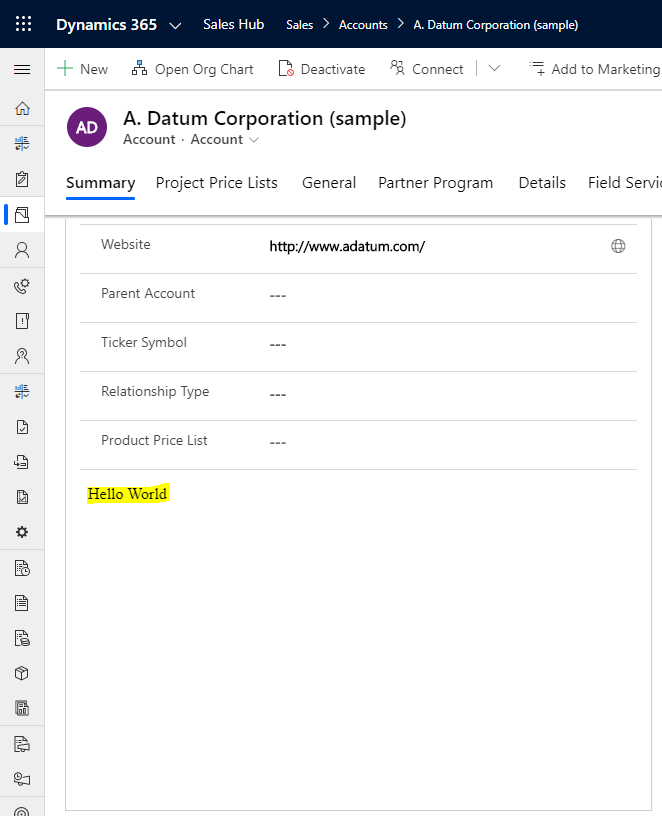
When a web resource is created in Dynamics 365 / Power Apps, we get a border defaulting around it. For example, below is a web resource on the Account form displaying “Hello World”. We see the border around the web resource:
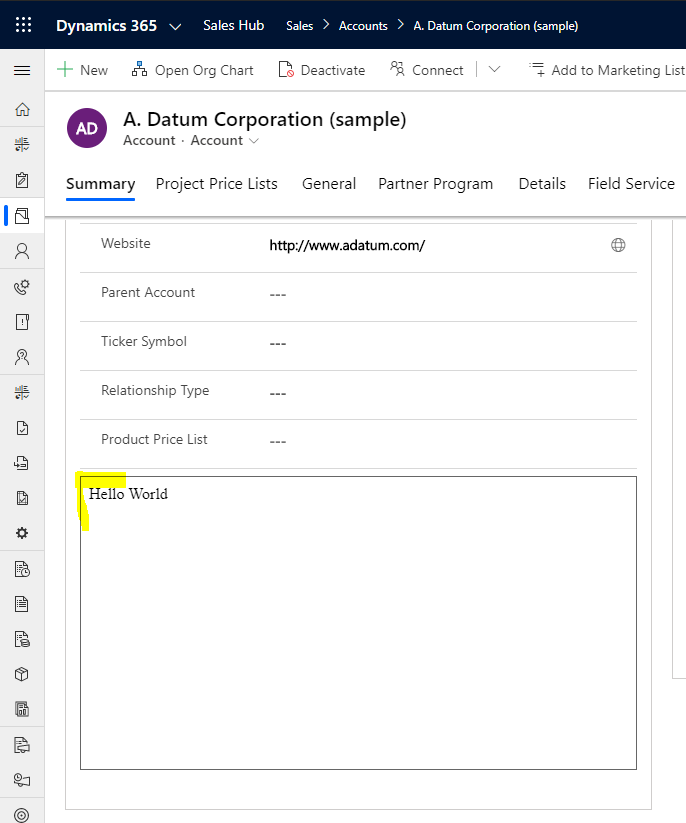
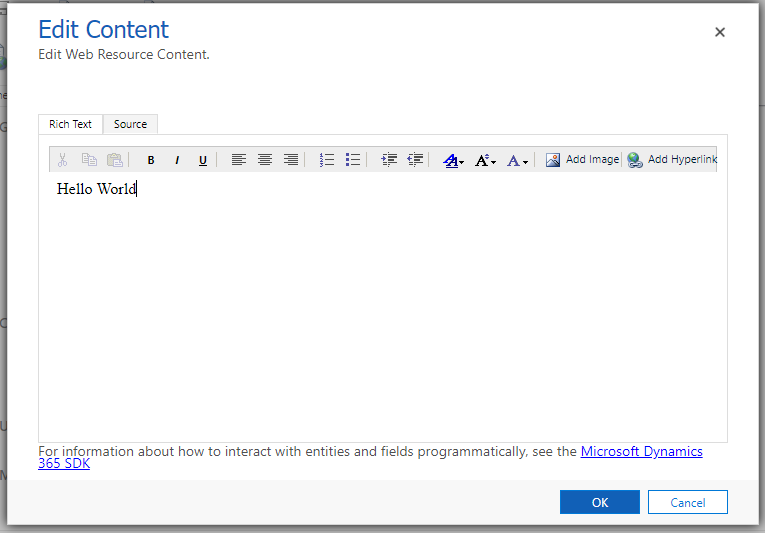
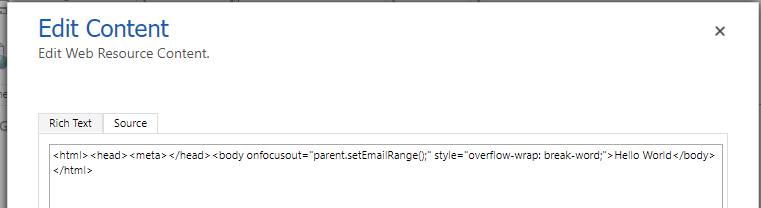
Even though we’re not doing anything specific in the web resource HTML:
To remove the border, open the form in design mode and go to the Web Resource properties:
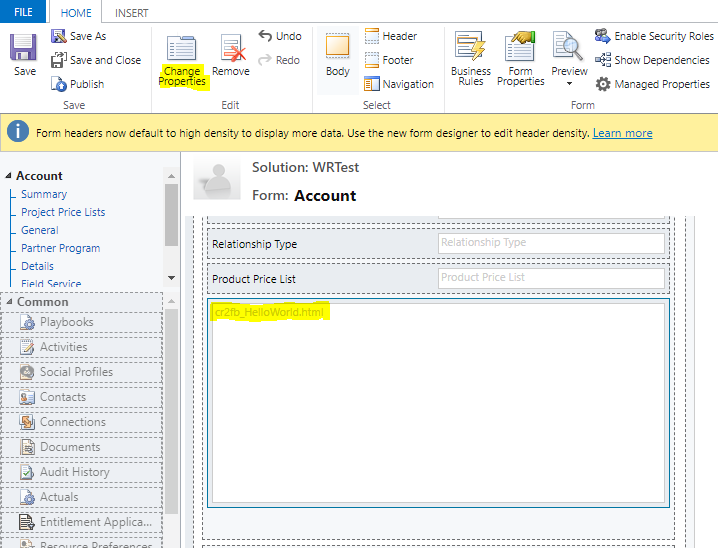
Go to the formatting tab:
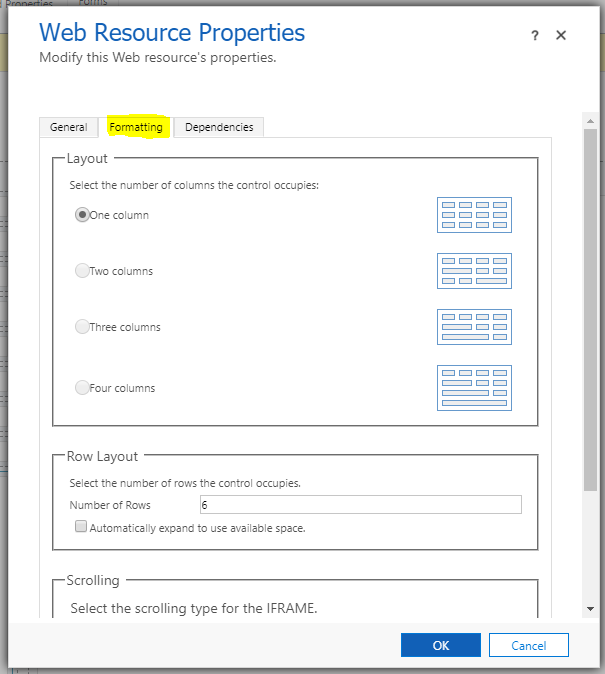
Scroll to the bottom and uncheck Display Border:

After saving and publishing, you will see the border has been removed on the form:
I AM SPENDING MORE TIME THESE DAYS CREATING YOUTUBE VIDEOS TO HELP PEOPLE LEARN THE MICROSOFT POWER PLATFORM.
IF YOU WOULD LIKE TO SEE HOW I BUILD APPS, OR FIND SOMETHING USEFUL READING MY BLOG, I WOULD REALLY APPRECIATE YOU SUBSCRIBING TO MY YOUTUBE CHANNEL.
THANK YOU, AND LET'S KEEP LEARNING TOGETHER.
CARL

Thanks Carl, very helpful !
We are struggling with a very similar problem: removing the border around a web resource embedded in a dashboard. Here, the web resource properties dialogue does not supply a checkbox to control the border display. Any ideas?
I have exactly the same issue! 🙂