We have already looked at some great features of Power Apps portals in previous posts, such as the out of the box templates such as the community portal template and customer self-service template. Now it’s time to look at creating a blank portal with minimal features, so organizations can build out a portal for their own specific requirements. We will look at how to customize the blank portal to include new navigation links, changing the background image and page text, and using the contact us form.
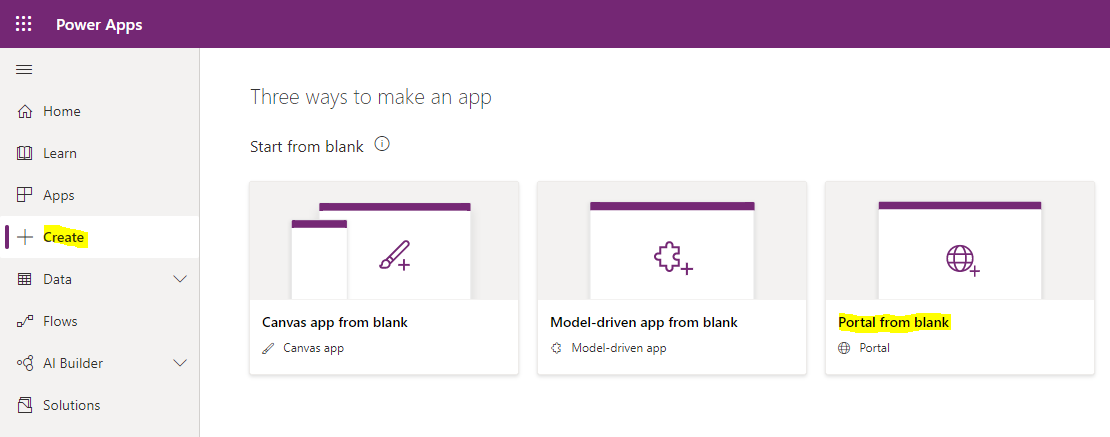
Go to https://make.powerapps.com/ and select your environment to create your blank portal. Then select Create, then Portal from blank:
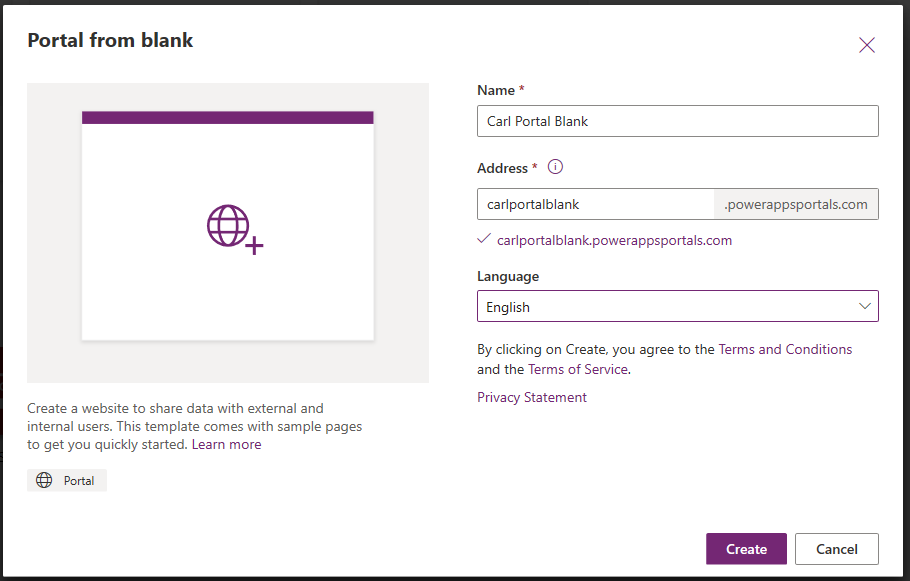
Let’s enter a name for this portal. We will call ours Carl Portal Blank, and click Create:
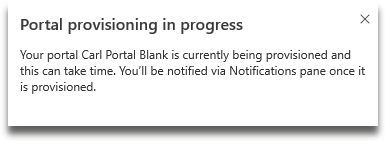
We see the message “Portal provisioning in progress. Your portal Carl Portal Blank is currently being provisioned and this can take time. You’ll be notified via Notifications pane once it is provisioned”:
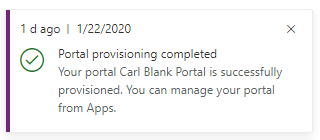
When complete, we get the message “Portal provisioning completed. Your portal Carl Blank Portal is successfully provisioned. You can manage your portal from Apps”:
Now head over to Apps to see your new blank portal:
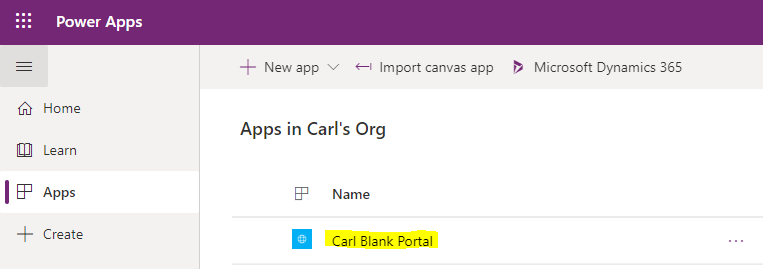
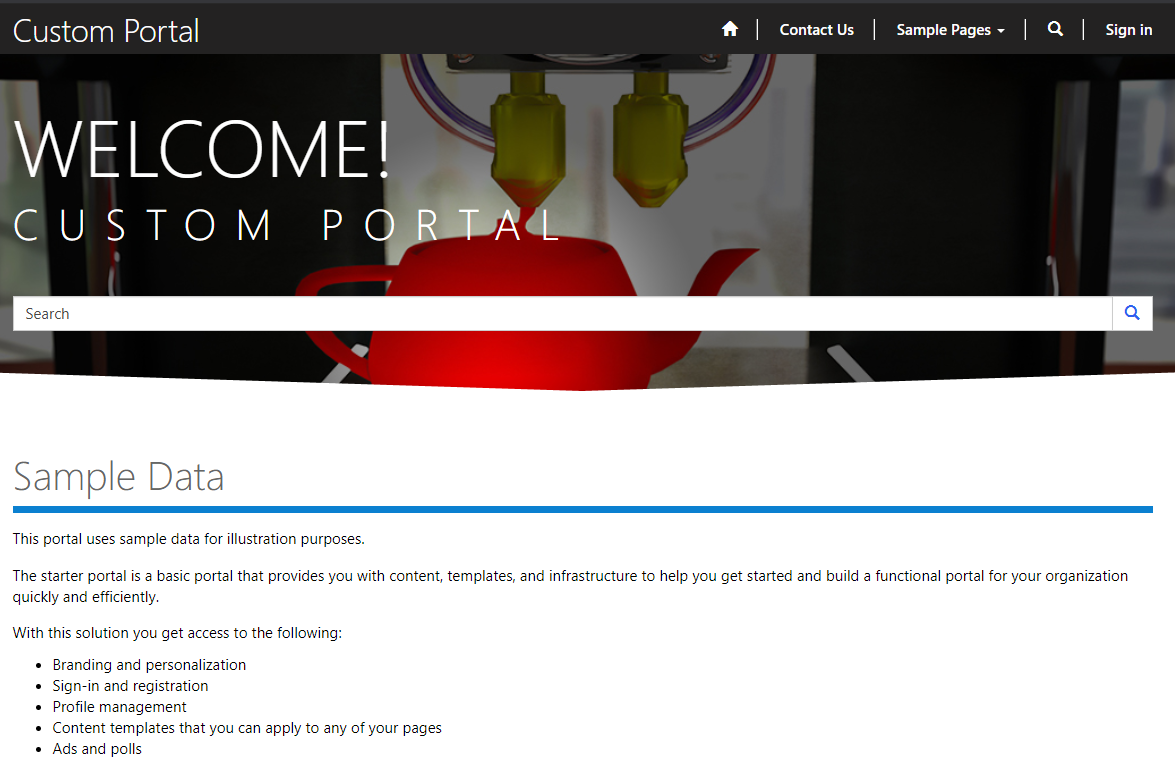
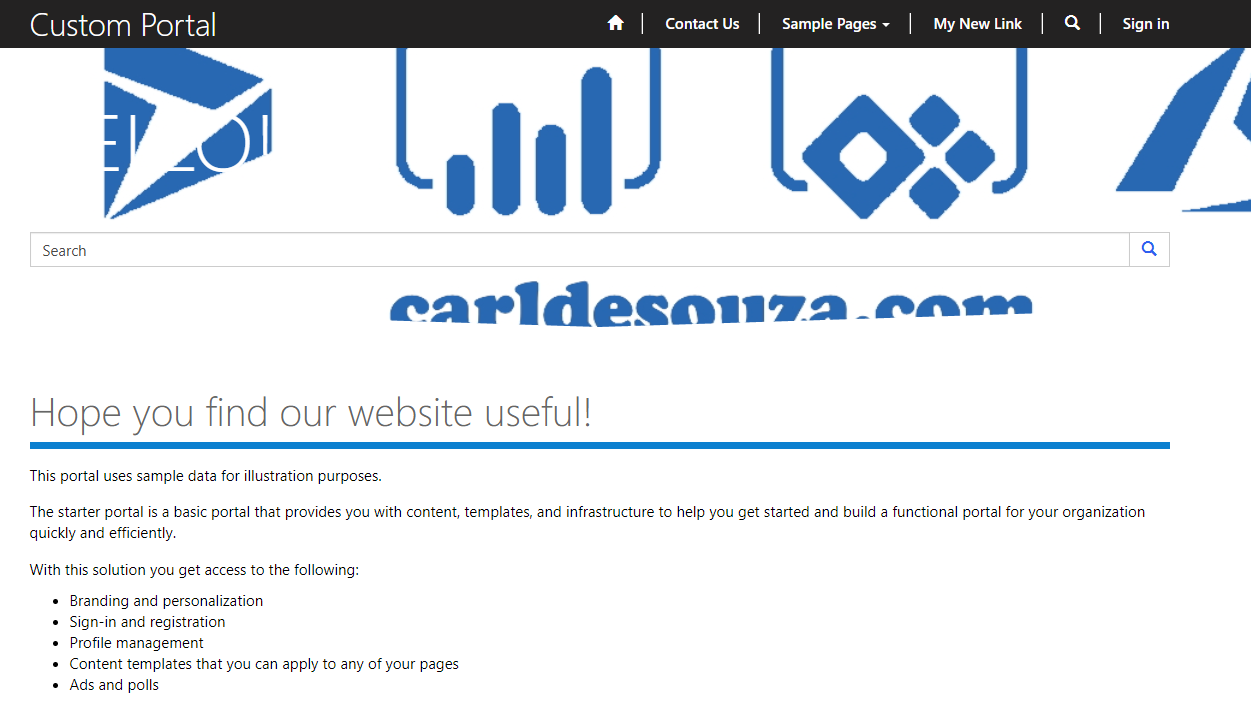
Clicking on it, we see a pretty nice, simple, custom portal has been built for us:
Across the top, we see some links, including:
- Home, which takes us to the home page
- Contact Us
- Sample Pages, which drops down into various pages to choose from
- Search
- Sign In

Let’s look at how to customize this out of the box blank portal for your organization.
Home Page
The Home Page displays a welcome message and text, as well as a search box:
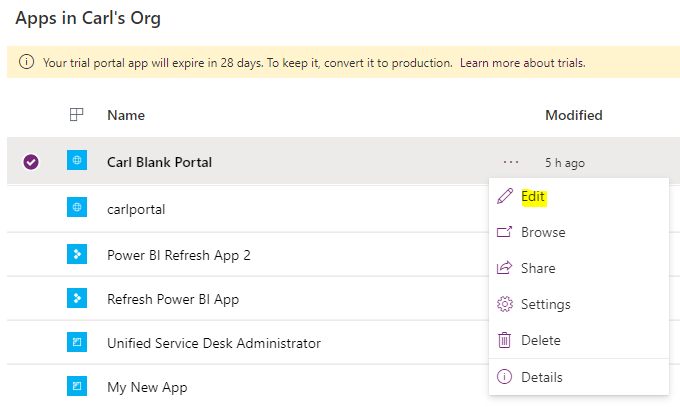
Let’s go to the Portals Designer to customize this page. In the Power Apps Maker, select the Portal and then click Edit:
This takes us to the Portal Designer:
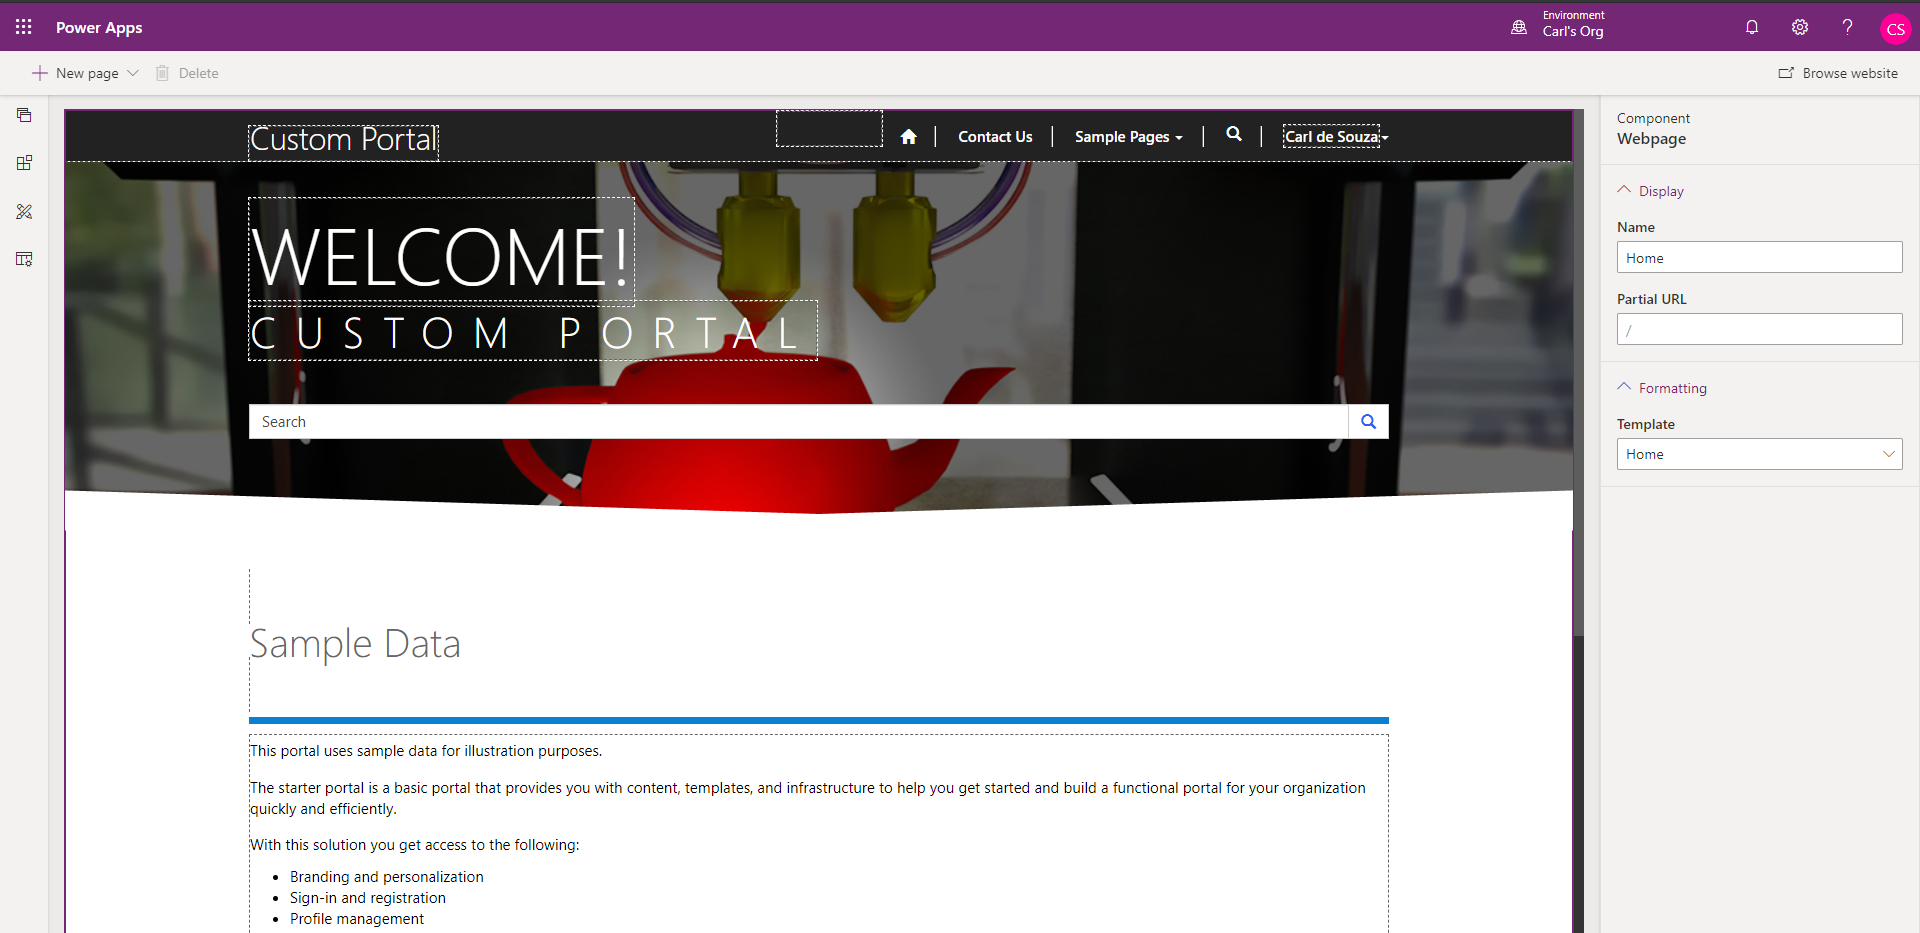
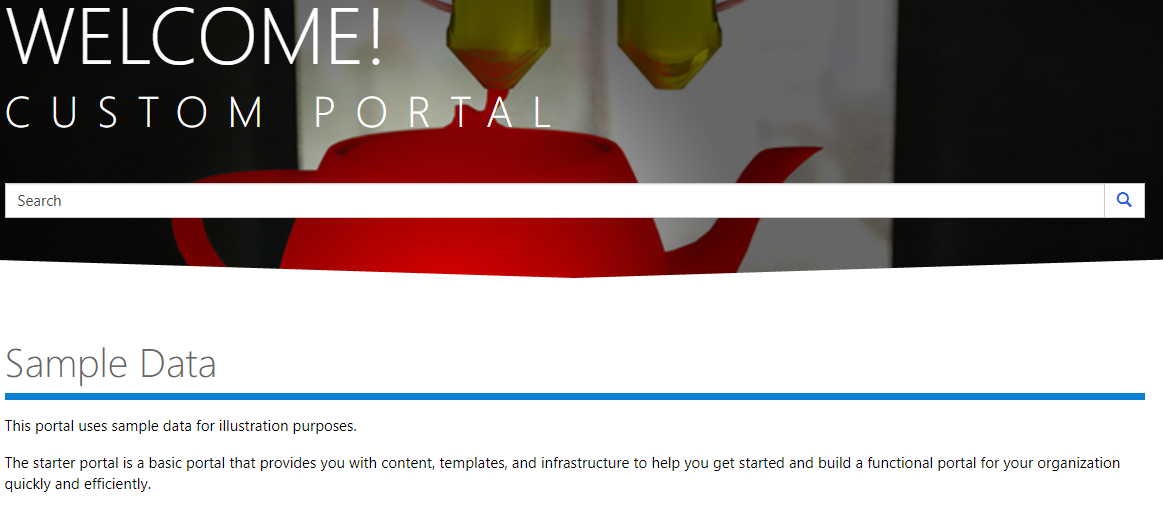
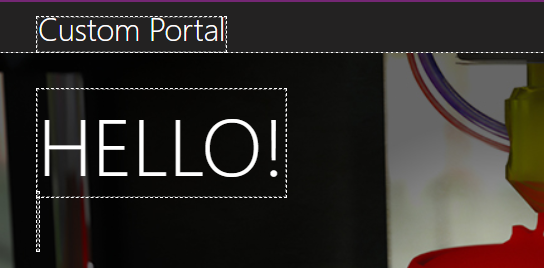
Let’s make some simple customizations. First, let’s change Welcome! to Hello! Doing this is as easy typing into the text like any text editor:
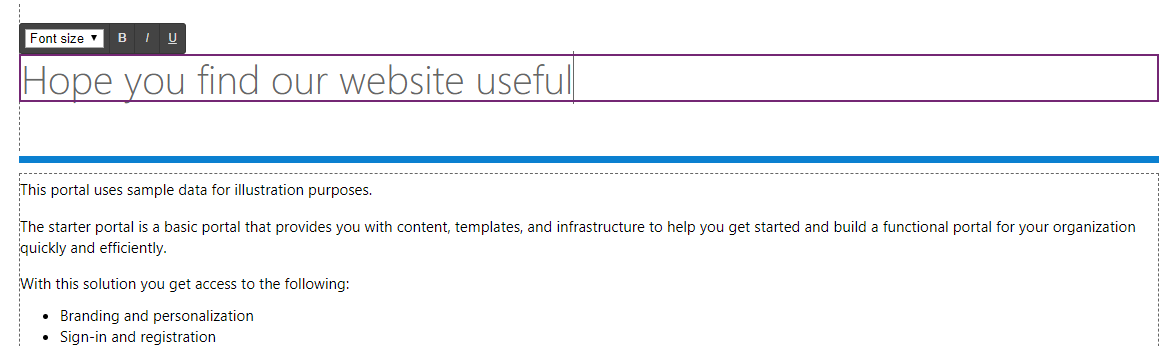
And same with other text on the page:
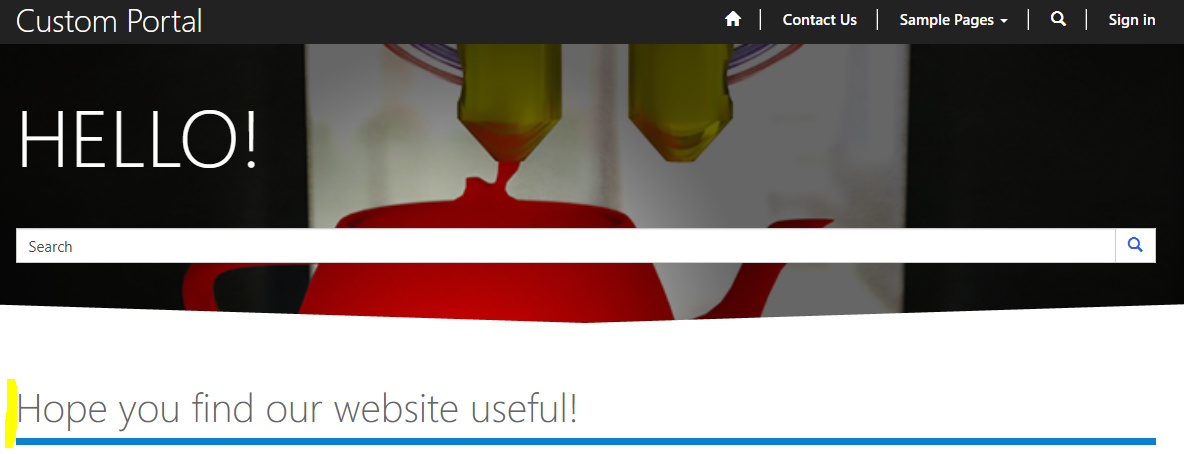
On clicking Browse Website on the top right, we see our changes are reflected:
![]()
New changes:
Template
Now let’s change the background image on the page. In the Portal designer we see the home page is using the Home template:
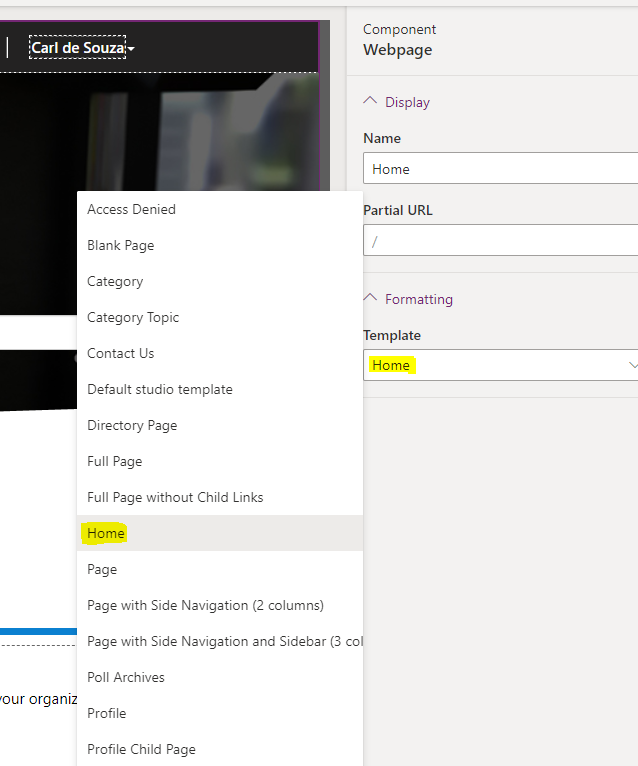
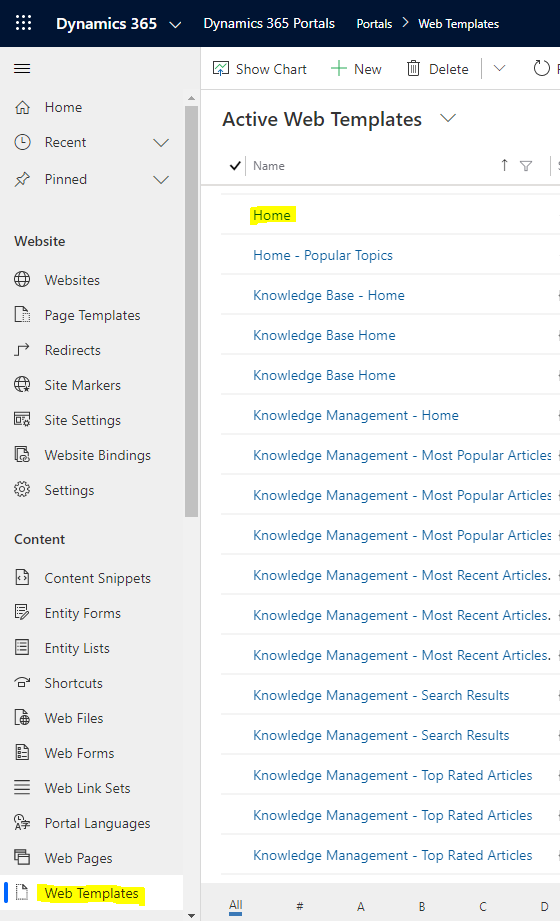
Let’s find this template under Web Templates:
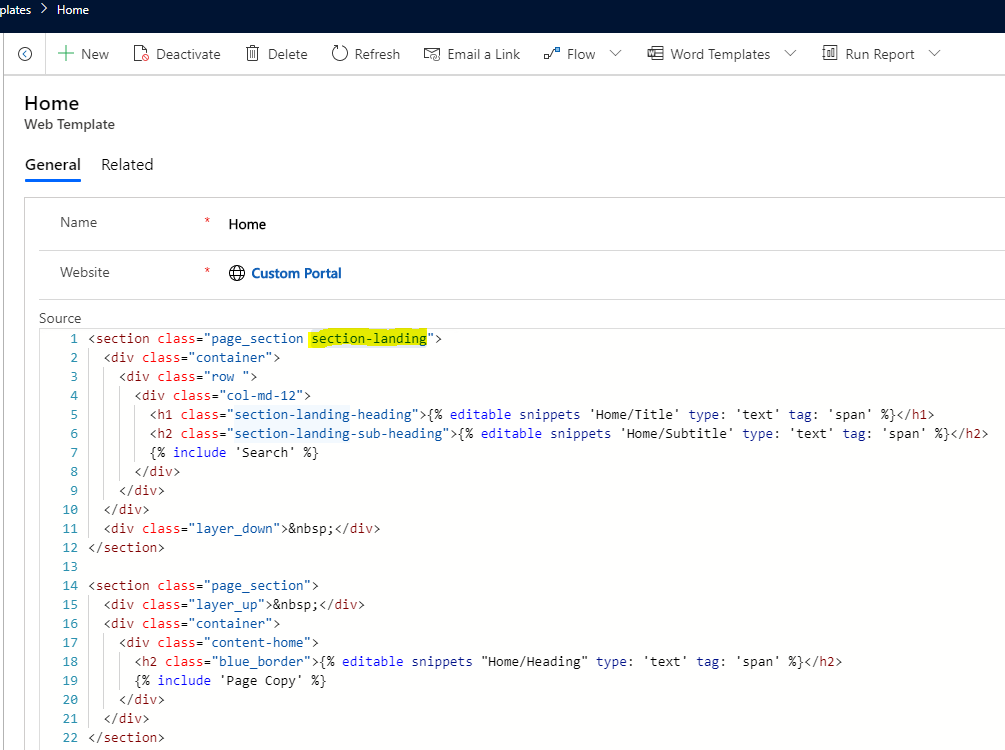
On opening this template, we see the CSS class it is using is section-landing:
Let’s open the theme.css file:
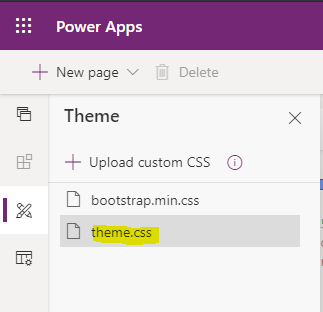
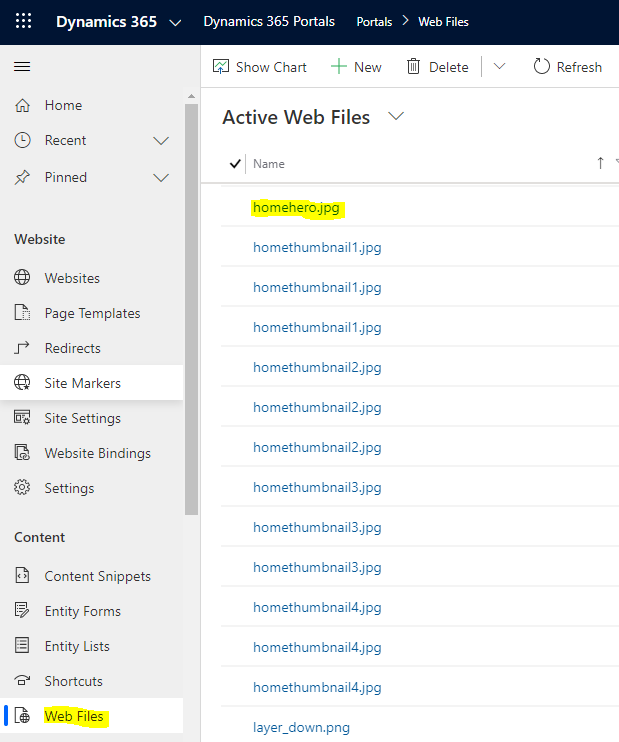
We see for this class, the background is homehero.jpg:

This file can be seen under Active Web Files:
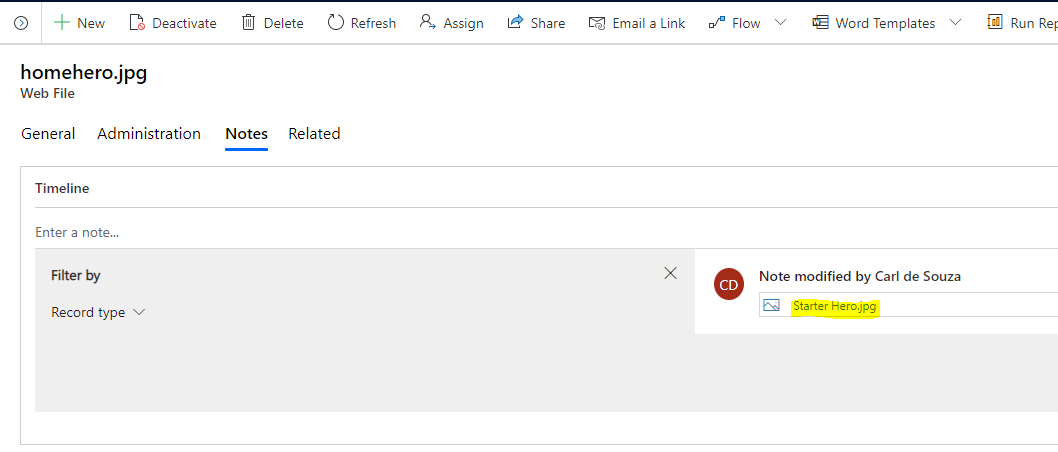
With the image uploaded under Notes:
Let’s create a new web file called carldesouza.jpg, and we will upload a new image under the Notes tab:

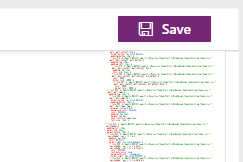
Now let’s change the CSS so it uses the new image:

Click Save:
And Browse Website:
![]()
We see the new background has been uploaded:
Contact Us
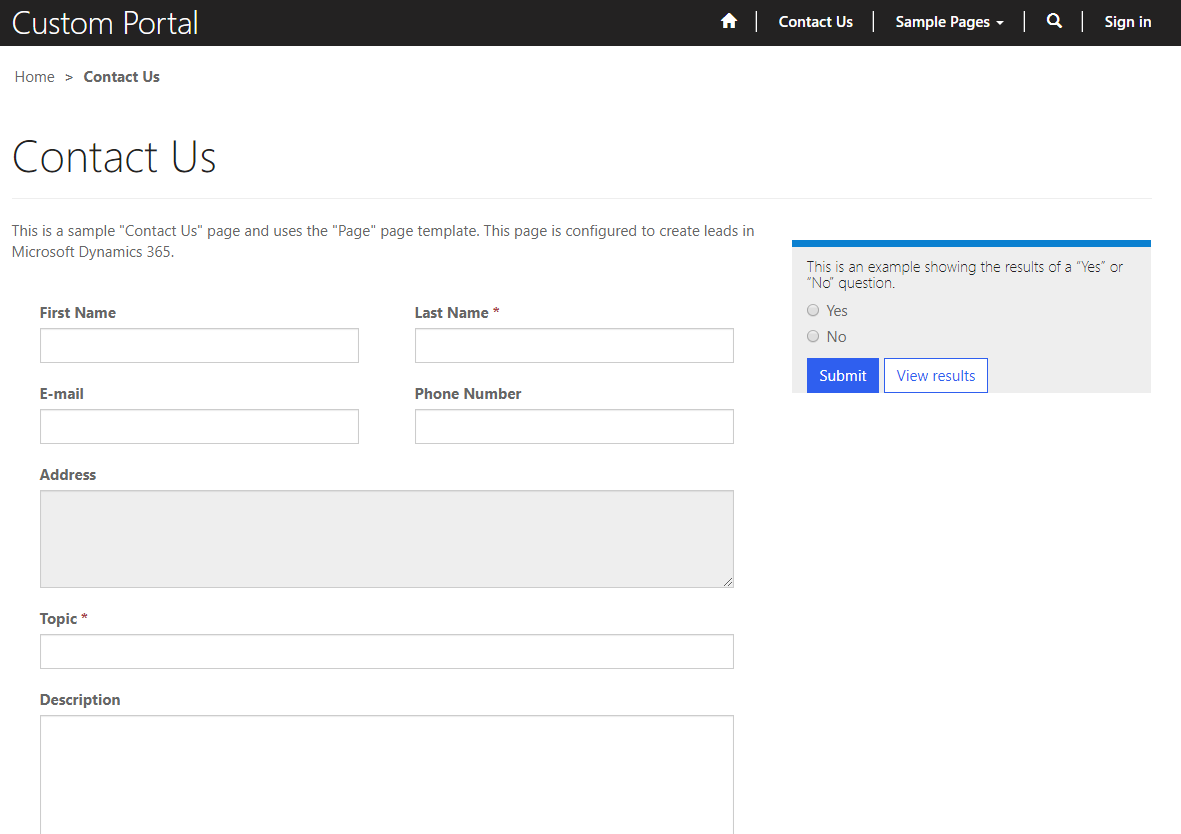
The Contact Us page looks like below, giving the user the ability to enter their information and a topic and description to submit.
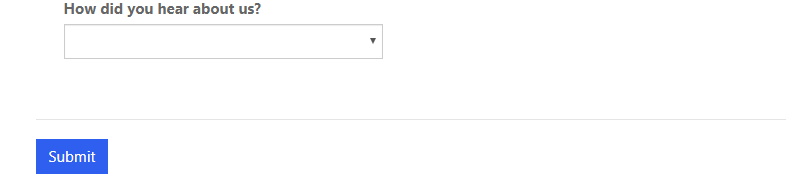
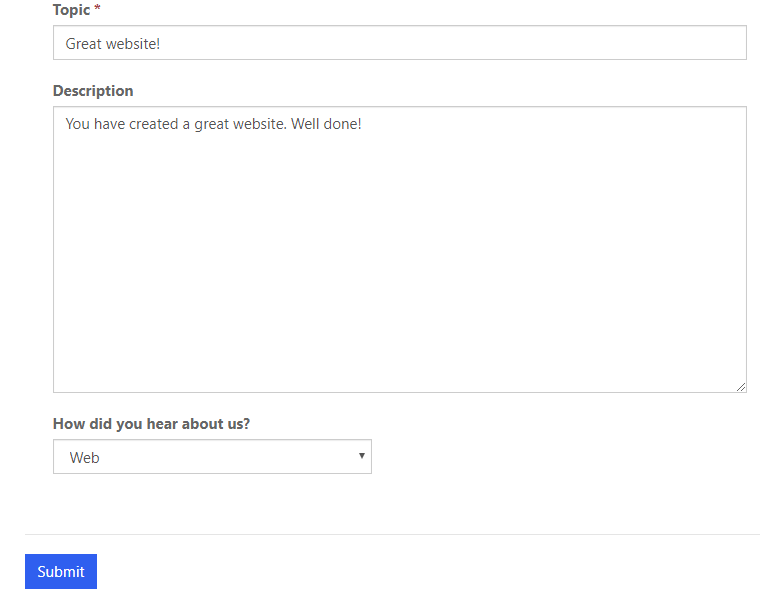
Let’s create and submit a message:
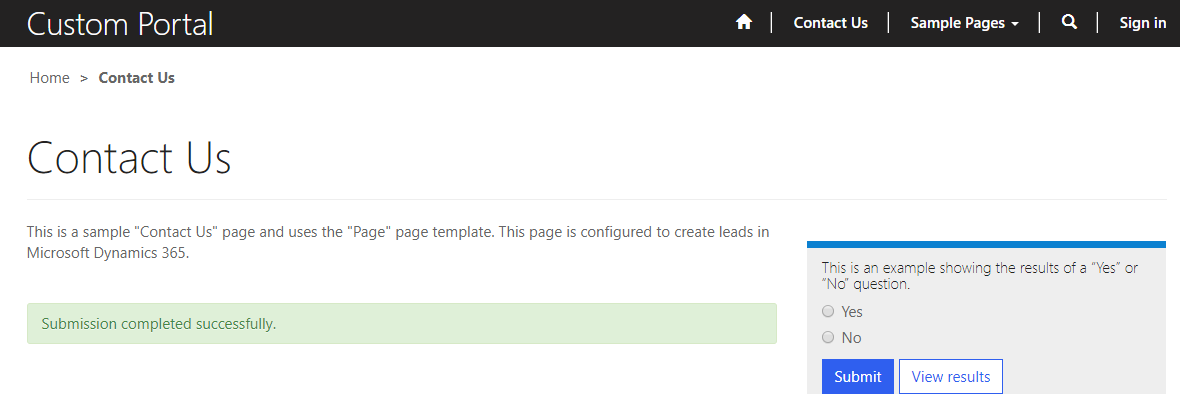
On submitting, we are taken to the page below:
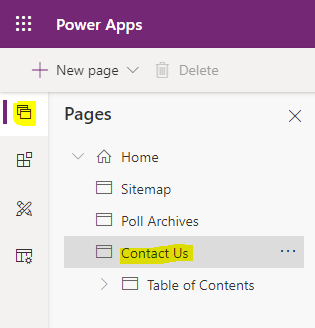
Let’s find out what happens behind the scenes when we click Submit. In the Power Apps Portal Designer, use the navigation to find the Contact Us page:
We see when we select the form on the page, on the right we are creating a Lead in Dynamics 365:

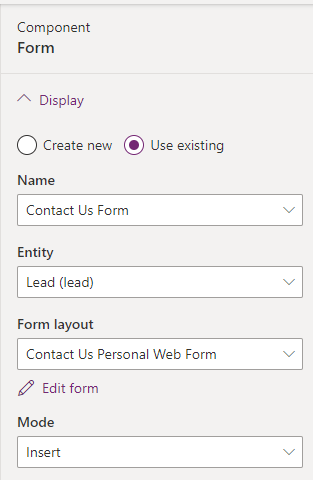
We also see various other options for our form, including:
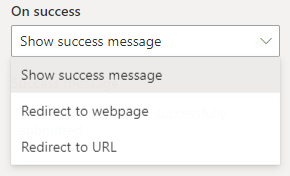
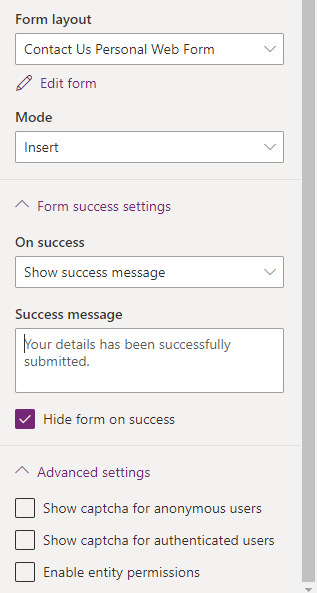
- Our success message, which can also redirect to webpage or redirect to URL
- Enabling captcha for anonymous users
- Enabling captcha for authenticated users
- Enable entity permissions
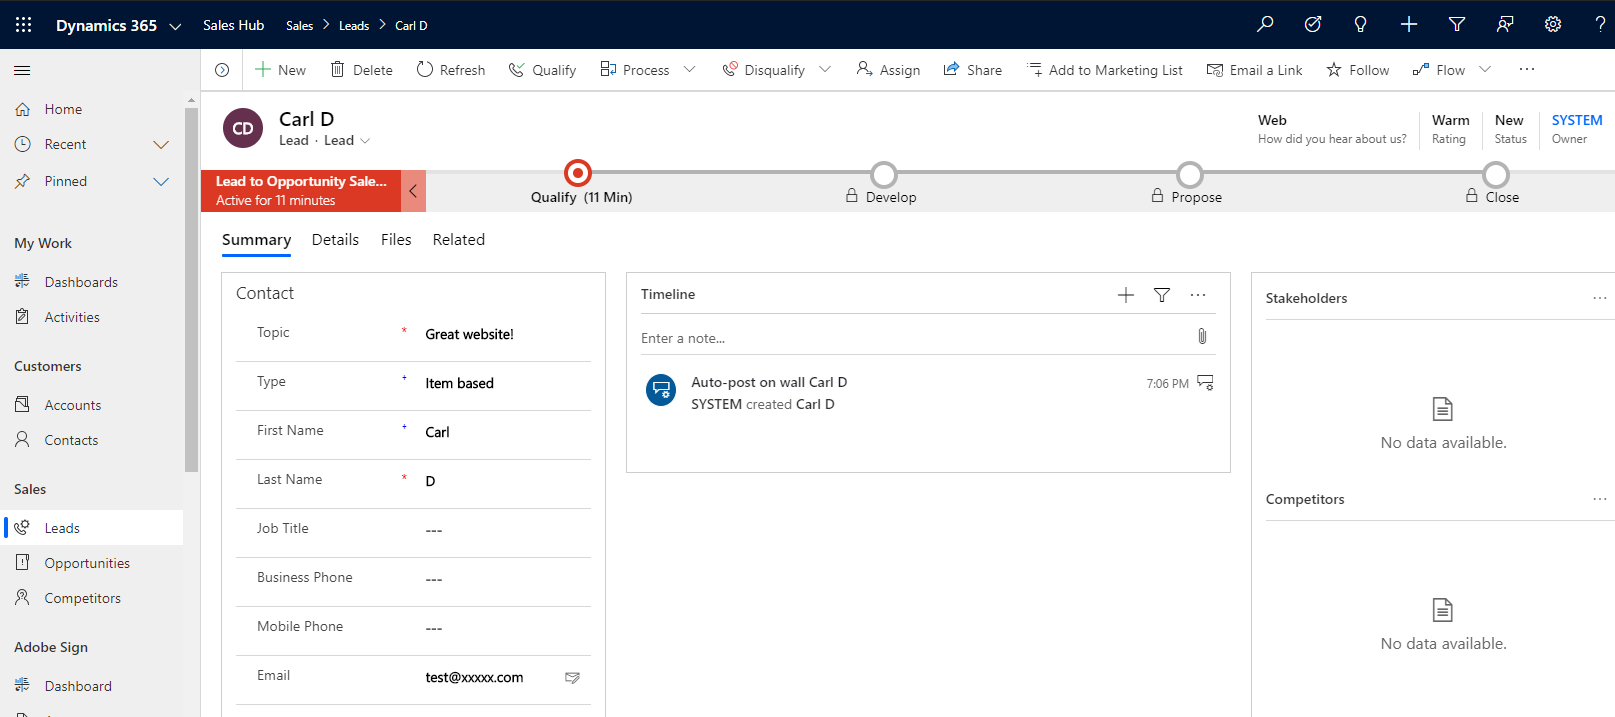
If we jump into the Dynamics 365 Sales Hub, we can see a lead has been created as a result of our submitting of the contact us form on the website. This is great as it shows how tight the integration is between your portal and Dynamics 365:
Navigation
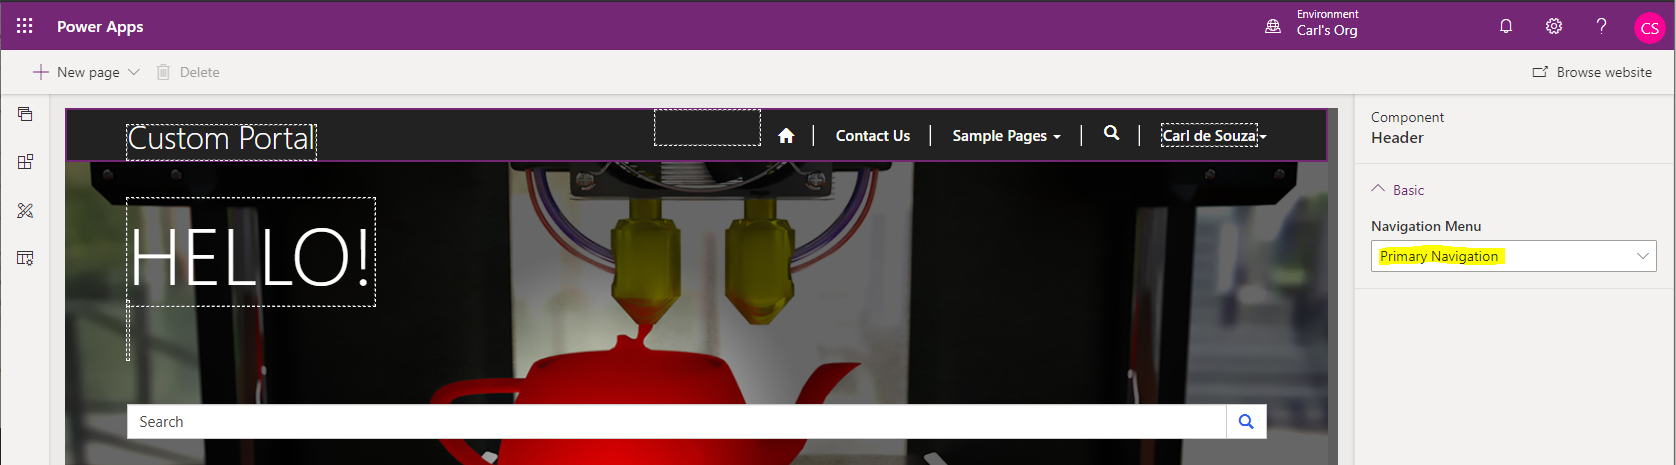
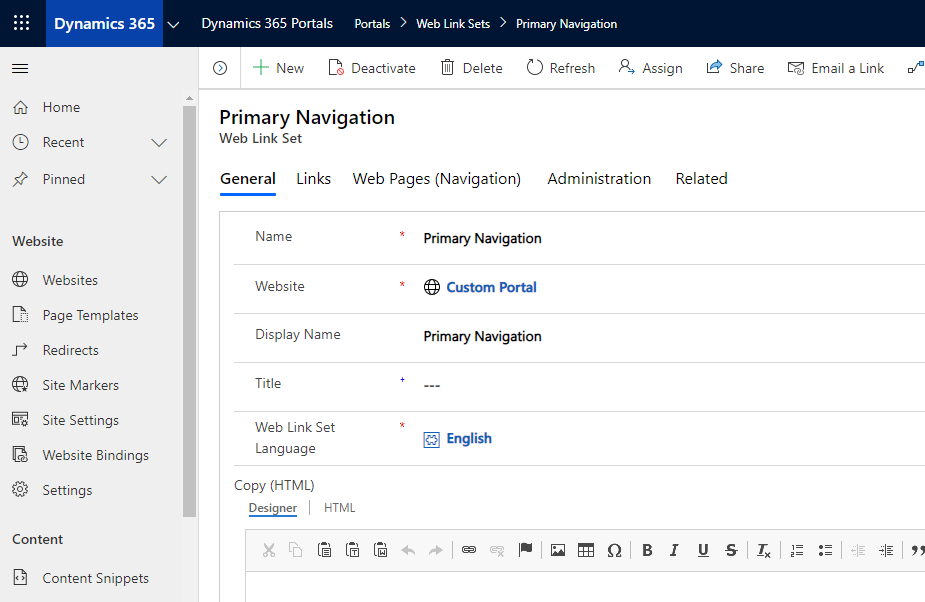
The portal has navigation in the top right, which is using the “Primary Navigation”:
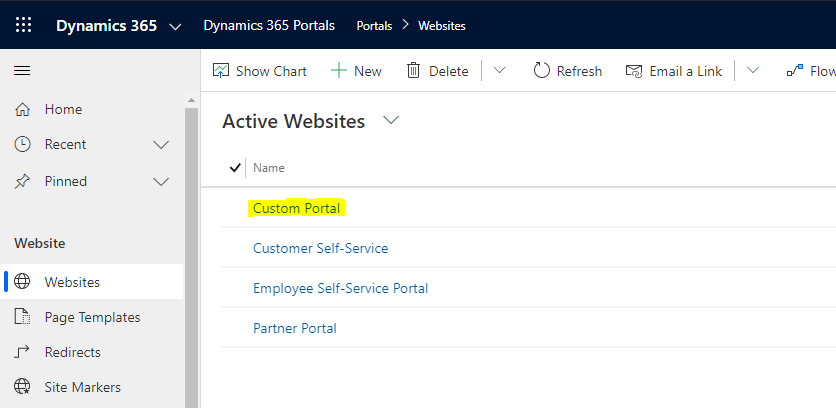
Let’s go to where this is configured. Go to Websites, then Custom Portal:
Select Web Link Sets:
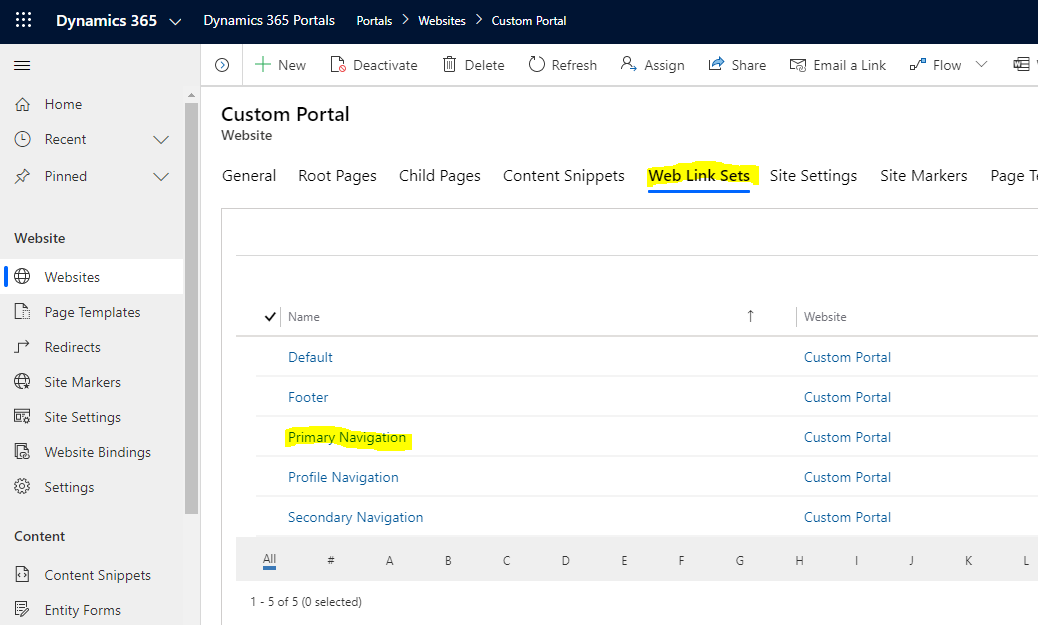
We see below:
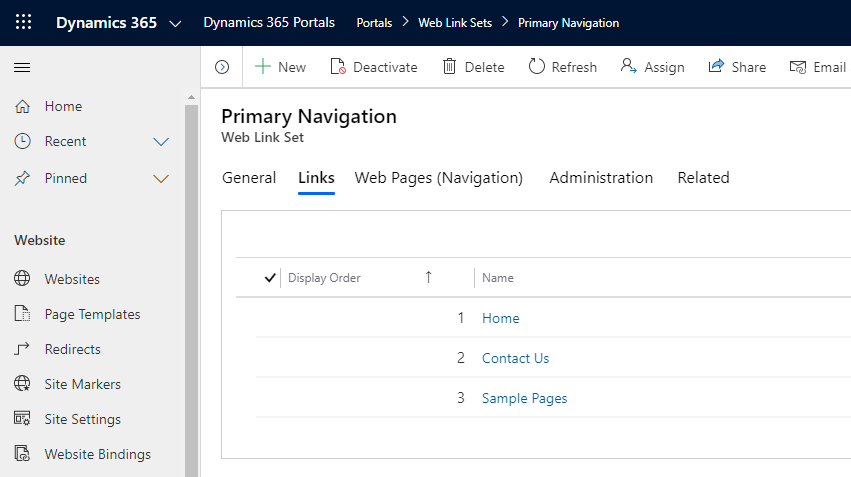
Click Links. We see 3 links:
- Home
- Contact Us
- Sample Pages
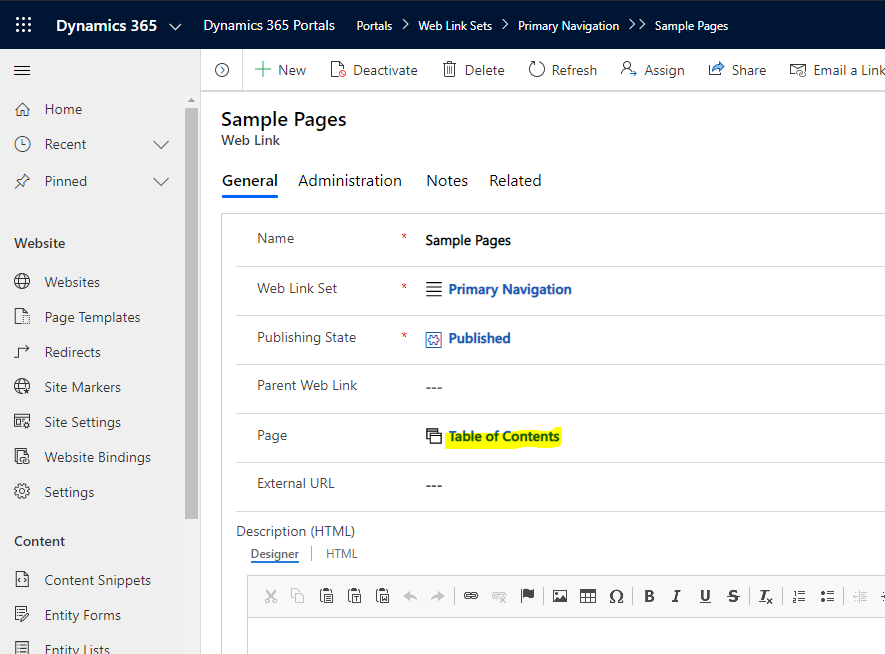
Sample Pages points to the Table of Contents page:
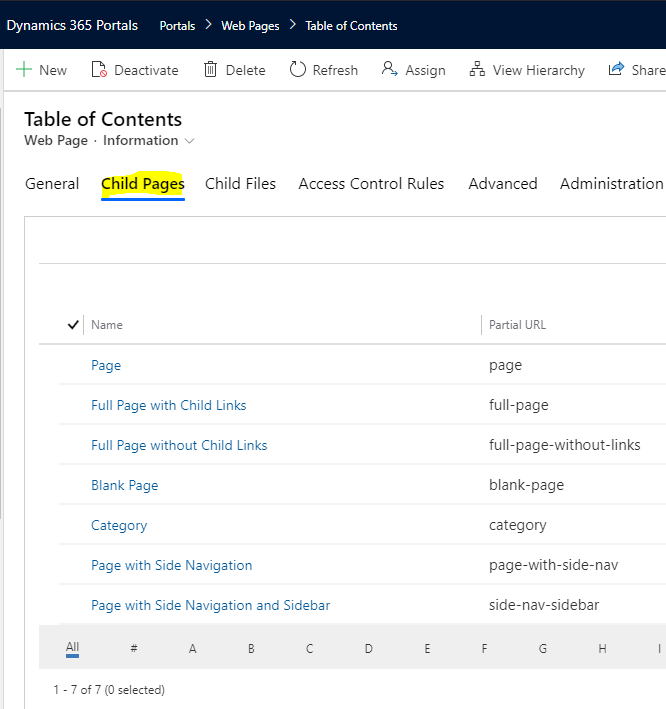
Which has several child pages, which are displayed in the drop-down list when selecting the Sample Pages link:
Let’s create a new link called My New Link:
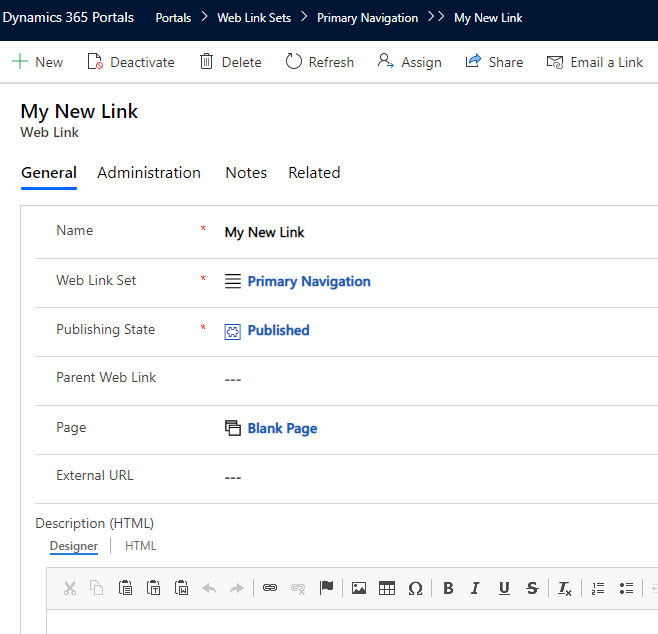
We see the link is now in our navigation.
![]()
Sign In
This is similar to what we have seen in the Community Portal Template and the Customer Self-Service Template.

So that’s a brief introduction to some of the functionality in the blank portal in Power Apps Portals. In future posts, we will look at many more features.
I AM SPENDING MORE TIME THESE DAYS CREATING YOUTUBE VIDEOS TO HELP PEOPLE LEARN THE MICROSOFT POWER PLATFORM.
IF YOU WOULD LIKE TO SEE HOW I BUILD APPS, OR FIND SOMETHING USEFUL READING MY BLOG, I WOULD REALLY APPRECIATE YOU SUBSCRIBING TO MY YOUTUBE CHANNEL.
THANK YOU, AND LET'S KEEP LEARNING TOGETHER.
CARL

I will definitely do it.
Just a request kindly help me to customize my portal when it is required.
how we customize blank page in power portal app.