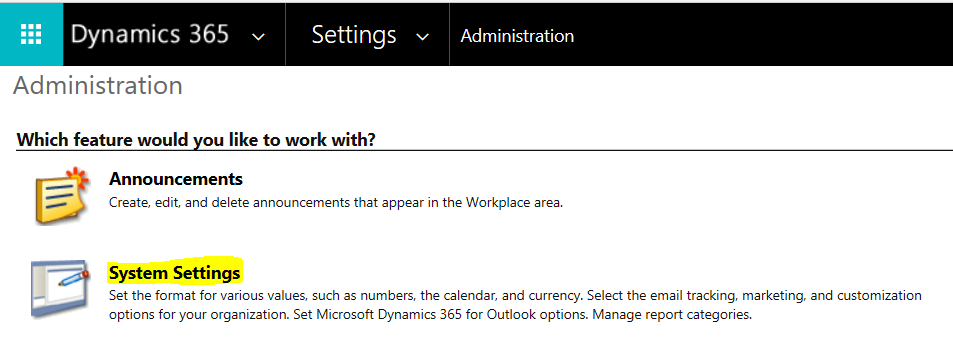
To enable Flow in Dynamics 365, go to Settings->Administration and System Settings:
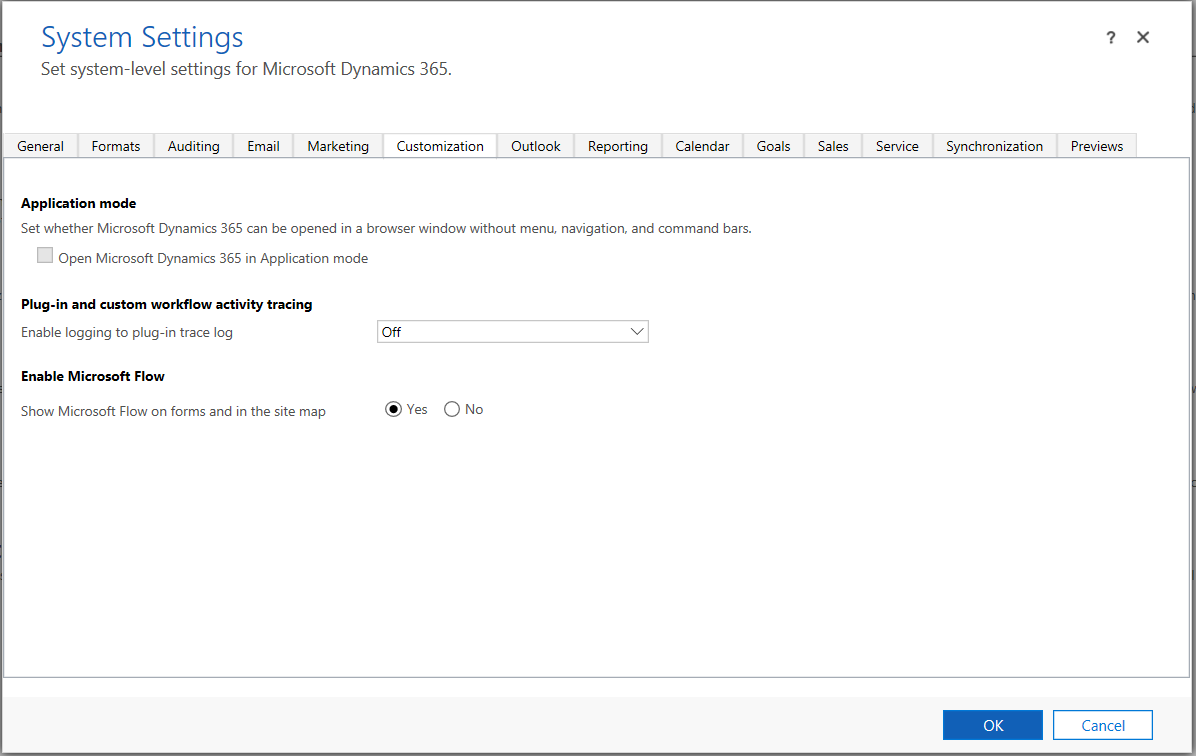
Select Show Microsoft Flow on forms and in the site map:
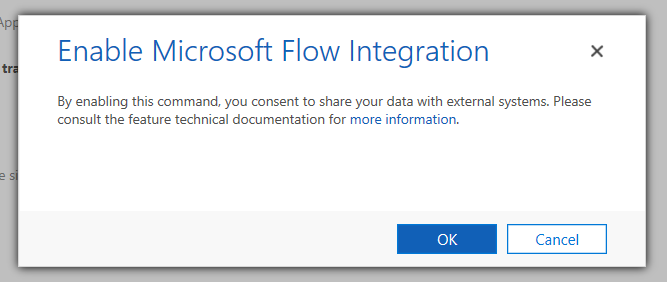
Click to Enable:
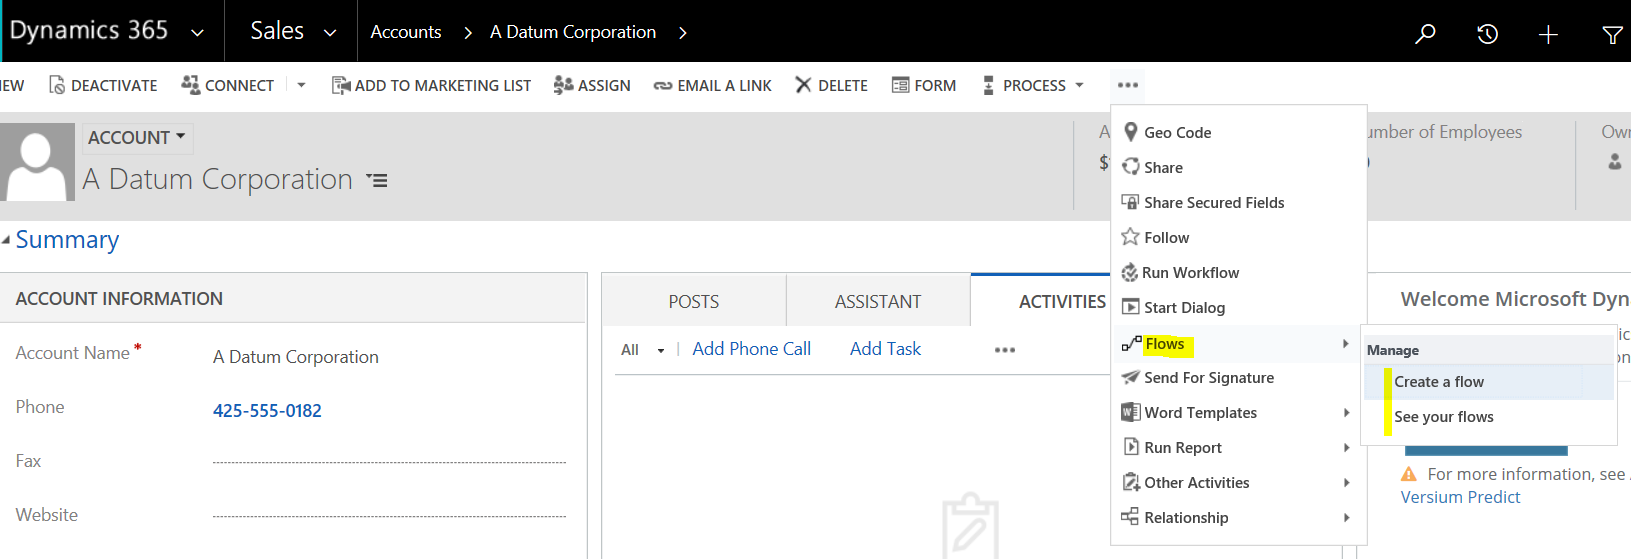
You will then see Flows. Click to Create a flow:
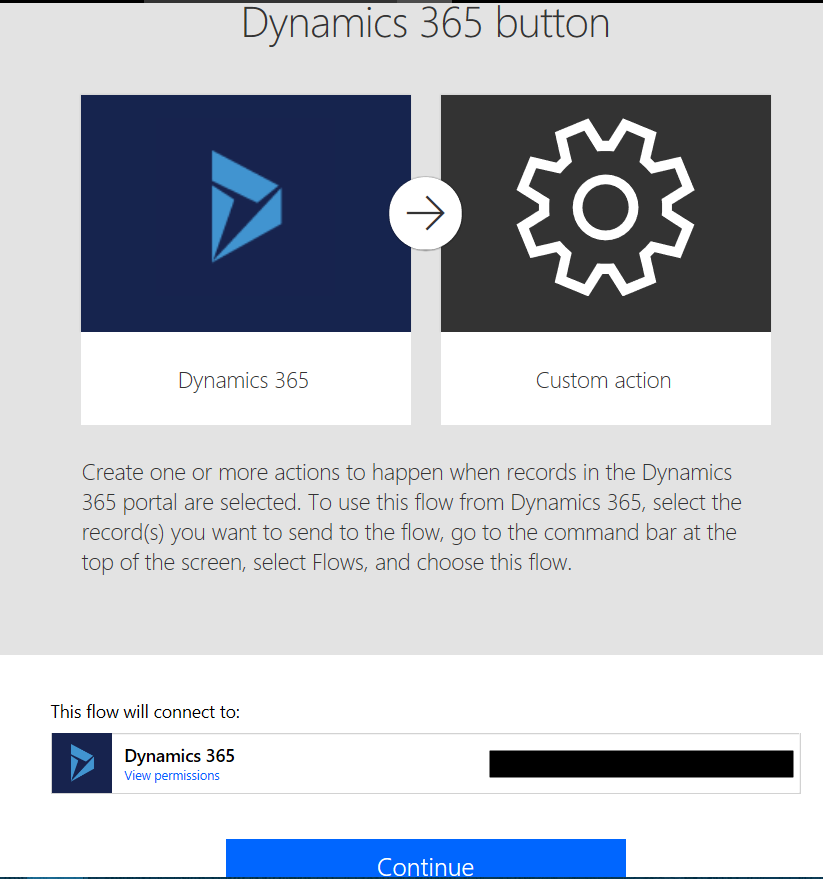
This will take you to below. Click Continue:
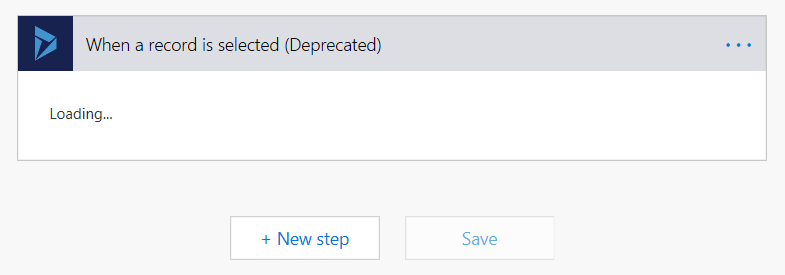
You may see “When a record is select (deprecated)”:
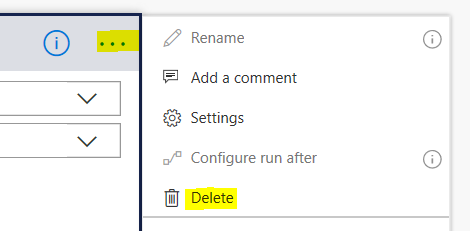
Click Delete:
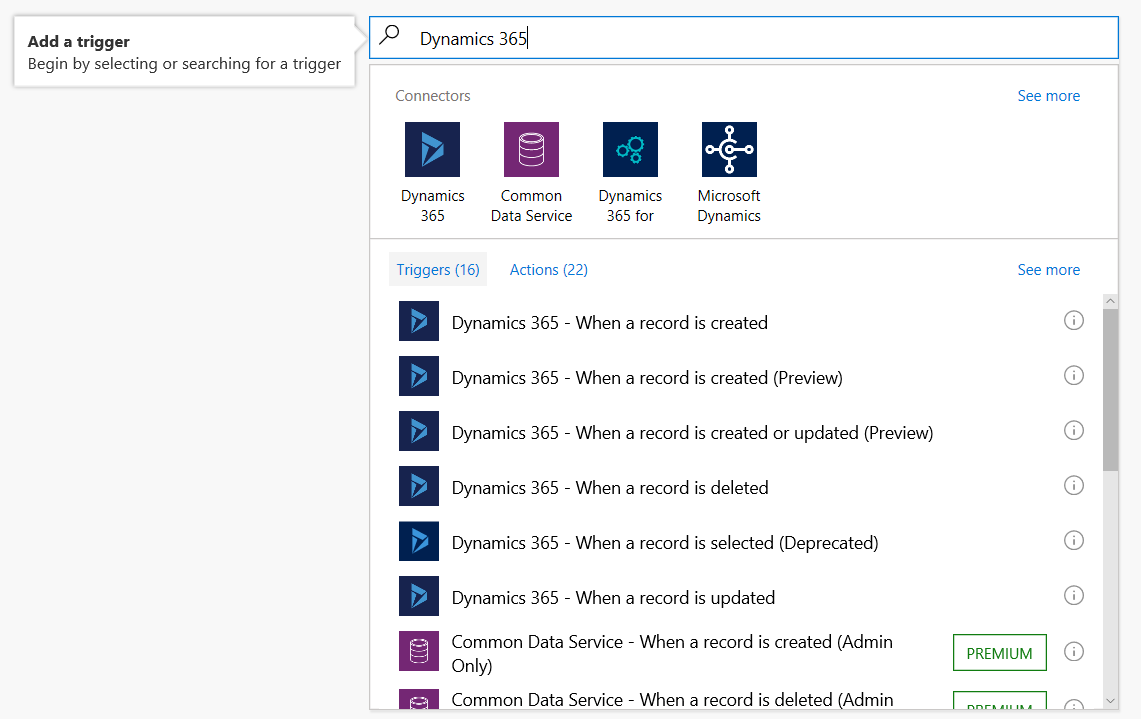
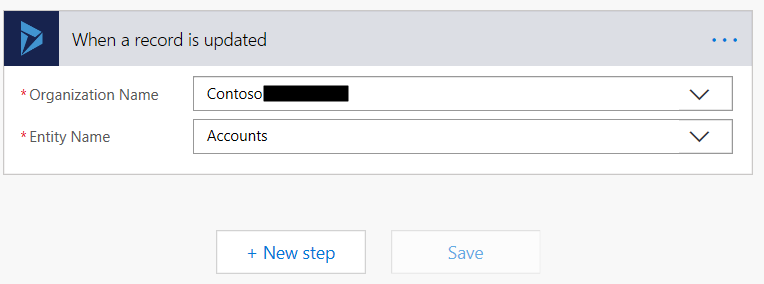
Add a new Trigger, searching for Dynamics 365:
Select your D365 Org:
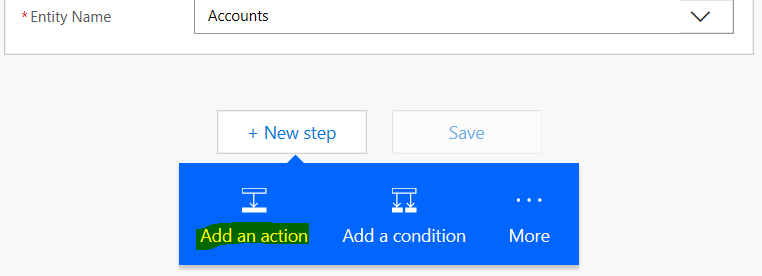
Click to add an action:
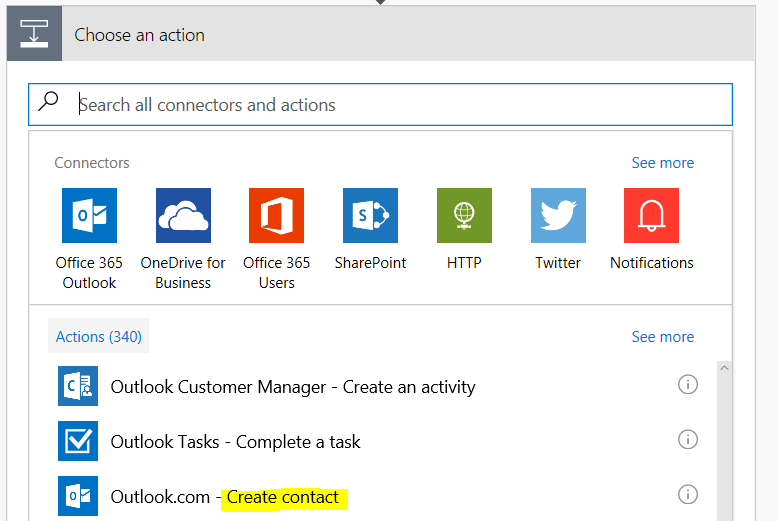
Select Outlook.com – Create contact:
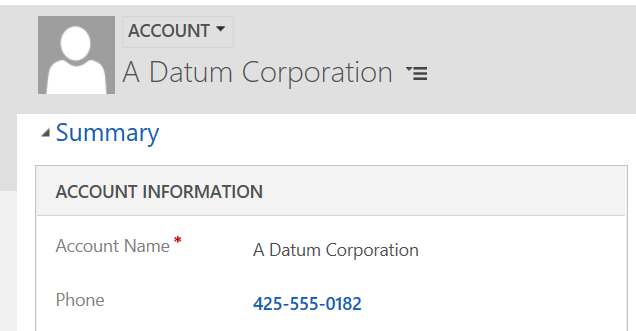
Add fields to set the Given Name and Phone from the D365 record:

Click Save:
![]()
Update an Account:
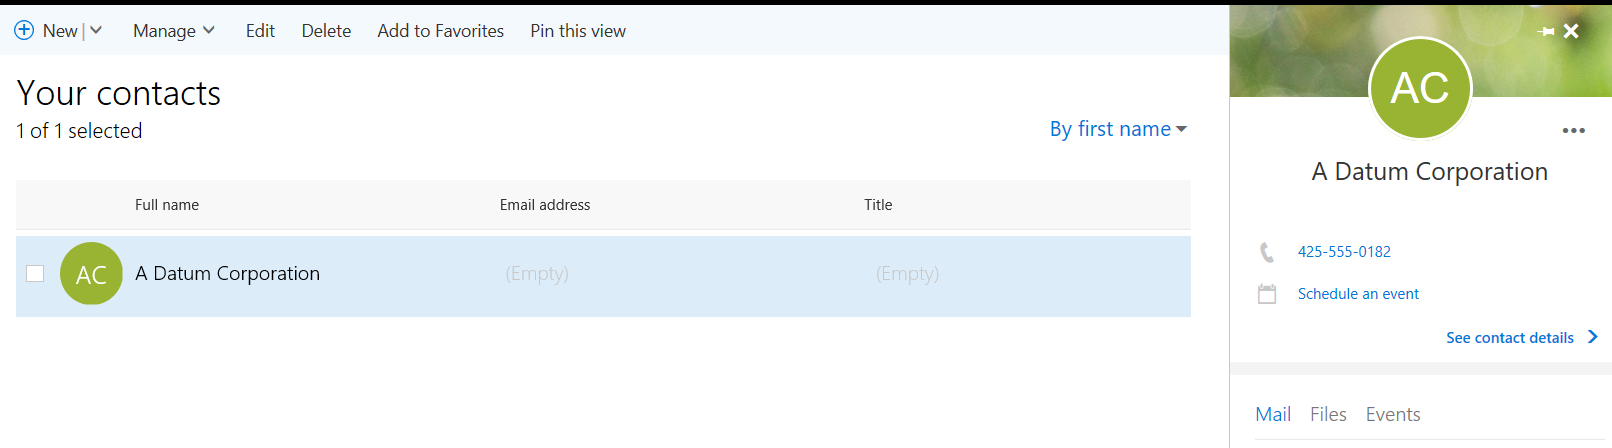
Go to Outlook and select Contacts/People. You will see the account has been created:
I AM SPENDING MORE TIME THESE DAYS CREATING YOUTUBE VIDEOS TO HELP PEOPLE LEARN THE MICROSOFT POWER PLATFORM.
IF YOU WOULD LIKE TO SEE HOW I BUILD APPS, OR FIND SOMETHING USEFUL READING MY BLOG, I WOULD REALLY APPRECIATE YOU SUBSCRIBING TO MY YOUTUBE CHANNEL.
THANK YOU, AND LET'S KEEP LEARNING TOGETHER.
CARL
