Power BI Dataflows are a feature of Power BI that allows organizations to unify data from various sources, prepare the data for consumption, and publish for users to consume in Power BI. Dataflows connect to multiple familiar data sources such as Excel, Dynamics 365, Salesforce and databases, then transform the data within a web browser so it is ready for use in reports and dashboards. The end result is a “dataflow” that can be used and reused as a source of data across multiple reports without being limited to specific Power BI desktop files. The dataflow data refresh can scheduled in the Power BI service, and is stored as Common Data Model entities in Azure Data Lake Storage Gen2, which is designed for big data analytics.

The simplified image above shows how dataflows fit into Power BI:
- Connect to the data sources. Data is stored in Azure Data Lake Storage Gen2
- Prepare and transform the data using Power Query Online
- A dataflow is now created in the Power BI Service
- Open Power BI Desktop and connect to the dataflow
- Build your report
The idea behind dataflows, is instead of a technical data expert going through the complex Extract, Transform and Load (ETL) process, a business analyst can now perform this task (steps 1,2,3) in a much simplified form, thereby achieving “self-service data prep”.
In this post, we will go through creating Dataflows in Power BI. The example will be similar to a previous post on creating a Power BI report with Dynamics 365. You will see once we finish how much more flexible dataflows make this process.
First, sign into Power BI at: http://powerbi.com:
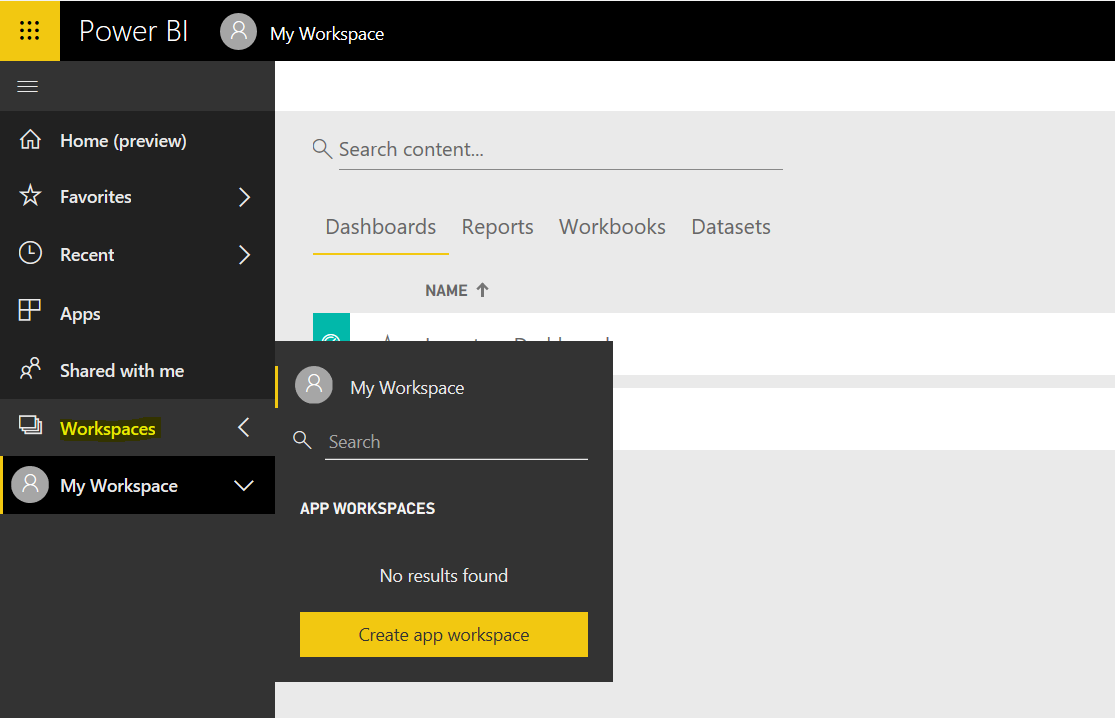
We will create a new app workspace to demonstrate dataflows. Select Workspace and then Create app workspace:
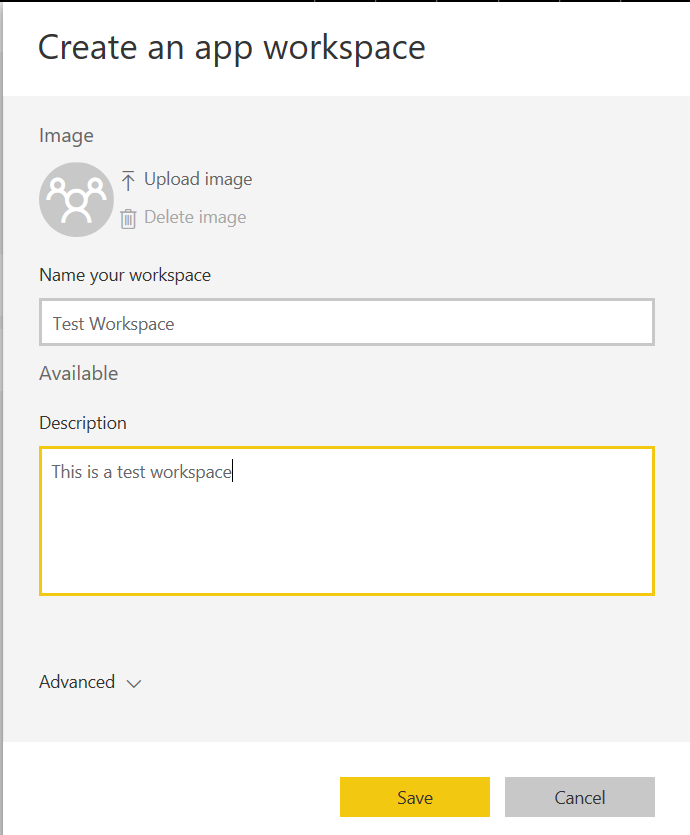
Give the app workspace a name and click Save:
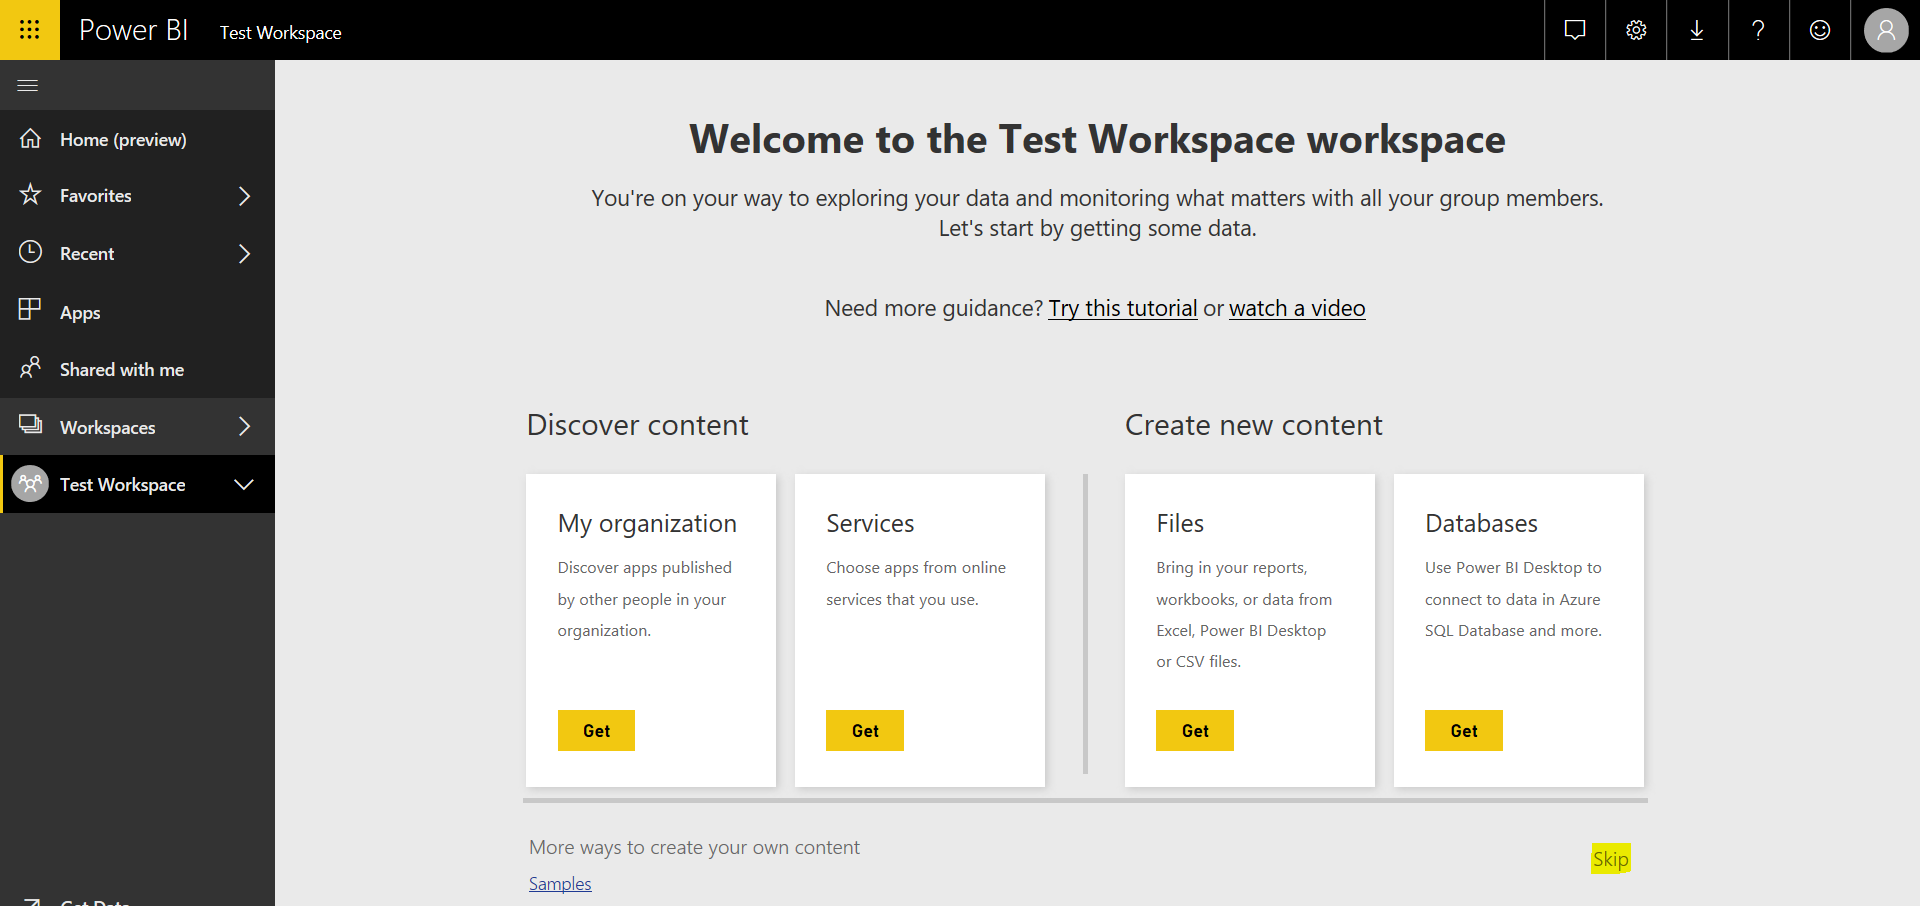
You will then see the screen below. In the bottom right, click Skip to move from the Welcome screen to the content screen:
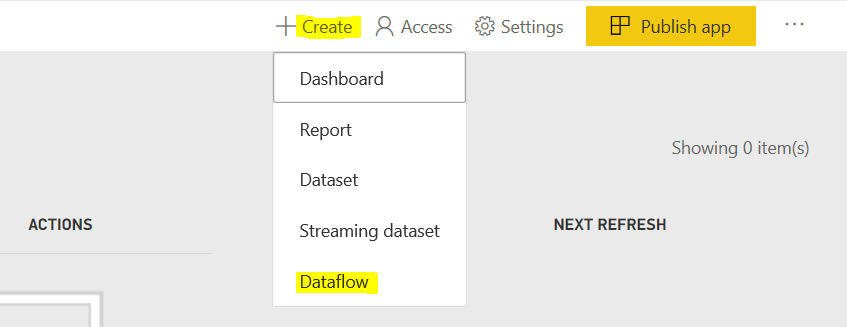
You will see the new Dataflows (Preview) tab. There are no dataflows in our app yet:

Select + Create->Dataflow:
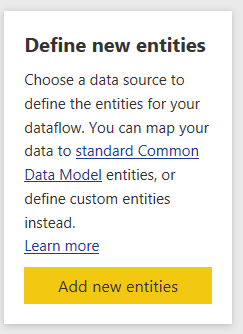
You will now see the screen below showing the different ways to “add entities to start creating your dataflow”:

The first option is to define new entities with a link to the Common Data Model – https://docs.microsoft.com/en-us/common-data-model/:
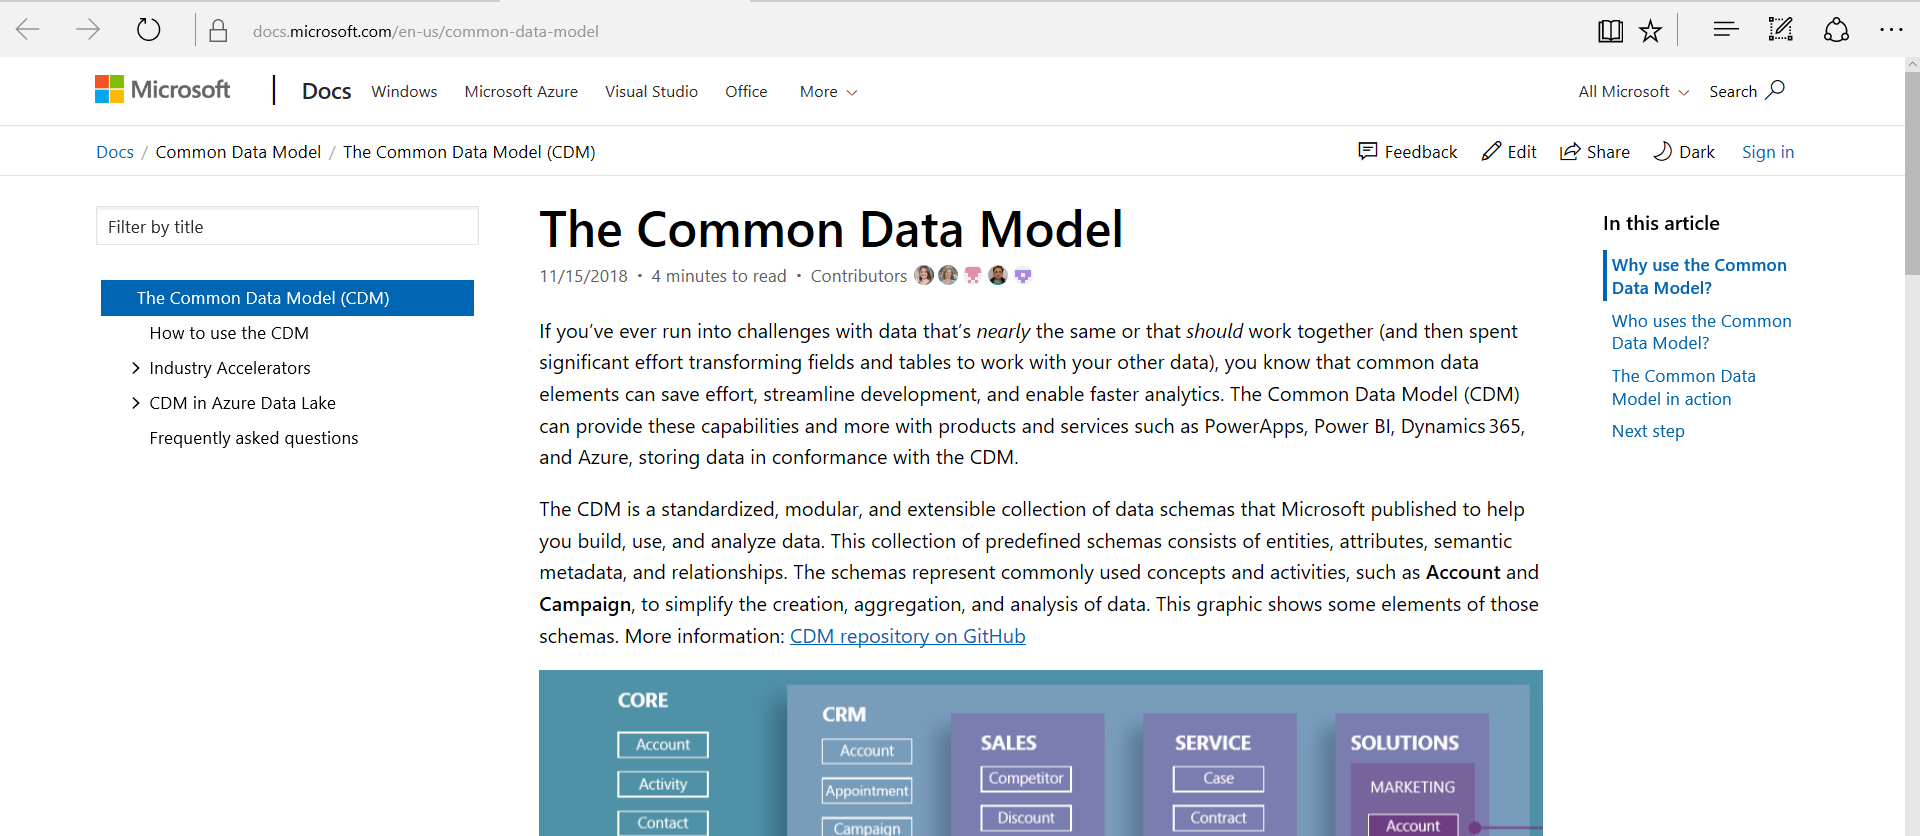
The Common Data Model is a collection of data schemas published by Microsoft with the intent of standardizing schemas of entities such as accounts and contacts, in an extensible and scalable way.
Select Add new entities:
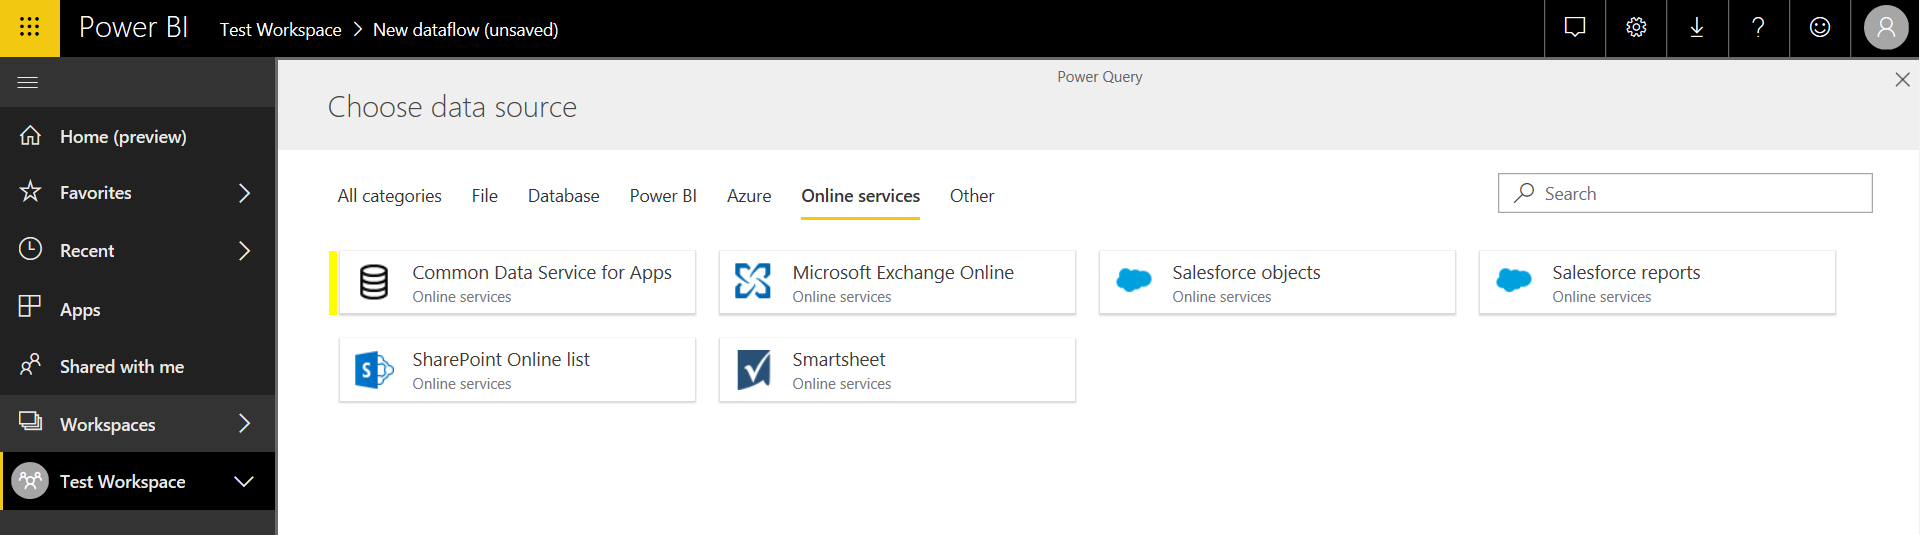
From here, you are prompted to choose a data source:
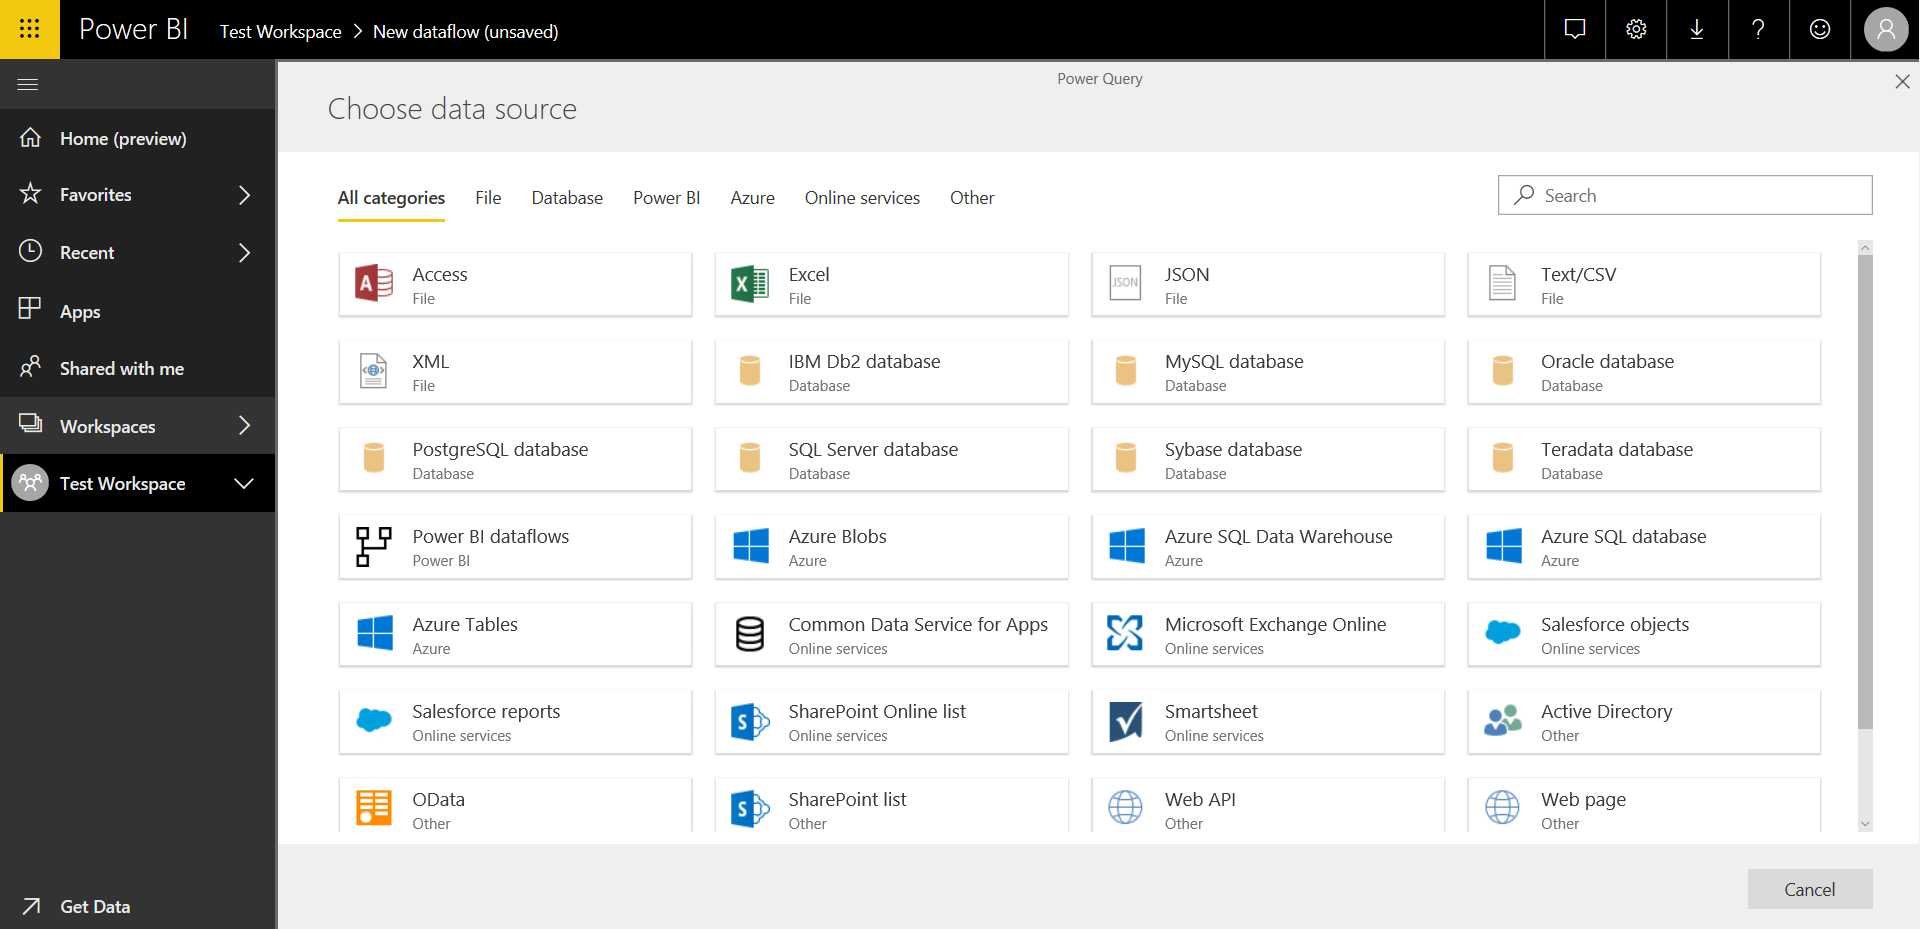
We will choose Common Data Service for Apps:
And connect to a Dynamics 365 instance. Click to Sign In:
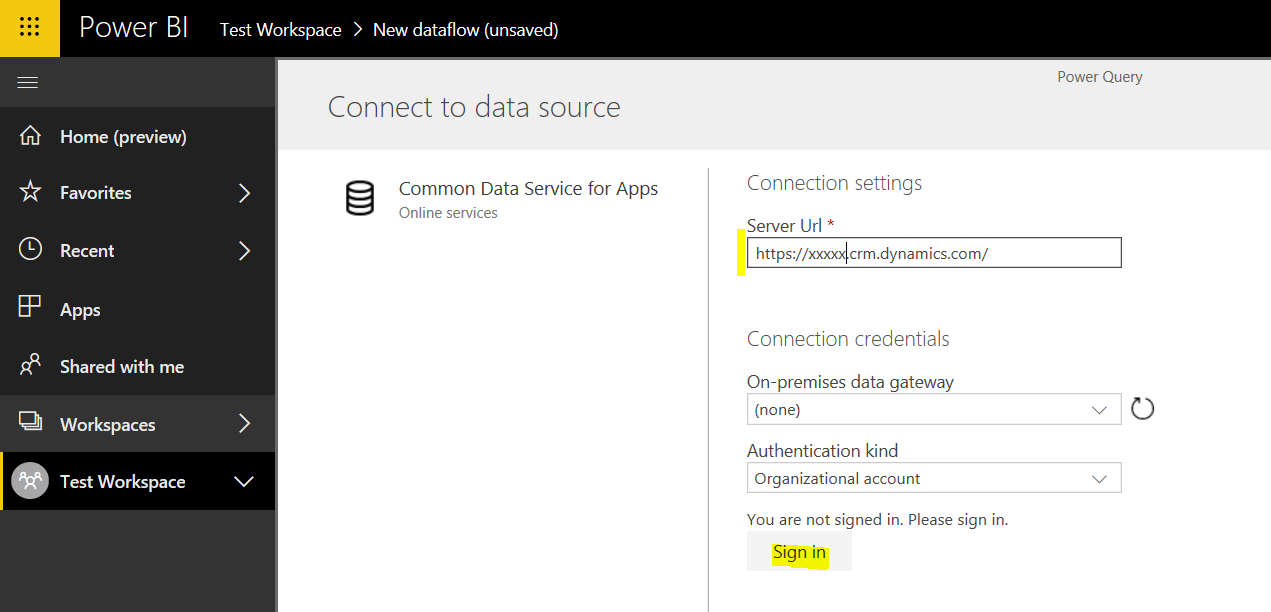
You will then show as signed in. Click Next in the bottom right:

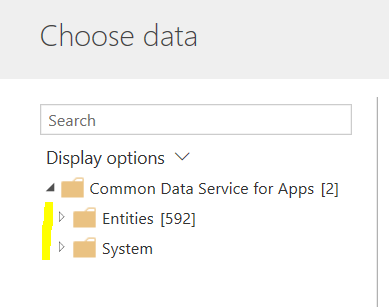
You will see something like below. Click the arrows to expand each of the Entities and System:
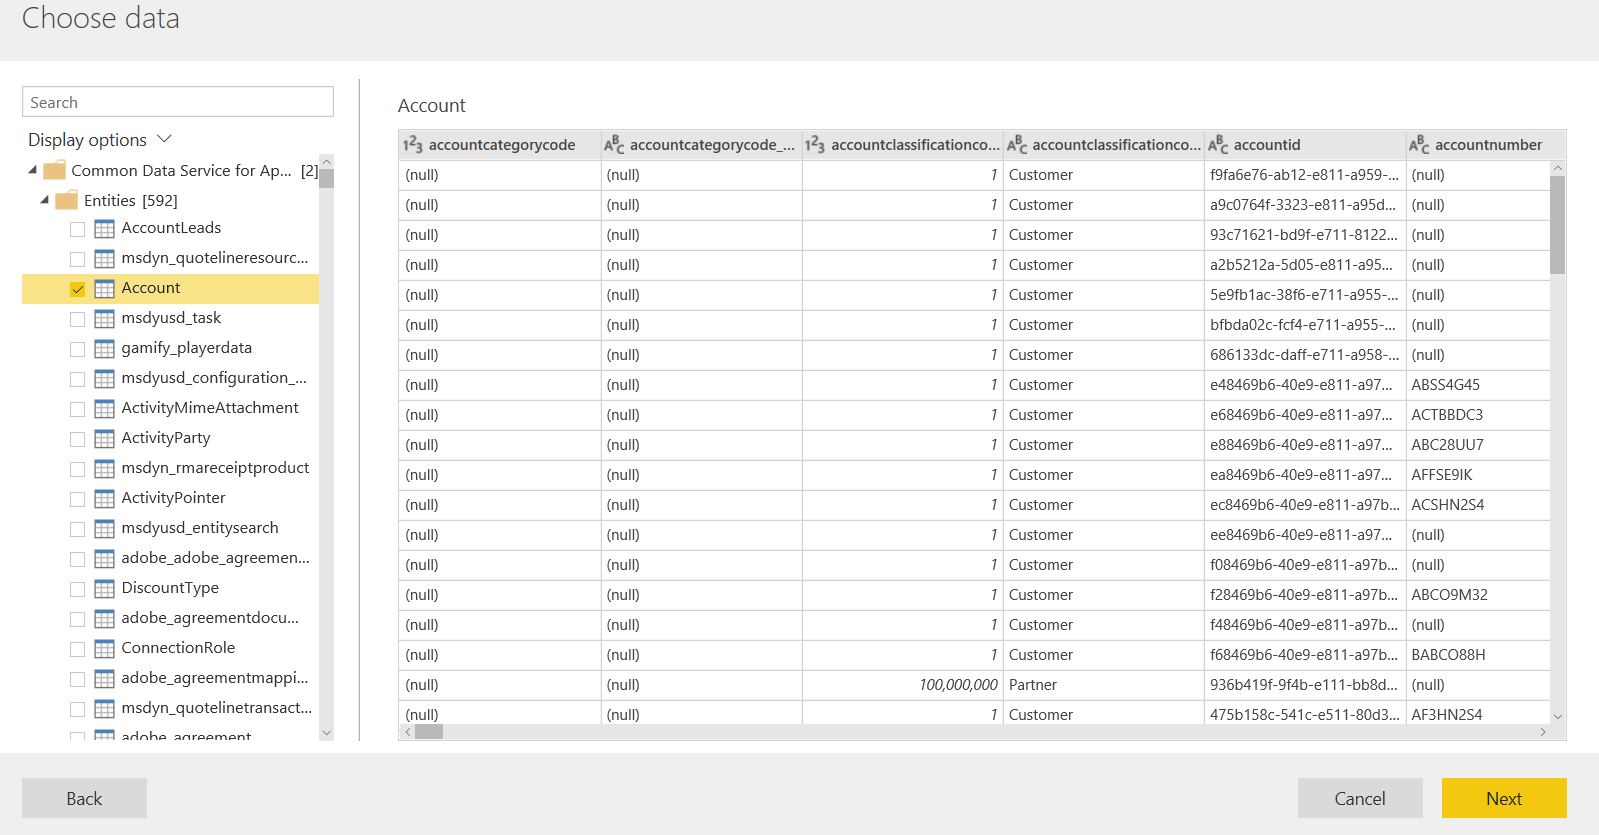
From here you can select entities to be included in the dataflow:
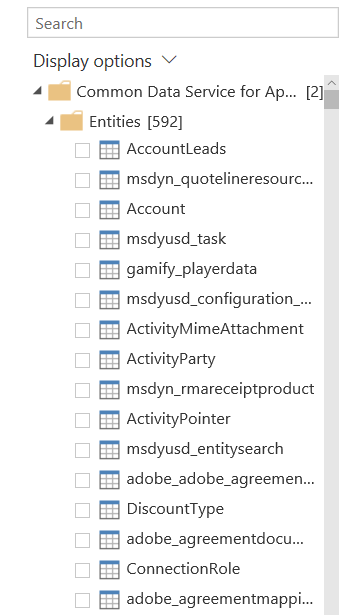
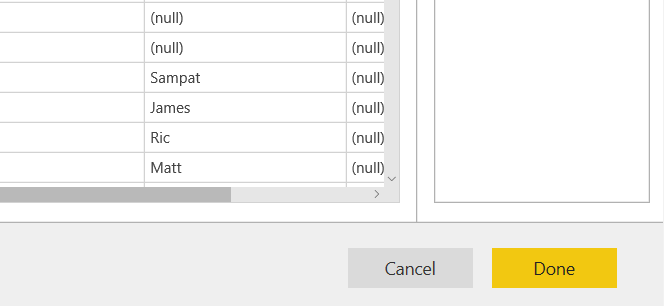
If we select Account, you can see we get a preview of the data:
We can also search to filter the entities. We will also select the Contact entity:
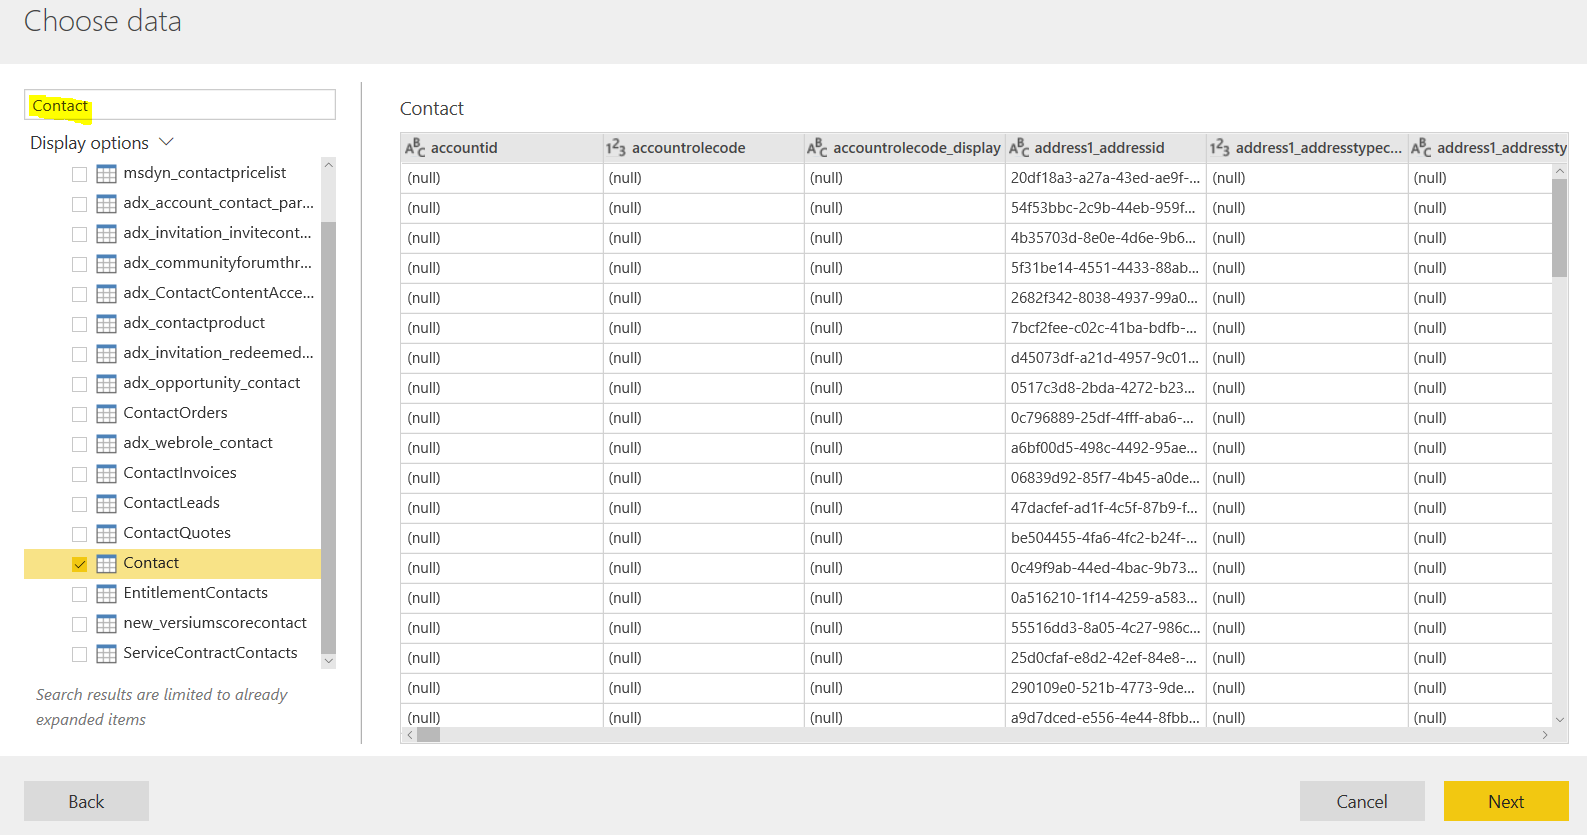
Click Next.
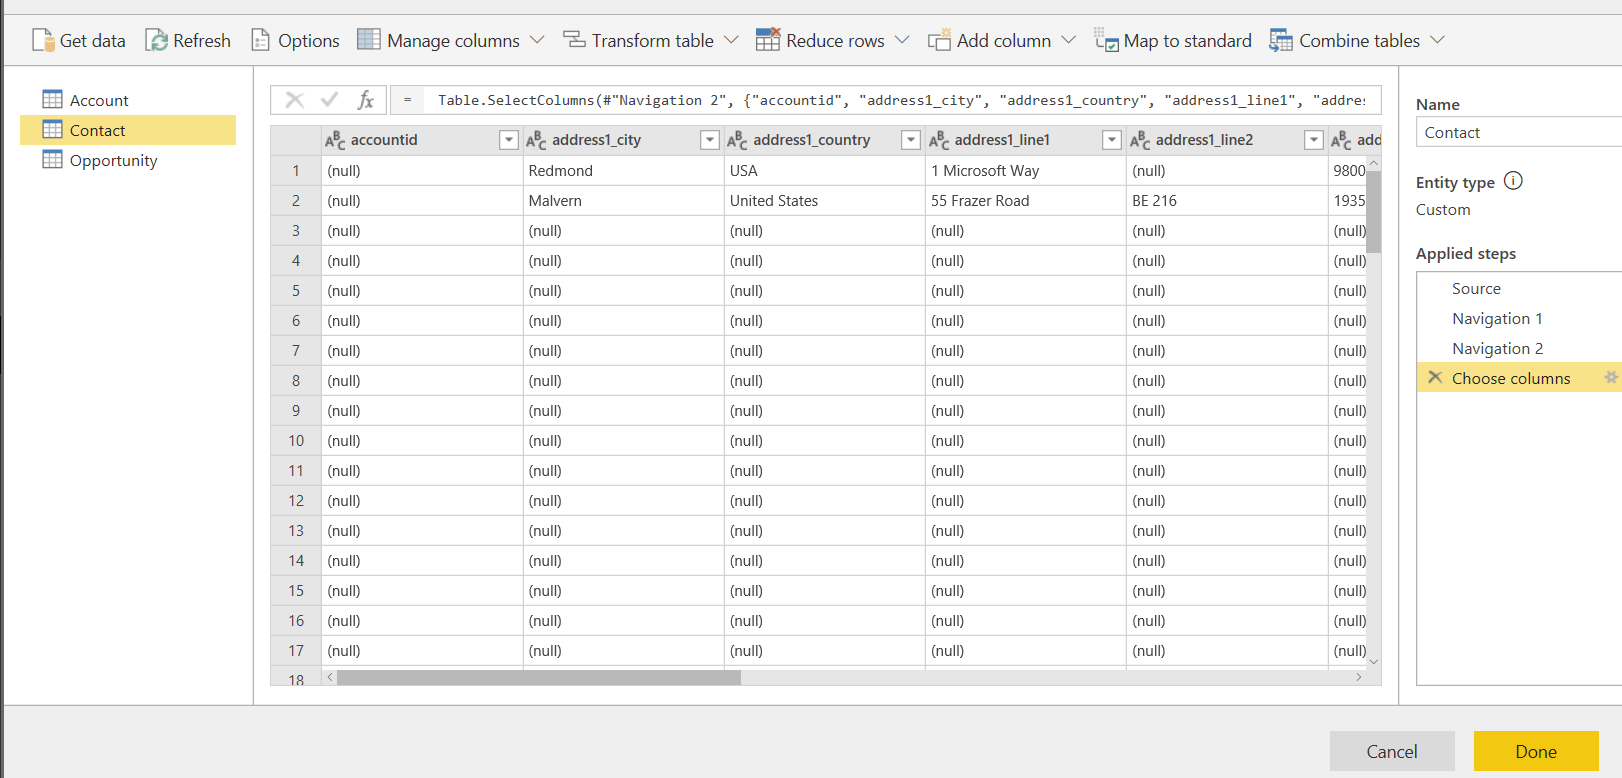
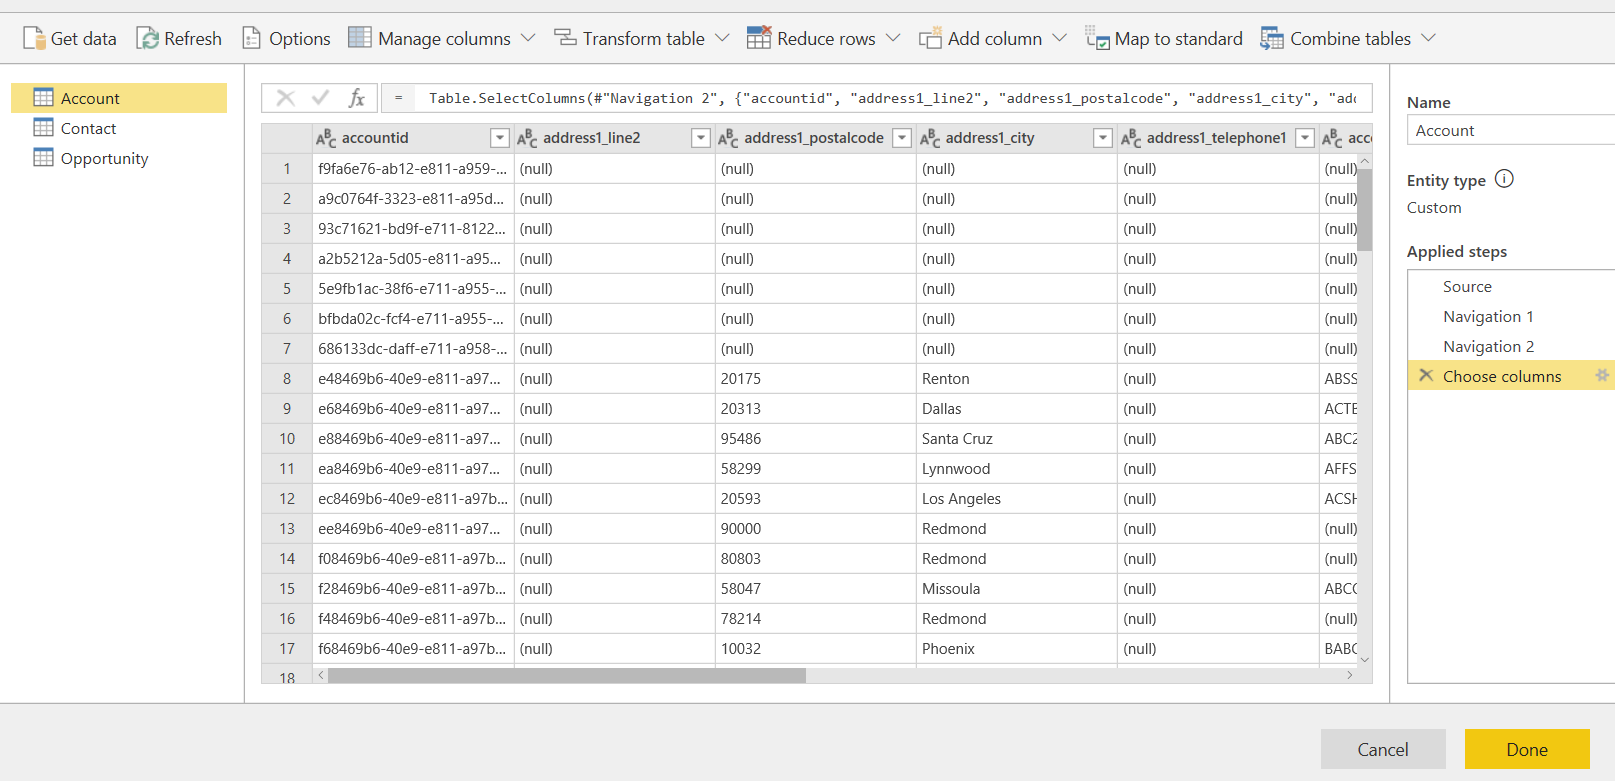
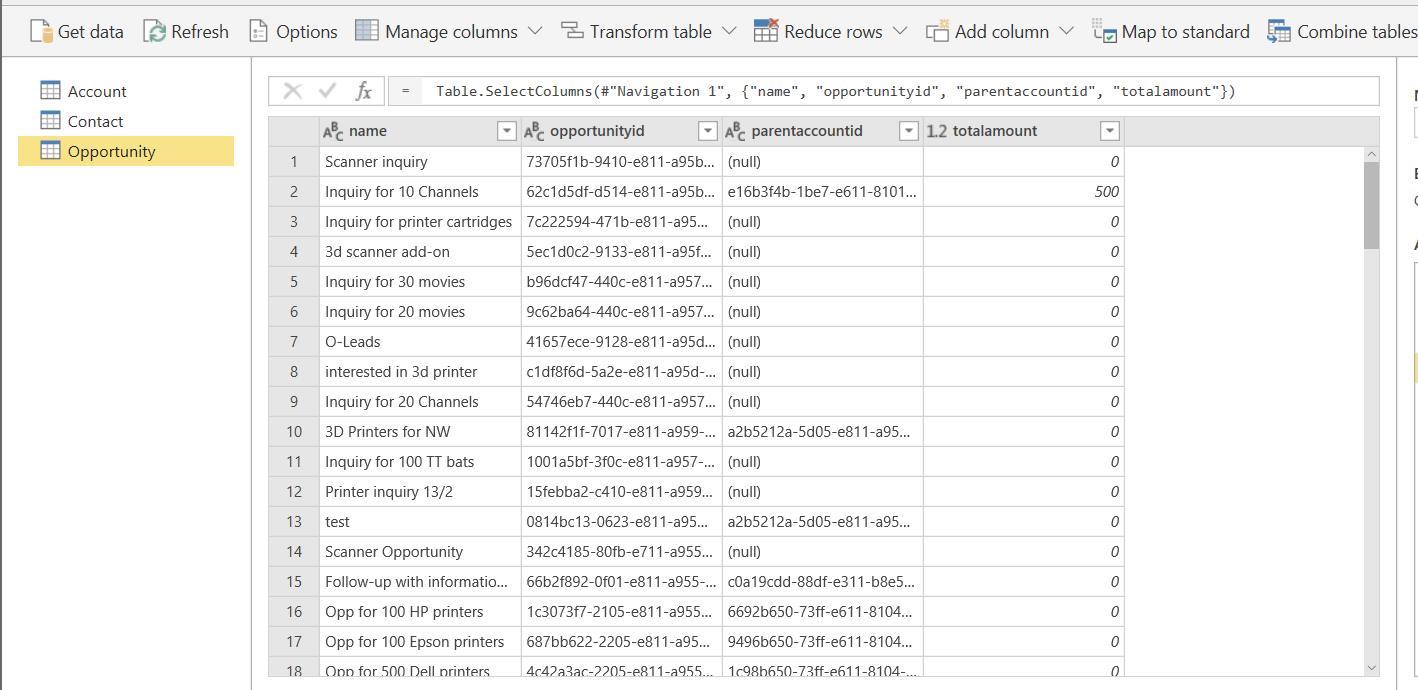
We are now presented with Power Query Online to do our data prep. This is similar to using the Power Query Editor within Power BI Desktop. Look for more functionality to be added over time to Power Query Online:
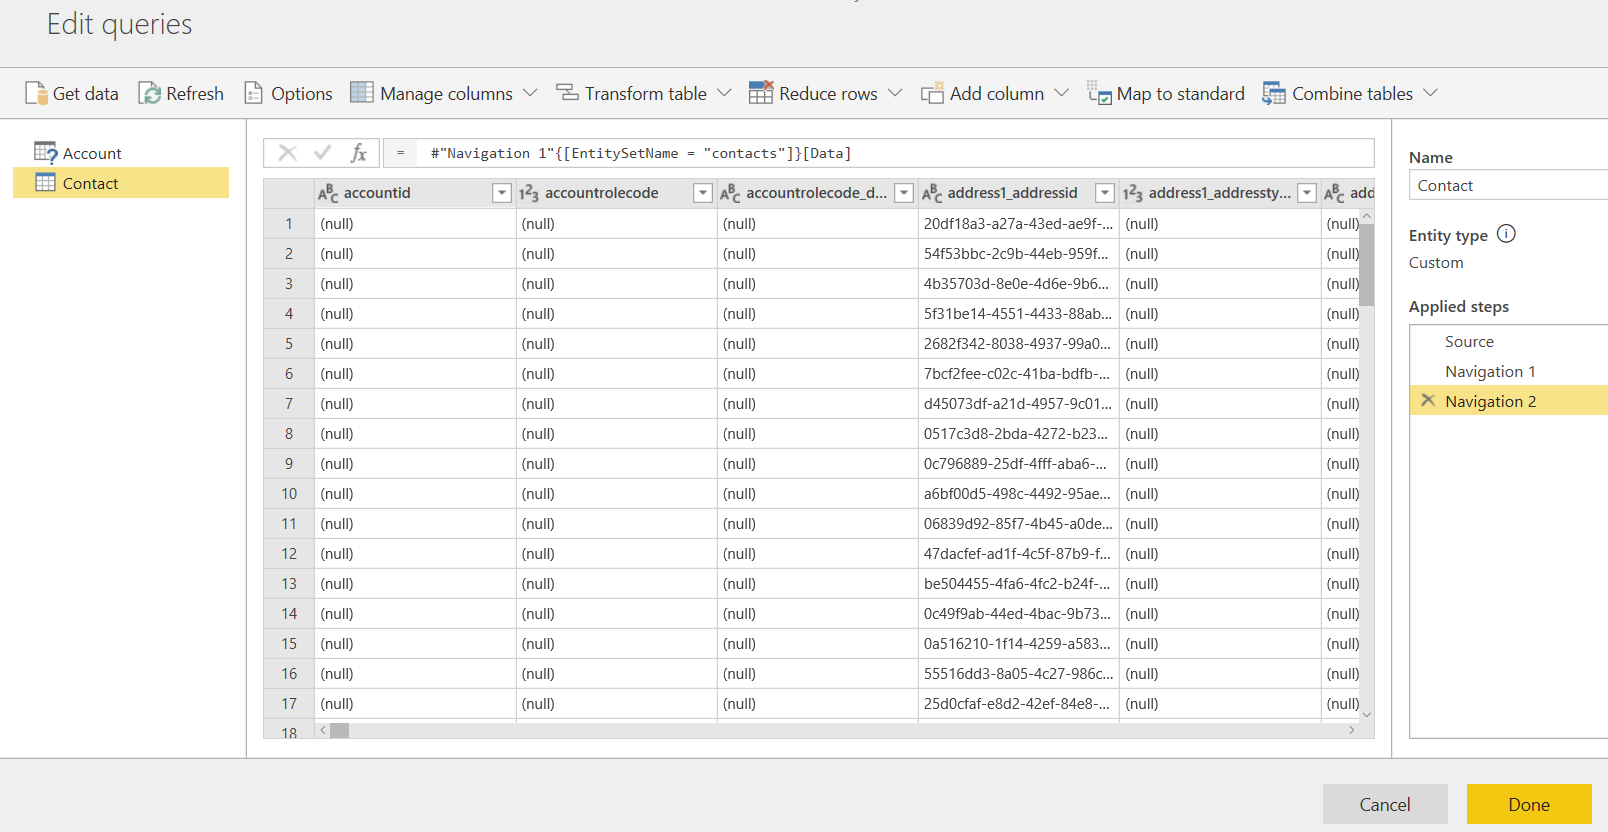
Note the menu options we have:

Get Data gives us the option to add more data sources:

Refresh will refresh the data sources.
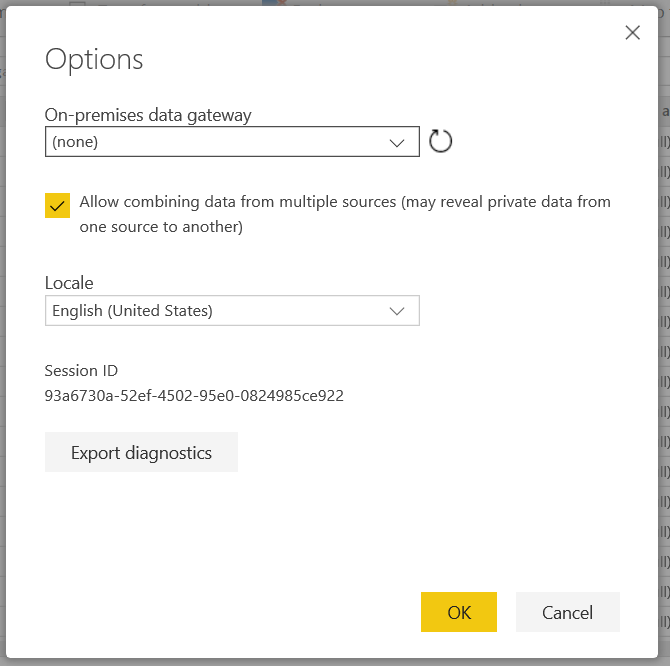
Options give us some options, including the on-premise gateway, locale, Session Id and the ability to Export Diagnostics:
With Manage Columns, we can choose Columns:
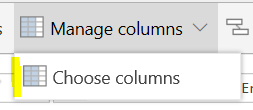
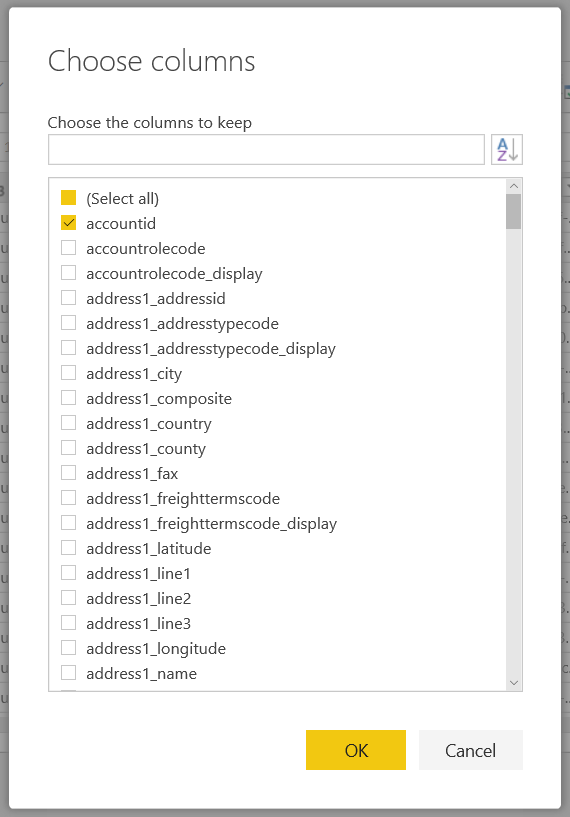
We will choose certain columns in our data sets:
Transform Table gives us:
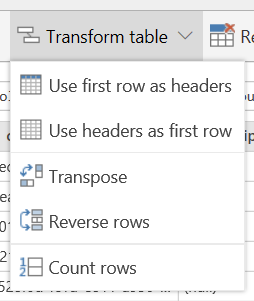
Reduce rows:
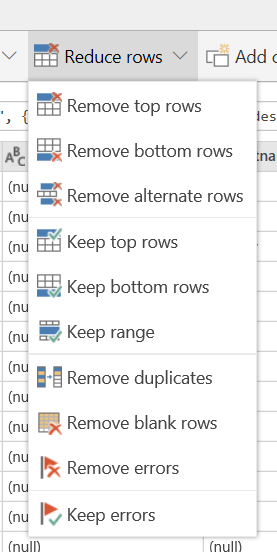
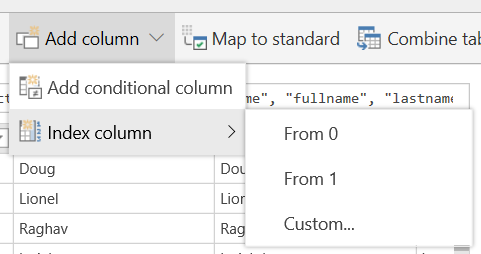
Add column:
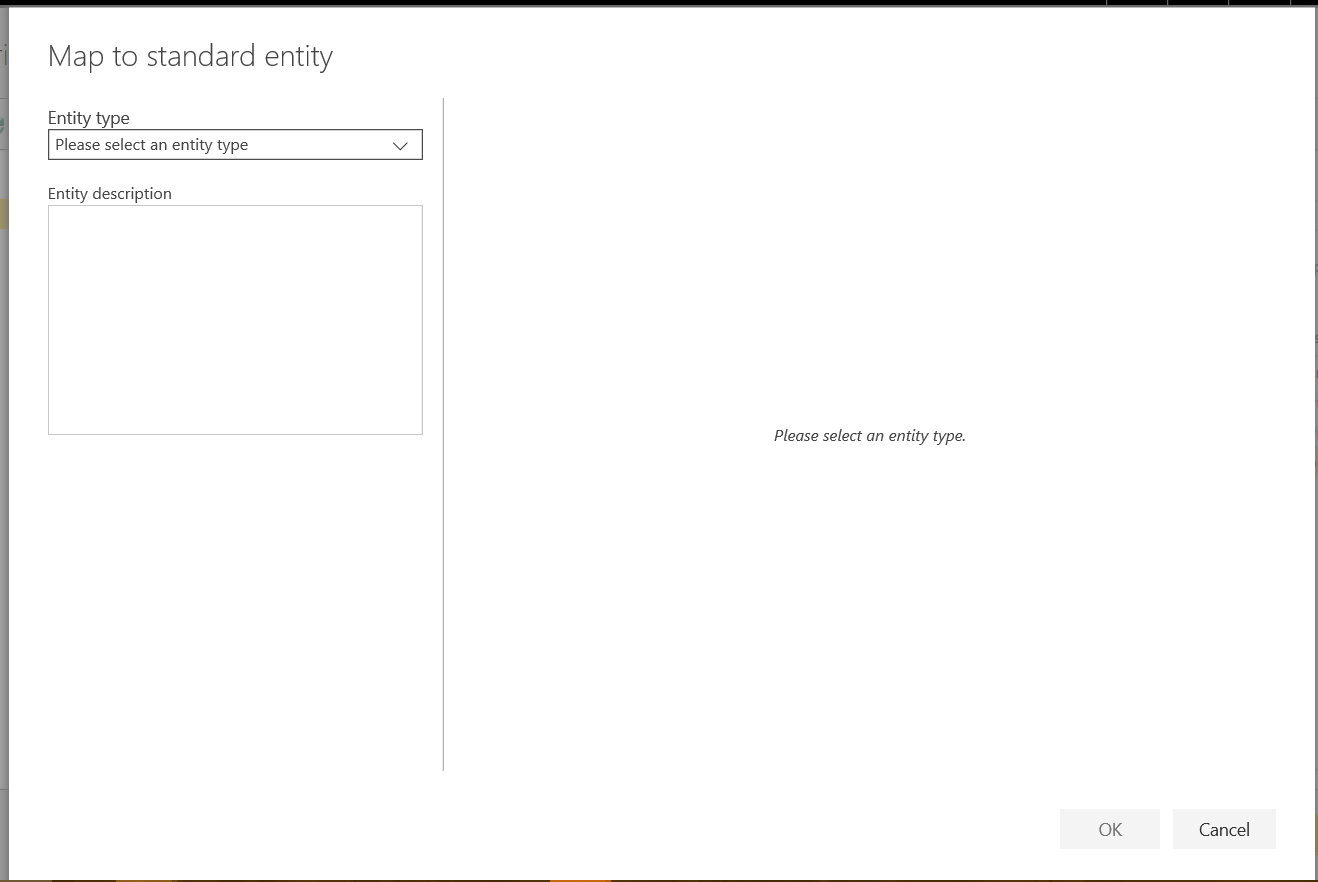
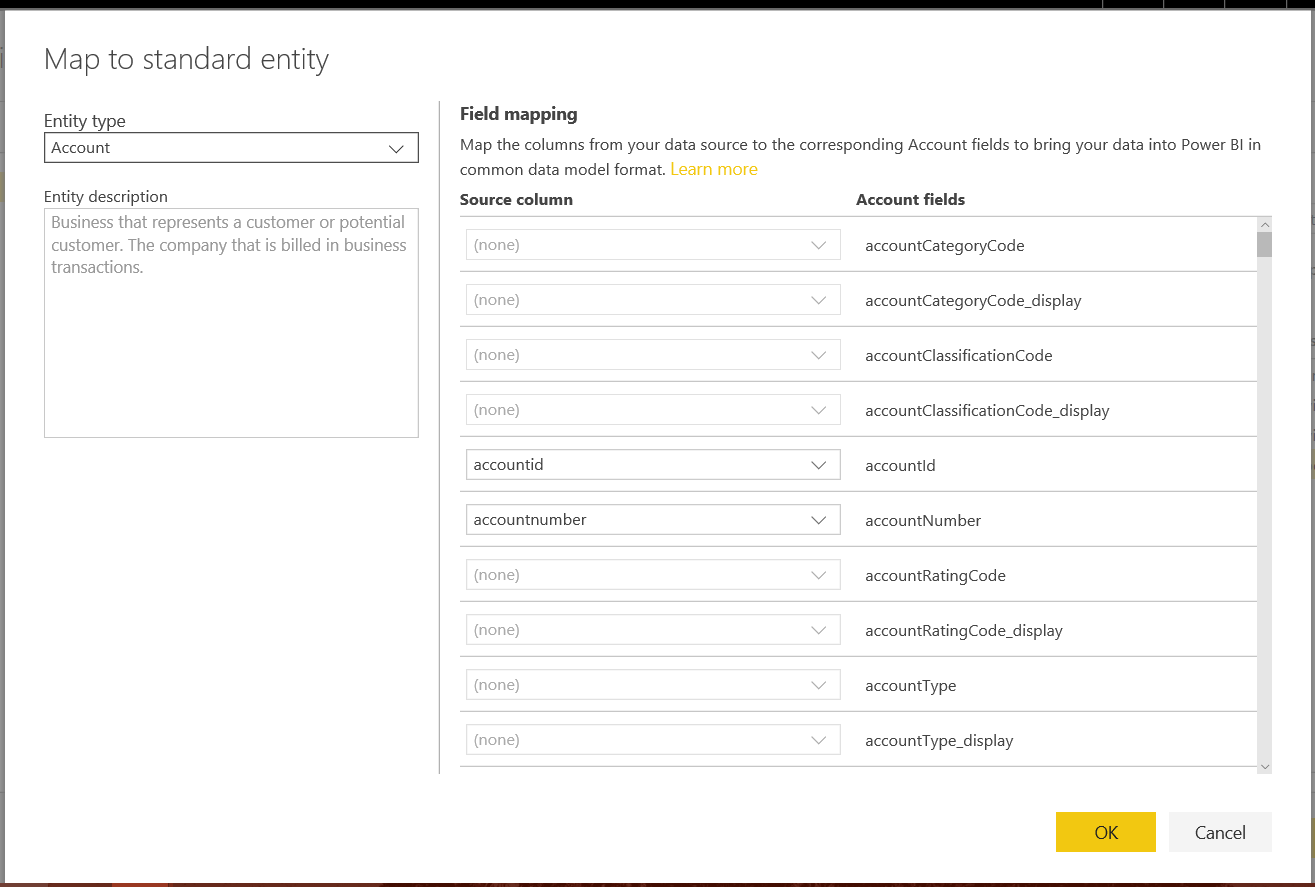
Map to Standard to map your fields to the Common Data Service format:
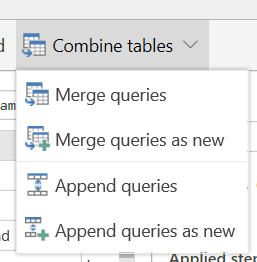
Combine tables:
Rename any fields as required:

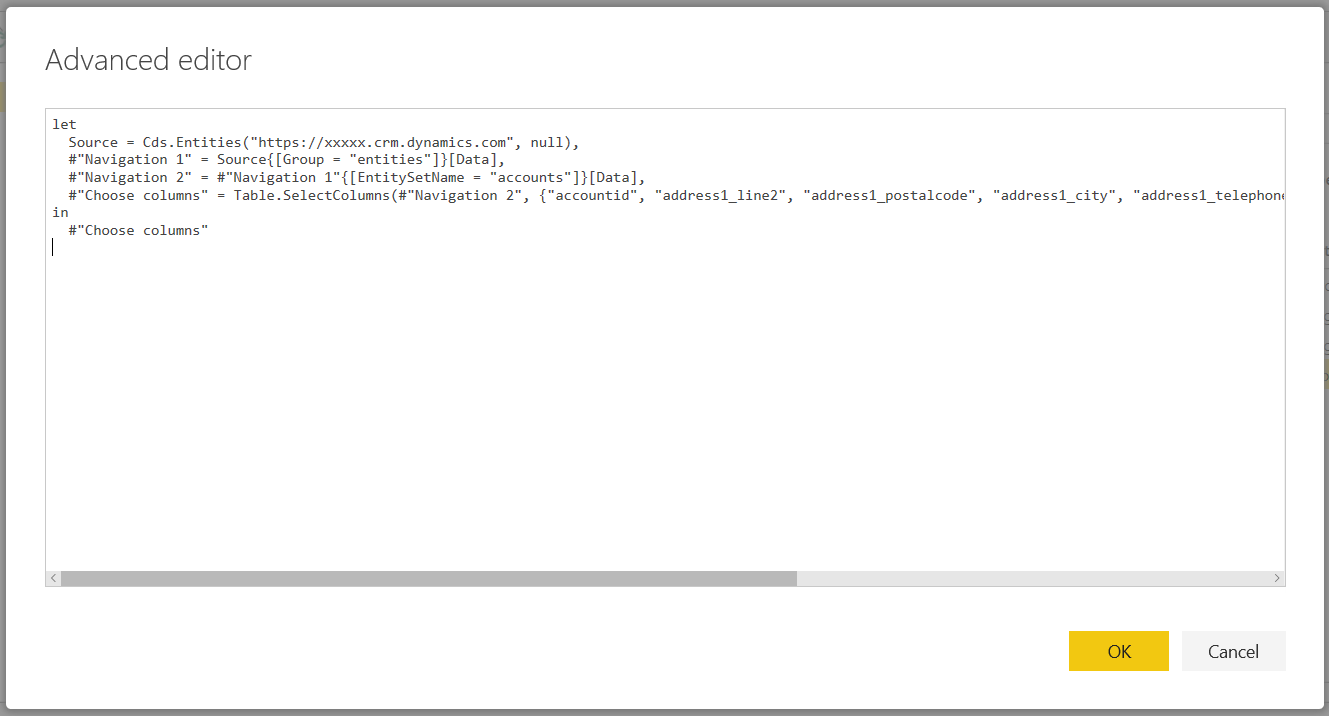
Also, right clicking on a data source gets us to the Advanced editor:

From here we can edit the Power Query M syntax for our query:
Once complete, click Done:
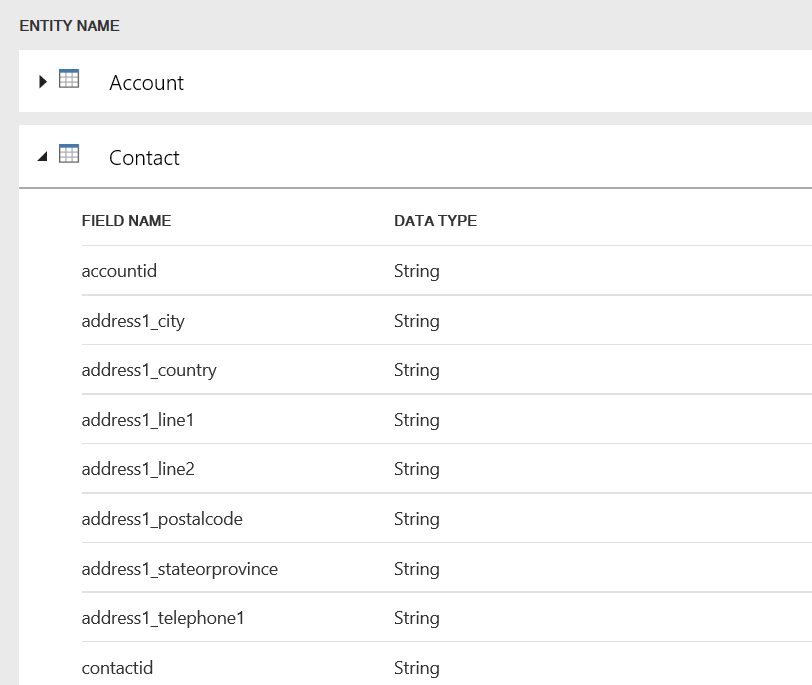
You will now see the 3 entities in our dataflow:

Clicking the arrow next to each entity will show us the fields in the entity we have selected:
From the top menu, we have:
- Edit entities
- Add entities
- Save
- Close
![]()
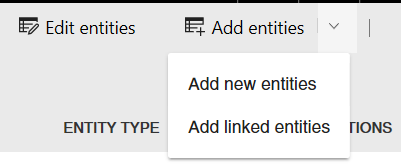
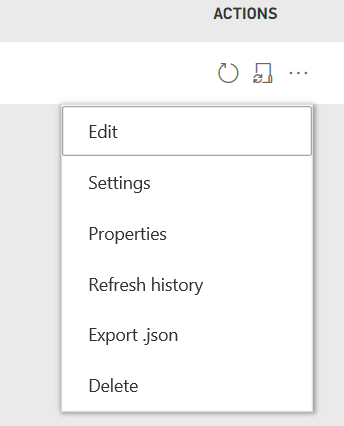
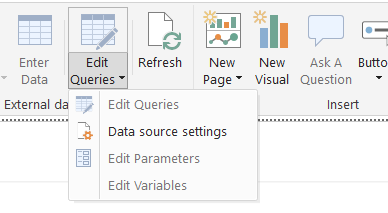
Clicking Edit entites gives us:
- Add new entities
- Add linked entities
Add new entities takes us back to the dataflow Get Data window we saw above.
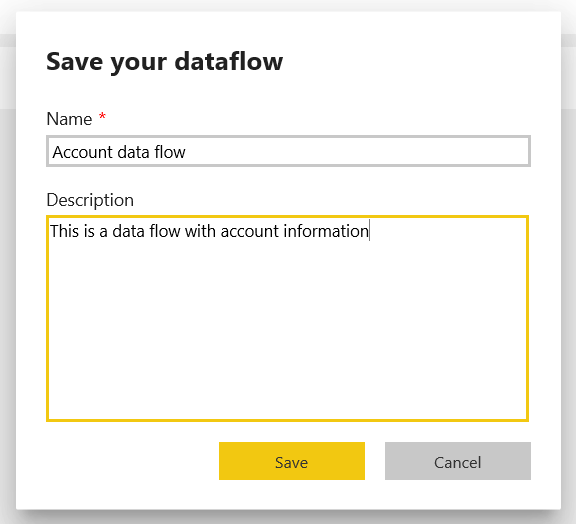
Click on Save and enter a name and description. Then click Save again:
Click Close to view the new Dataflow:
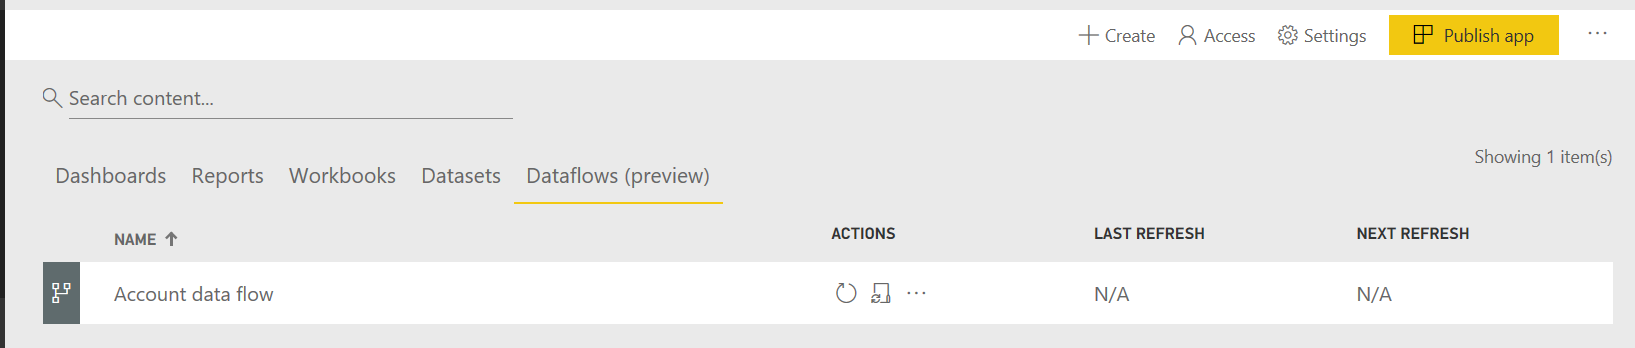
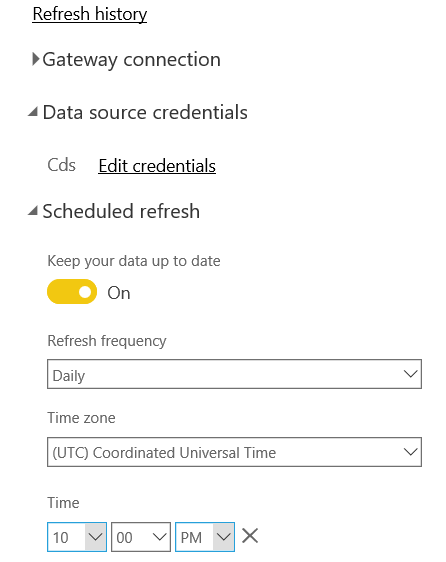
Note the options:
Including the refresh options:
Now let’s use the new dataflow.
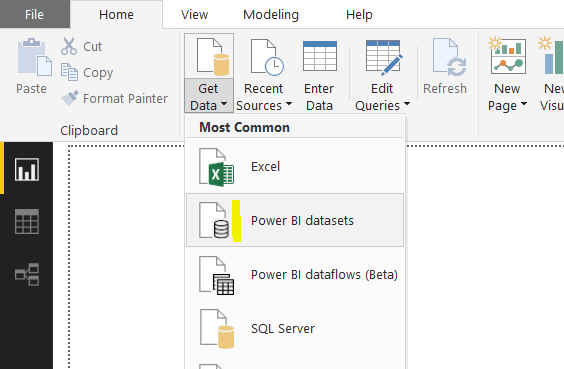
To do this, we will need to open Power BI Desktop. Open it, and sign in. Select Get Data and choose Power BI dataflows:
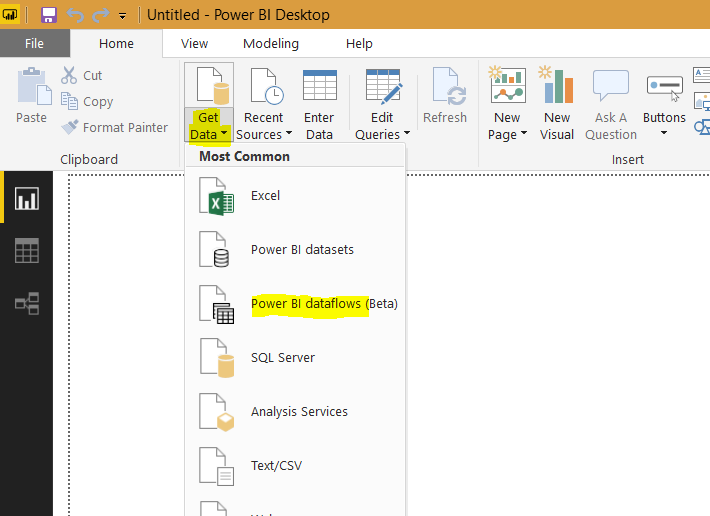
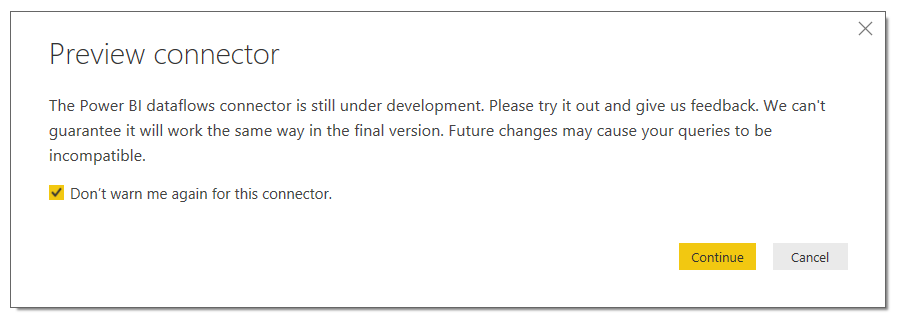
You will see the Preview message. Click Continue:
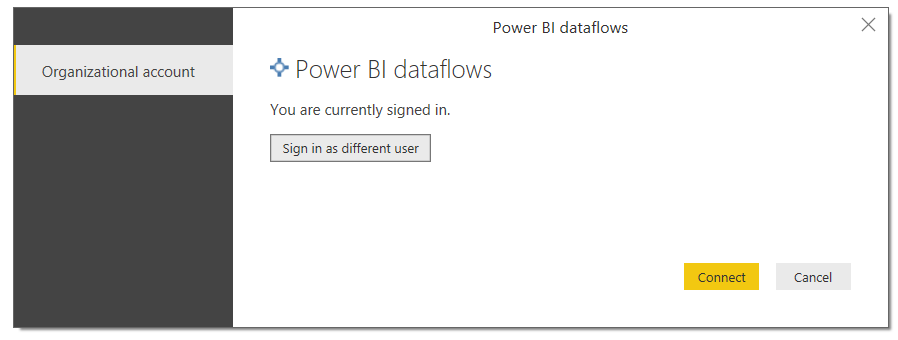
Sign in if you are prompted to sign in, and click Connect:
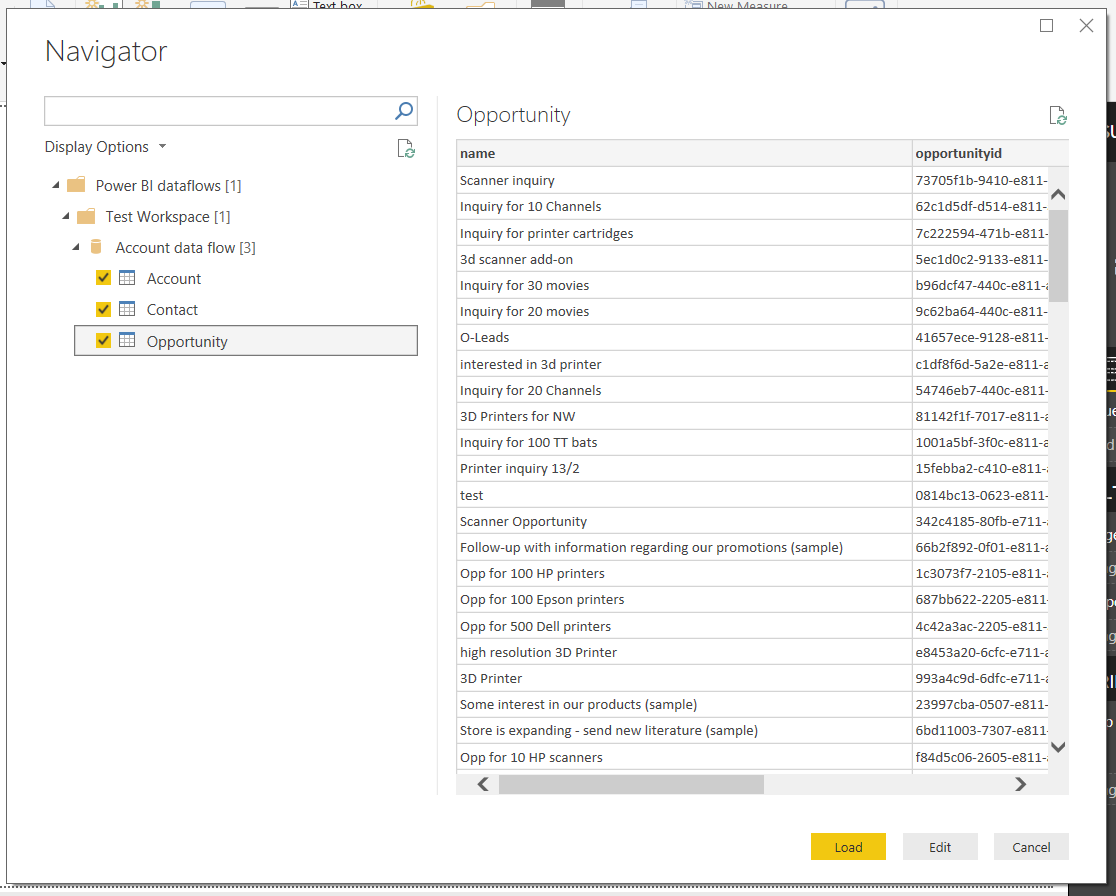
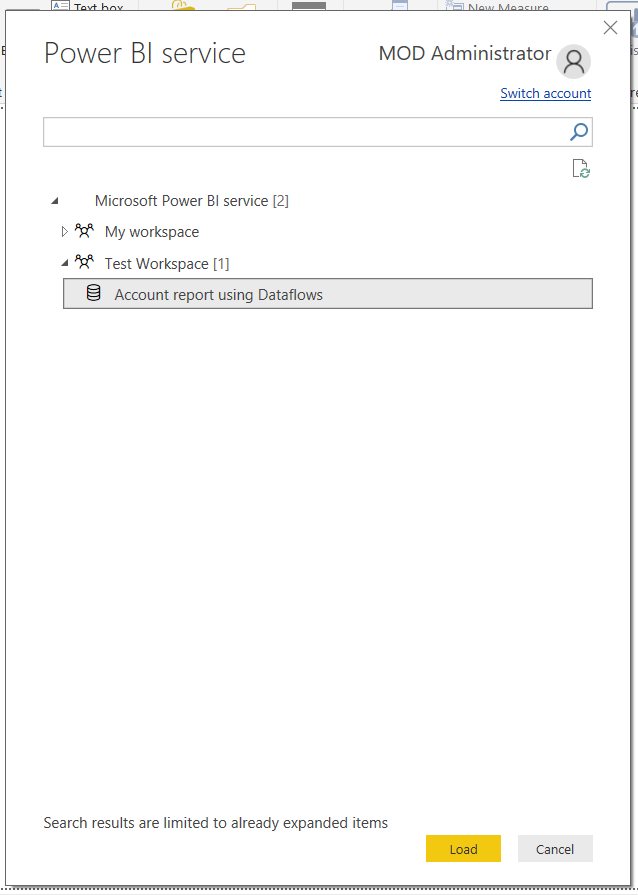
We will see a list of our dataflows, workspaces and entities. Select the entities to use in this report and click Edit:
This will take us to the Power Query Editor. From here, we can deal with this data as if it were any other type of data source we have connected to:
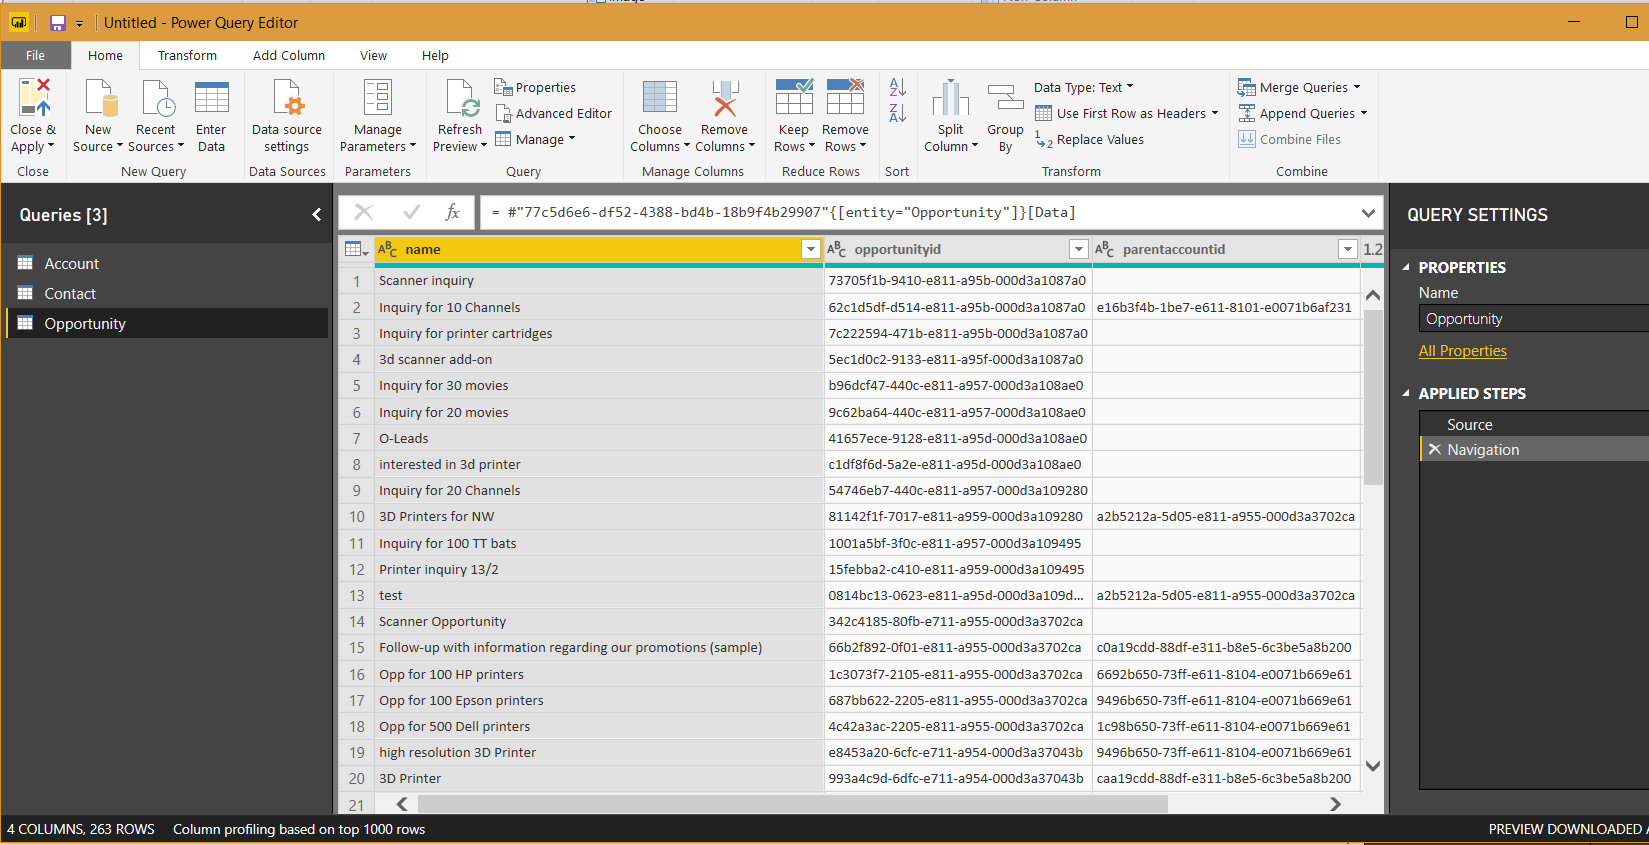
Let’s rename some fields so they are more user friendly:
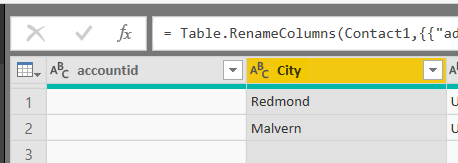
Click Close and Apply:
Create relationships.
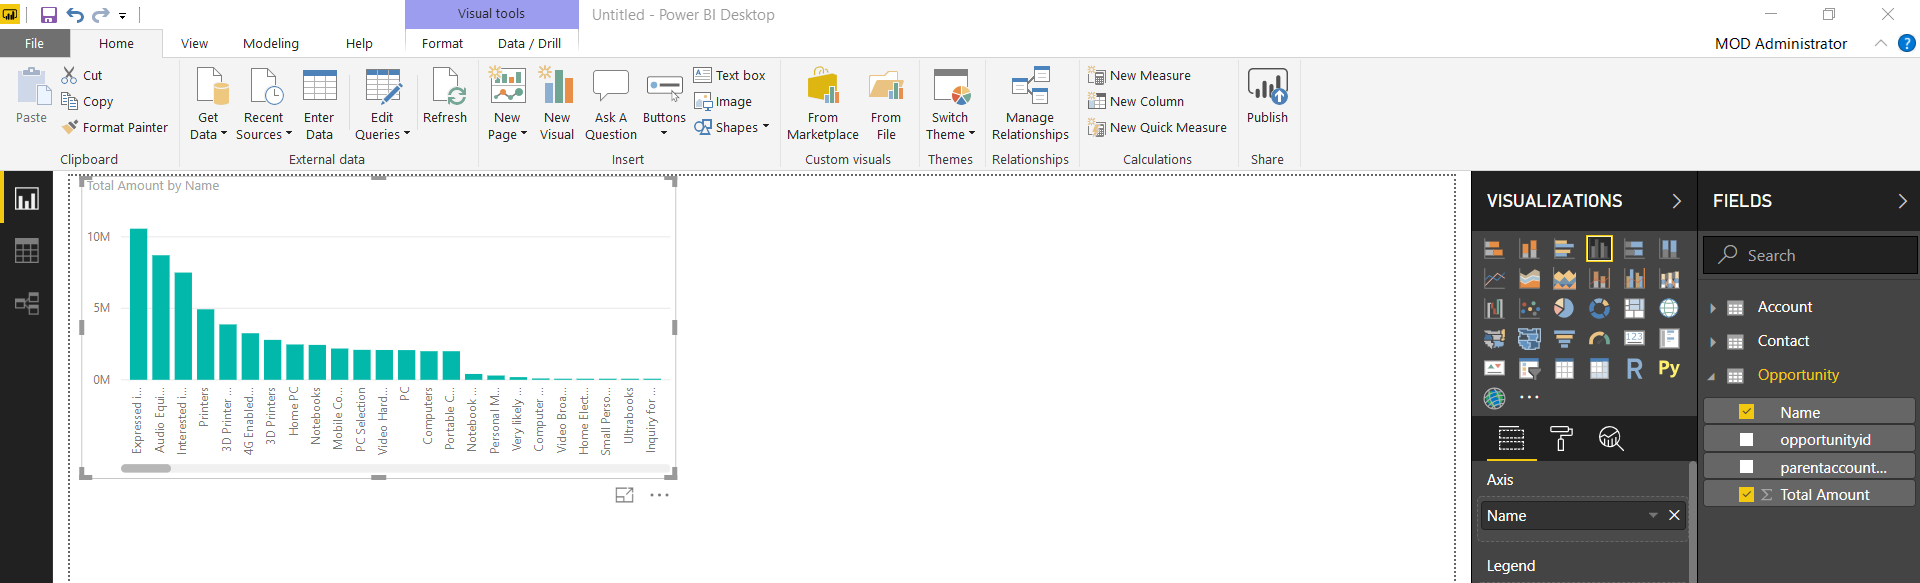
We can now create a report using our dataflow:
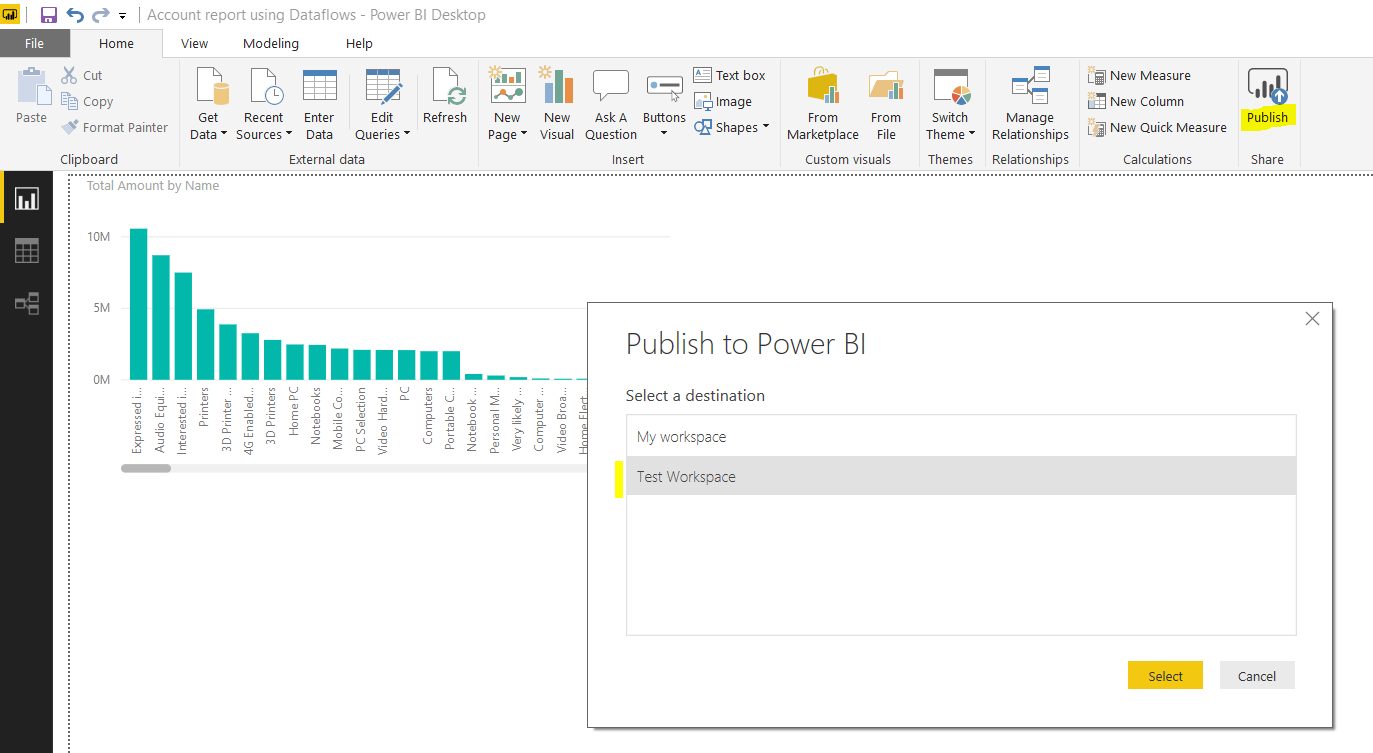
Save the report and publish it up to the Power BI service:
Click Got it:

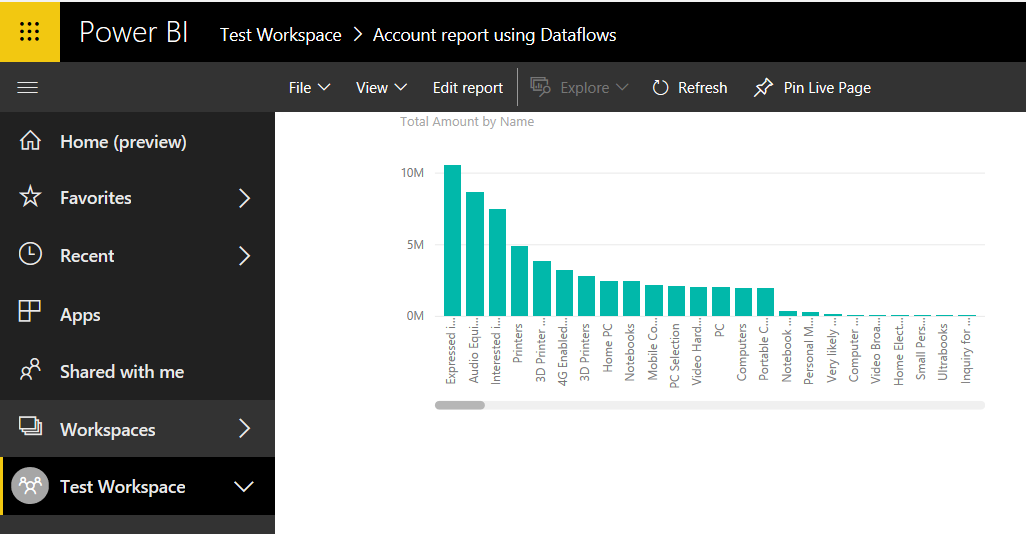
Now under Reports, we see our uploaded report:

And selecting it, we see our report:
Note we now have the dataset:
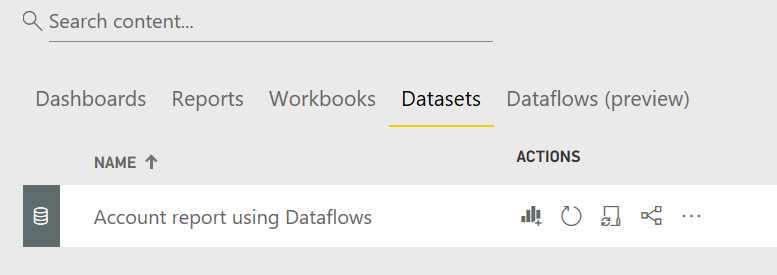
We can use this as a data source in a new Power BI Desktop report if we wanted to:
Select the Account report using Dataflows and click Load:
From here we can create new reports: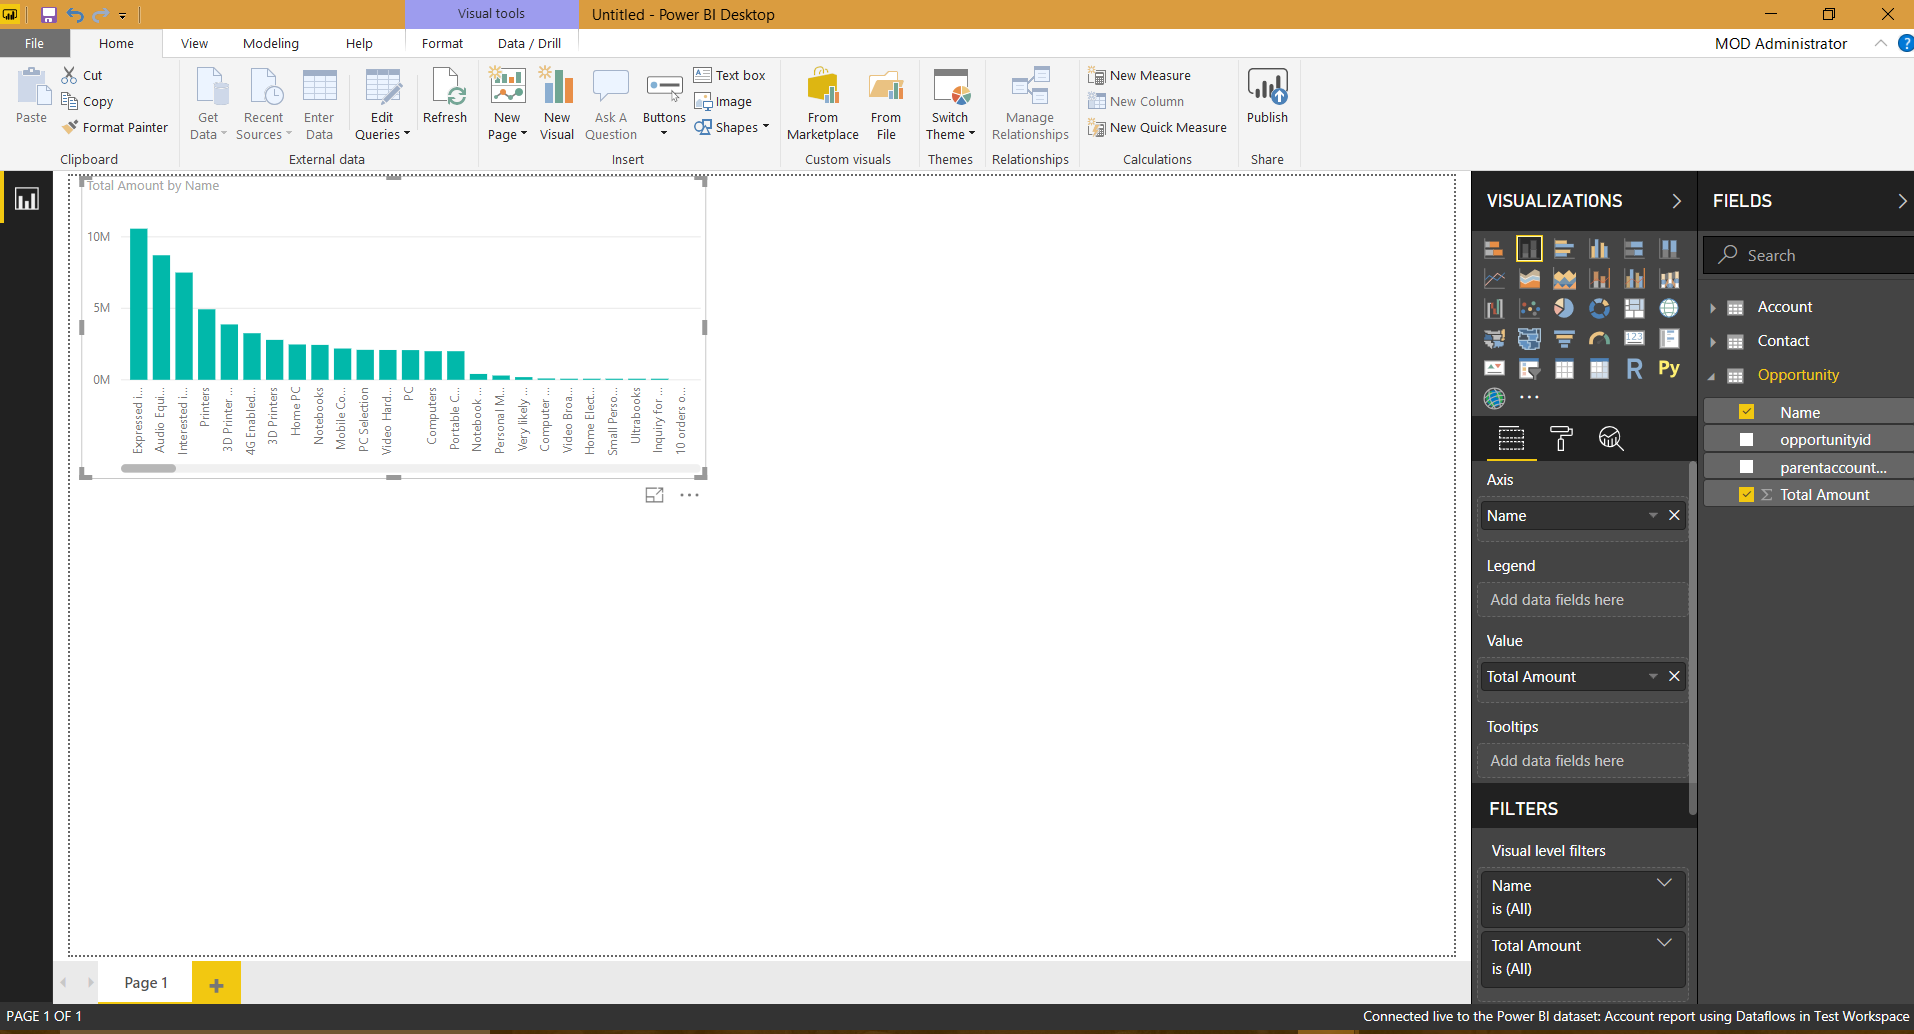
Note in connecting to datasets, the Edit Queries option is greyed out:
And in the bottom right it shows we are connected live to the dataset:

Some of the functionality above is still in Preview and subject to change.
This whitepaper by Amir Netz is a good source for more information: https://go.microsoft.com/fwlink/?linkid=2011419&clcid=0x409
I AM SPENDING MORE TIME THESE DAYS CREATING YOUTUBE VIDEOS TO HELP PEOPLE LEARN THE MICROSOFT POWER PLATFORM.
IF YOU WOULD LIKE TO SEE HOW I BUILD APPS, OR FIND SOMETHING USEFUL READING MY BLOG, I WOULD REALLY APPRECIATE YOU SUBSCRIBING TO MY YOUTUBE CHANNEL.
THANK YOU, AND LET'S KEEP LEARNING TOGETHER.
CARL
