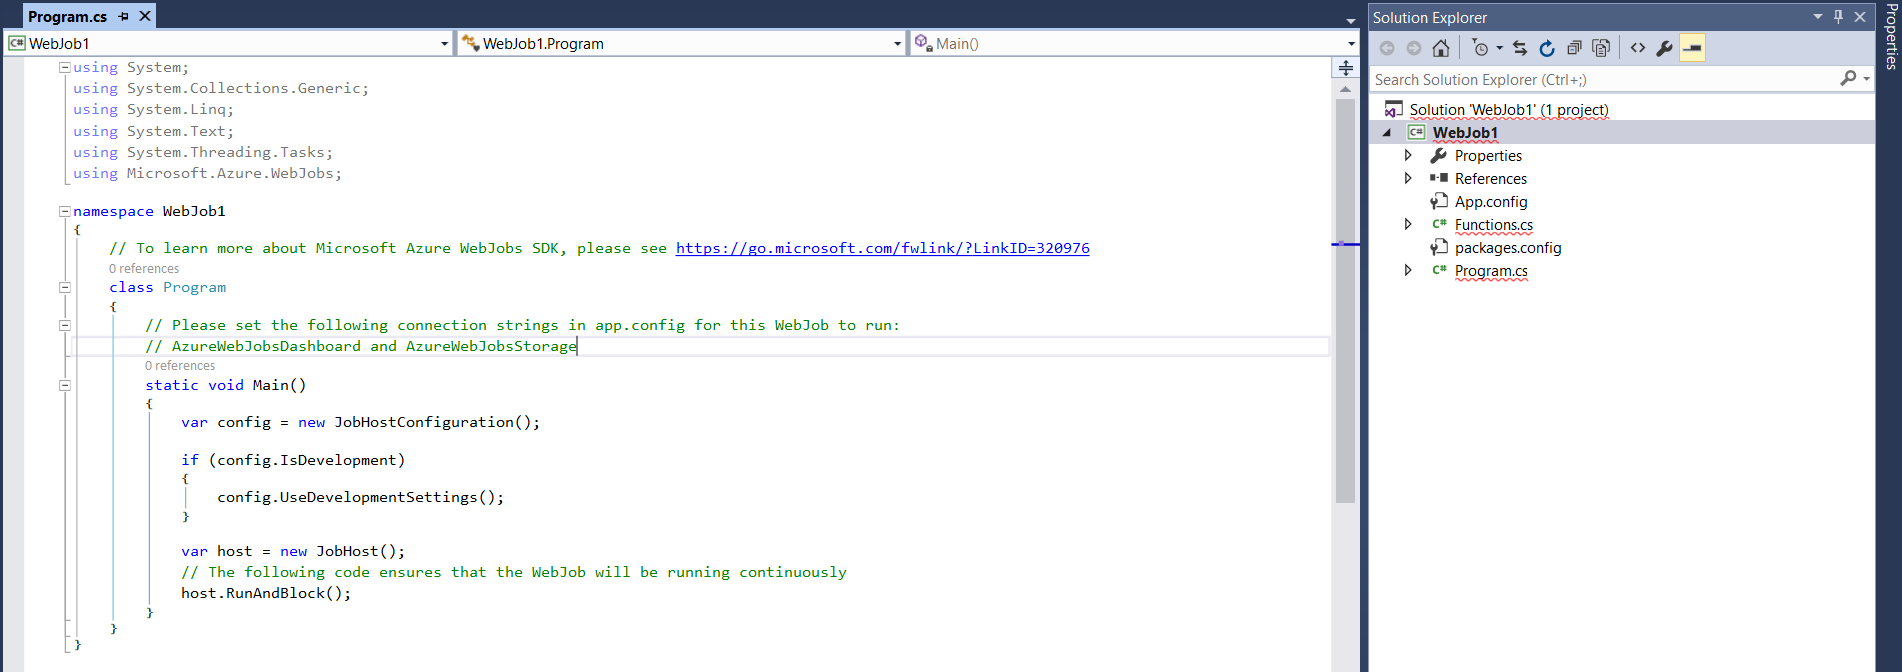
Visual Studio comes with different color themes. When opening Visual Studio for the first time, you may see a theme something like below:
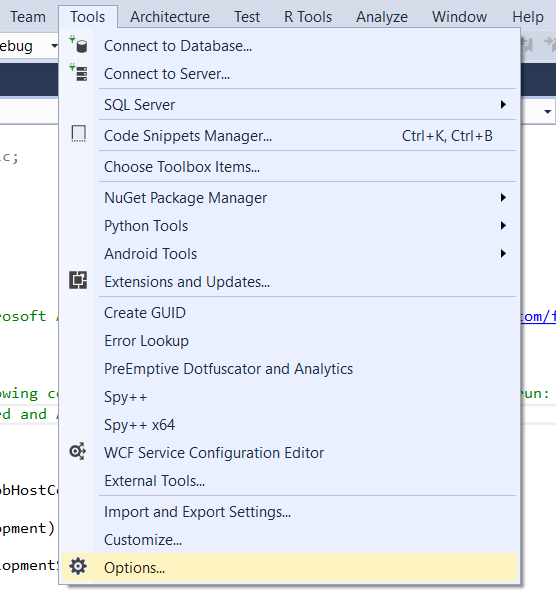
To change this theme, go to Tools->Options:
From Environment, select General:
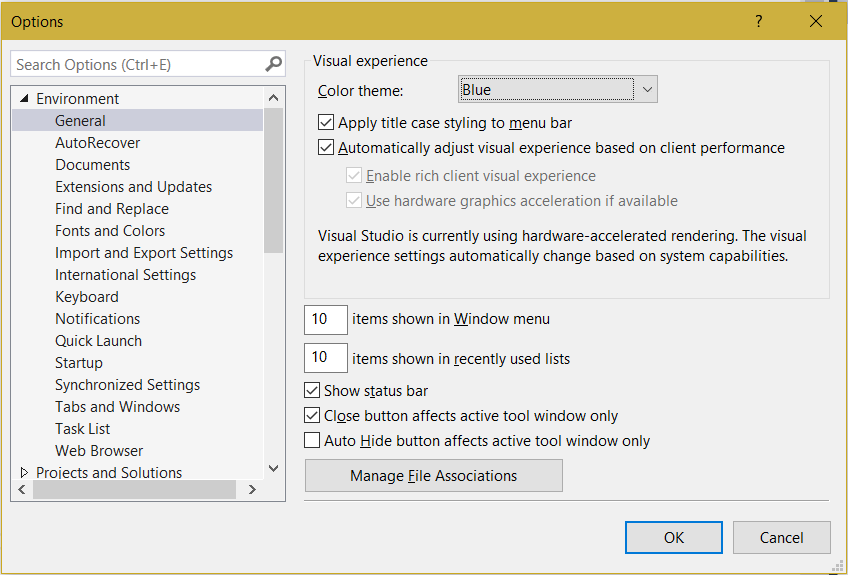
Here we can see the color theme is set to “Blue”. Select a different color theme from the list:
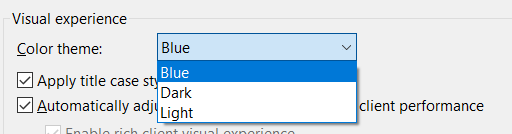
Here we have selected the Dark theme:
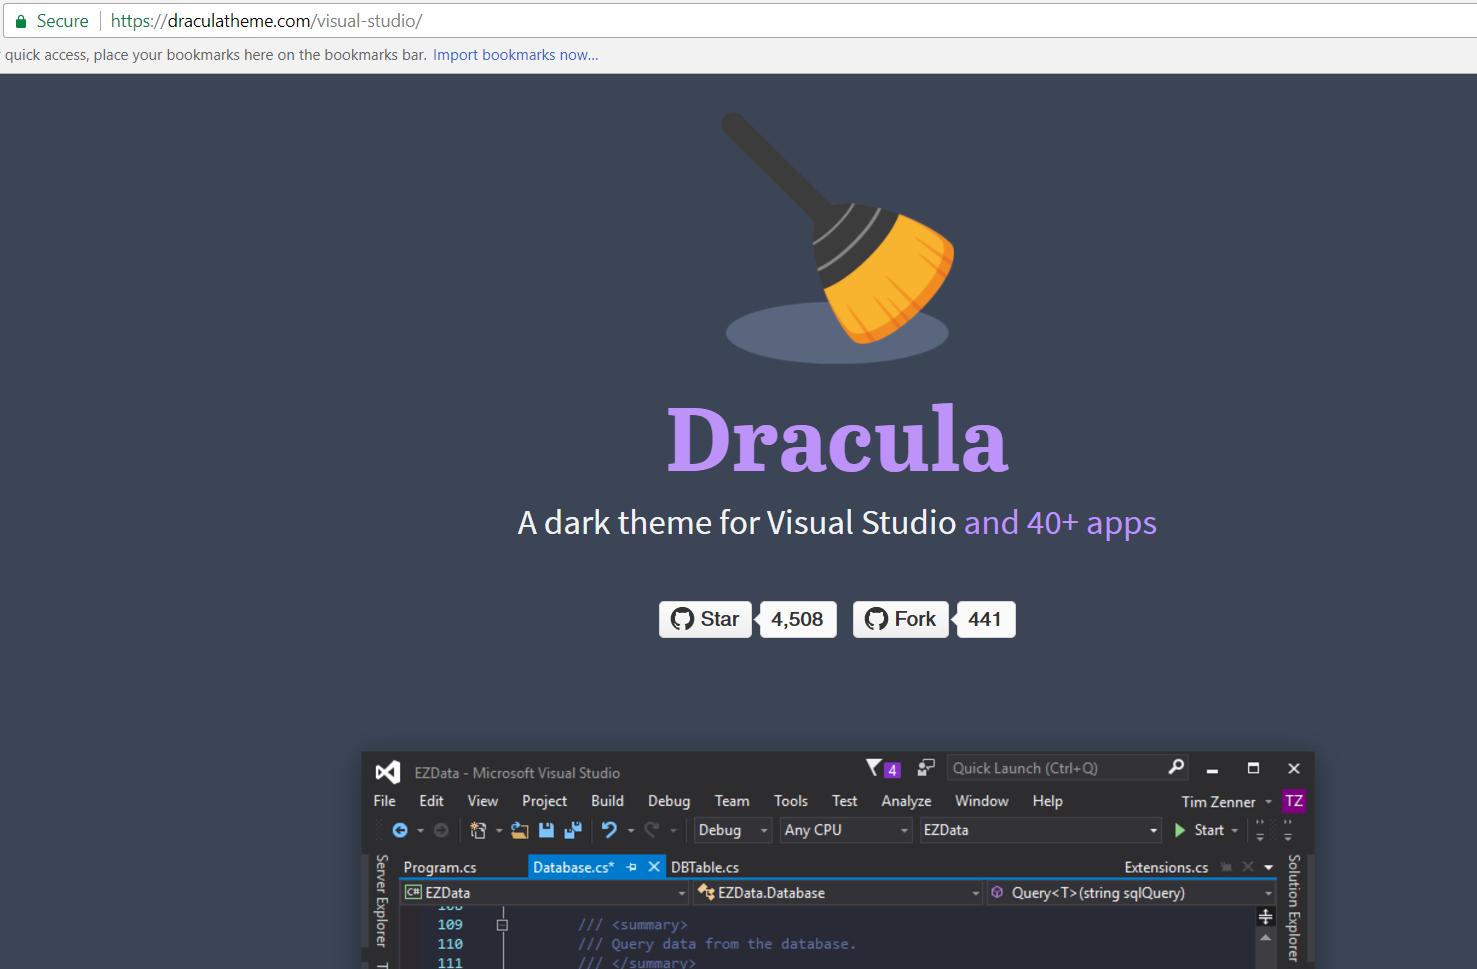
You can also install new themes. To install a new theme, download the install file from the site you would like to install from. Let’s go through an example installing from the Dracula theme site at: https://draculatheme.com/visual-studio/
Download the zip file:
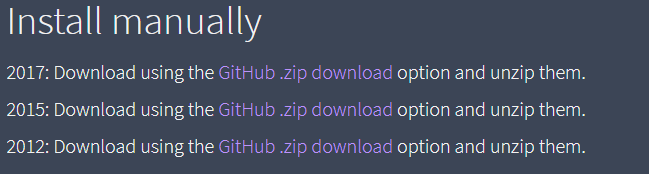
Unzip to see the files:

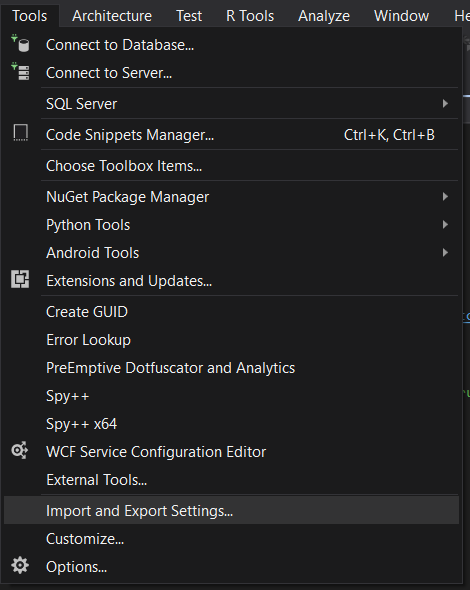
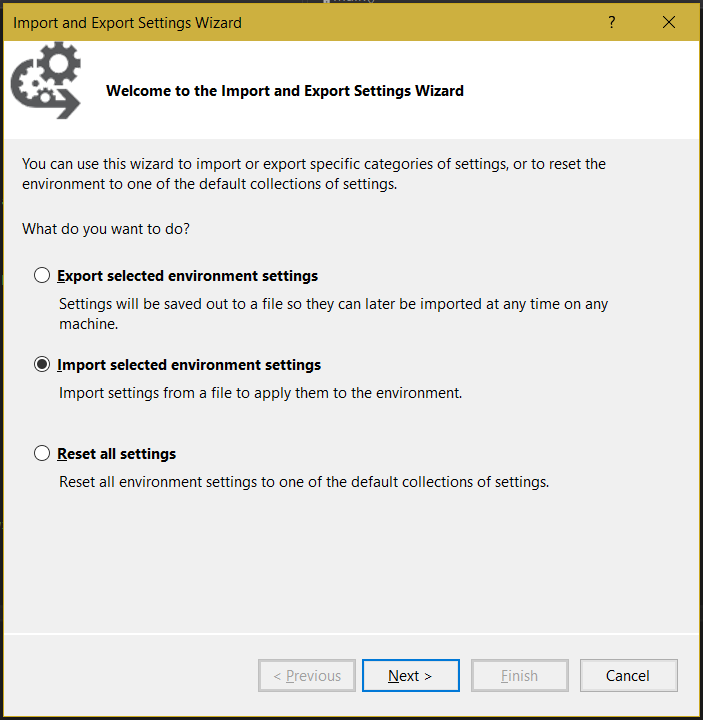
Go to Tools->Import and Export Settings:
Optionally select to Import selected environment settings:
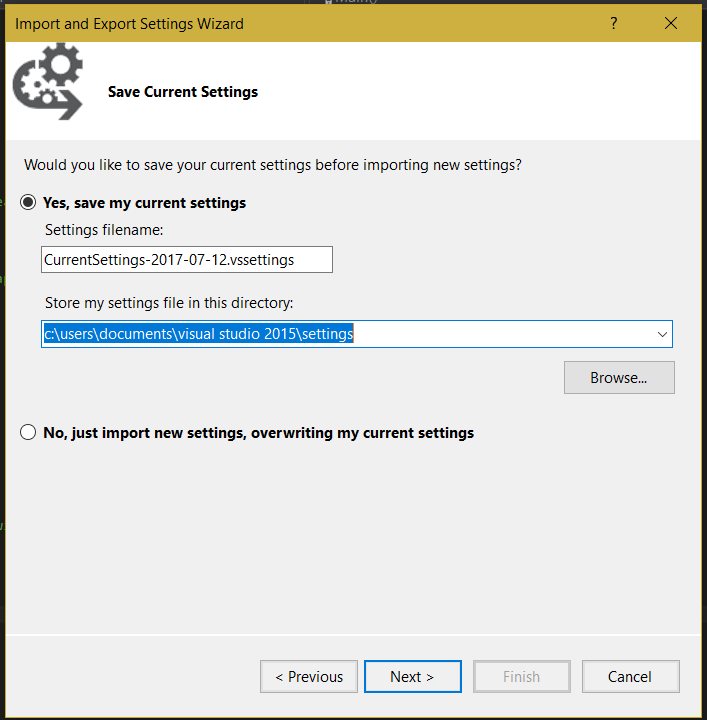
Save current settings:
Select Browse:
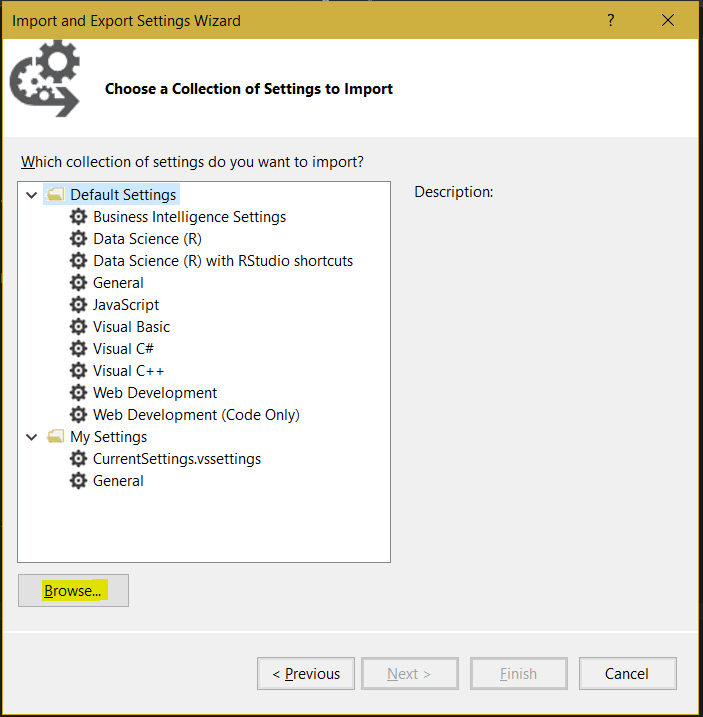
Browse to and select the .vssettings file to import:

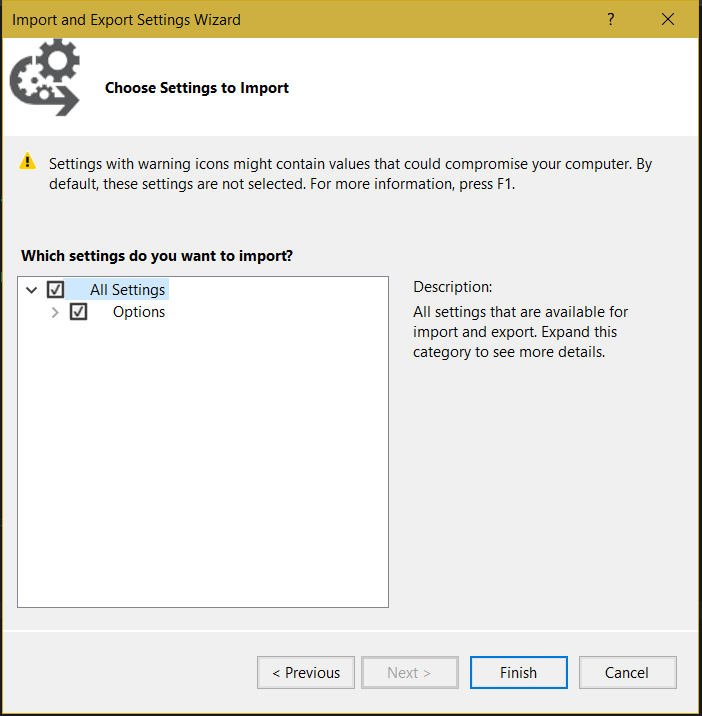
Click Finish:
You will see the message:
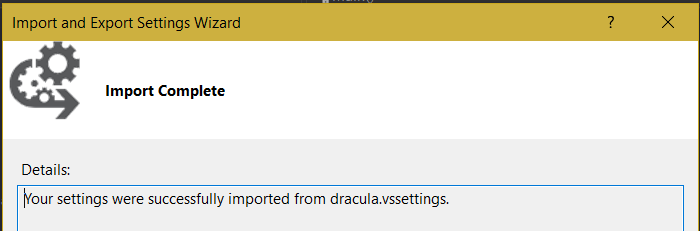
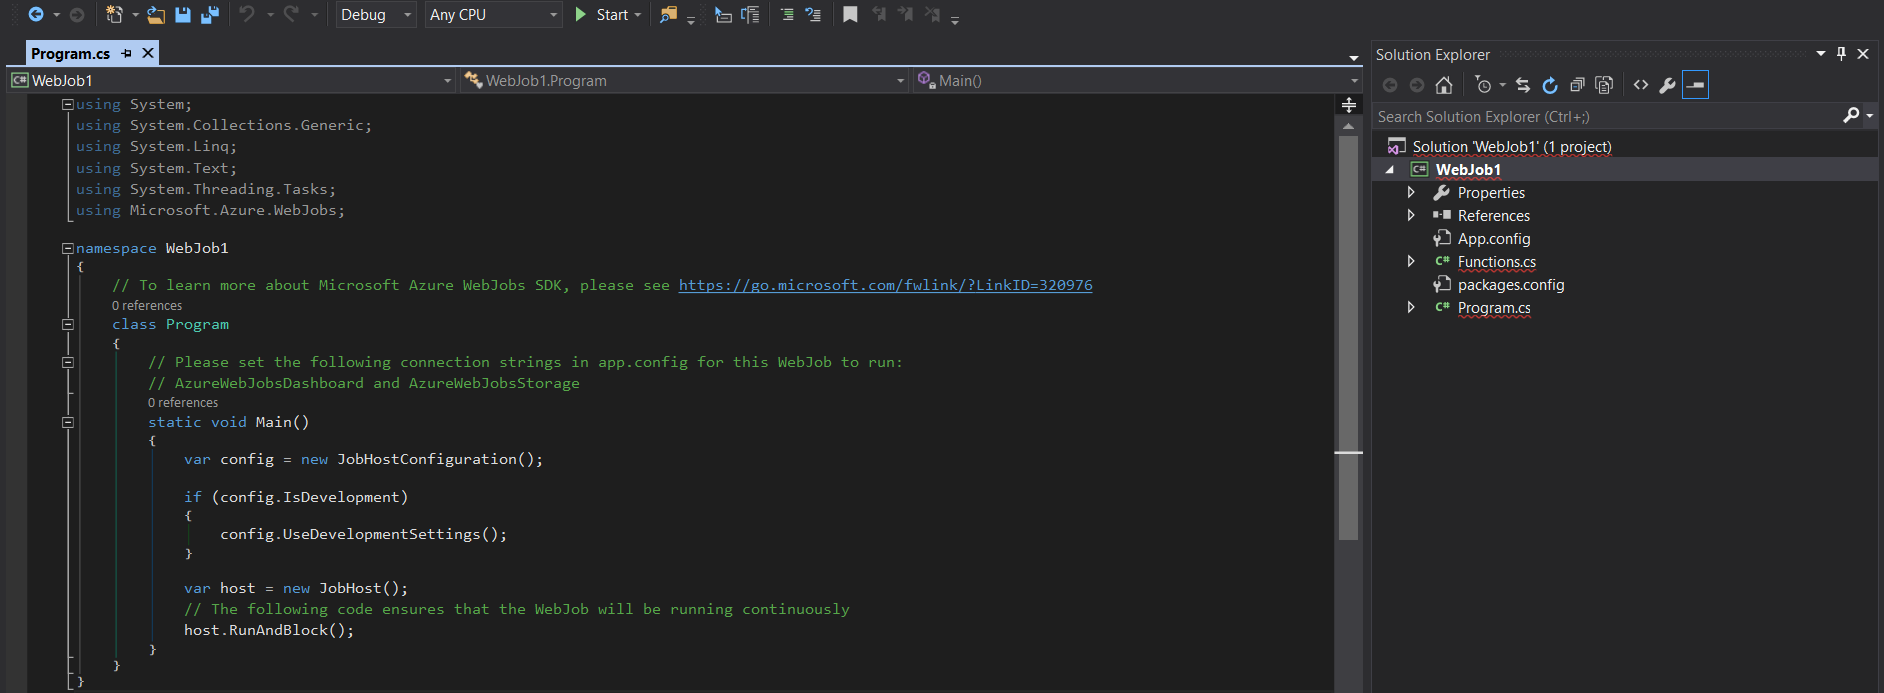
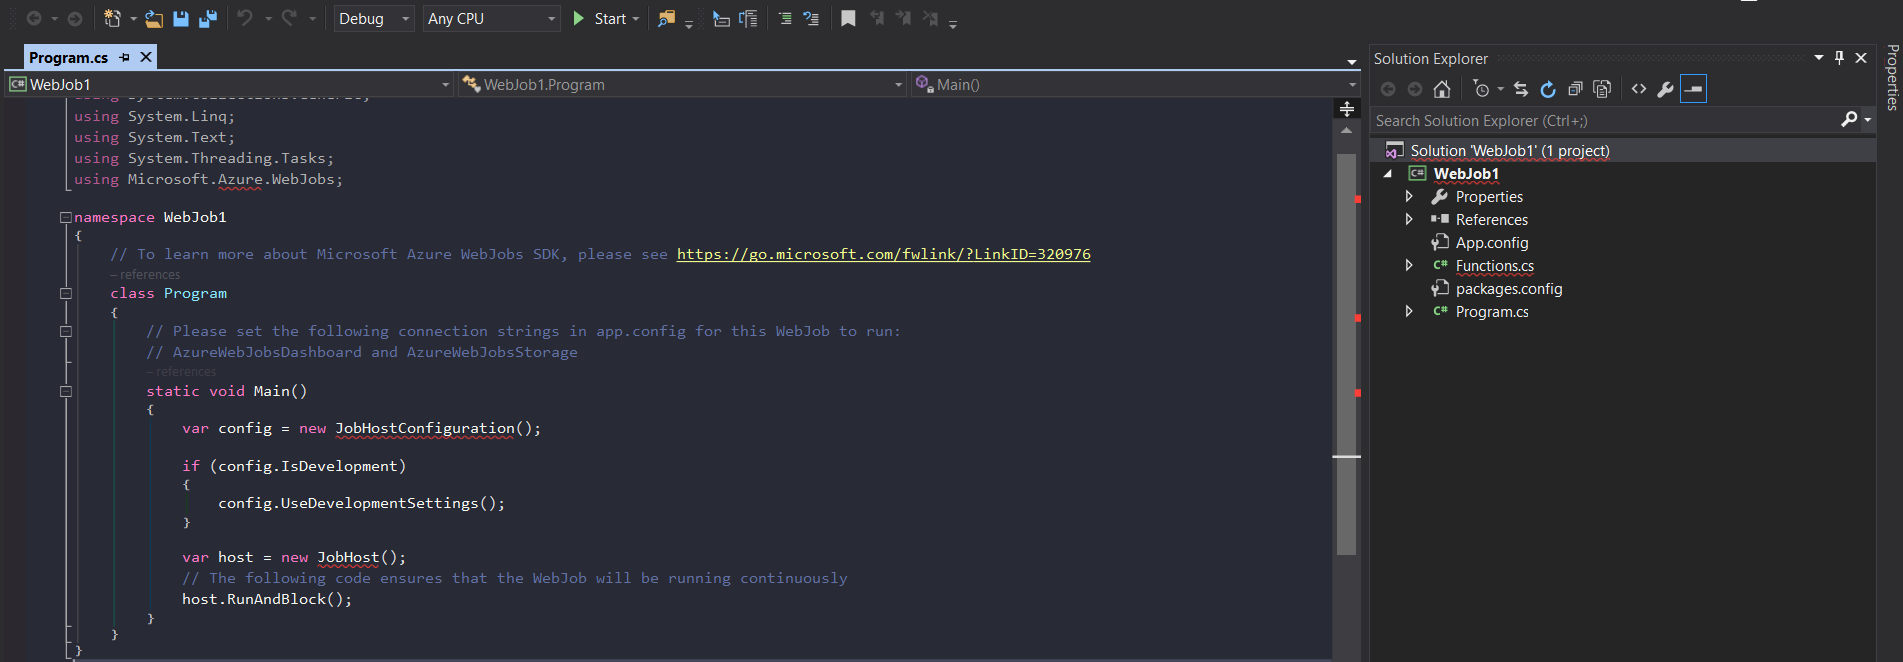
The new theme will be applied, in this case the very cool Dracula theme:
I AM SPENDING MORE TIME THESE DAYS CREATING YOUTUBE VIDEOS TO HELP PEOPLE LEARN THE MICROSOFT POWER PLATFORM.
IF YOU WOULD LIKE TO SEE HOW I BUILD APPS, OR FIND SOMETHING USEFUL READING MY BLOG, I WOULD REALLY APPRECIATE YOU SUBSCRIBING TO MY YOUTUBE CHANNEL.
THANK YOU, AND LET'S KEEP LEARNING TOGETHER.
CARL

But how does one install a .VSIX file?