Let’s take a look at how to move a Business Process Flow to the next stage using JavaScript.
If you prefer the video version, check out and subscribe to my YouTube channel:
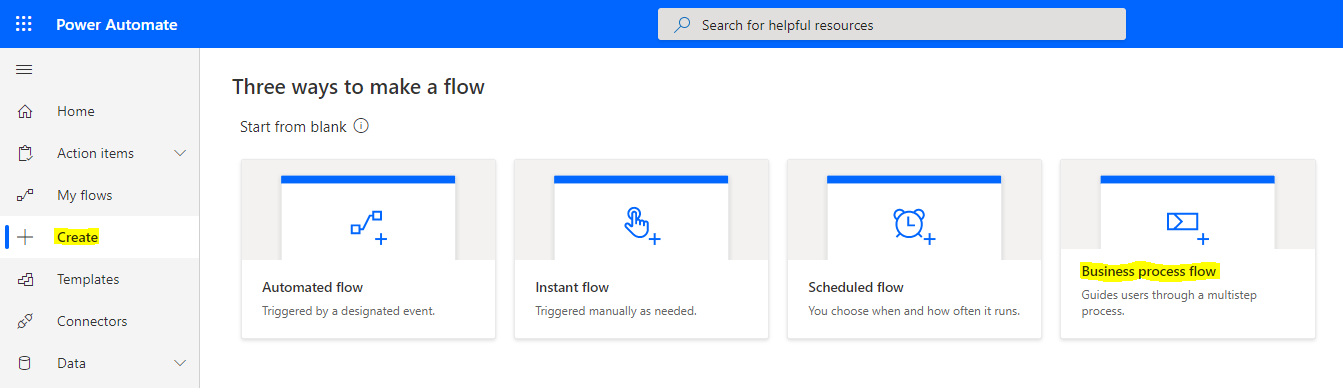
Go to https://flow.microsoft.com and select to create a new Business Process Flow:
Let’s call it Account BPF:
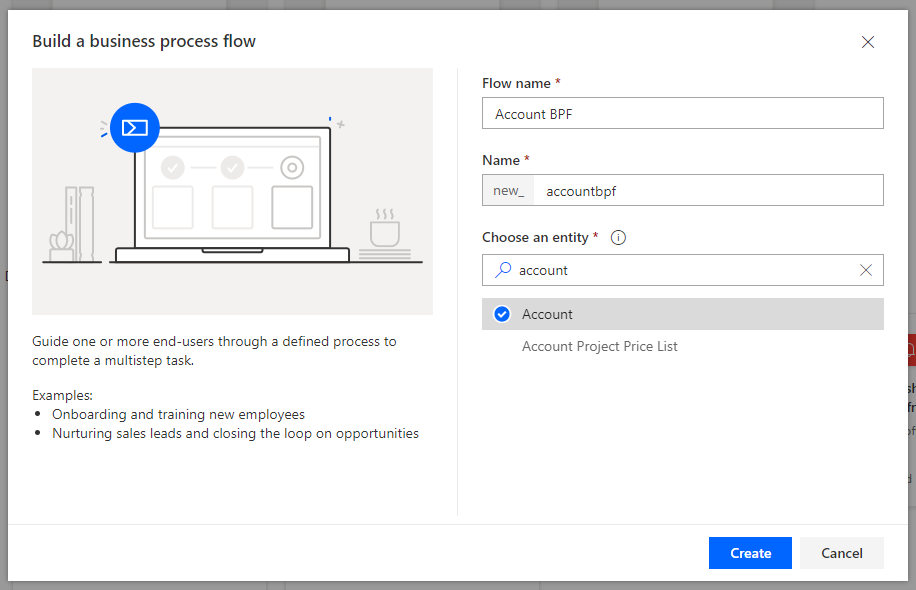
We see:
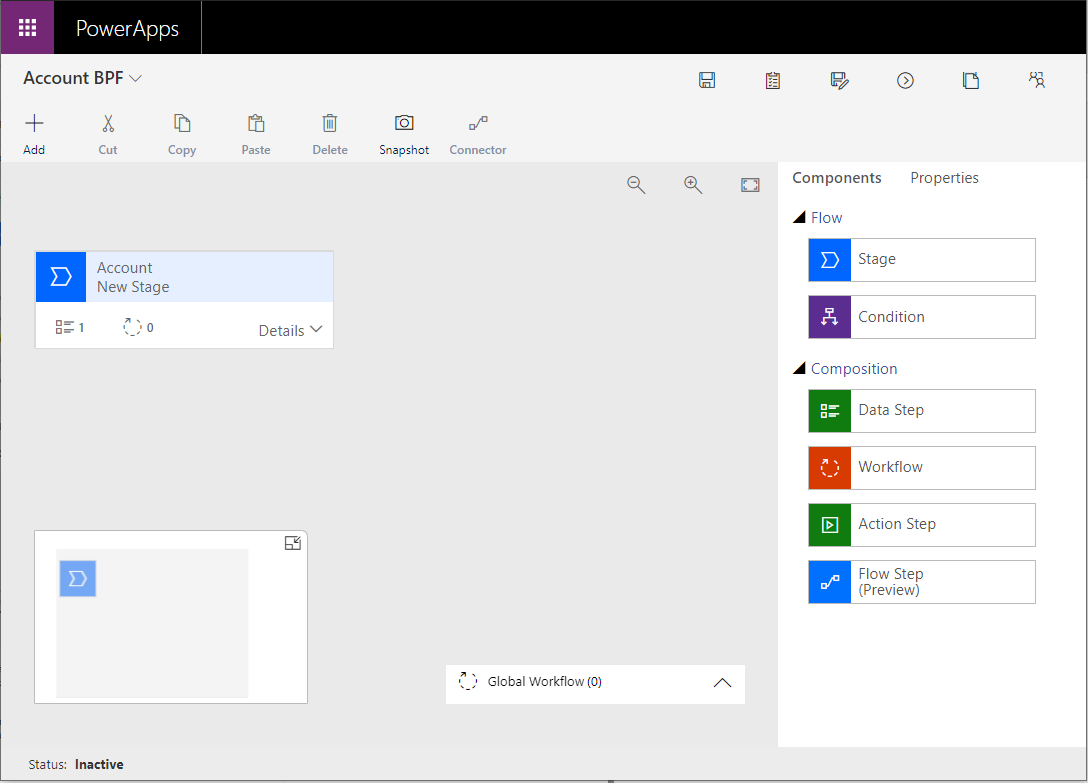
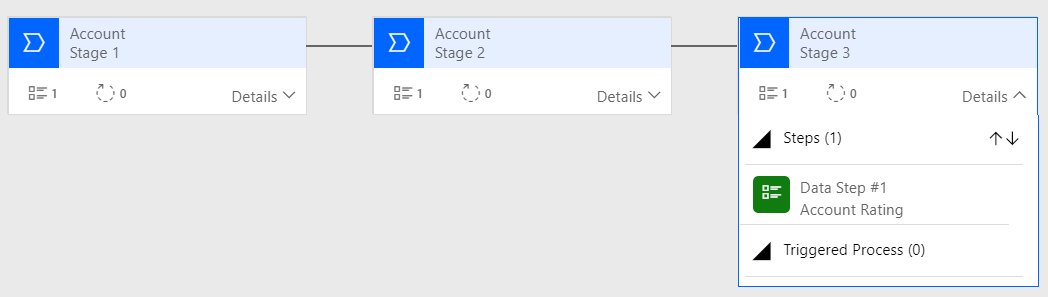
Let’s make 3 stages – Stage 1, Stage 2, Stage 3:
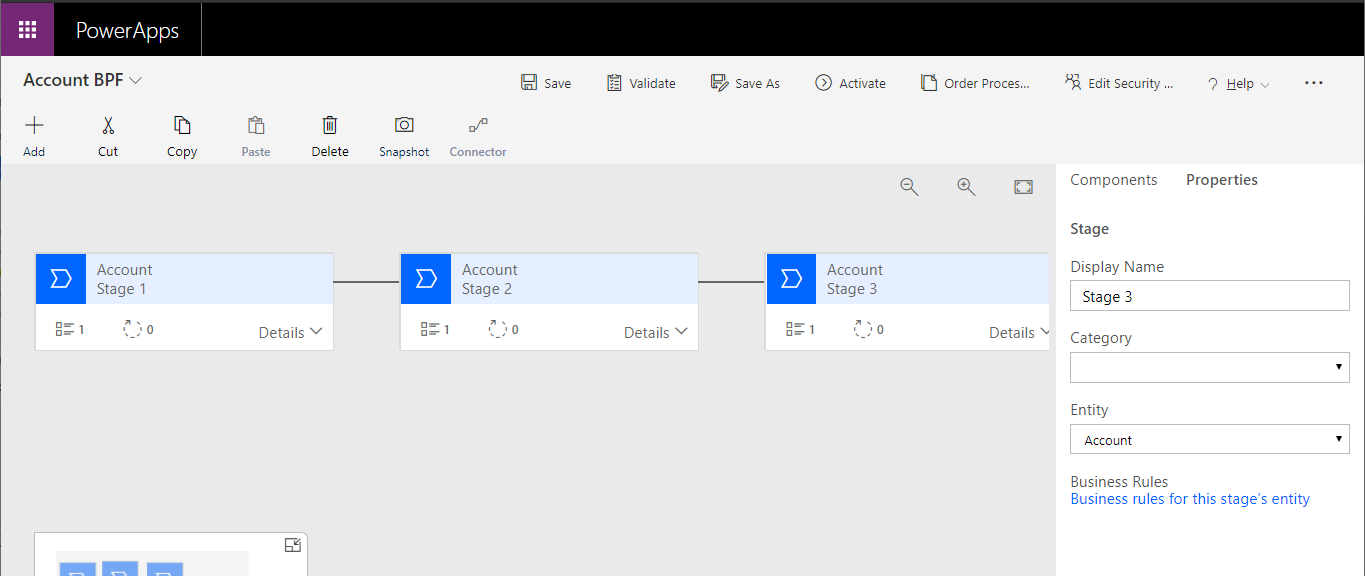
. We will add some fields for each stage:
- Stage 1 – Account Name
- Stage 2 – Account Number
- Stage 3 – Account Rating
Activate the BPF. Now we have our BPF on the account.

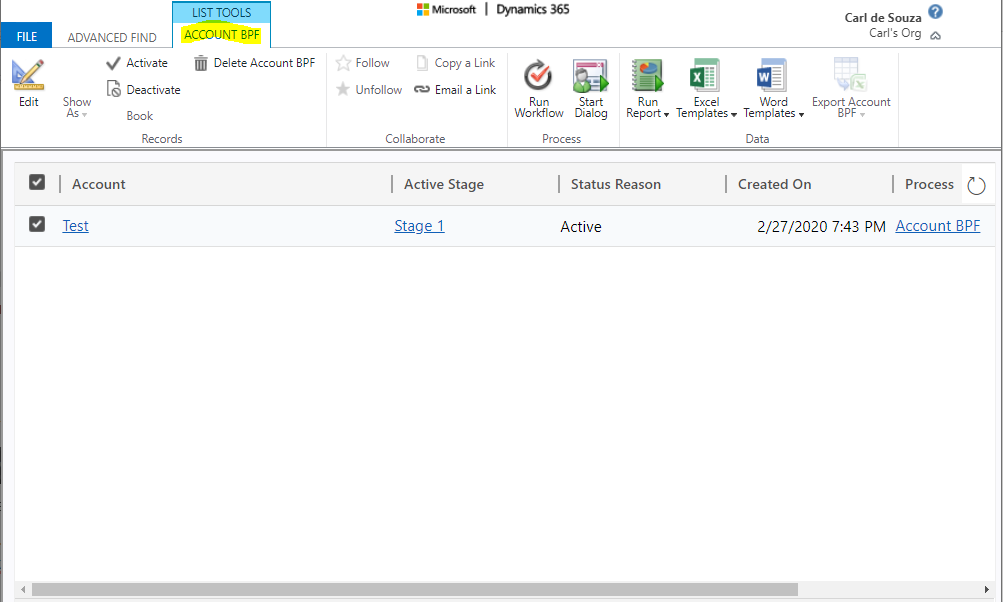
Let’s save this account record. With each Business Process Flow applied to a record, we have its own BPF record created. In our case, we called the BPF “Account BPF”. Using Advanced Find, we can see the Account BPF record and see an instance of it for Account “Test”, which is the one I just created:
Let’s check out the OData response for our BPF entity, which is called new_accountbpfs. I’m highlighting the Id of the Account, which is the instance of this flow. The account field here is _bpf_accountid_value:
URL – https://myorg.crm.dynamics.com/api/data/v9.1/new_accountbpfs

And the process id instance value for this instance is businessprocessflowinstanceid = 7998c058-c359-ea11-a811-000d3a35b7f2.
Now, we’ll need the Id of the BPF from the designer to move it with code. Grab the Id from the BPF URL:
![]()
Now running the request below where we’re using the Id from above:
https://yourorg.crm.dynamics.com/api/data/v9.0/processstages?$select=stagename&$filter=processid/workflowid eq 3a9f5db1-4d58-ea11-a811-000d3a35b480
We get a response back showing each stage and the GUID associated with the stage:

{"@odata.context":"https://yourorg.crm.dynamics.com/api/data/v9.0/$metadata#processstages(stagename)","value":[{"@odata.etag":"W/\"5592432\"","stagename":"Stage 1","processstageid":"2ada60b3-ded2-f549-4e05-4ce11f5ca891"},{"@odata.etag":"W/\"5592430\"","stagename":"Stage 3","processstageid":"3c54b635-63ad-4d56-a2d3-ae08f582249c"},{"@odata.etag":"W/\"5592428\"","stagename":"Stage 2","processstageid":"9e1f0d59-547e-4f47-b351-cf0deebb519f"}]}I.e. Stage 1 has a process stage id of 2ada60b3-ded2-f549-4e05-4ce11f5ca891, Stage 2 has a process stage Id of 9e1f0d59-547e-4f47-b351-cf0deebb519f, stage 3 3c54b635-63ad-4d56-a2d3-ae08f582249c.
We will use these Ids shortly. Let’s add a field, and on change we will call JS to update our stage.
Now the code.
[sourcecode language=”JavaScript”] function AdvanceBPF(executionContext) {var formContext = executionContext.getFormContext();
var Stage1 = "2ada60b3-ded2-f549-4e05-4ce11f5ca891";
var Stage2 = "9e1f0d59-547e-4f47-b351-cf0deebb519f";
var entity = {};
entity["activestageid@odata.bind"] = "/processstages(" + Stage2 + ")";
entity["traversedpath"] = Stage1 + "," + Stage2;
var BPFId = "7998c058-c359-ea11-a811-000d3a35b7f2";
var req = new XMLHttpRequest();
req.open("PATCH", Xrm.Utility.getGlobalContext().getClientUrl() + "/api/data/v9.1/new_accountbpfs(" + BPFId +
")", true);
req.setRequestHeader("OData-MaxVersion", "4.0");
req.setRequestHeader("OData-Version", "4.0");
req.setRequestHeader("Accept", "application/json");
req.setRequestHeader("Content-Type", "application/json; charset=utf-8");
req.onreadystatechange = function() {
if (this.readyState === 4) {
req.onreadystatechange = null;
if (this.status === 204) {
alert("Success");
} else {
alert("Error");
}
}
};
req.send(JSON.stringify(entity));
}
[/sourcecode]
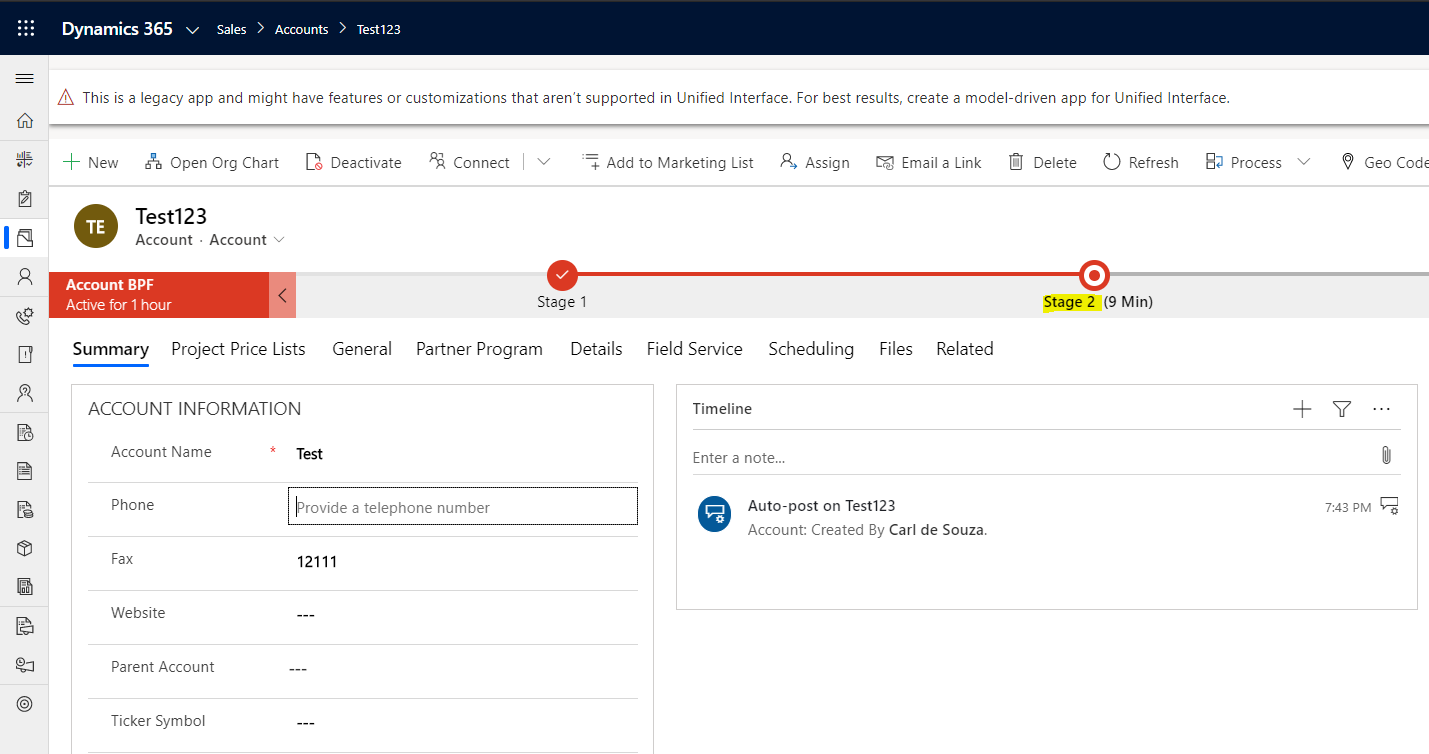
On running this by tabbing off our field, we see the BPF has is now at the next stage (note you may need to refresh the page to see this, or it may take a few seconds):
Next check out how to use MoveNext and MovePrevious to advance your BPFs in real time.
I AM SPENDING MORE TIME THESE DAYS CREATING YOUTUBE VIDEOS TO HELP PEOPLE LEARN THE MICROSOFT POWER PLATFORM.
IF YOU WOULD LIKE TO SEE HOW I BUILD APPS, OR FIND SOMETHING USEFUL READING MY BLOG, I WOULD REALLY APPRECIATE YOU SUBSCRIBING TO MY YOUTUBE CHANNEL.
THANK YOU, AND LET'S KEEP LEARNING TOGETHER.
CARL

Hii CARL DE SOUZA
actuvally i trying this code but its showing alert msg error.could plz help me.
Thanks,
Nani.
How to do this dynamically like by not giving static ID’S.. Can you please help me with that
I did this code and it is showing success msg but it didnt go to next stage automatically. I was waiting for a few min and also tried to refresh the page. but cannot go next stage. pls advise.
Thanks
Hi Guyz,
You can try below it is working fine for me in UCI 365 9.0 onpremise.
Keep a note the below guid is using stage id1 & stage id2 & BpfInstanceId which u can get from url also like he showed in browser.I think u guyz r using wrong id that’s why it is giving error.
function moveStage(executionContext){
var formContext = executionContext.getFormContext();
var action = formContext.getAttribute(“mdc_action”).getValue();
var activeStage = formContext.data.process.getActiveStage();
var stageId = activeStage.getId();
var stageName = activeStage.getName();
var currentBPFInstanceID= formContext.data.process.getInstanceId();
if (stageName==”Business Leader”)
{
if(action == 755040000){
//var Stage1 = “2ce1b836-4be9-472c-adfa-5c79f6bb2b14”;
var Stage2 = “a05a0aec-c1a1-453a-8434-90274f13447a”;
var entity = {};
entity[“activestageid@odata.bind”] = “/processstages(” + Stage2 + “)”;
entity[“traversedpath”] = stageId + “,” + Stage2;
//var BPFId = “54664223-41d6-ea11-a823-001dd8b70014”;
var req = new XMLHttpRequest();
req.open(“PATCH”, Xrm.Page.context.getClientUrl() + “/api/data/v9.0/mdc_gegroupprocesses(“+currentBPFInstanceID+”)”, true);
req.setRequestHeader(“OData-MaxVersion”, “4.0”);
req.setRequestHeader(“OData-Version”, “4.0”);
req.setRequestHeader(“Accept”, “application/json”);
req.setRequestHeader(“Content-Type”, “application/json; charset=utf-8”);
req.onreadystatechange = function() {
if (this.readyState === 4) {
req.onreadystatechange = null;
if (this.status === 204) {
//Success – No Return Data – Do Something
alert(“Success”);
} else {
alert(“Error”);
Xrm.Utility.alertDialog(this.statusText);
}
}
};
req.send(JSON.stringify(entity));
}
}
}
Thanks Carl for this blog….Keep on..
Thanks,
Jharana
Hello Carl,
thank you for your great Exampel 🙂
may i ask you, how we can do the same but by Power Automate?
Hi Carl
What you said is working only for one record created that time. But how to apply the same process for every record created. plz need to know this scenario.
Thank you
regards
khadar shaik