In this post, we will look at how to use GitHub with Visual Studio.
Download and Install
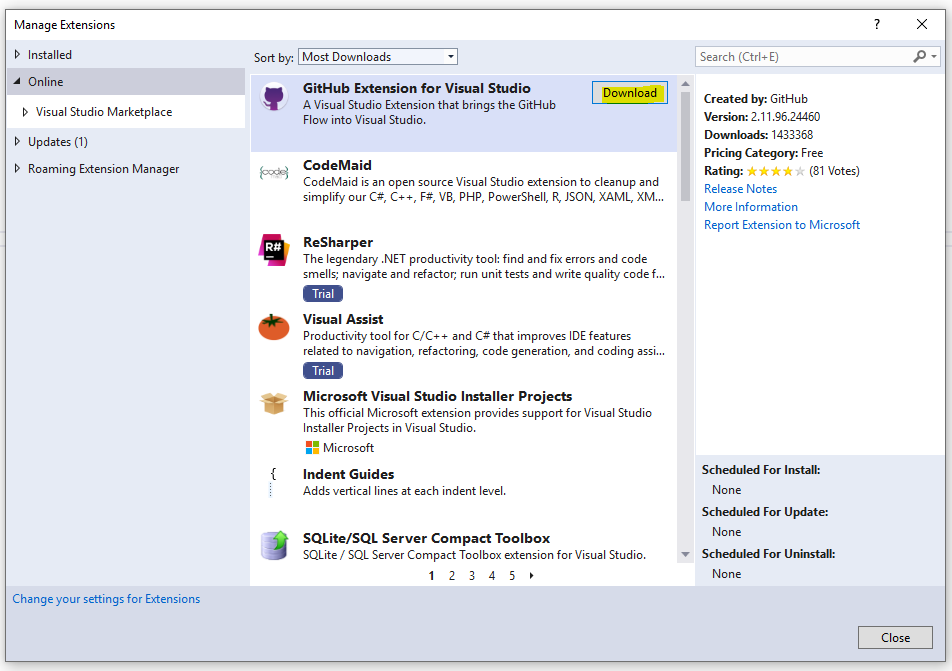
First, let’s download and install the GitHub extension for Visual Studio. In Visual Studio, select Mange Extensions and find the GitHub Extension for Visual Studio, then click Download:
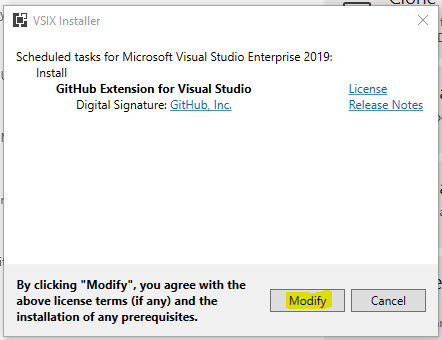
You will see a message to restart VS:

Click Modify:
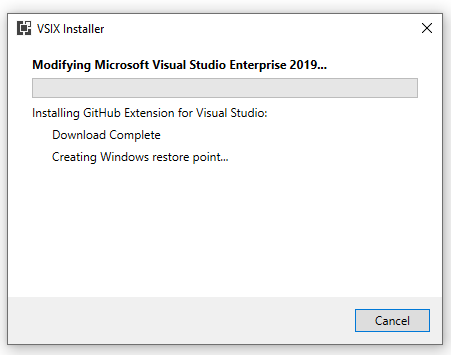
We see the extension installing:
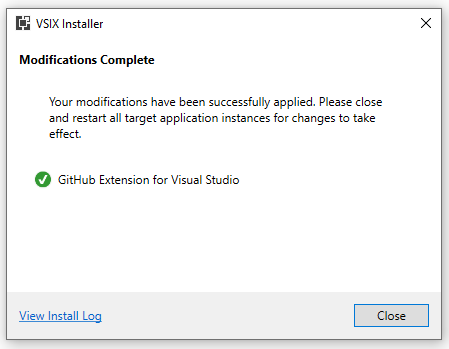
Click Close when complete:
Create Project
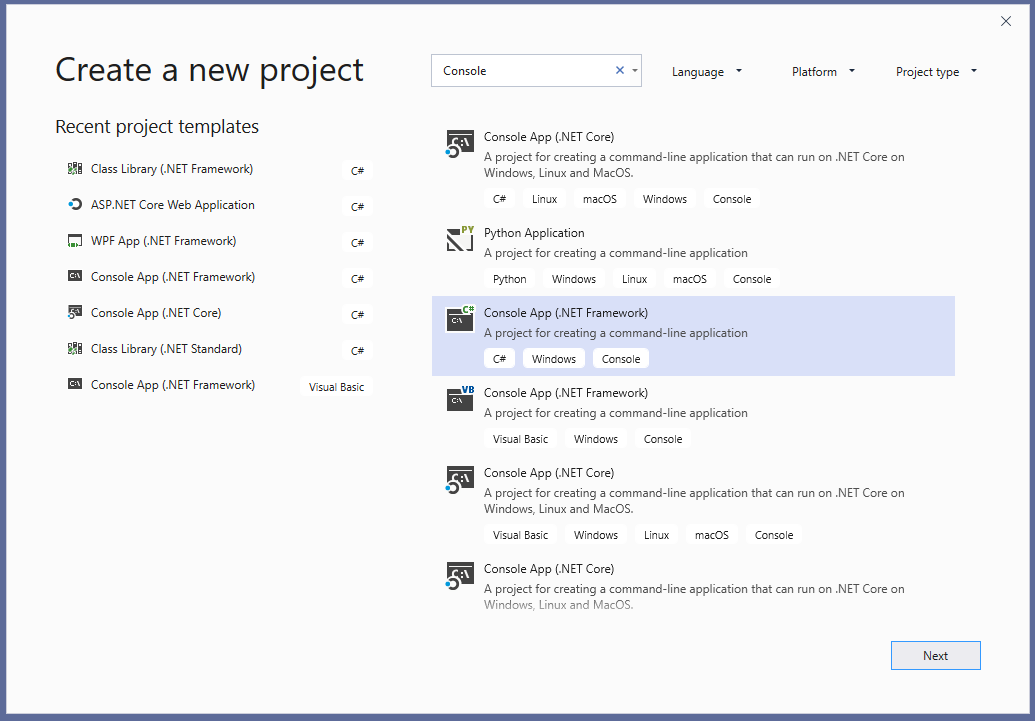
Now let’s create a new project in Visual Studio. We will create a Console App:
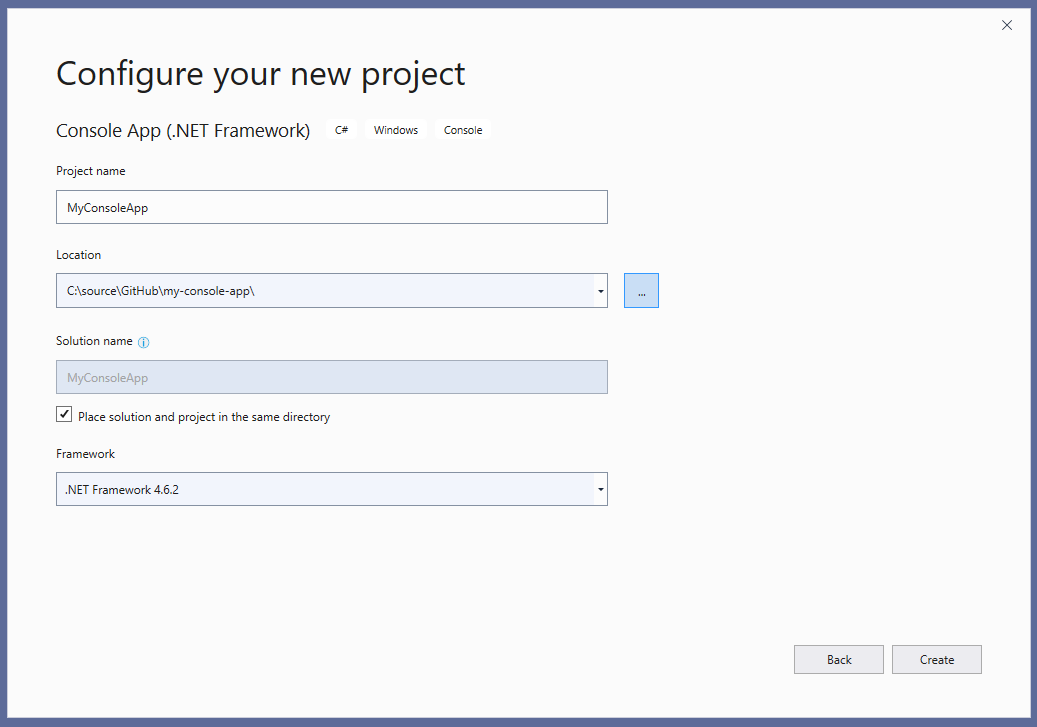
Select a folder. We will set the location as C:\source\GitHub\my-console-app:
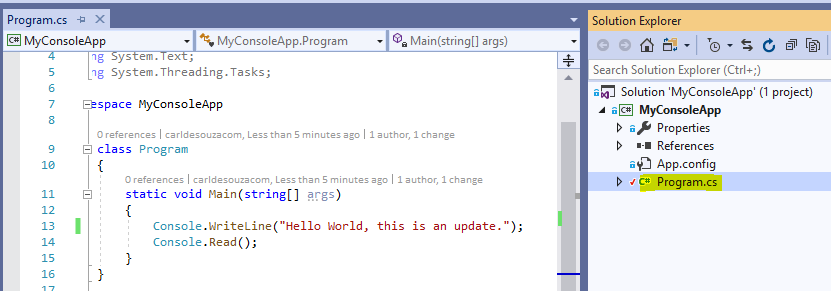
Now let’s add some code to the console app:
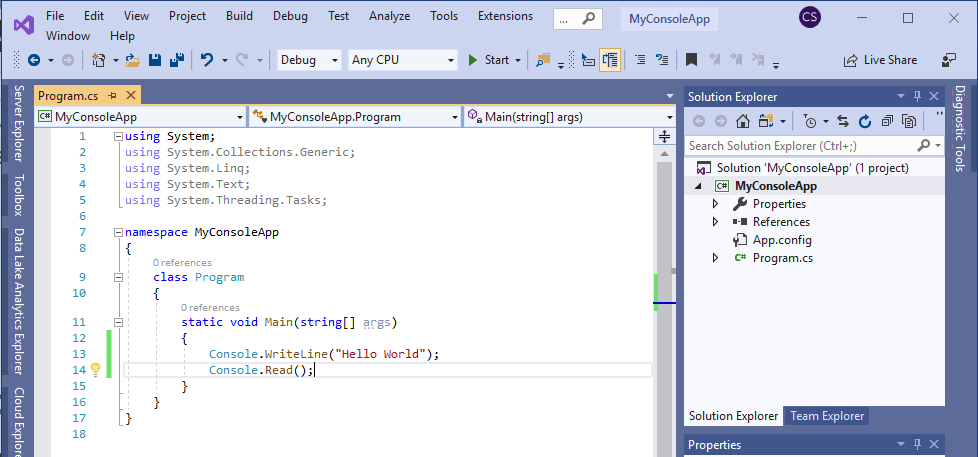
And run it:
![]()
Now let’s connect it to GitHub.
Connect to GitHub
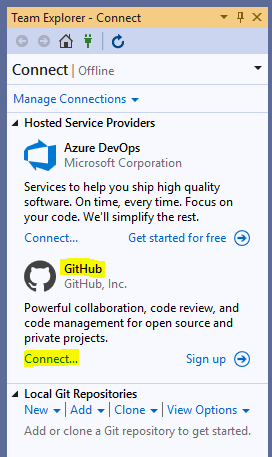
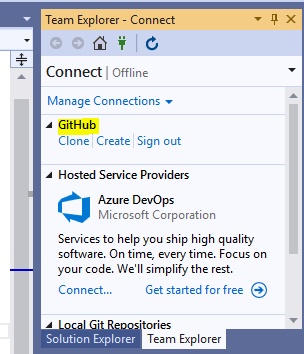
Select Team Explorer, then Connect:
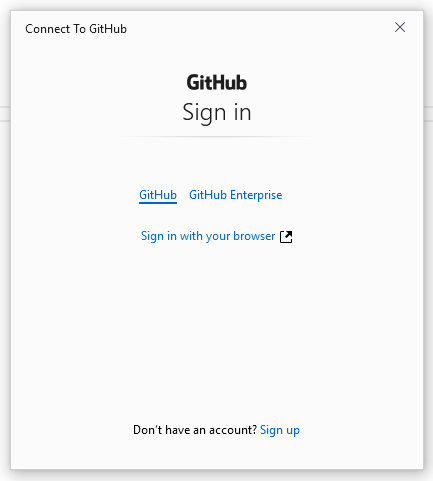
Log into GitHub:
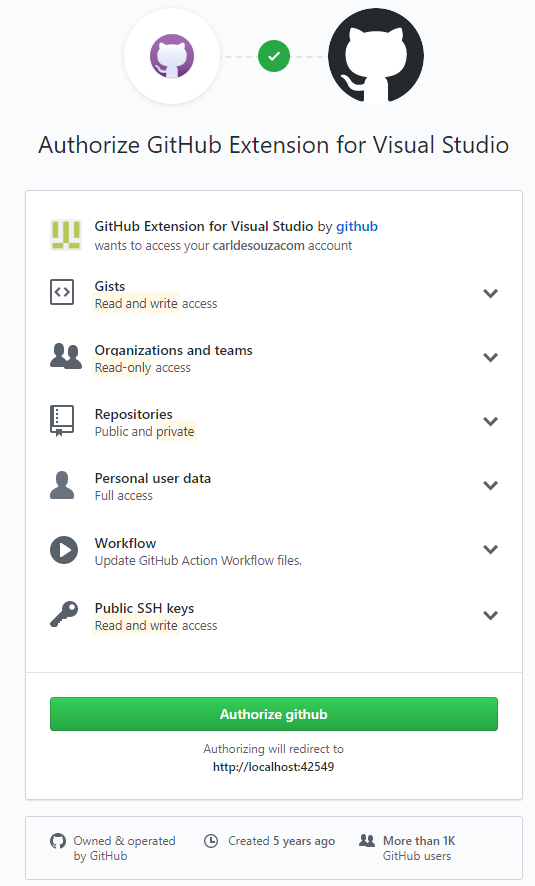
Then click on Authorize GitHub:
We now see in VS:
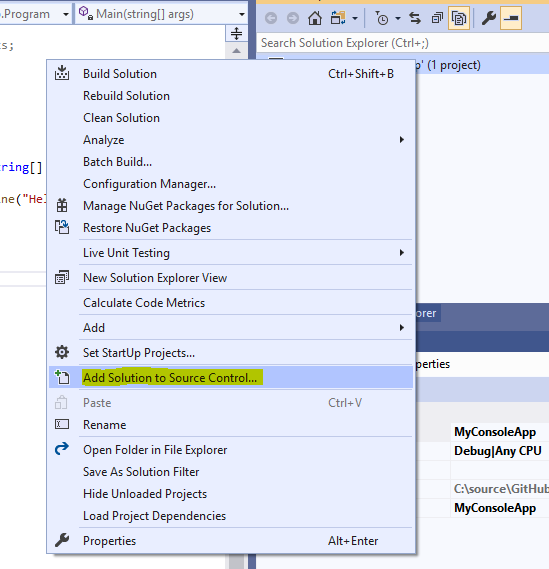
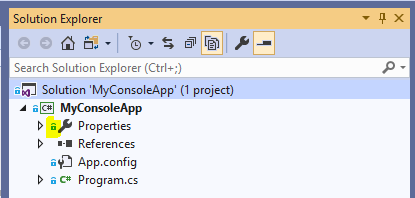
Now let’s add our code to Source Control:
We see the icons next to the files show it is under Source Control:
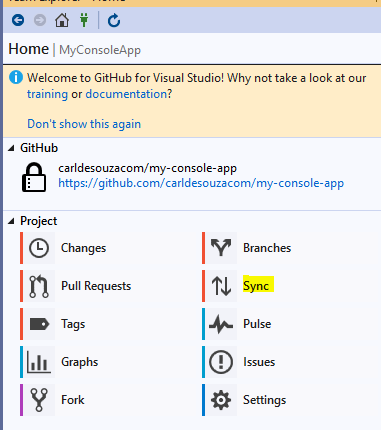
Now click the Home icon, then Sync:
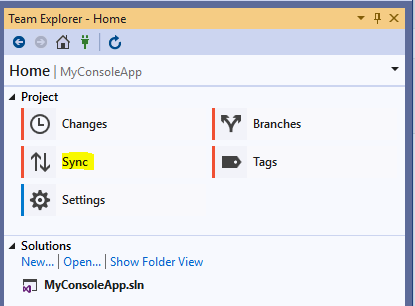
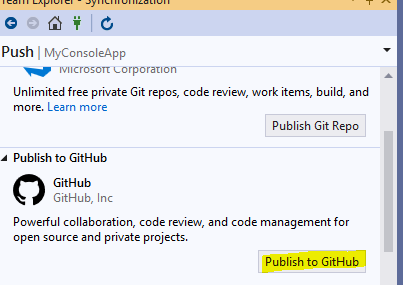
And Publish to GitHub:
New Repository
Let’s do an example where the repository does not exist.
Enter the name of a repository and click Publish:
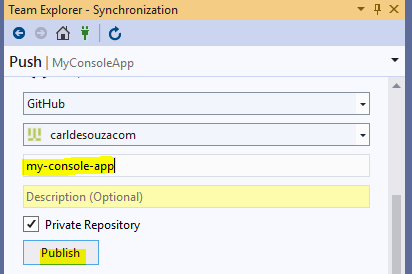
We see the Repository is successfully created:

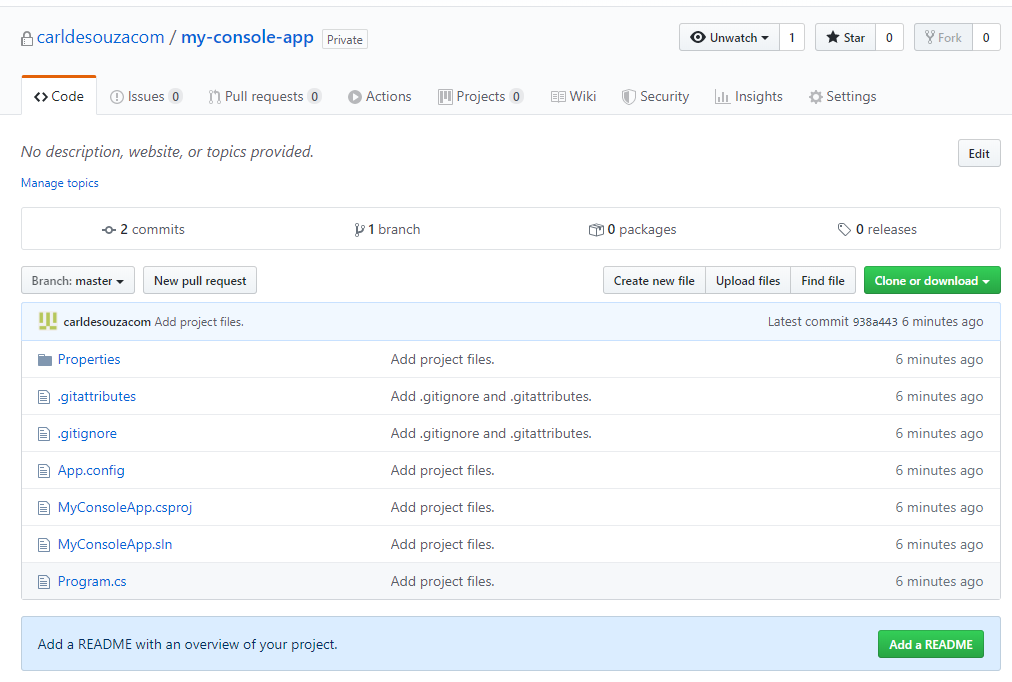
And we see it in GitHub:
Let’s make a change:
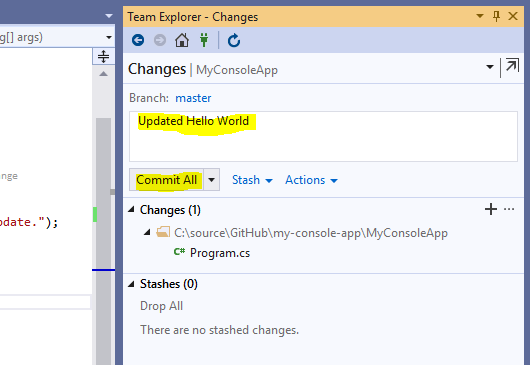
To commit our changes locally, click Commit:

We need to enter a comment, then click Commit All:
Commit 327c9509 created locally. Sync to share your changes with the server:
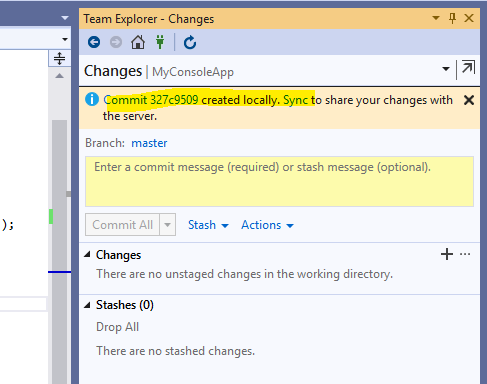
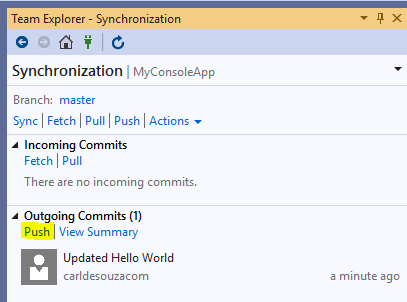
Go to Sync:
We see the outgoing commit. Click Push:
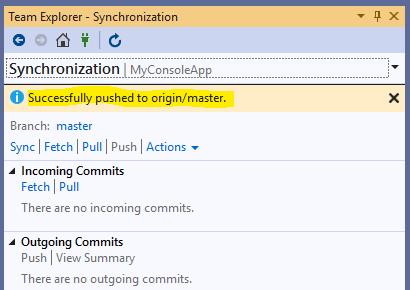
We see “Successfully pushed to origin/master”.
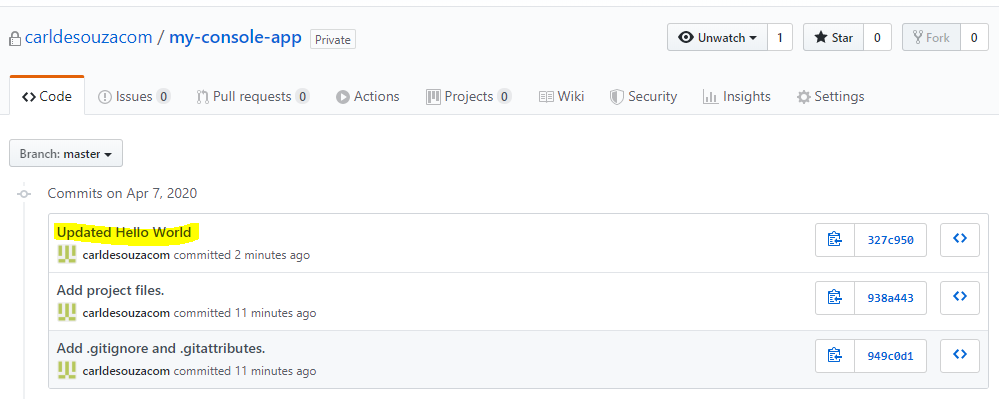
In GitHub we see the change:
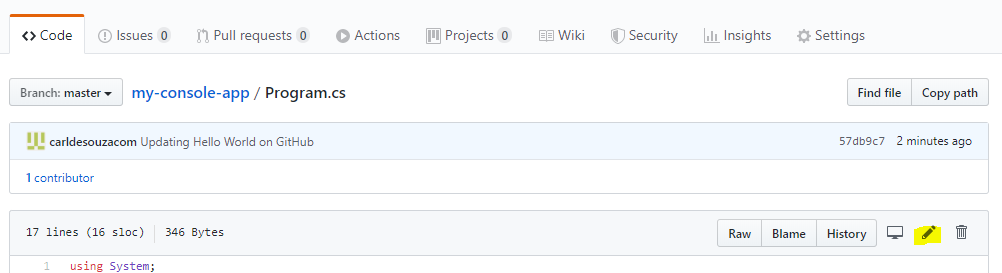
Let’s make a change in GitHub so we can pull it down from Visual Studio. In GitHub, click the modify icon of the Program.cs file:
Make a change:
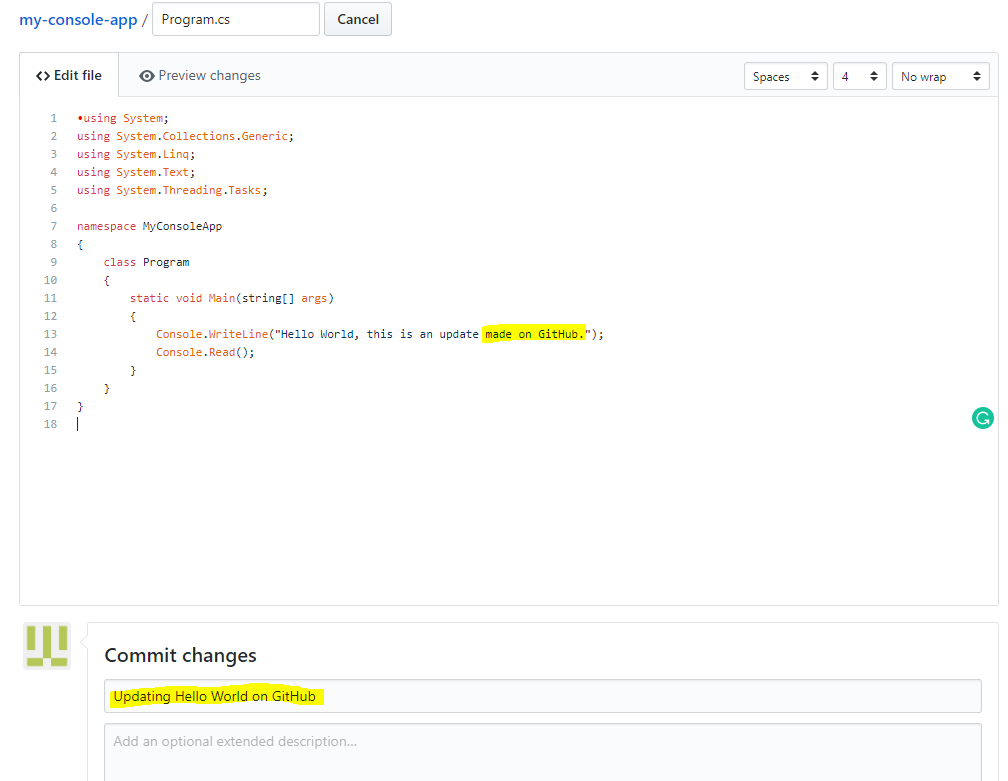
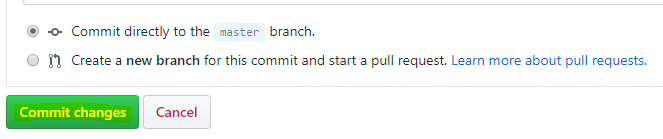
Click Commit Changes:
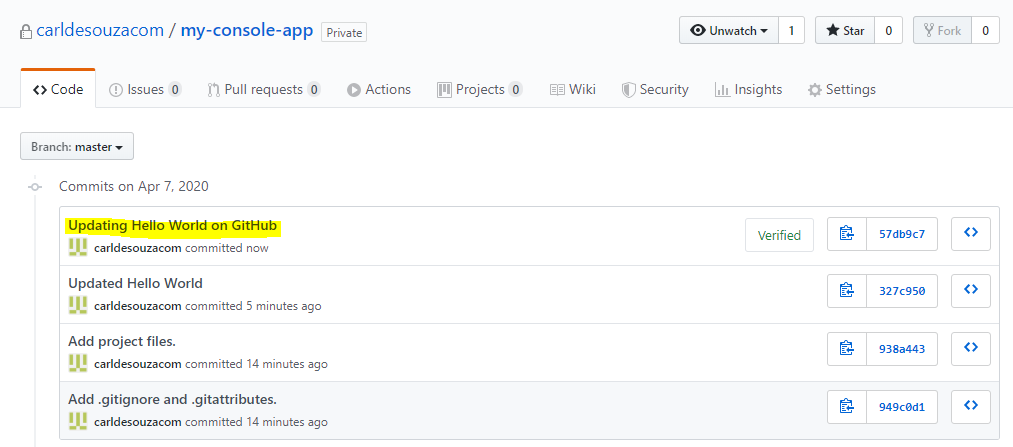
We see the change committed:
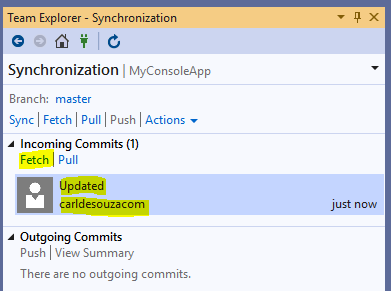
Now in VS, click Fetch. We see the update come through:
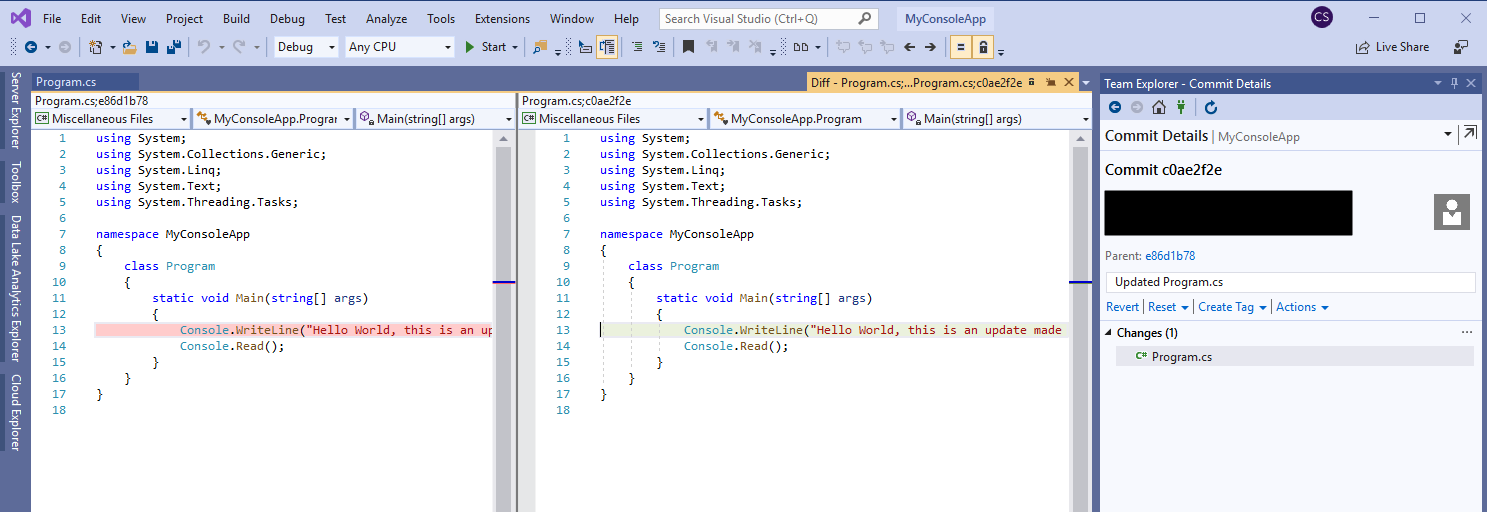
Clicking on the update, we can see the differences between the local file and the incoming file:
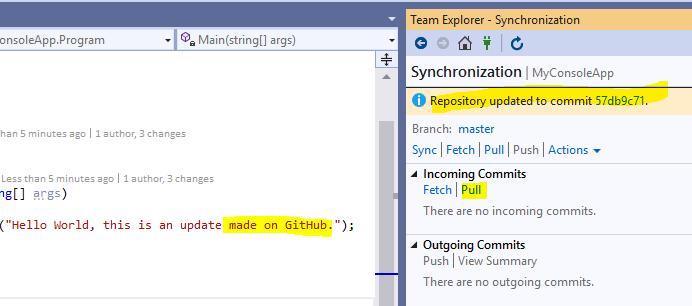
Click Pull. The local file is now replaced with the incoming changes:
Existing Repository
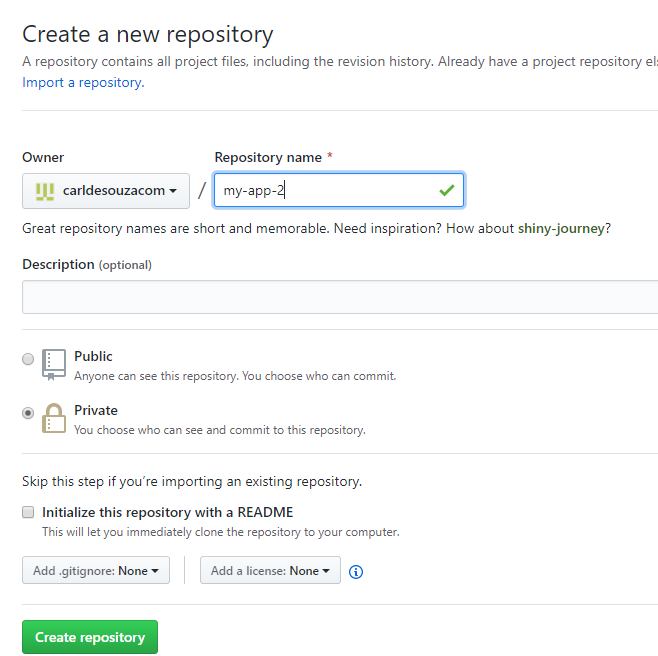
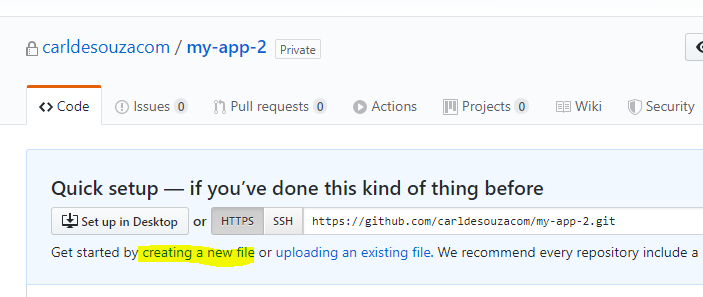
We have a repo called my-app-2:
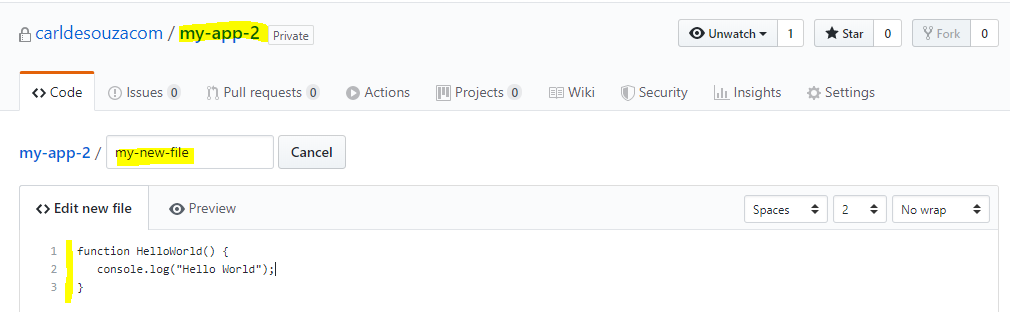
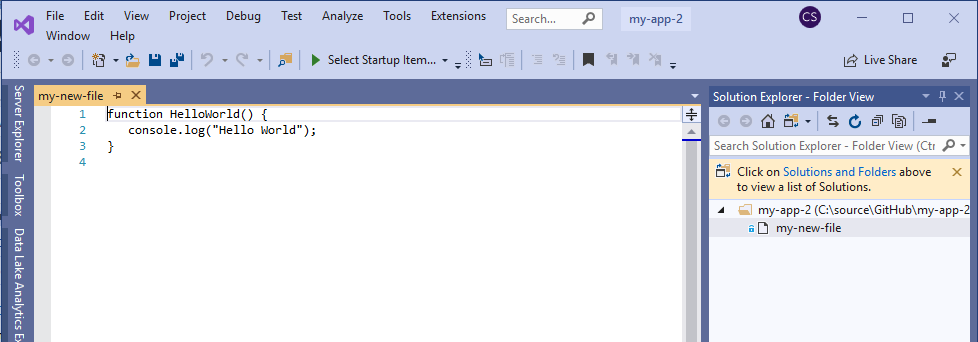
Let’s create a new file:
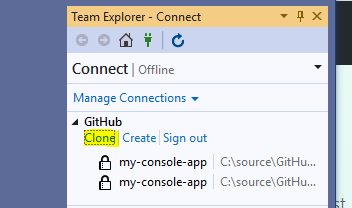
Select the Repo and select a local folder. It will add on the end the repo name. Click Clone:

We see:
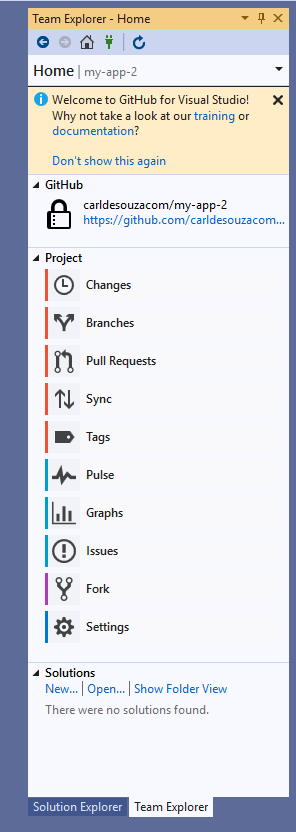
And we are connected:
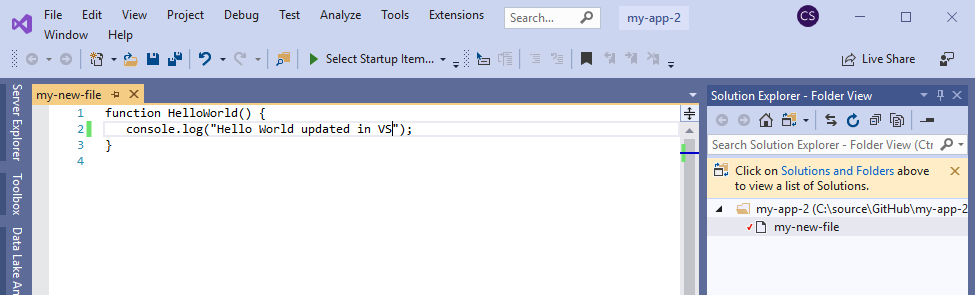
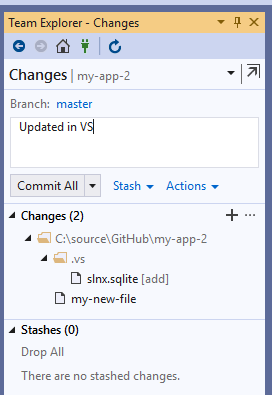
Make an update:
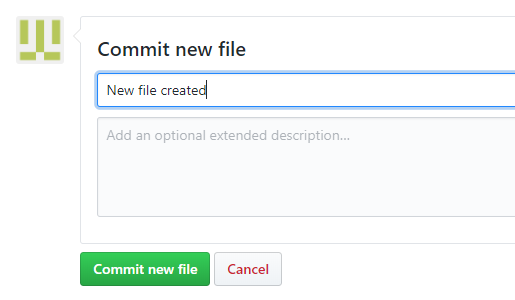
Commit the changes locally:
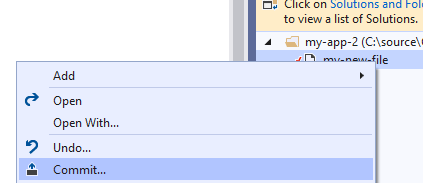
Click Commit All:
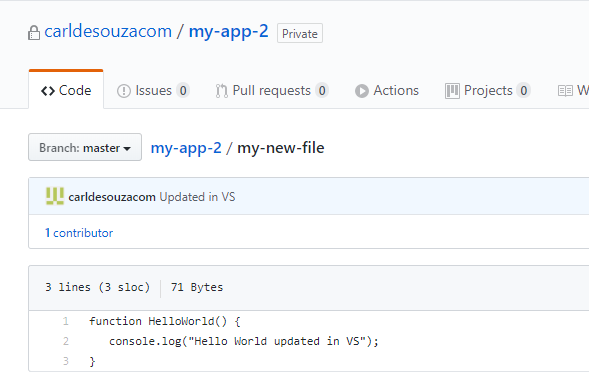
Now sync with GitHub:

Click Push:

We see the changes:
I AM SPENDING MORE TIME THESE DAYS CREATING YOUTUBE VIDEOS TO HELP PEOPLE LEARN THE MICROSOFT POWER PLATFORM.
IF YOU WOULD LIKE TO SEE HOW I BUILD APPS, OR FIND SOMETHING USEFUL READING MY BLOG, I WOULD REALLY APPRECIATE YOU SUBSCRIBING TO MY YOUTUBE CHANNEL.
THANK YOU, AND LET'S KEEP LEARNING TOGETHER.
CARL
