Azure App Services are a cloud platform that allows you to build, deploy and scale applications such as web, mobile (push notifications, offline sync), APIs and Logic Apps. Applications can run on Windows and Linux, and can be written in languages such as .NET, .NET Core, Node.js, Python, Java, Docker and more. App Services are basically a platform as a service.
Let’s deploy a web app on Azure App Services. This will provide benefits such as auto-scaling, continuous deployment, custom domains, authentication support etc.
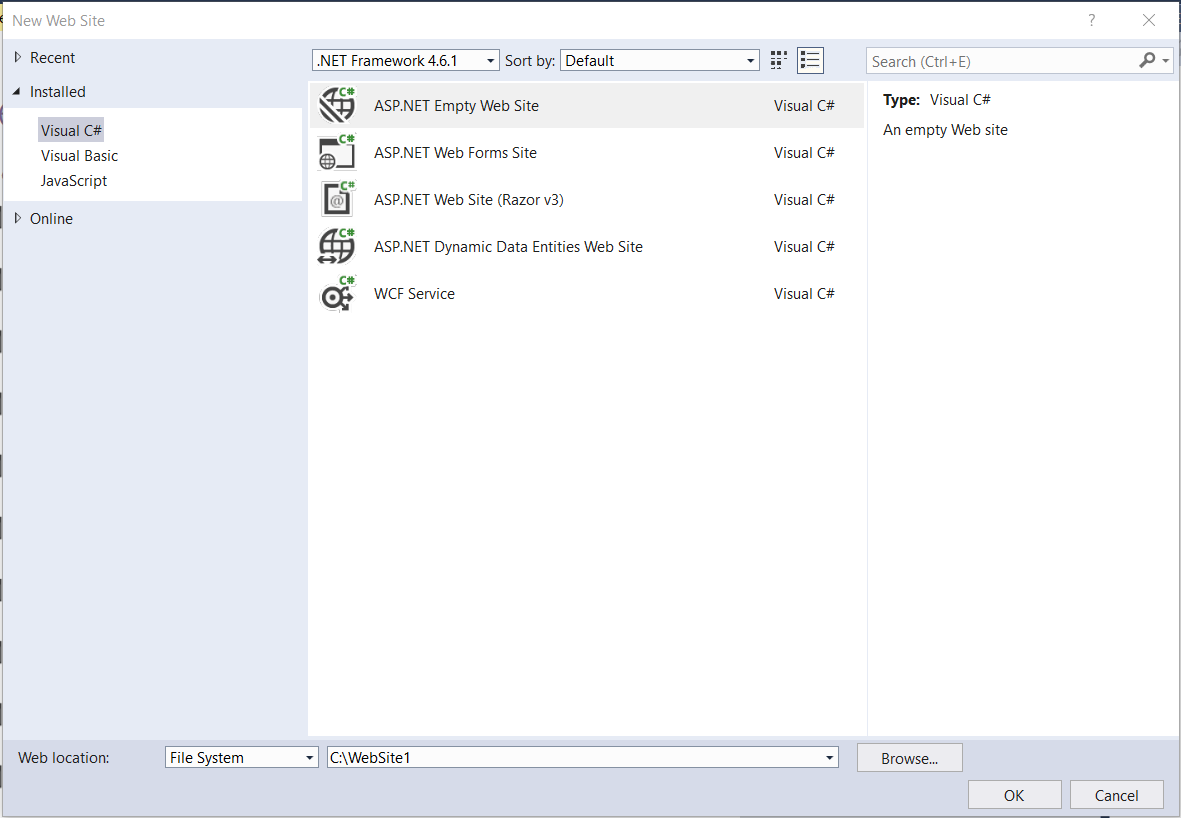
First, we will create a new empty ASP.NET website in Visual Studio:
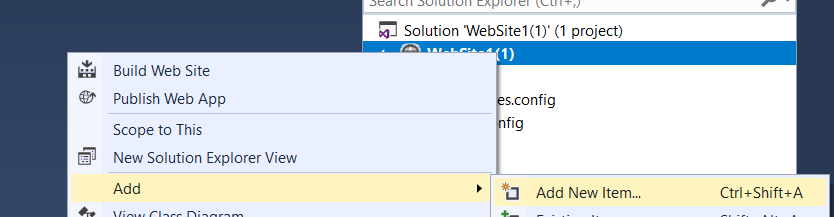
Add a new item:
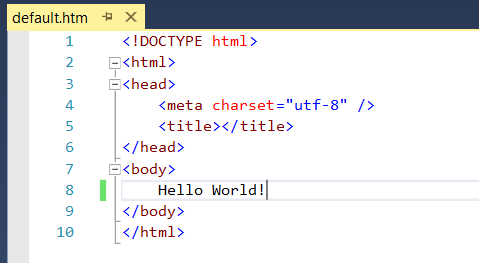
Add a new html page:

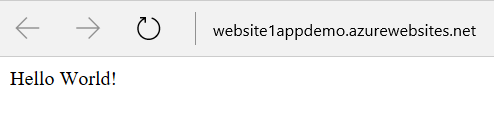
Add Hello World!
Run the website to test it:

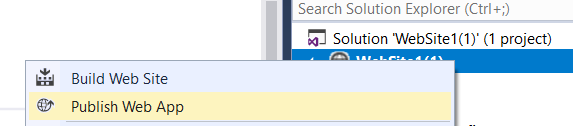
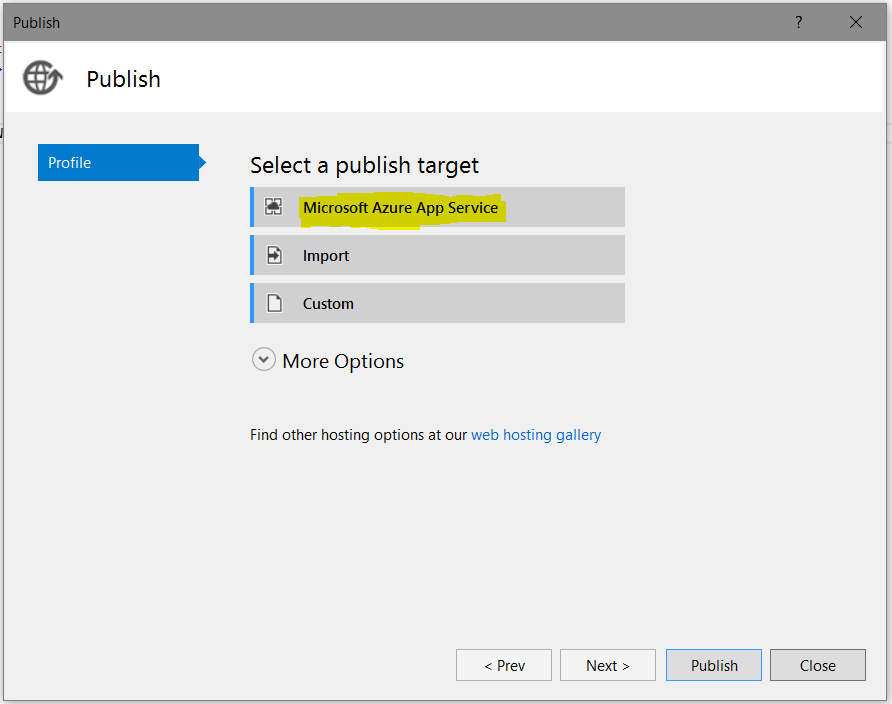
Now right click and Publish:
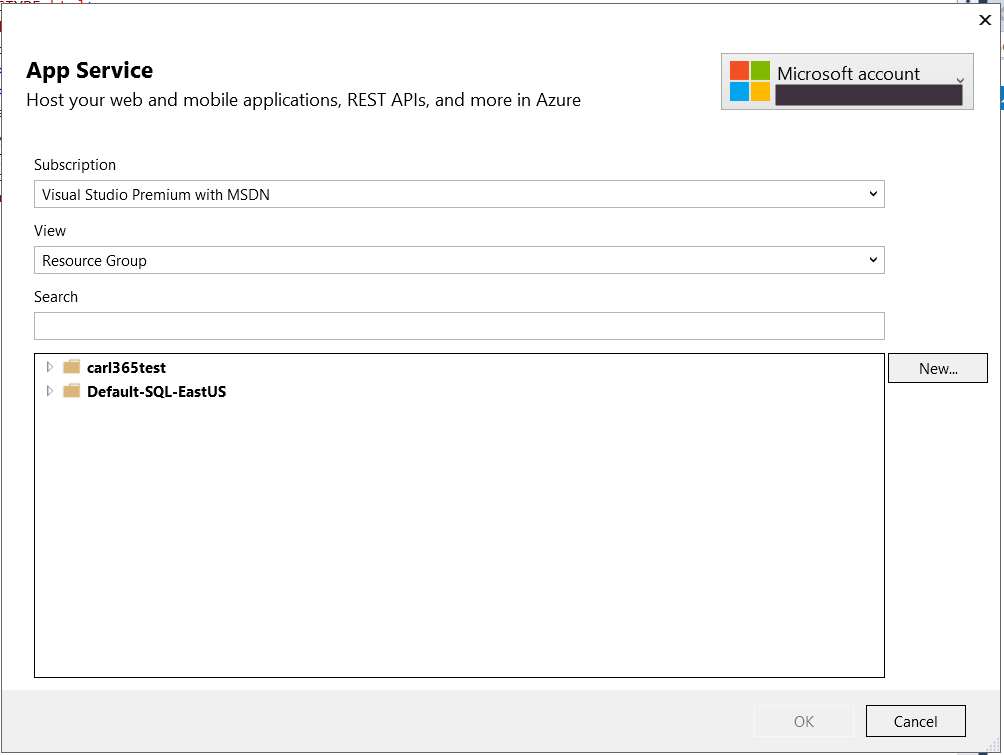
Select Microsoft Azure App Service:
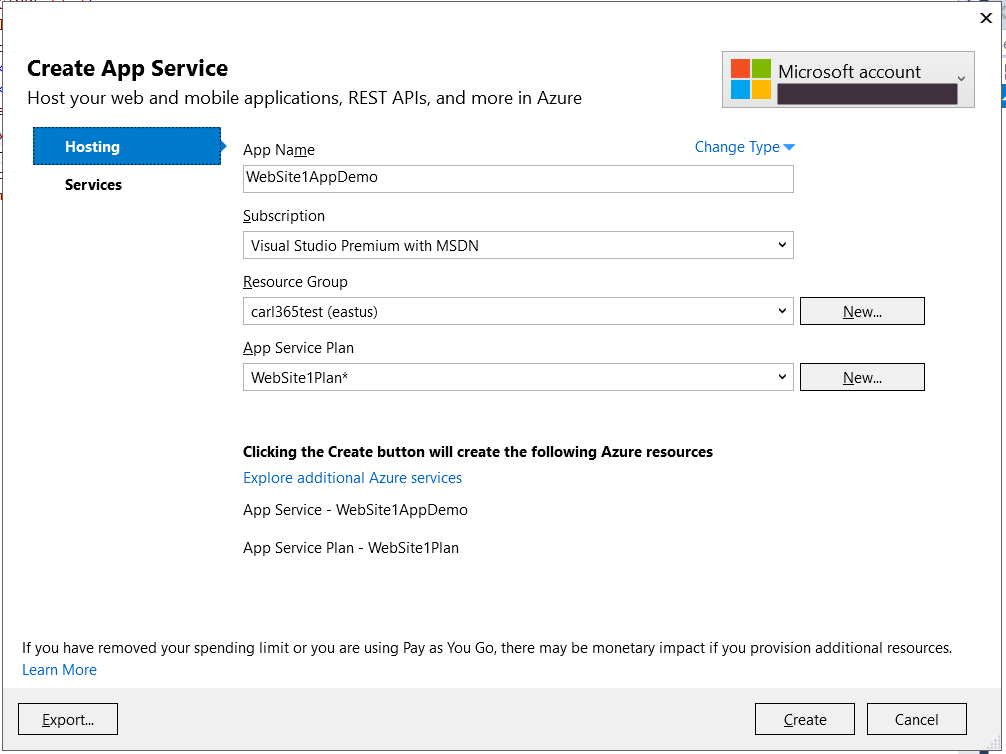
You will see below. We will create a new app service by clicking the New button:
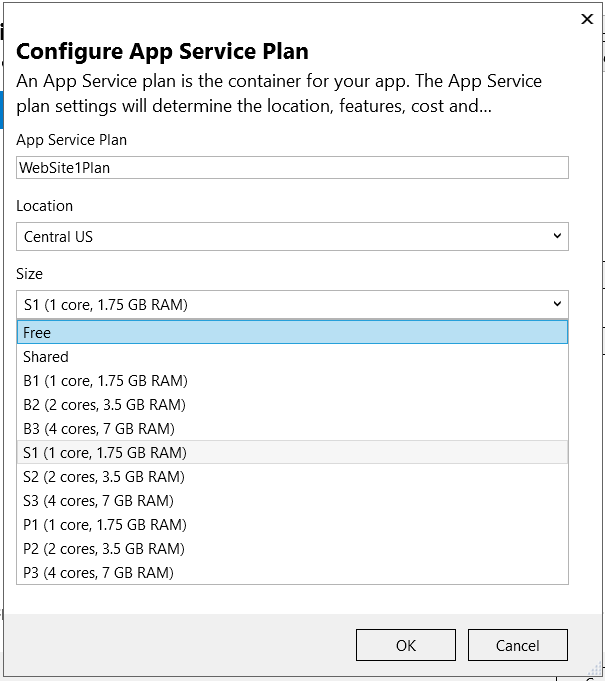
We will then create a new App Service Plan by clicking the New button:
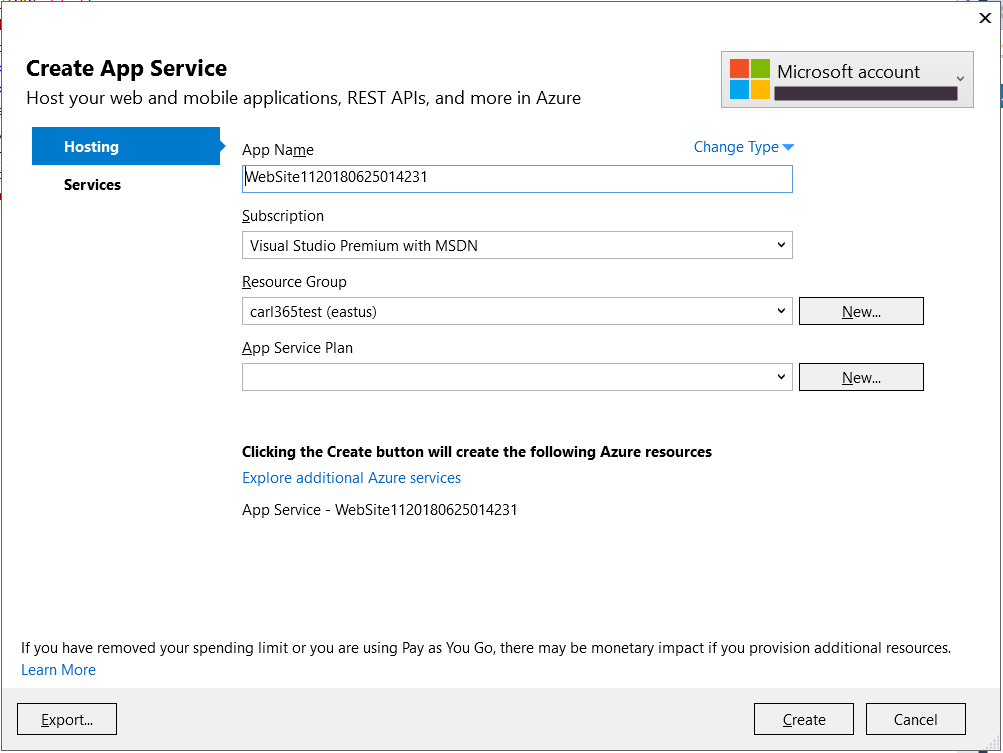
Here we can set the name of the plan, the power, location etc:
Click OK. Here’s how it should look:
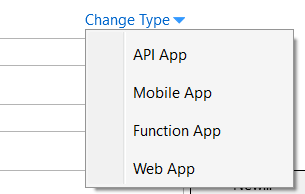
Note the ability to change the type:
- API App
- Mobile App
- Function App
- Web App
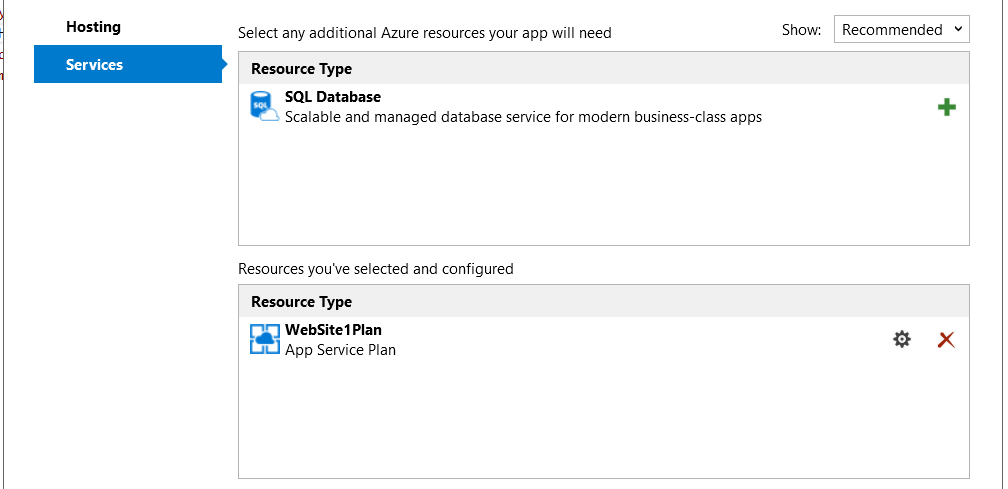
And the Services tab:
Click Create. You will then see this window. Click Publish:
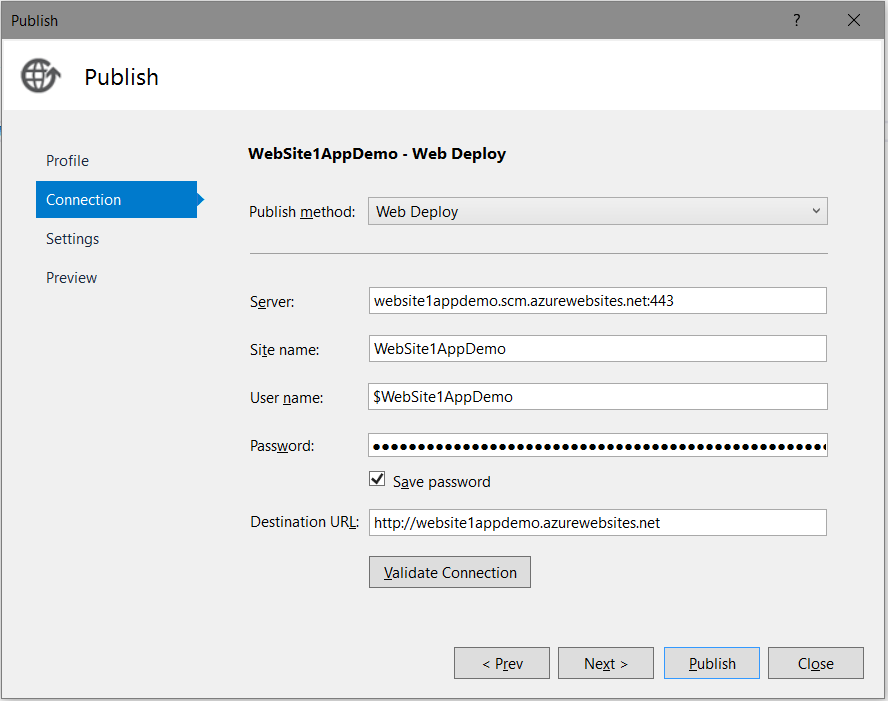
Visual Studio will show the completed deployment in the Output window, then open the site in your web browser:
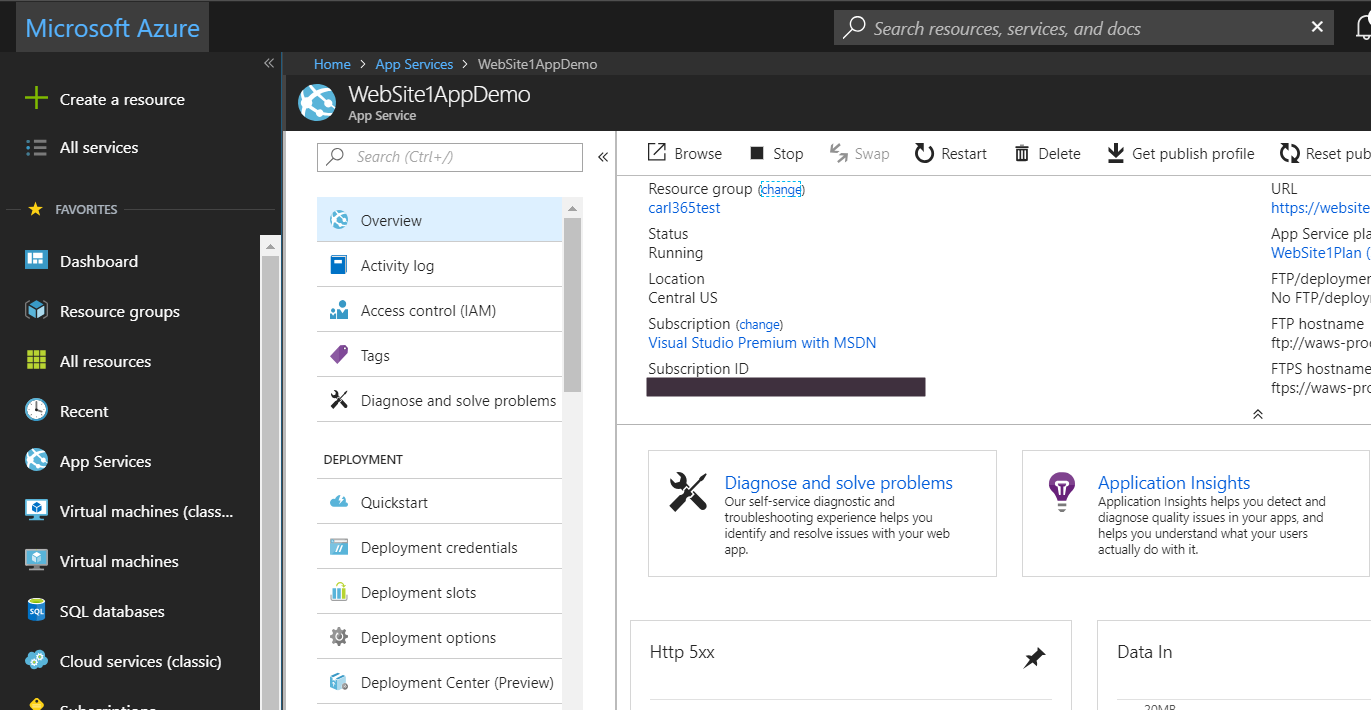
Now, in https://portal.azure.com under App Services you will see the created service:
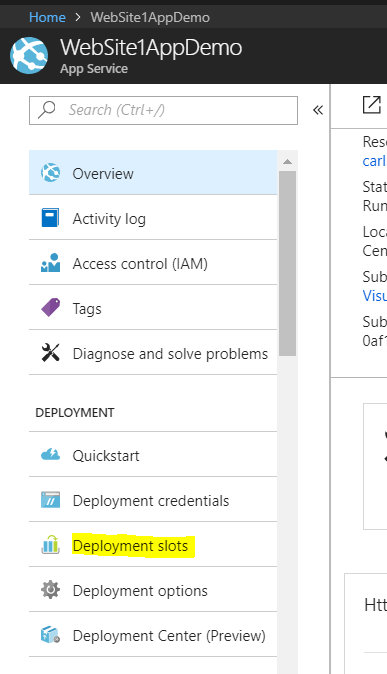
Now let’s change the deployment slot for this app. Your deployment slot is basically which environment you are deploying to, e.g. test, production etc.
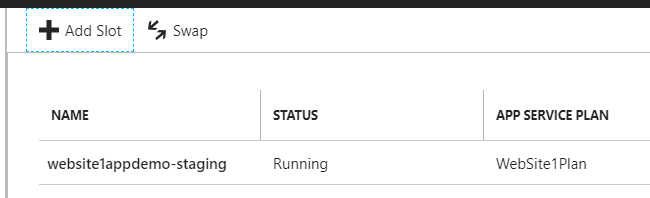
In Azure Portal, go to the app and select Deployment Slots:
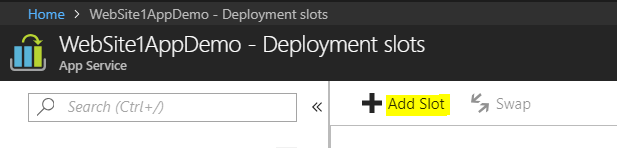
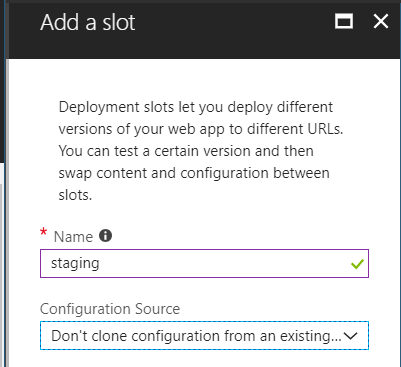
Click Add a Slot:
We will add a Staging slot:
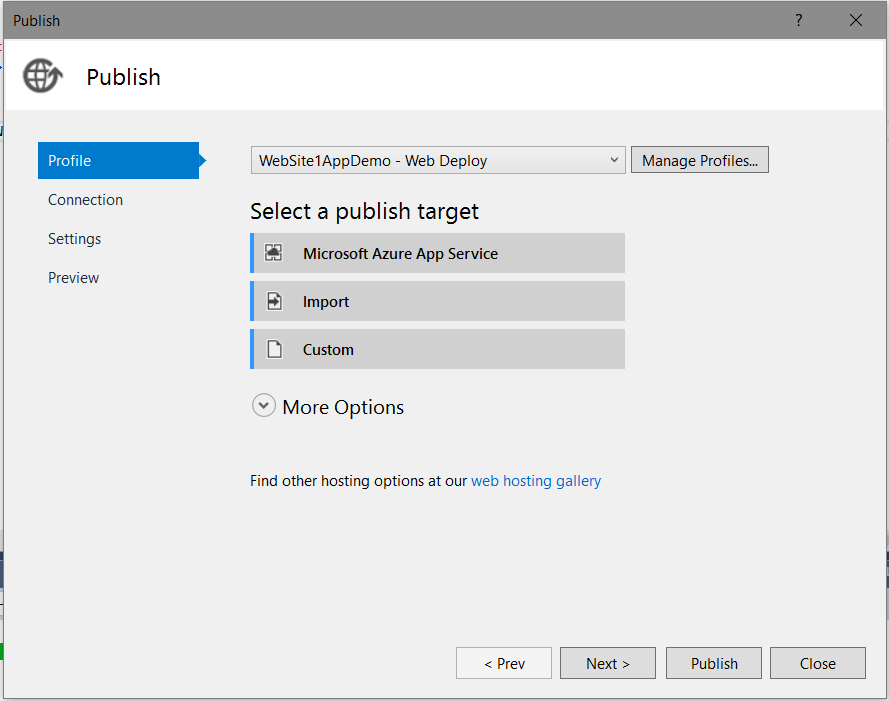
Back in Visual Studio, click on Publish again, then Microsoft Azure App Service below:
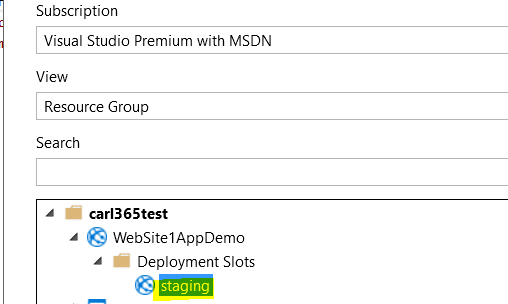
Here we can see the deployment slots – showing our new staging slot:
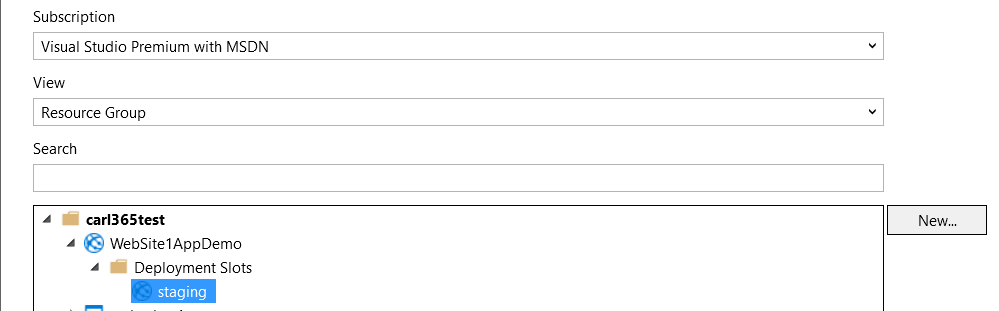
Select the slot, click OK and Publish. You can see the URL has changed to be the staging environment:

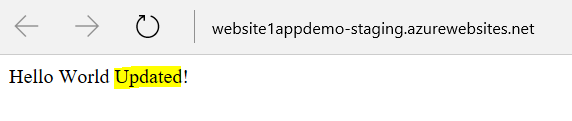
Now if we make a change in Visual Studio, we can determine where we want to publish the change, the staging environment or production. If we deploy to staging the same as above:
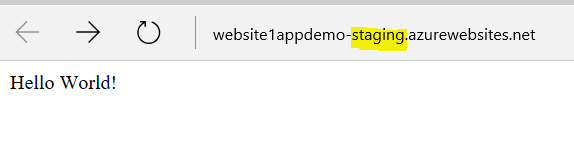
Then we will see the staging environment be updated:
But not the production environment:

We can then swap environments in the Azure portal:
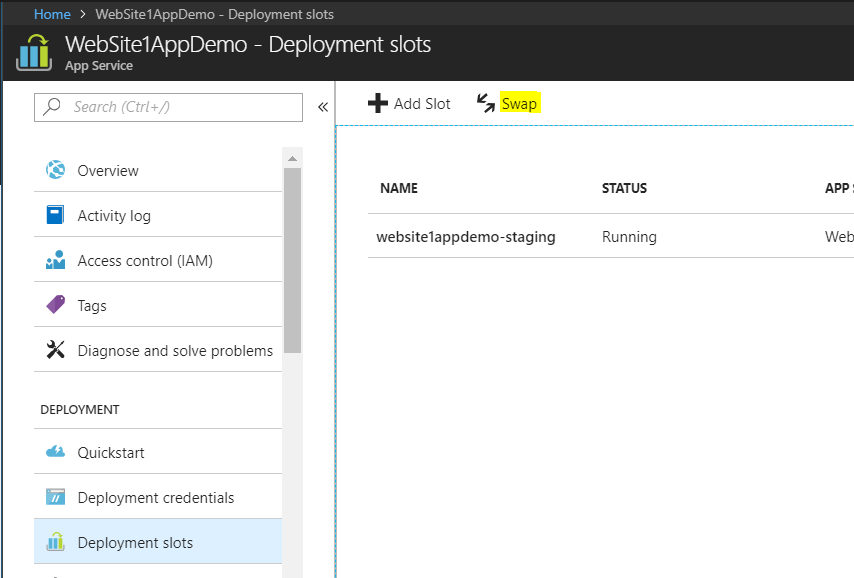
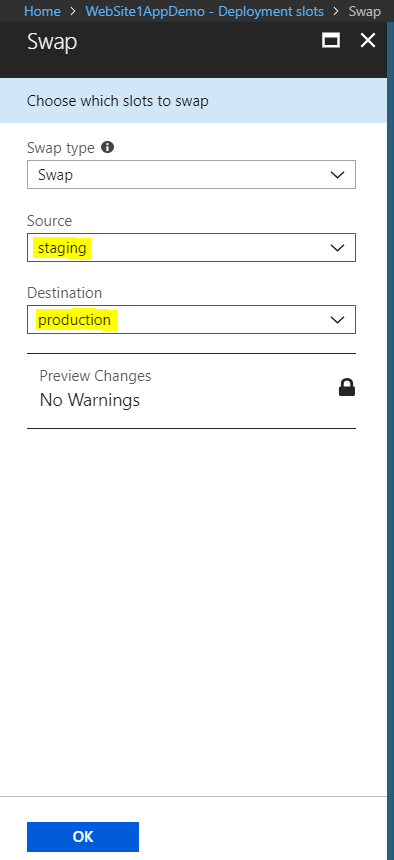
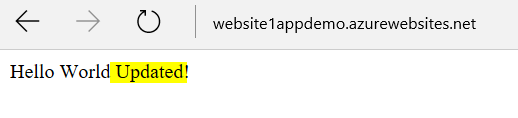
We will swap staging with production:
The main production site is now “Updated”:
And the staging site:
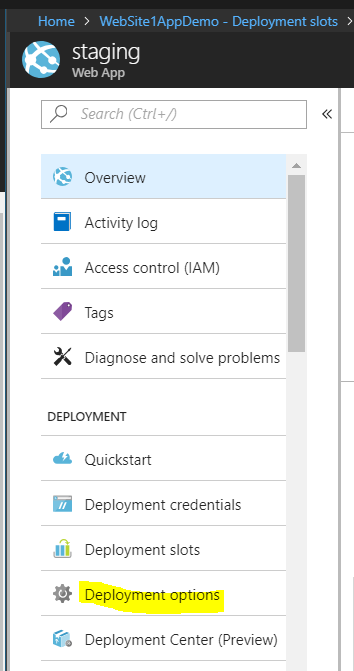
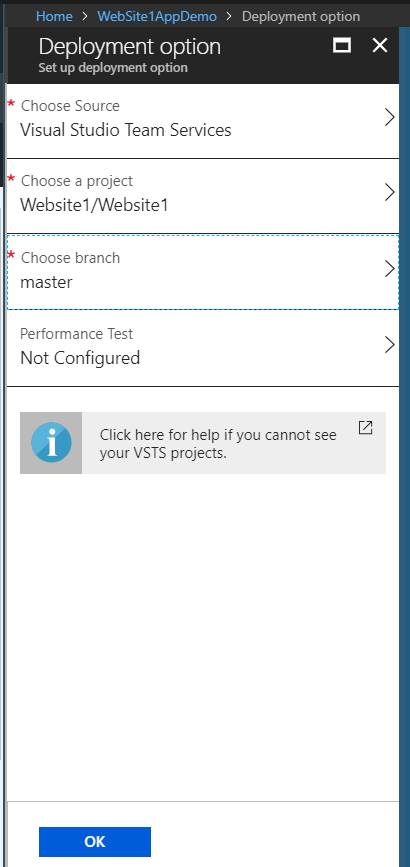
We can also define the source with Deployment Options, so you can deploy straight from your source control:
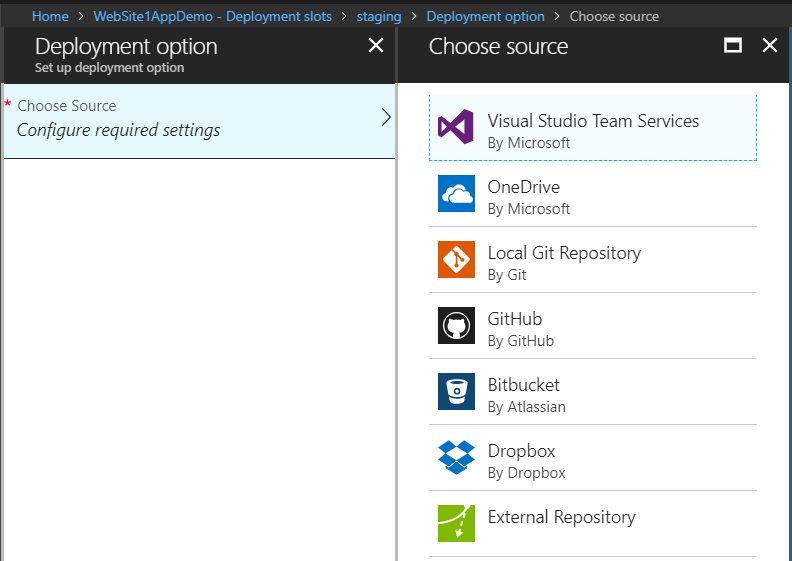
Click Source and see the options available:
- Visual Studio Team Services
- OneDrive
- Local Git Repository
- GitHub
- BitBucket
- Dropbox
- External Repository
We will select VSTS and select a project we previously created:
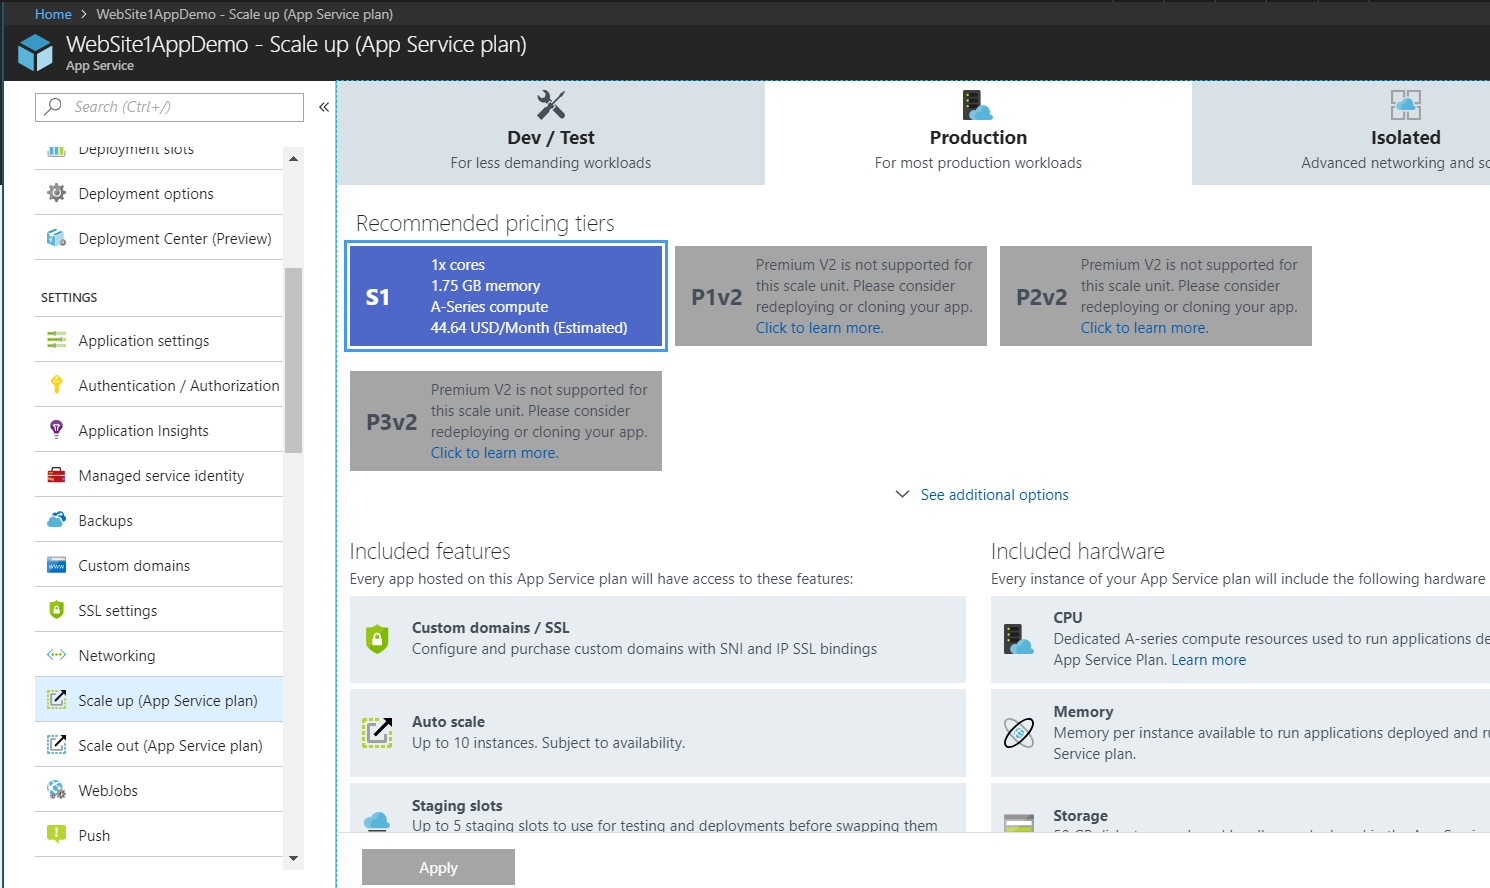
We can also scale up and out using the portal:
I AM SPENDING MORE TIME THESE DAYS CREATING YOUTUBE VIDEOS TO HELP PEOPLE LEARN THE MICROSOFT POWER PLATFORM.
IF YOU WOULD LIKE TO SEE HOW I BUILD APPS, OR FIND SOMETHING USEFUL READING MY BLOG, I WOULD REALLY APPRECIATE YOU SUBSCRIBING TO MY YOUTUBE CHANNEL.
THANK YOU, AND LET'S KEEP LEARNING TOGETHER.
CARL
