Logic Apps is a service in Microsoft Azure for connecting different apps together, without having to write code. Simply, it is a workflow engine in the cloud. For example, if a customer opens a ticket in your support system and uploads a screen shot, with Logic Apps, on creating the ticket you could create a new record in SharePoint with the image, create a new record in your CRM system such as Salesforce, and send an email to the customer as an acknowledgement.
Logic apps come with several templates to help you get up and running with integrating systems together and performing actions based on events in these systems.
Examples of logic apps include:
- Workflow – you wait for a user to do something, then respond to it, e.g. approvals
- Business Process Orchestration
- Integrations between systems such as ETL, messaging, data migrations
Logic apps can connect to different systems. Examples of data connectors available include:
- Database – SQL Server, Oracle, MySQL
- Services – Power BI, Data Lake
- Apps – Dynamics 365, Salesforce, SharePoint, Slack
- Messaging – ServiceBus, EventHub
- File Data – Google Drive, DropBox
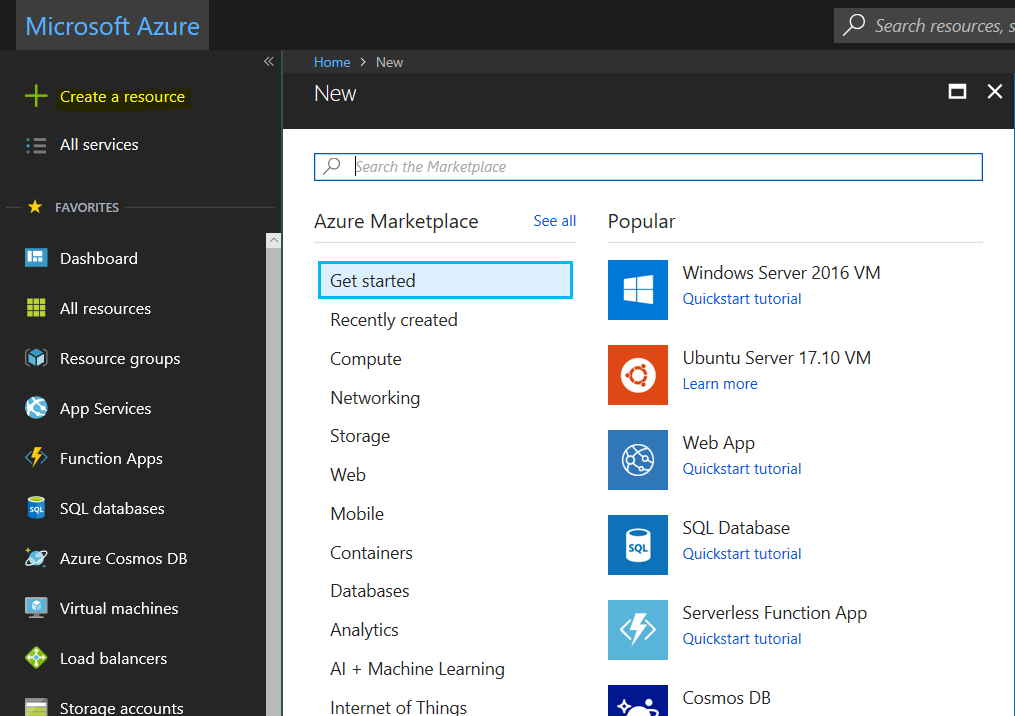
To create a new logic app, go to https://portal.azure.com/ and select + Create a resource:
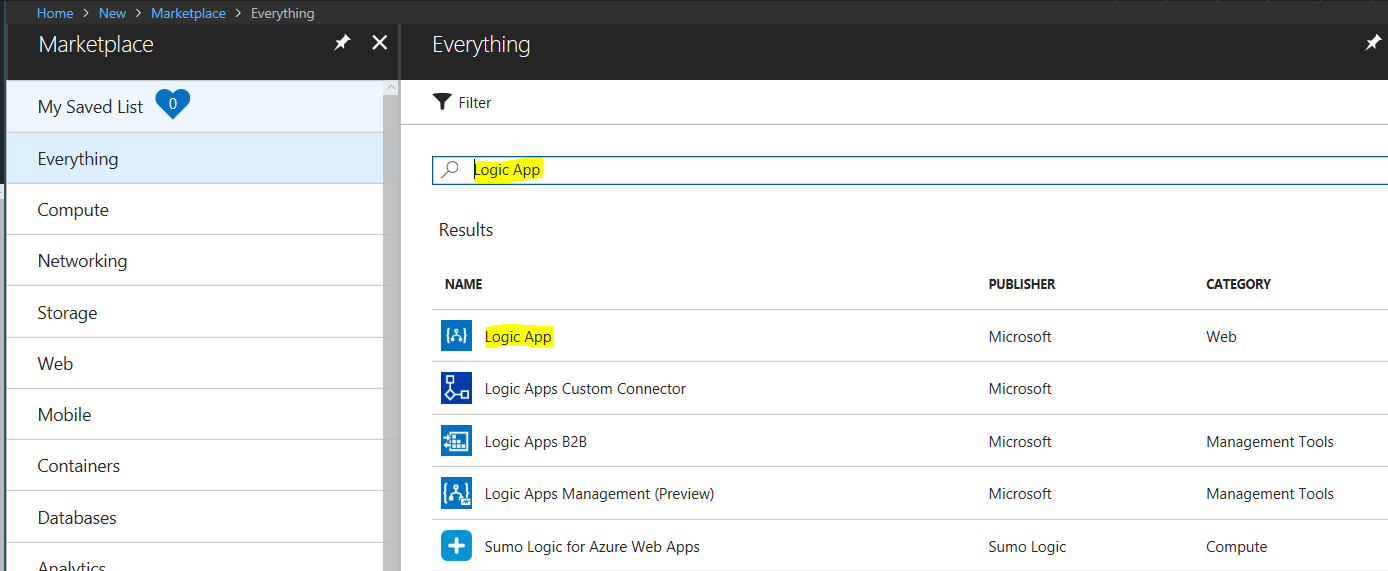
Search for Logic App and select Logic App:
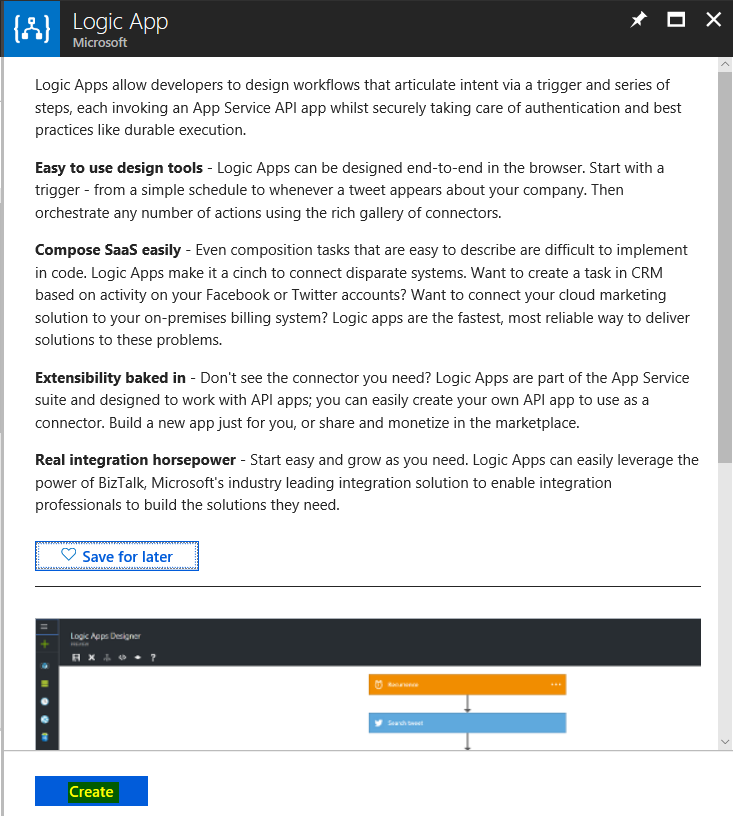
Click Create:
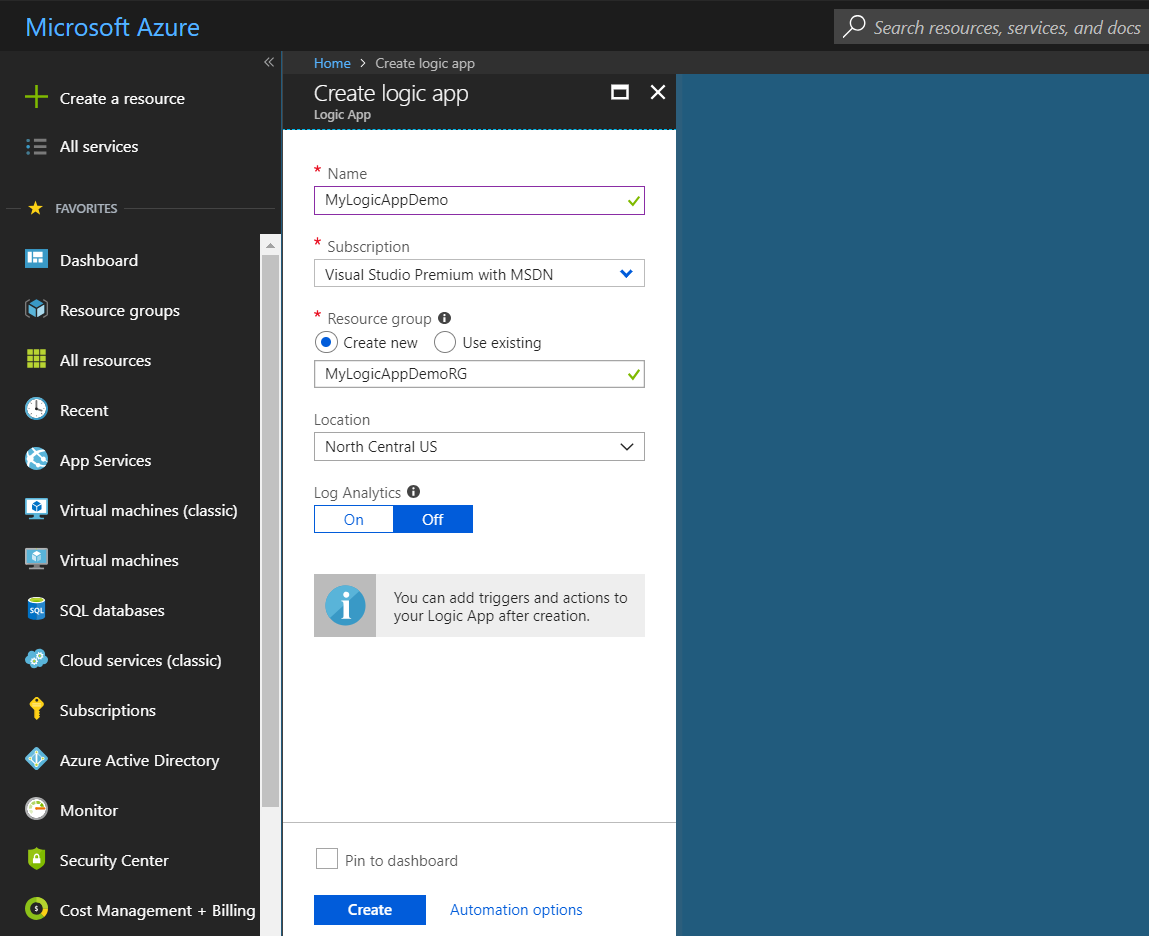
We can then set the name, resource group and location of the app. We will call ours MyLogicAppDemo. Click Create:
When the app is created, select to open it. There are basically 2 parts to a logic app, triggers and actions, i.e. when something happens, do something else.
We can now define triggers for our app. Below you can see some examples, including
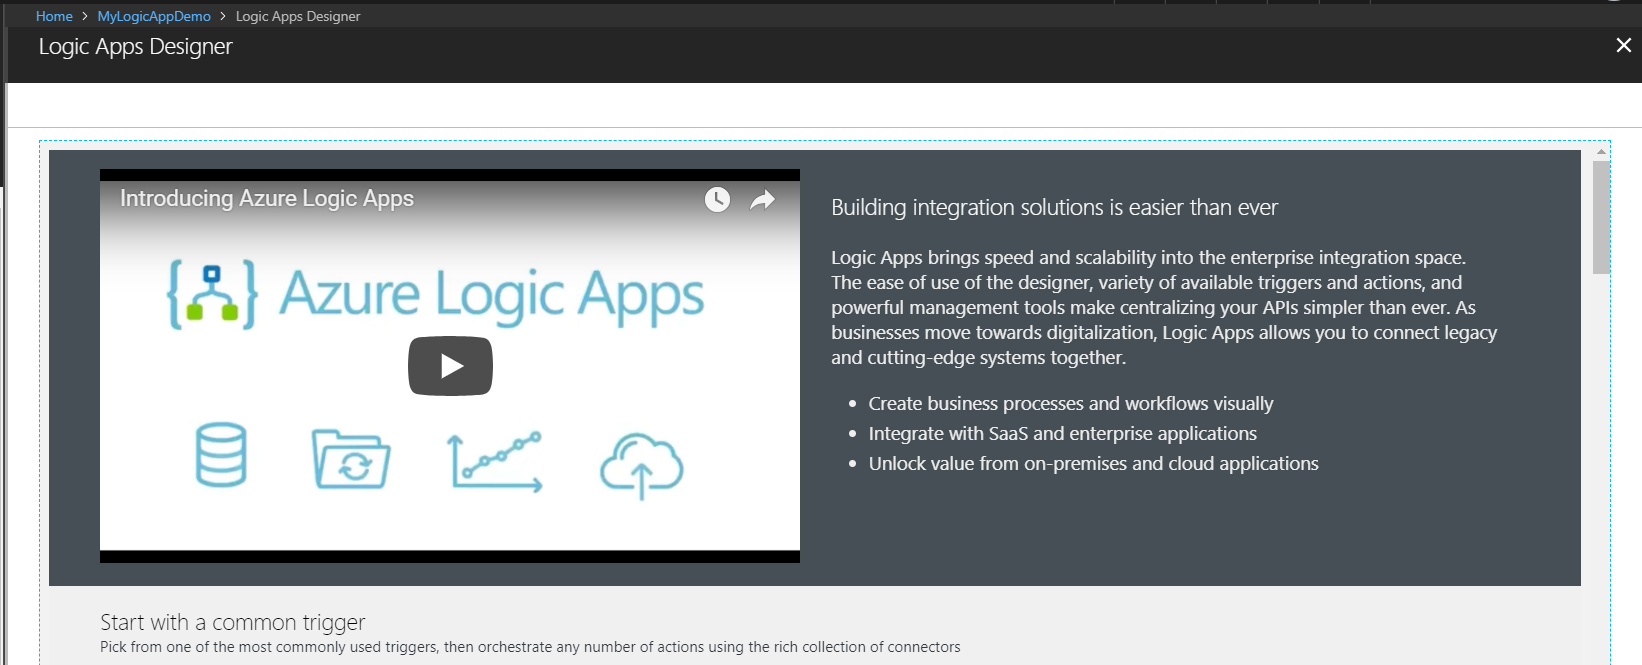
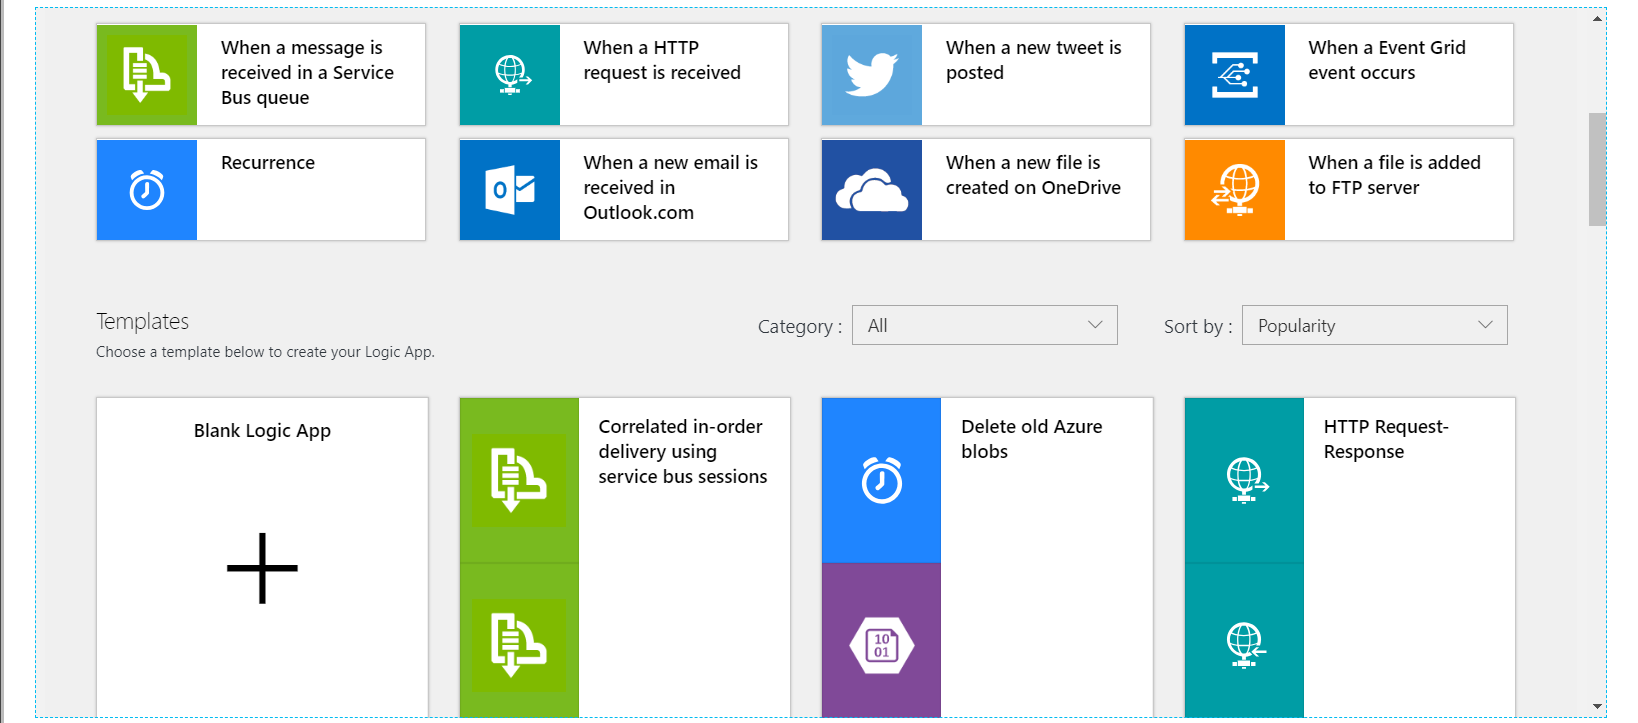
We will create a blank logic app:
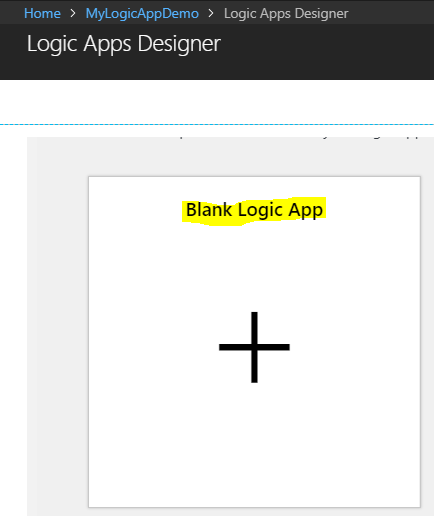
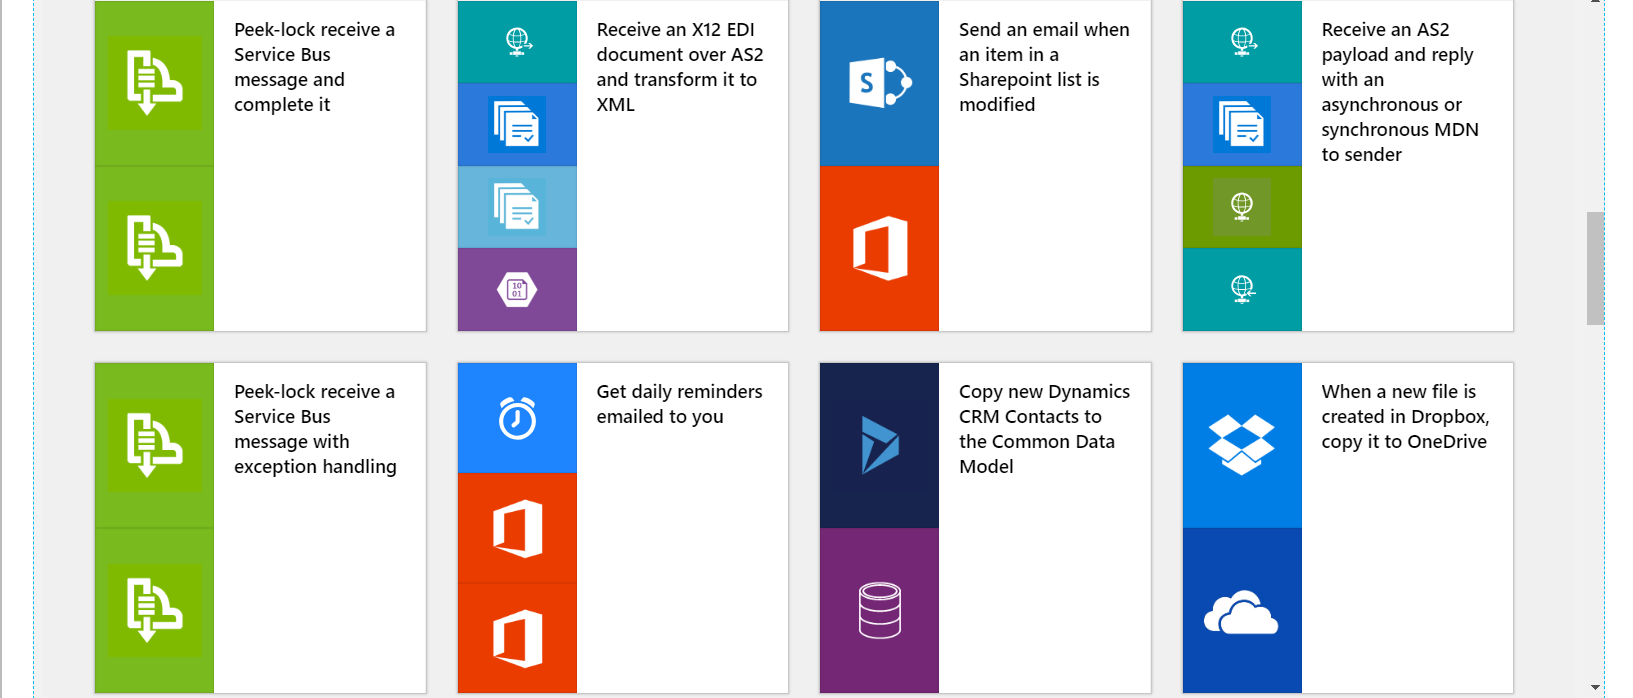
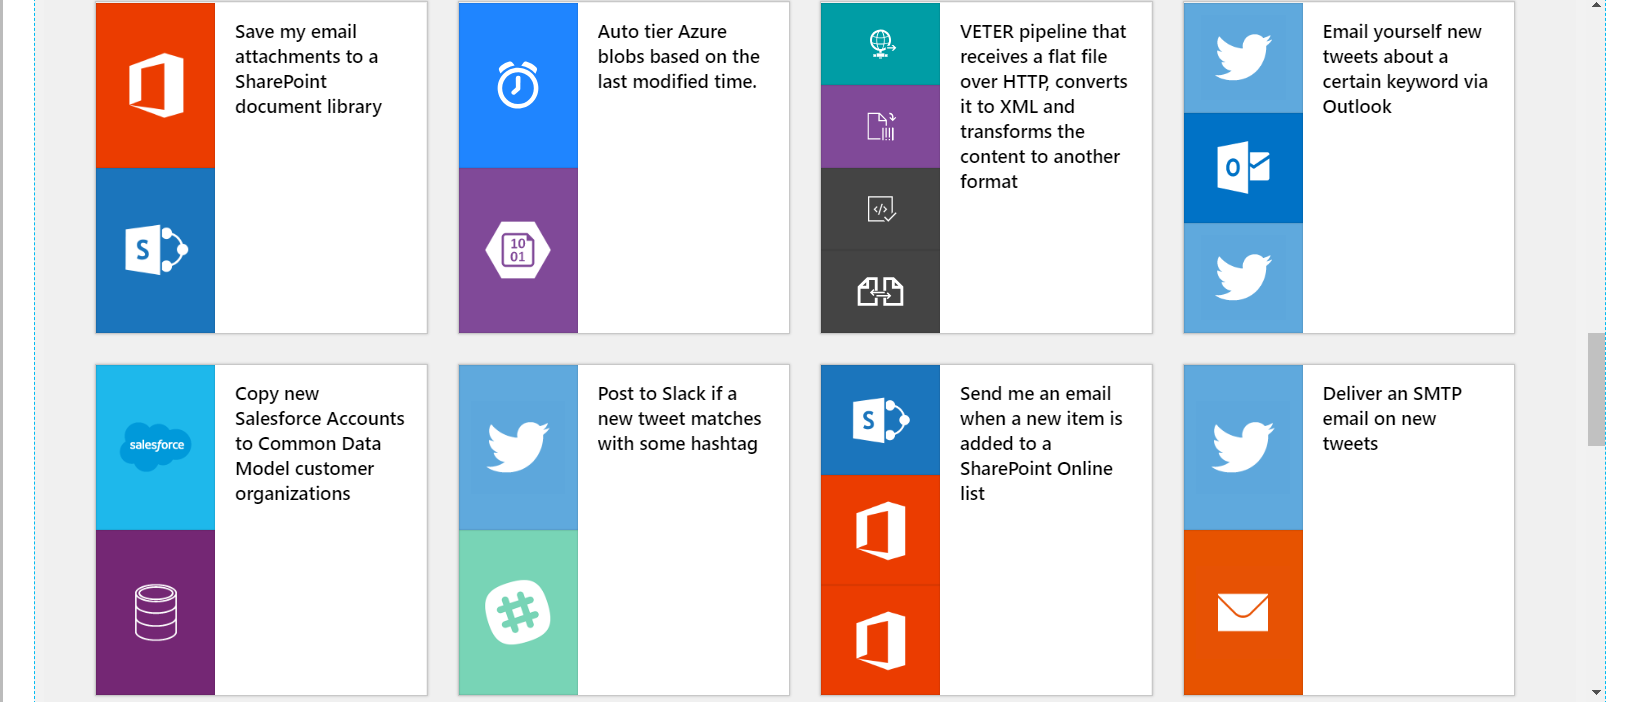
This will take you to the following screen, which displays a list of some connectors:
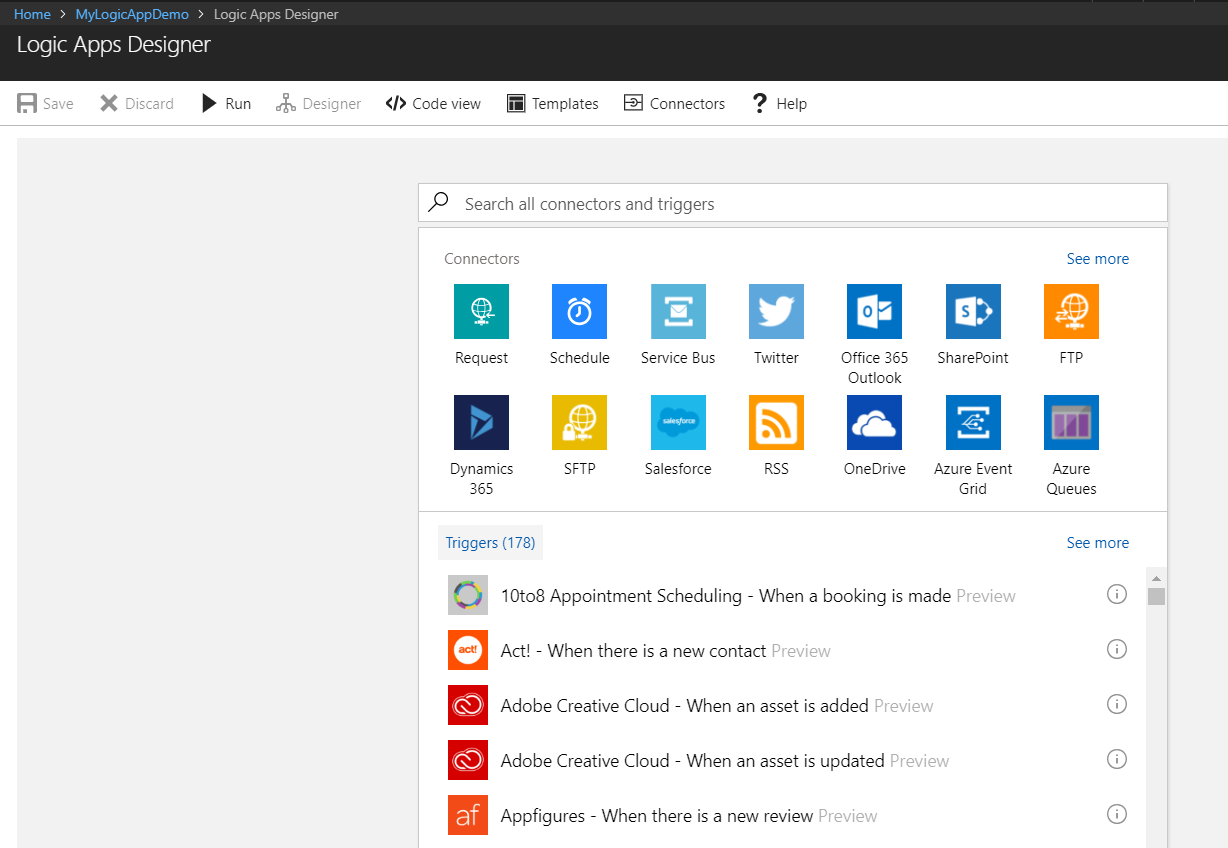
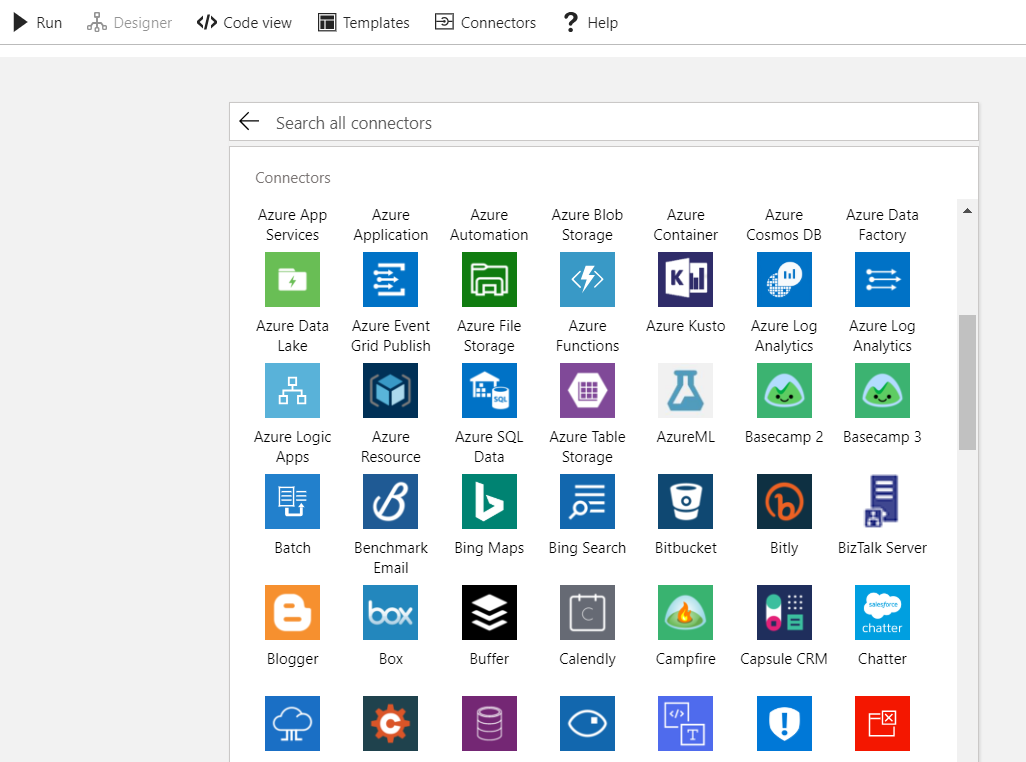
You can then search for additional connectors, or click See more to view more available connectors:
Clicking on Connectors in the toolbar will take you to Microsoft documentation on connectors: https://docs.microsoft.com/en-us/azure/connectors/apis-list
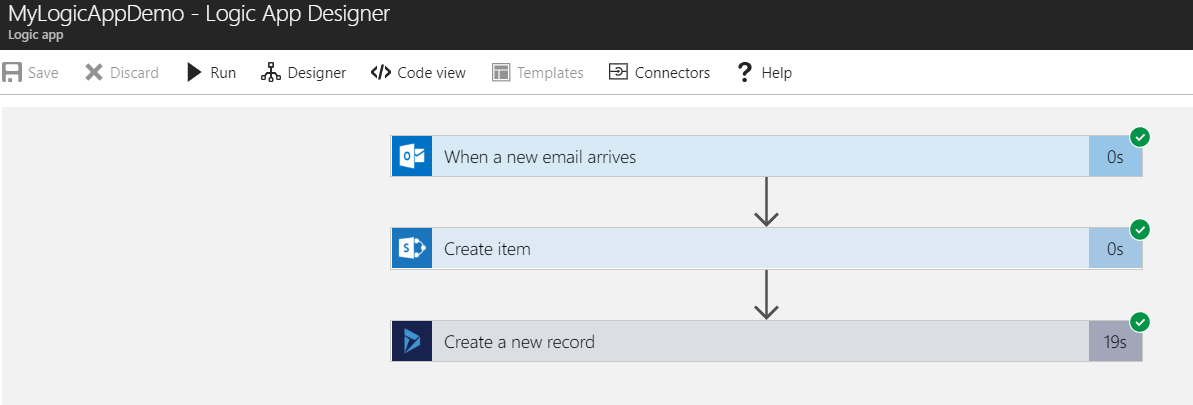
In our example, we will build a logic app that, on receiving an email, will create a new list record in SharePoint, then create a task in Dynamics 365.
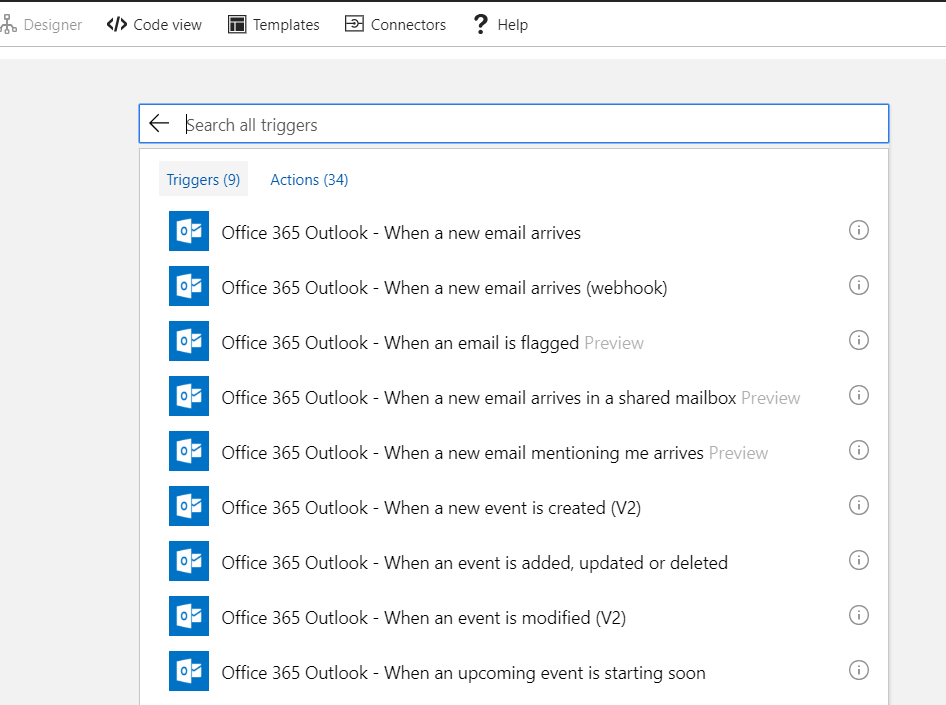
Search for Email:
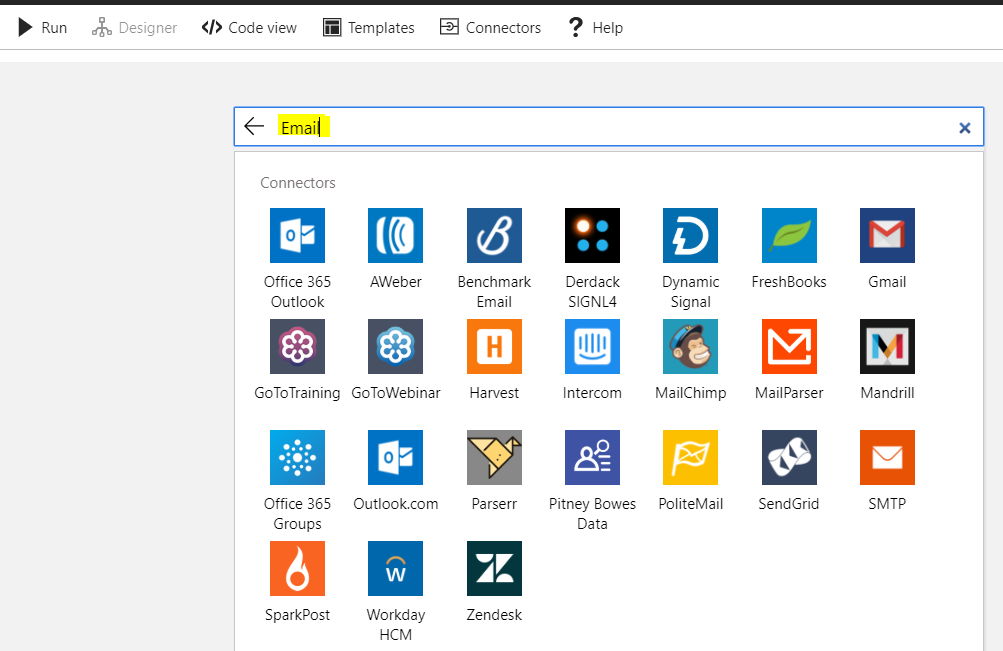
We will select Office 365 Outlook as our email connector. We are then presented with some triggers below. We will select “Office 365 Outlook – When a new email arrives”:
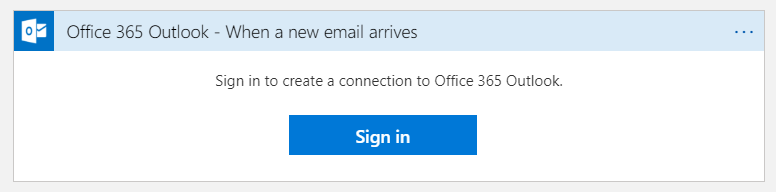
We are then prompted to sign in. Sign into the email account that you will monitor:
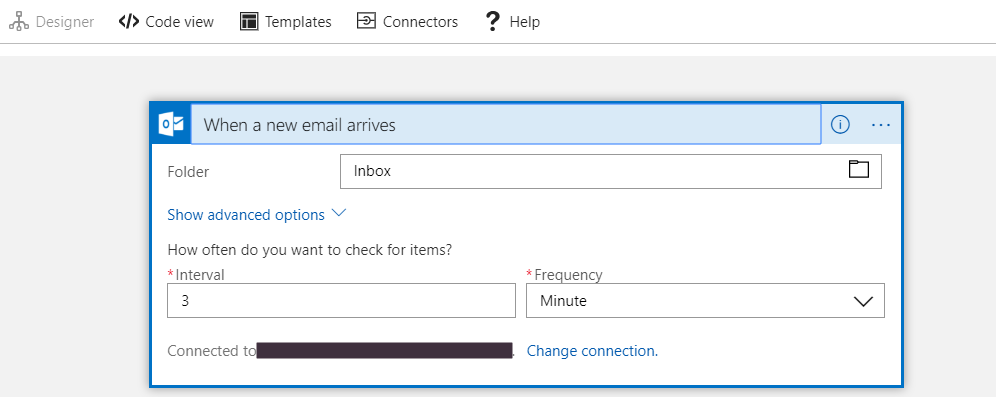
Now we see some options, such as showing how often we want to check for new items. We have ours set to every 3 seconds:
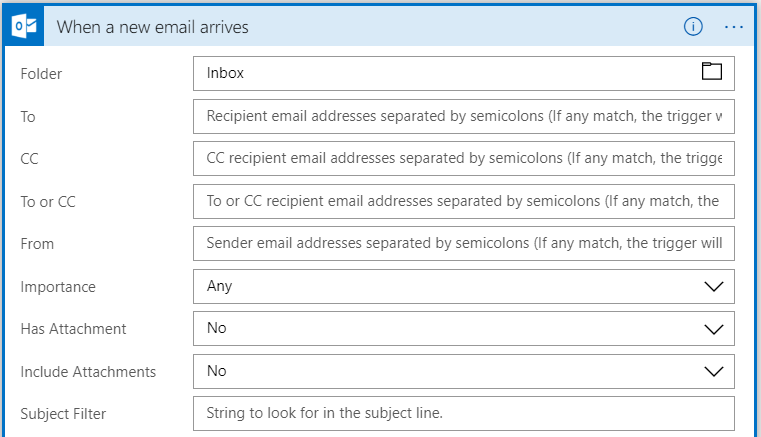
Clicking Show advanced options shows below – we can see there are many options we can configure in our trigger, such as only performing an action if the email is high priority, from a certain sender, has an attachment etc:
Click New Step to show the options to add a new action or condition:

Click Add an Action.
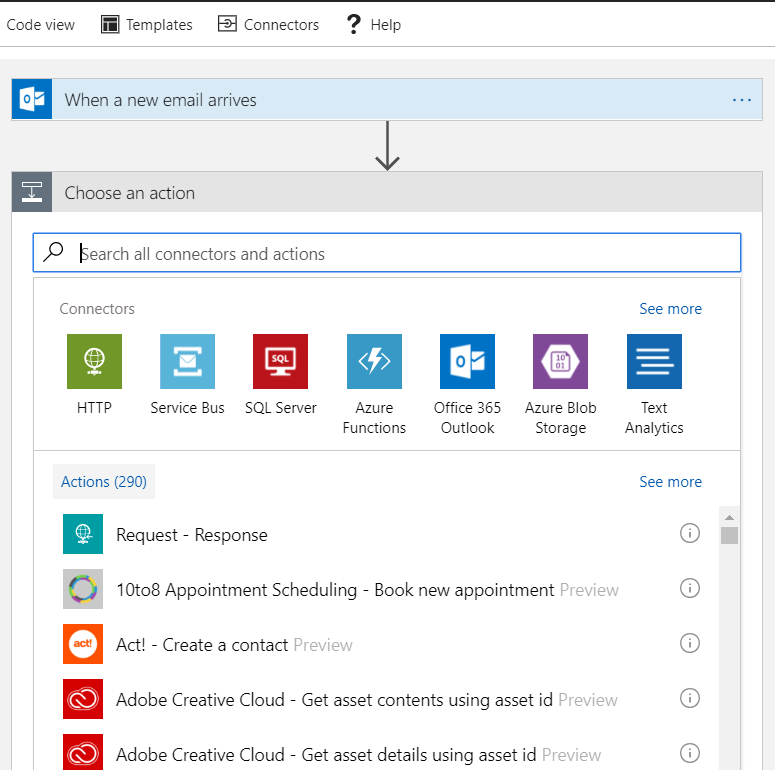
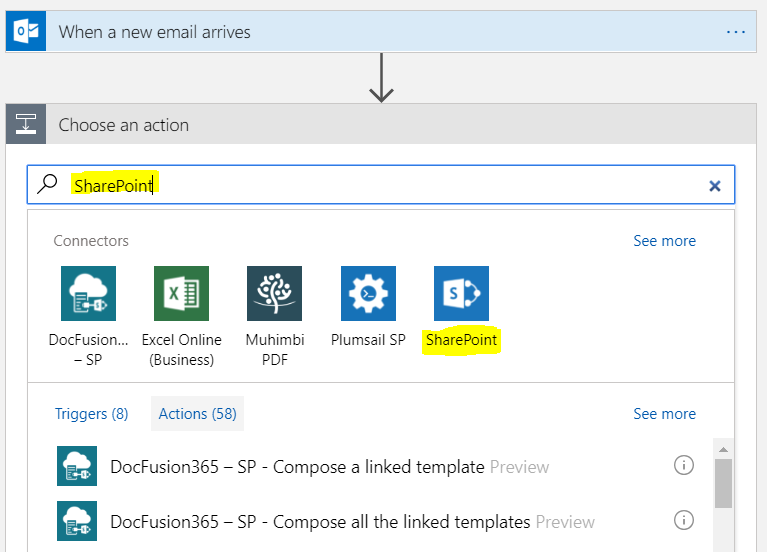
Search for and select SharePoint:
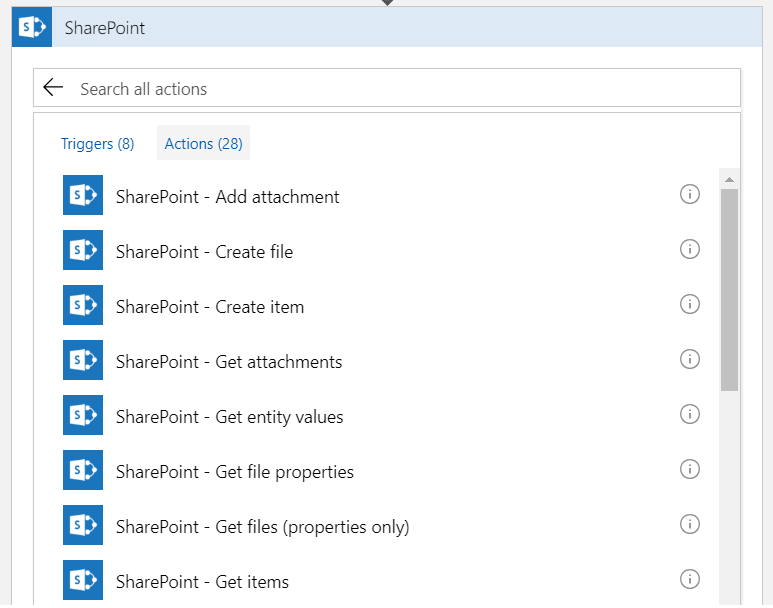
Select SharePoint – Create Item:
Click Sign In:

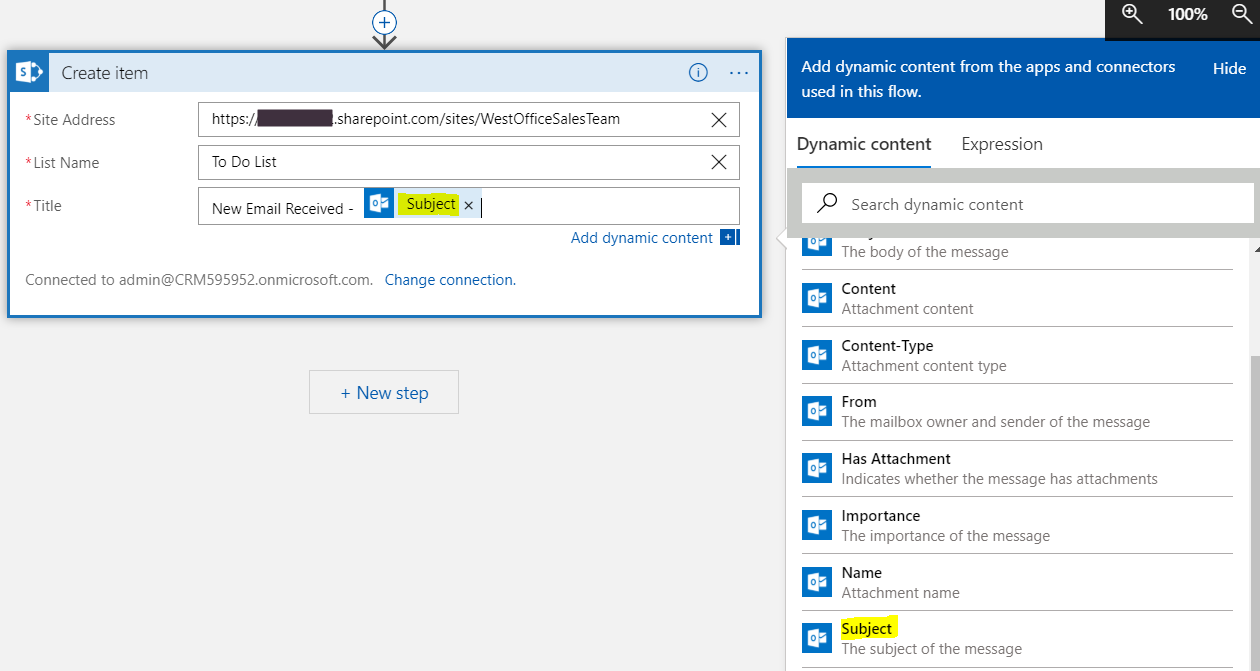
You will see the options below to configure how to create the new SharePoint item. We will use the Subject from the email as the title of our new item:
Now let’s add another action. We will create a new Dynamics 365 record.
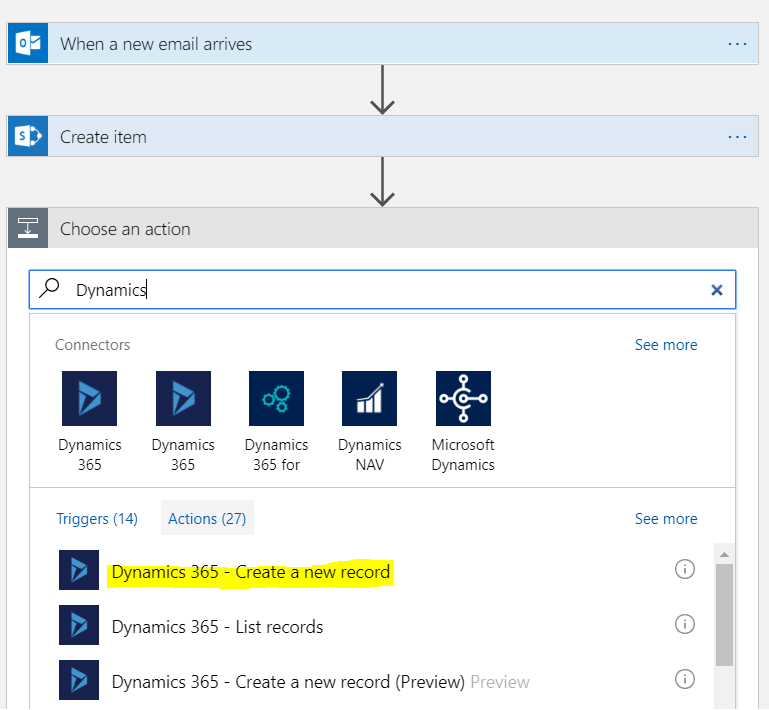
You will see below:
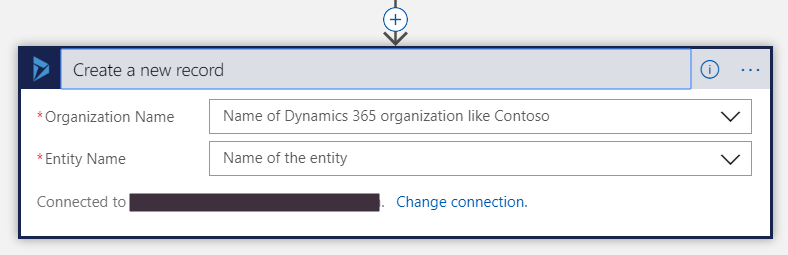
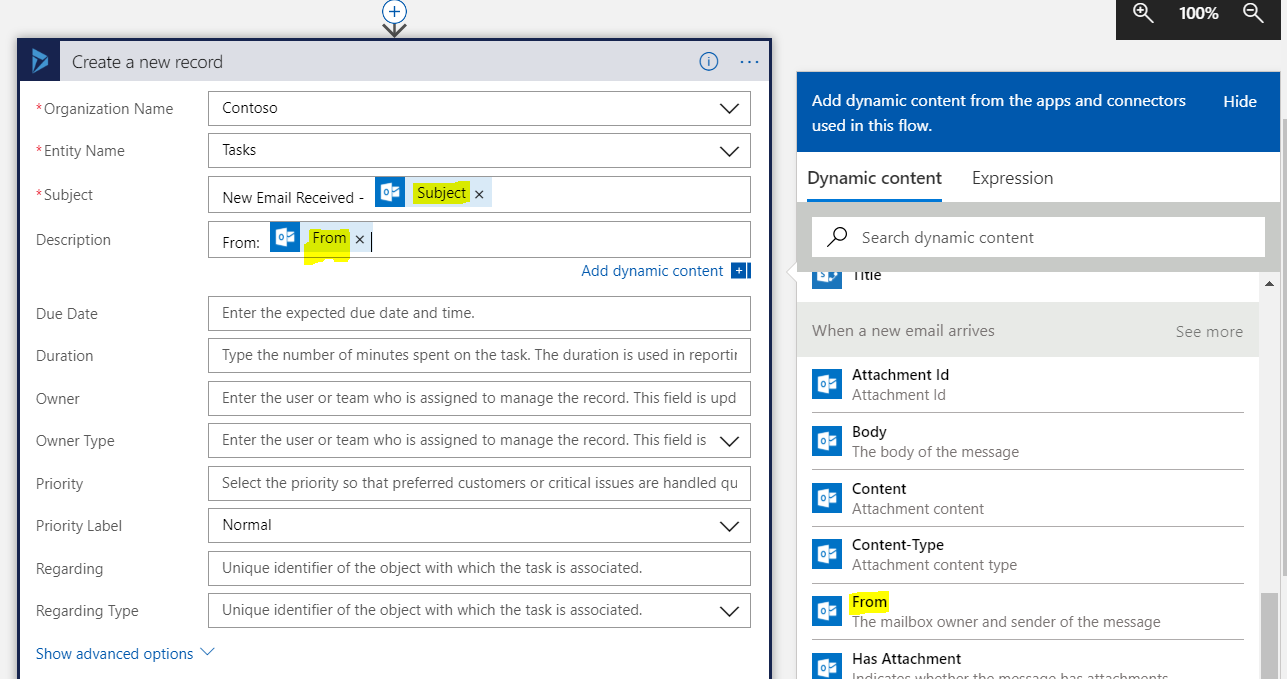
Select the Dynamics 365 organization, then the entity you would like to create record for. We will create a new Task record and populate the subject and description with information from the email:
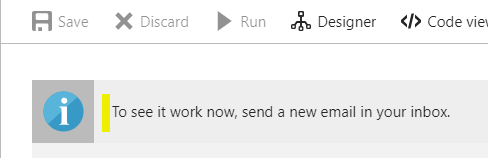
Save the logic app and click Run:

It will prompt to send an email:
Now send an email to the account specified. You will see the code will be triggered and each action will run:
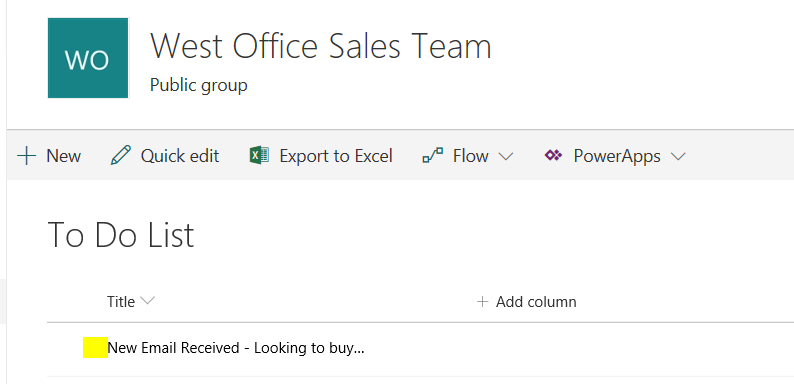
Now check SharePoint. You will see the item created in the list:
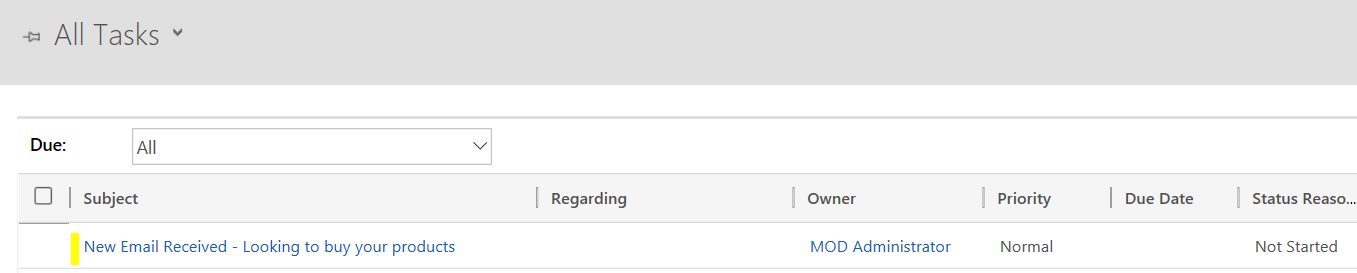
And check Dynamics 365. You will see the task has been created:
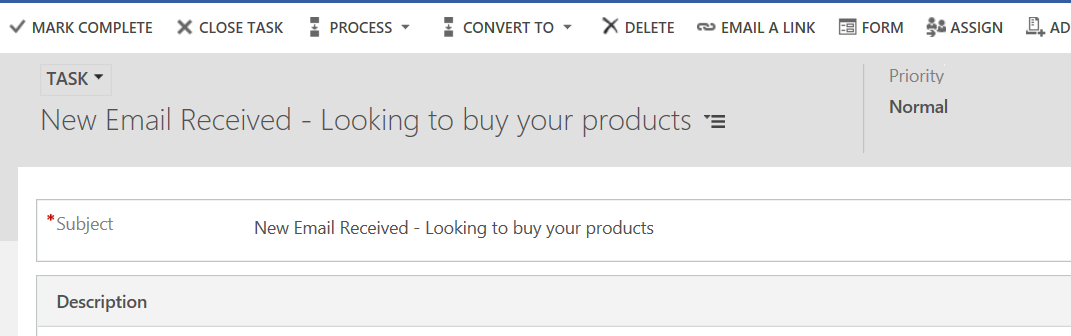
You can see, with no coding, we were able to integrate several systems and create data in those systems based on an event being triggered.
I AM SPENDING MORE TIME THESE DAYS CREATING YOUTUBE VIDEOS TO HELP PEOPLE LEARN THE MICROSOFT POWER PLATFORM.
IF YOU WOULD LIKE TO SEE HOW I BUILD APPS, OR FIND SOMETHING USEFUL READING MY BLOG, I WOULD REALLY APPRECIATE YOU SUBSCRIBING TO MY YOUTUBE CHANNEL.
THANK YOU, AND LET'S KEEP LEARNING TOGETHER.
CARL

Hello Carl,
Thank you for sharing a very good post. I am looking to create an opportunity record using azure logic apps however every-time it just keeps failing .
We are looking to populate 4 different fieldtypes
Currency – This should hold ‘US Dollar’
Potential Client – Name of Company
Potential Client Type – accounts in our scenario
Probability – This is an option set field
Summary – This is a simple text field
Is there a specific way I should be adding these fields? in the create new record action?
Hello Carl, I do exactly this but when I try to save my Loigc App, it says cannot save because ‘some of the connections are not authorized yet’. How do I add this connection to my Logic App?