In this post, we will look at how to create an ASP.NET Core Web Application and host it in Azure with Application Insights.
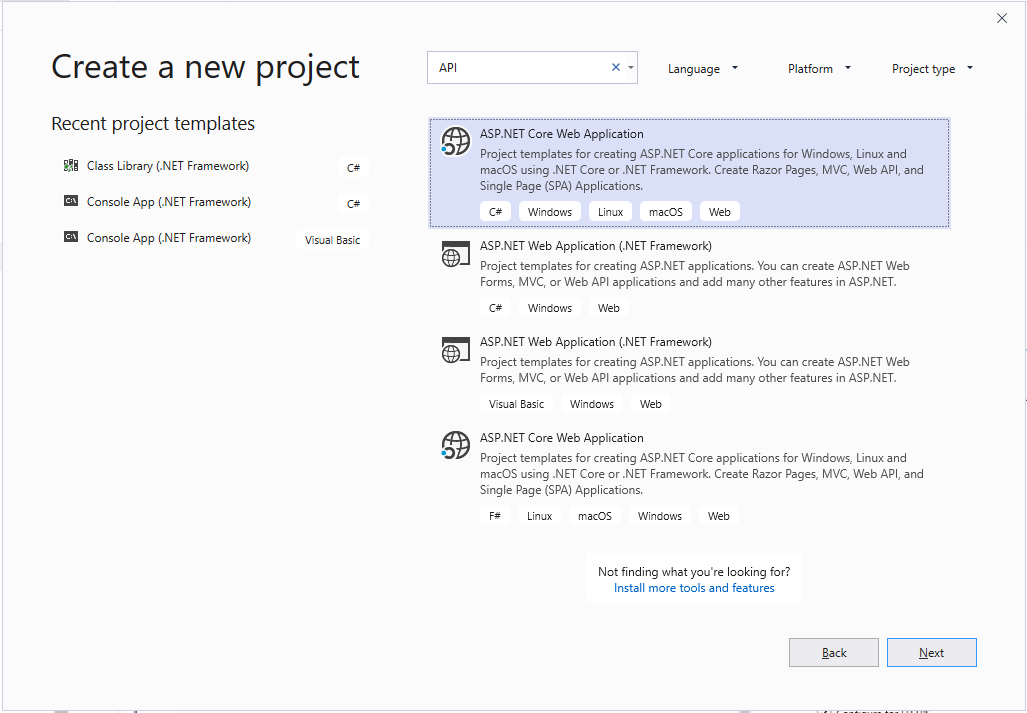
First, let’s open Visual Studio and create a new ASP.NET Core Web Application project:
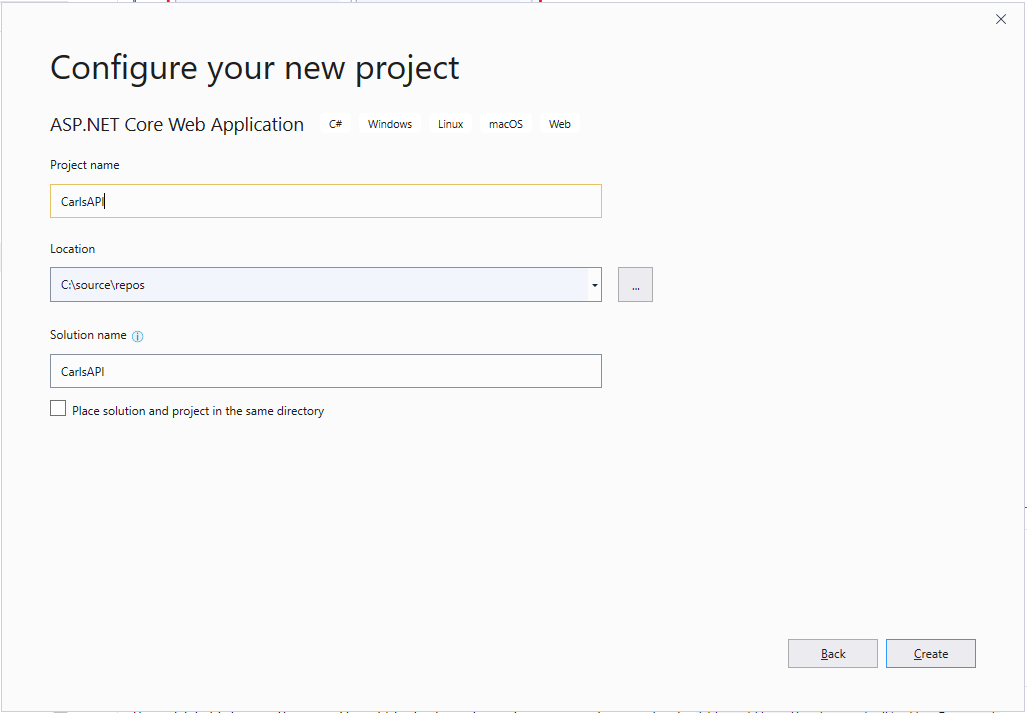
Give the project a name:
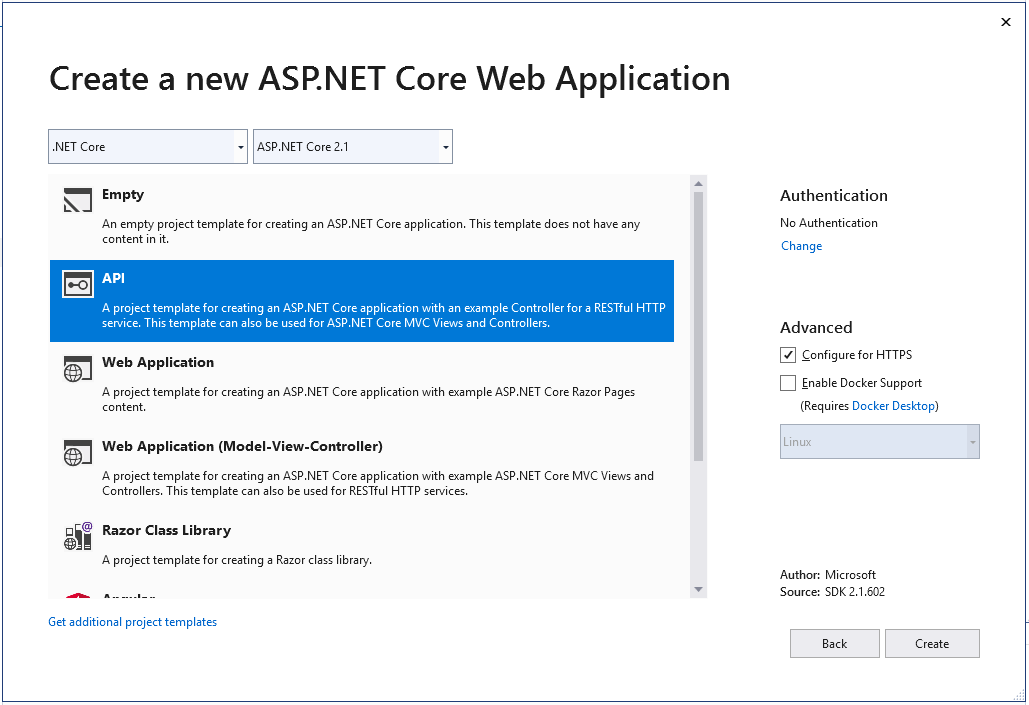
And select API as the type:
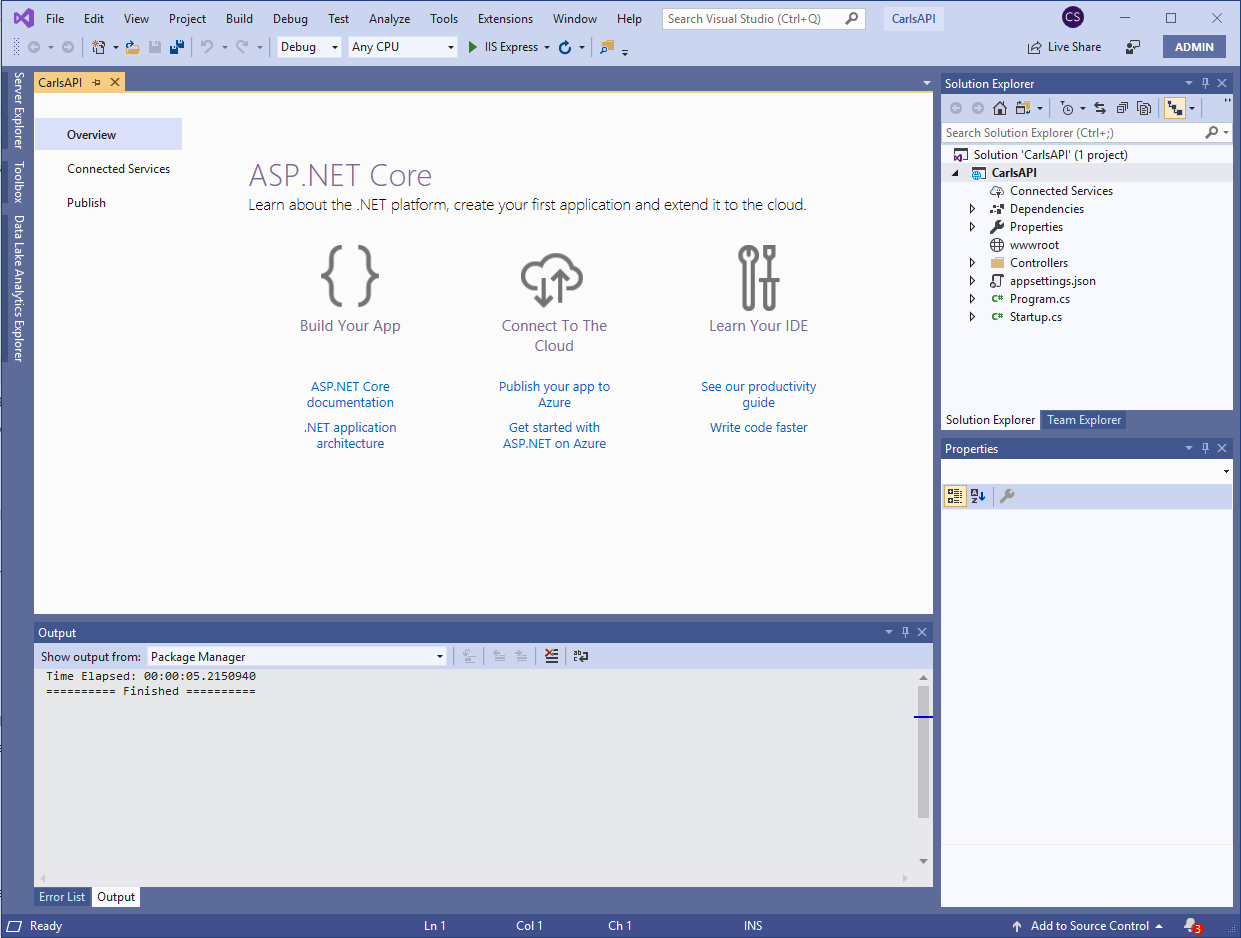
We see the project in VS below:
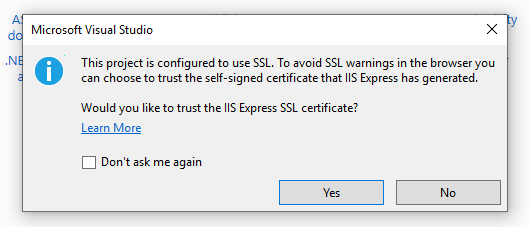
Press F5 to run the app. Click Yes if you see the message below:
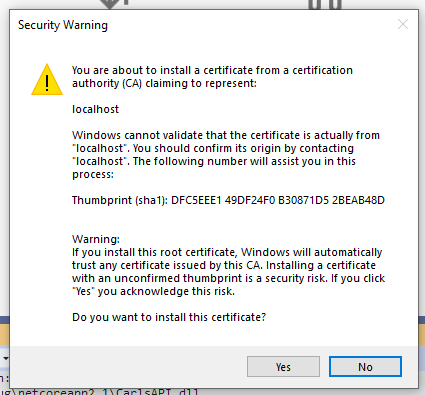
And click Yes to the security warning:
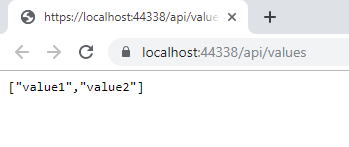
A browser will open and you will see the API values:
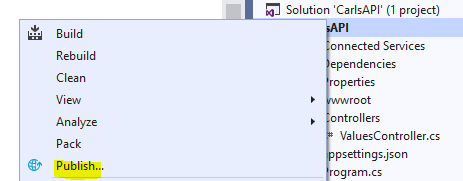
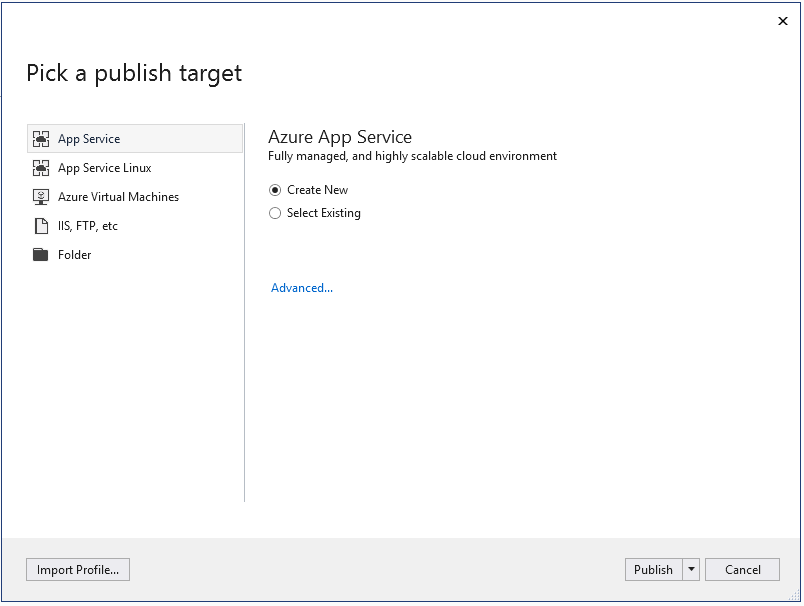
Now let’s deploy this API to Azure.Right-click the project and select Publish:
Create a new App Service:
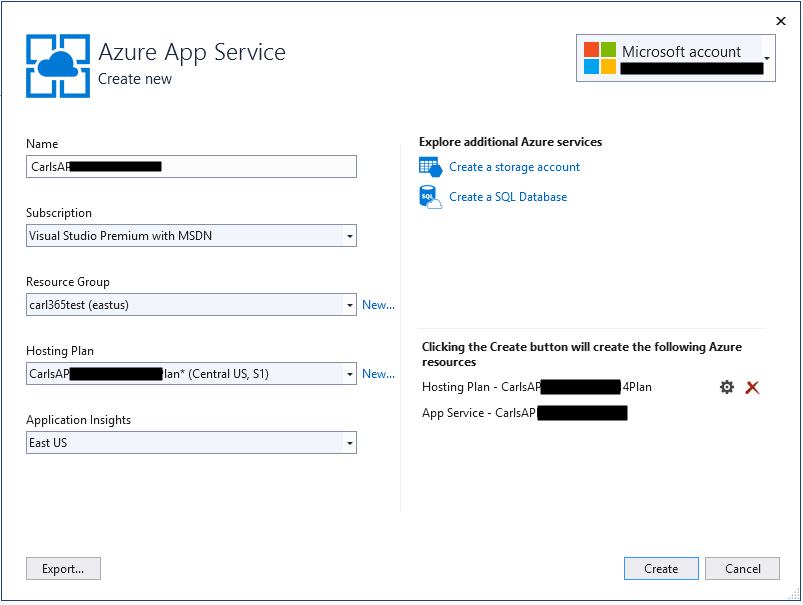
Confirm the information and select an Application Insights region:
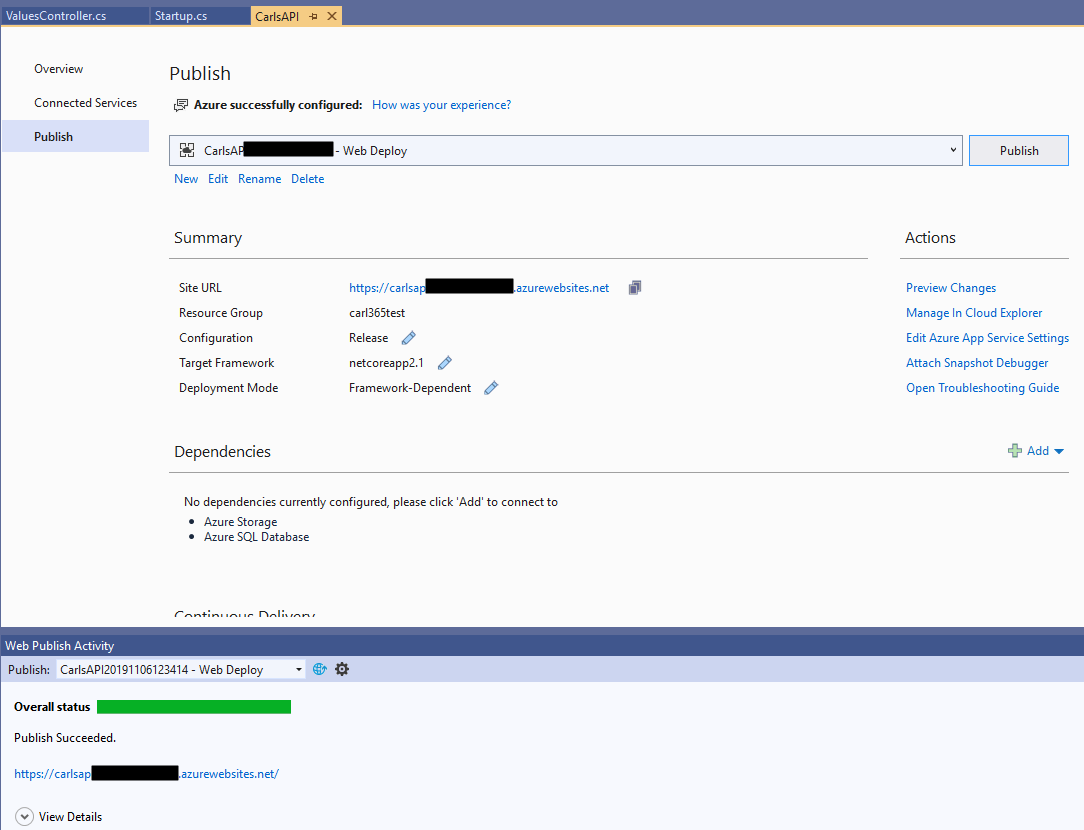
The app will be published, with the URL displayed:
Go to the URL to api/values. We see the app is now running in the cloud:

Now log into https://portal.azure.com and go to the app that was created:
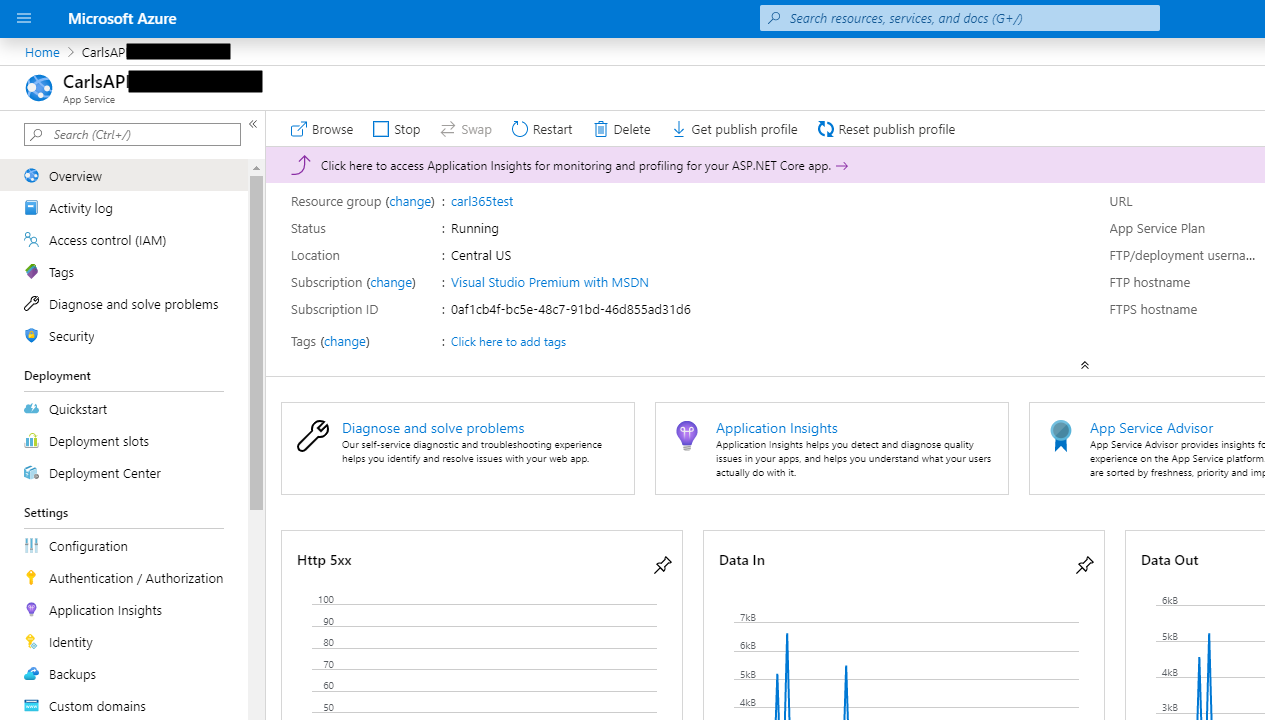
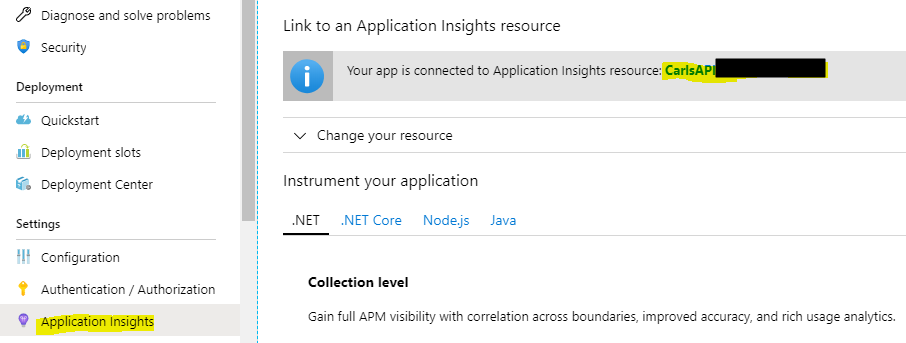
Click on Application Insights:
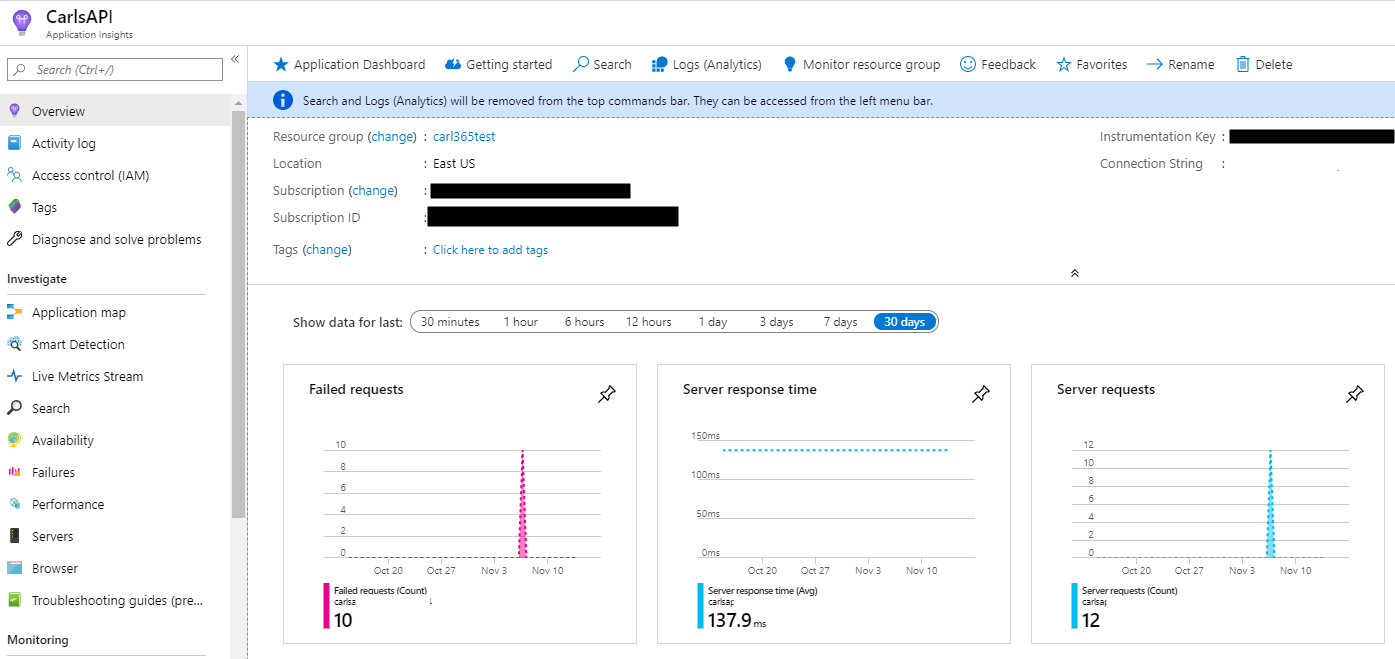
You will see requests being logged:
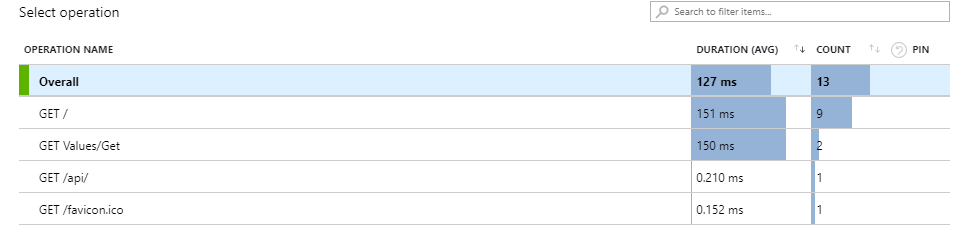
Which you can drill into to get more specific metrics:

Explore AI, agents & Microsoft technology.
I share practical ideas, tutorials, and videos about AI, AI agents, Microsoft technologies, and the Power Platform.
Subscribe on YouTube →
Good post. Carl. The post offers good information about creating an ASP.NET Core application and hosting it in Azure. The process of creating the web app is nicely explained. The information in the post is useful and it is easy to understand the procedure. Thanks for sharing this information.