In Dynamics 365, when cases are created, you can configure it to be assigned directly to a specific queue, e.g. to be assigned directly to a specific person, or to be escalated. To do this, you set up Routing Rules.
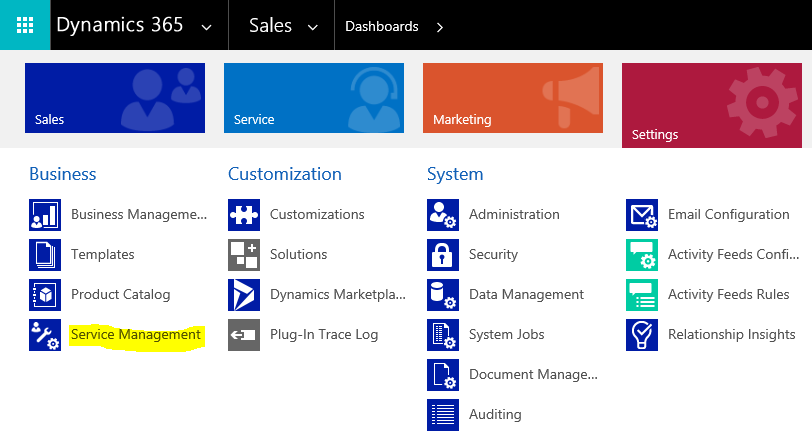
Go to Settings->Service Management:
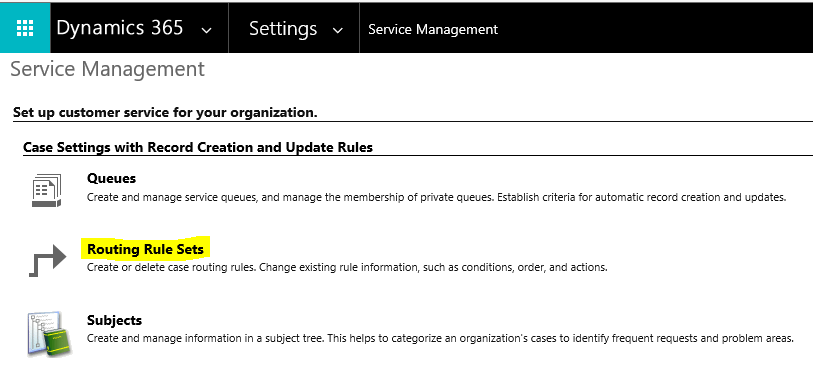
Select Routing Rules Sets:
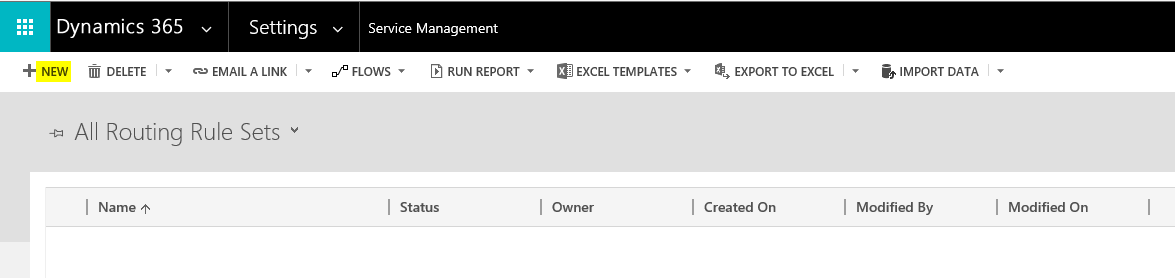
Select New to create a new Routing Rule:
We will create a new routing rule to route high priority cases. Enter a name and save:
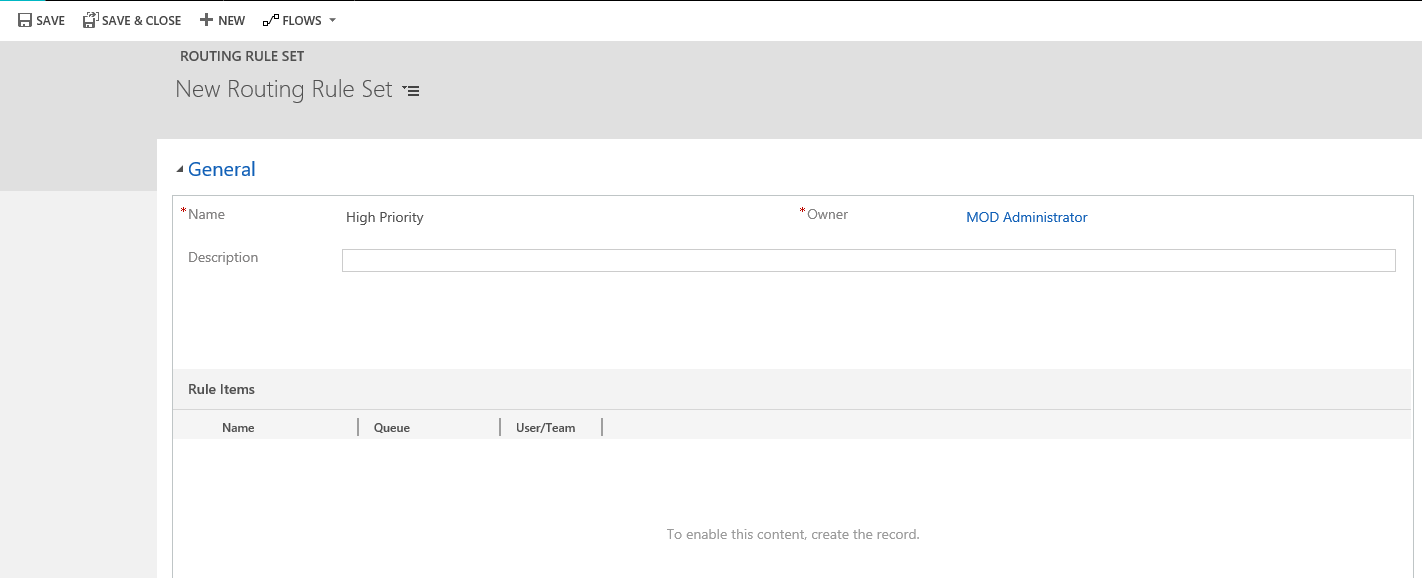
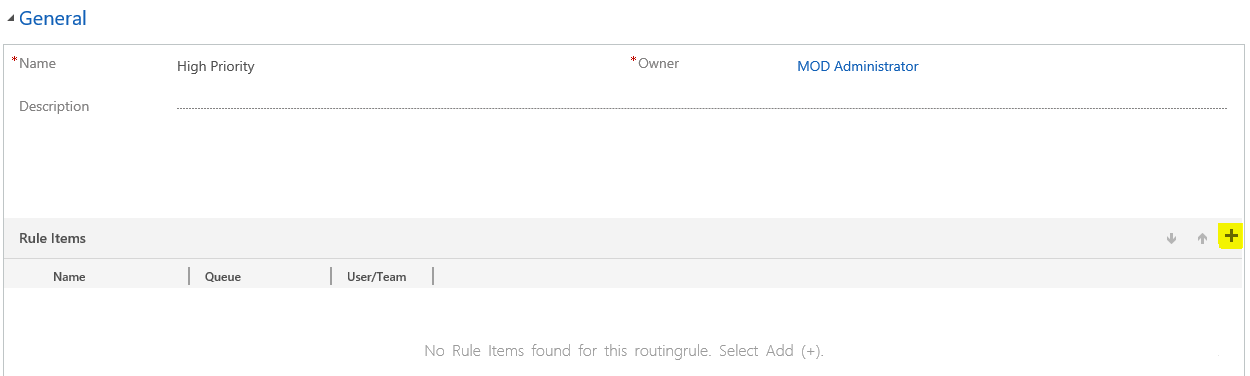
Click + to add a rule item:
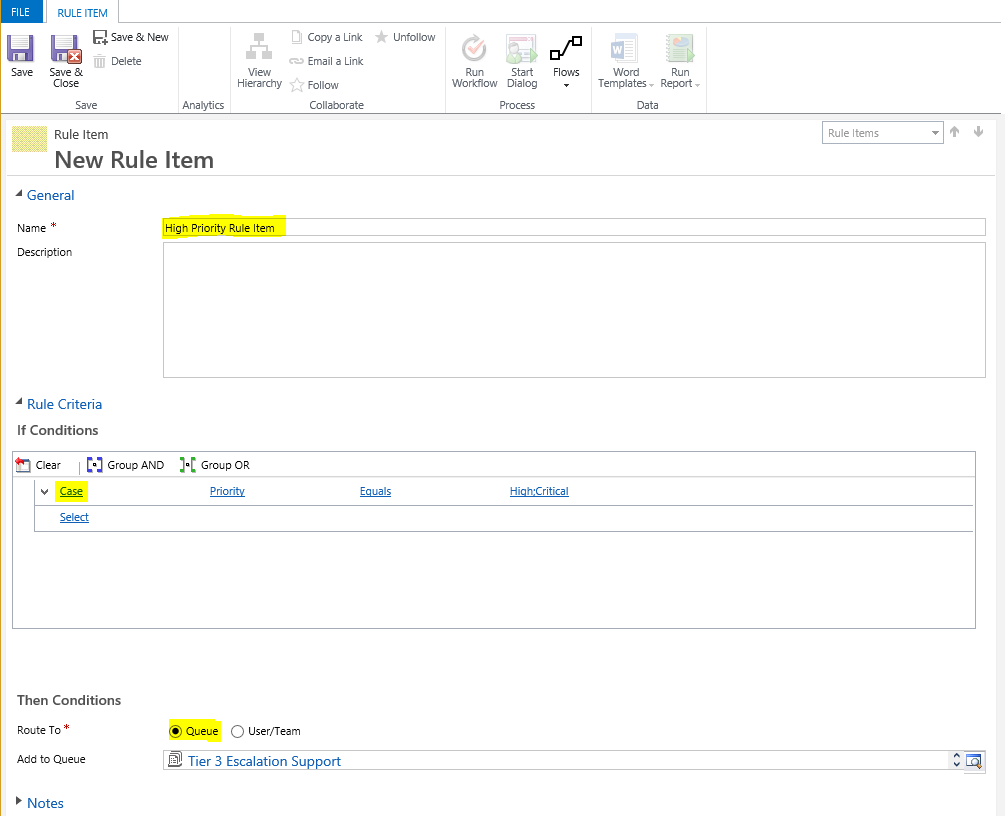
Enter the name of the rule item, the conditions (in our case, we are checking if the priority of the case is marked as high or critical) and where to route the case to (we are selecting a queue, but we can also select a user or team):
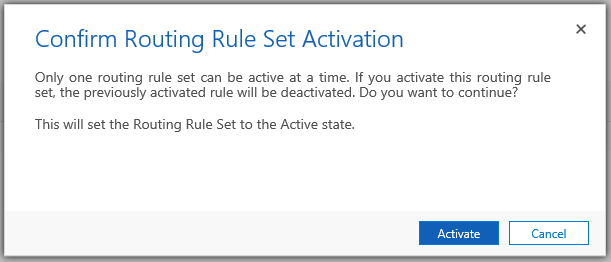
Press Save, and then on the previous screen, activate the Routing Rule Set:
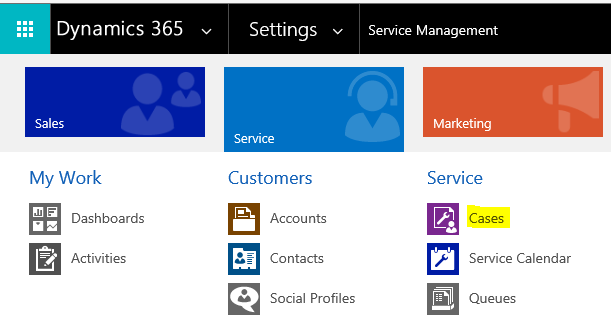
Now we can test this. Go to Service Management and create a new case:
Set the priority to High:
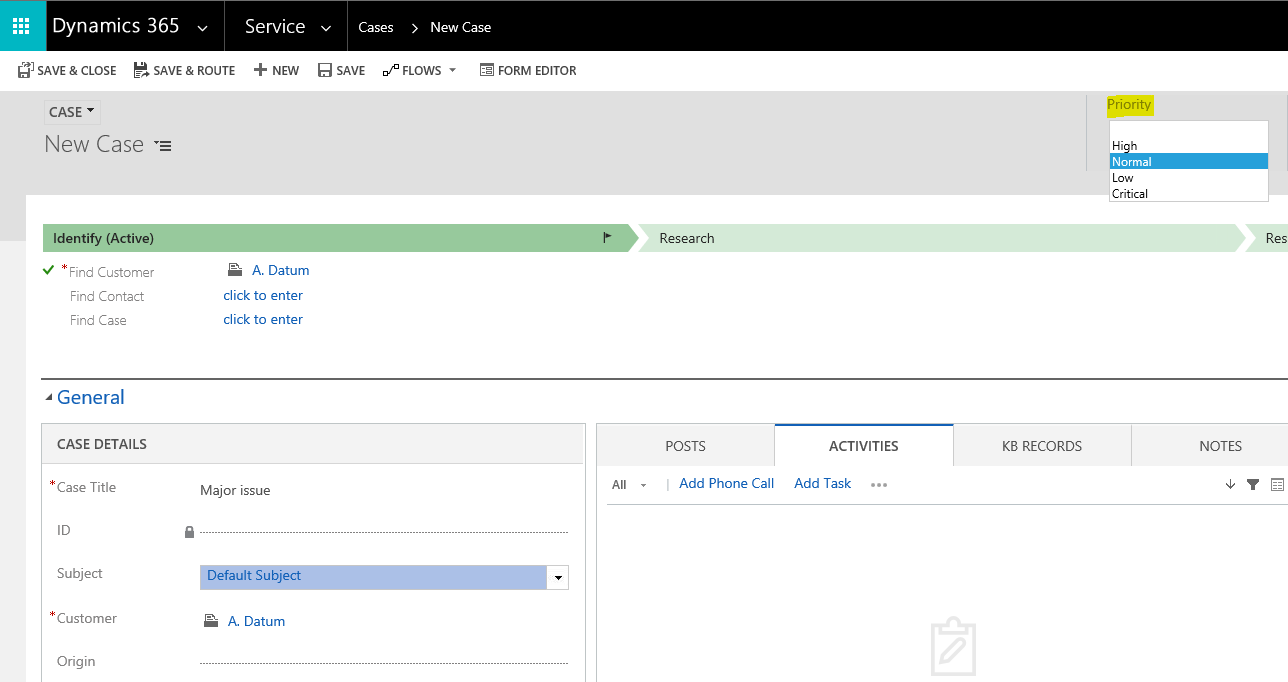
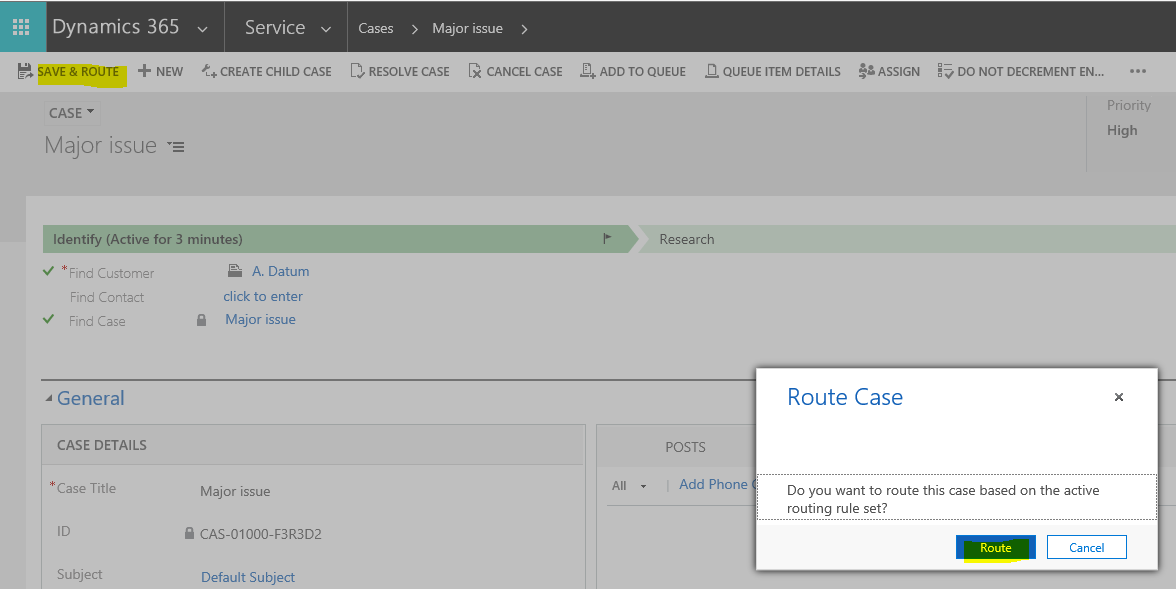
Click Save and Route:
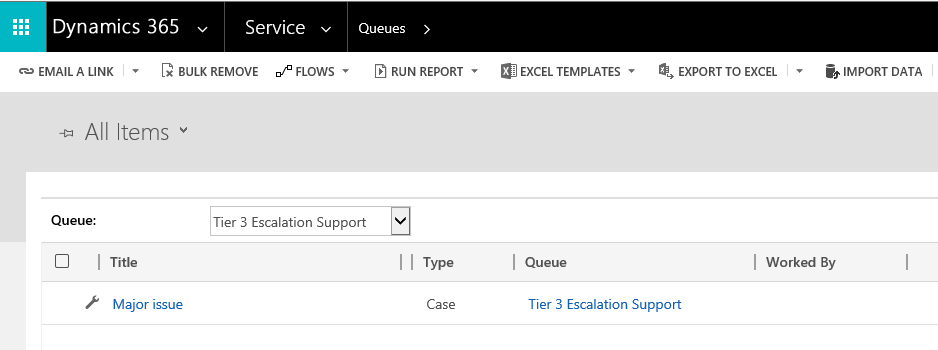
Now, if we go to Service->Queues and select the Tier 3 queue we assigned the rule to, we will see our case has been routed successfully:

Explore AI, agents & Microsoft technology.
I share practical ideas, tutorials, and videos about AI, AI agents, Microsoft technologies, and the Power Platform.
Subscribe on YouTube →
Is there a way to automatically assign/present the next queue item to an MSR once they have completed the previous queue item? In other words, so they do not have to pick the next work?
Is there any way to do the same with help of flow?