Here we will go through an example of upgrading Dynamics 2013 customizations.
In this first post, let’s set up a solution with several components. We are going to create the following:
A Solution (SolutionToUpgrade) with:
- New Entity (Test Entity) with:
- New field (Test Entity Field Description)
- Customized Main Form
- New Main Form- Existing Entity (Account) with customized Main Form
- Existing System View (Active Accounts) customized with existing field
- New Business Rule (Account Test Business Rule)
- New Web Resouce (JScript), attached to Account Main form
- New Option Set (YesOrNo)
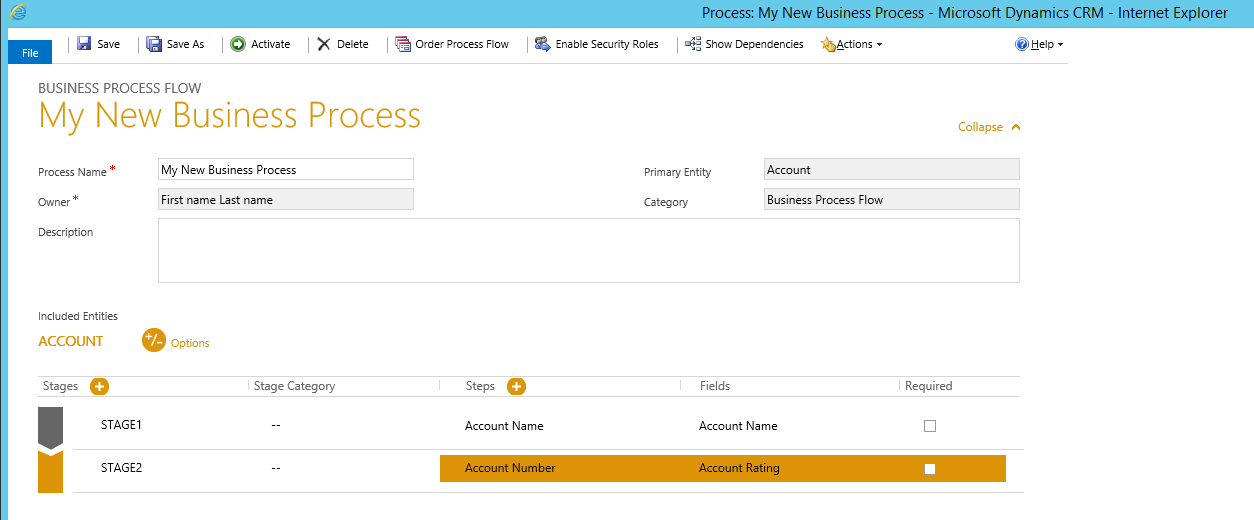
- New Business Process
- (My New Business Process)
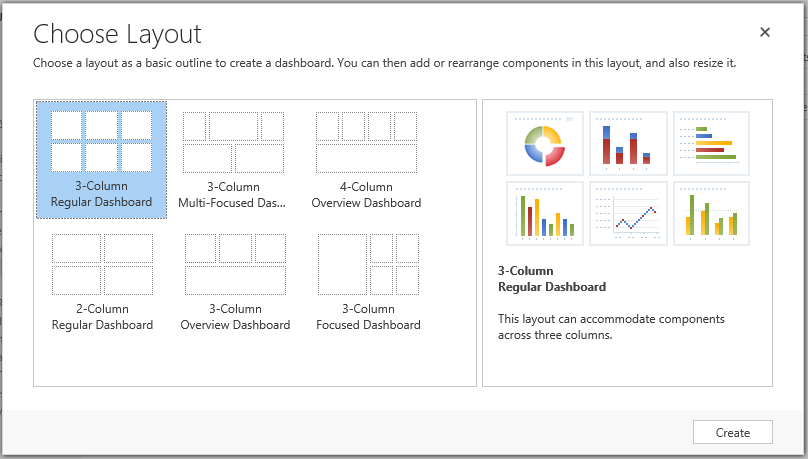
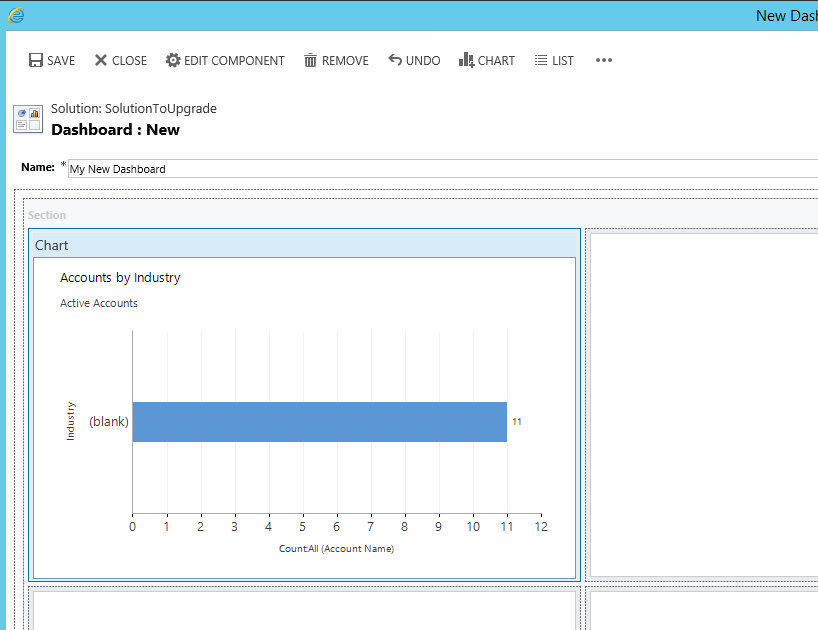
- New Dashboard (My New Dashboard)
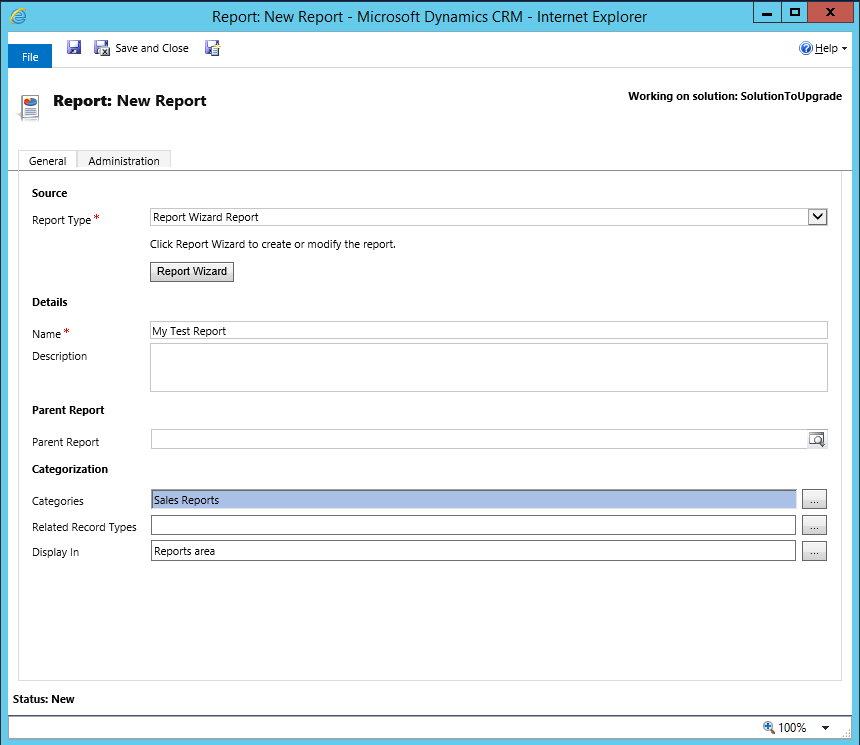
- New Report (My Test Report)
- New Security Role (My Test Security Role)
- New Plug-in added to the solution (AccountUpdate)
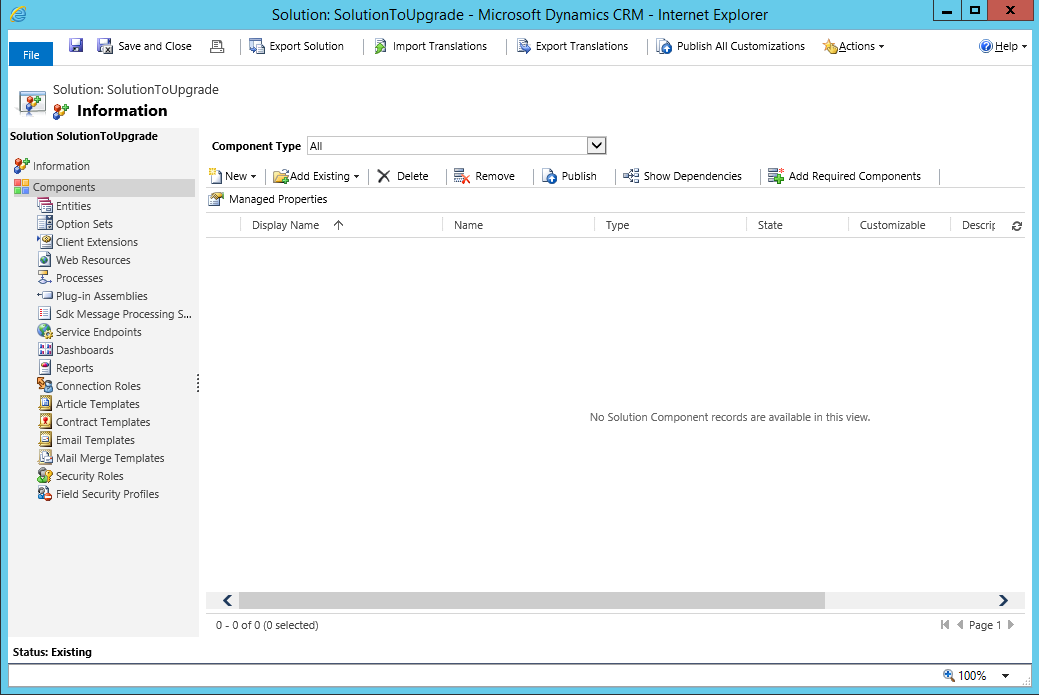
Create a new solution in CRM 2013 called SolutionToUpgrade:
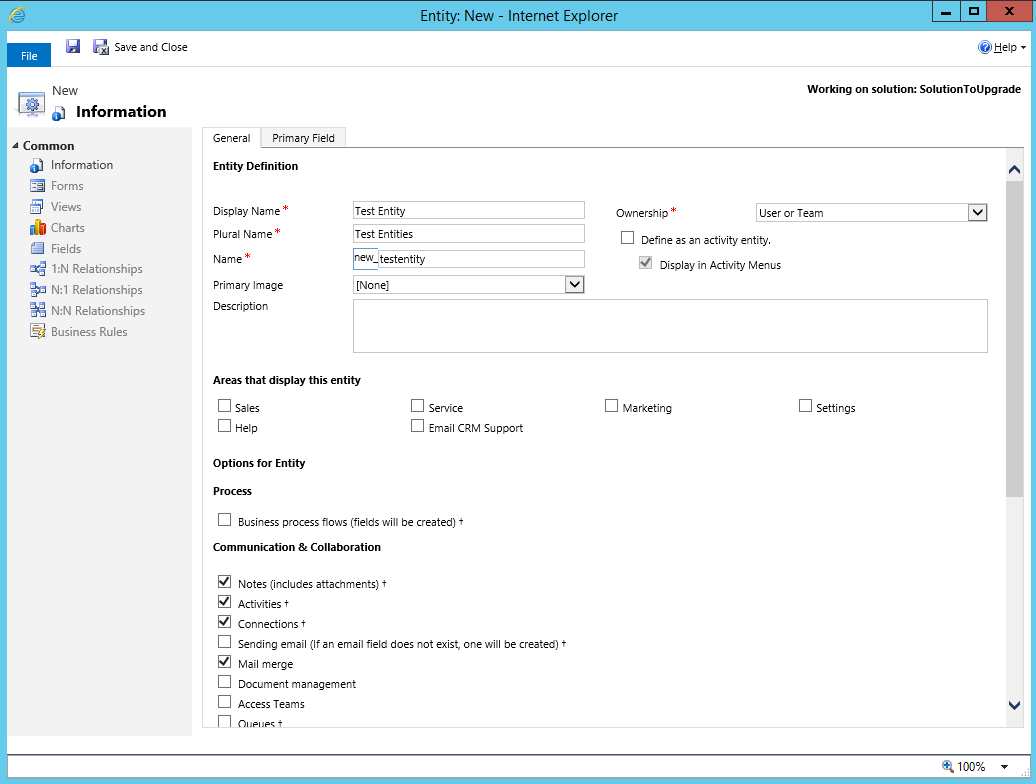
Create a new entity:
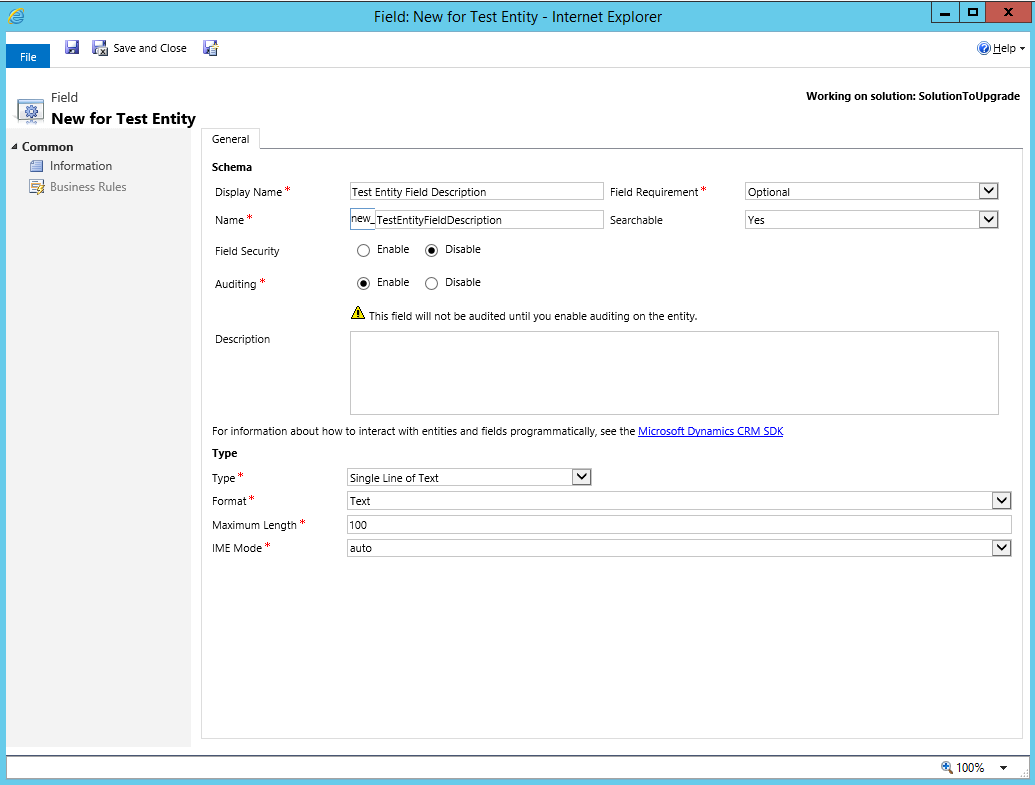
Add a field:
Add this field to the Main form:

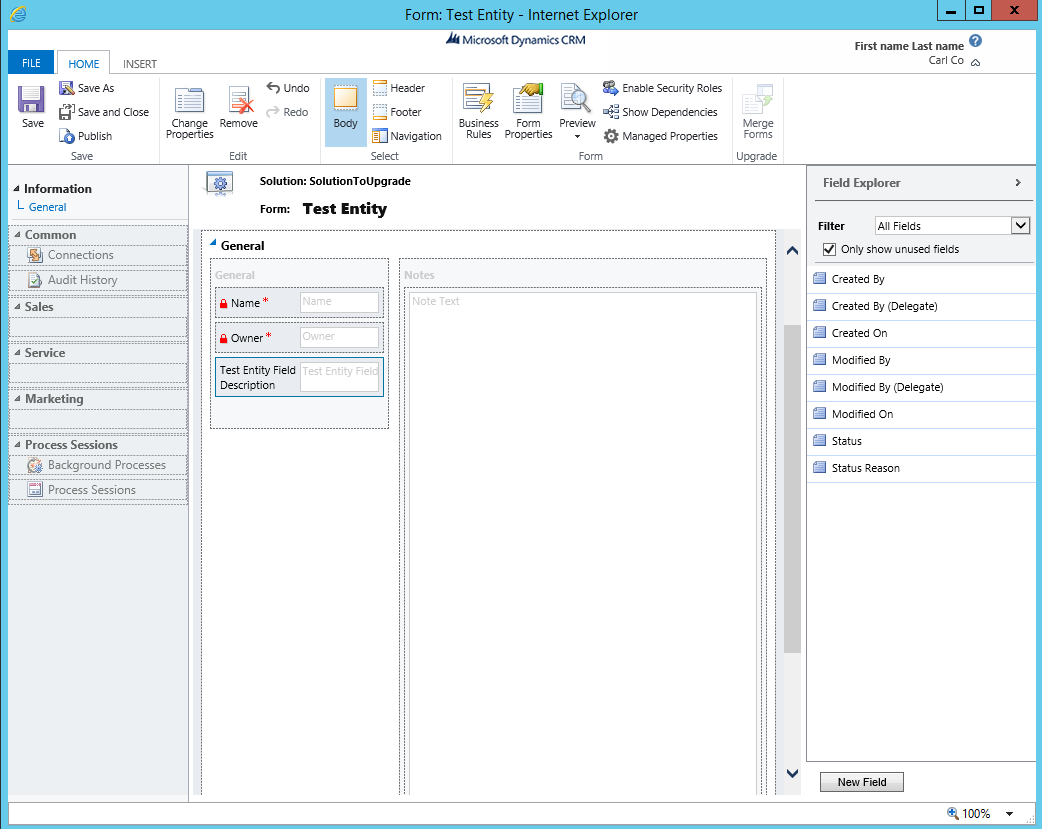
Save and Publish.
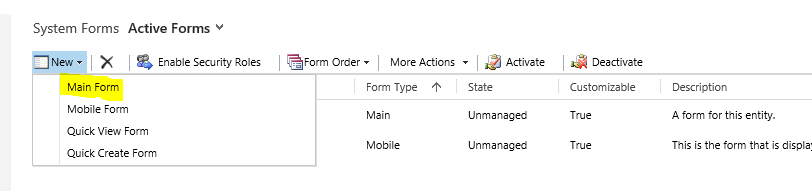
Let’s create a new Main form:
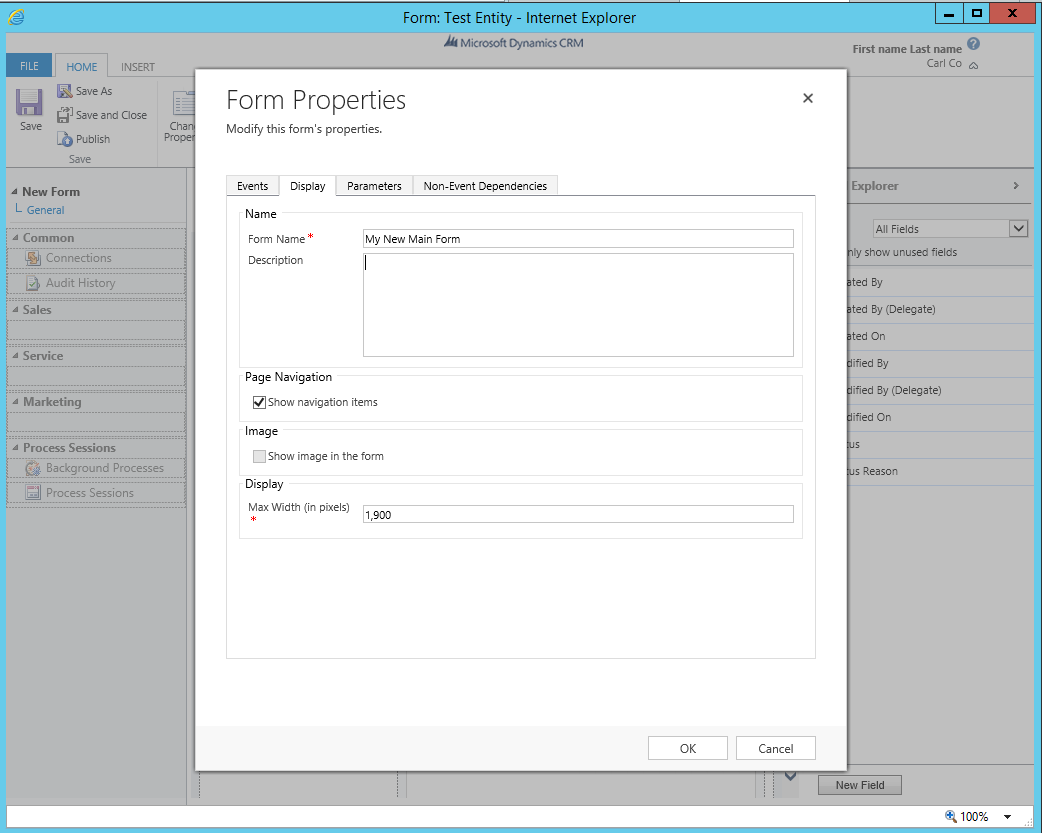

Save and Publish.
Now, add the Account entity (without required components) to the solution. Open the main form and add a new field:

Save and Publish.
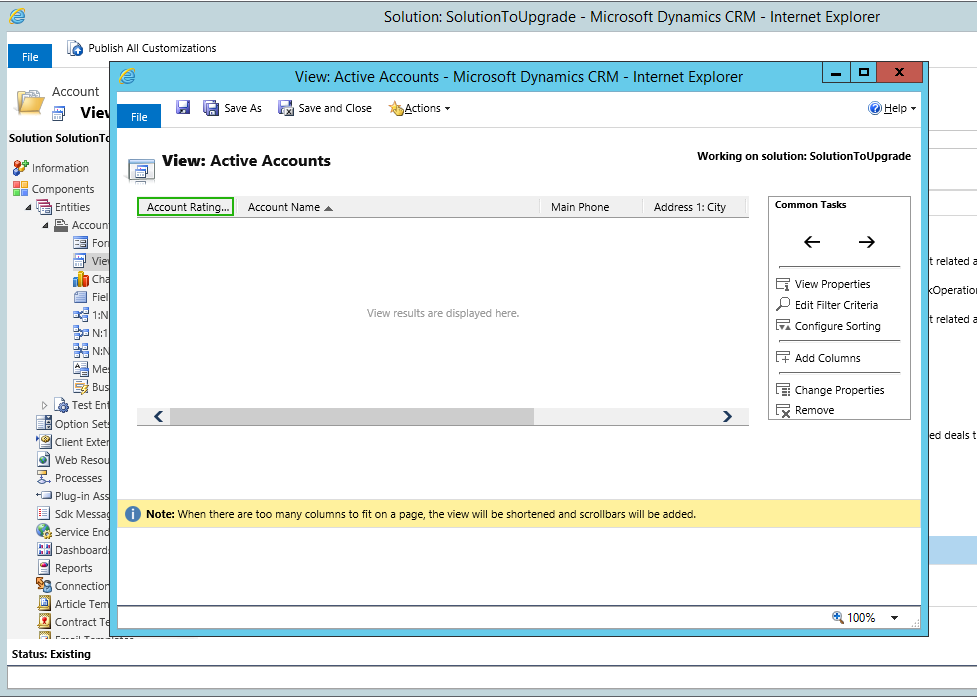
Let’s update a system view, Active Accounts, with the Account Rating field:
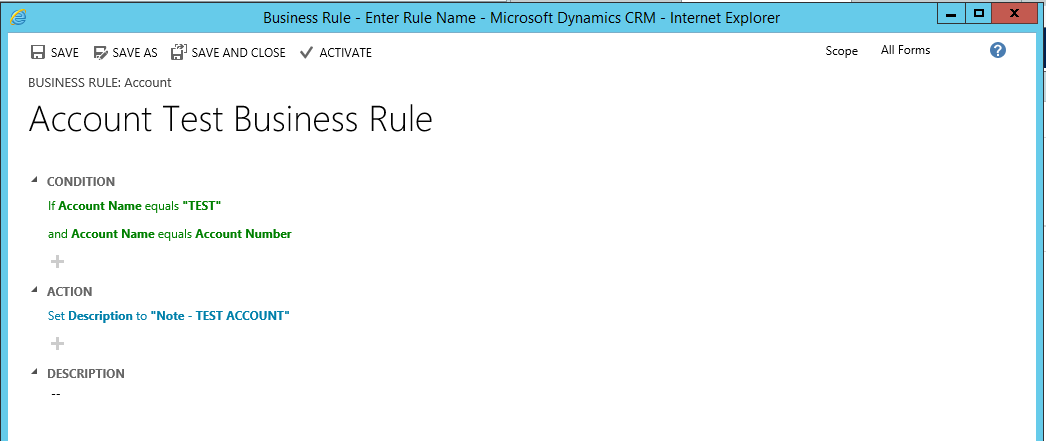
Let’s create a business rule on the Account:
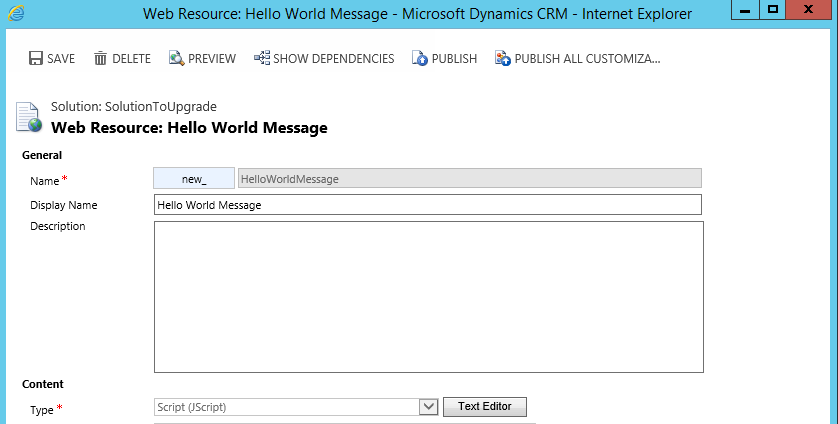
Create a JavaScript web resource:

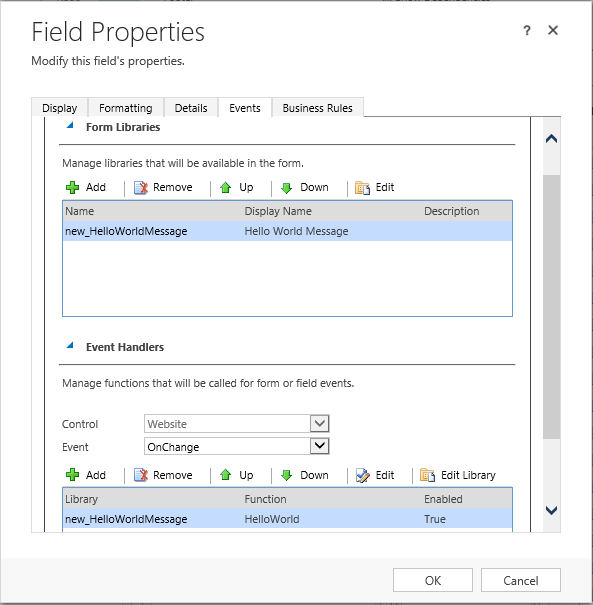
Now, let’s attach it to the change event of the Website field on the Account Main form:
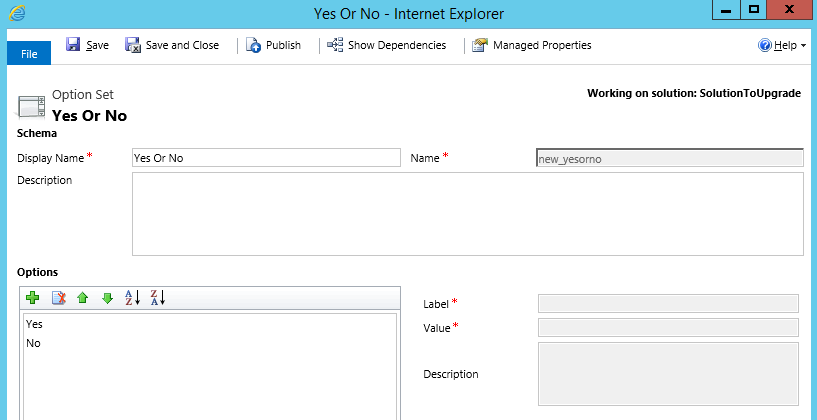
Now, let’s add an Option Set:
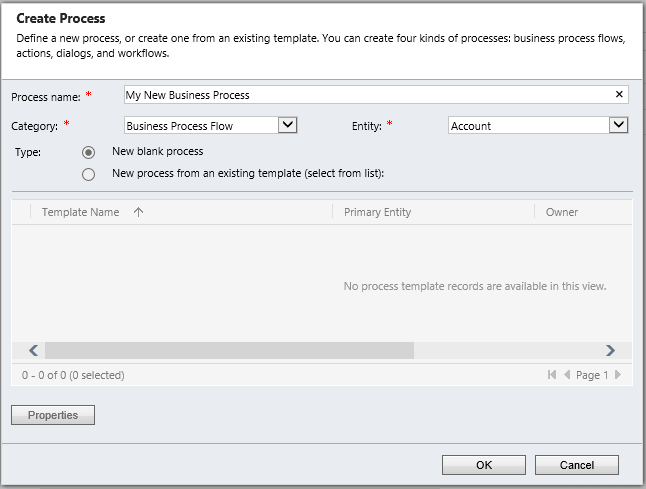
Create a new Business Process:
Add a new Dashboard:
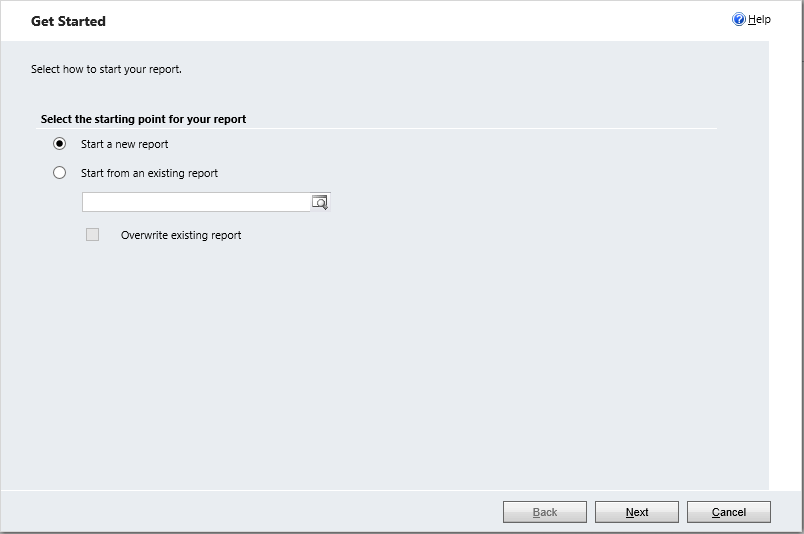
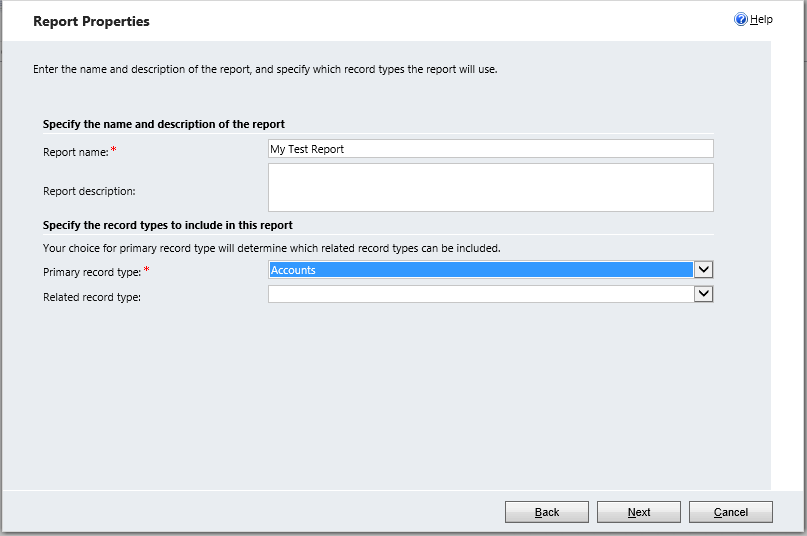
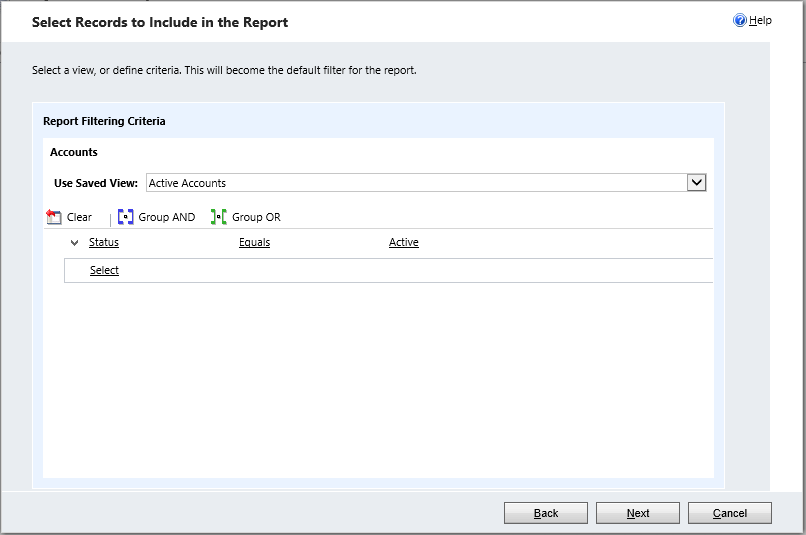
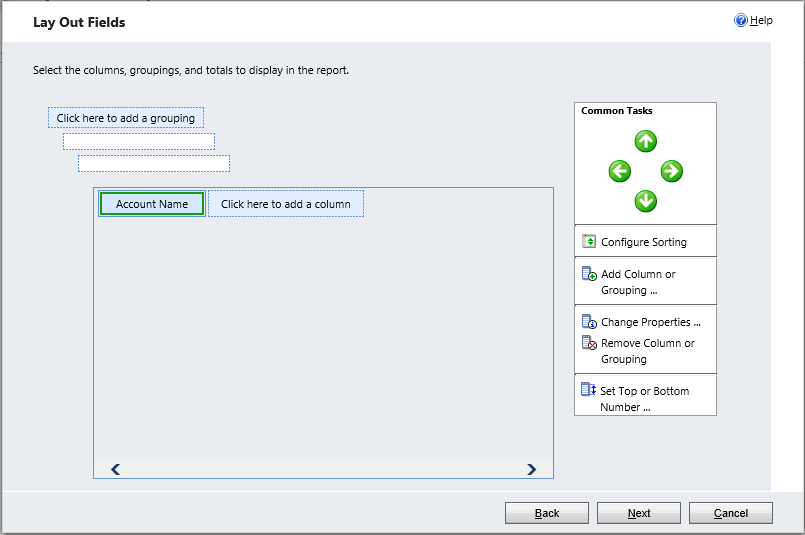
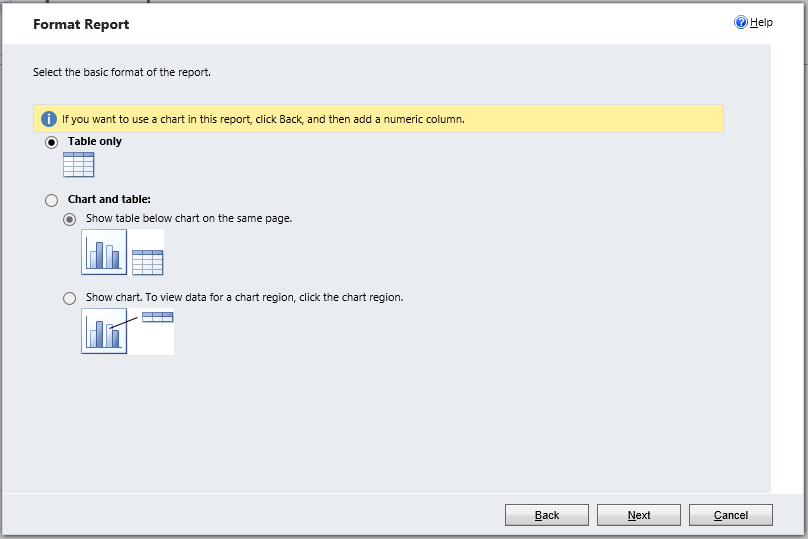
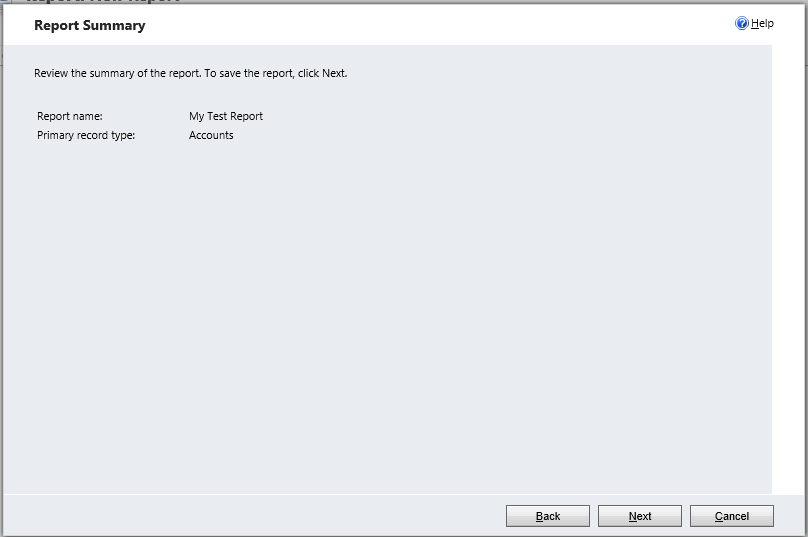
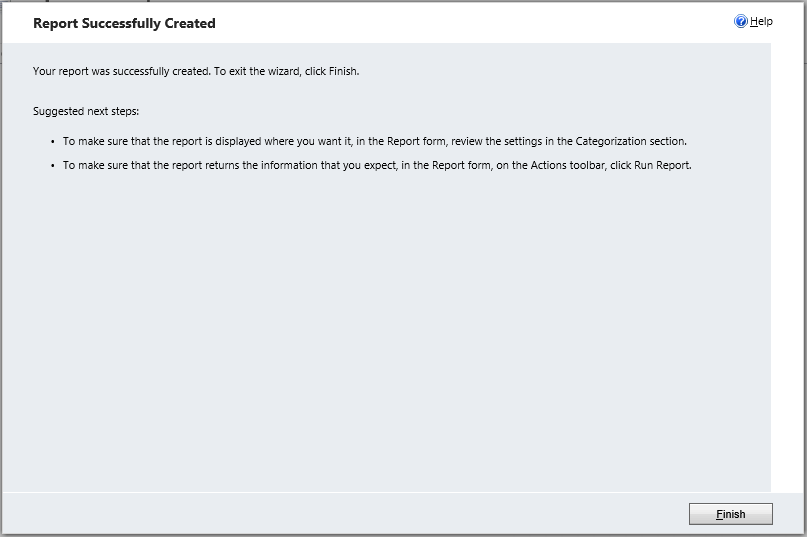
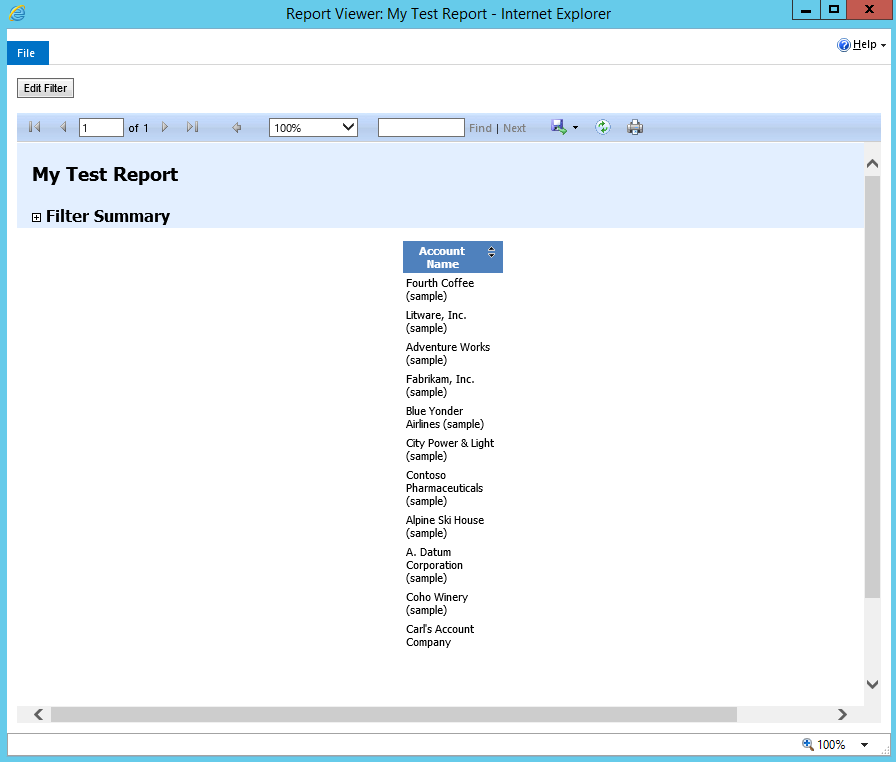
Create a new Report:
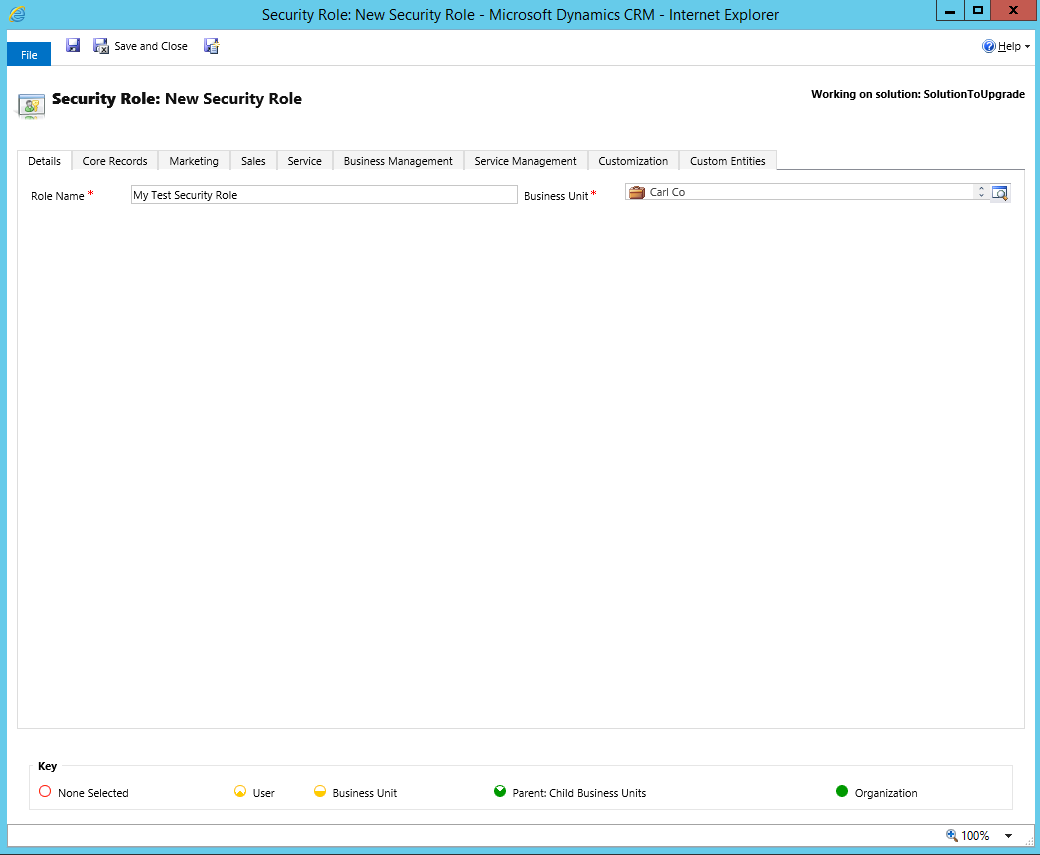
Create a new Security Role:
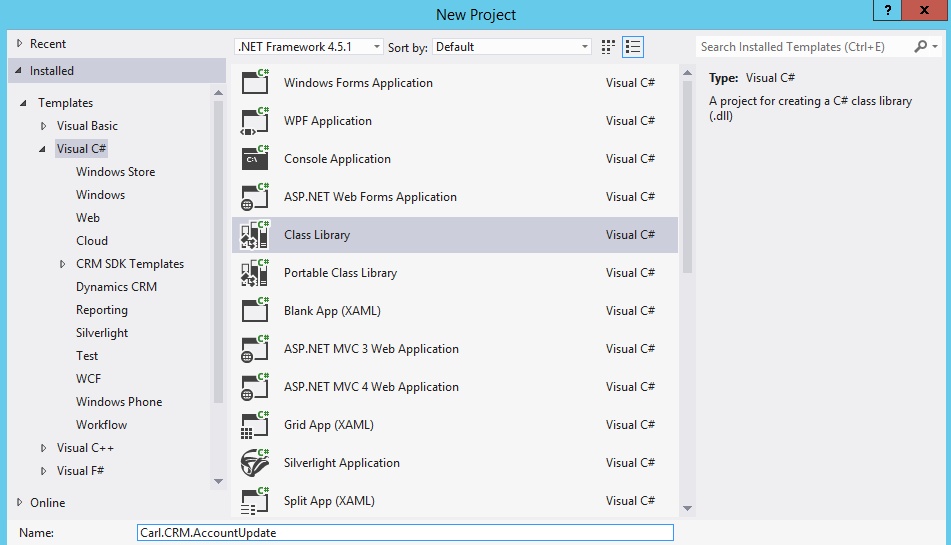
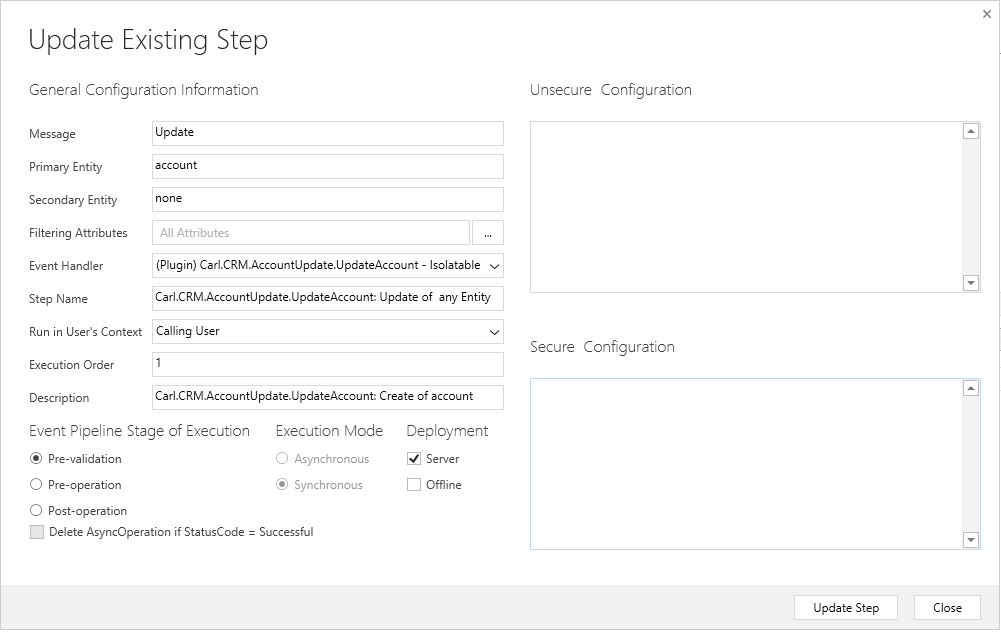
Now, let’s create a Plugin. Our plugin will update the Account
In Visual Studio, create a new Class library:
Add the assemblies:
- Microsoft.Xrm.Sdk
- Microsoft.Xrm.Sdk.Proxy
- System.Runtime.Serlialization
Add the code below. This will set the Account credit limit when an account is updated:
using System;
using System.Collections.Generic;
using System.Linq;
using System.Text;
using System.Threading.Tasks;
using Microsoft.Xrm.Sdk;
using Microsoft.Xrm.Sdk.Query;

namespace Carl.CRM.AccountUpdate
{
    public class UpdateAccount : IPlugin
    {
        public void Execute(IServiceProvider serviceProvider)
        {
            // Obtain the execution context from the service provider.
            Microsoft.Xrm.Sdk.IPluginExecutionContext context = (Microsoft.Xrm.Sdk.IPluginExecutionContext)
            serviceProvider.GetService(typeof(Microsoft.Xrm.Sdk.IPluginExecutionContext));

            // The InputParameters collection contains all the data passed in the message request.
            if (context.InputParameters.Contains("Target") &&
            context.InputParameters["Target"] is Entity)
            {
                // Obtain the target entity from the input parameters.
                Entity entity = (Entity)context.InputParameters["Target"];
                entity["creditlimit"] = new Money(1000000);
            }
        }
    }
}
Deploy the solution using the Plugin Registration tool:
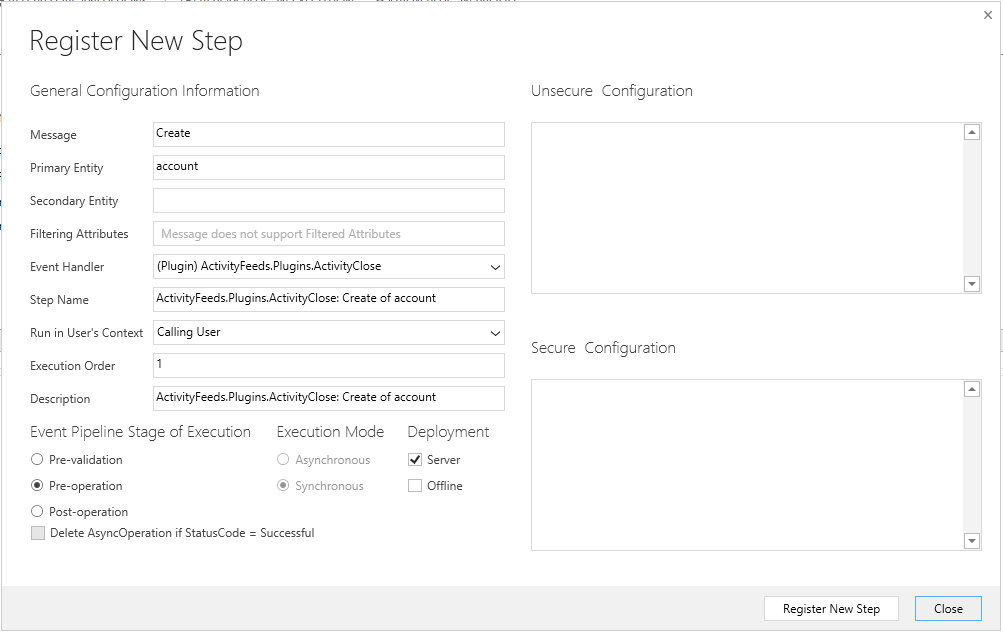
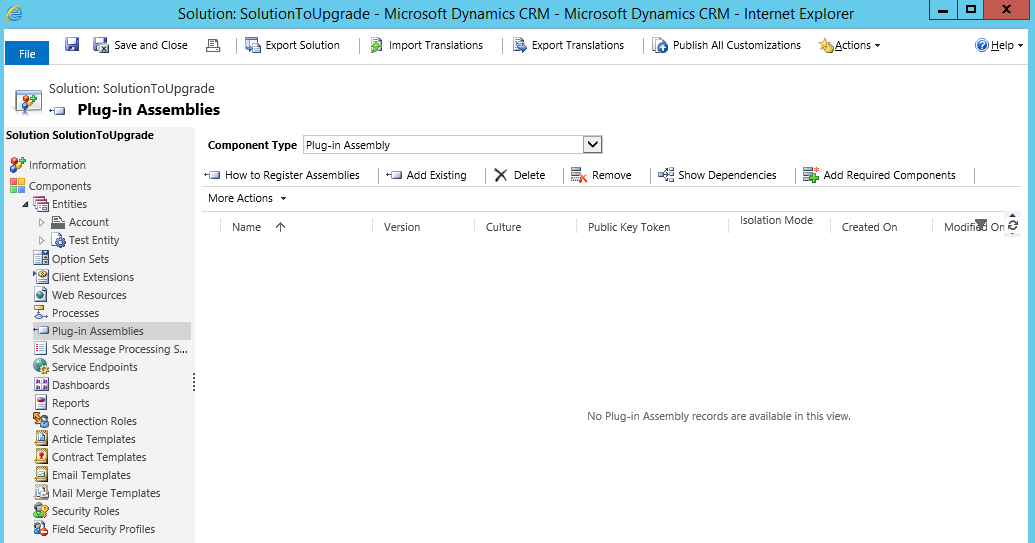
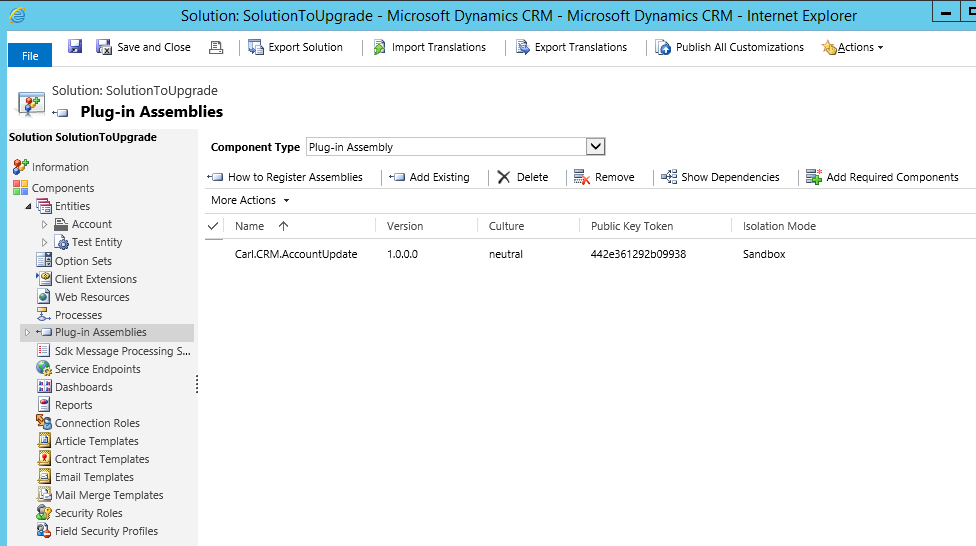
In the solution, go to Plug-in Assemblies:
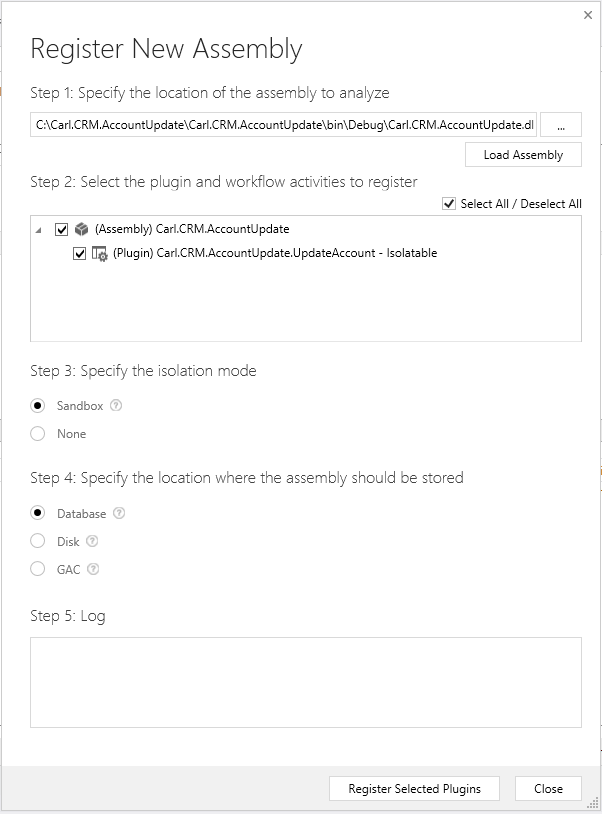
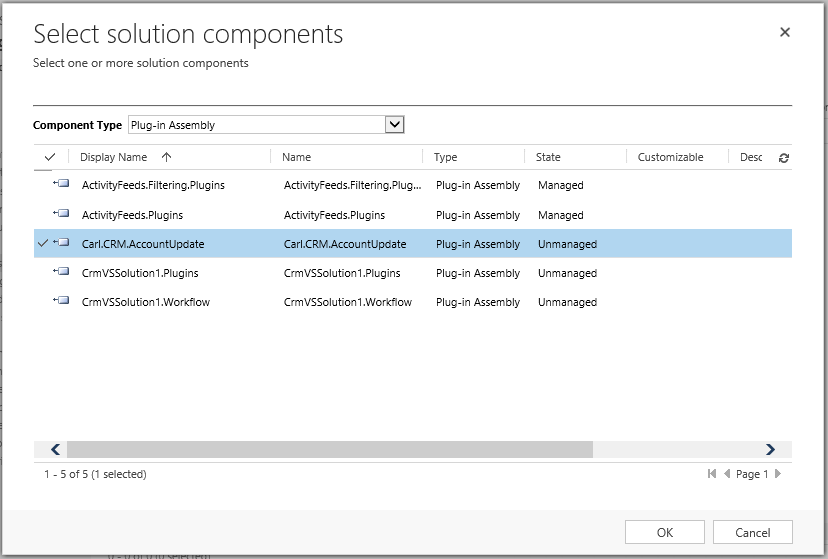
Select the assembly:
In the next post, we will go through upgrading the solution.
I AM SPENDING MORE TIME THESE DAYS CREATING YOUTUBE VIDEOS TO HELP PEOPLE LEARN THE MICROSOFT POWER PLATFORM.
IF YOU WOULD LIKE TO SEE HOW I BUILD APPS, OR FIND SOMETHING USEFUL READING MY BLOG, I WOULD REALLY APPRECIATE YOU SUBSCRIBING TO MY YOUTUBE CHANNEL.
THANK YOU, AND LET'S KEEP LEARNING TOGETHER.
CARL
