The Timeline Slicer is a Power BI visualization built by Microsoft that allows for dragging of a timeline slider to set date ranges on your reports.
To install the Timeline Slicer, you can add the visual by downloading the file, or install it directly in Power BI through the Marketplace. We will go through each.
Installing through File
Browse to: https://app.powerbi.com/visuals?WT.mc_id=Blog_Visuals
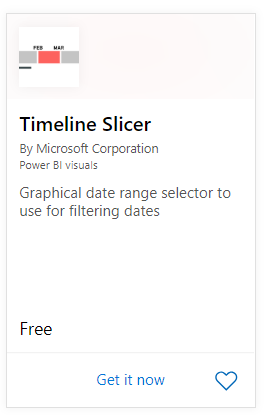
You should see the Timeline Slicer by Microsoft in the list. If not, search for it. Click Get it Now:
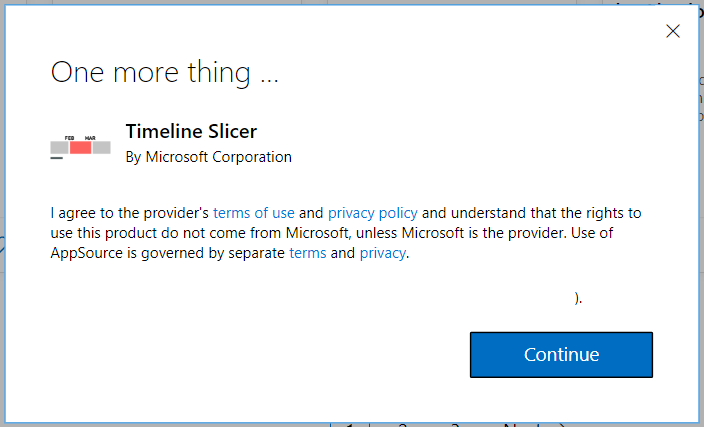
Click Continue:
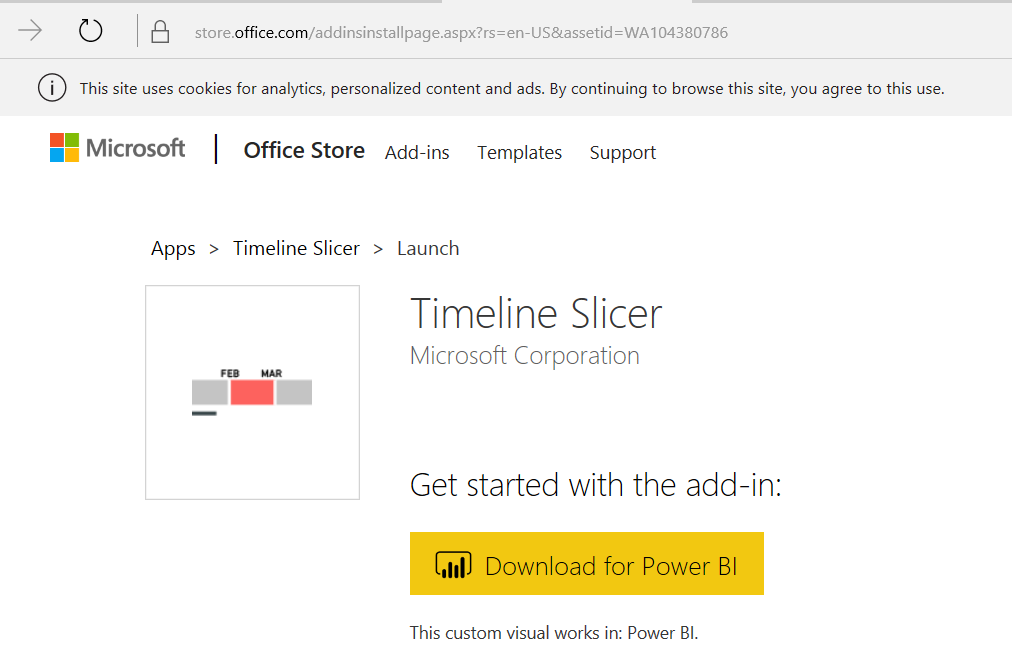
Click Download for Power BI:
This will download:
![]()
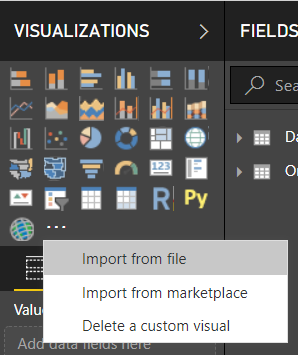
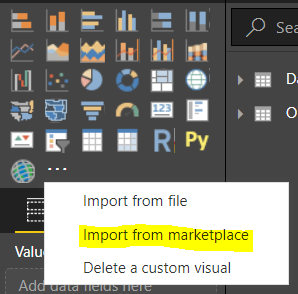
In Power BI Desktop, under Visualizations, select Import from File:
Click Import and select the file to import:
Import from Marketplace
To Import from Marketplace, open Power BI Desktop.
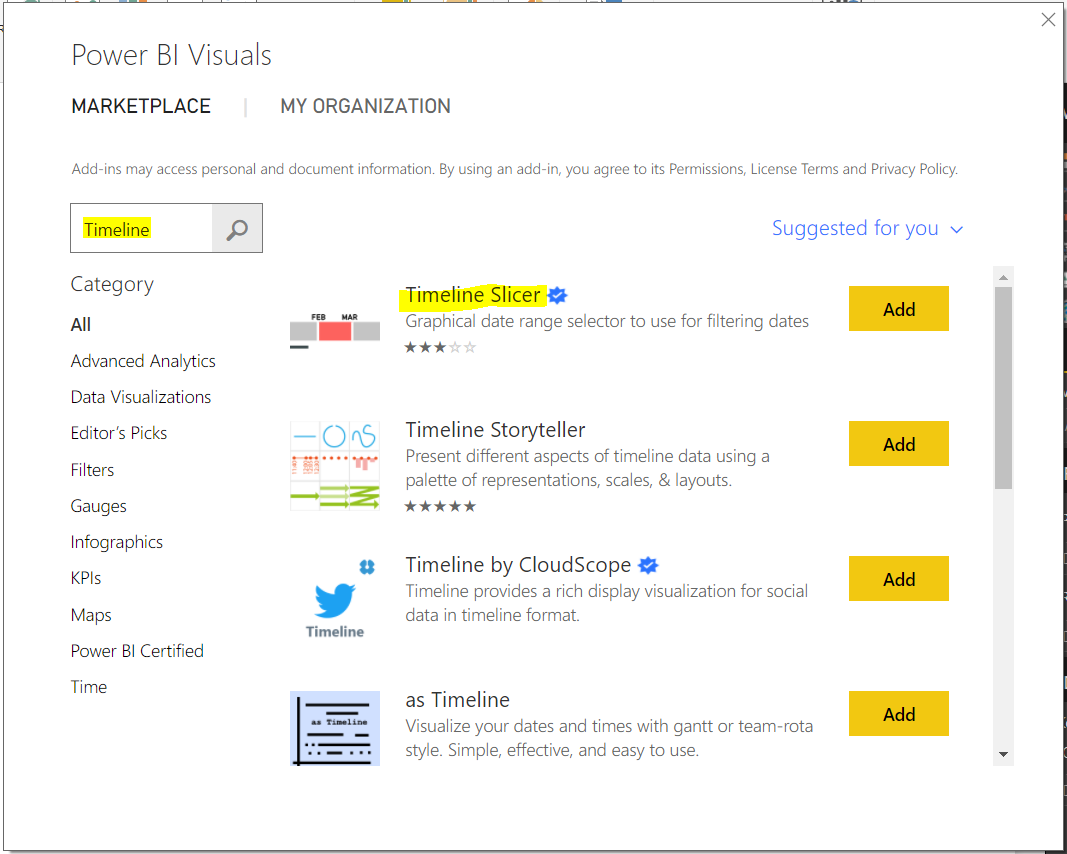
Search for Timeline, select Timeline Slicer and click Add:
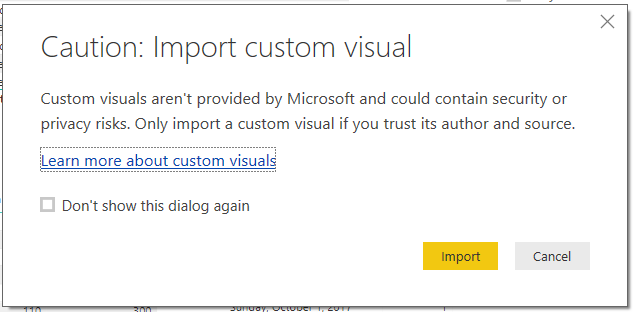
You will get the message:
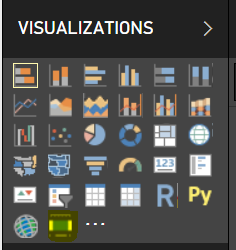
You will then see the new Visual icon under Visualizations:
Using the Slicer
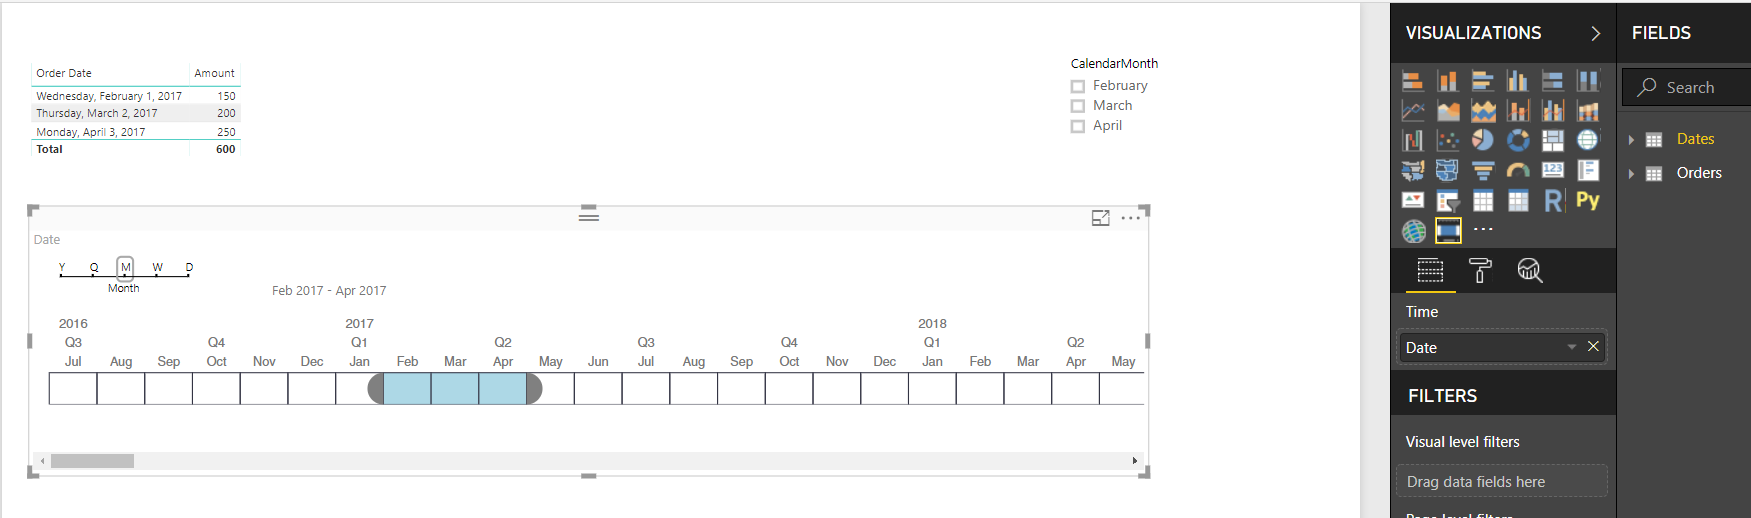
Drag the visual onto the canvas. You can then select a particular date range by selecting a month and dragging the date range. For example, below, February, March and April of 2017 are selected. There is also a month slicer on the canvas, which is automatically redrawn to show our dates in the slider are updated properly:
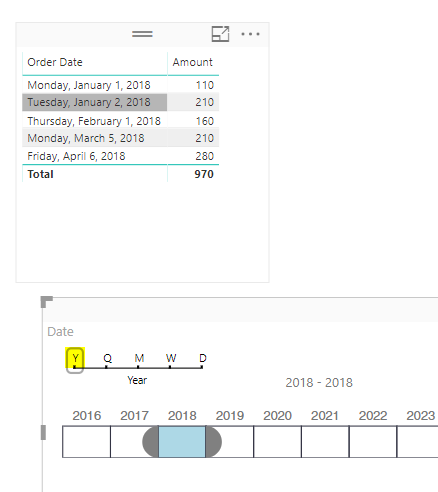
You can change the range to year, quarter, month, week and day to select those ranges. For example, to highlight 2018:
I AM SPENDING MORE TIME THESE DAYS CREATING YOUTUBE VIDEOS TO HELP PEOPLE LEARN THE MICROSOFT POWER PLATFORM.
IF YOU WOULD LIKE TO SEE HOW I BUILD APPS, OR FIND SOMETHING USEFUL READING MY BLOG, I WOULD REALLY APPRECIATE YOU SUBSCRIBING TO MY YOUTUBE CHANNEL.
THANK YOU, AND LET'S KEEP LEARNING TOGETHER.
CARL
