The following are steps to install the Unified Service Desk (USD).
- Go to the Microsoft website to download the USD files: https://www.microsoft.com/en-us/download/details.aspx?id=50355
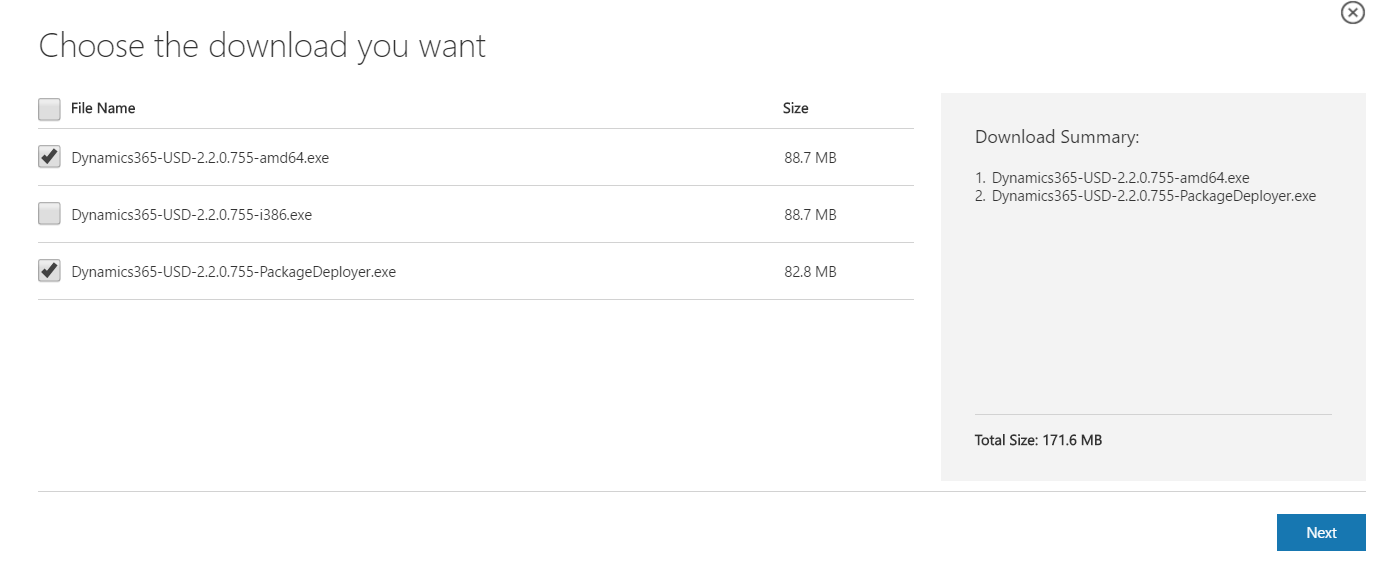
- Select files to download. I will download the 64 bit version. Note the USD version is contained in the file names, in this case 2.2.0.755:
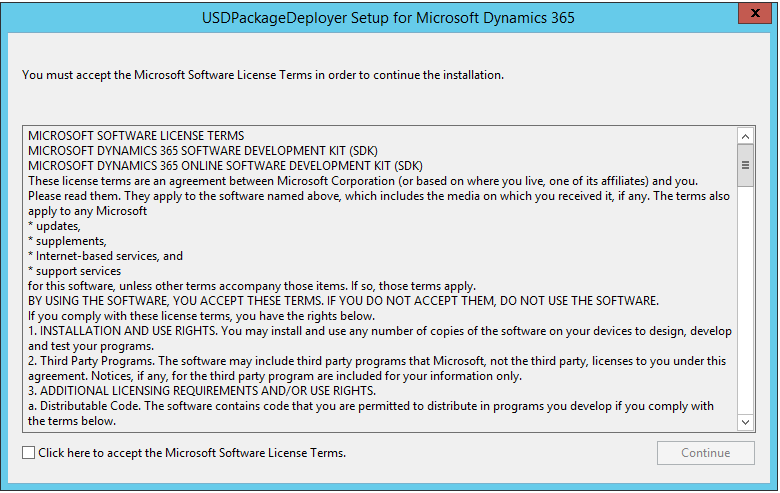
- Run the package deployer. This will deploy USD to your Dynamics 365 server environment:
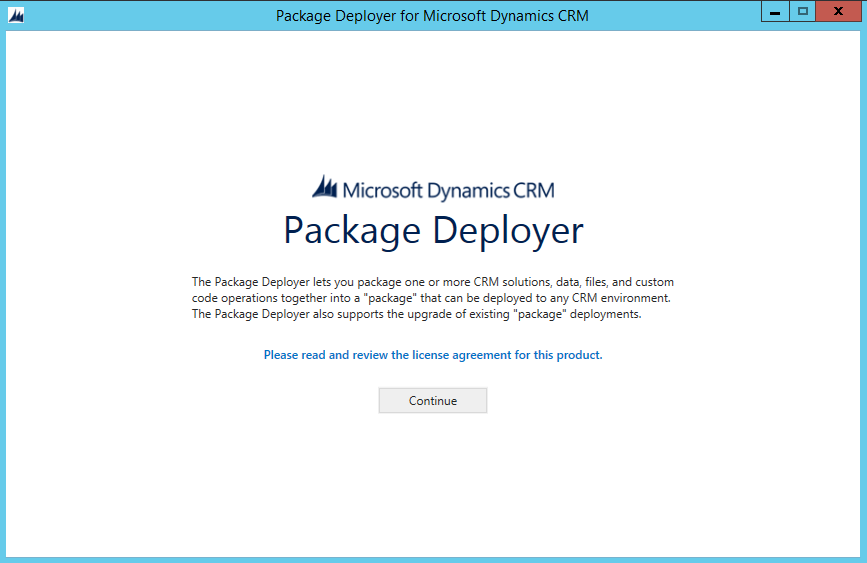
- Click continue:
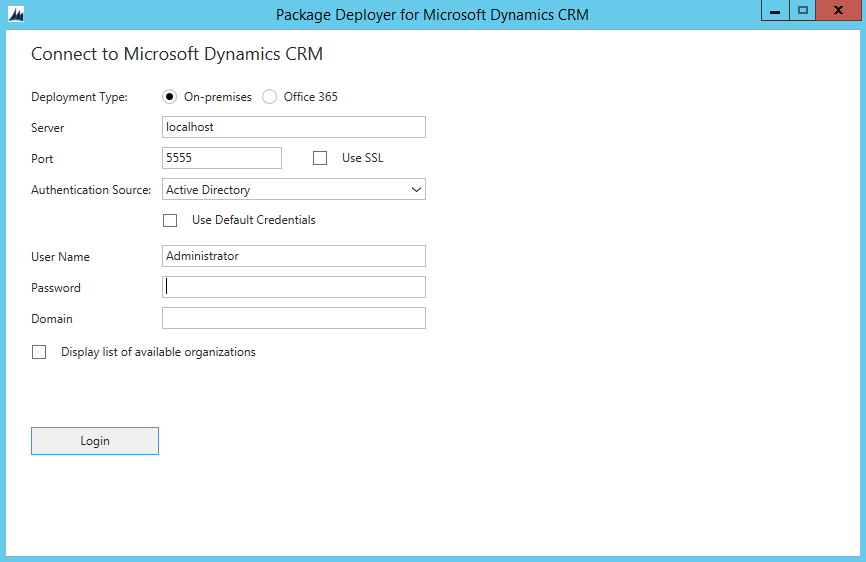
- This will bring up the package deployer screen. Check Display List of available organizations. Enter server and credentials and click Login:
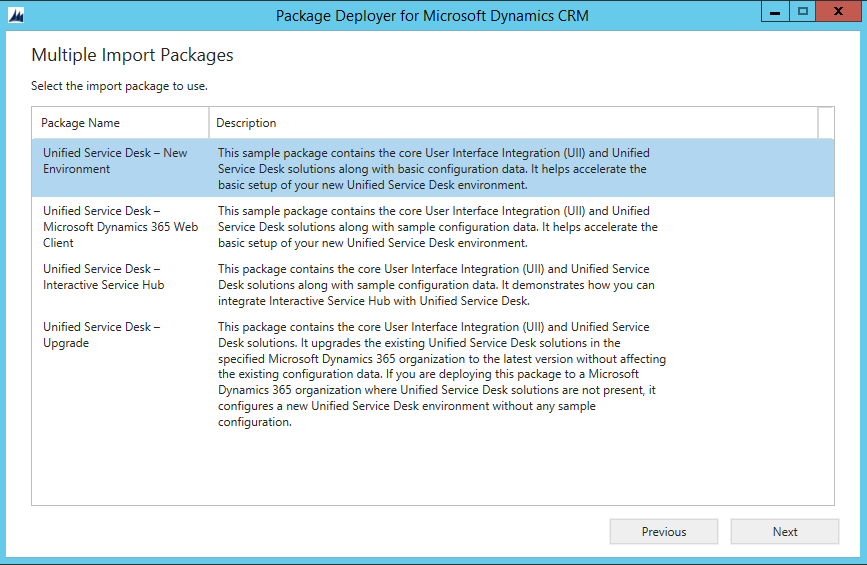
- As I have a single company, it is selected by the installer. Next, select Unified Service Desk – New Environment below:
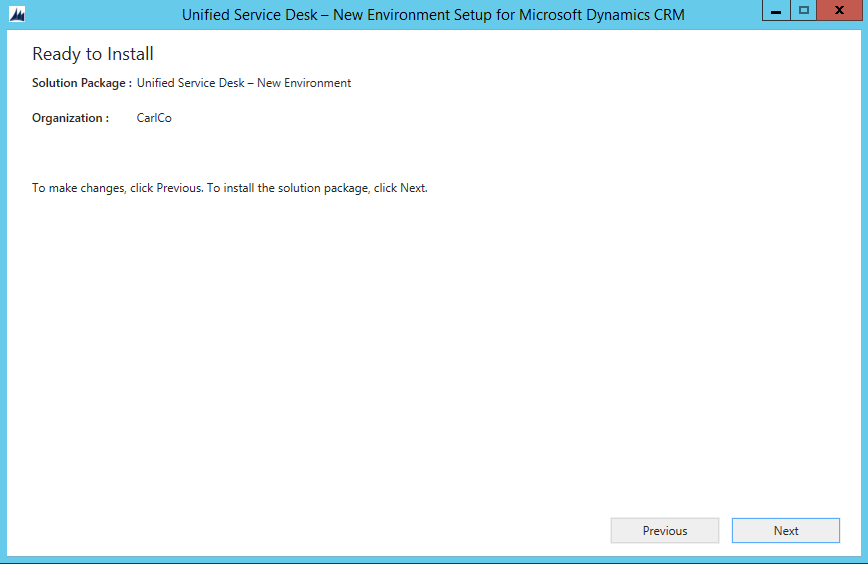
- Click next:
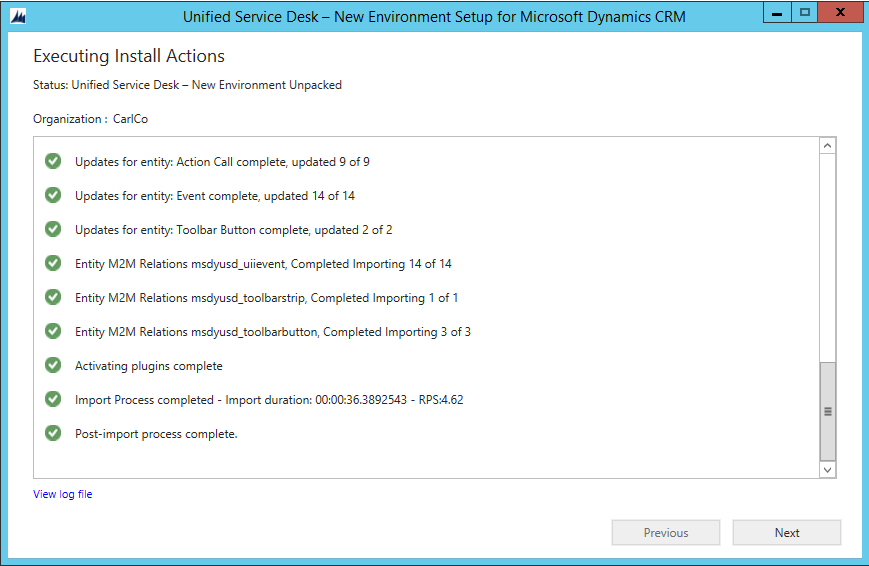
- Solution installs. Once complete hit Next and Finish on the final screen:
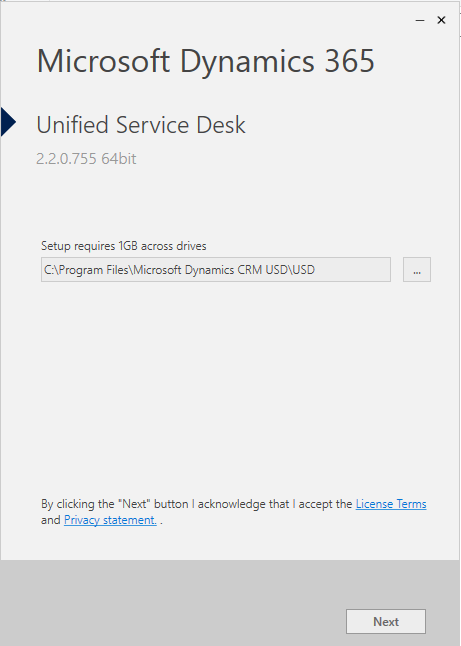
- Next, install the USD client. Run the executable. Note the path:
- Click Install:
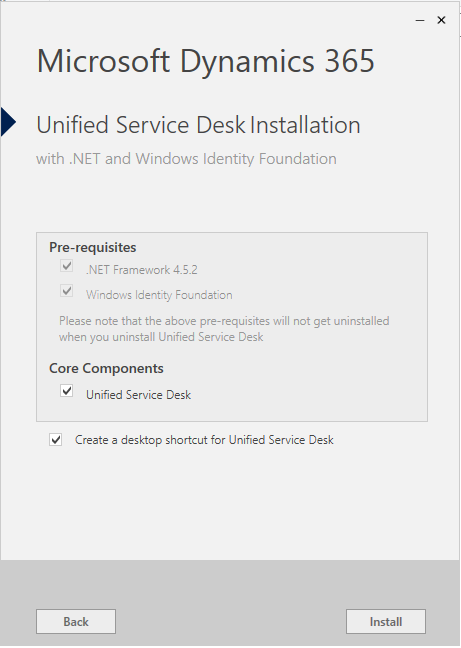
- Click Launch:

- You will first see the splash screen with the version:

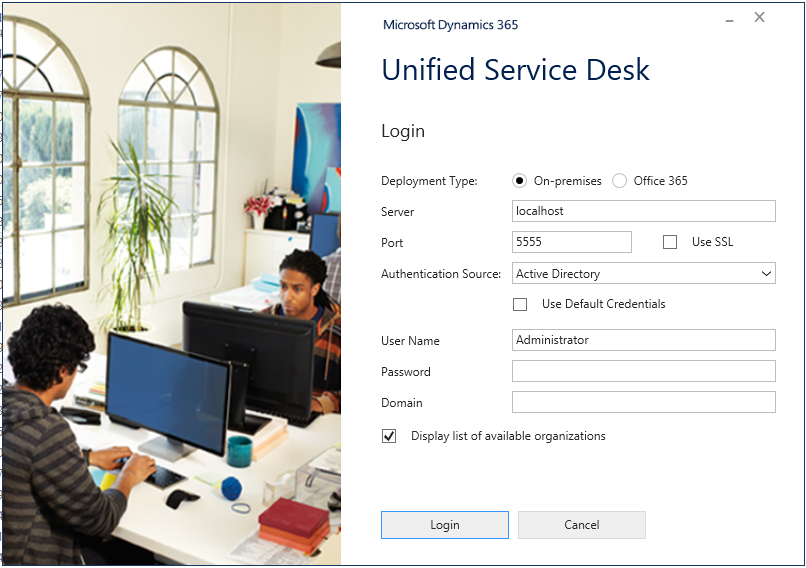
- Log into the USD:
- The USD will open:
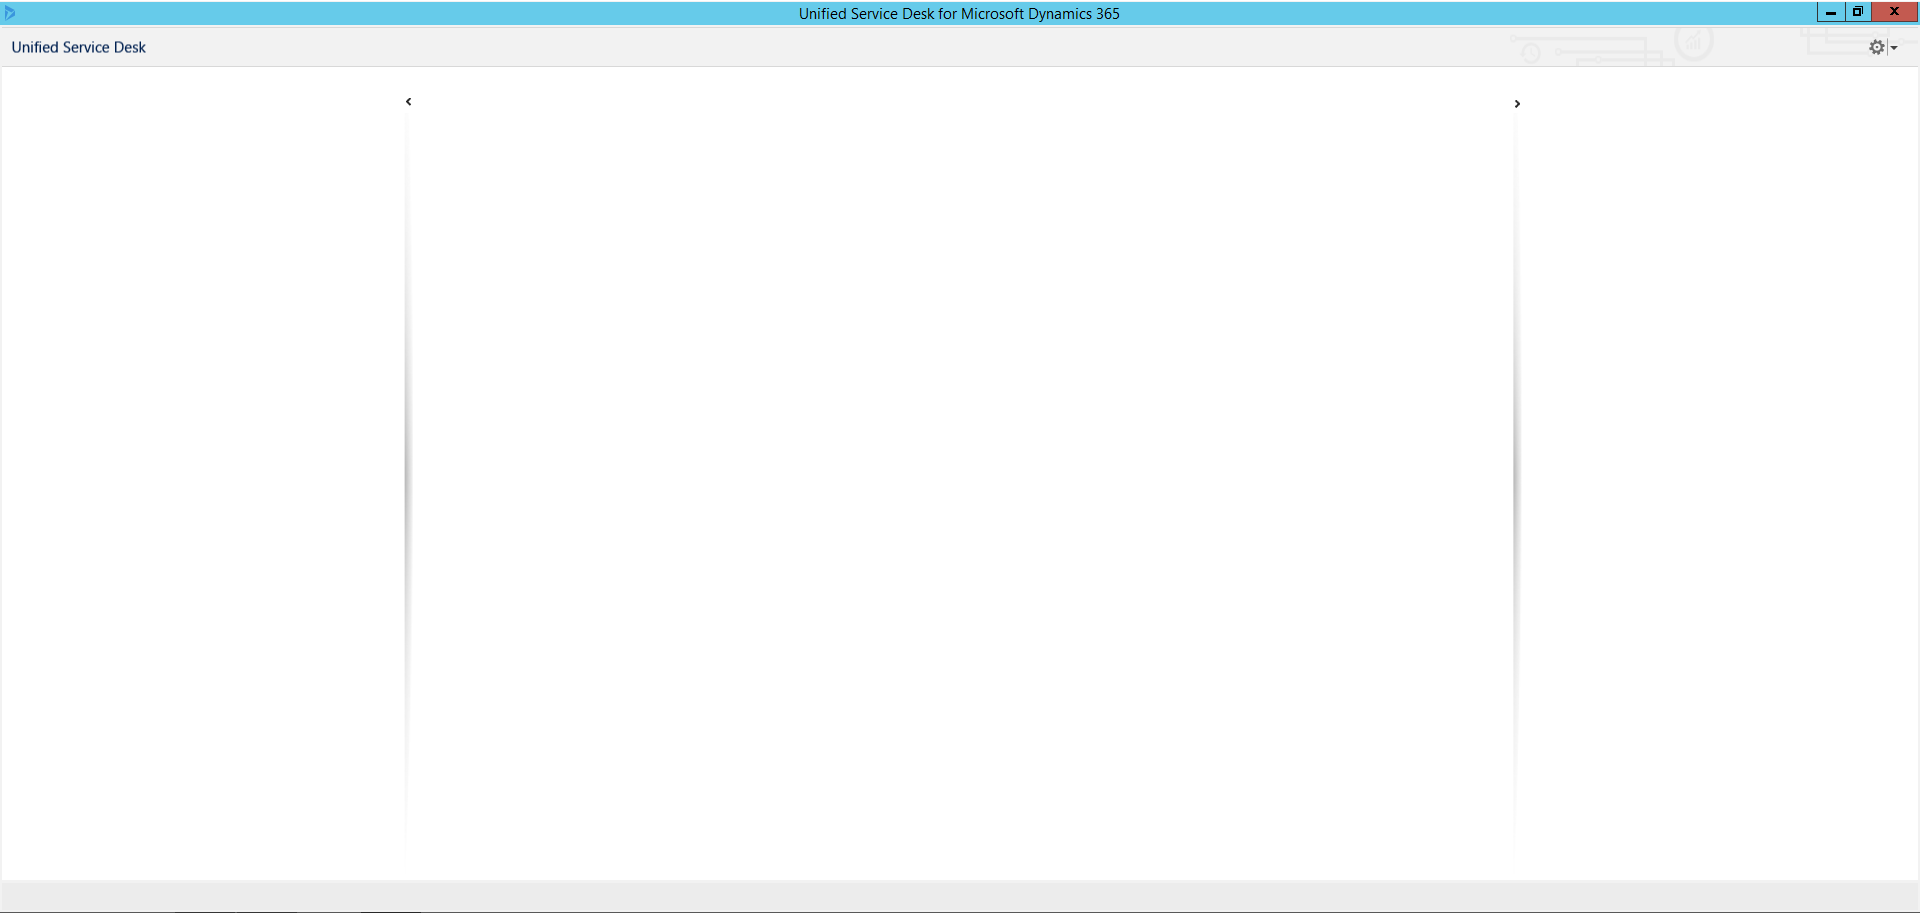
USD is now installed and ready to be configured.
THANKS FOR READING. BEFORE YOU LEAVE, I NEED YOUR HELP.
I AM SPENDING MORE TIME THESE DAYS CREATING YOUTUBE VIDEOS TO HELP PEOPLE LEARN THE MICROSOFT POWER PLATFORM.
IF YOU WOULD LIKE TO SEE HOW I BUILD APPS, OR FIND SOMETHING USEFUL READING MY BLOG, I WOULD REALLY APPRECIATE YOU SUBSCRIBING TO MY YOUTUBE CHANNEL.
THANK YOU, AND LET'S KEEP LEARNING TOGETHER.
CARL
