PCF controls are custom built Power Apps Component Framework controls built by developers to extend the functionality of Microsoft Power Apps. In this post we will look at building these controls from scratch.
First, let’s give a high level overview of PCF controls.
Overview
One of the first questions that comes us is which frameworks can you use to build these controls. Currently there are 2 templates of controls, Standard and React.
There are several PCFs that you can download and install from the PCF Gallery website.
Tools You Will Need
- Visual Studio Code with Node.js installed
- Power Apps CLI (command line interface). Be sure to grab the latest with pac install latest. You can use the Windows version or the VS Code Extension.
- msbuild (installed through Visual Studio)
Go ahead and follow the steps to install the above software on your machine, and we should be ready to go.
Setup
Now, let’s start the setup of a control. First we will create a folder to hold our control. I created a folder located at C:\PCF\SampleControl:
![]()
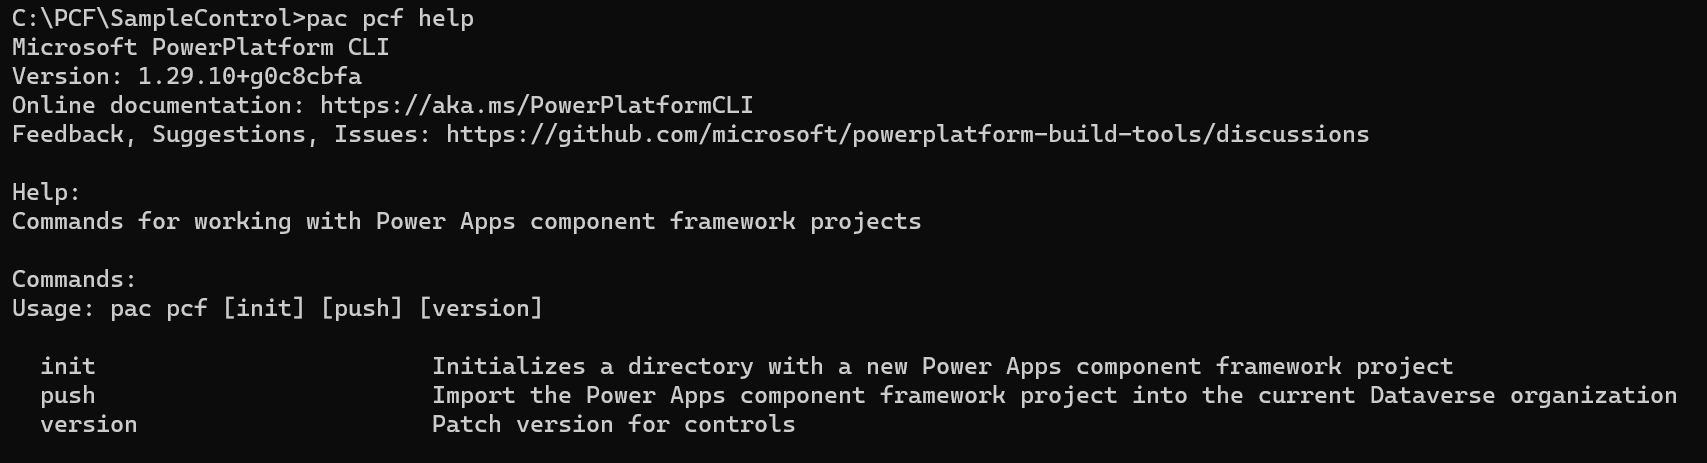
Now we can initialize the control. In a command prompt, browse to the created directory. We will first explore the pac pcf commands available in the cli, which we can do with:
pac pcf help
This gives us the options for init, push and version:
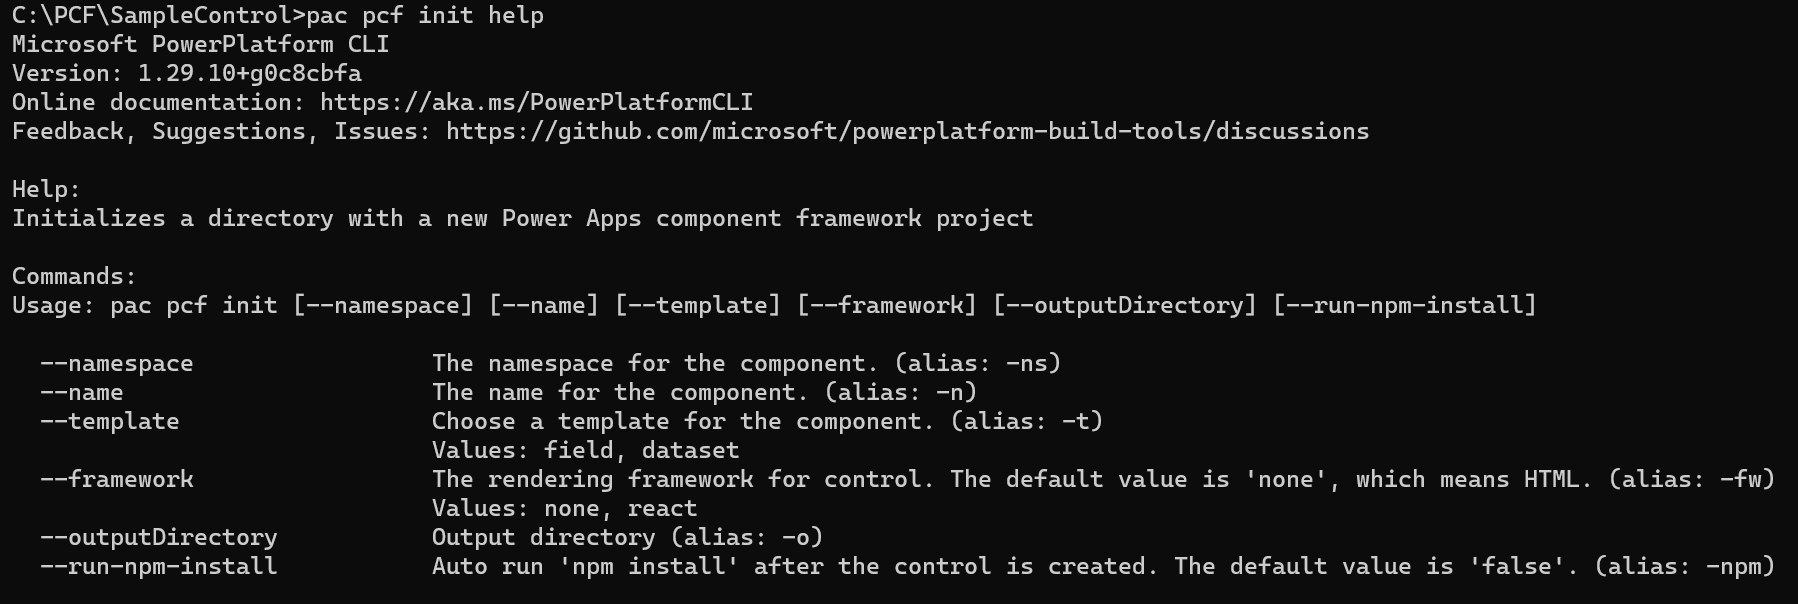
Let’s explore init more as this is the command we will use to initialize our new control project. We can provide the following:
- namespace
- name
- template (field or dataset, more on this later)
- framework (none or react)
- output directory
- run-npm-install (auto run npm install)
Let’s create a control with the command:
pac pcf init --name SampleControl --namespace carl --template field
Note I am not using all the switches above, some will default and others are not required. Also note you can use the shortcuts to shorten the command (with a single dash instead of double), so the above command is the same as:
pac pcf init -n SampleControl -ns carl -t field
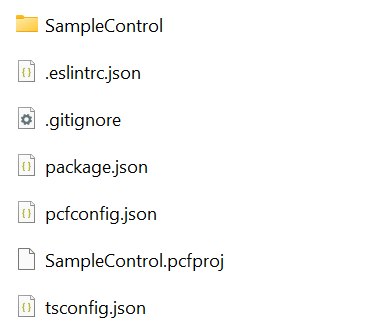
Once complete, we see the message to “Be sure to run ‘npm install’ or equivalent in this directory to install project dependencies.” That will be our next step. Before we do that, let’s take a look at the folder. We see the following files have been created.
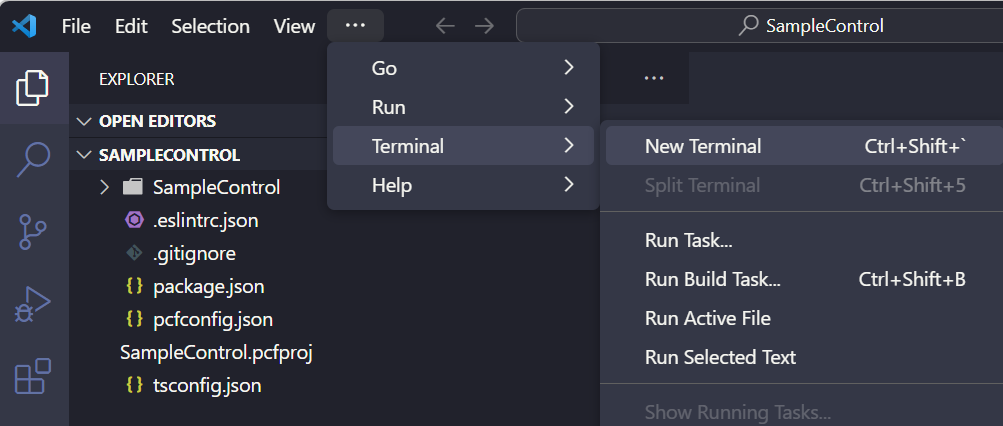
Let’s open the folder in VS Code, and let’s open a new terminal:
And run:
npm install
Note we could have automatically run this with the initiation of our project with the switch –run-npm-install.
This may take a few minutes to complete, and you may see different messages regarding modules:
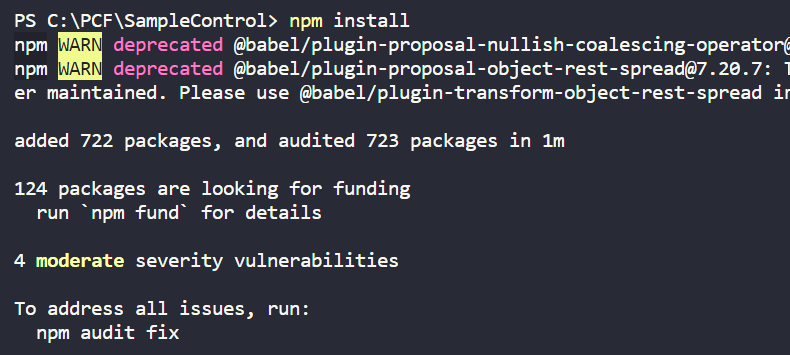
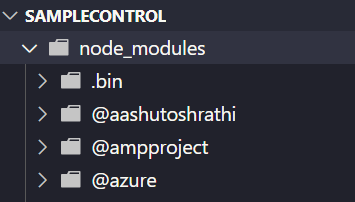
Once complete, we see this node_modules folder installed with the modules needed for this PCF control:
Now let’s take a closer look at some of the files that have been generated.
Index.ts
Firstly, note we did not include the React flag above, so the files generated are without import React. There are 4 main functions in the file:
- init – used to initialize the component. You can do things here such as calling remote servers.
- updateView – called when any value in the property bag changes.
- getOutputs – called prior to a component receiving new data
- destroy – used for cleanup to release memory
The Index.ts file is the entry point into our app, let’s look at some key areas:
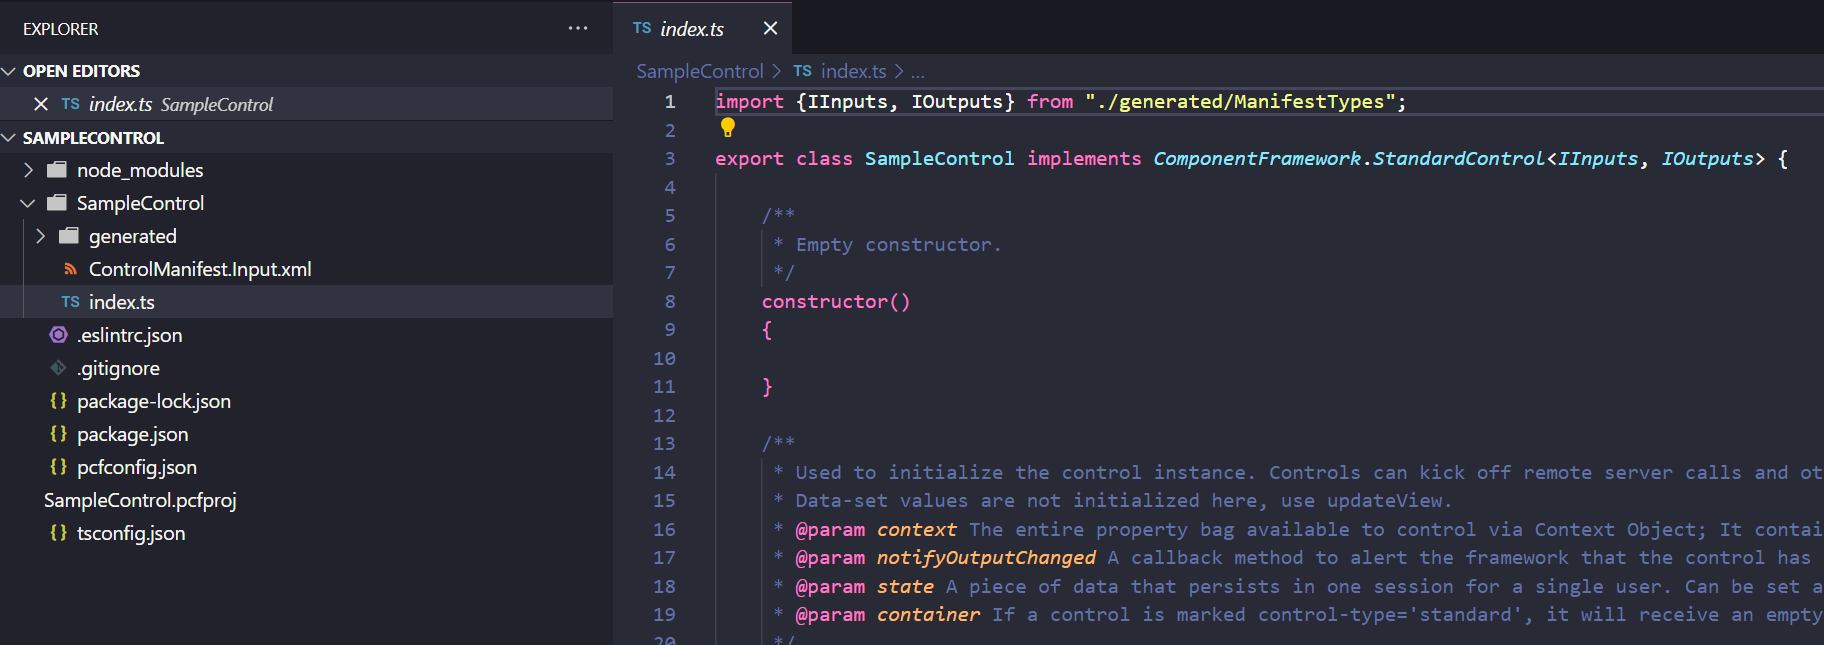
First, notice what is imported. In our case as we are not using React, so we just have one import line.
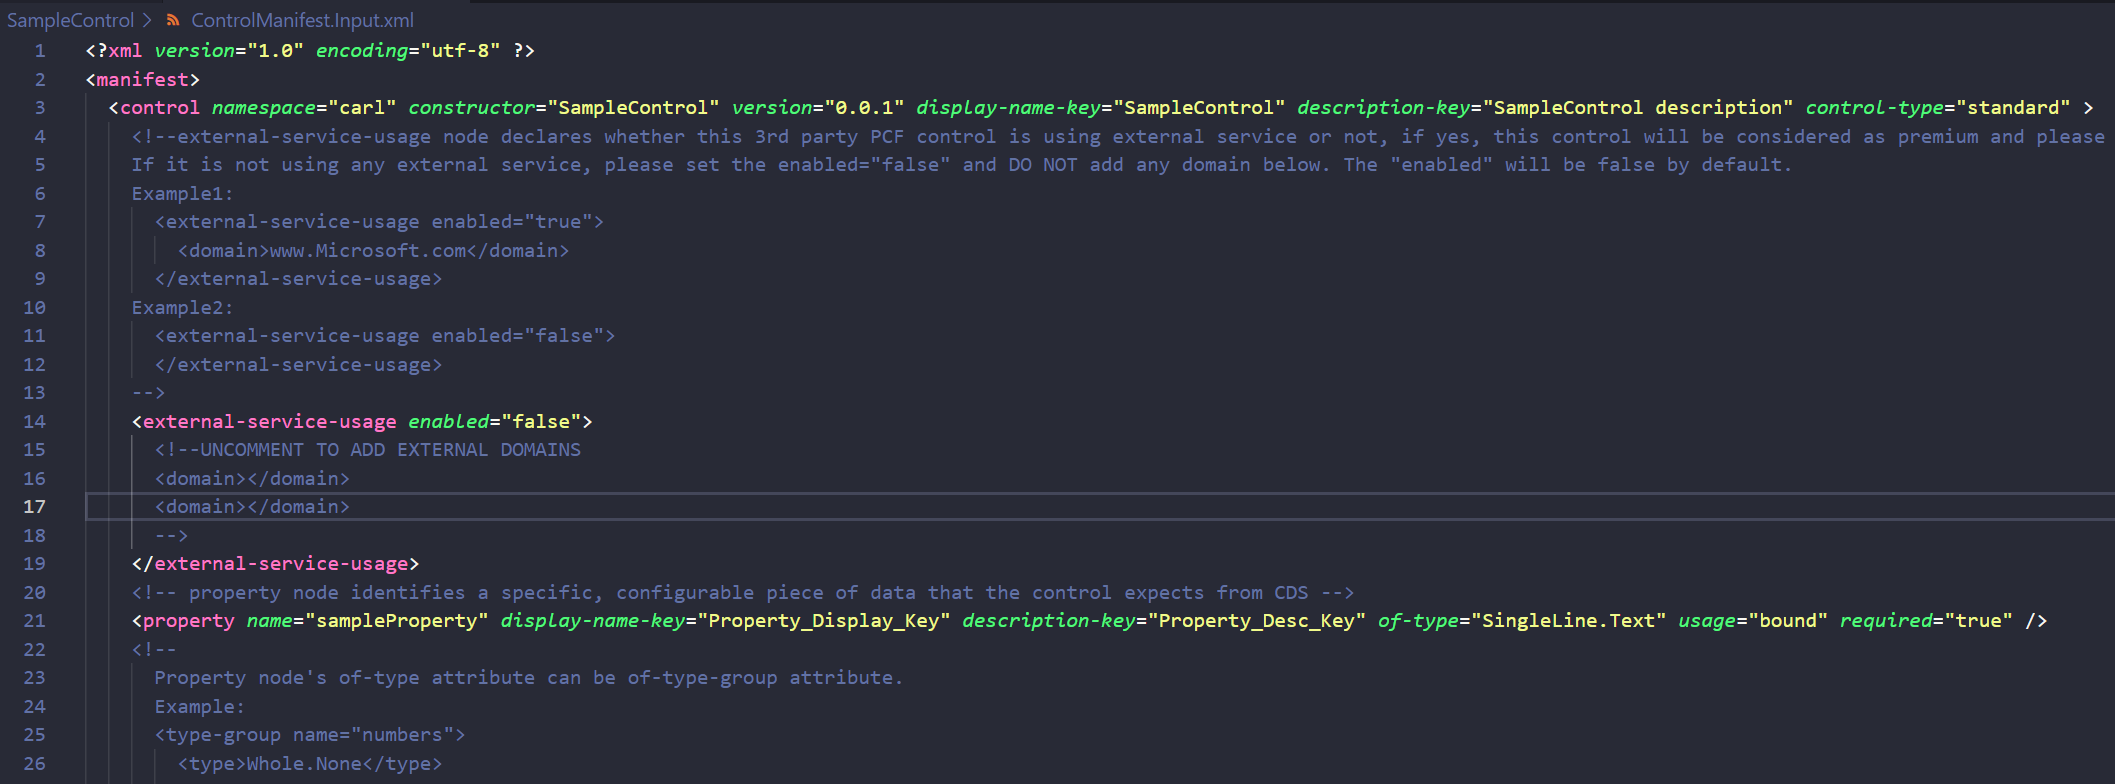
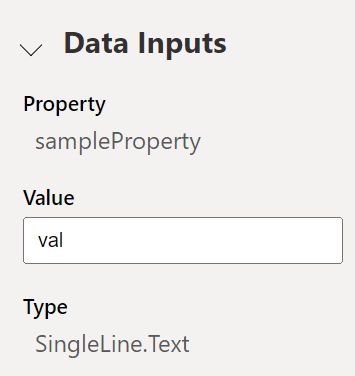
Another file of interest is the ControlManifestInput.xml. This file holds the properties for our control, and you can see there is one sample property already added called sampleProperty of type SingleLine.Text. Note you can see the types supported here. It is a “bound” type, meaning the component can change the bound field (other types are input, which is read-only, and output). You can also add resources to the manifest such as paths to css files that support your control.
Let’s try running this control in a test harness by typing into the console:
npm start
You can also use npm start watch which will look for on the fly changes:
npm start watch
You may run into issues here with module errors, best thing is to see which modules are causing errors and potentially install or update them.
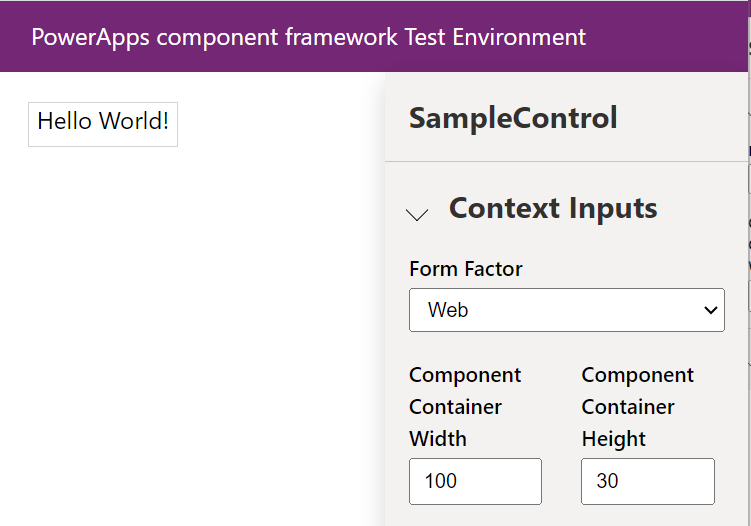
You should now see a browser open at http://localhost:8181 with our sample control:
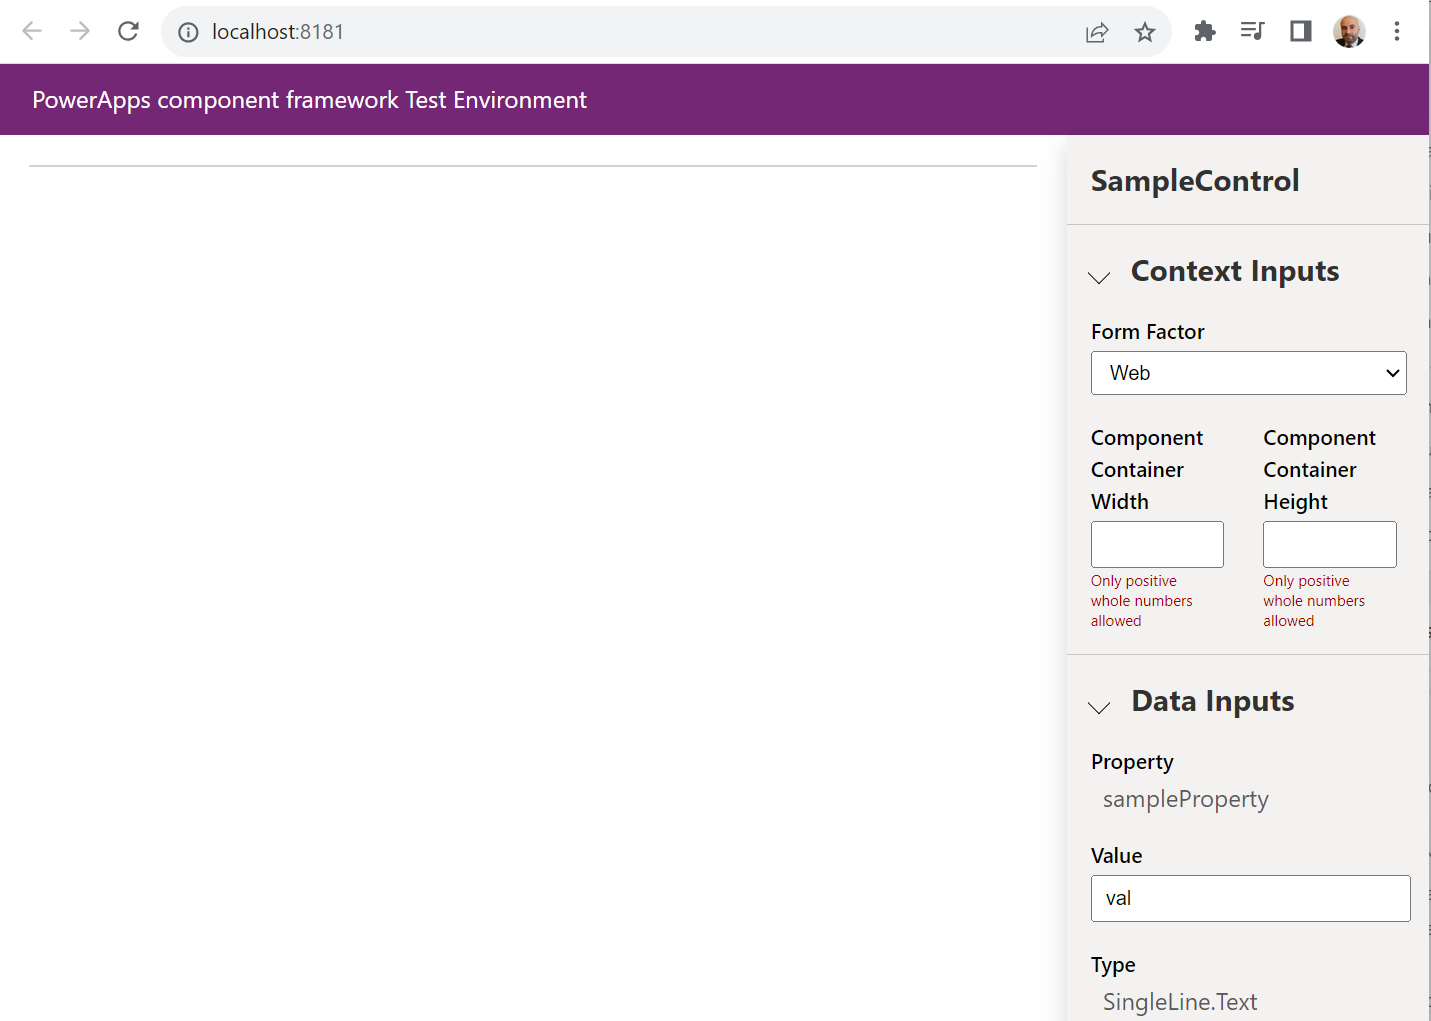
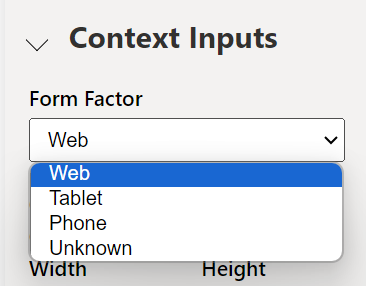
The form factor options are:
- Web
- Tablet
- Phone
- Unknown
And our sample property is listed below:
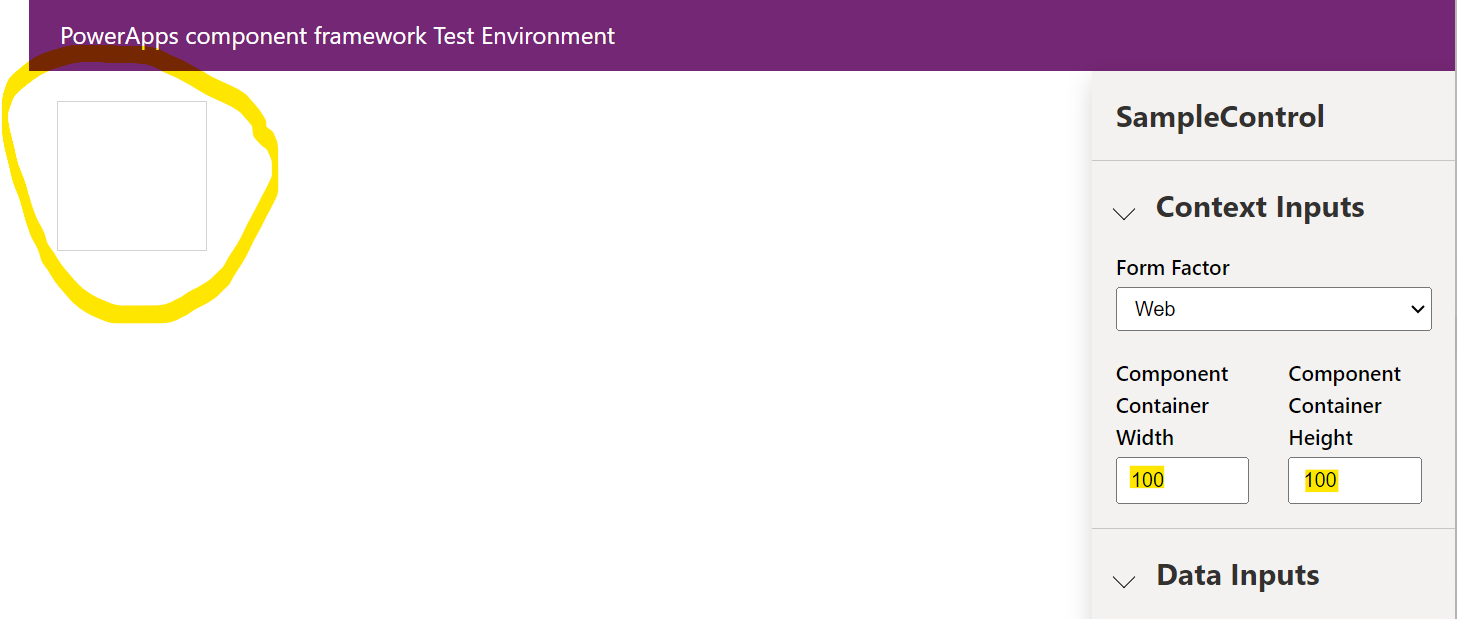
The next important thing here is the container. We can set the container size here, and you can see the container is redrawn to the size specified:
In our init function we have access to 4 parameters:
- context
- notifyOutputChanged
- state
- container
Let’s add a simple line to our init function that appends to our container the text “Hello world”:
container.appendChild(document.createTextNode("Hello World!"));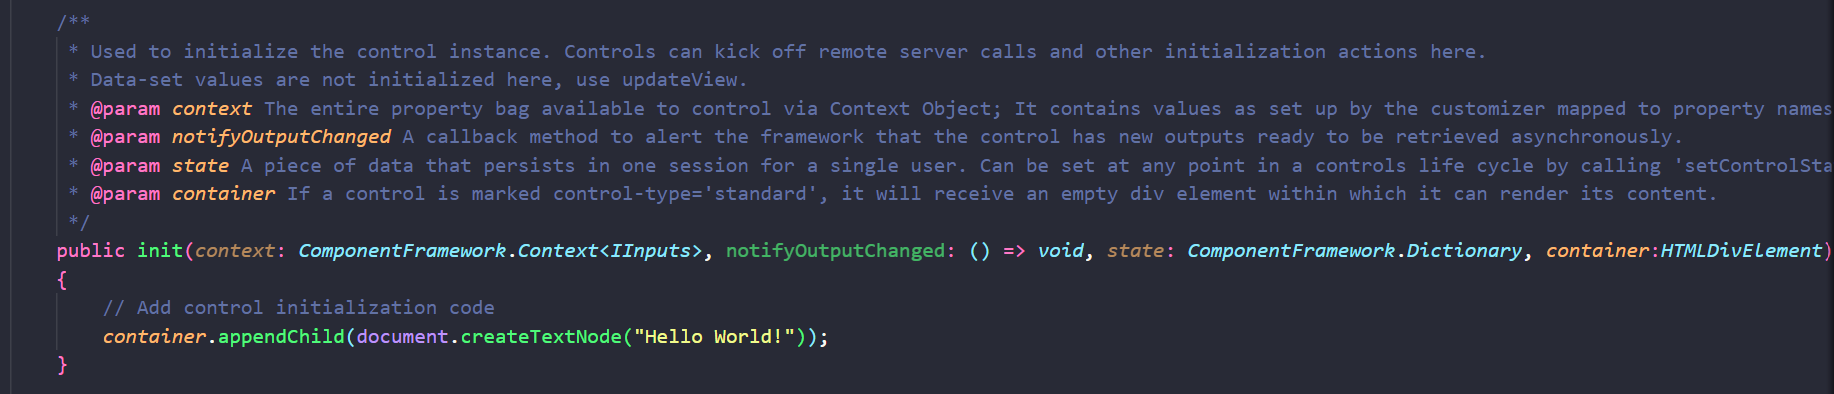
On saving this, we see the change reflected in the control:
At this point, let’s deploy the control to the Power Platform and see what it looks like. We will deploy to a model-driven app.
The first thing to do is create a subdirectory called Solution or you will run into the error “Error: CDS project creation failed. The current directory already contains a project. Please create a new directory and retry the operation.”. Create the subdirectory, then in the console go into that directory.
To package our component, we use the command below:
pac solution init --publisher-name developer --publisher-prefix dev
In my case, this will be:
pac solution init --publisher-name Carl --publisher-prefix carl

The following files are created:
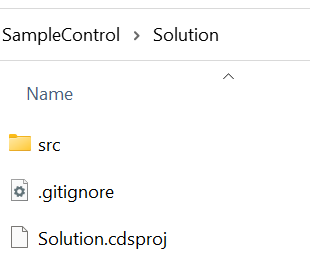
Next, we need to add references to where our component is located, in our case:
pac solution add-reference --path C:\PCF\SampleControl
We get “Project reference successfully added to Dataverse solution project”:

Now we need to run msbuild to generate the actual solution zip file. If you run this in a command prompt and it comes back with “‘msbuild’ is not recognized as an internal or external command” you may need to run this from the Developer Command Prompt for VS, which can be located in the Start Menu:
Run the command below in the Solution directory:
msbuild /t:build /restore
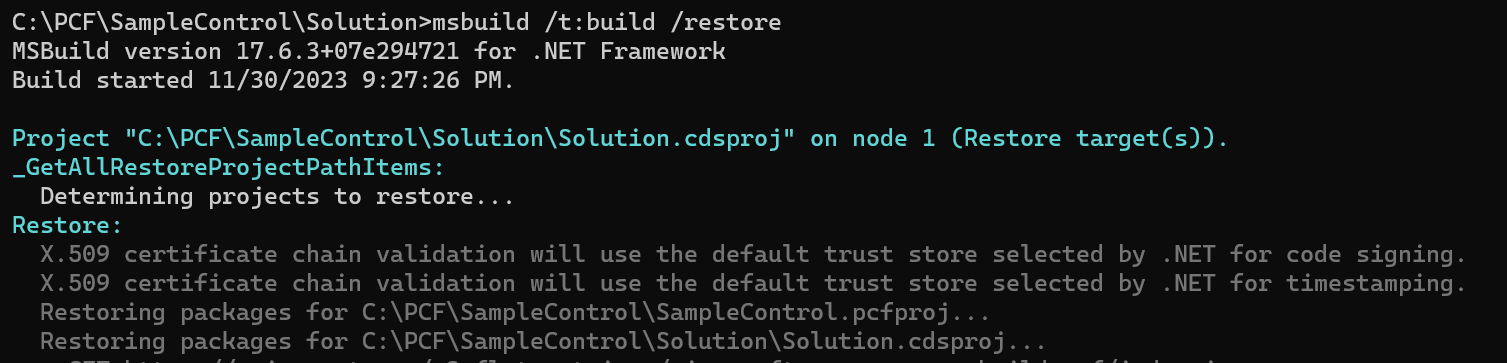
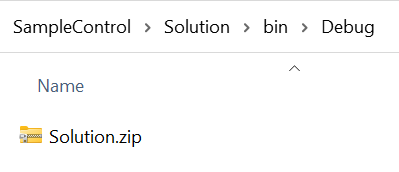
Once complete, you should see “Build Succeeded” with no errors or warnings, and the end result is a Solution.zip file:
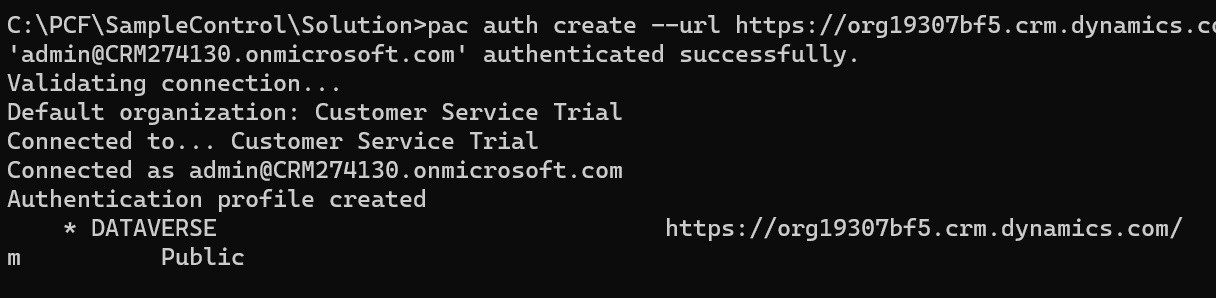
We can now connect to our org and deploy the file. The pac cli can do this for us. The first thing to do is create a connection using pac auth create and then the URL to the org:
pac auth create --url https://org19307bf5.crm.dynamics.com/
We get a login prompt, then the connection is created:
If you already have a connection set up, you can use pac auth list and pac auth select to connect to the org.
Go to the Component folder again, in my case the SampleComponent directory, and run the command:
pac pcf push --publisher-prefix <publisher prefix>
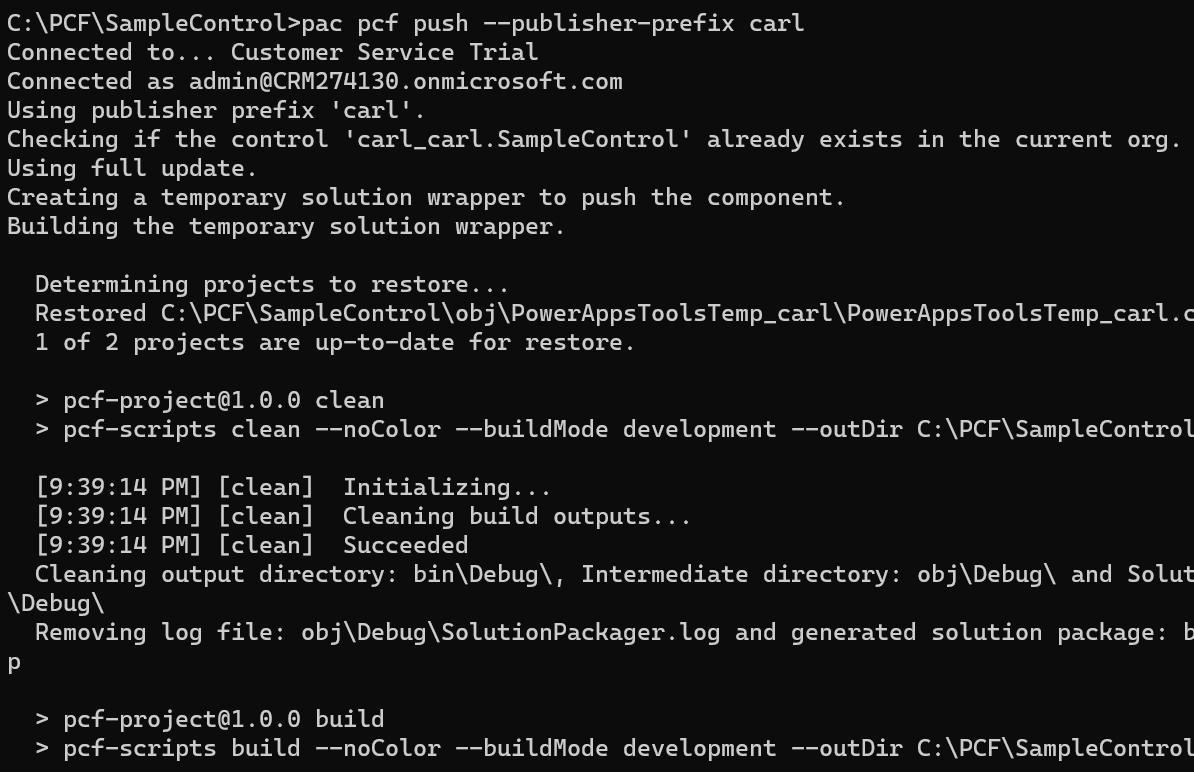
This will take a few minutes to run, and finally you will see:

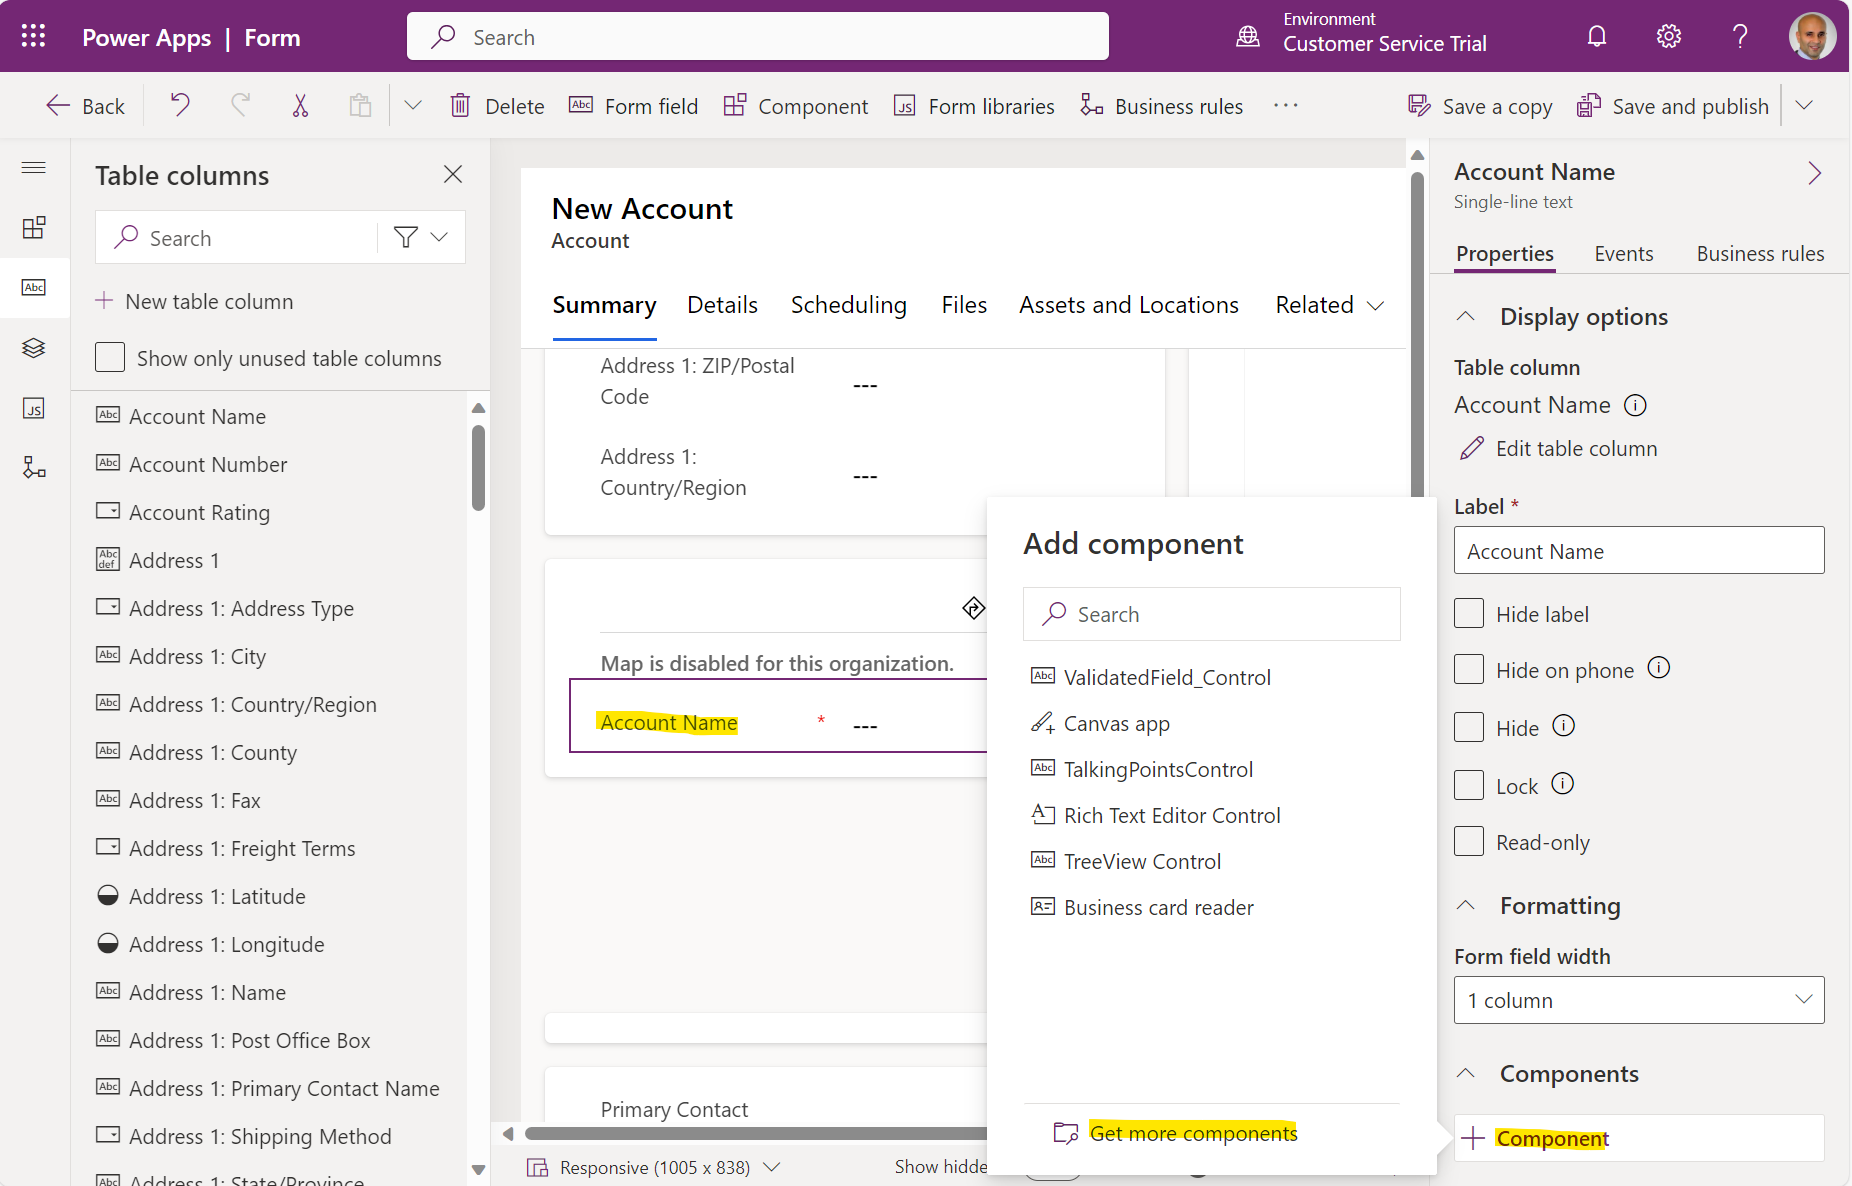
In our Power Apps maker portal located to https://make.powerapps.com let’s add our component to a form. This part might be slightly unintuitive depending on what your PCF control does, but basically we are adding a field to our form and changing the component of the field to be our new component. Click on Component->Get New Components:
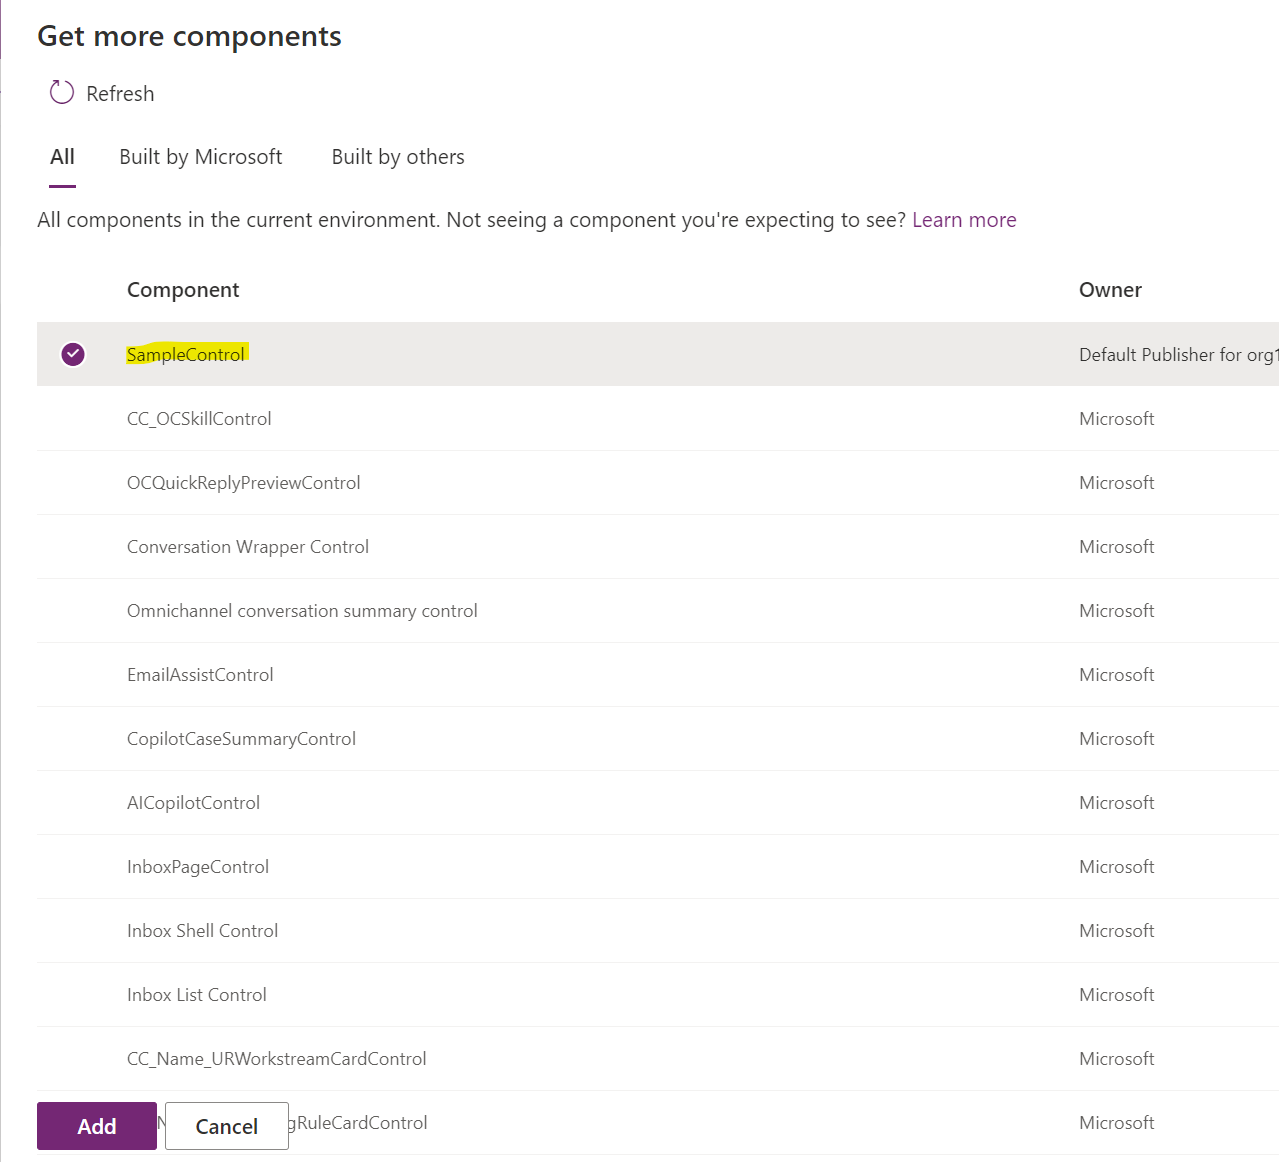
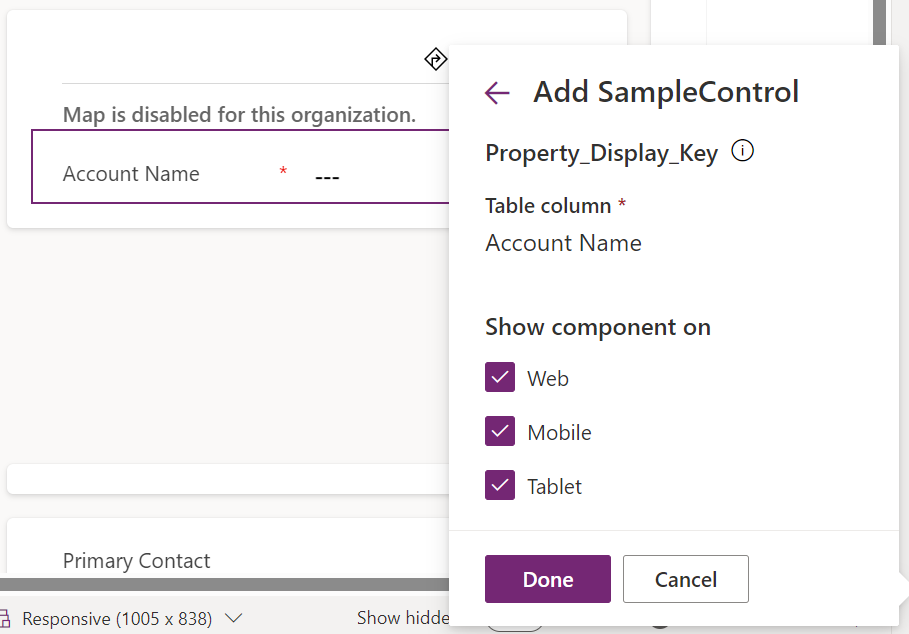
We see our SampleControl and can Add it:
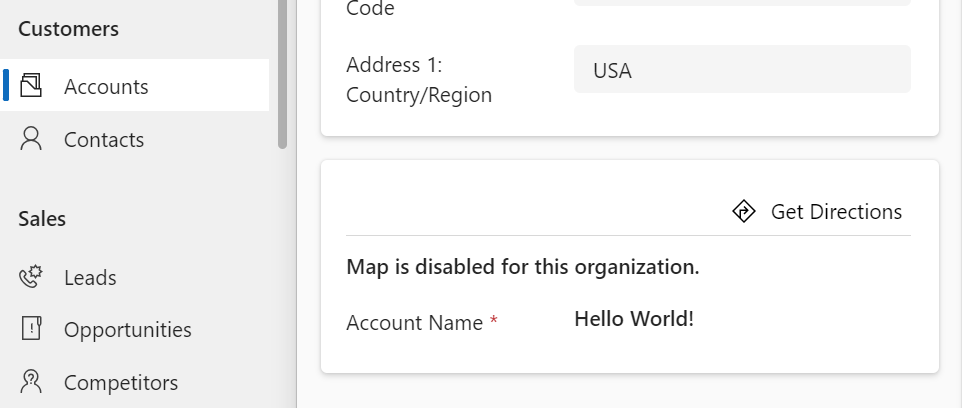
Our control is now rendering with the words “Hello World!”:
![]()
As I mentioned, depending on what your control does, you may want to hide the label of the field. If your control is related to the field, e.g. it’s a date calendar lookup control, you would want to keep the field label such as “Date”. If the PCF control is more stand-alone, such as an iFrame, you may want to hide the label.
After saving and publishing, we see on our Account form our new field. Note the field is a label and not an input type, i.e. we can’t change the value of the field. Let’s look at how to do that next.
I AM SPENDING MORE TIME THESE DAYS CREATING YOUTUBE VIDEOS TO HELP PEOPLE LEARN THE MICROSOFT POWER PLATFORM.
IF YOU WOULD LIKE TO SEE HOW I BUILD APPS, OR FIND SOMETHING USEFUL READING MY BLOG, I WOULD REALLY APPRECIATE YOU SUBSCRIBING TO MY YOUTUBE CHANNEL.
THANK YOU, AND LET'S KEEP LEARNING TOGETHER.
CARL

Hi Carl, I am creating a simple PCF component as POC for my office work. In my personal laptop I was able to generate the zip file at once. But in my office laptop I am running into multiple issues.
On my machine the .net frameworks which I installed are 3.0.103, 6.0.424 and 8.0.303. By default the project file gets generated in farmework v462. So I changed the pcfproj and cdsproj files. But now I am stuck at one error at msbuild – C:\Program Files\Microsoft Visual Studio\2022\Professional\MSBuild\Current\Bin\Microsoft.Common.CurrentVersion.targets(3159,7): error MSB4057: T
he target “CreateManifestResourceNames” does not exist in the project.
Do I need to get .Net Framework 4.6.2 installed on my machine then only it will work?
Please let me know how can I fix this issue. Thanks.
Hi CARL DE SOUZA
Can we set the Solution version and Control version with these command ?