In this post, we will look at how to use the Kudu API and PowerShell to deploy Azure App Services. This can be useful if you want to automate deployments rather than manually logging into the Kudu portal and performing deployments manually.
Let’s assume in our example we are deploying between a DEV environment and a PROD environment. You may have more environments in the real world but this is just an example.
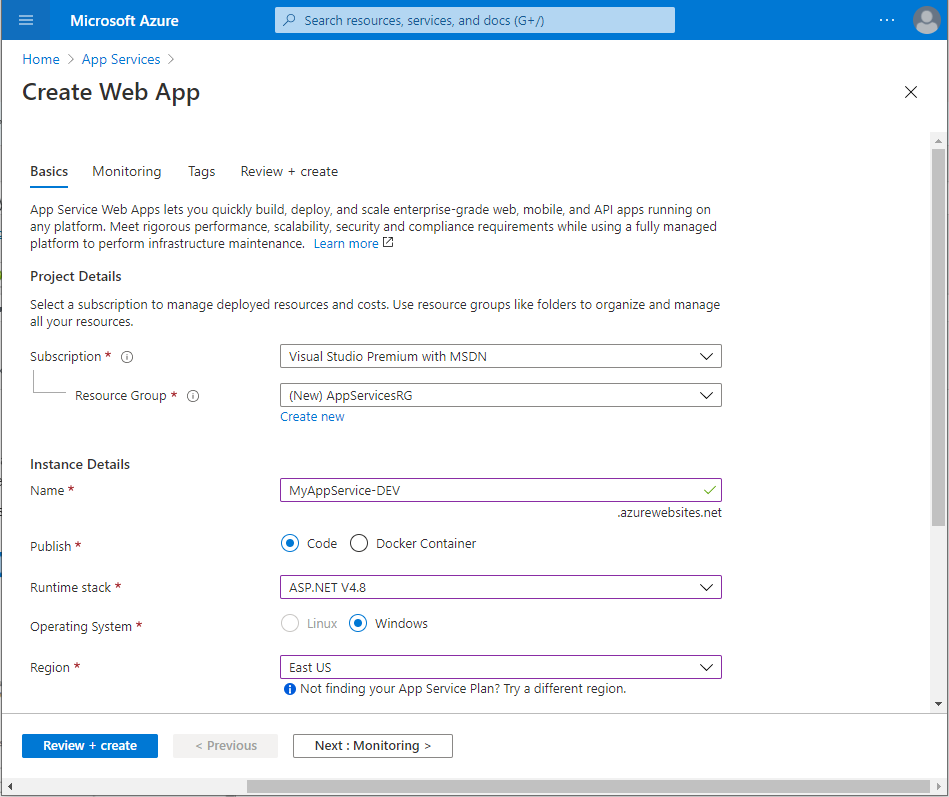
First, let’s create 2 new App Services in Azure. Go to https://portal.azure.com and go to App Services and click on Add. The first we will call MyAppService-DEV and the second MyAppService-PROD:

Now, let’s go over to the first App Service and download the Publish Profile. This will give us the authentication details that we will use for connecting to the Kudu API.

This downloads:
![]()
Open the file in Notepad and copy the userName, userPWD, and publishUrl:

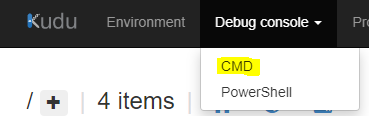
Now let’s upload some files to the App Service. First we will log in manually to the App Service URL by using the publishURL, and log in if prompted. Then go to Debug Console->Cmd:
You will see:
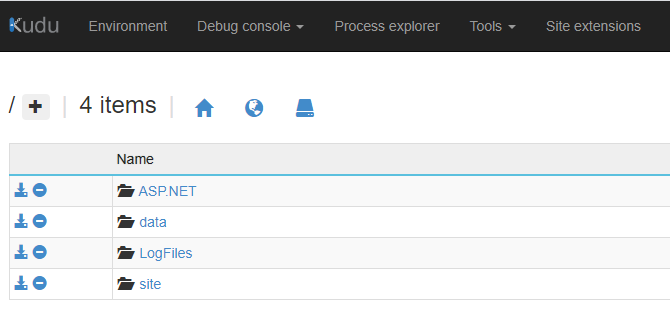
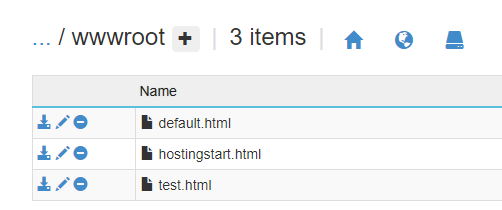
Go to site->wwwroot, and let’s copy some files there. We will add 2 files, a default.html and test.html. You can create these on your desktop and drag them in:
Let’s also log into the PROD app service. We see in the same location, our files don’t exist. We will deploy them later using Kudu.
Now, let’s create a PowerShell script to download the files from our DEV app service. With the script below, copy the username, password, and URL, and enter it below. Notice with the URL we are adding api/zip/site/wwwroot/. The site/wwwroot is the location of what we will download:
$username = "`$MyAppService-DEV"
$password = "wa4ttpa5fl6lfnpc"

$base64AuthInfo = [Convert]::ToBase64String([Text.Encoding]::ASCII.GetBytes(("{0}:{1}" -f $username, $password)))
$userAgent = "powershell/1.0"

$apiUrl = "https://myappservice-dev.scm.azurewebsites.net:443/api/zip/site/wwwroot/"
$filePath = "wwwroot.zip"
Invoke-RestMethod -Uri $apiUrl -Headers @{Authorization=("Basic {0}" -f $base64AuthInfo)} -UserAgent $userAgent -Method GET -OutFile $filePath -ContentType "multipart/form-data"
Run this through the PowerShell ISE or PowerShell and we get the Downloaded zip file:
![]()
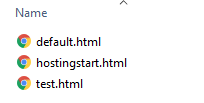
With the files:
Now let’s upload the files to our PROD destination. Using the code:
$username = "`$MyAppService-PROD"
$password = "nNNu4ATqXNnsWZfPfap"

$base64AuthInfo = [Convert]::ToBase64String([Text.Encoding]::ASCII.GetBytes(("{0}:{1}" -f $username, $password)))
$userAgent = "powershell/1.0"

$apiUrl = "https://myappservice-prod.scm.azurewebsites.net:443/api/zip/site/wwwroot/"
$filePath = "Download.zip"
Invoke-RestMethod -Uri $apiUrl -Headers @{Authorization=("Basic {0}" -f $base64AuthInfo)} -UserAgent $userAgent -Method PUT -InFile $filePath -ContentType "multipart/form-data"
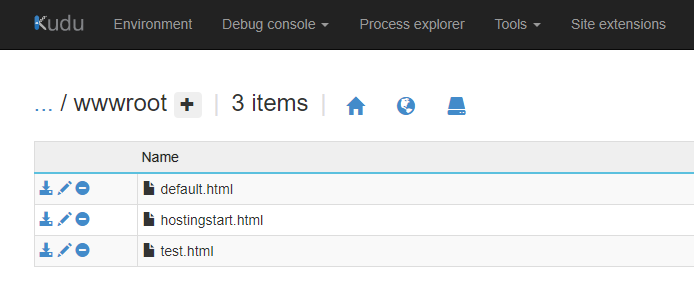
On running this, we see the files in the destination PROD app service are now deployed:
Alternatively, we can use ZipDeploy to deploy. Let’s remove the files and run the new code.
$username = "`$MyAppService-PROD"
$password = "nNNu4ATqXNnsWZf"

$base64AuthInfo = [Convert]::ToBase64String([Text.Encoding]::ASCII.GetBytes(("{0}:{1}" -f $username, $password)))
$userAgent = "powershell/1.0"

$apiUrl = "https://myappservice-prod.scm.azurewebsites.net:443/api/zipdeploy/"
$filePath = "Download.zip"
Invoke-RestMethod -Uri $apiUrl -Headers @{Authorization=("Basic {0}" -f $base64AuthInfo)} -UserAgent $userAgent -Method PUT -InFile $filePath -ContentType "multipart/form-data"
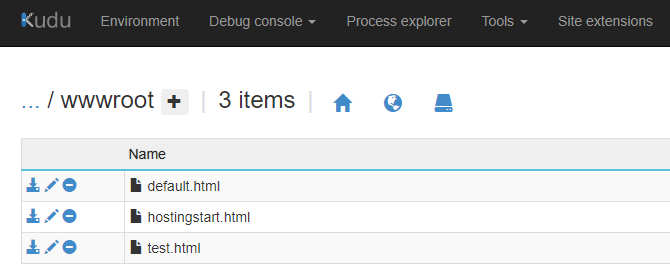
We see the files have been deployed:
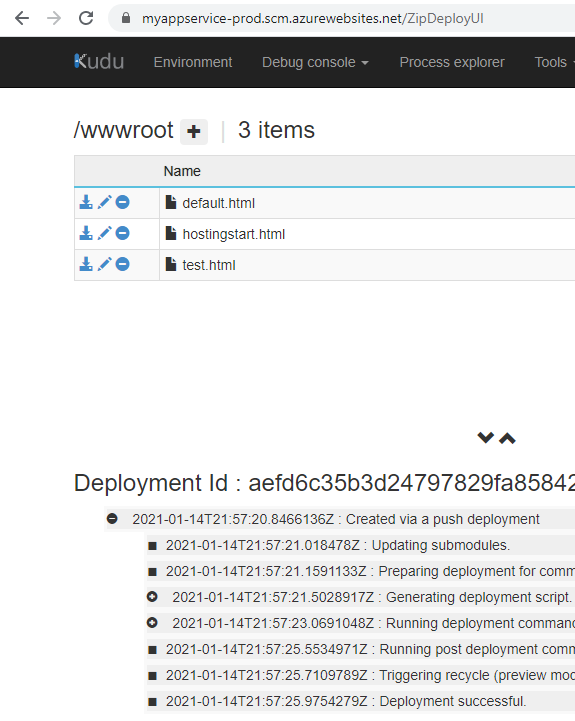
We can go into the ZipDeploy UI by adding ZipDeployUI to our URL. This gives us details on the deployment:
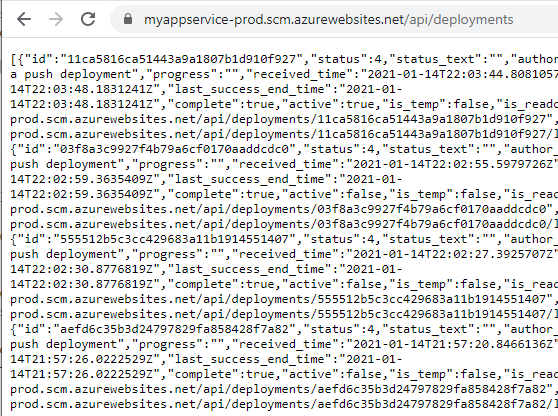
And going to /api/deployments will give you a list of the deployments:
I AM SPENDING MORE TIME THESE DAYS CREATING YOUTUBE VIDEOS TO HELP PEOPLE LEARN THE MICROSOFT POWER PLATFORM.
IF YOU WOULD LIKE TO SEE HOW I BUILD APPS, OR FIND SOMETHING USEFUL READING MY BLOG, I WOULD REALLY APPRECIATE YOU SUBSCRIBING TO MY YOUTUBE CHANNEL.
THANK YOU, AND LET'S KEEP LEARNING TOGETHER.
CARL
