In this post we will discuss how Dynamics 365 and Power BI deals with data security. For example, you may have Dynamics 365 salespeople that are allowed to see their own data, but not other salespeople’s data. We will look at an example of how Power BI deals with this.
We have 2 users – Alan and Christa. Both users are assigned the Salesperson role. With this role, they can only view their own Opportunity records as can be seen in their security role configuration:
![]()
If we log into Dynamics 365 as Christa, we can only see her opportunities:

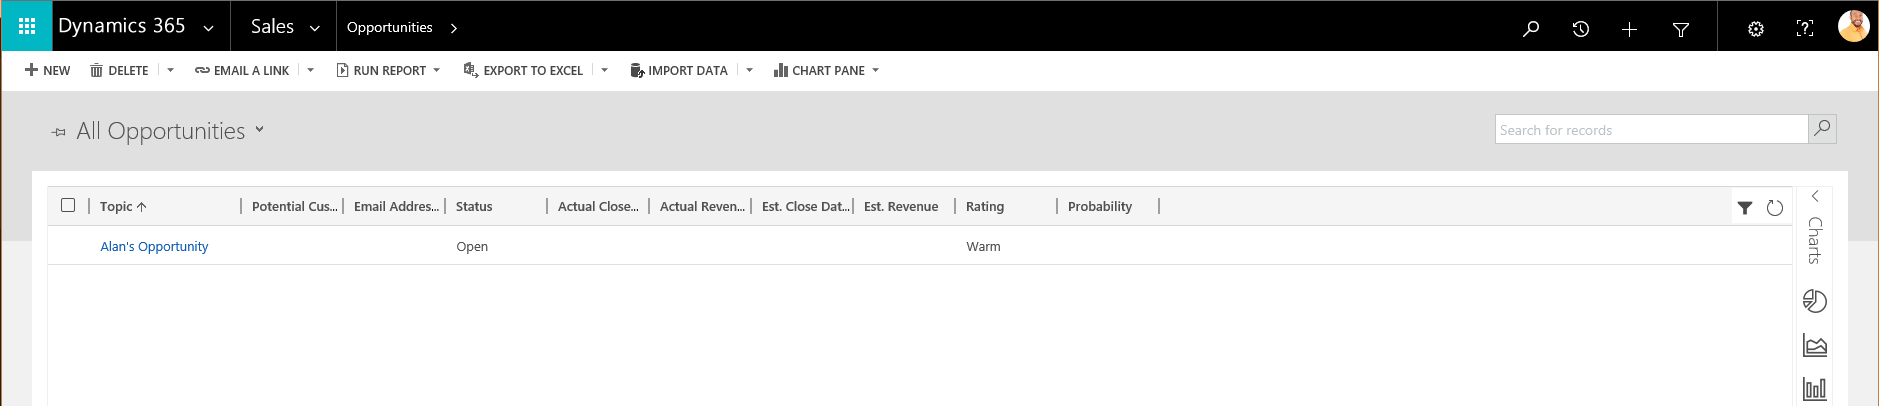
Likewise, Alan can only see his opportunities:
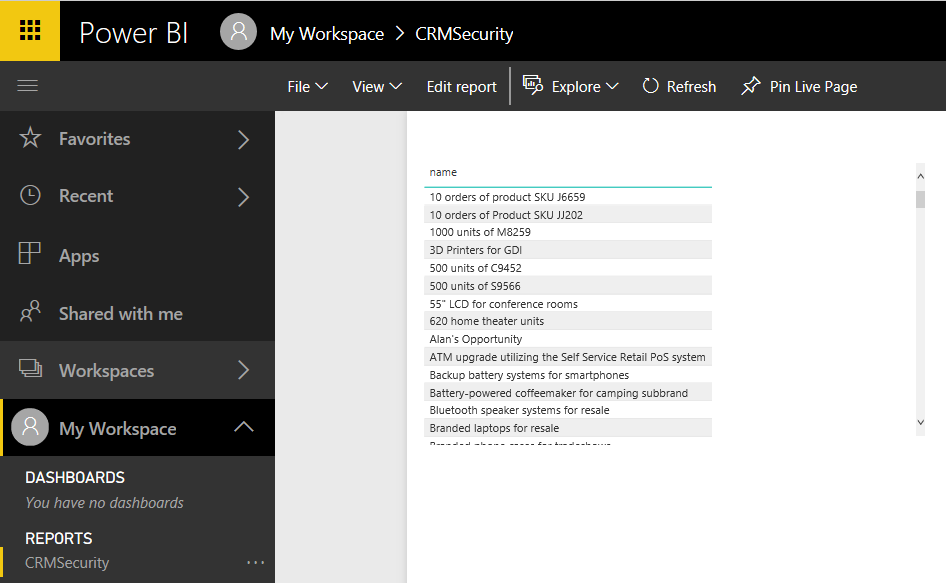
In Power BI, let’s create a new report for Opportunities. First, in Power BI Desktop, create a new report and connect as Administrator:
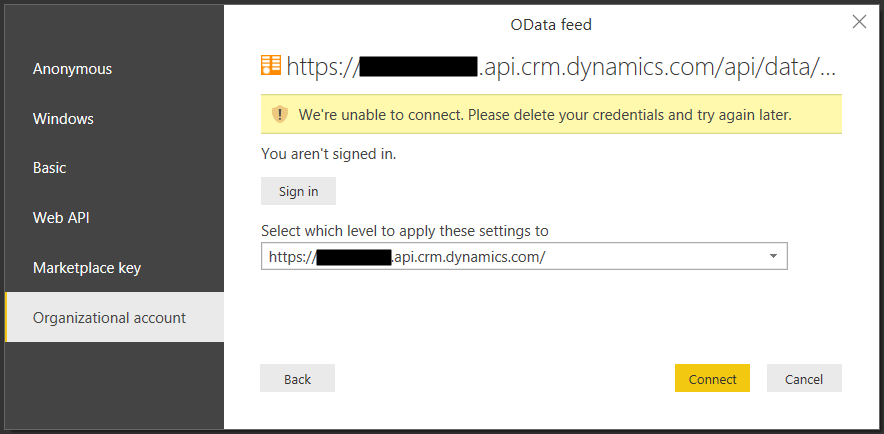
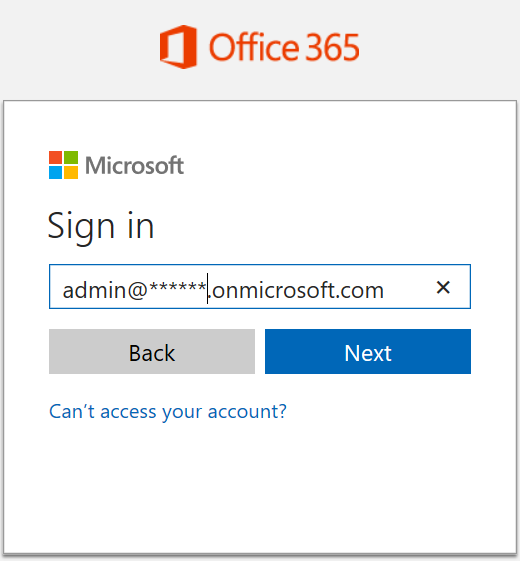
Connect to the Opportunities entity:

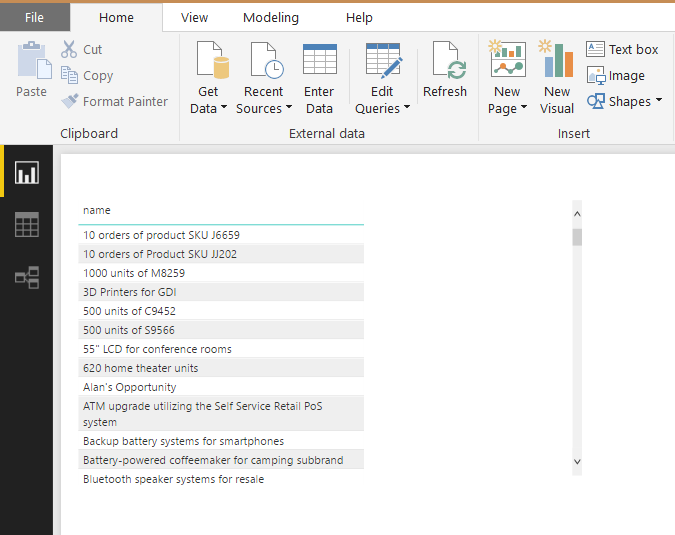
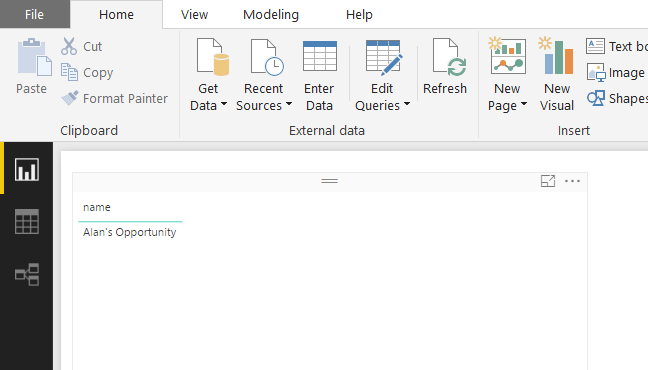
Create a report to display the name of all opportunities:
We will now save this report and publish it to powerbi.com using our Administrator account.
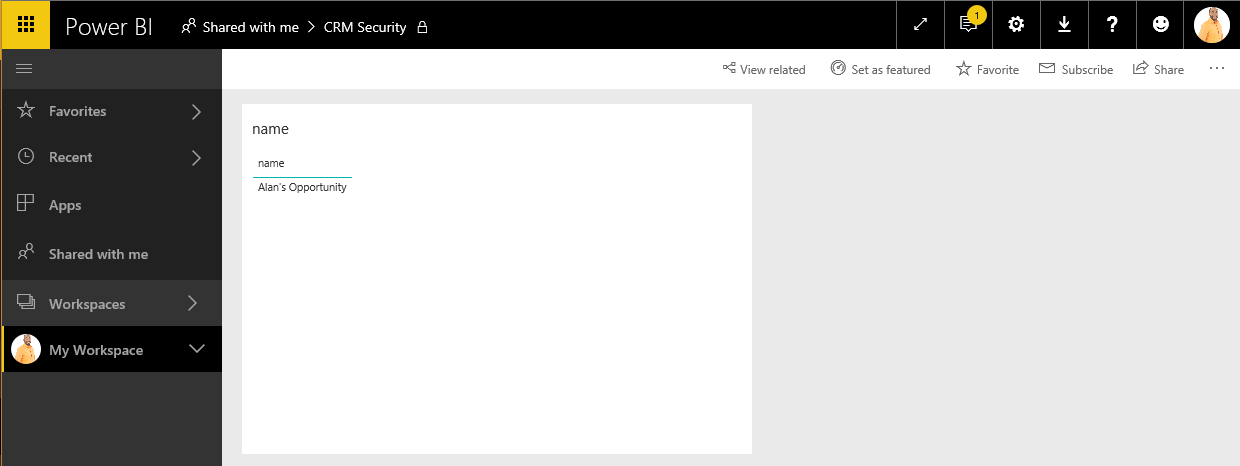
If we browse out to the report in powerbi.com as Administrator, we can see our report showing all our opportunities:
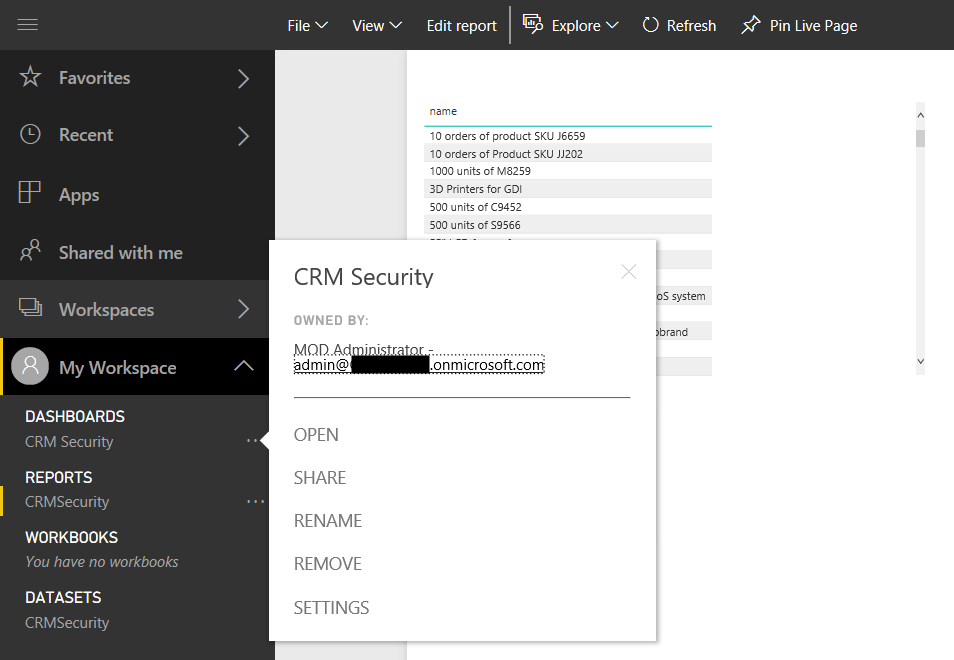
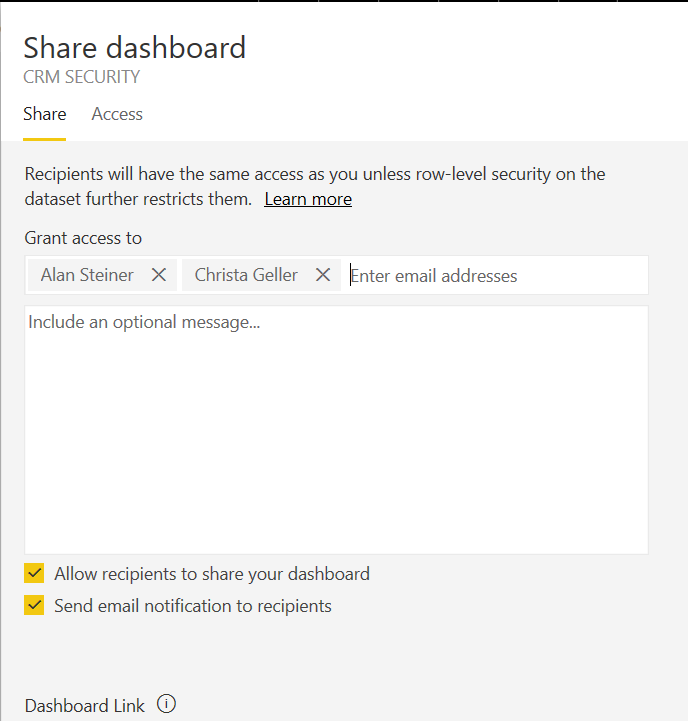
Now let’s create a dashboard for this chart and share it with Alan and Christa:
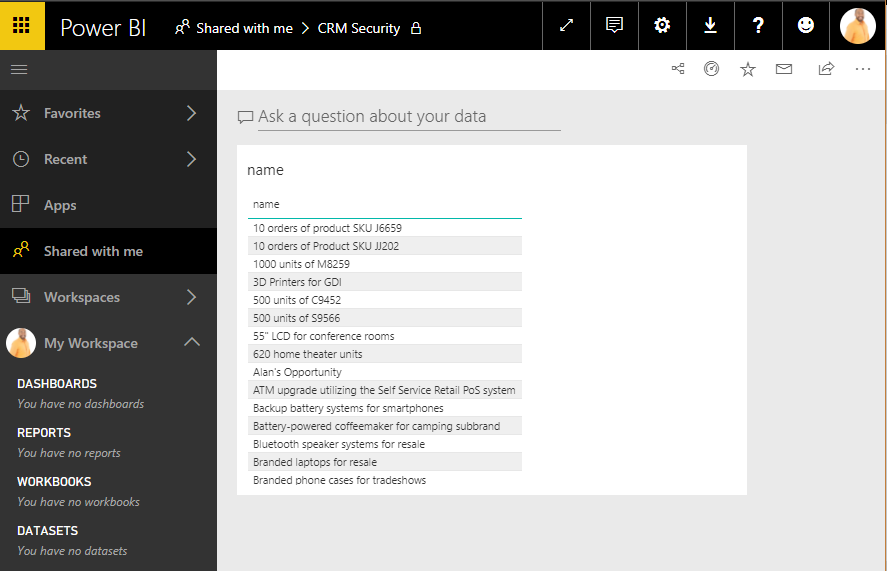
Now let’s sign in as Alan and see how he views the report. You can see Alan will see all opportunities, not just the ones he owns.
Now, what if we change the connection user in Power BI Desktop to Alan’s user? Go to Data Source Settings, and change the user for this Dynamics 365 connection. Refresh the data and you will see we now only see what Alan is authorized to see.
However this won’t help us in terms of multiple users. In order to allow different users to see only the data they are expected to see, we will use role level security (now a feature of Power BI Pro). Set the user back to the admin user.
Now, add the SystemUsers table to the report. Merge this with the Opportunities:
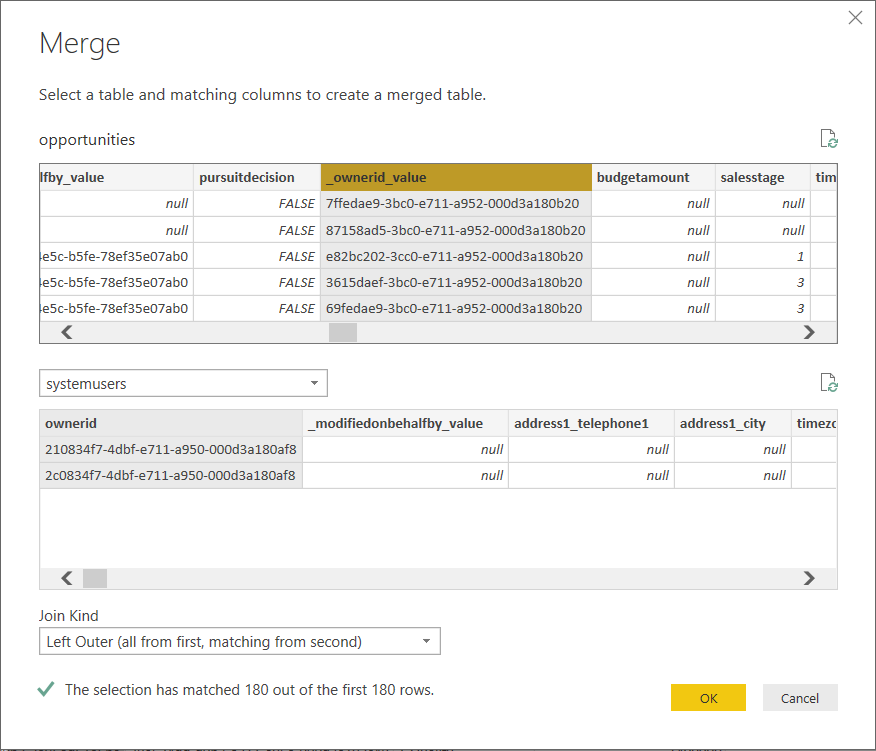
Now, add the internal email address field. Note we will do this on Dynamics 365 to use this as the login:
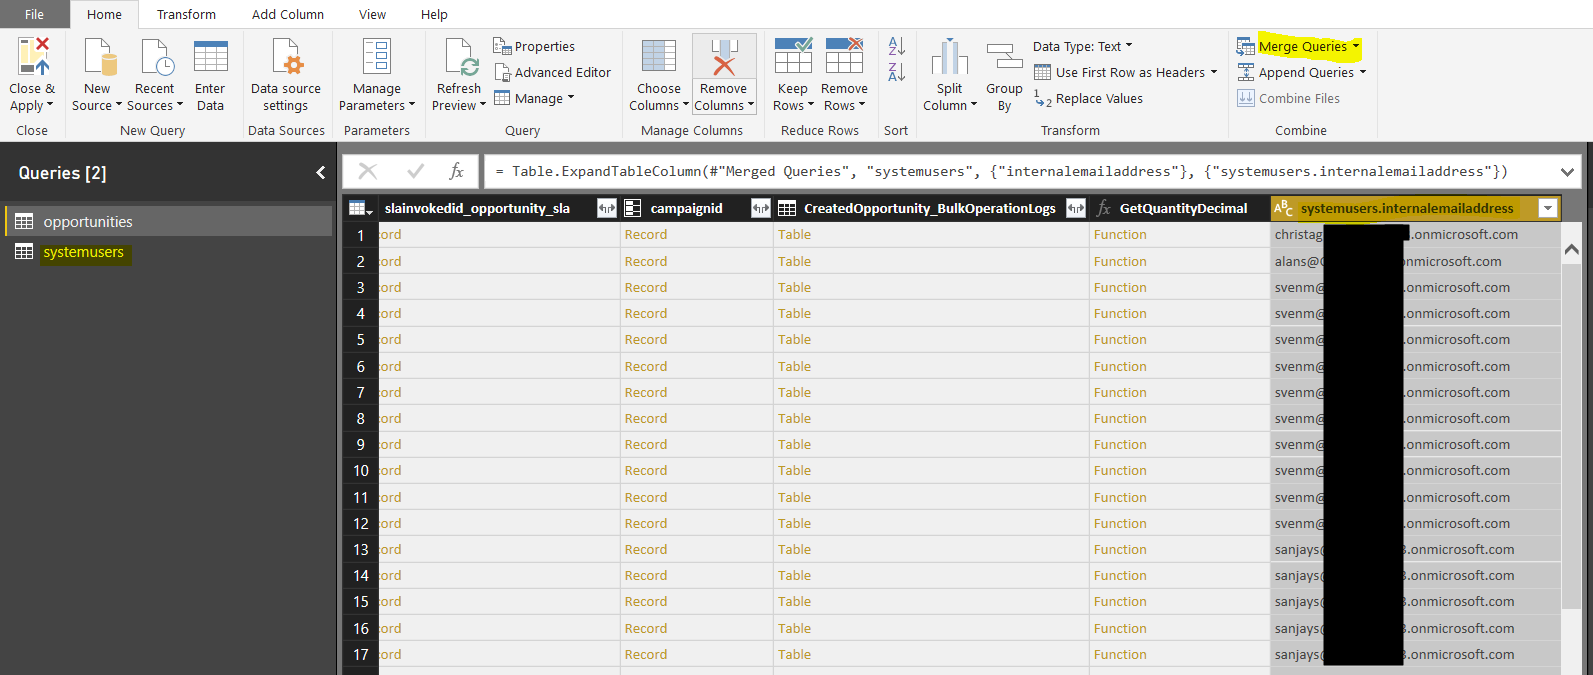
Rename the column to Login. We now have a field for each opportunity record that holds the owner’s login:
![]()
Save and Apply the changes.
Now, in Power BI Desktop, go to Manage Roles:

Click Create:
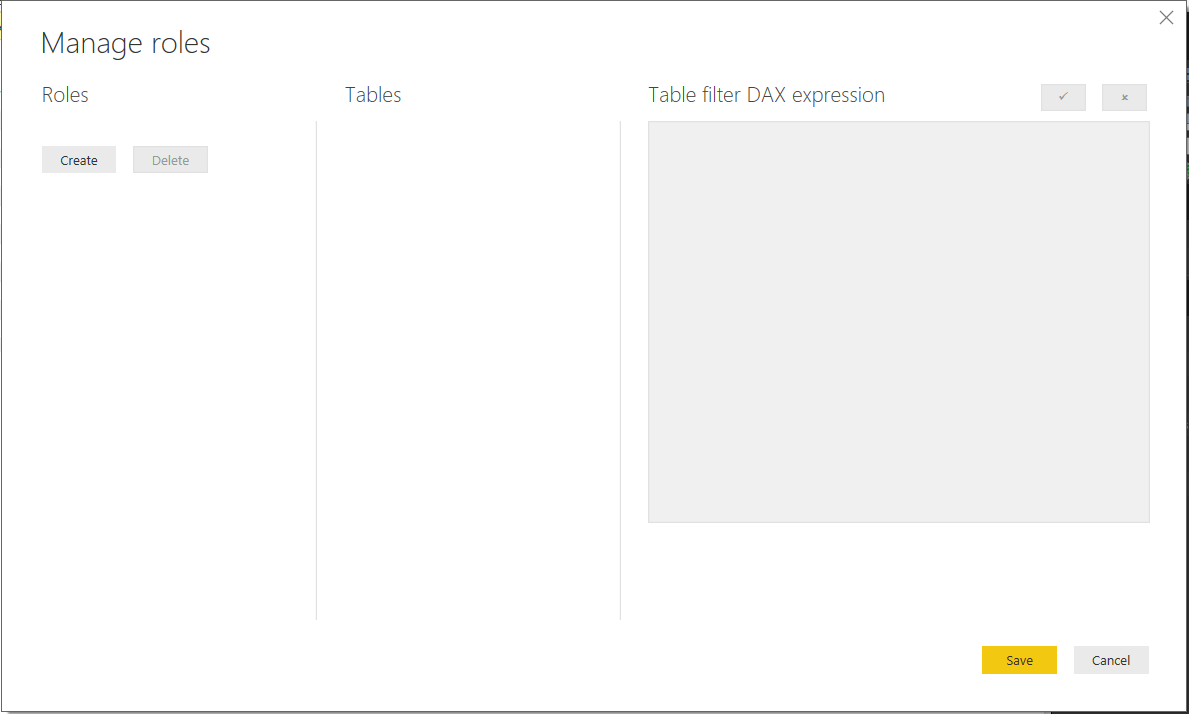
Enter below:
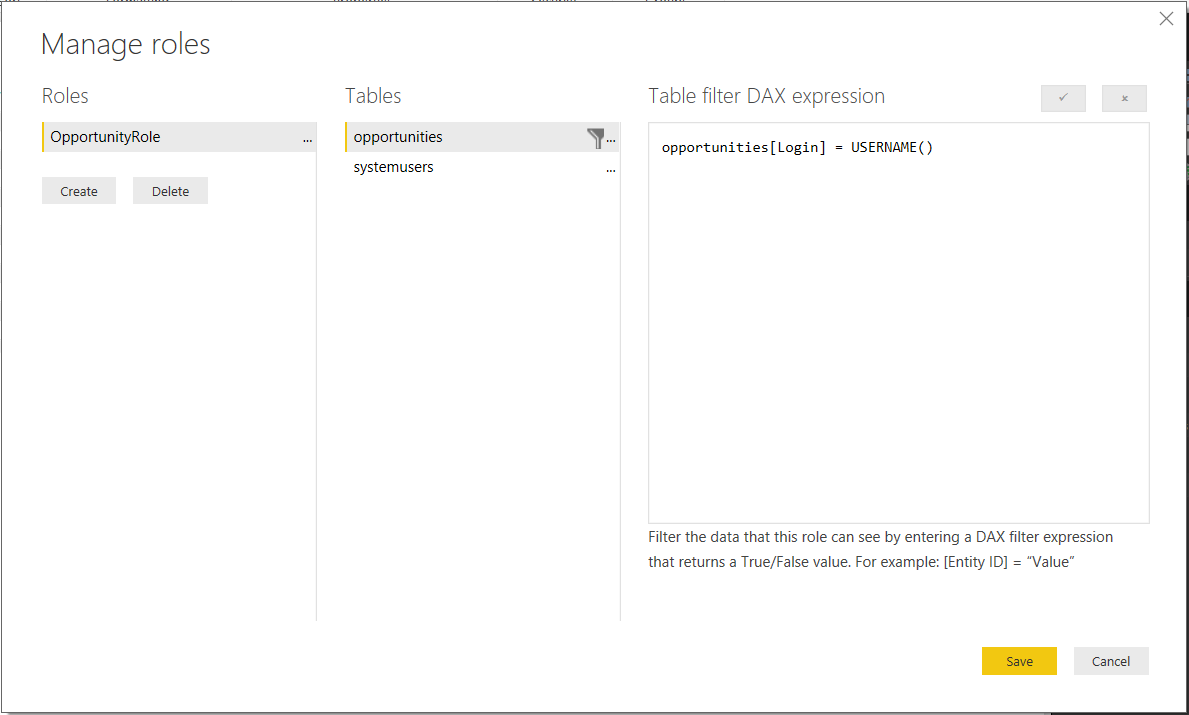
Publish this to PowerBI.com.
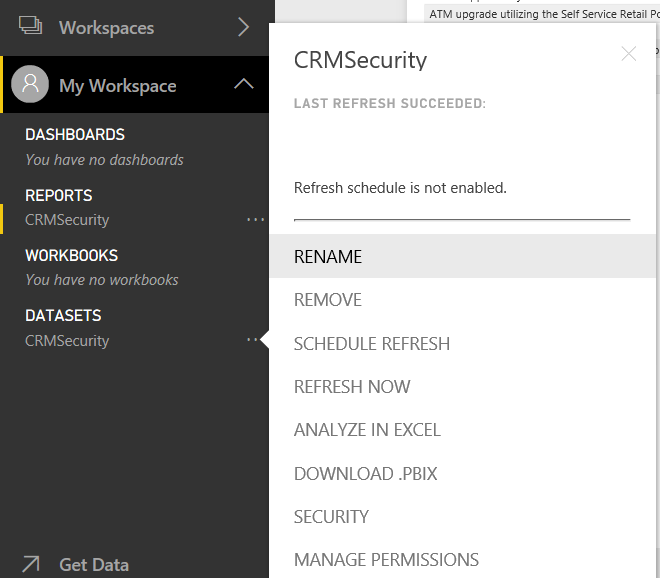
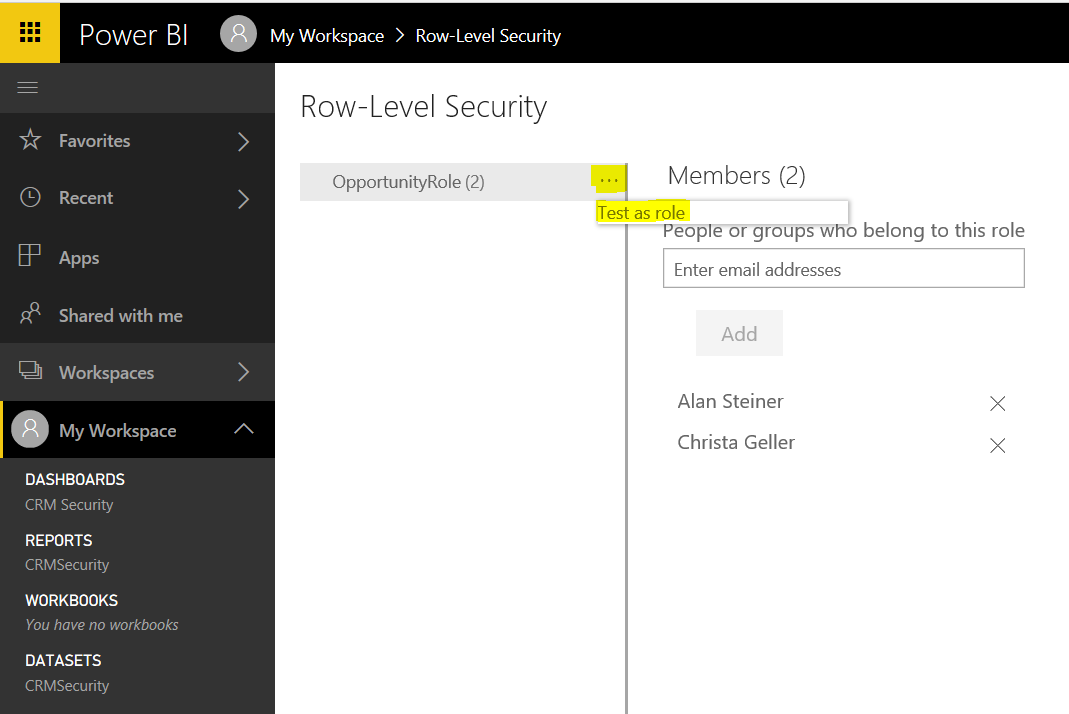
Now go to Security:
Add Alan and Christa:
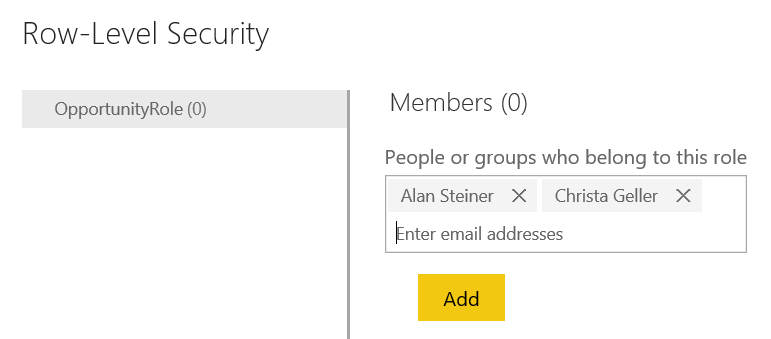
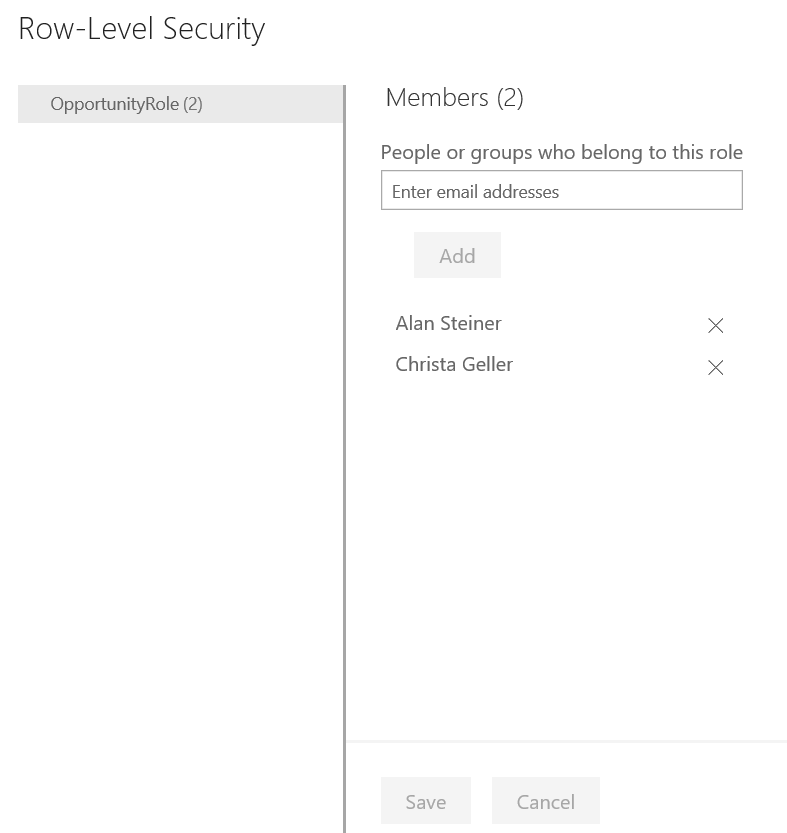
Click Add and Save:
Now, log in as Alan. He will only see his opportunities:
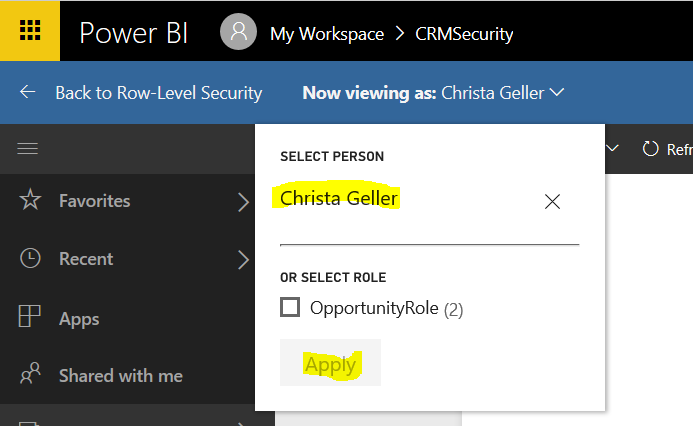
As the Administrator, and you can simulate what users will see. On the Security page, select Test as role:
Enter a user and click Apply:
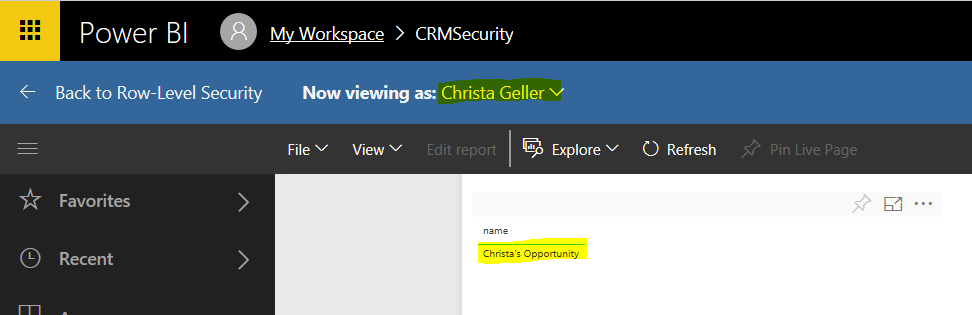
Christa is only able to see her opportunities:
I AM SPENDING MORE TIME THESE DAYS CREATING YOUTUBE VIDEOS TO HELP PEOPLE LEARN THE MICROSOFT POWER PLATFORM.
IF YOU WOULD LIKE TO SEE HOW I BUILD APPS, OR FIND SOMETHING USEFUL READING MY BLOG, I WOULD REALLY APPRECIATE YOU SUBSCRIBING TO MY YOUTUBE CHANNEL.
THANK YOU, AND LET'S KEEP LEARNING TOGETHER.
CARL
