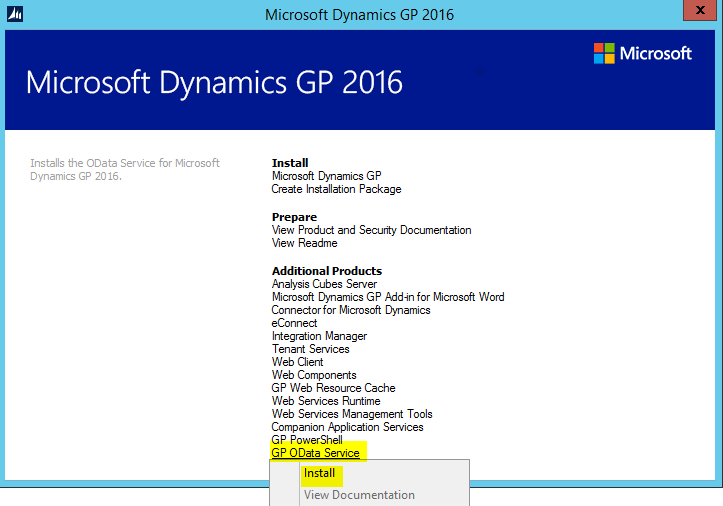
OData was introduced to Dynamics GP in the GP 2016 release. To set up OData, open the GP installation and select OData:
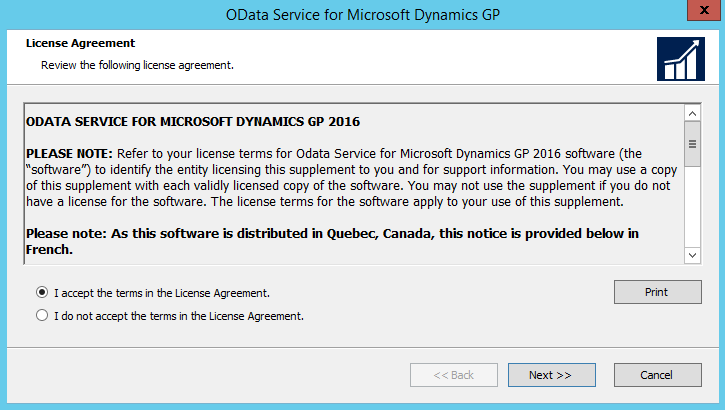
Click Accept:
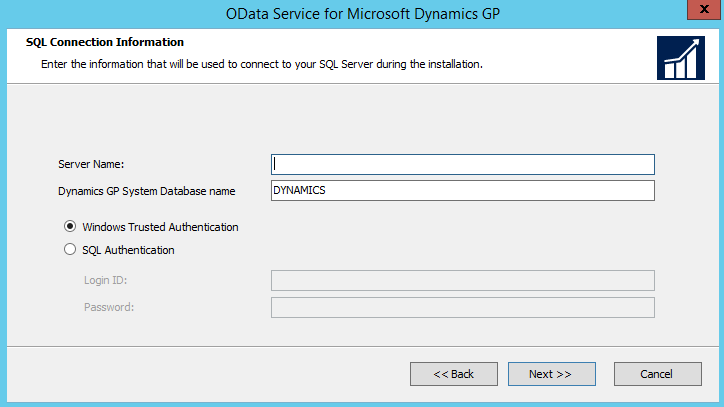
Enter the GP server name and GP system database name:
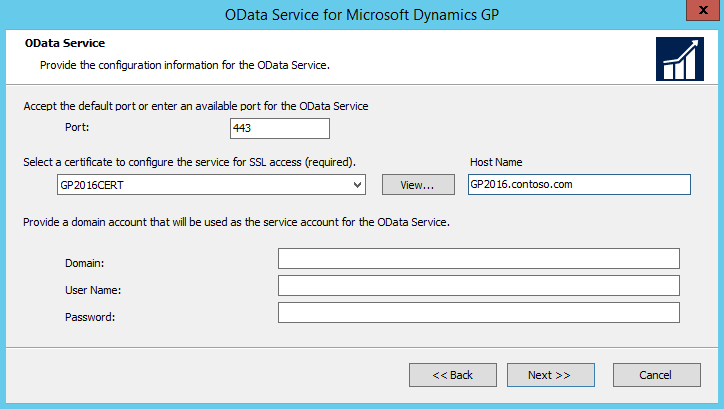
Select the port for the OData service to run on and a certificate for SSL access, which is required:
Click Install:

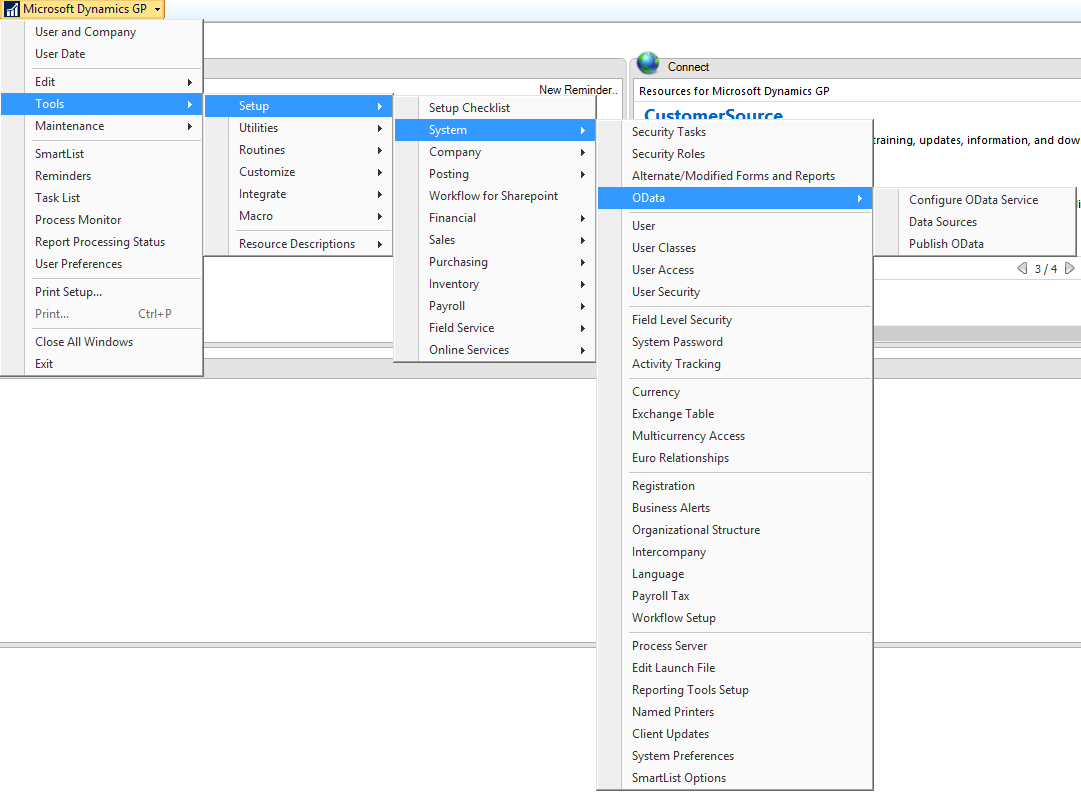
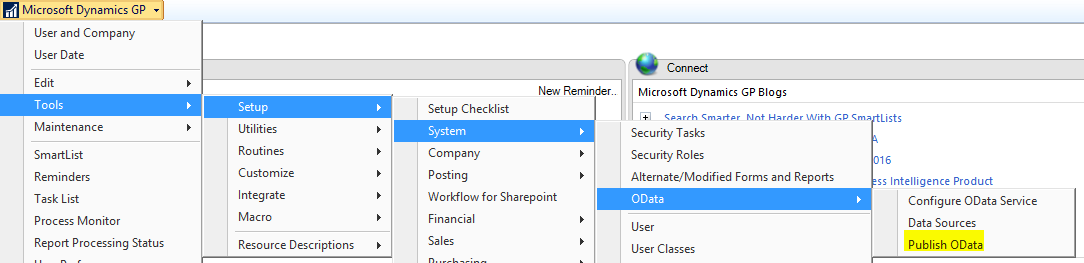
Once installed, log into Dynamics GP. You will see OData in the GP menu under Tools->Setup->System->OData. Select Configure OData Service:
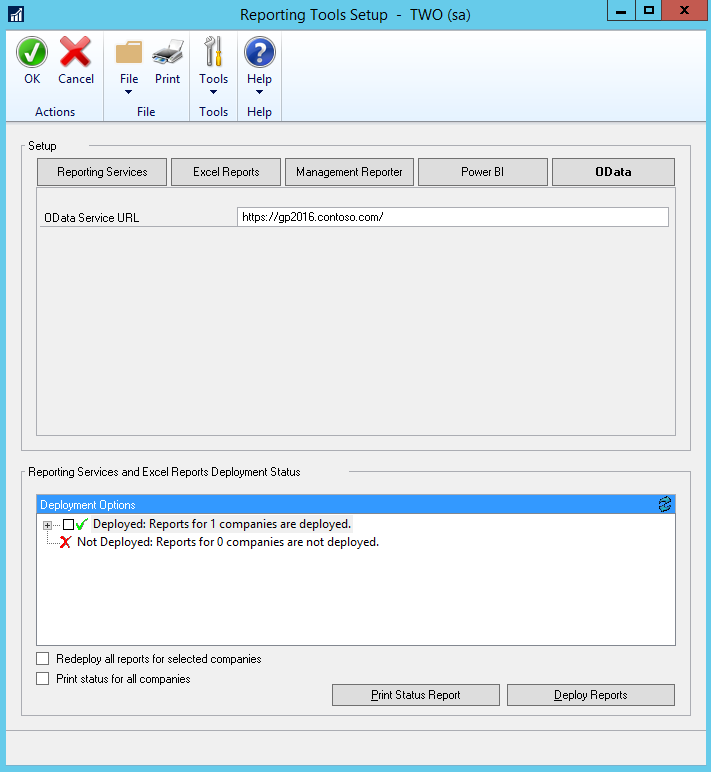
Select OData and enter the name of the OData Service URL:
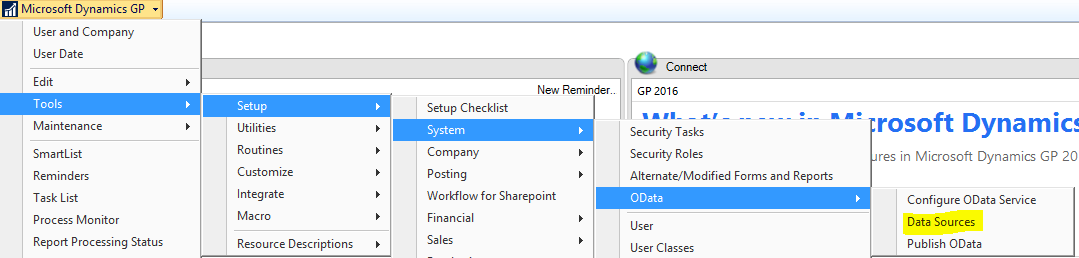
Next, go to Data Sources.
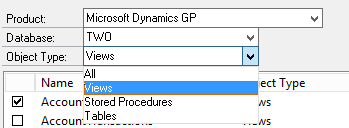
You will see views for each database:
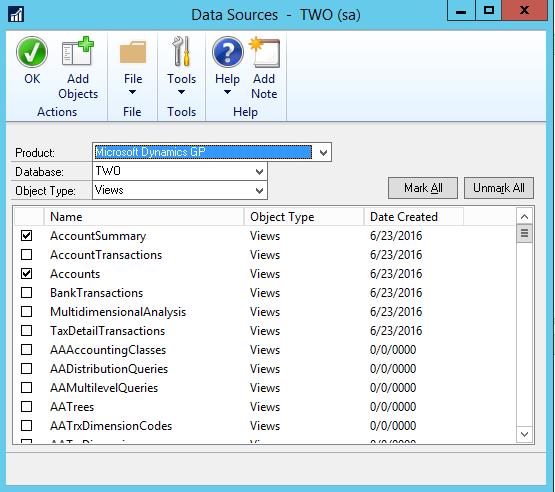
As well as the option to see Tables and Stored Procedures:
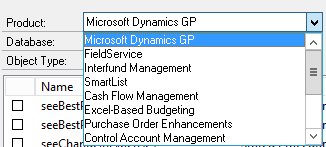
And you can change the product from Dynamics GP to other products:
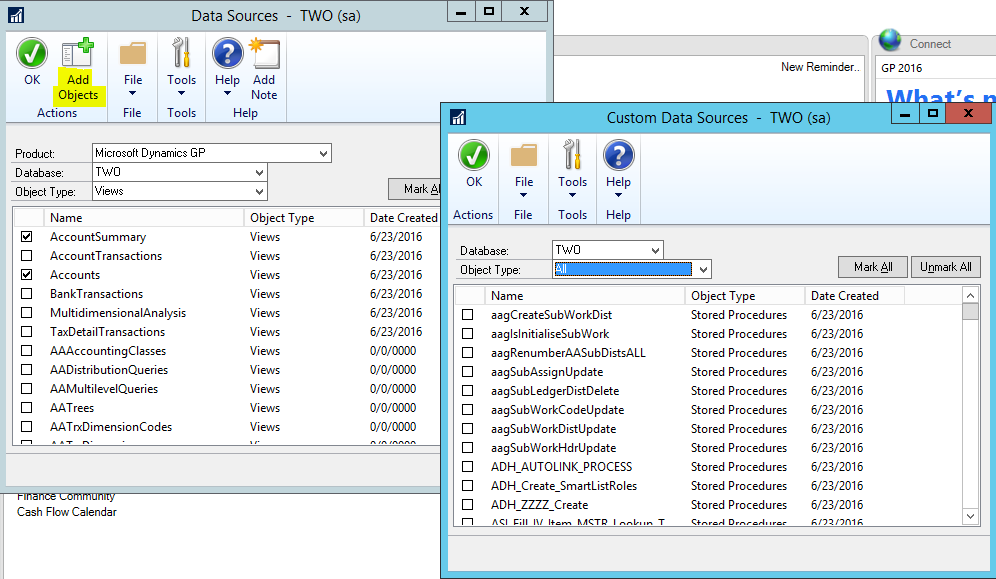
Click Add Objects to add any additional objects:
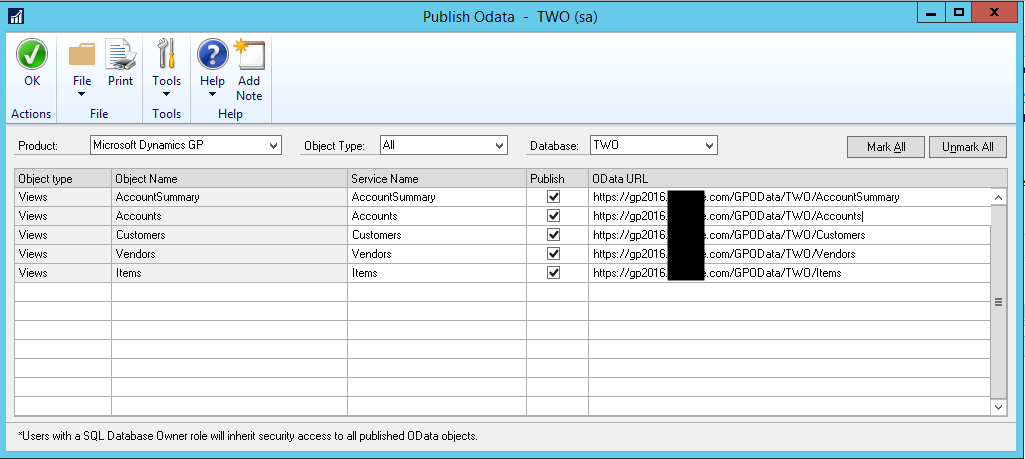
Now go to Publish Data:
Here you will see the selected objects. Select the publish checkbox. Note the URL to access the OData feed:
Next, ensure the GP OData Service is running in Windows Services:
![]()
Now, browse to the URL. You will see the OData feed.
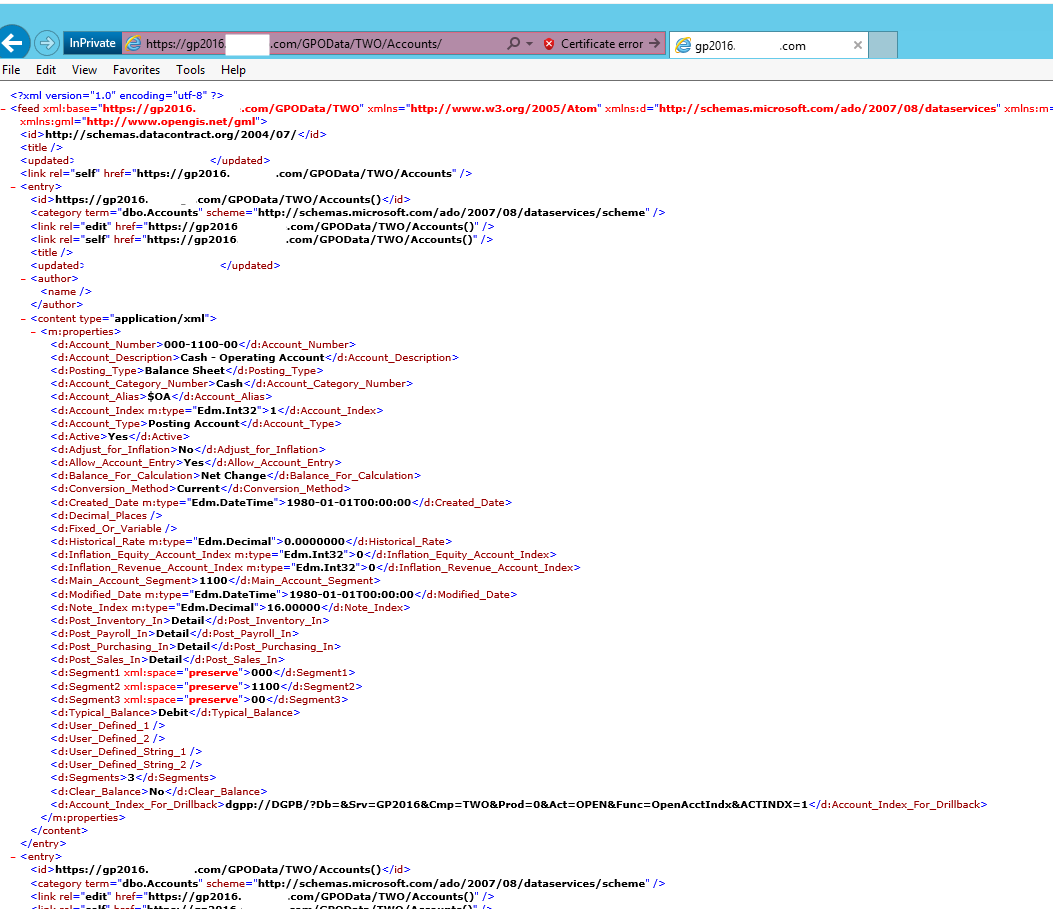
You can now use OData with Dynamics GP.
I AM SPENDING MORE TIME THESE DAYS CREATING YOUTUBE VIDEOS TO HELP PEOPLE LEARN THE MICROSOFT POWER PLATFORM.
IF YOU WOULD LIKE TO SEE HOW I BUILD APPS, OR FIND SOMETHING USEFUL READING MY BLOG, I WOULD REALLY APPRECIATE YOU SUBSCRIBING TO MY YOUTUBE CHANNEL.
THANK YOU, AND LET'S KEEP LEARNING TOGETHER.
CARL

I tried this and stuck on Windows dialog,
I am using self-sign certificate and local user and password