To install the Resco Mobile Solution, first you are using a browser that supports Silverlight and you are running in non-Private mode.
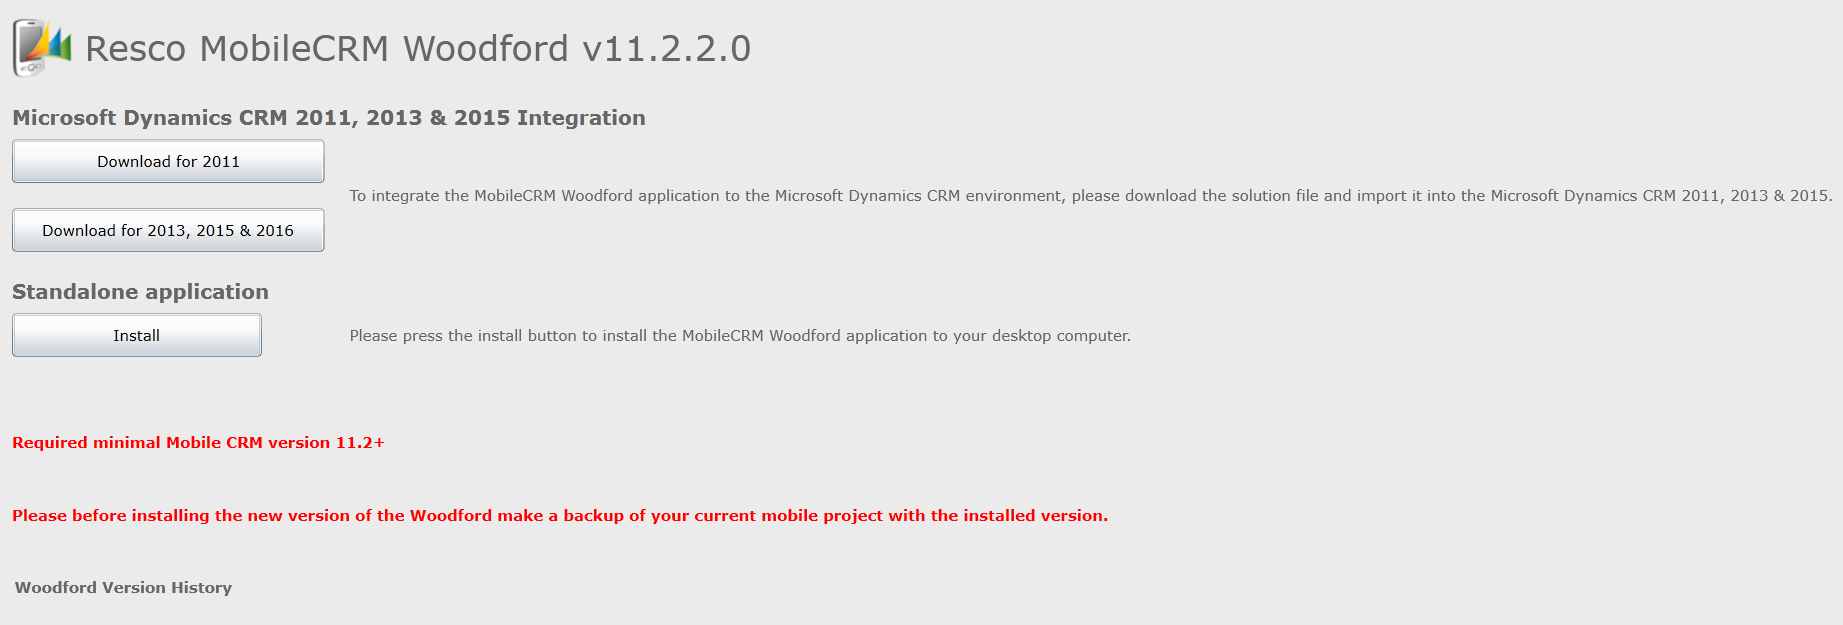
Go to: https://www.resco.net/mobilecrm/woodford.html
Select the version of the Resco client to install. I will select 2013, 2015, 2016:
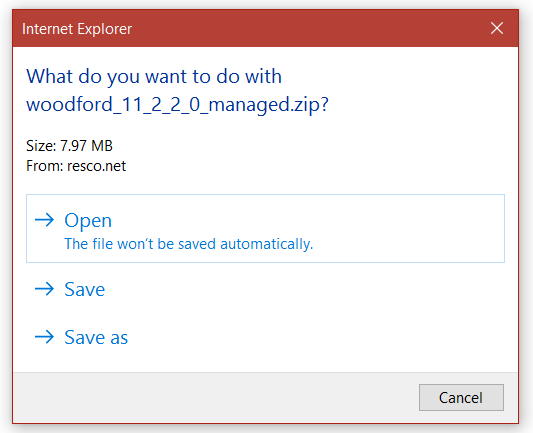
Download the file:
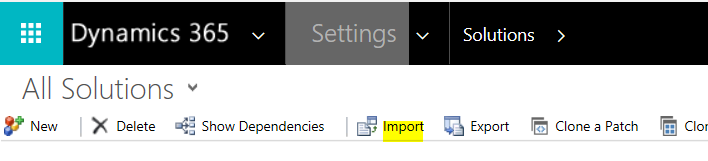
In Dynamics 365, import the file:
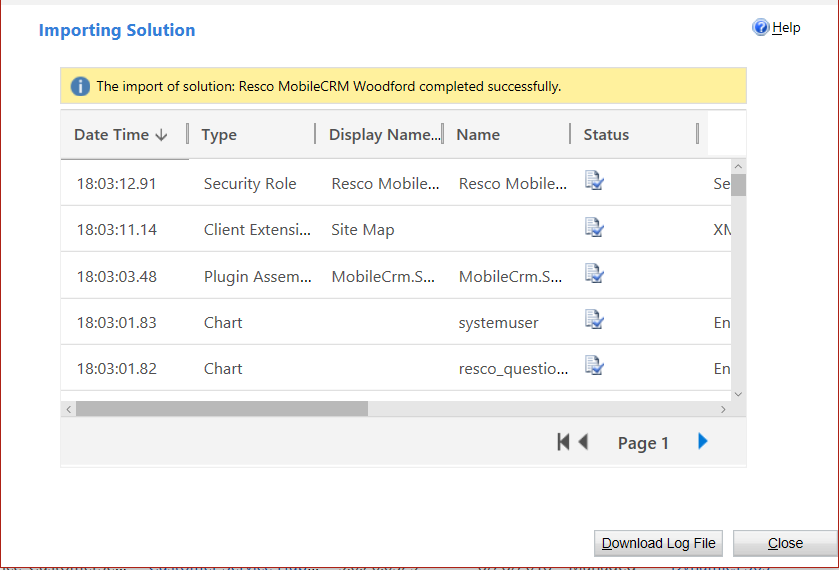
You will see when complete:
Once downloaded, click Publish All Customizations:

Refresh Dynamics 365. You will see MobileCRM under Settings. Select Woodford:
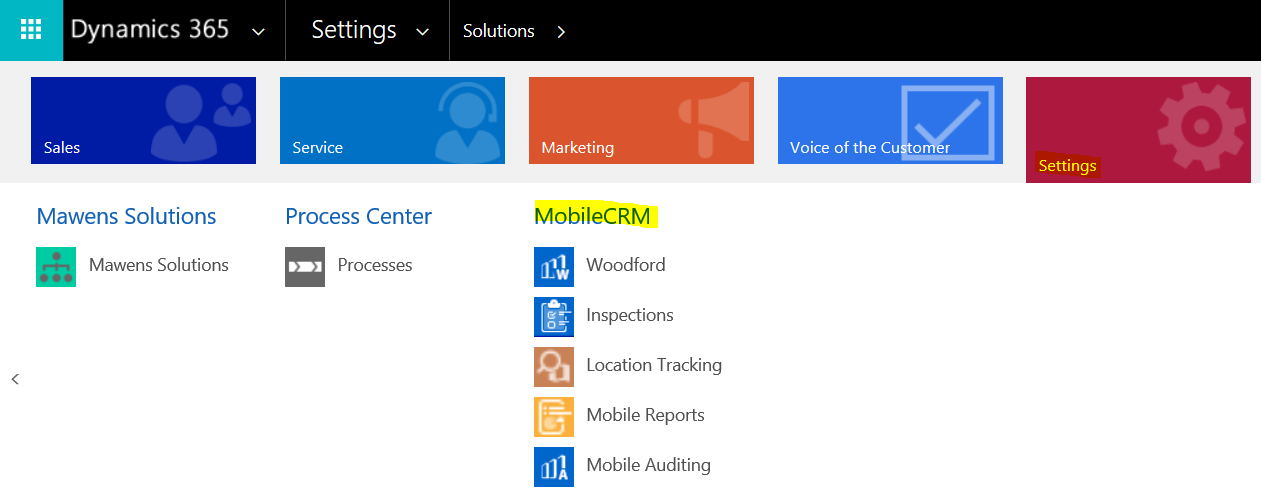

Click on MobileCRM Woodford. If you get a messaging saying “Failed to check isolated storage”, you will need to open your browser in non-Private mode.
Change to 100MB like below.
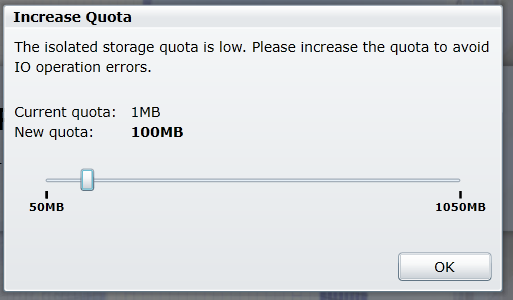
Click Yes:
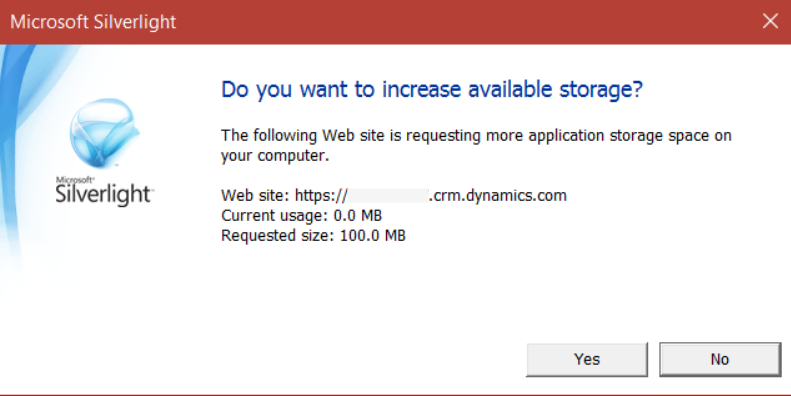
Click OK.
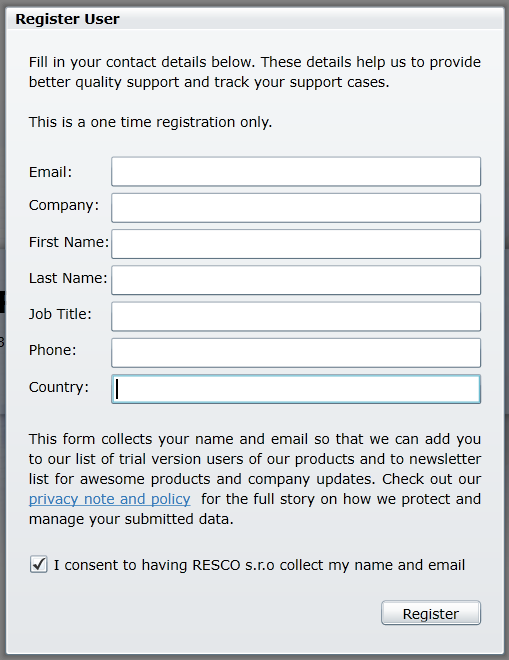
Register:
You will see the metadata refresh:
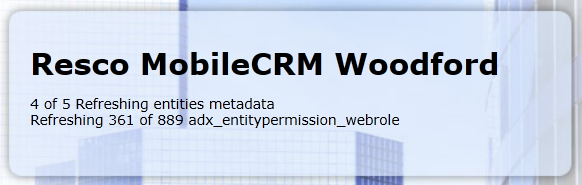
And finally:
Next, download the template file here: https://go.microsoft.com/fwlink/p/?linkid=836310
This will download:
![]()
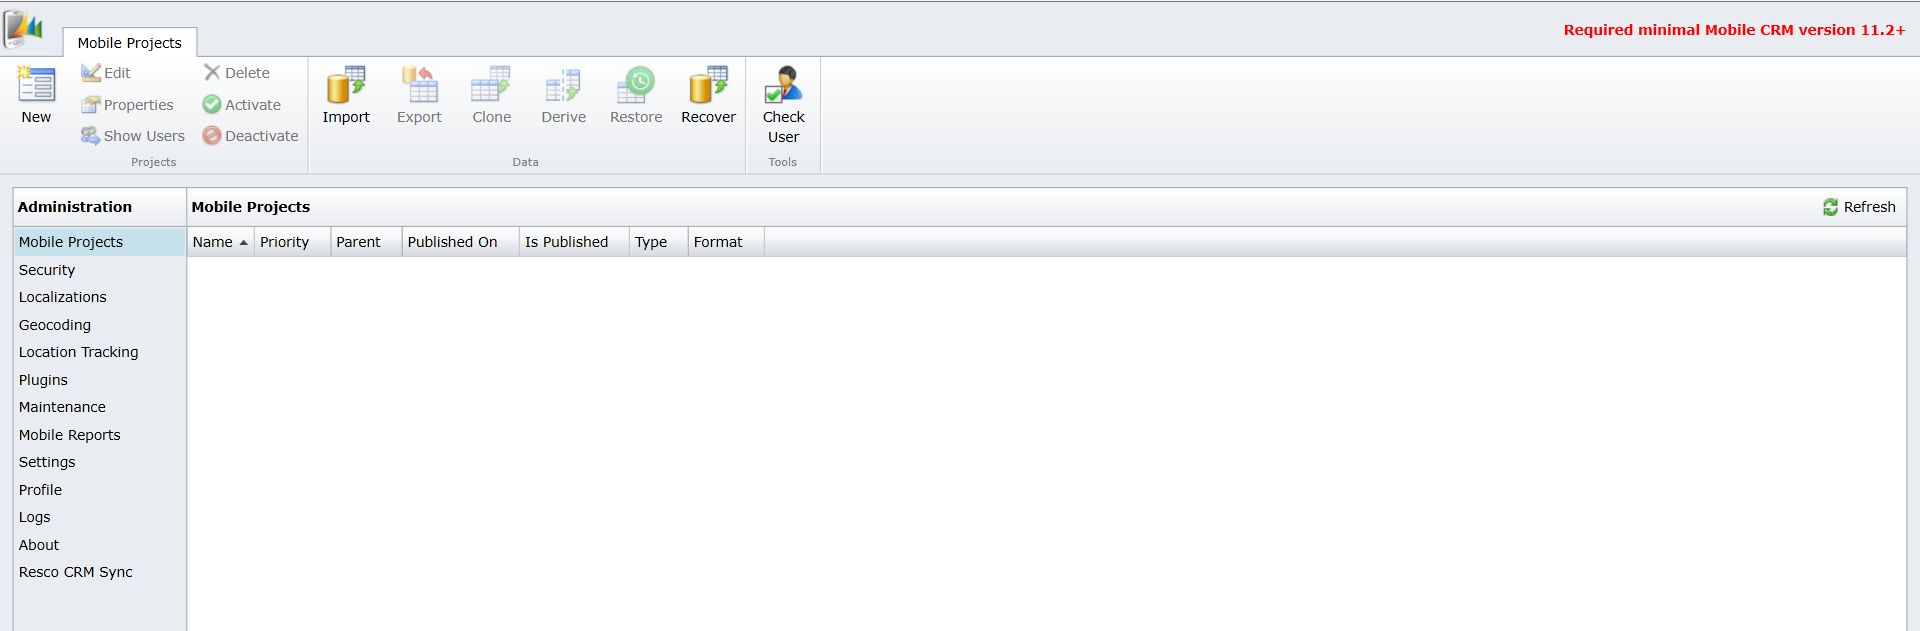
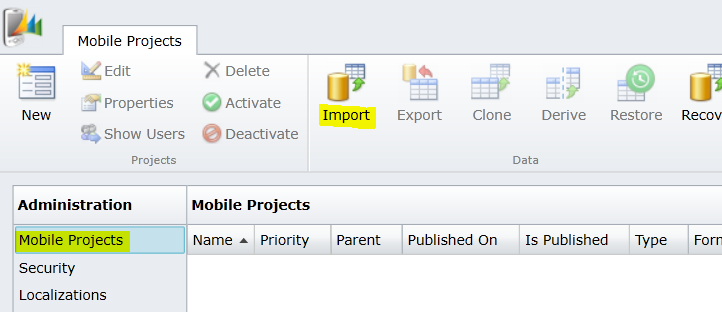
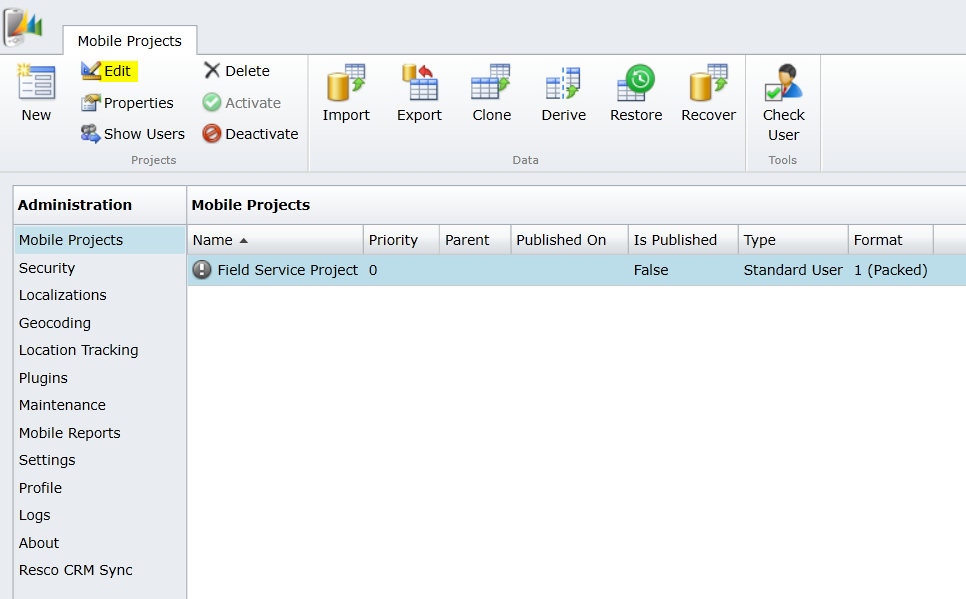
Click on Mobile Projects and Import:
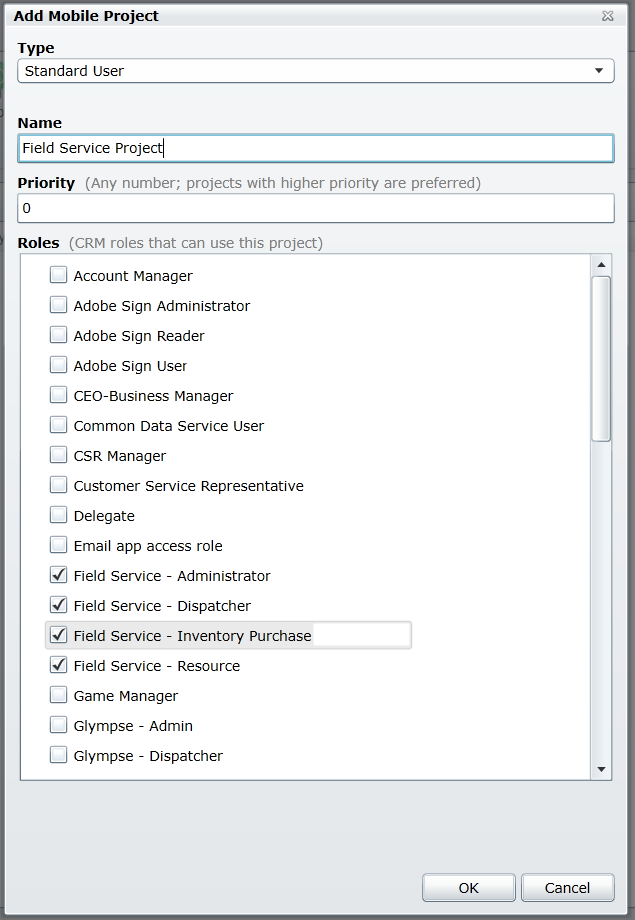
Select Standard User, provide a name and number and select the roles:
Select Edit:
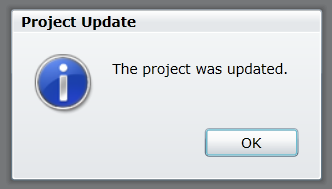
Click OK:
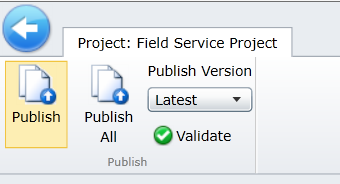
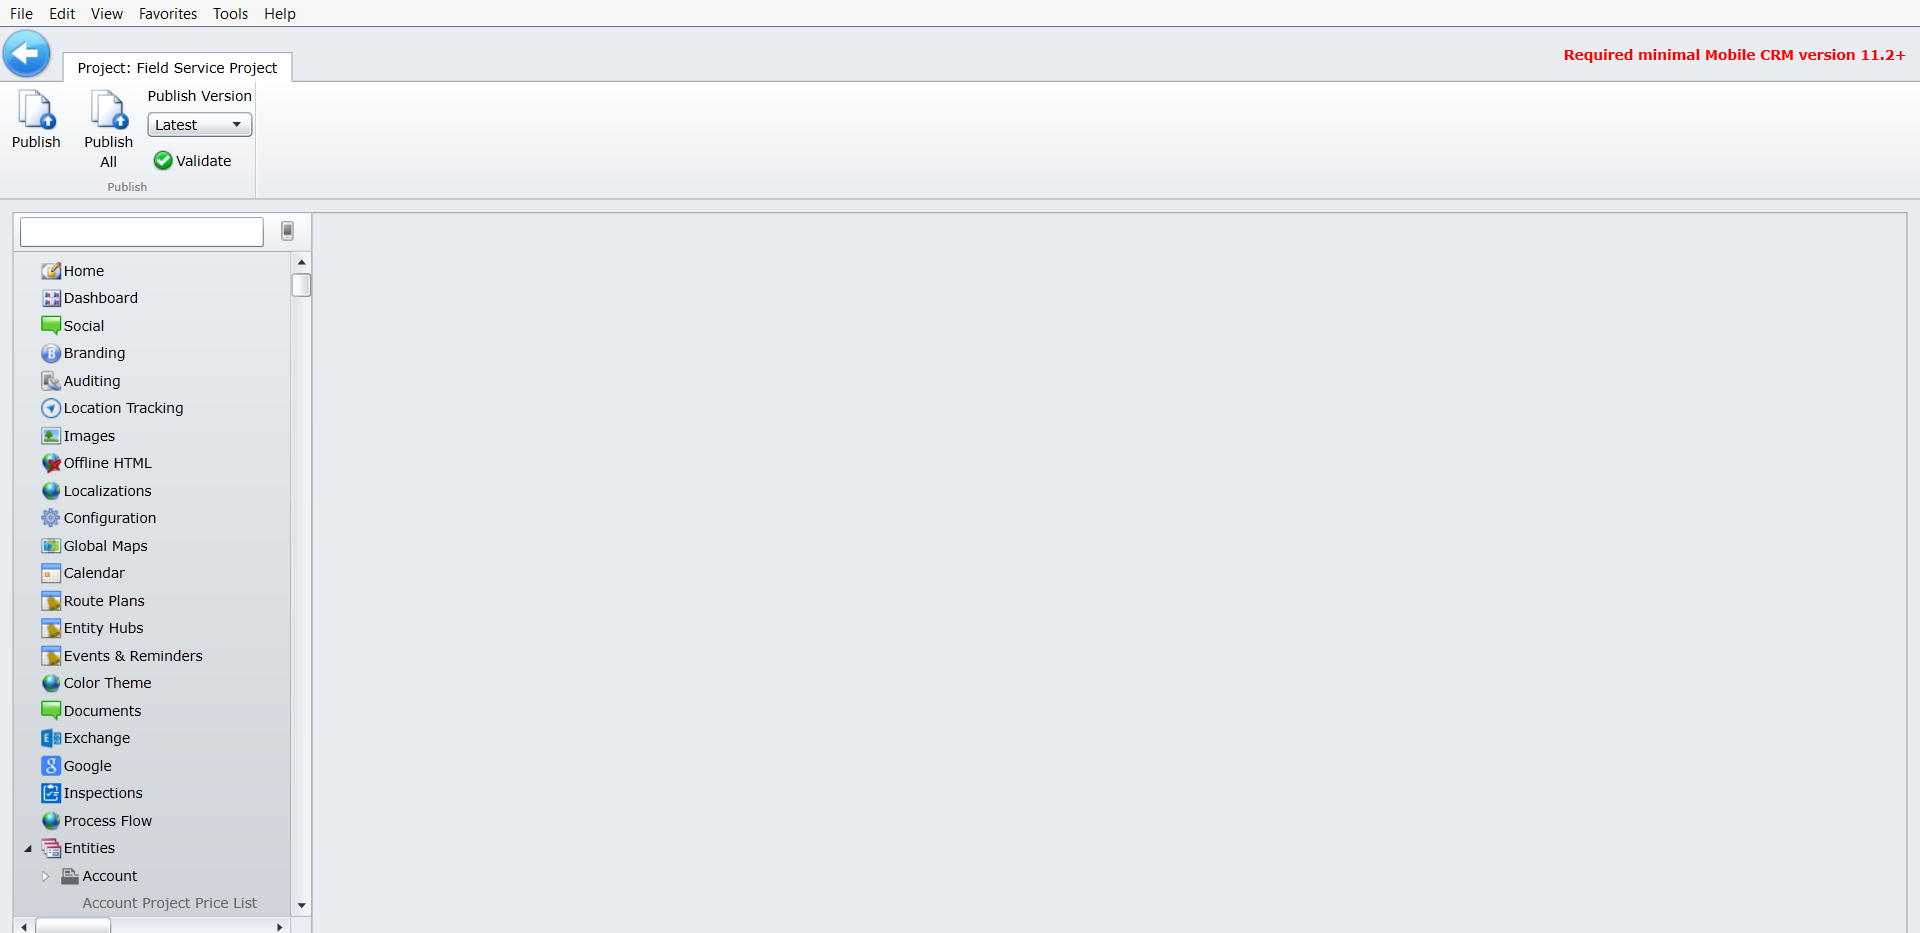
Select Publish All:
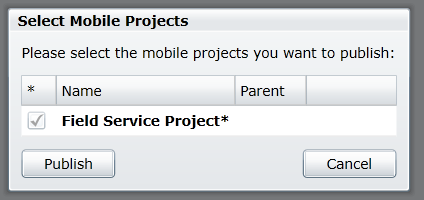
Click Publish:
You will now see:
You can now install the Resco Mobile App on your mobile device.
I AM SPENDING MORE TIME THESE DAYS CREATING YOUTUBE VIDEOS TO HELP PEOPLE LEARN THE MICROSOFT POWER PLATFORM.
IF YOU WOULD LIKE TO SEE HOW I BUILD APPS, OR FIND SOMETHING USEFUL READING MY BLOG, I WOULD REALLY APPRECIATE YOU SUBSCRIBING TO MY YOUTUBE CHANNEL.
THANK YOU, AND LET'S KEEP LEARNING TOGETHER.
CARL
