Multi-factor Authentication (MFA) is a useful feature of Azure Active Directory that helps secure resources. In this post, we will look at how to enable MFA in Azure AD.
Log into https://portal.azure.com/ and select Azure Active Directory:
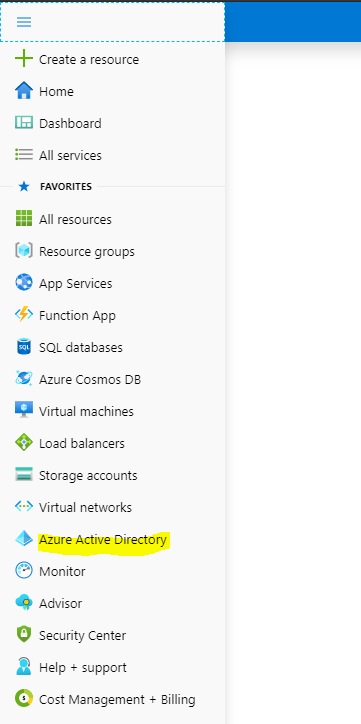
Select Multi-factor authentication (you don’t need to select a user at this point):

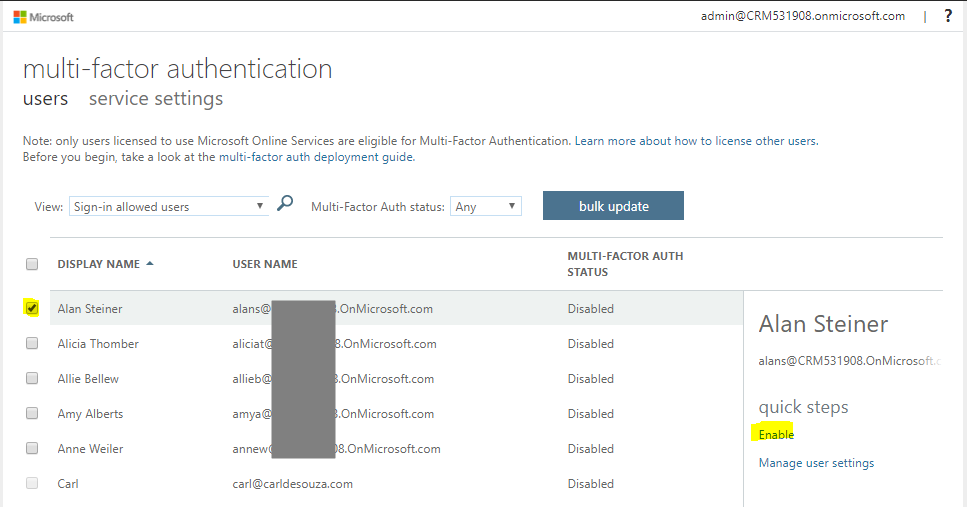
This takes us to the Multi-factor Authentication screen. Select a user you would like to enable MFA for. We will select our user Alan, and click Enable:
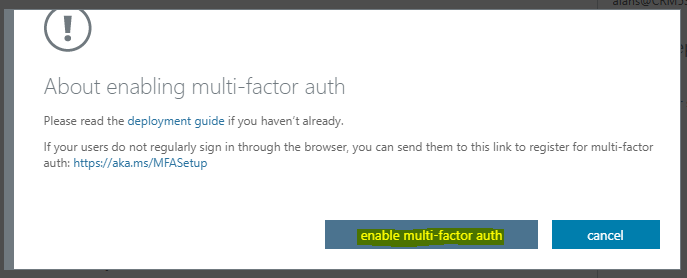
Select enable multi-factor auth:
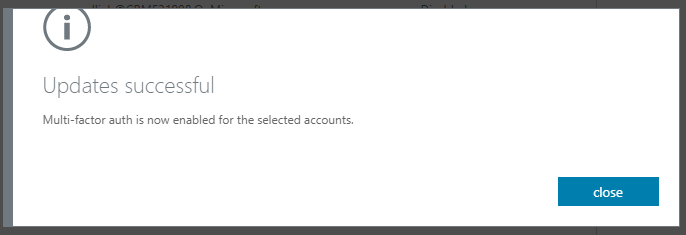
And close:
Now, let’s test this out. We will sign into PowerBI.com, which uses the Azure AD authentication.
We are first prompted for Alan’s username and password, as we would have been prompted for previously.
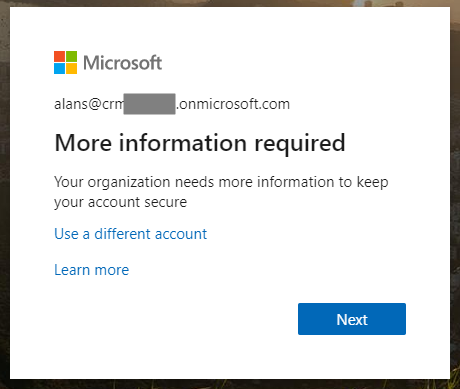
Next, we see below. We are informed we will need more information to proceed. Click Next:
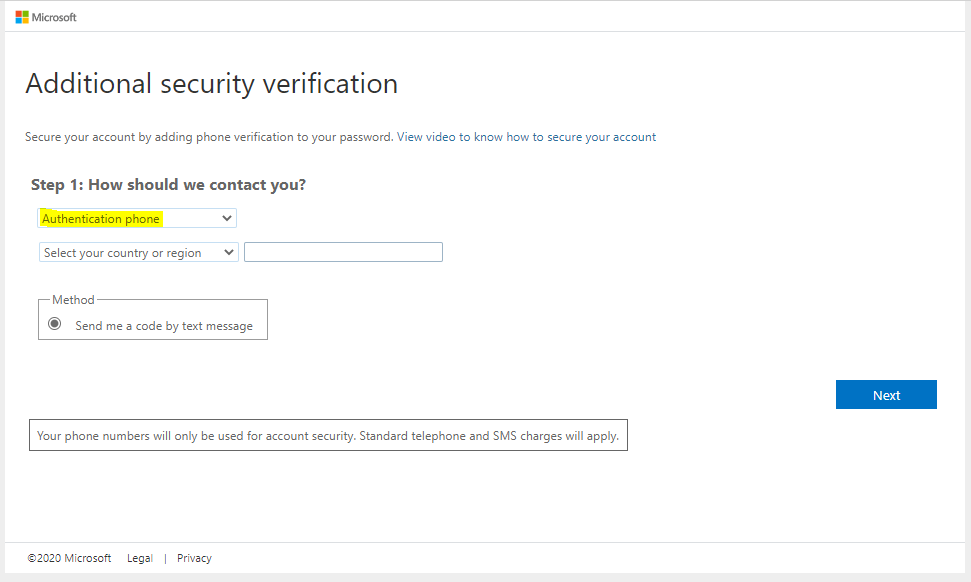
Alan can now set up MFA, which means choosing an Authentication Phone (sends code by text message):
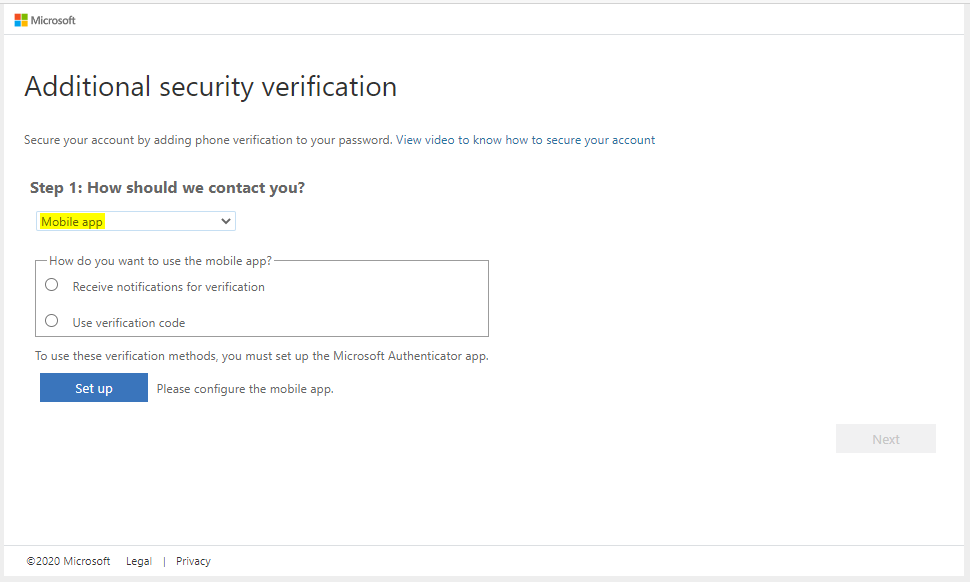
Or Mobile App (with notifications):
We will select Authentication phone. We’re prompted to enter a phone number:
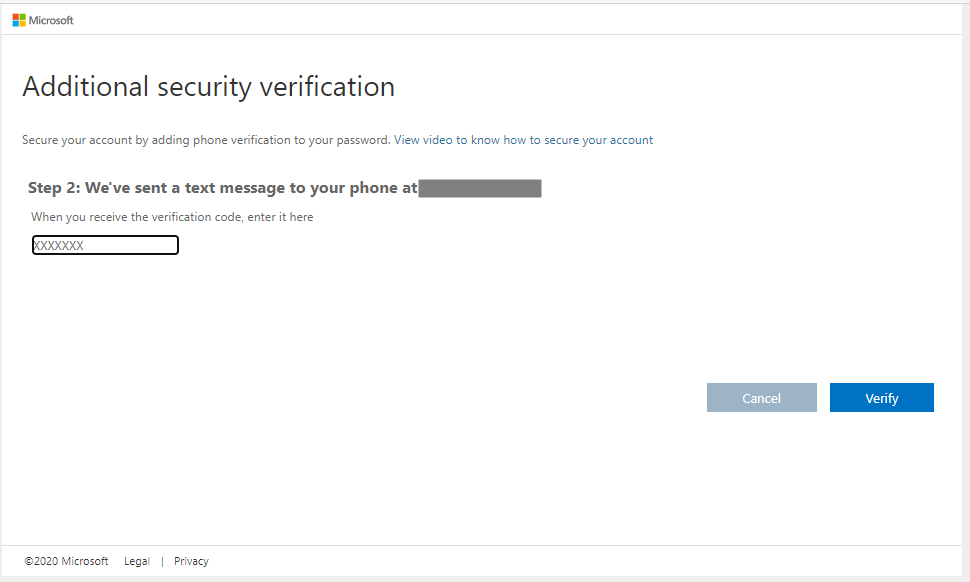
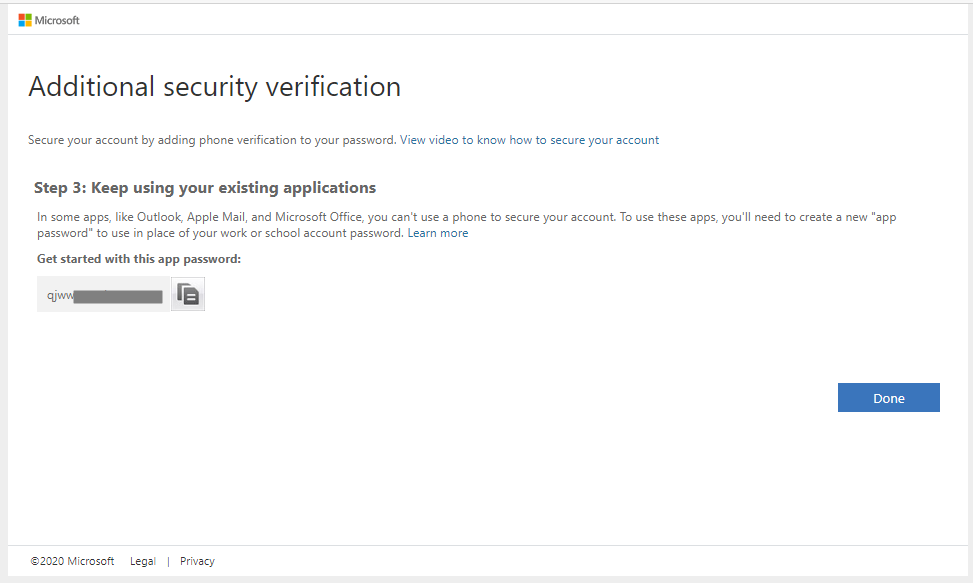
On clicking verify, we get an app password as well, which we may use later:
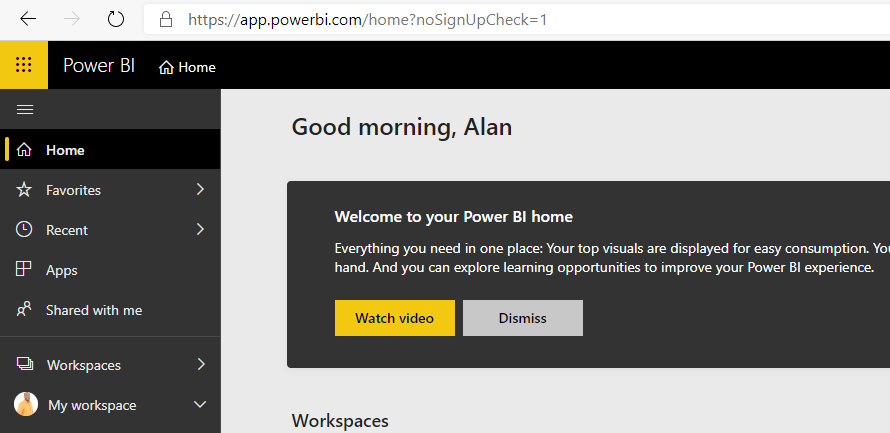
Now, we’re logged into powerbi.com:
If we were to log out, and log back in, we would first see the login screen to enter our username and password. Then, Azure AD will send us a text message with a code on it, which is used to get through the 2nd security screen to log in:
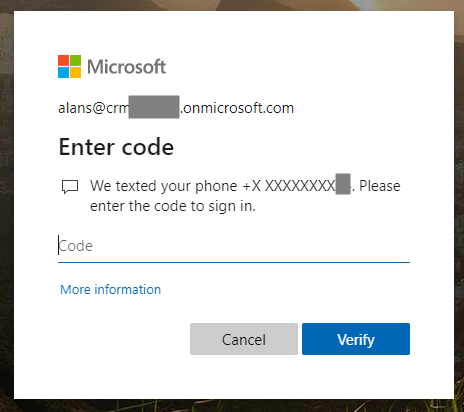
Once the code is entered, you will be logged into the resource, e.g. powerbi.com.

Explore AI, agents & Microsoft technology.
I share practical ideas, tutorials, and videos about AI, AI agents, Microsoft technologies, and the Power Platform.
Subscribe on YouTube →