In a previous post, we installed Omnichannel for Customer Service. In this next post, we will set up Omnichannel.
First, let’s head to the Omnichannel Administration app at yourorg/apps:
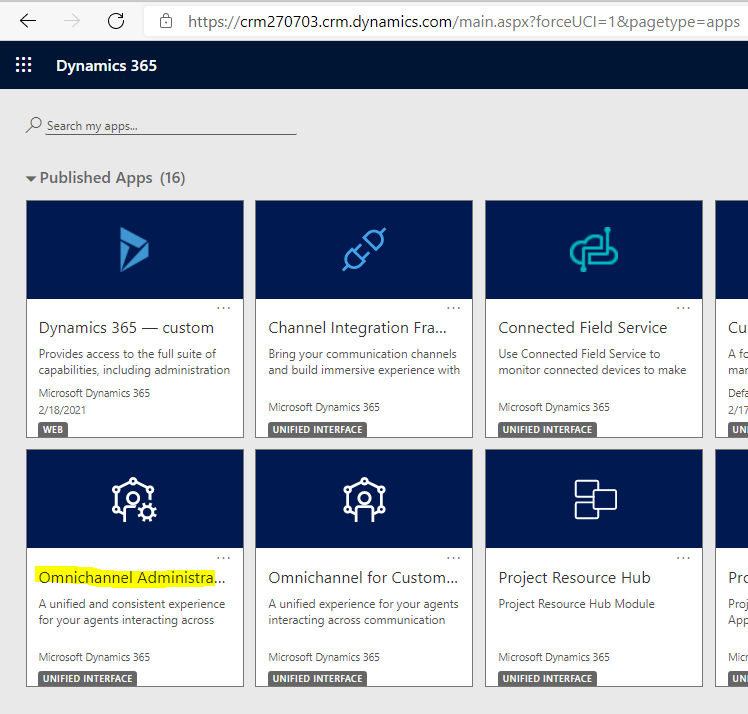
You should see:
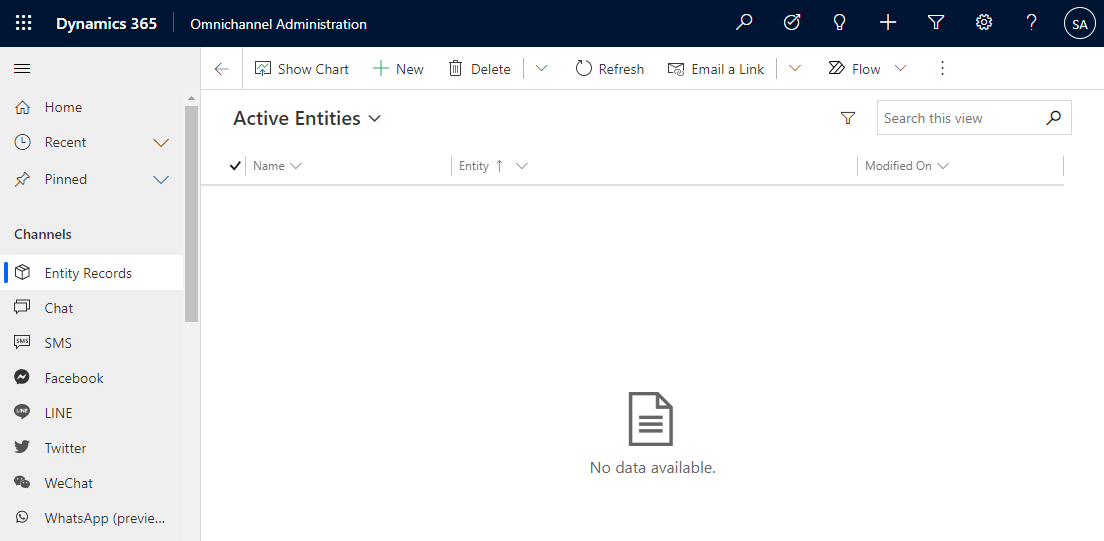
Scroll down to Users. We see there are no users in Omnichannel set up right now:
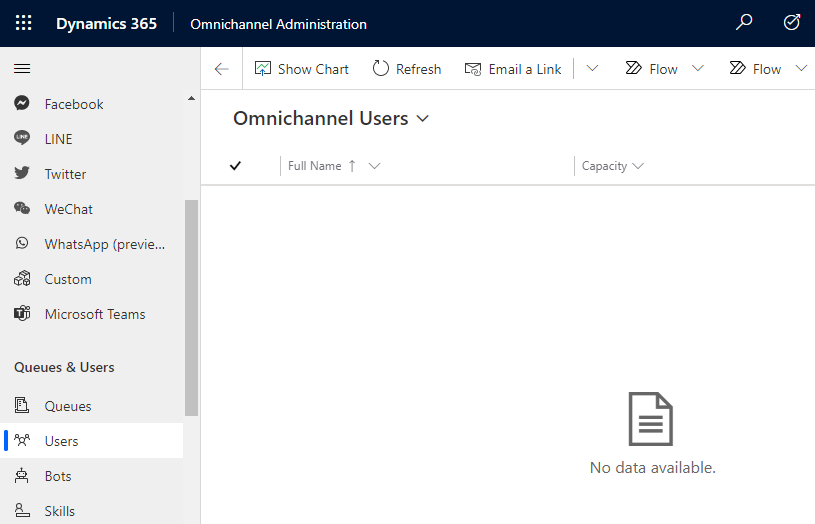
Let’s add one. There is no New or Add button on this screen. Instead, we need to head over to Security in D365 and assign Omnichannel roles to users.
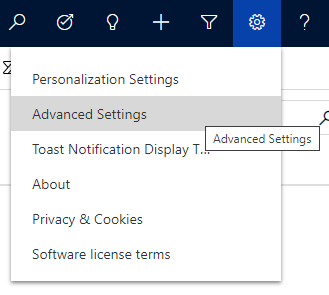
Let’s go to Advanced Settings:
Go to Security:
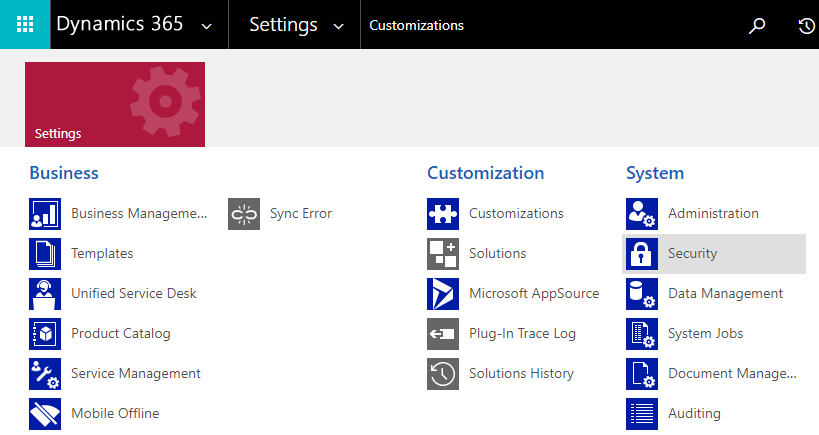
Users:

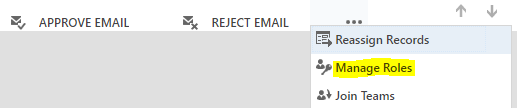
Select a User, then Mange Roles:
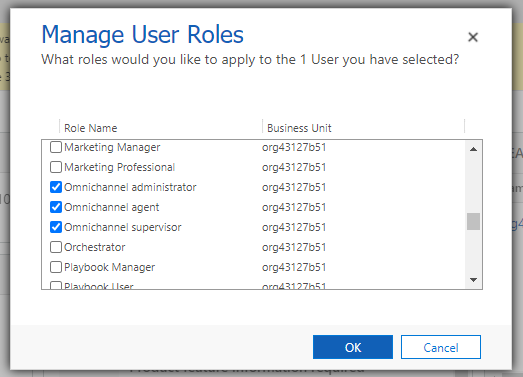
You will see 3 Omnichannel roles. We will assign all 3 to this user for this setup:
- Omnichannel adminstrator
- Omnichannel agent
- Omnichannel supervisor
On clicking OK and going back to the Omnichannel Admin app, we see the user has been added to the list:
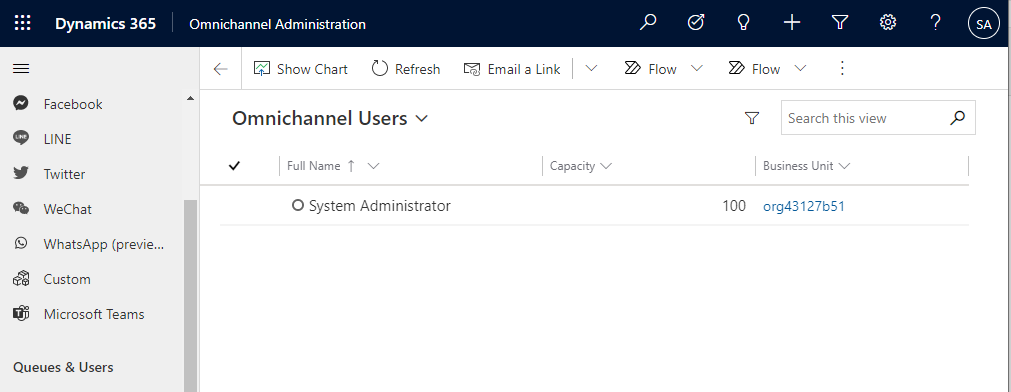
Note the circle is not filled with color. This shows the presence of the agent:
![]()
After a few minutes, we should see the agent is set to the Green color:
![]()
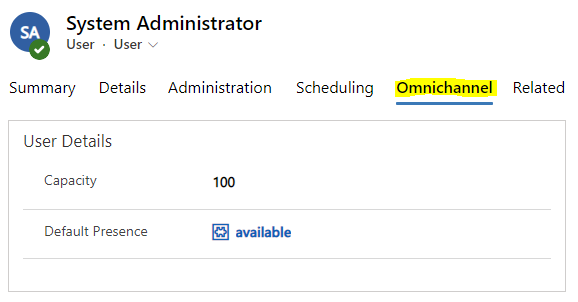
On clicking into the user, we see there is an Omnichannel tab, with a capacity and default presence. Ensure these are populated:
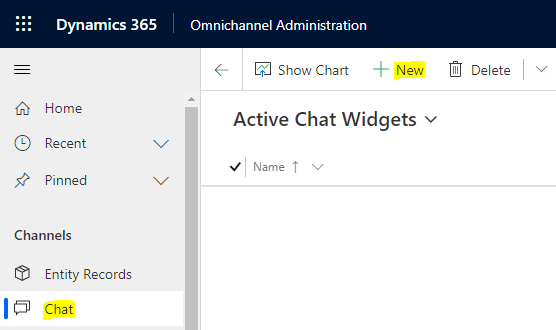
Now, let’s configure a new Chat channel that we will put on a website. The idea being, a customer can come to our website and start a chat with an agent to help them with any questions or issues regarding our services.
Select Chat and click New:
Give the chat widget a name, e.g. My Chat Widget. Note the many options available for configuration with the widget, such as language, how to display the agent name, enable attachments, save transcripts etc:
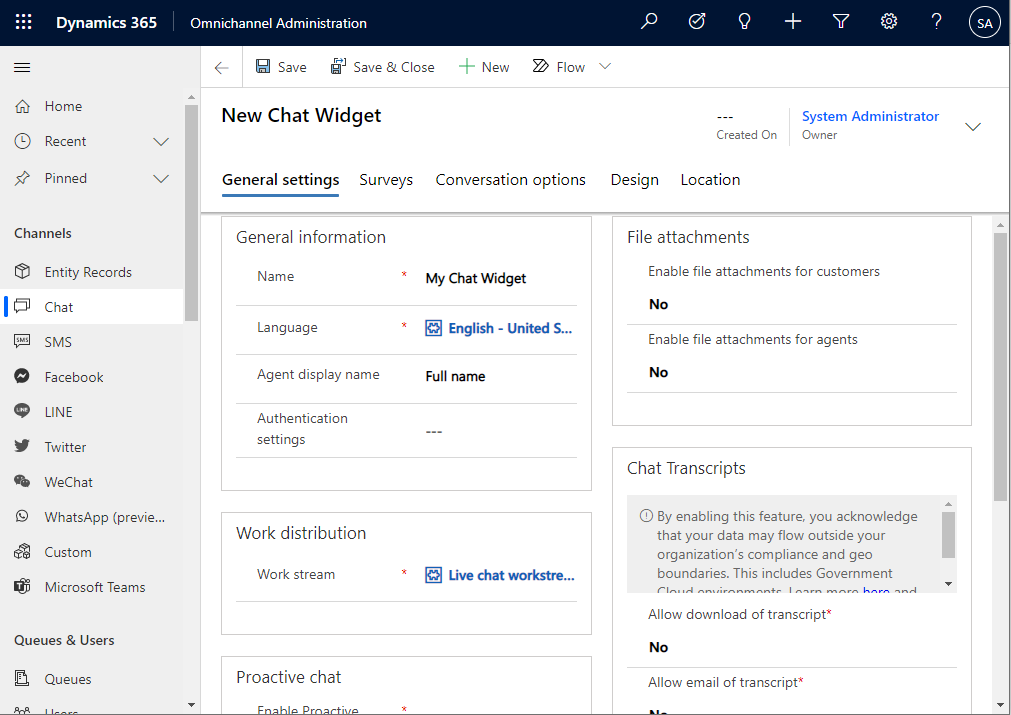
We will keep the other defaults and click Save. You will then see the following appear on the same page:
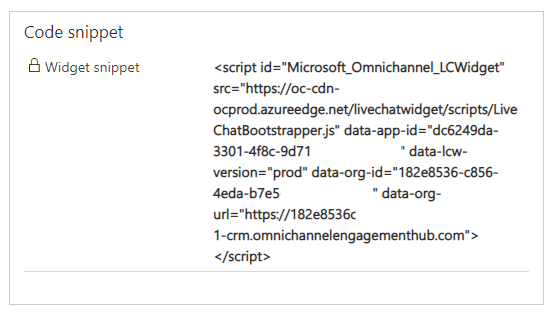
Now go to a website and add the code. I find it works better with hosted pages rather than a local page:

In the bottom right of the page, you should see a new chatbot with Let’s Chat! We’re Online:

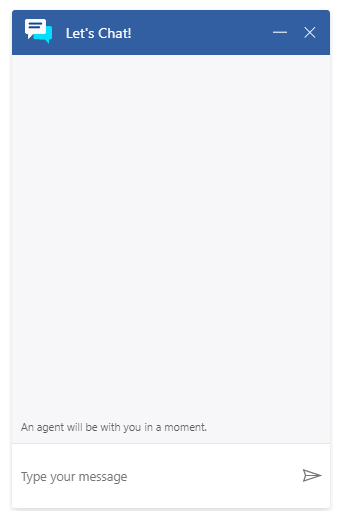
Clicking on this, we get the chat widget appearing, with the message “An agent will be with you in a moment”:
Now, let’s head over to the Omnichannel for Customer Service app under /apps:
You might see the Presence icon loading with the message “Launch presence dialog”:

There are a few things to check to ensure presence is displayed for a user:
- The user has a capacity set up
- The user has a default presence set up
- Omnichannel has data consent enabled during the setup
Once these are enabled, on refreshing the page you may see:
And the message:

And then finally we get a pop-up message that an incoming conversation is coming in:
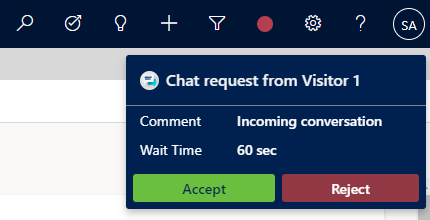
This message will keep cycling as the wait time goes to 0 and then back up again until an agent picks up the message. Click Accept and we are taken into an Omnichannel session, where we can see the messages being typed:
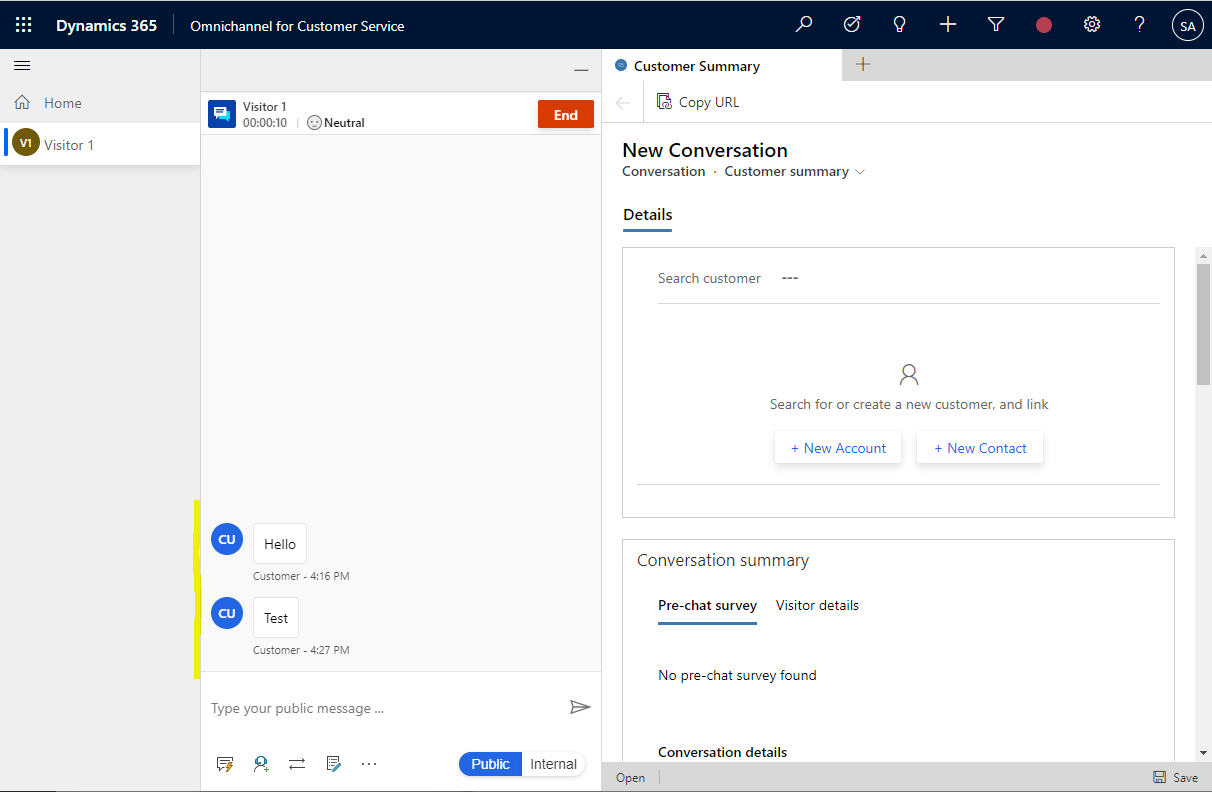
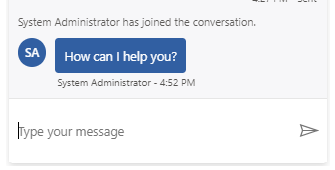
If we type a message:
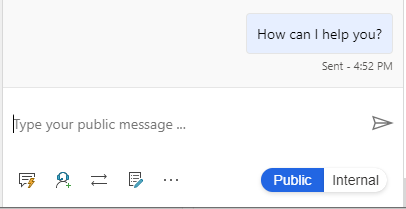
The customer sees it:
That’s it! You are now running Omnichannel chat on your site.
I AM SPENDING MORE TIME THESE DAYS CREATING YOUTUBE VIDEOS TO HELP PEOPLE LEARN THE MICROSOFT POWER PLATFORM.
IF YOU WOULD LIKE TO SEE HOW I BUILD APPS, OR FIND SOMETHING USEFUL READING MY BLOG, I WOULD REALLY APPRECIATE YOU SUBSCRIBING TO MY YOUTUBE CHANNEL.
THANK YOU, AND LET'S KEEP LEARNING TOGETHER.
CARL
