The Microsoft Creator Kit provides a nice details list control based on Fluent UI. In this post, we will look at how to pass context to a custom page and display records using the details list for Power Apps. We will go through an example of showing related contacts of an account record in a side pane.
First, let’s create a new custom page. We will edit the Sales Hub app to add our custom page:
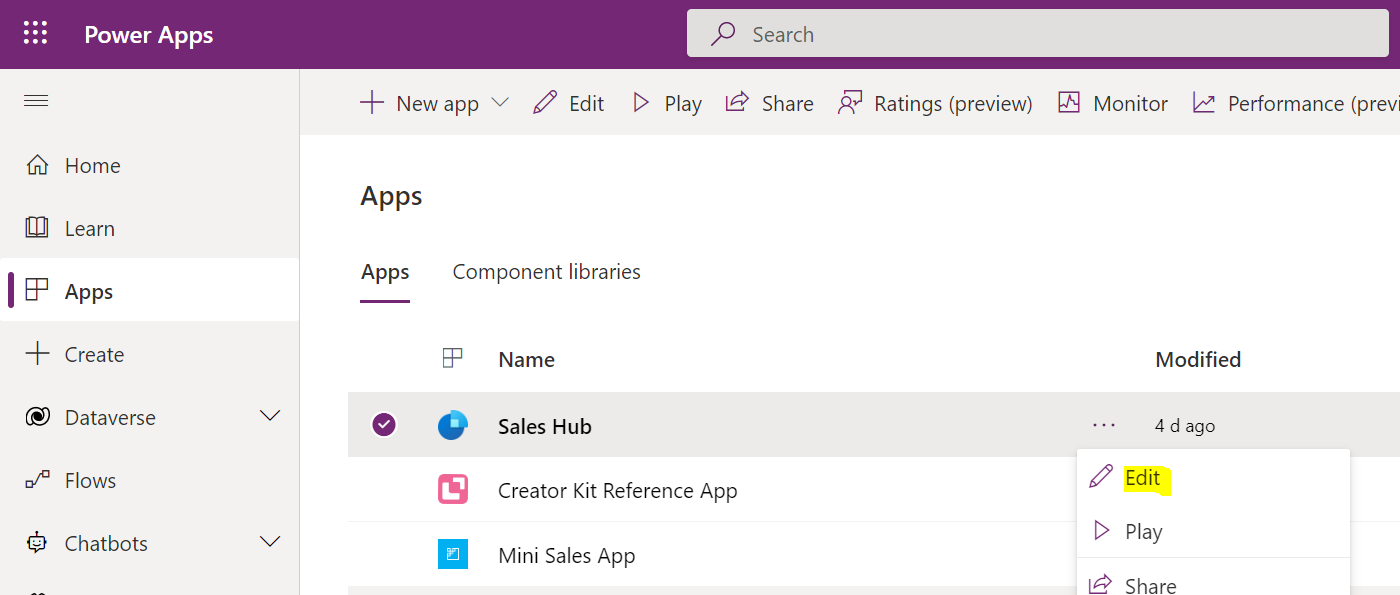
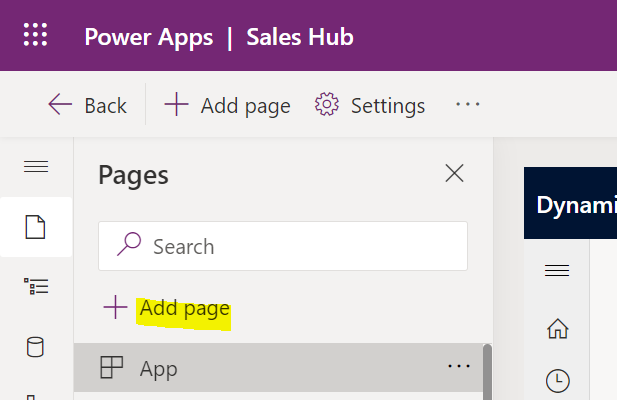
Add a page:
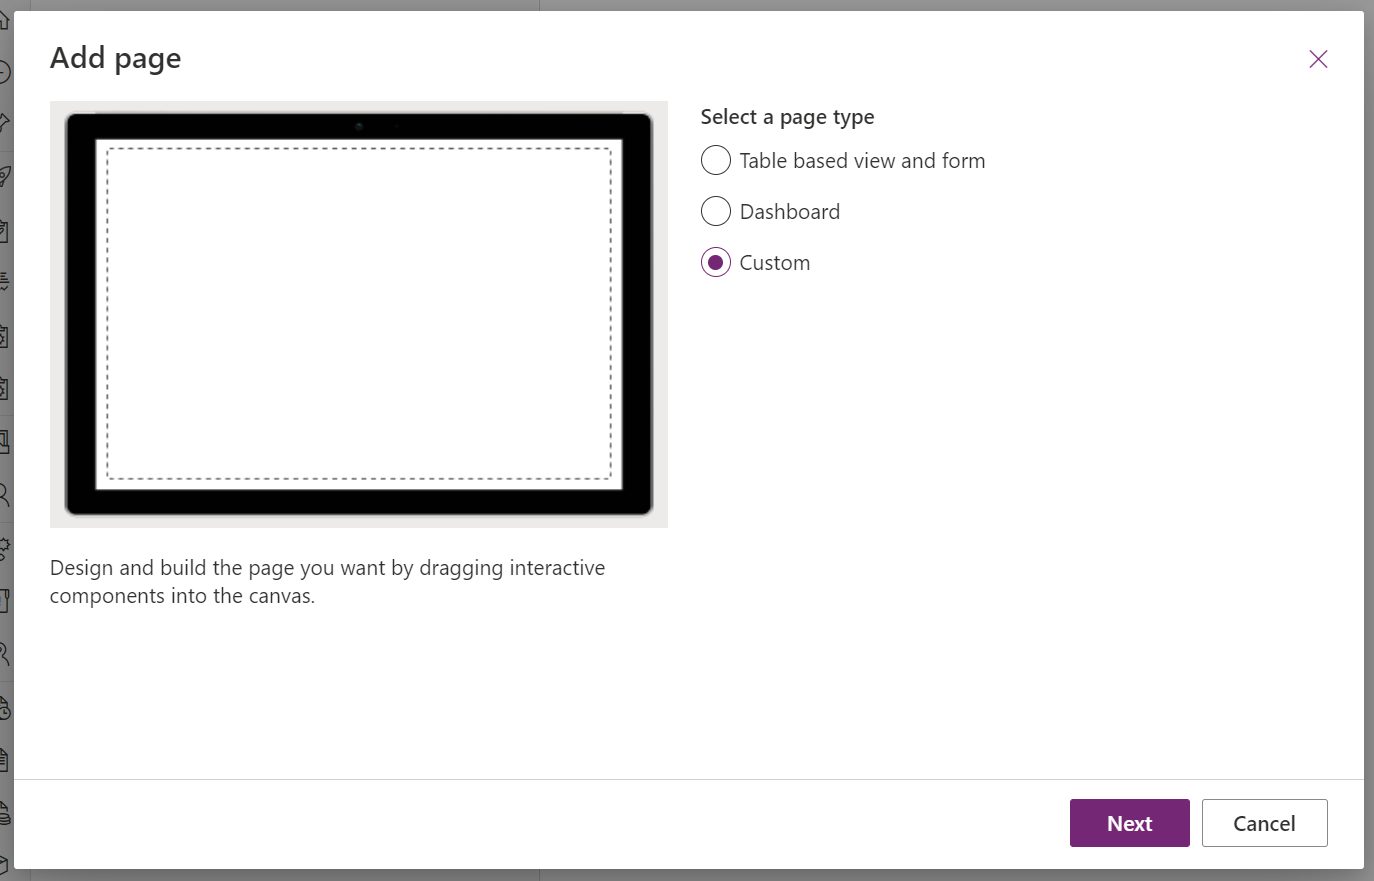
Add a custom page:
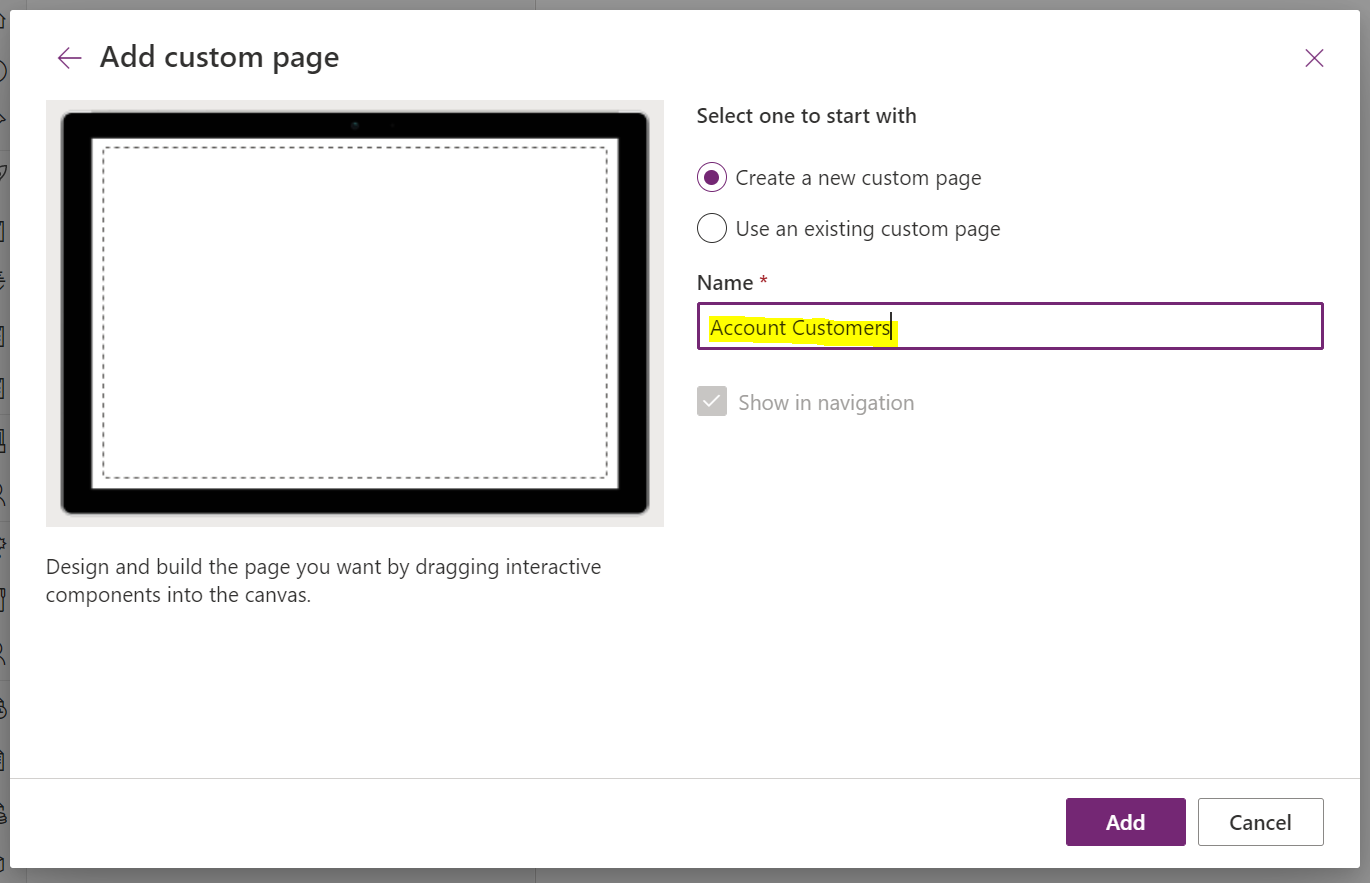
Create a new Custom Page. We will call it Account Customers:
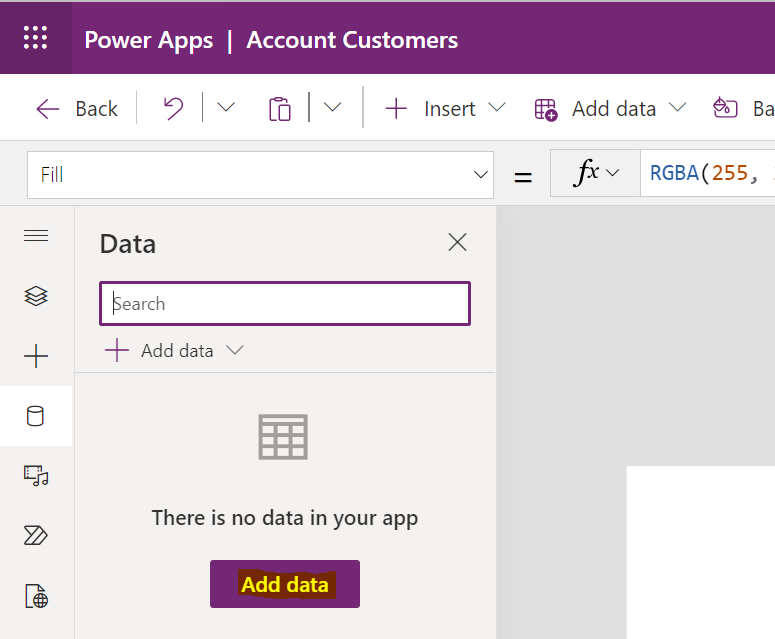
This takes us to the Canvas Designer. Now, let’s add a data source to Contacts:
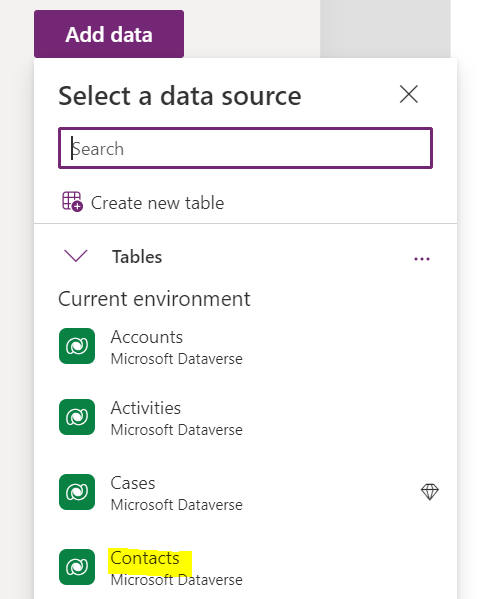
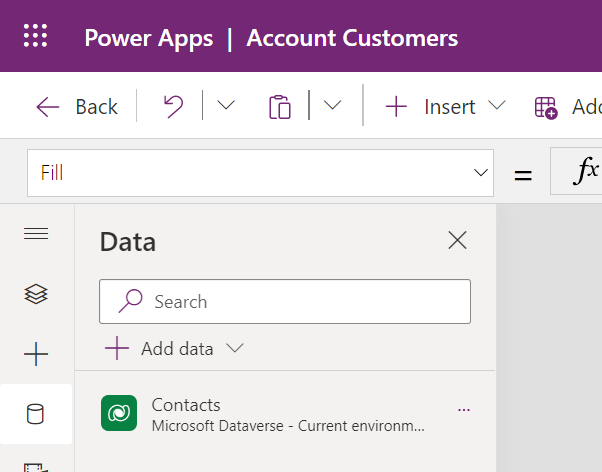
Select Contacts:
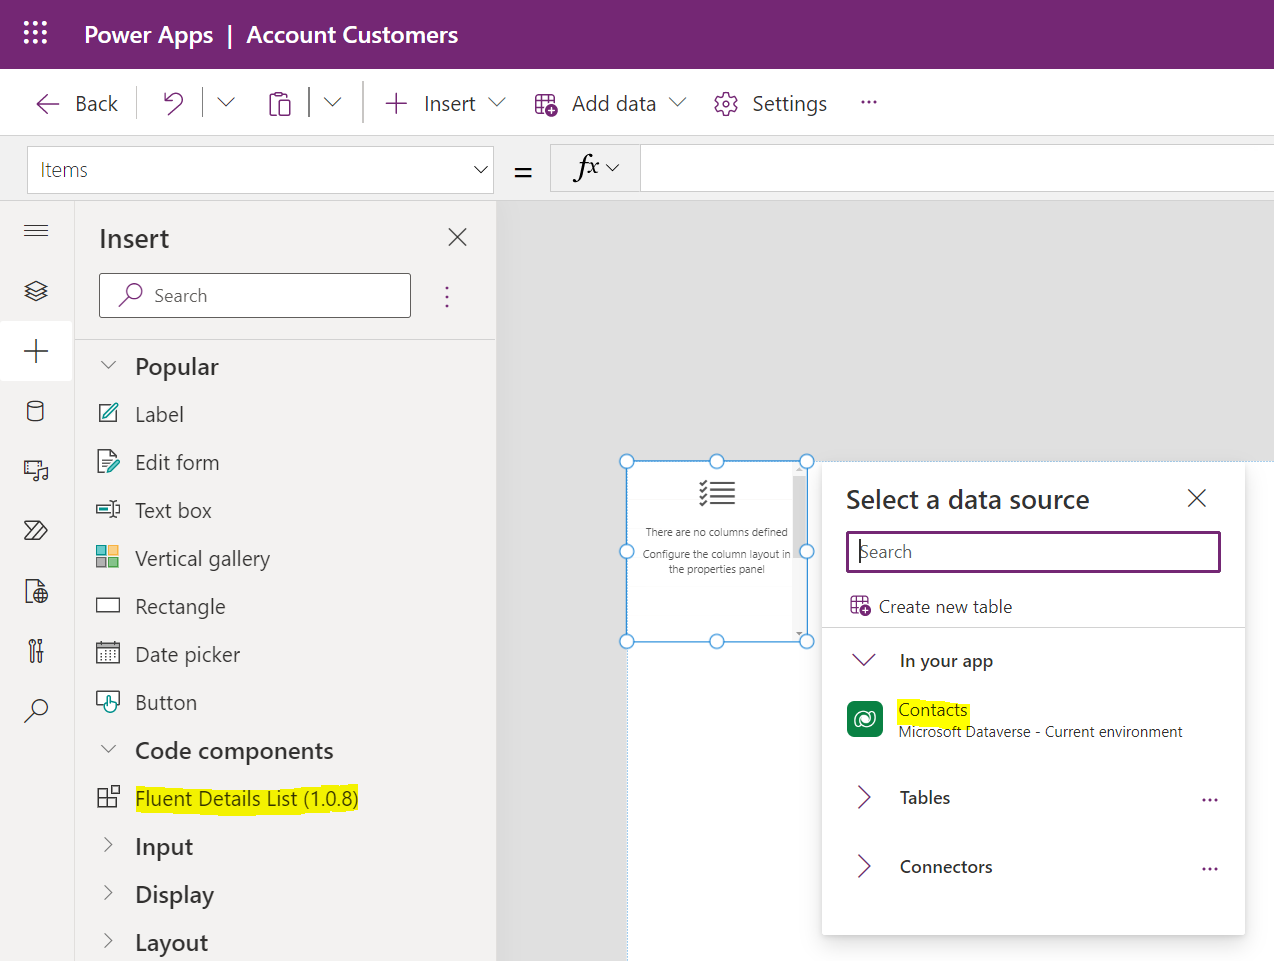
Now let’s add a grid. You may want to add the grid into a container, but for now we will simply add the grid. We will choose the Fluent Details List (follow this link to install the Creator Kit if you have not already):
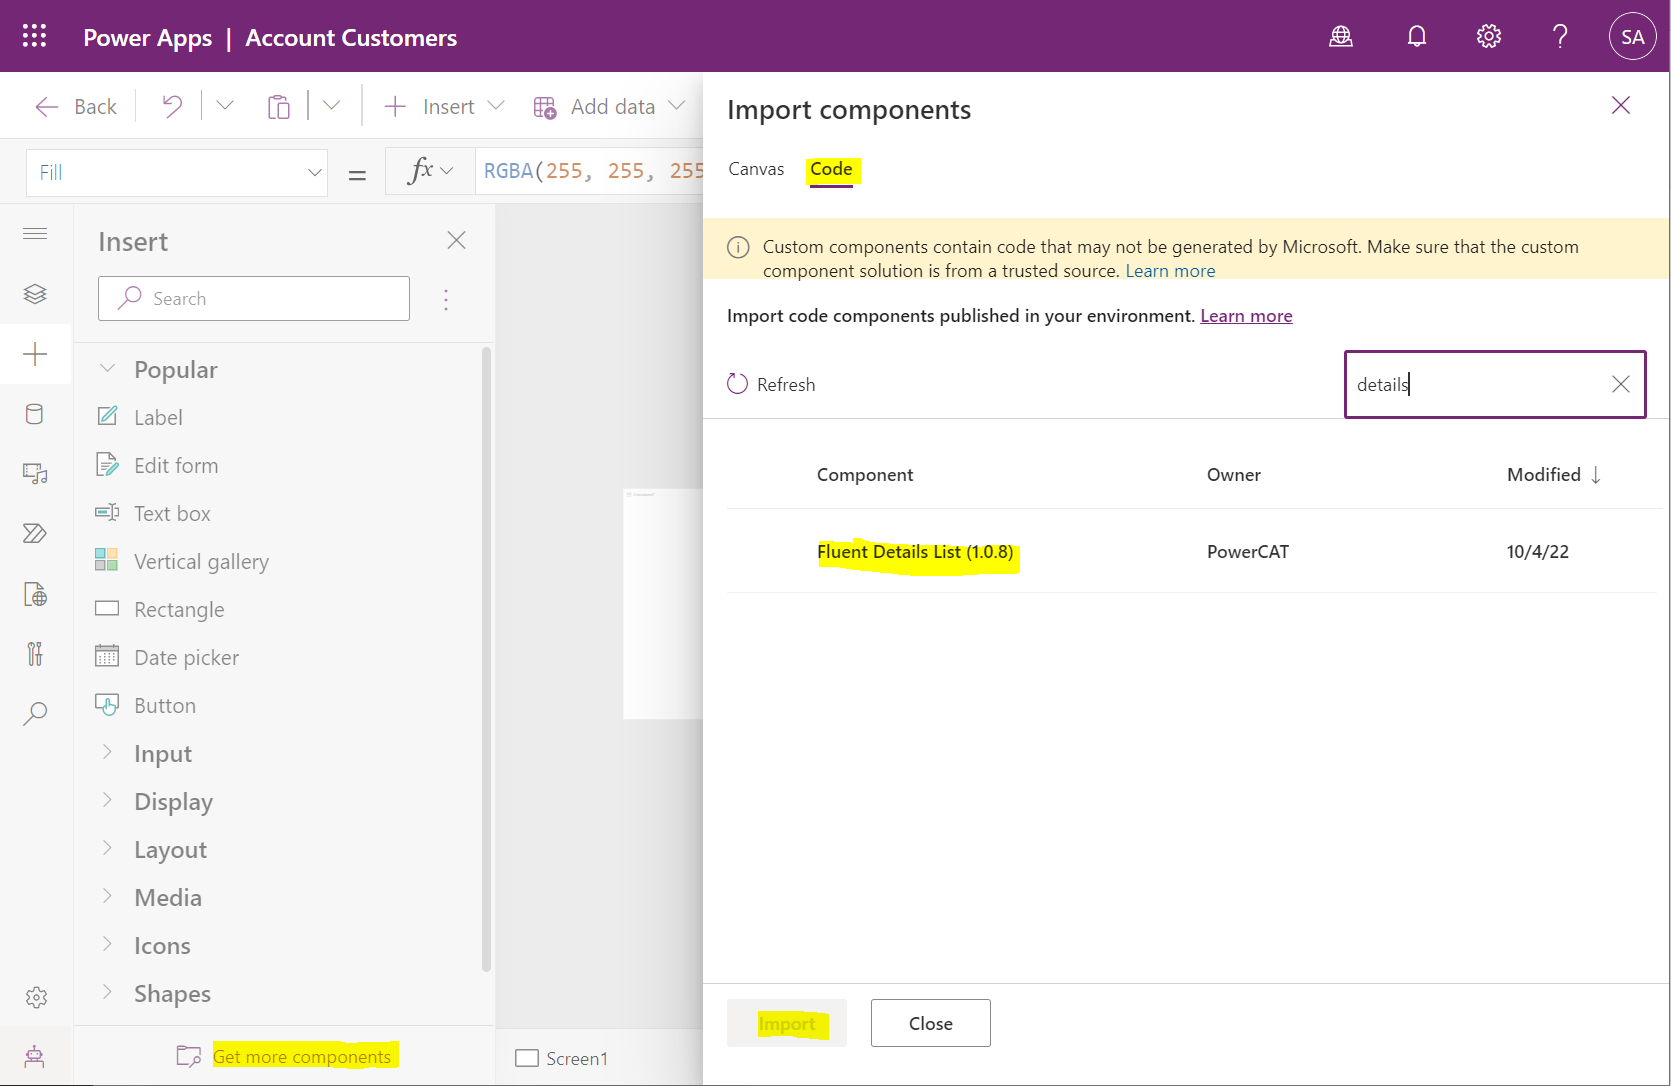
Under Code Components, drag the Fluent Details List onto the canvas and select Contacts as the data source:
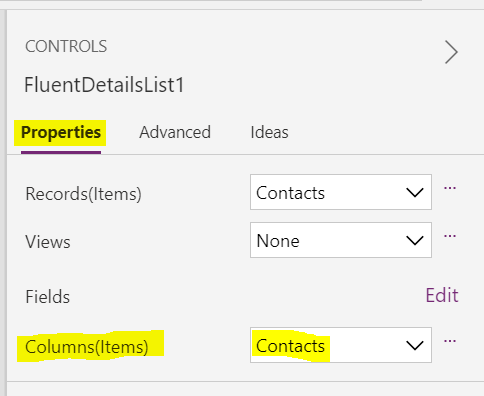
Under Properties, under Properties->Columns, select the Contacts data source:
Next to fields, select Edit:
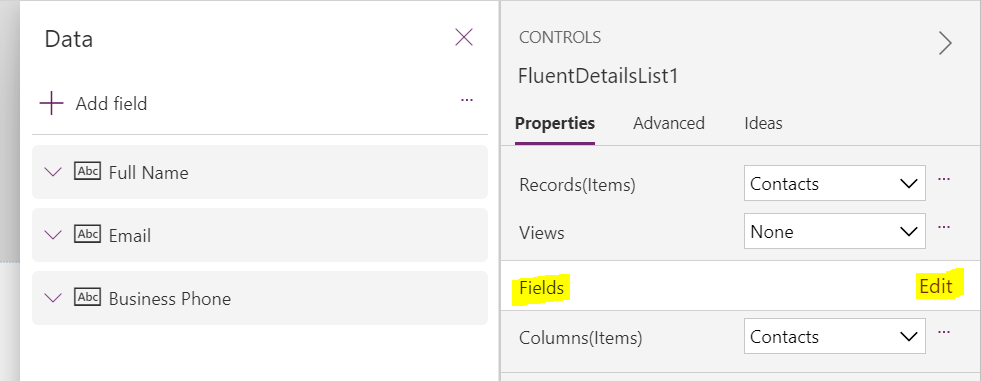
We see the fields to display, and we can add/remove fields as well:
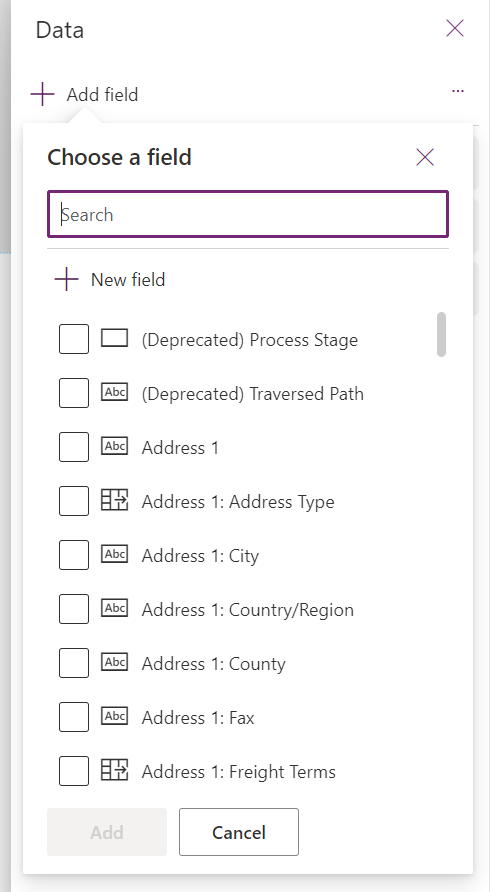
Let’s add Country as well:
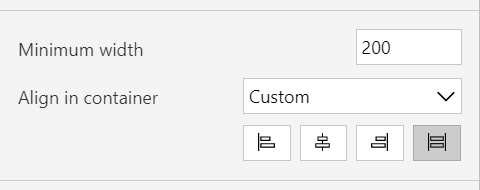
We can also set the width of the grid through the properties:
At this point, the is no data displayed on the grid. We need to populate the Column Items:
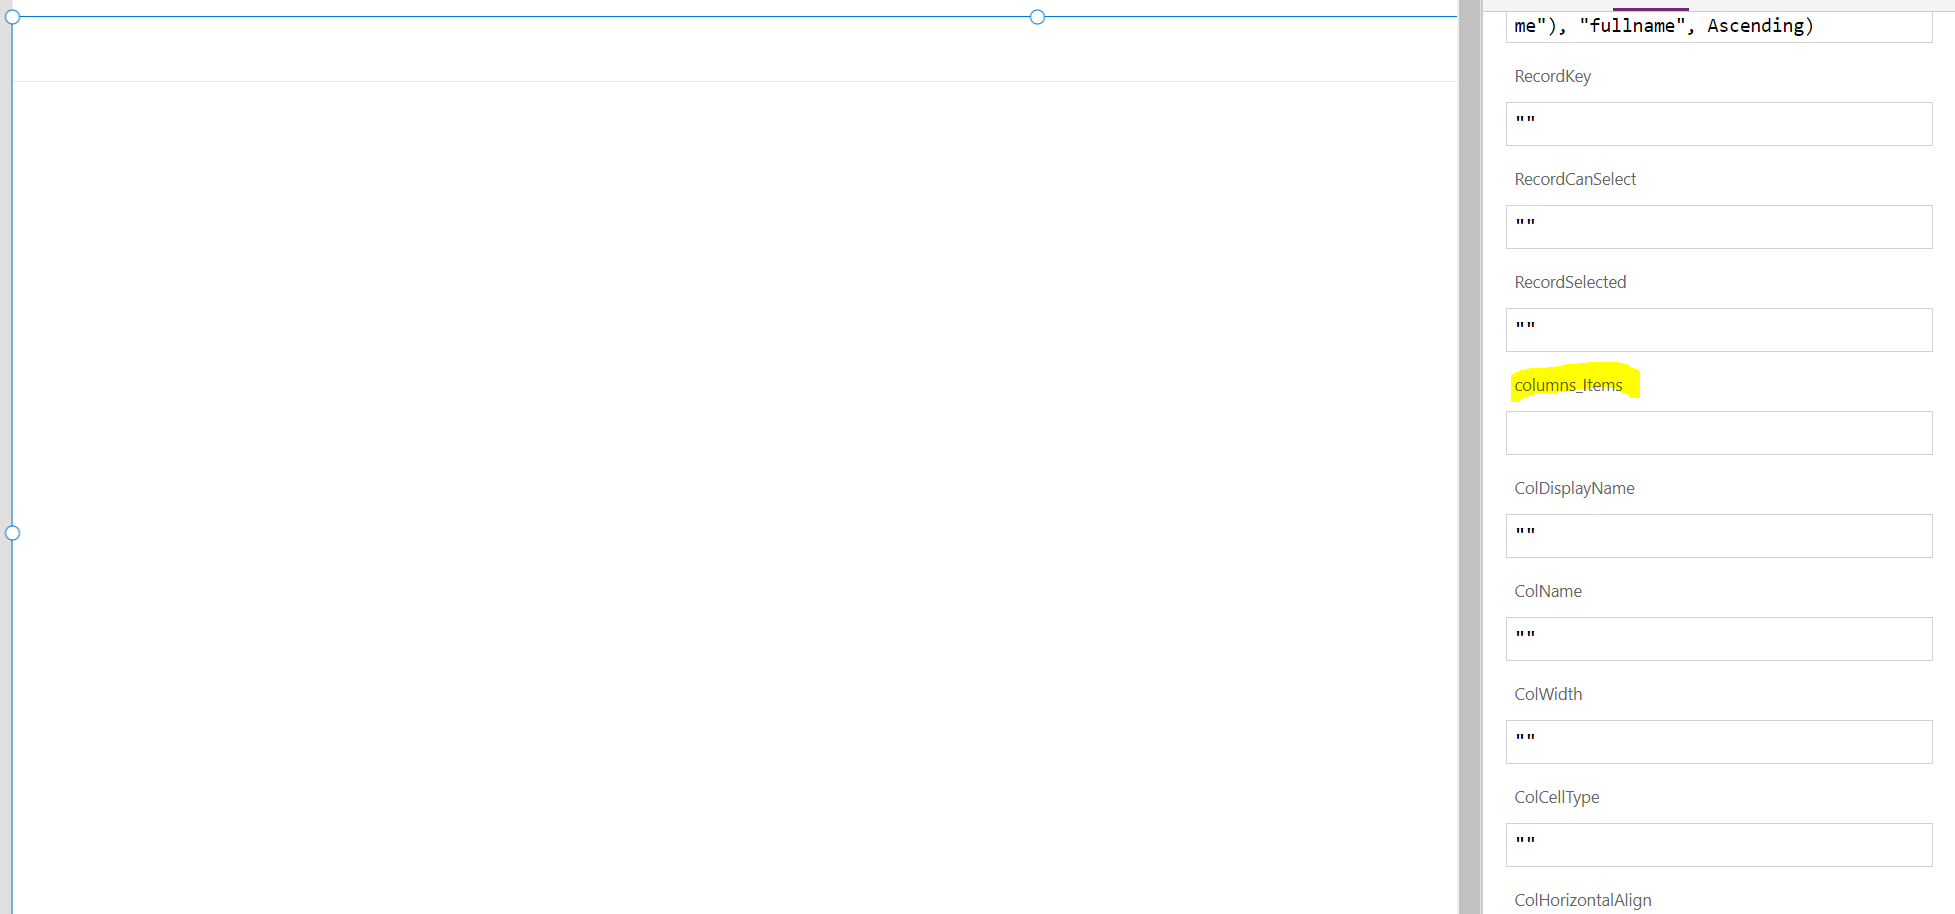
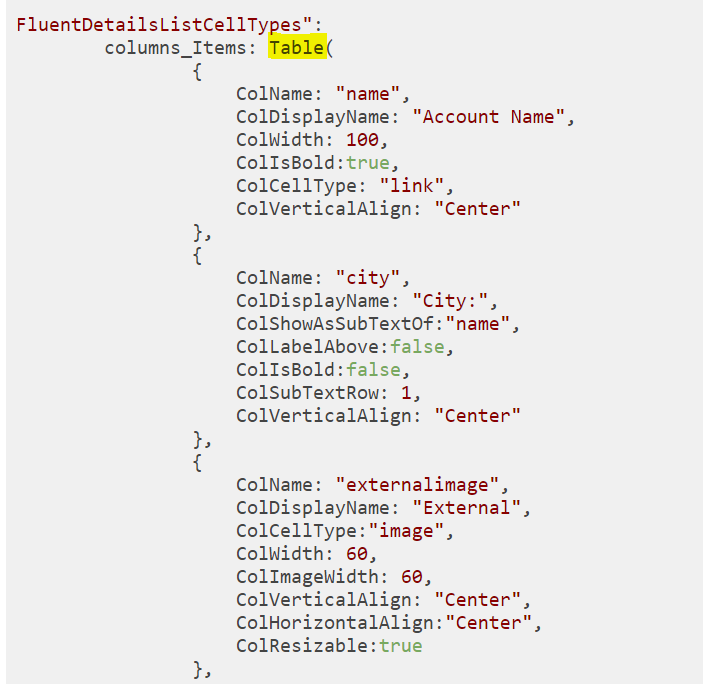
I will use the following. Note with the country field I’m using the cell type tag (just for demo purposes):
Table(
    {
        ColName: "fullname",
        ColDisplayName: "Name",
        ColWidth: 200,
        ColSortable: true,
        ColIsBold: true,
        ColResizable: true
    },{
        ColName: "telephone1",
        ColDisplayName: "Telephone",
        ColWidth: 100,
        ColSortable: true,
        ColResizable: true
    },
        {
        ColName: "emailaddress1",
        ColDisplayName: "Email",
        ColWidth: 200,
        ColSortable: true,
        ColIsBold: false,
        ColResizable: true
    },
    {
        ColName: "address1_country",
        ColDisplayName: "Country",
        ColCellType:"tag",
        ColWidth: 110,
        ColVerticalAlign: "Center",
        ColHorizontalAlign:"Center",
        ColResizable:true
    }
)
You can see which options to use here by looking at the Creator Kit, which has many code examples:
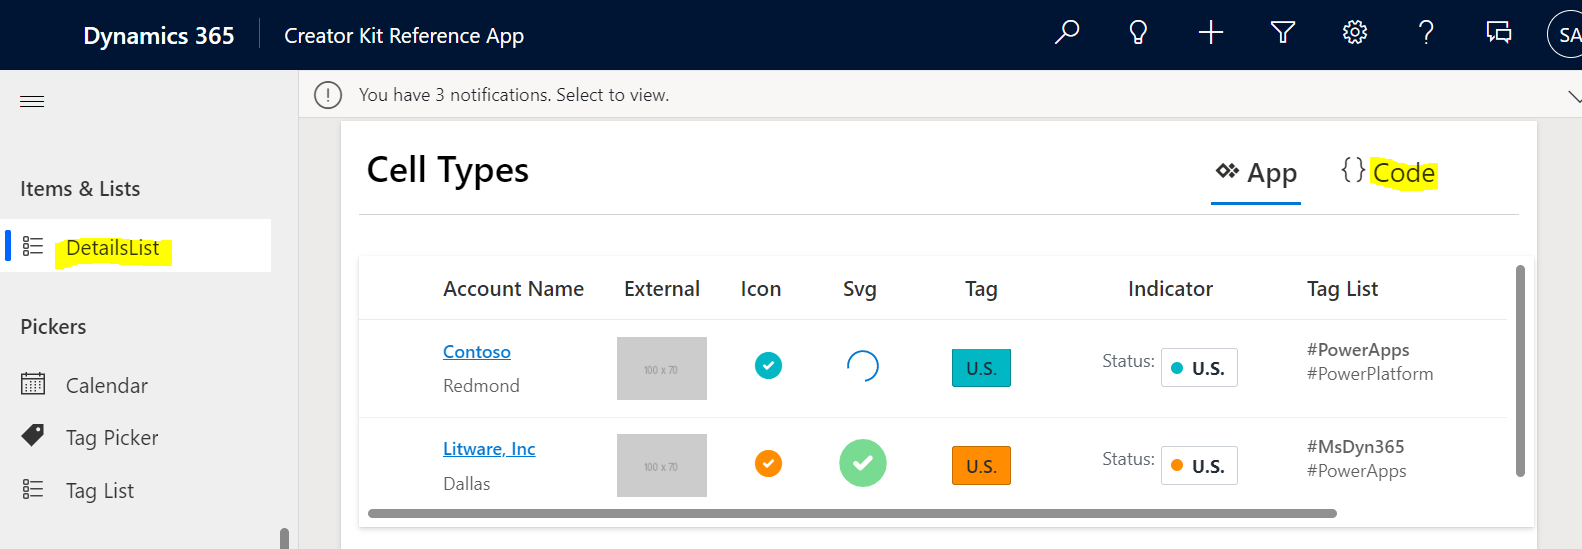
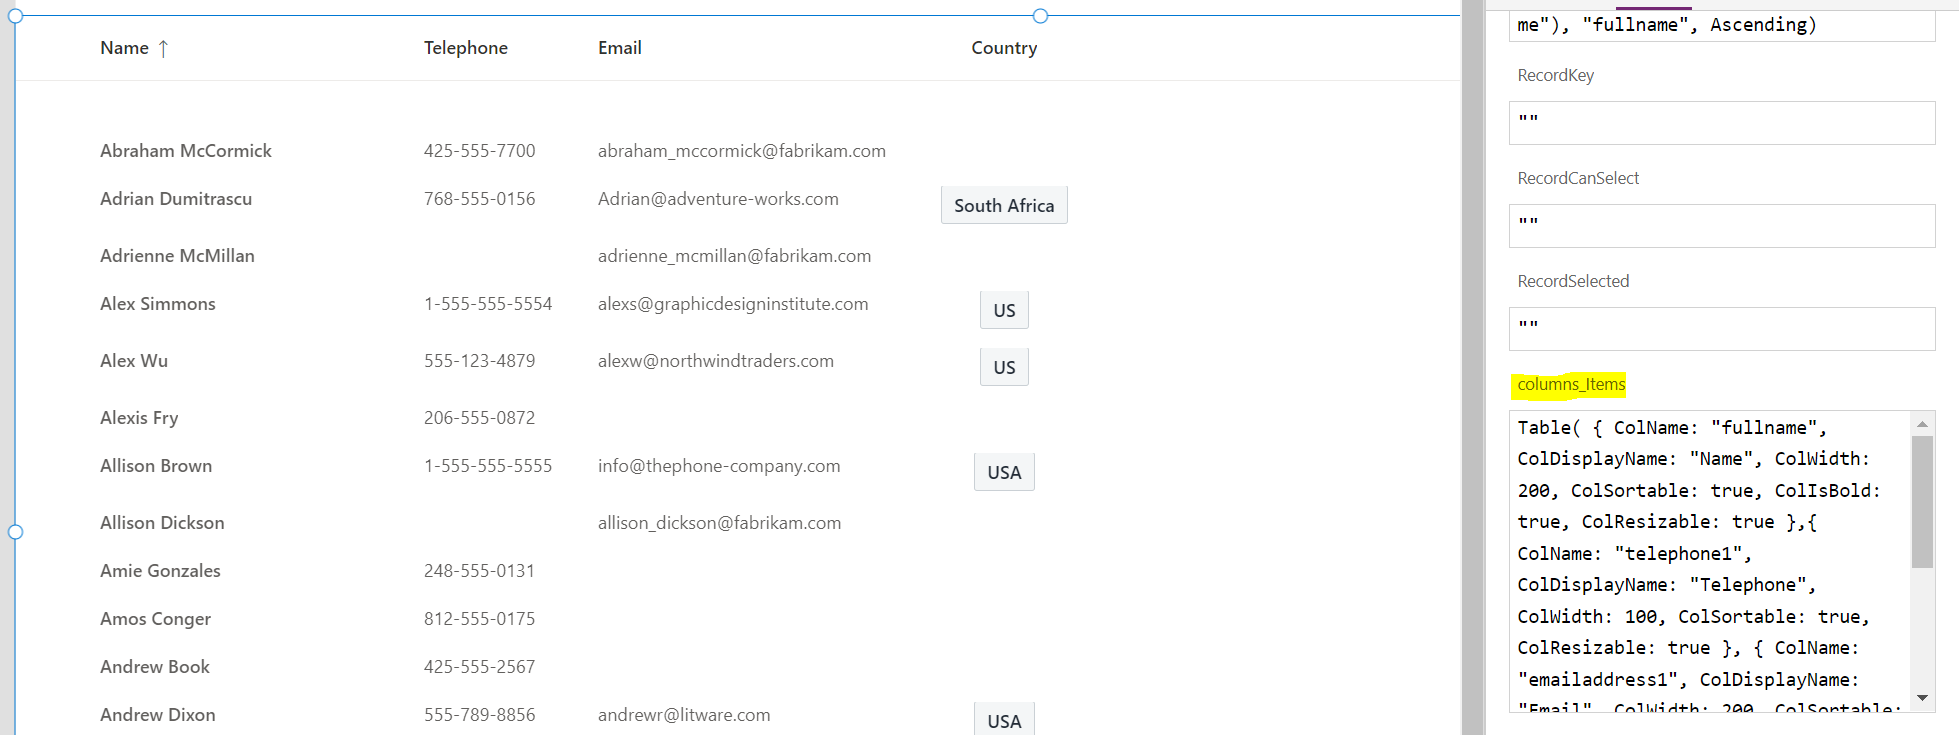
We now see our data appearing:
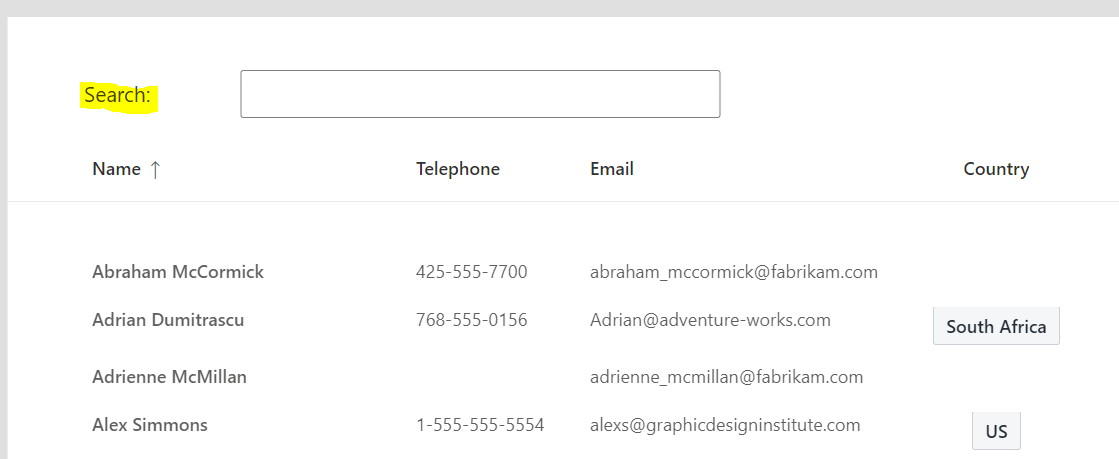
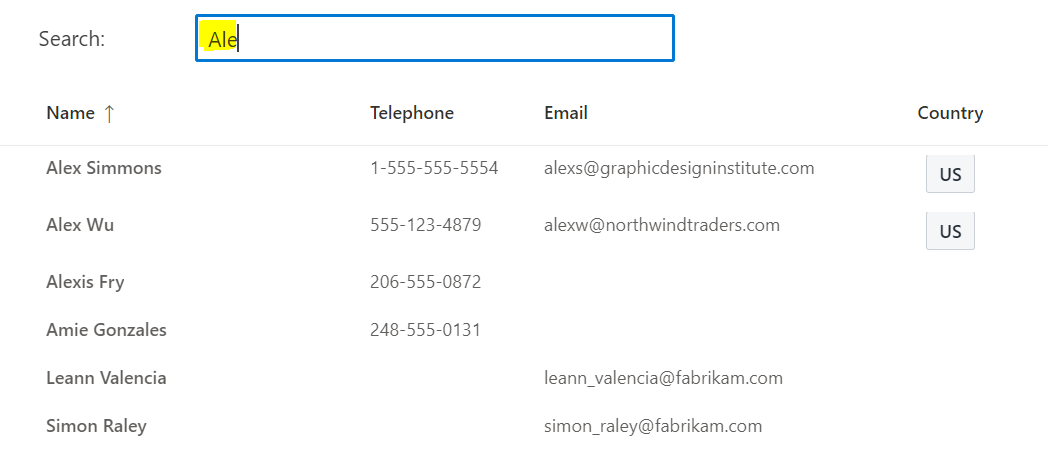
Now, if we wanted to add a search box, we could simply drag across a textbox and label:
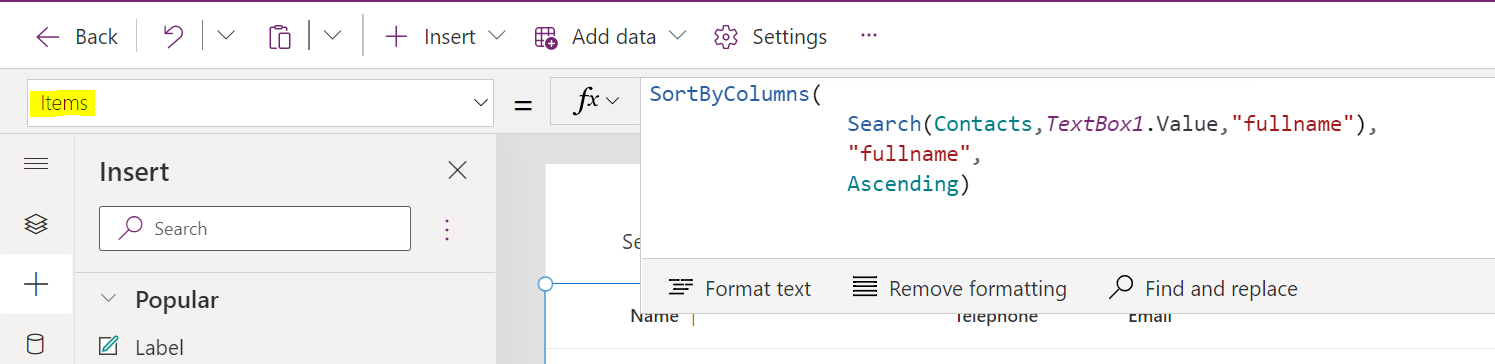
And we can wire it to the grid by going to the grid’s items with the formula:
SortByColumns(
Search(Contacts,TextBox1.Value,"fullname"),
"fullname",
Ascending)
Running this, we see our filter is working:
Instead, let’s change this to only show the contacts based on the account context passed in. We can do this by using Param. On the App OnStart, let’s set a variable called VarAccount, where we use param to read the passed in recordId:
Set(VarAccount,LookUp(Accounts,Account=GUID(Param("recordId"))))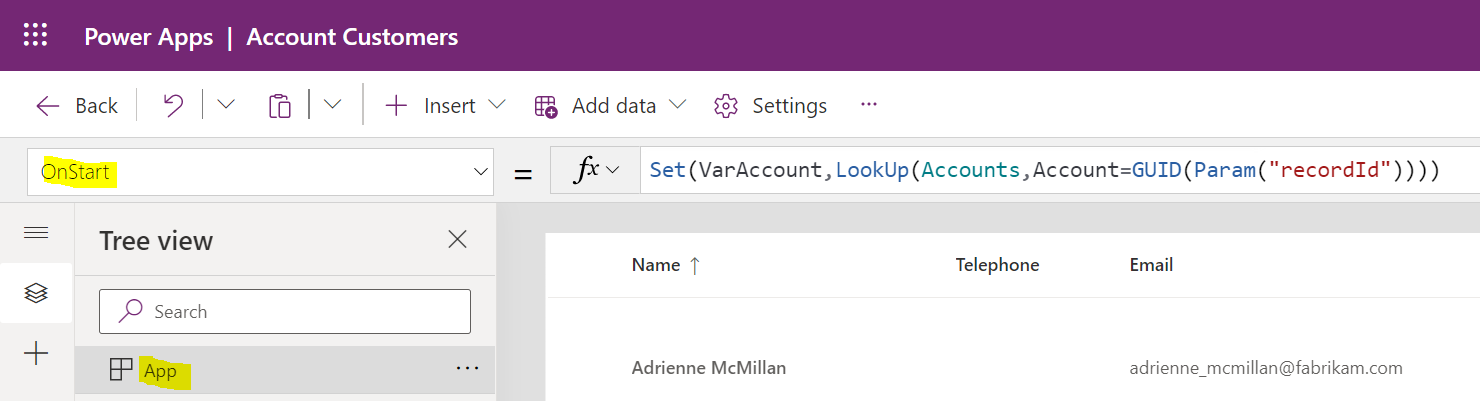
Next, on the Items of the grid, we will set the formula to:
Filter(Contacts, AsType('Company Name', [@Accounts]).Account = VarAccount.Account)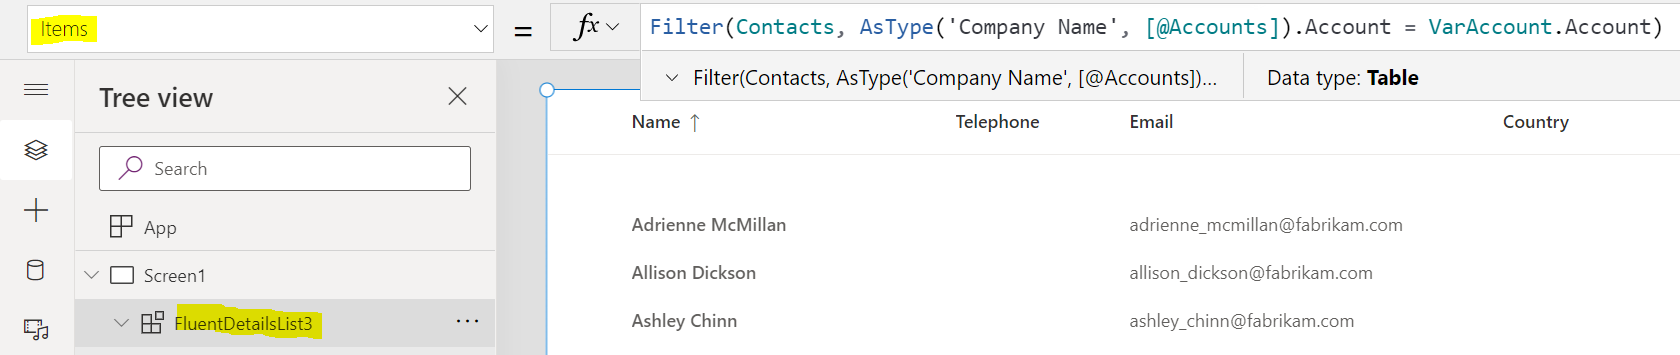
Now save and publish the page:
![]()
Once finished, let’s add a new button to open the page.
First, let’s create the JavaScript to open the custom page. We will use the code below. Save this to a JS file, and we will upload it next. In the function we will receive the account record, and note the custom page name. The custom page will open in the right side pane:
function OpenAccountContactsCustomPage(primaryControl)
{
    var formContext = primaryControl;
    var Id = formContext.data.entity.getId().replace("{", "").replace("}", "");

    var pageInput = {
        pageType: "custom",
        name: "crbbb_accountcustomers_29ca7",
        recordId:Id
    };
    var navigationOptions = {
        target: 2,
        position: 2,
        width: {value: 600, unit: "px"},
        title: "Account Contacts"
    };
    Xrm.Navigation.navigateTo(pageInput, navigationOptions)
        .then(
            function () {
                console.log("Success");
            }
        ).catch(
            function (error) {
                console.log(Error);
            }
        );
}
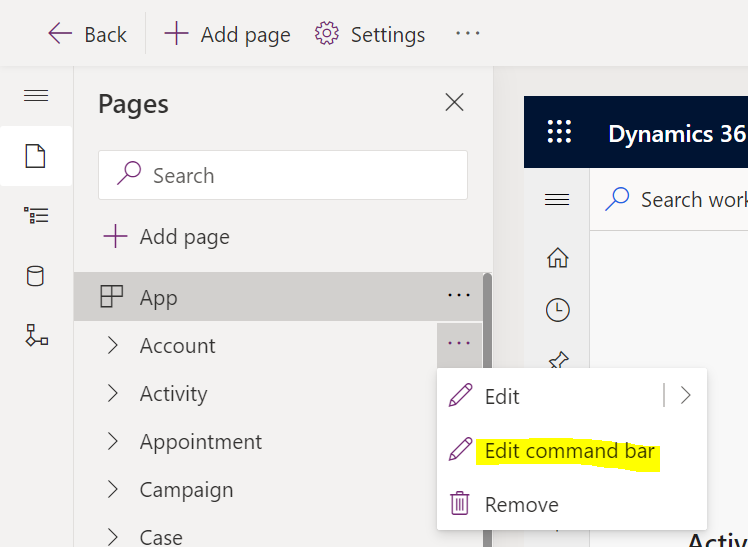
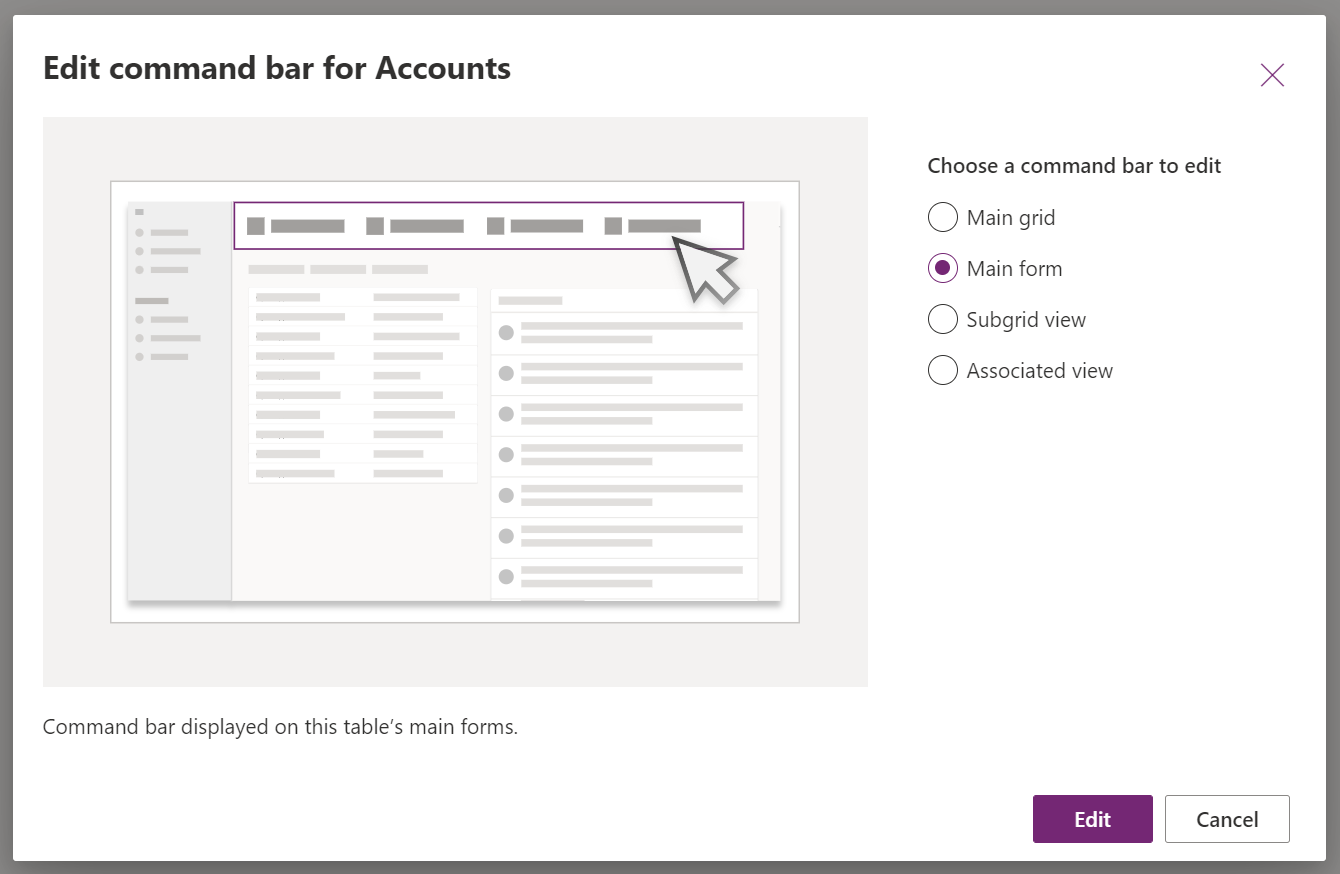
In the model-apps designer, next to Account, click Edit command bar:
Edit the main form:
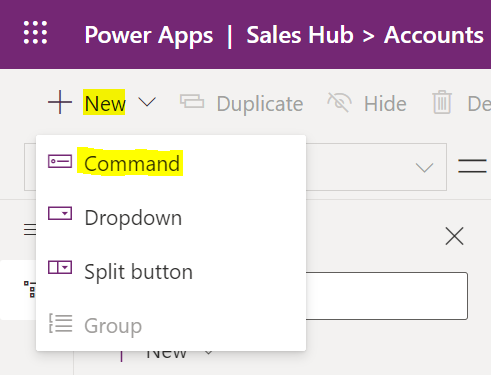
Let’s add a button called Open Account Customers:
We will add a JavaScript library:
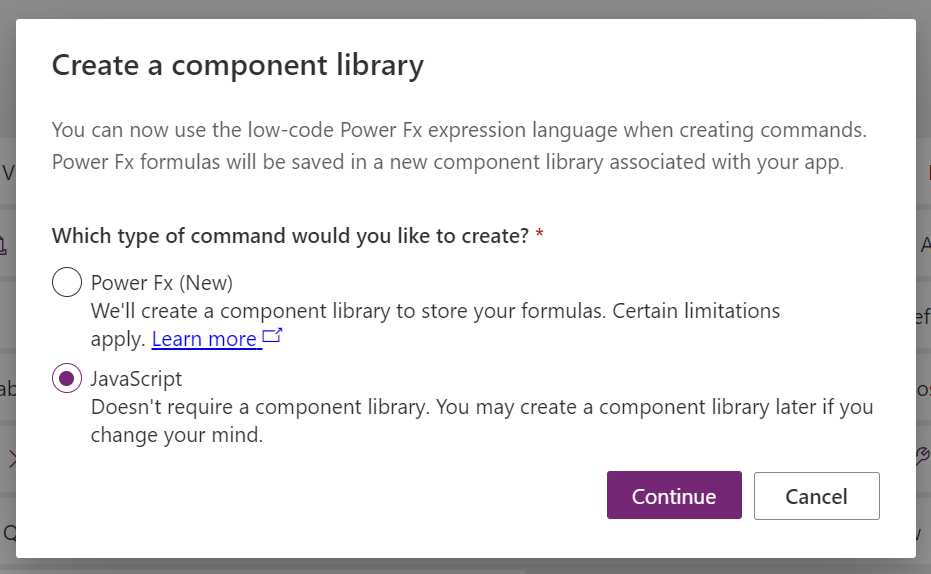
Let’s add a library:
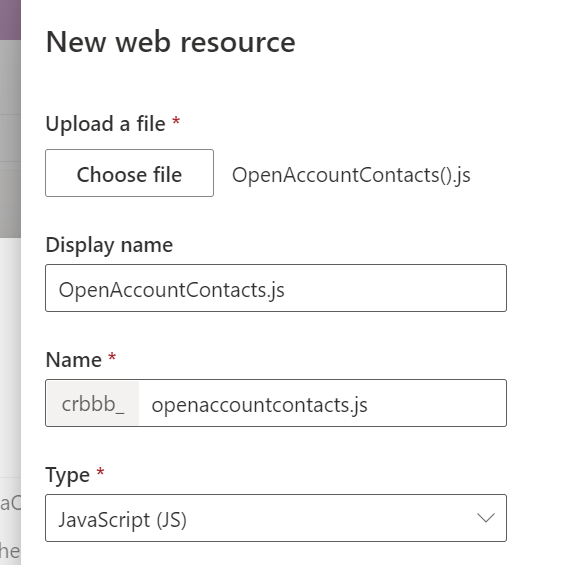
Add a new web resource:

Upload the JavaScript file with the code to open the custom page:
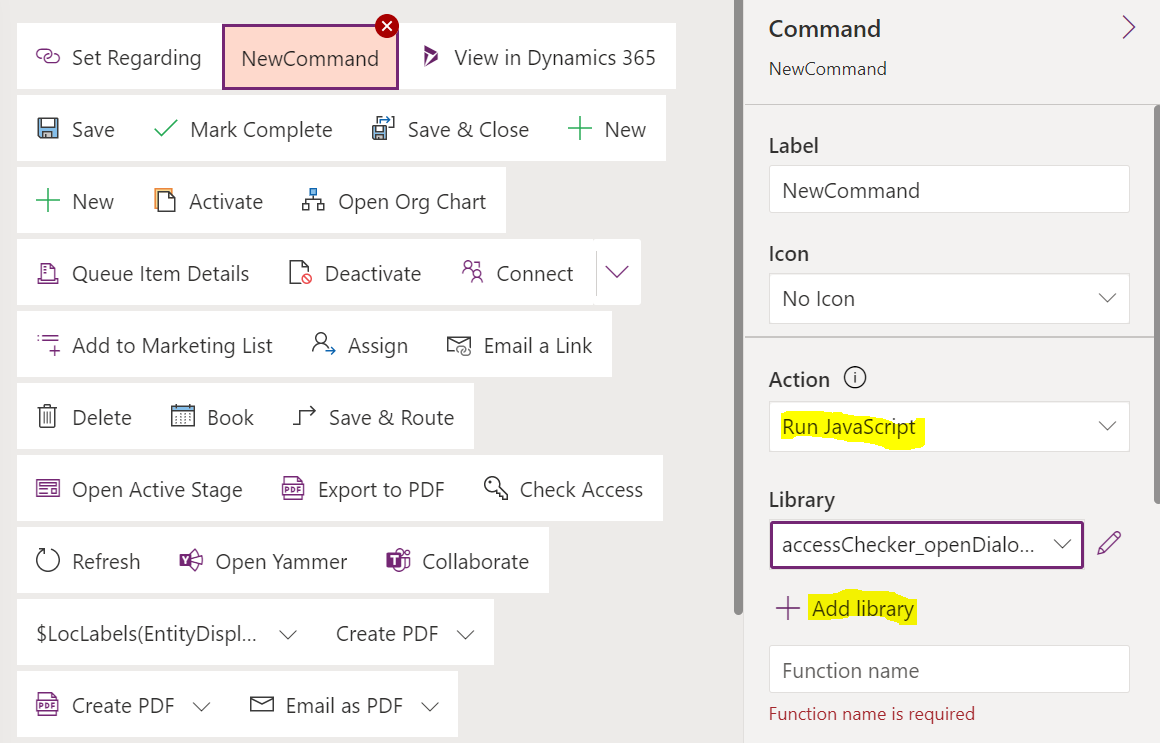
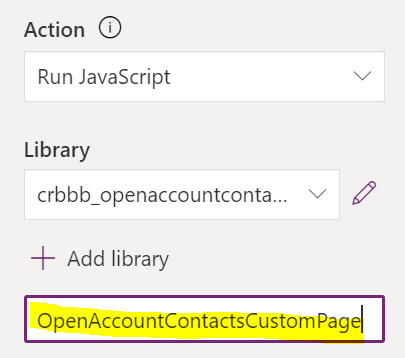
We will display the custom page using navigateTo. Enter the name of the function:
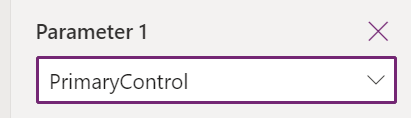
Then click on Add Parameter:
![]()
We will select Primary Control:
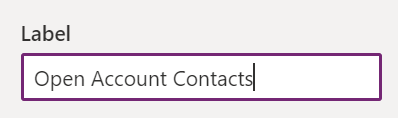
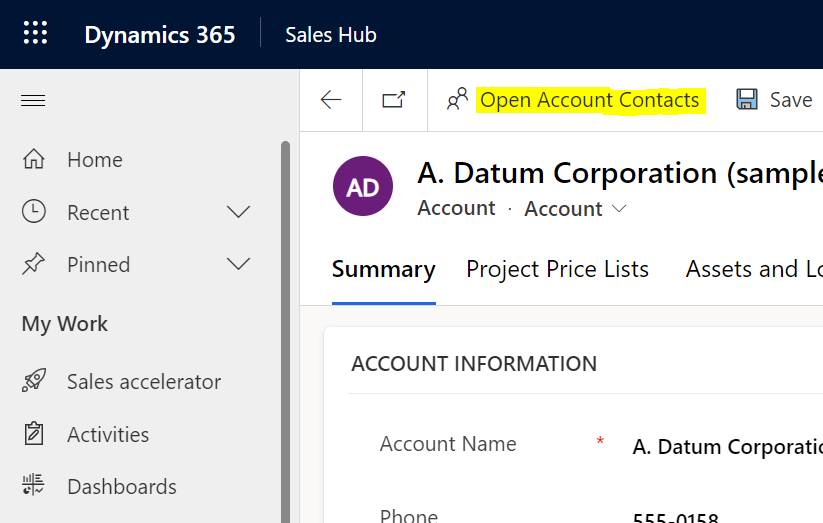
And finally, let’s name the button Open Account Contacts:
Now save and publish.
Let’s open the app and navigate to an account. We see our new button:
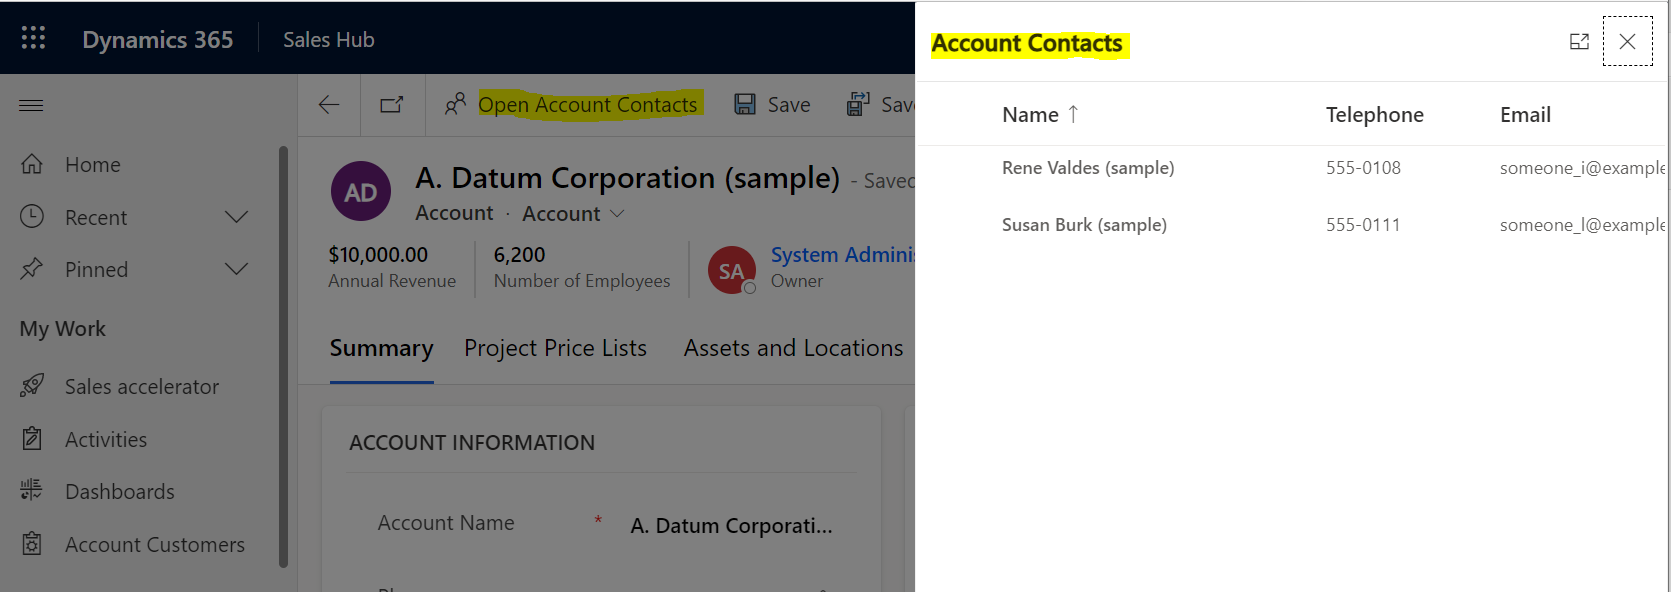
And clicking on it, we see our custom page open with the filtered contact records for this account:
I AM SPENDING MORE TIME THESE DAYS CREATING YOUTUBE VIDEOS TO HELP PEOPLE LEARN THE MICROSOFT POWER PLATFORM.
IF YOU WOULD LIKE TO SEE HOW I BUILD APPS, OR FIND SOMETHING USEFUL READING MY BLOG, I WOULD REALLY APPRECIATE YOU SUBSCRIBING TO MY YOUTUBE CHANNEL.
THANK YOU, AND LET'S KEEP LEARNING TOGETHER.
CARL

Hi Carl,
I really like your blog and your youtube channel.
I’m using the detail list in my powerapps canvas and it working fab. I have one requirement is to add to the list a person column. now I’ve already a person column but the new one is a multiselect one and I don’t know how to add it using the add column technique do you have any thoughts/ idea how to do it ?
Thank you