In Dynamics 365, you have the ability to customize the site map, which controls how the menu is displayed in Dynamics 365:
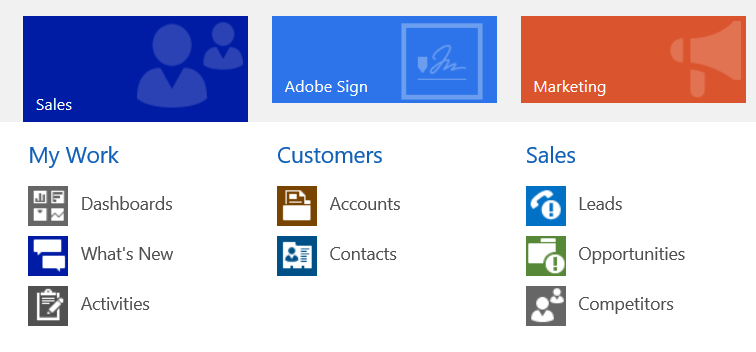
To do this, go to Settings->Customizations:

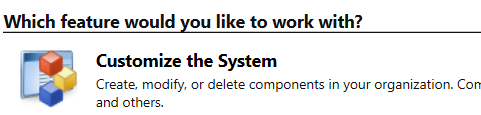
And select Customize the system:
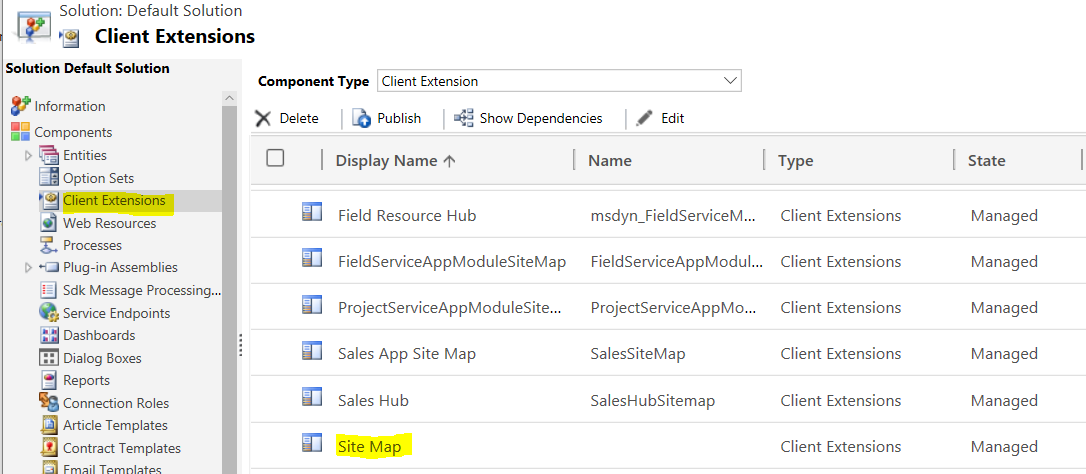
Select Client Extensions->Site Map:
This will take you to the Sitemap Designer in PowerApps:
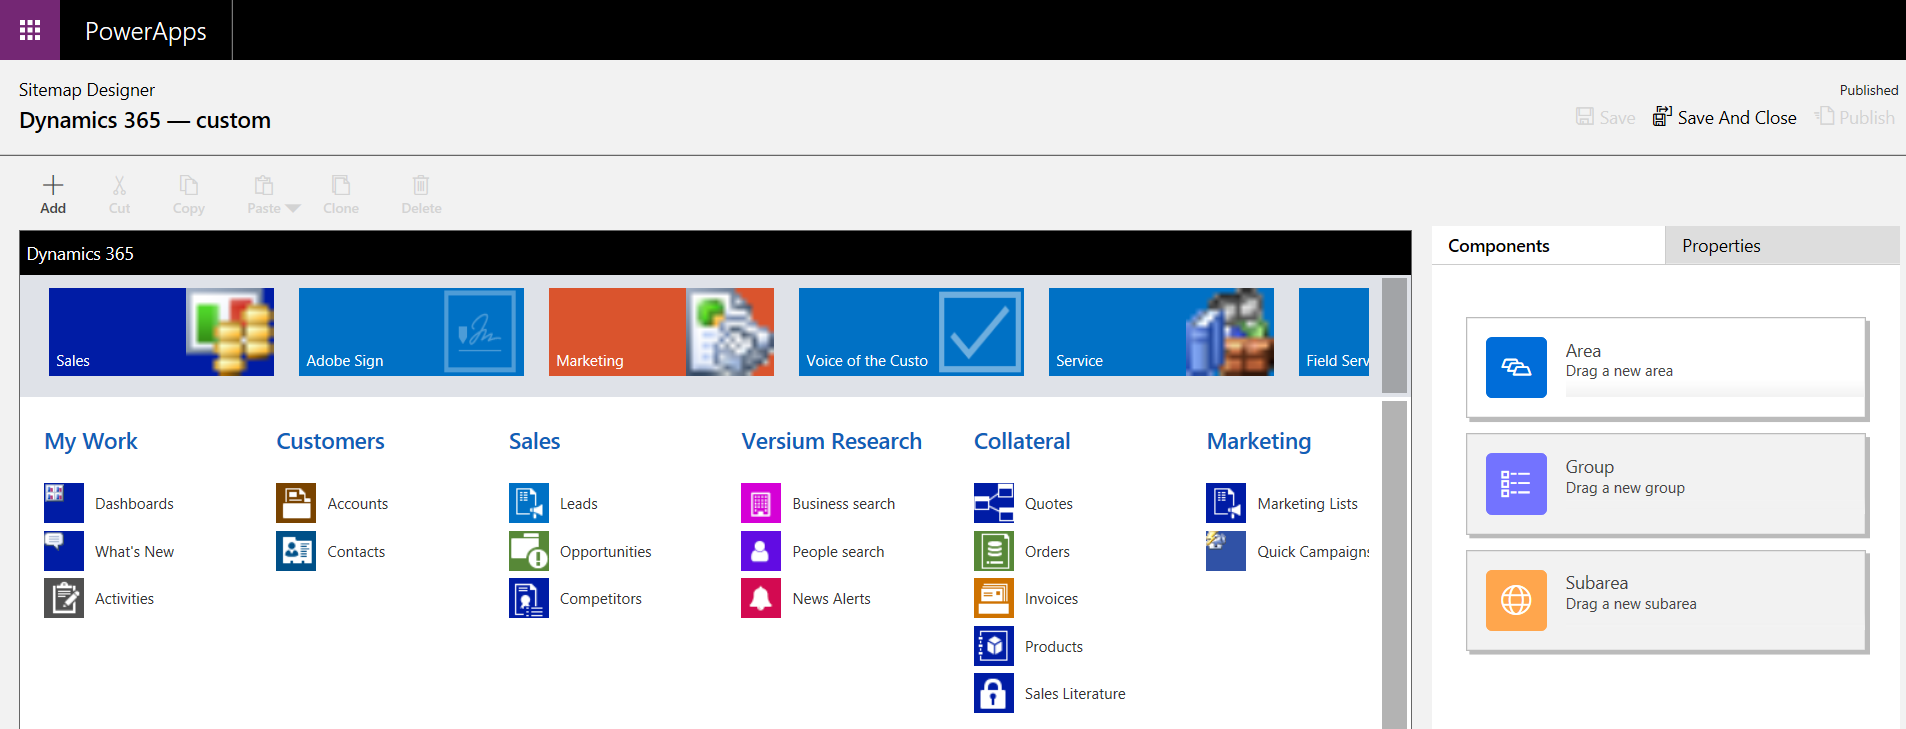
There are 3 parts to a sitemap:
- Area – e.g. Sales, Marketing, Settings etc
- Group – e.g. My Work, Customers, Tools etc
- Subarea – e.g. Dashboards, What’s New, Accounts, Contacts etc
Let’s first rename existing ones.
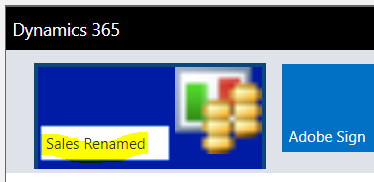
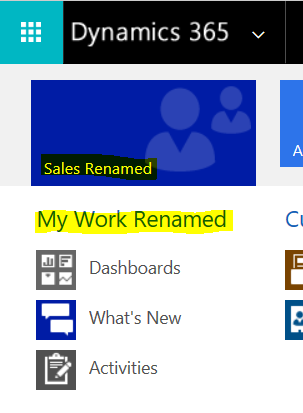
Select the Sales area, and click to edit. Rename to Sales Renamed:
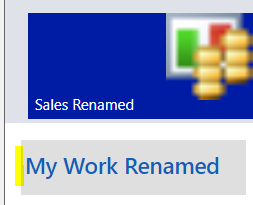
Select the My Work group, and select to edit it. Enter My Work Renamed:
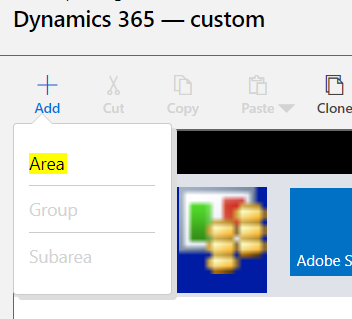
Now, we will add to the site map. Click to add an area:
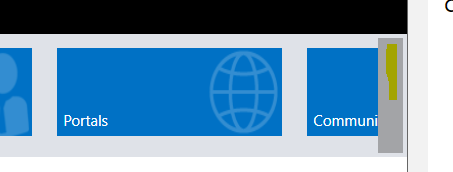
Select the grey bar to scroll to the new Area:
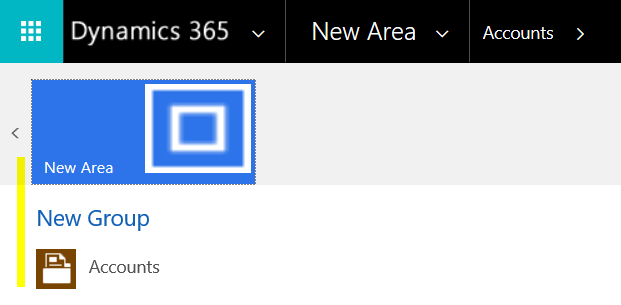
We will call it New Area:
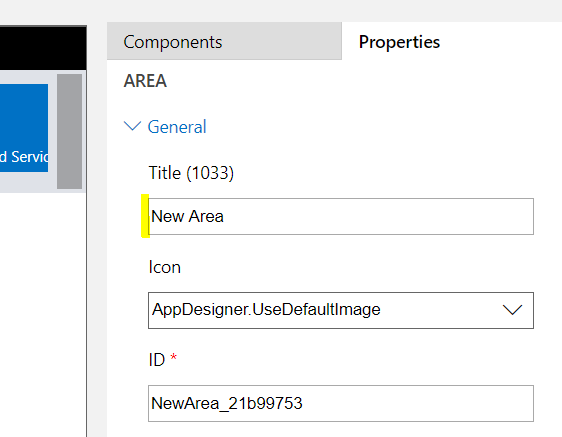
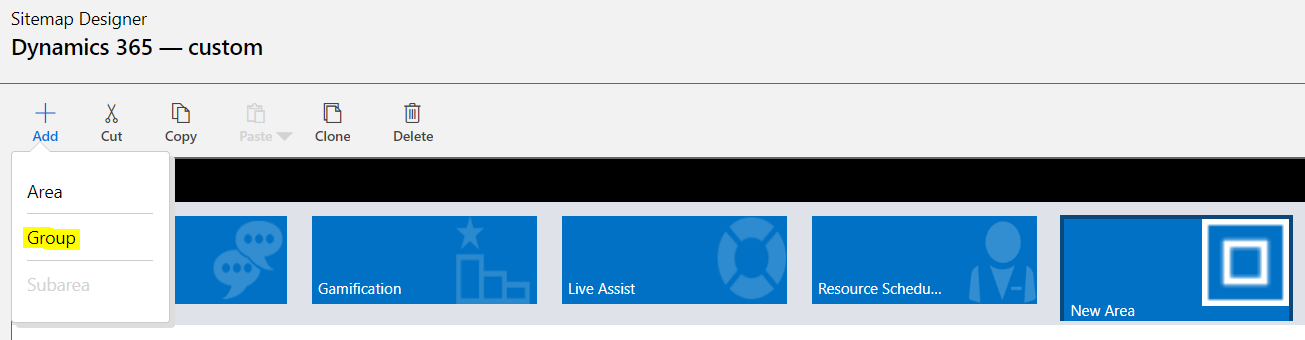
With the new Area selected, we will select Add Group:
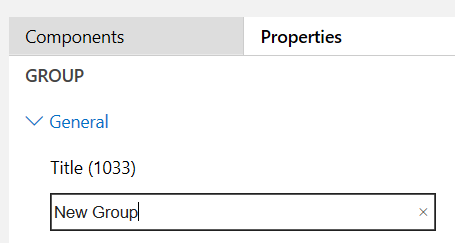
We will keep this called New Group:
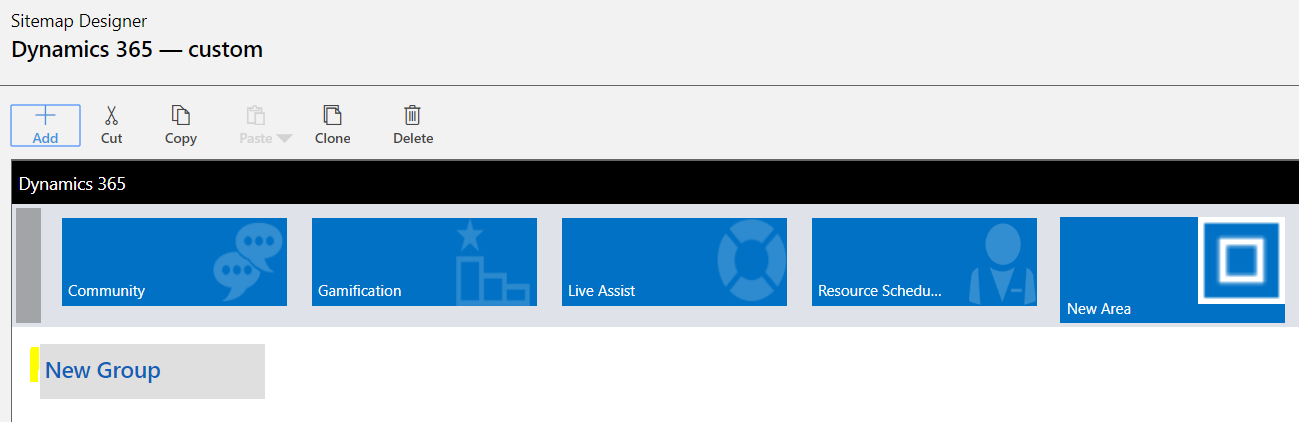
Now select New->Subarea:
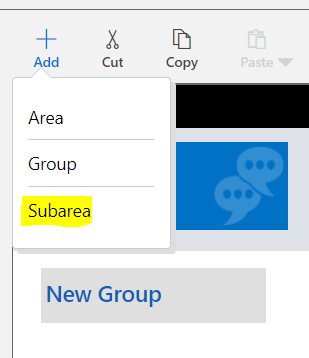
This will display:
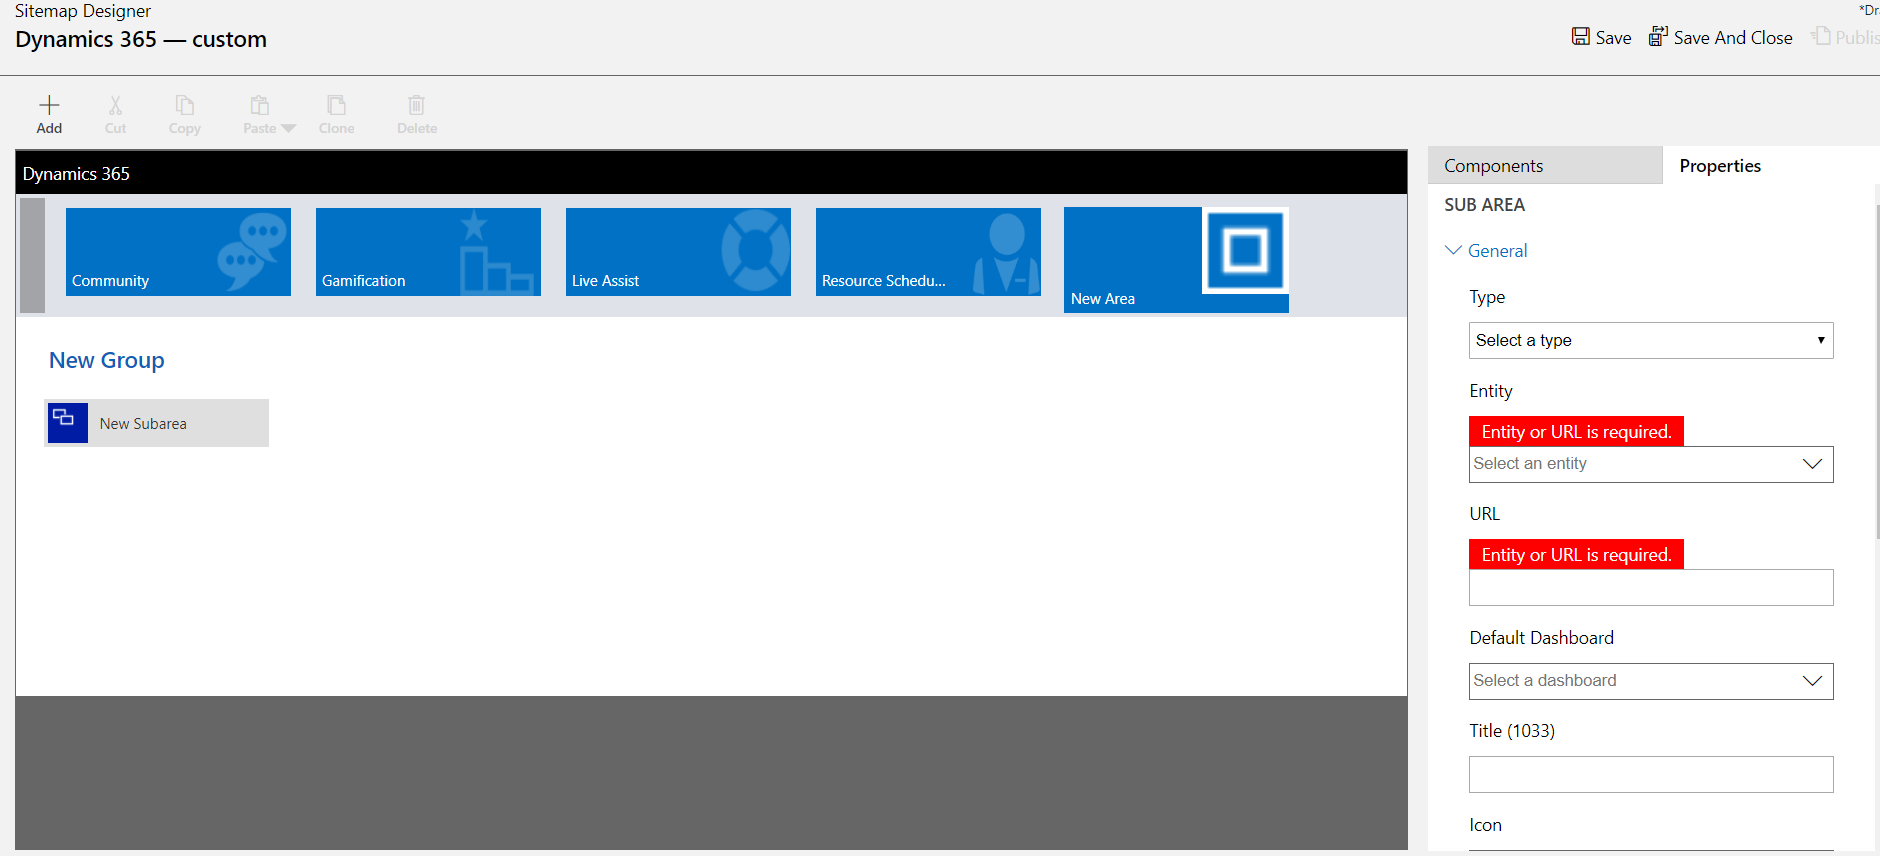
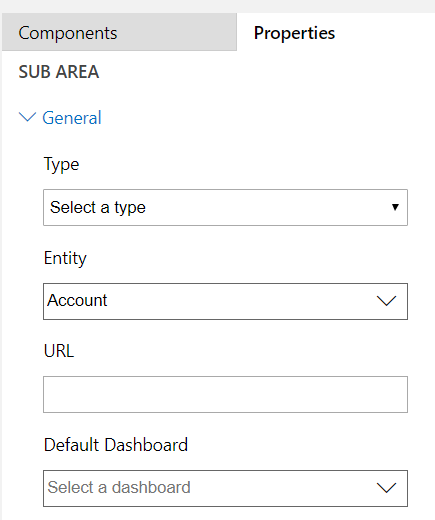
We will select Accounts:
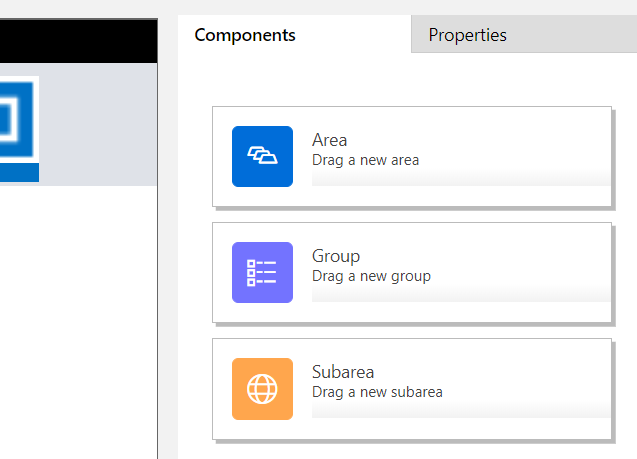
Note selecting Components, you can drag and drop to create:
Note to delete an area, click Delete:
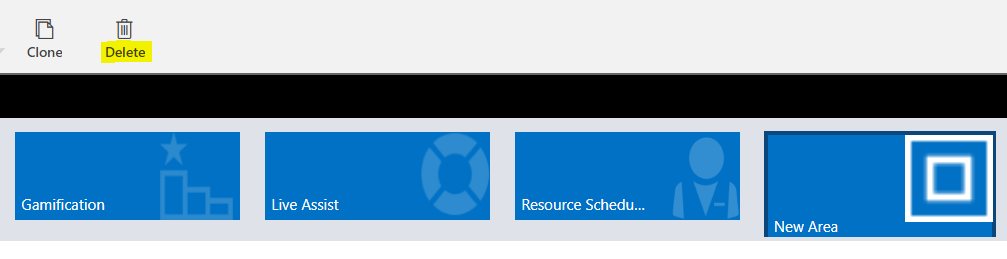
Once complete, click Save and Publish:

Refresh Dynamics 365. You will see the changes:

Explore AI, agents & Microsoft technology.
I share practical ideas, tutorials, and videos about AI, AI agents, Microsoft technologies, and the Power Platform.
Subscribe on YouTube →
Hi. When I use a url on sitemap to see a Entity View, the web browser open a new window. It is possible force open the view on the same window ?
As soon as user logins, system will check If there are notifications present for a day then display it in pop up along with checkbox , user has to click check box “I read” then only he allows to navigate to other area.
How to achieve this functionality in model driven power apps.
[…] This will open the Site Map Designer: […]