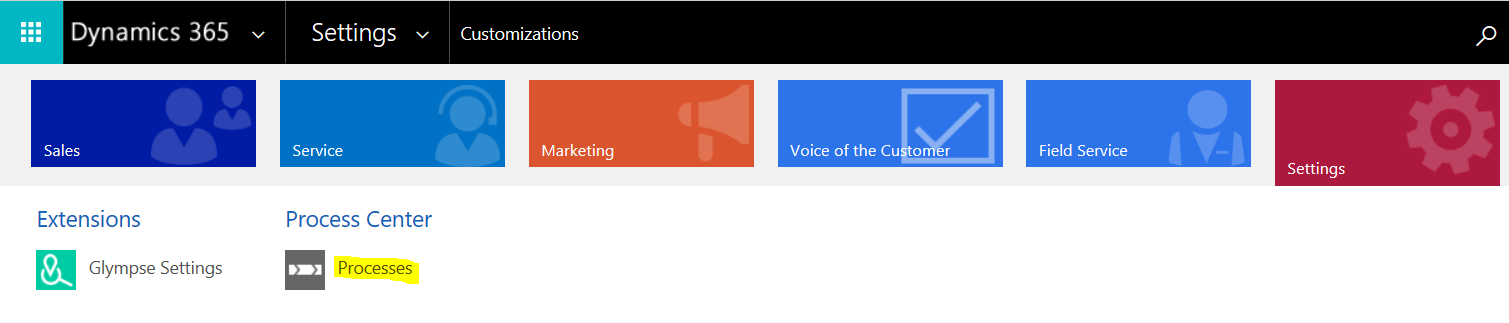
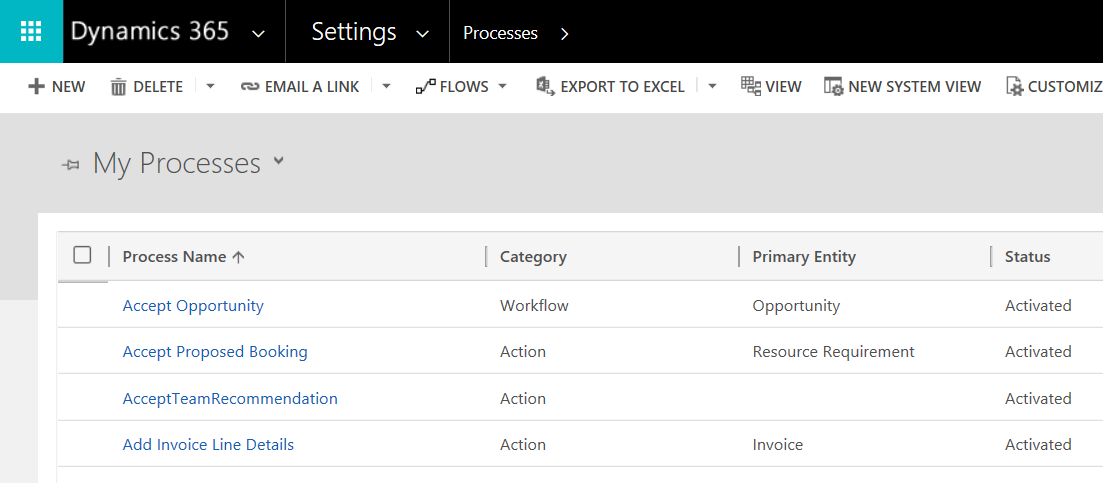
In Dynamics 365, workflows can be created through Processes. To access Processes, go to Settings->Processes:
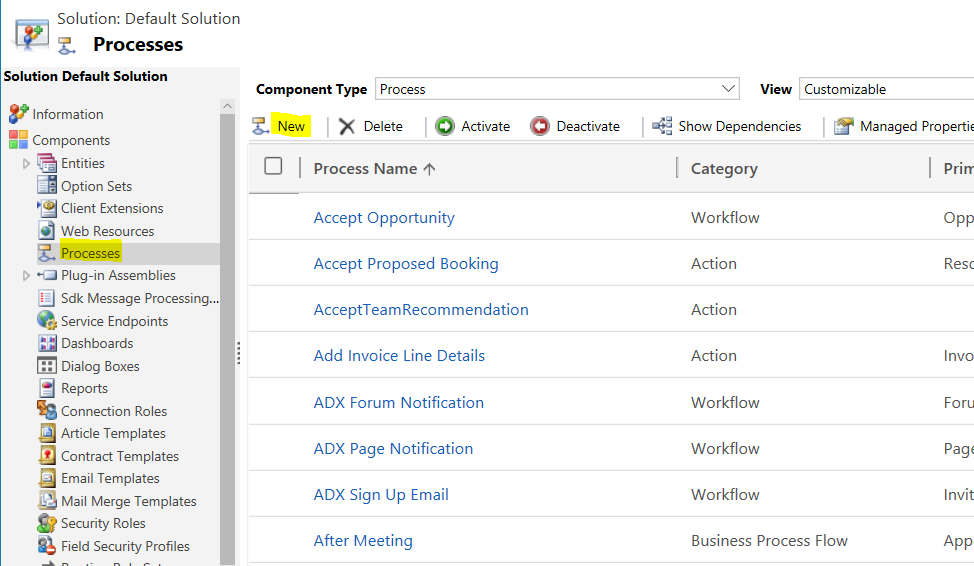
Or through Customizations->Processes:
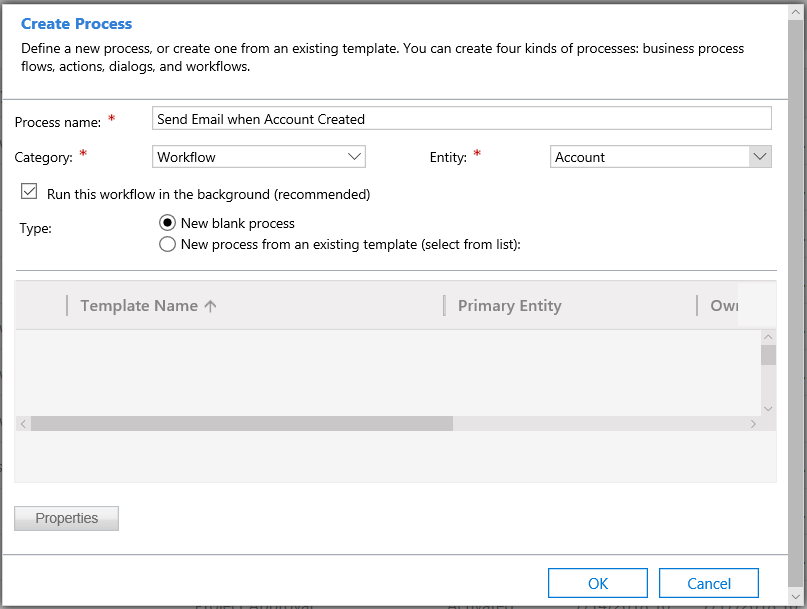
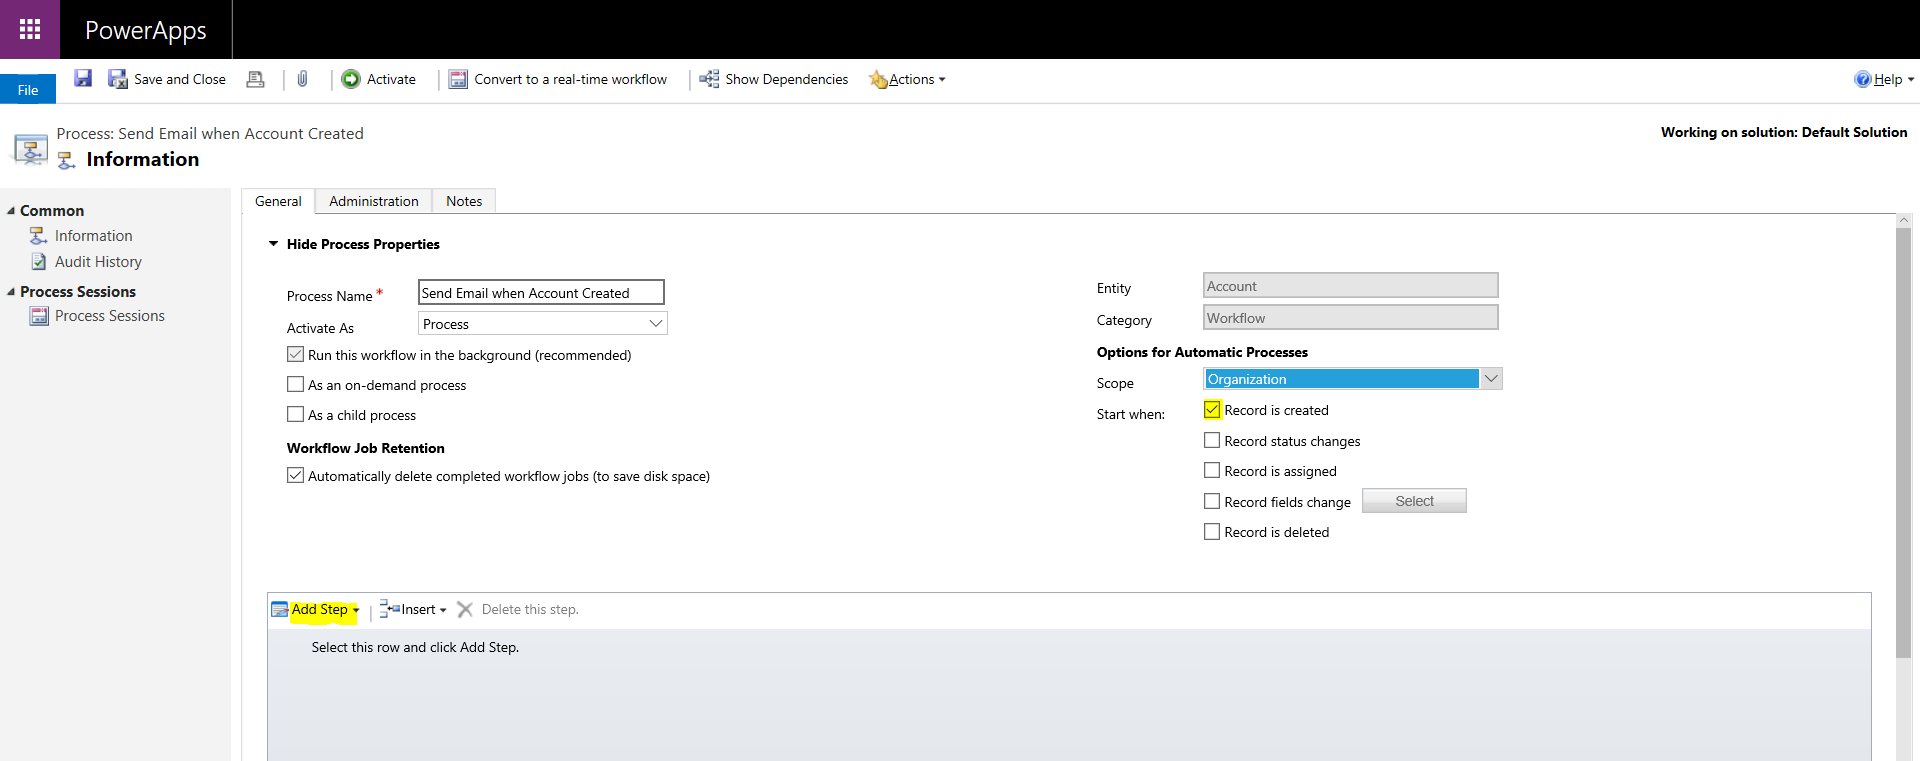
We will create a Workflow that sends an email when an Account is Created.
Click New. Note workflows can be synchronous or asynchronous (run in background). We will choose asynchronous:
This takes us to the Workflow Designer. Click Add Step. This is what will happen when our event, account created, is triggered:
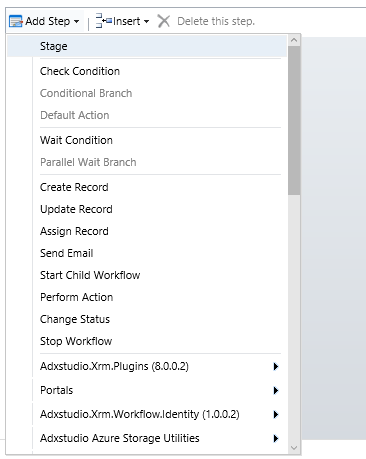
There are many options available. We will choose Send Email:
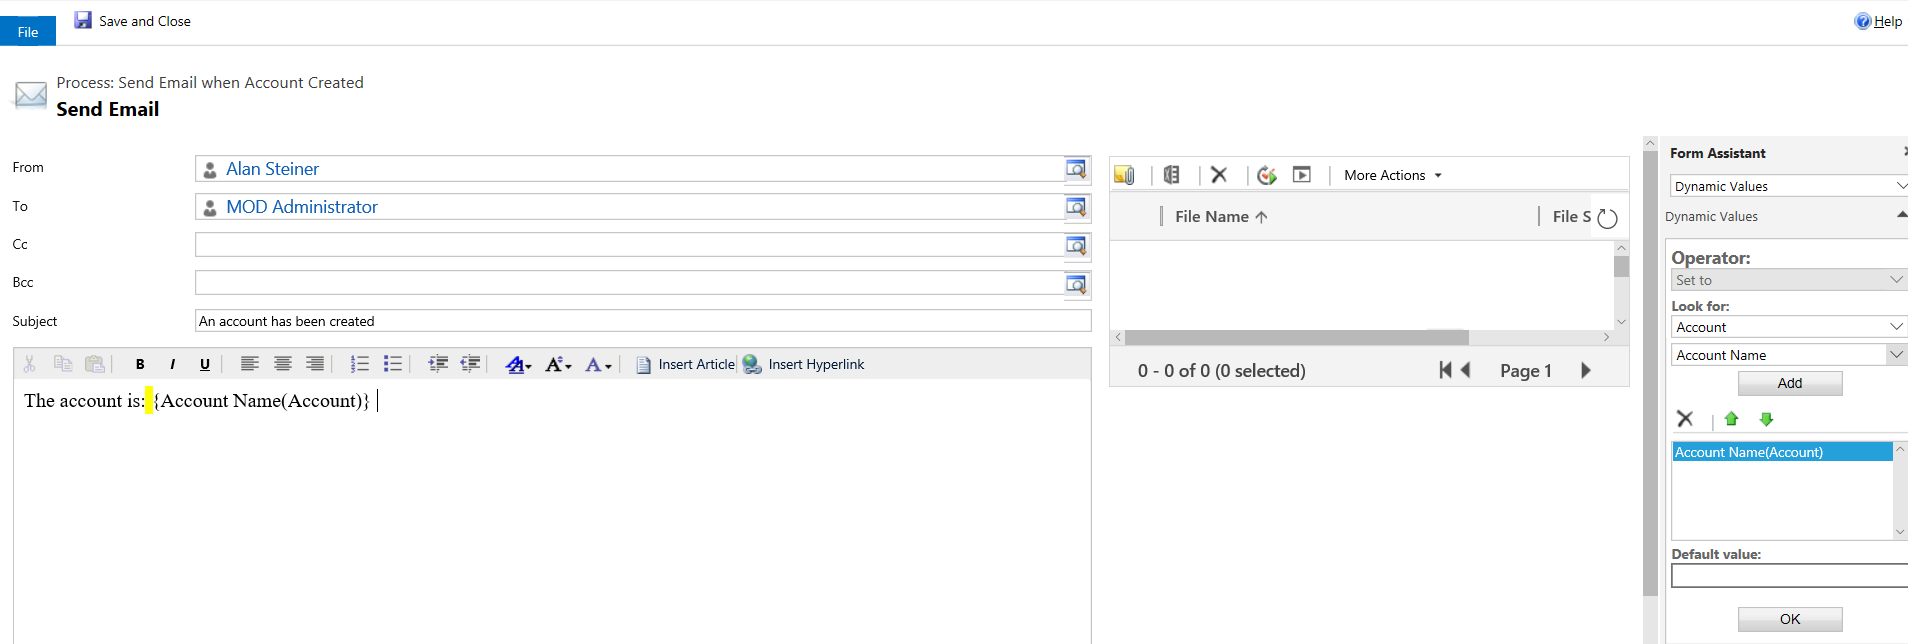
You will see below. Click Set Properties:

We will set the body of the text to be the Account Name entered:
Save and Activate the Workflow:

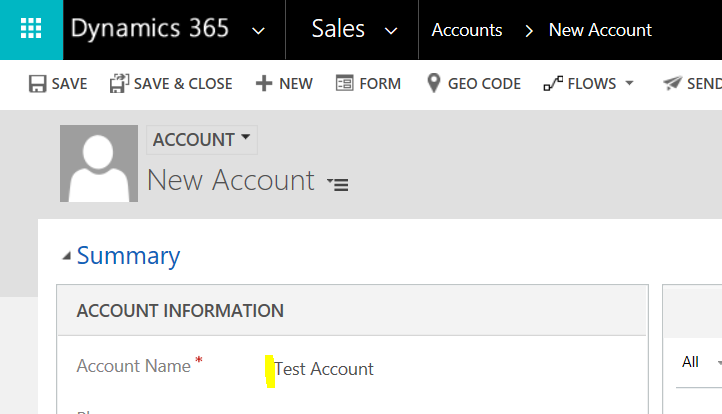
Now, create a new Account:
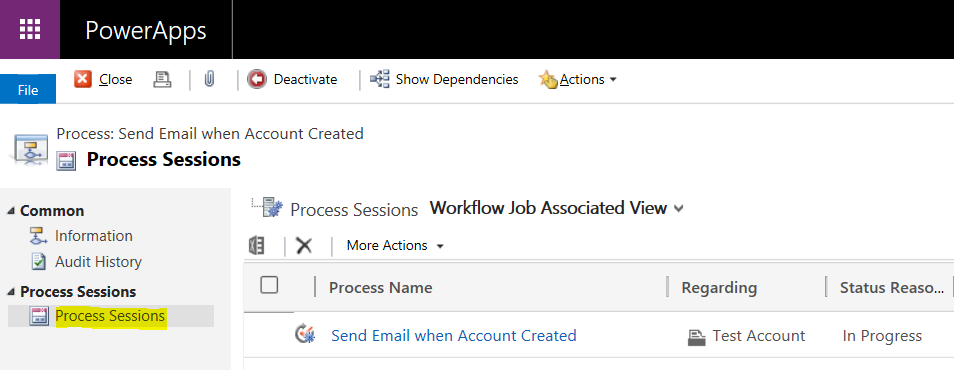
If you want to see the status of the workflow, go to the Process Sessions of the Workflow to see the status. Below is In Progress:
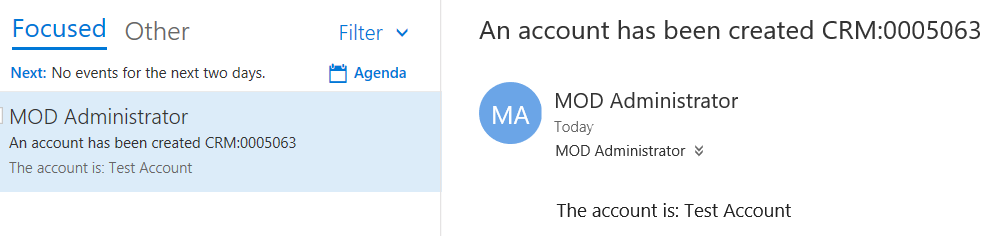
Once complete, you will see the email:
I AM SPENDING MORE TIME THESE DAYS CREATING YOUTUBE VIDEOS TO HELP PEOPLE LEARN THE MICROSOFT POWER PLATFORM.
IF YOU WOULD LIKE TO SEE HOW I BUILD APPS, OR FIND SOMETHING USEFUL READING MY BLOG, I WOULD REALLY APPRECIATE YOU SUBSCRIBING TO MY YOUTUBE CHANNEL.
THANK YOU, AND LET'S KEEP LEARNING TOGETHER.
CARL
