In this post, we will create a Web Api using ASP.NET Core. We will create a basic CRM API system that manages Customers.
The steps we will go through are:
- Create an ASP.NET Core Project in Visual Studio
- Get Customers
- Add a Model
- Publish to Azure
- Azure Portal
- Kudu
Let’s get started.
Create an ASP.NET Core Project in Visual Studio
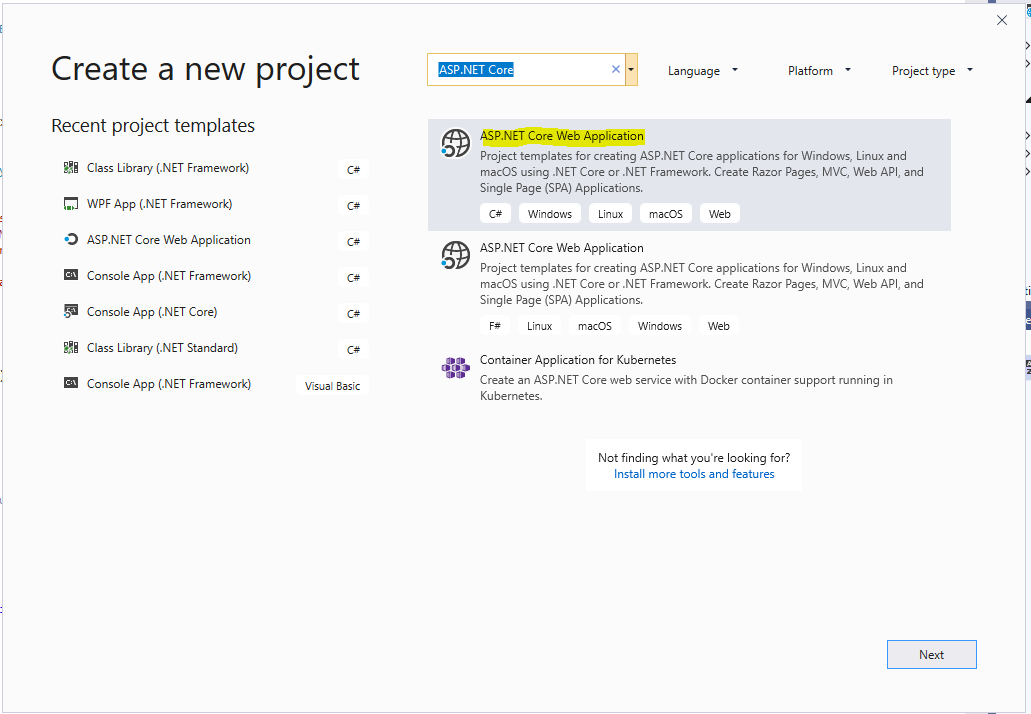
Open Visual Studio and create a new ASP.NET Core Web Application:
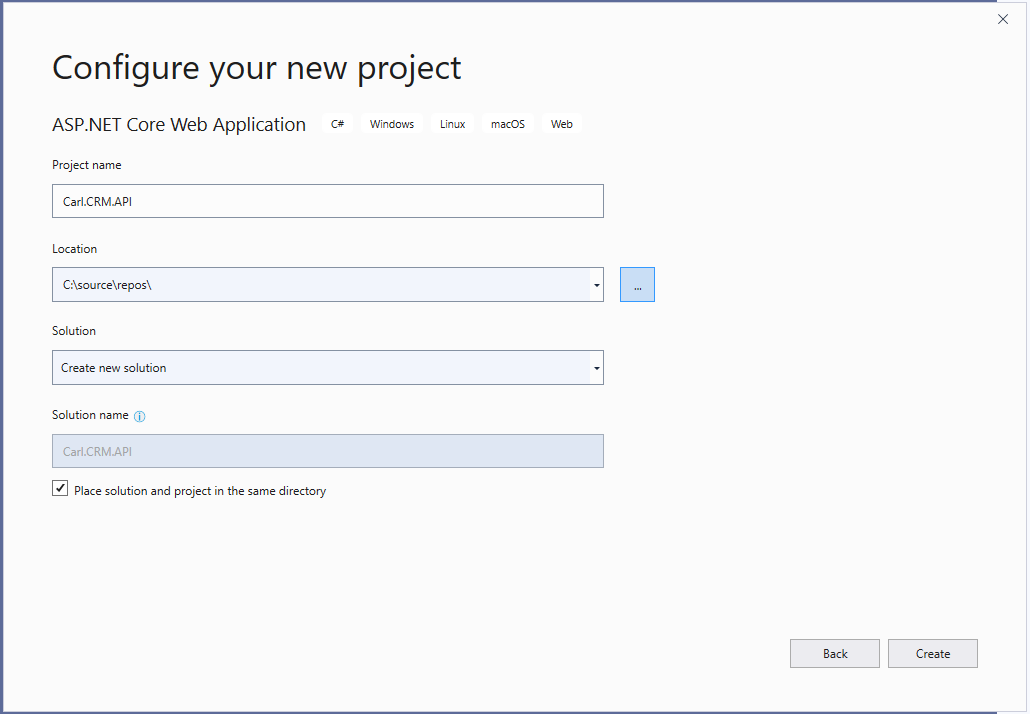
Click Create:
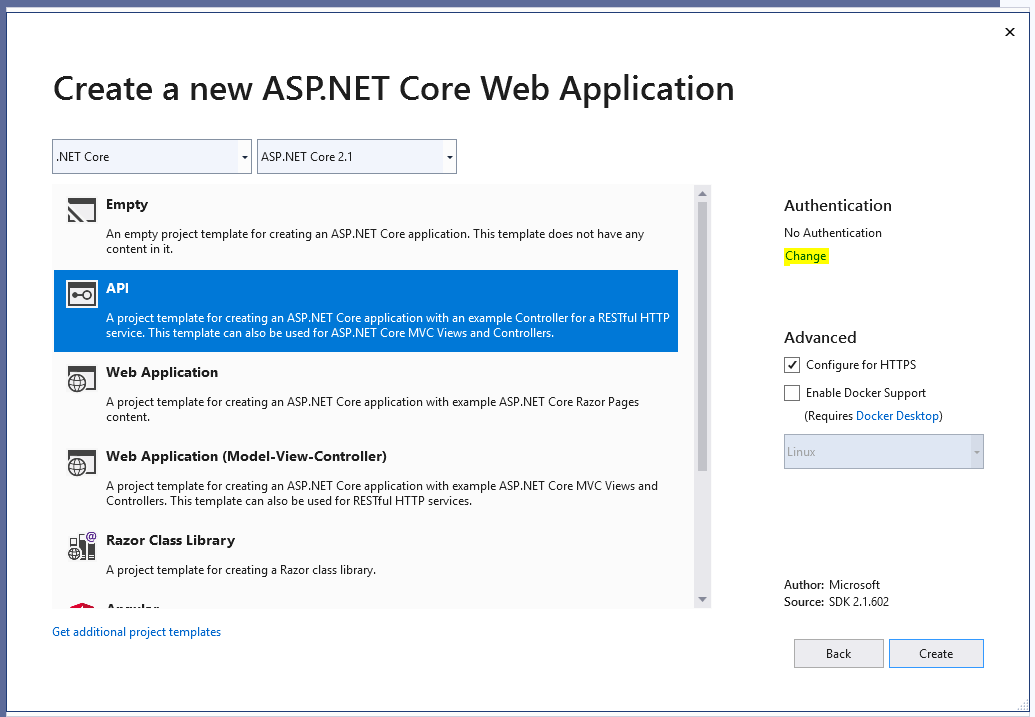
Select API. We will go with No Authentication:
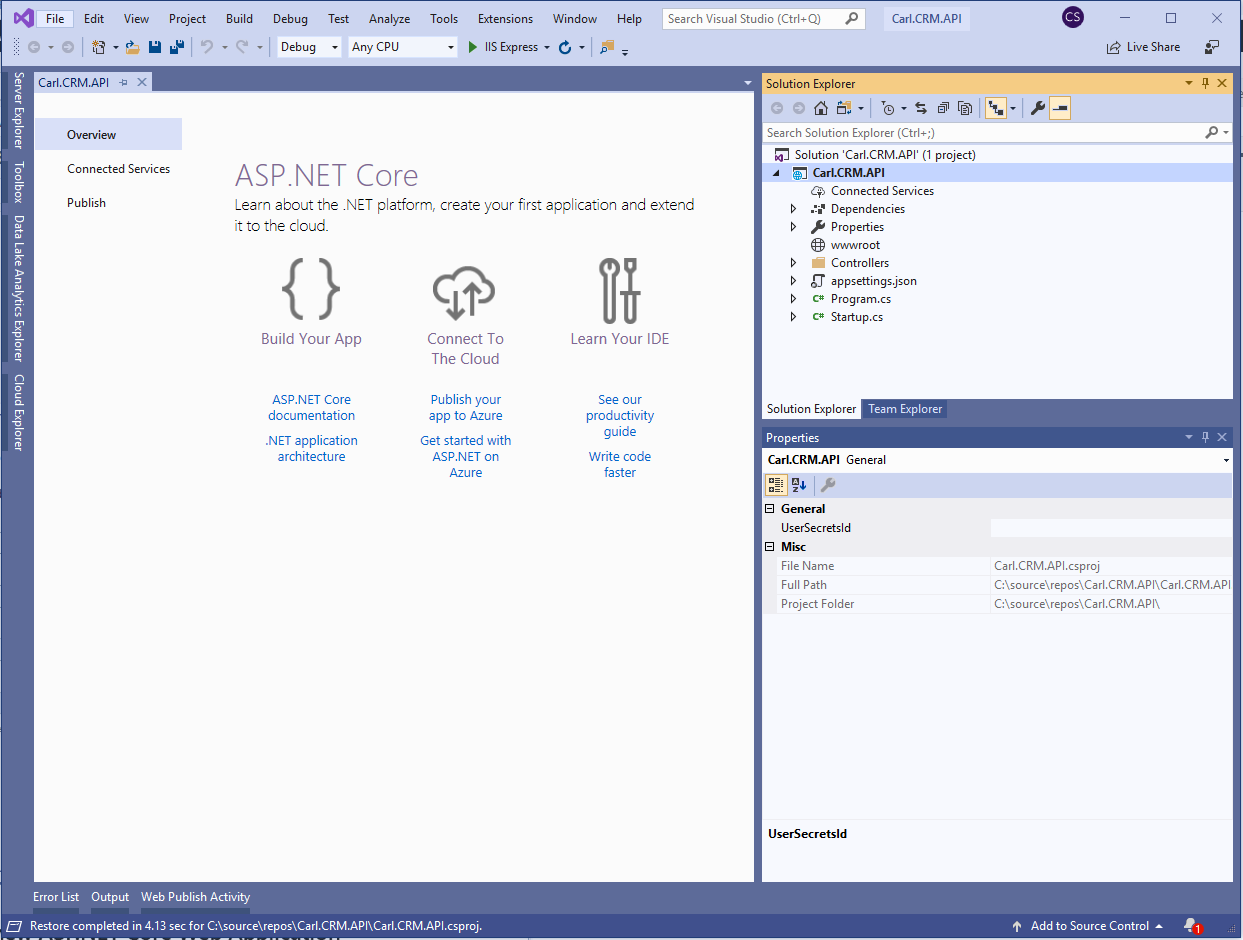
We see our project load:
If we run this by pressing F5, we see our default project load:
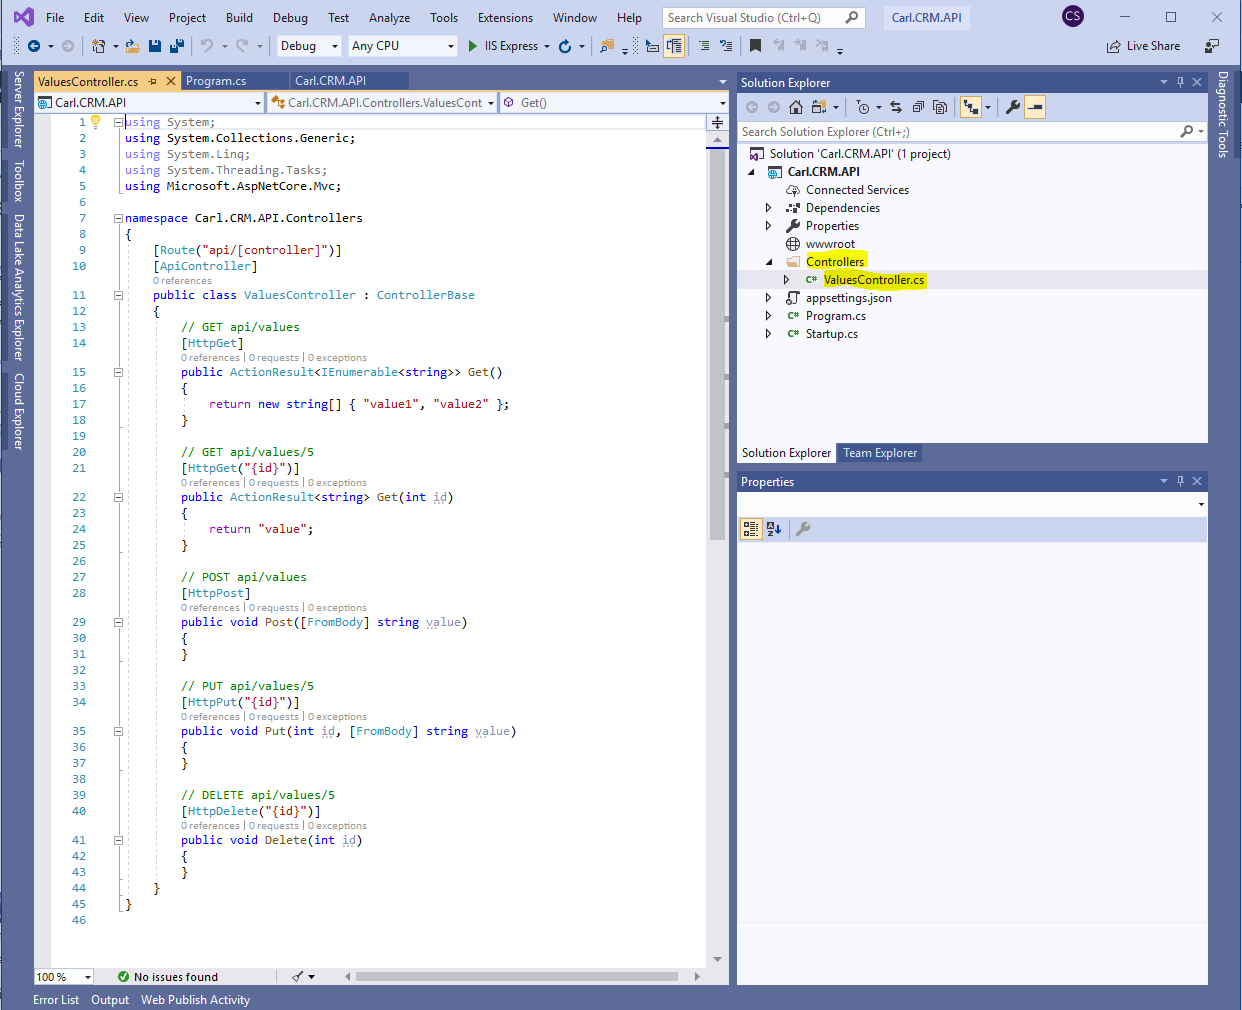
Let’s open the ValuesController.cs file. We see the default code:
Get Customers
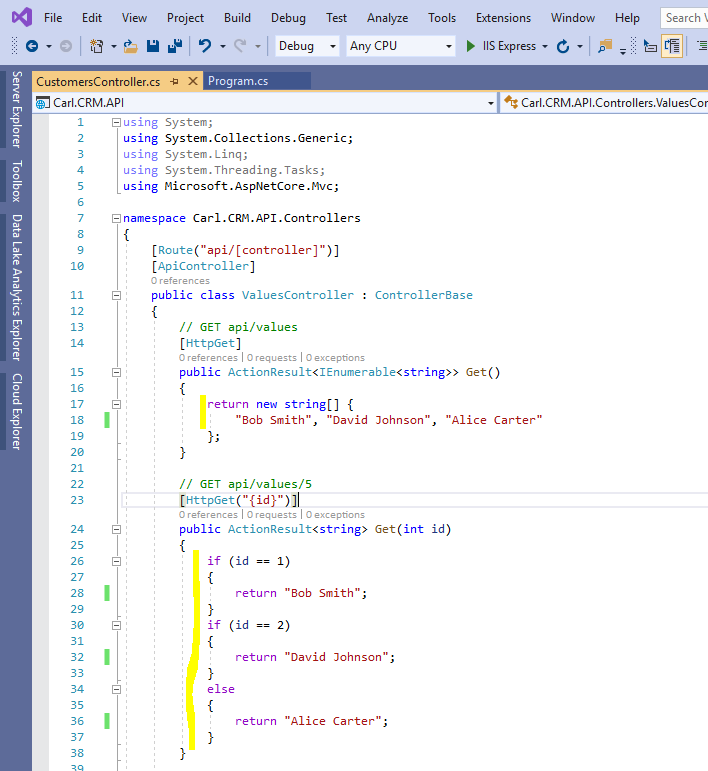
Let’s add some code to return a list of customers and specific customer by adding to the HttpGet methods:
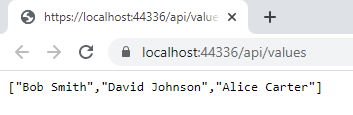
When we run this to get all customers, we see our customers returned:
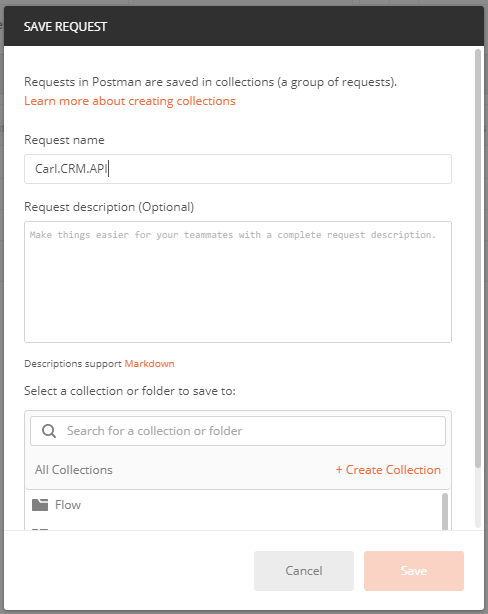
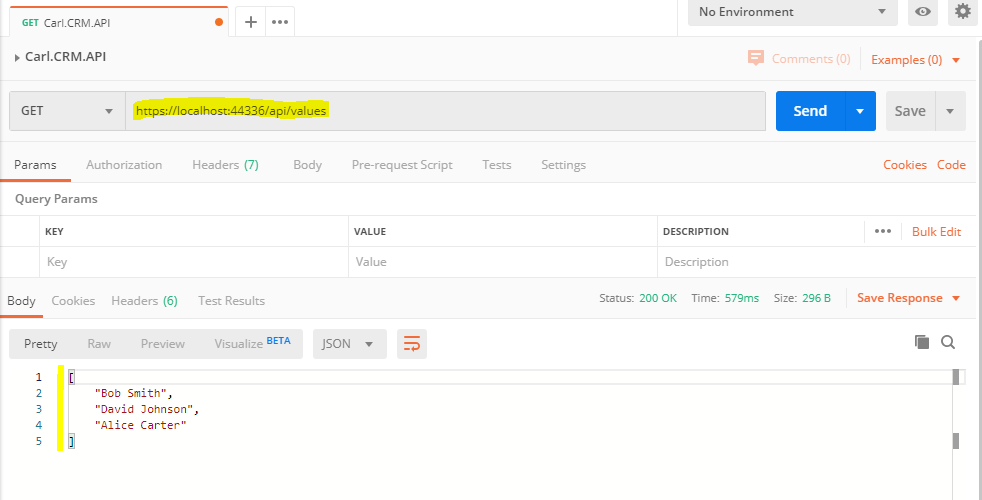
Let’s test this out in Postman. Create a new Request:
Turn off SSL Certificate Validation:
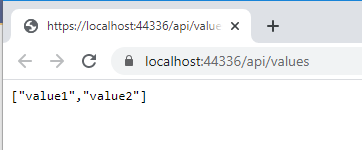
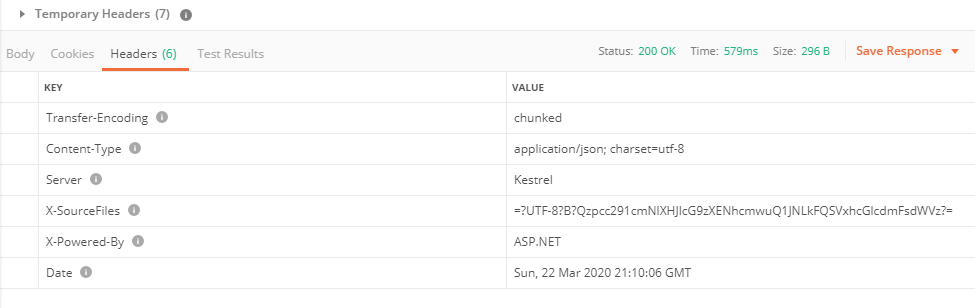
Enter the URL for the Web Api – https://localhost:44336/api/values. We see our response:
Add a Model
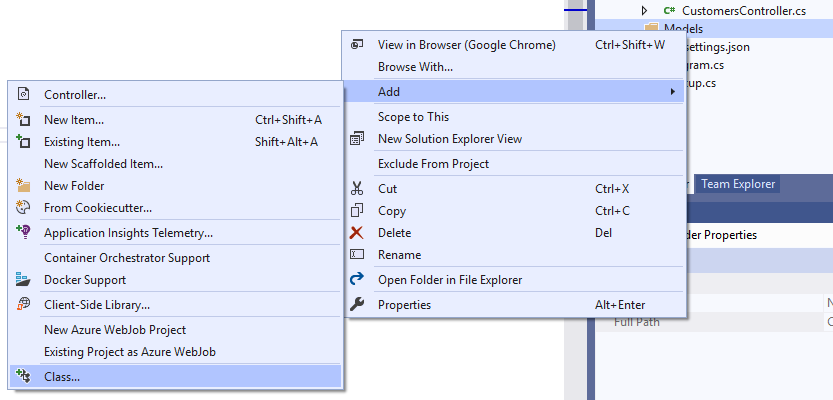
Let’s add a model to hold our customers. Add a new class:
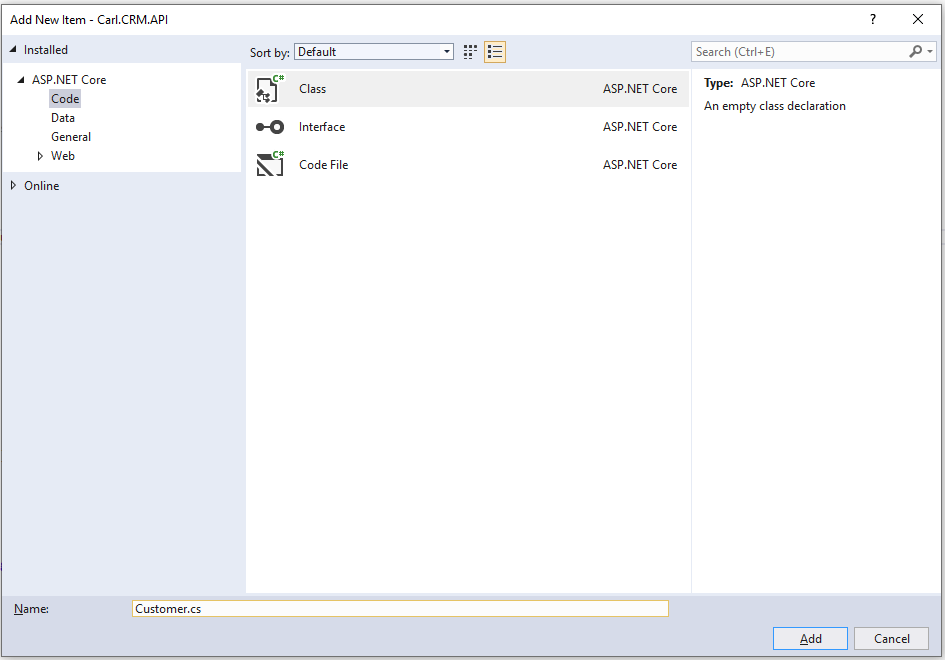
Called Customer.cs:
We see:
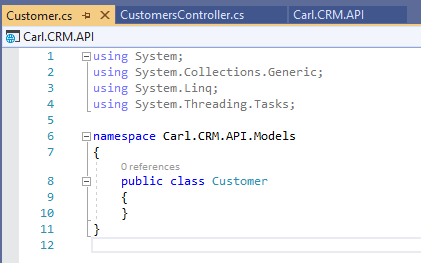
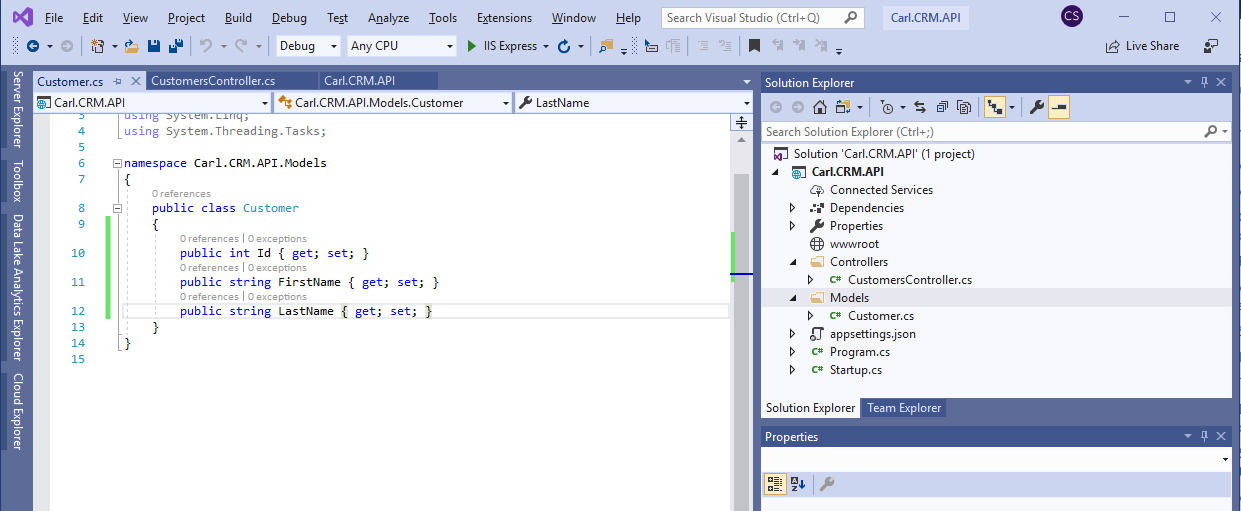
Add 3 properties – Id, FirstName, LastName:
Now let’s use this in our HttpGet methods. Add:
using Carl.CRM.API.Models;
Add the code to return a list of customers in a JSON formatted response. Note we are using JsonResult:
[sourcecode language=”CSharp”] Customer bob = new Customer { Id = 1, FirstName = "Bob", LastName = "Smith" };Customer david = new Customer { Id = 2, FirstName = "David", LastName = "Johnson" };
Customer alice = new Customer { Id = 3, FirstName = "Alice", LastName = "Carter" };
List<Customer> customers = new List<Customer>();
customers.Add(bob);
customers.Add(david);
customers.Add(alice);
return new JsonResult(customers);
[/sourcecode]
Now let’s run this. We see we get our customers as a JSON response:

And to GET an individual customer:
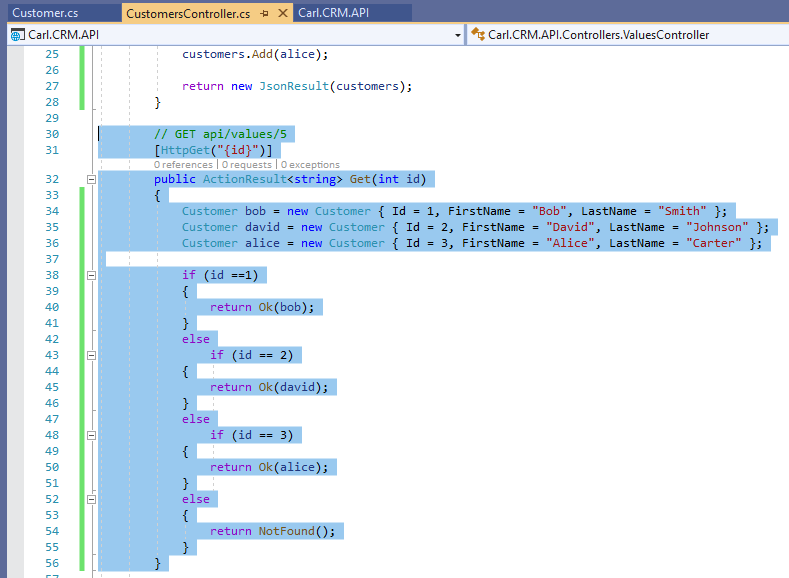
Note we are using Ok and NotFound in the return:
[sourcecode language=”CSharp”] Customer bob = new Customer { Id = 1, FirstName = "Bob", LastName = "Smith" };Customer david = new Customer { Id = 2, FirstName = "David", LastName = "Johnson" };
Customer alice = new Customer { Id = 3, FirstName = "Alice", LastName = "Carter" };
if (id ==1)
{
return Ok(bob);
}
else
if (id == 2)
{
return Ok(david);
}
else
if (id == 3)
{
return Ok(alice);
}
else
{
return NotFound();
}
[/sourcecode]
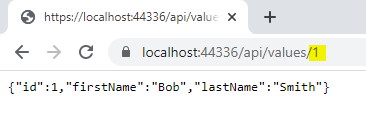
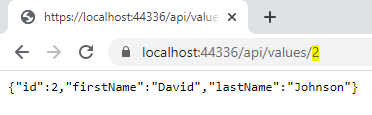
When we run this, we get our customer returned:
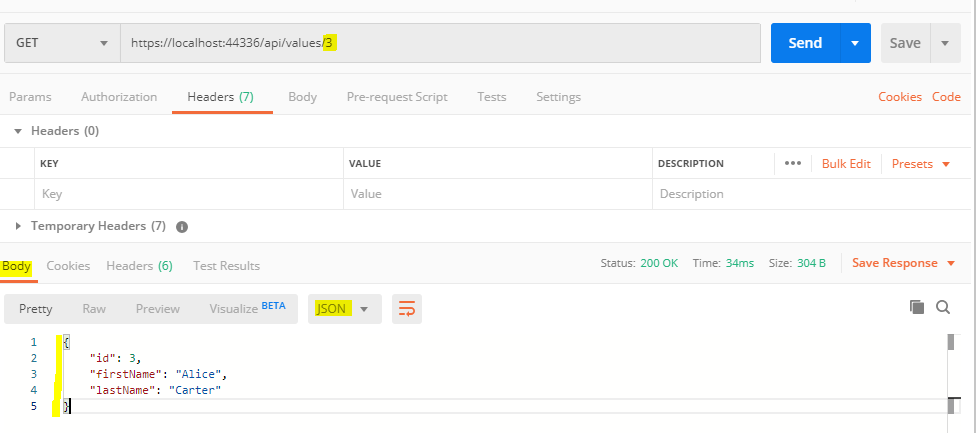
And in Postman:
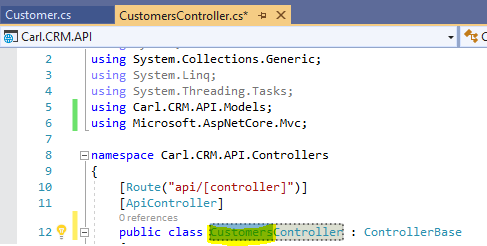
One final step. Let’s rename from Values to Customers in the ValuesController / CustomersController:
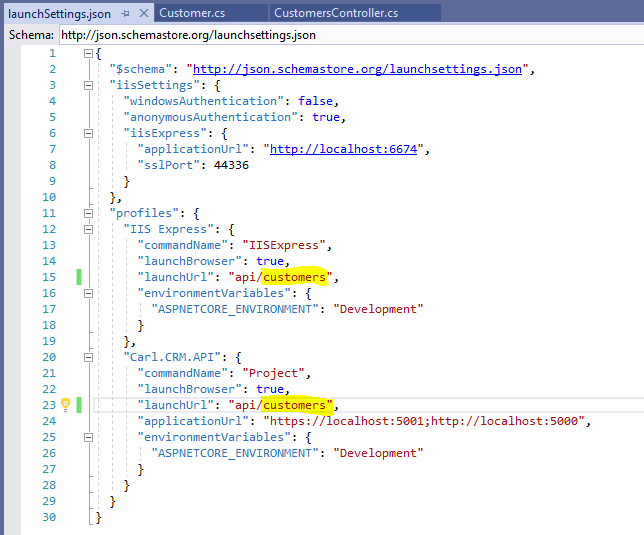
And in the launchSettings.json so when the project launches we will default to the correct new controller:
On running this, we get:

Publish to Azure
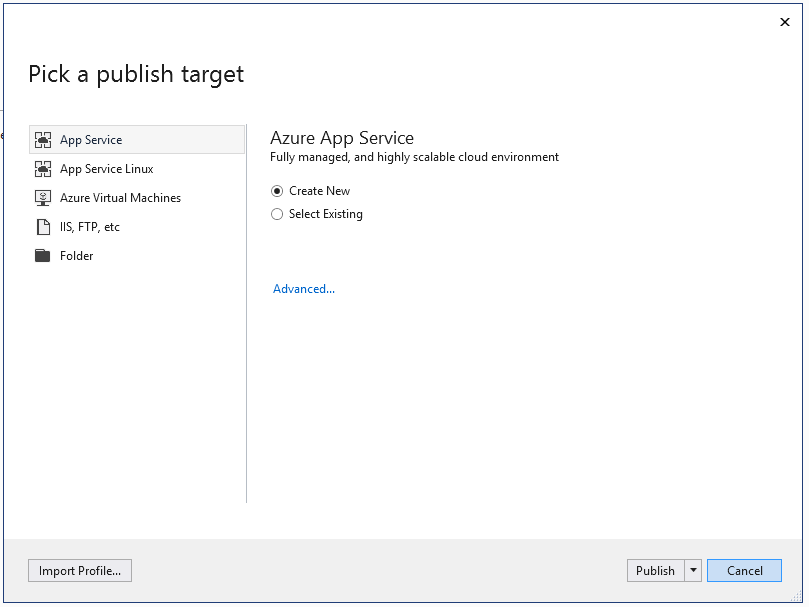
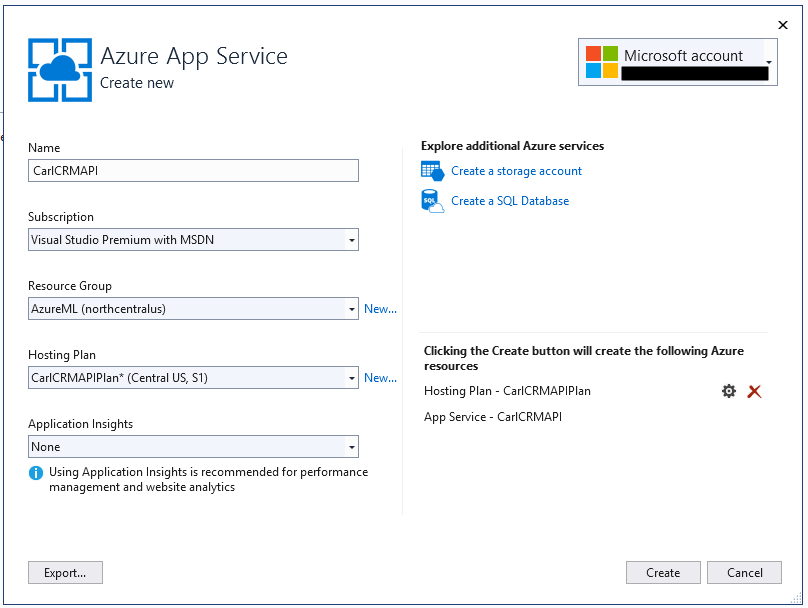
Now let’s publish this to Azure. Right click and select Publish to Azure:

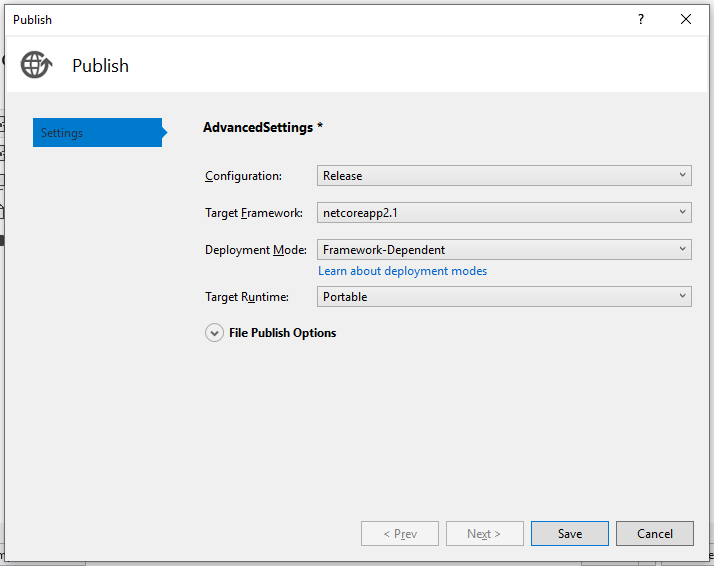
Click Advanced:
Click Save:
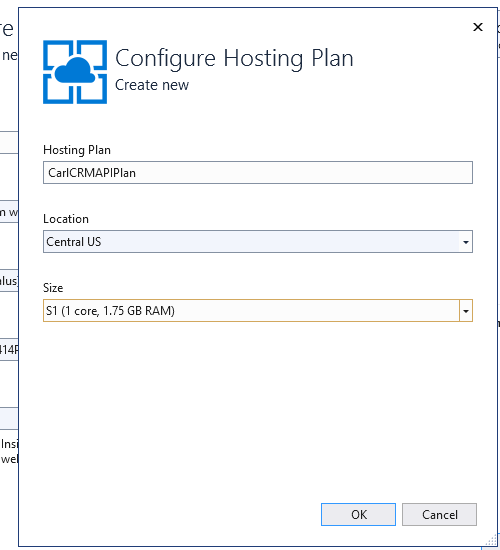
Confirm the hosting plan:
We will select None to App Insights:
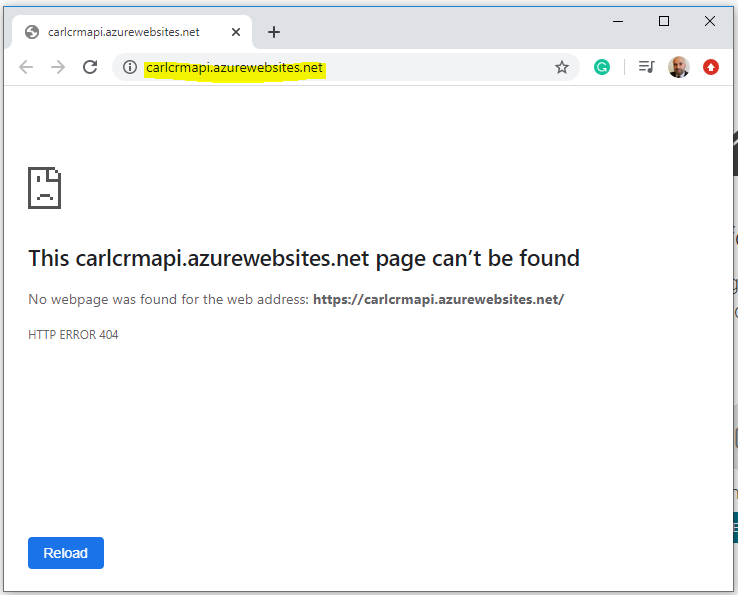
Once complete, this opens the new API at https://carlcrmapi.azurewebsites.net/
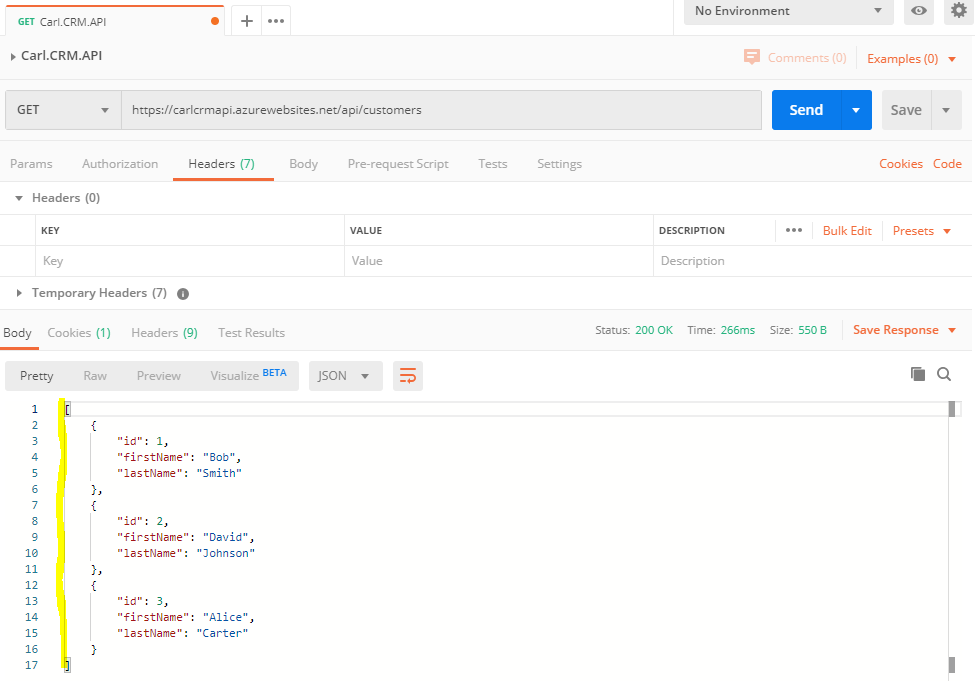
If we add api/customers, we get https://carlcrmapi.azurewebsites.net/api/customers with data returned:

Now let’s try this with Postman:
Azure Portal
Let’s look at what’s created in Azure.
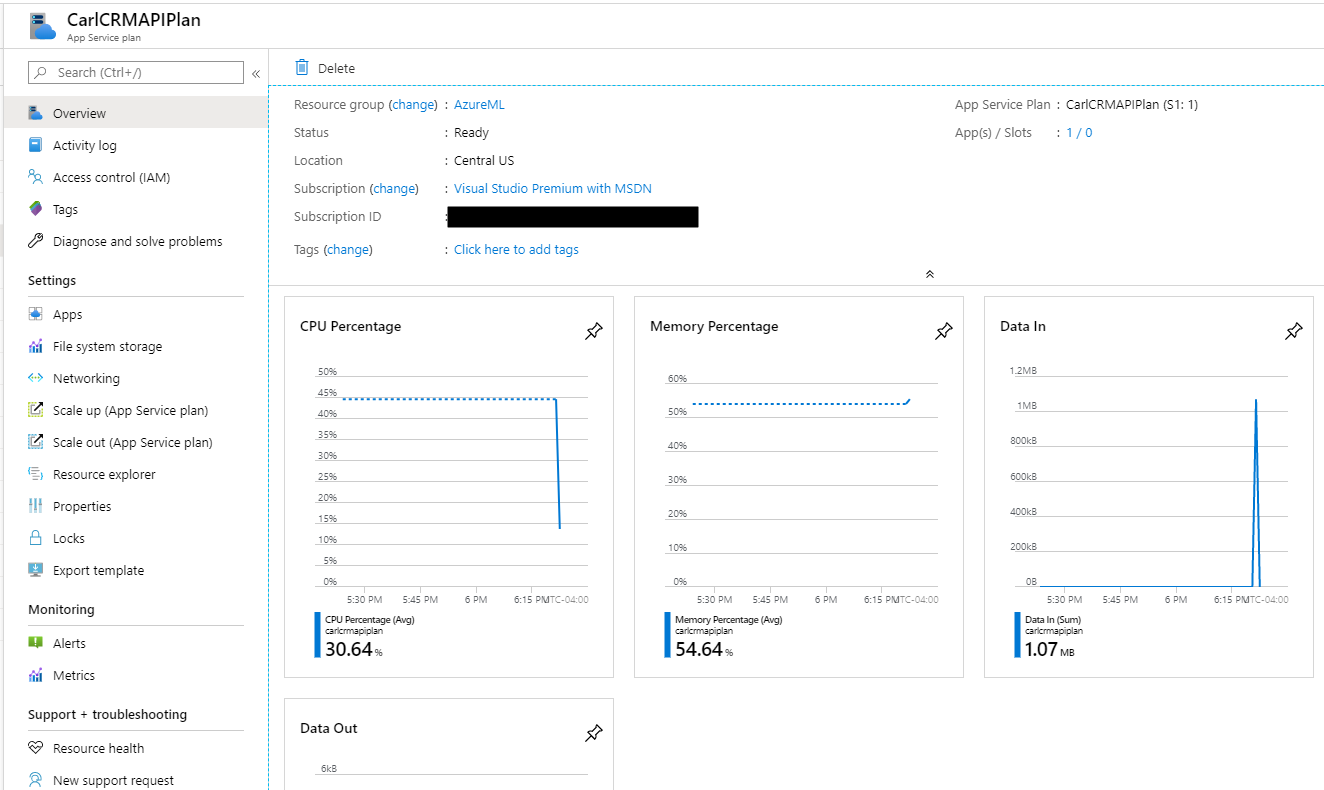
First we have an App Service Plan:
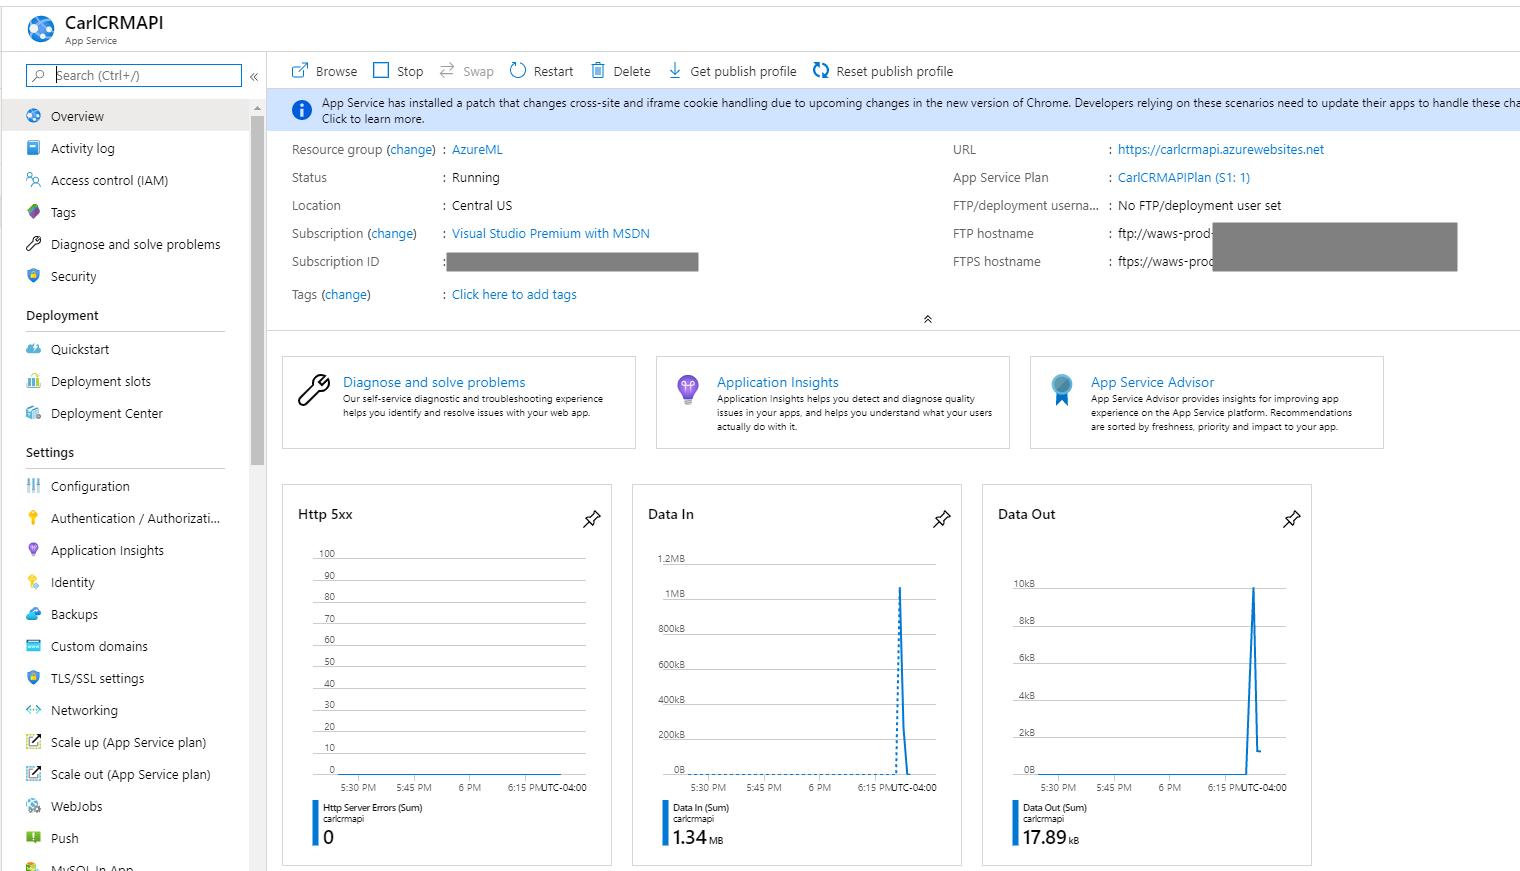
And an App Service:
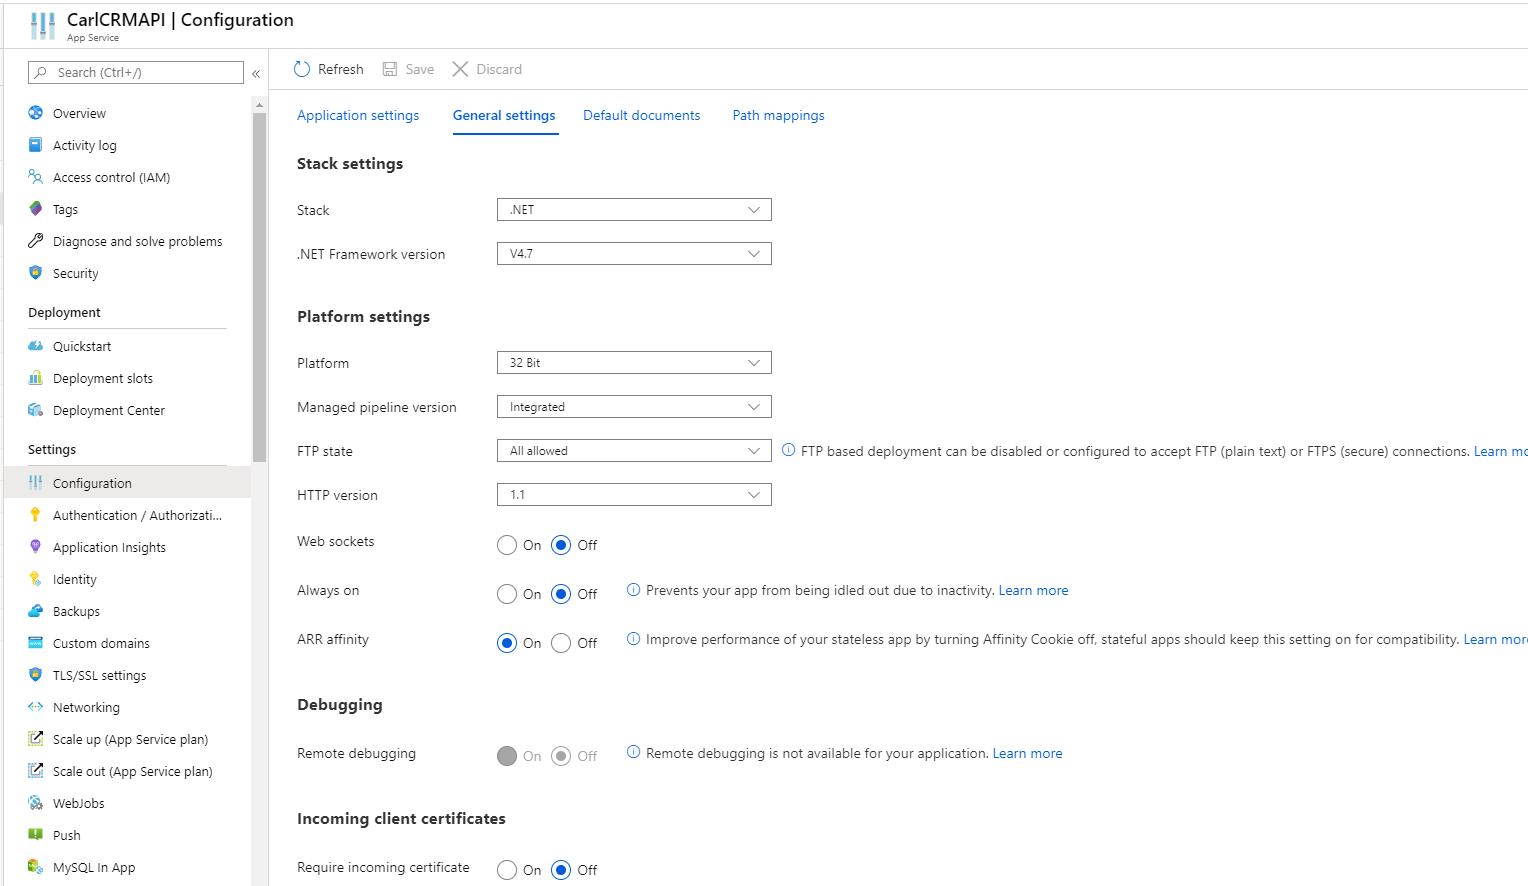
The App Service Configuration looks like below:
Let’s download the Publish Profile:

We get the file:
![]()
Let’s open this text file. We see a lot of interesting things, including:
- The publish URL – carlcrmapi.scm.azurewebsites.net:443, with a username and password
- App URL – https://carlcrmapi.azurewebsites.net
- FTP Publish URL
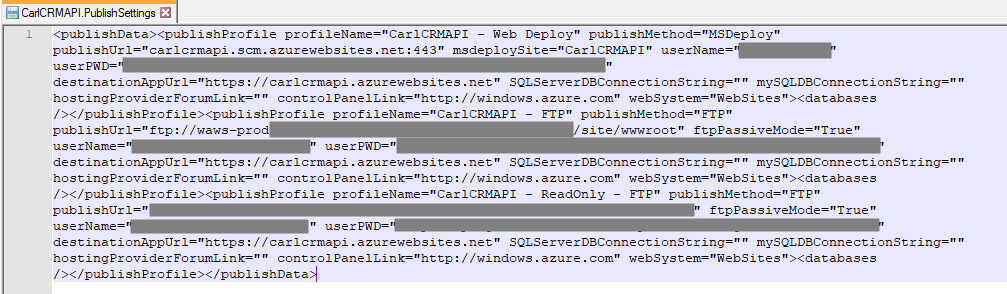
Let’s go to the publish URL carlcrmapi.scm.azurewebsites.net:443.
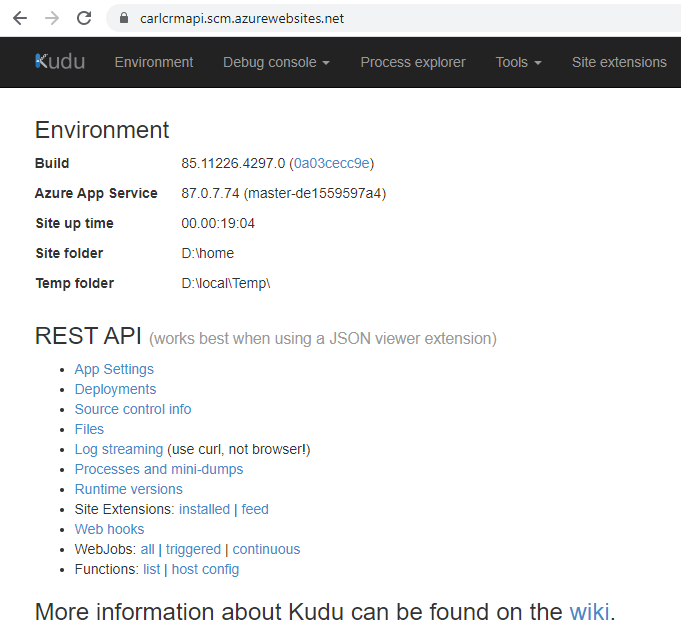
Kudu
The Kudu site has some useful information on the app hosting:
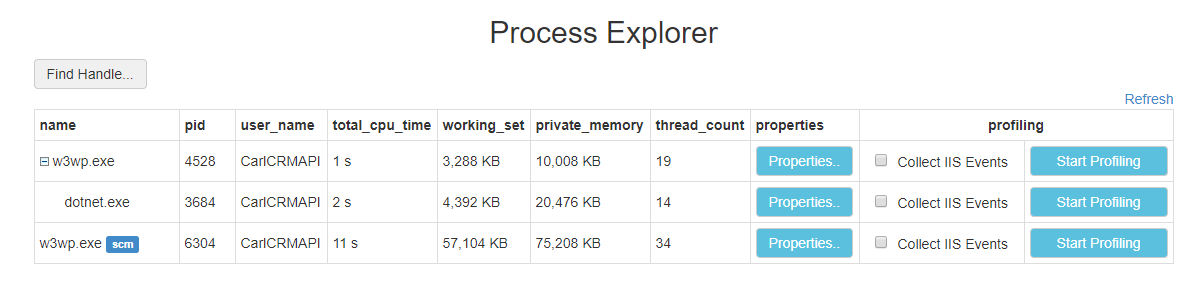
The Process Explorer shows w3wp.exe and w3wp.exe for SCM:
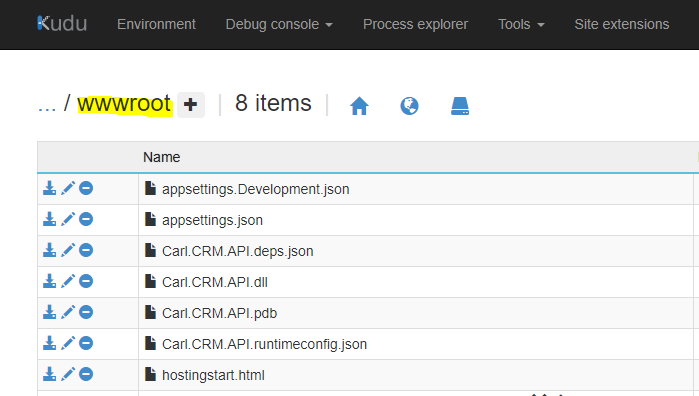
Browse to wwwroot. We see our Api assemblies:
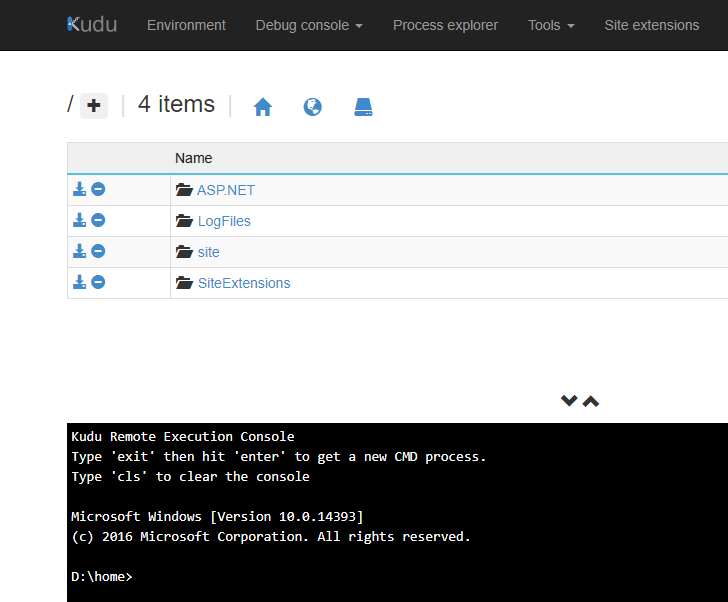
We can run PowerShell, e.g. to see the IIS version:
get-itemproperty HKLM:\SOFTWARE\Microsoft\InetStp\ | select setupstring,versionstring 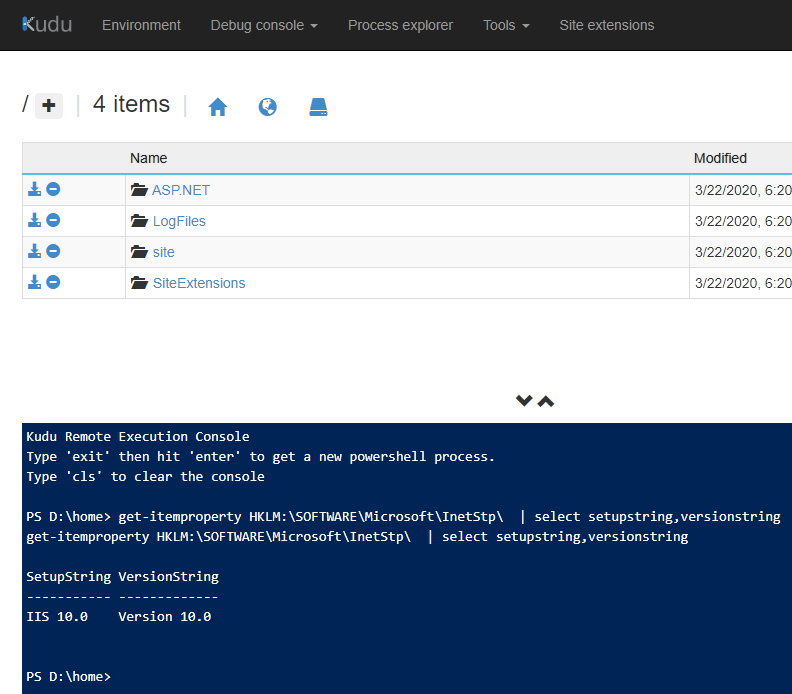
In the next post, we will add Azure API Management (APIM) to this API.
I AM SPENDING MORE TIME THESE DAYS CREATING YOUTUBE VIDEOS TO HELP PEOPLE LEARN THE MICROSOFT POWER PLATFORM.
IF YOU WOULD LIKE TO SEE HOW I BUILD APPS, OR FIND SOMETHING USEFUL READING MY BLOG, I WOULD REALLY APPRECIATE YOU SUBSCRIBING TO MY YOUTUBE CHANNEL.
THANK YOU, AND LET'S KEEP LEARNING TOGETHER.
CARL
