This is an update to the post I wrote in 2017 on using Postman to access the Dynamics 365 Web API. In this updated post, we will use the latest Postman Windows client to access the Power Apps and Dynamics 365 Web API, going through the setup required.
Setup Azure AD App
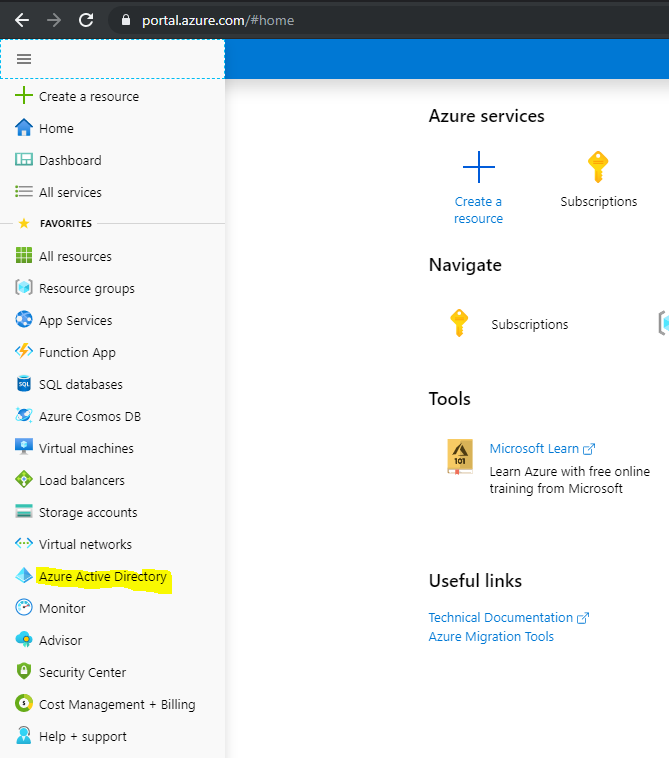
First, we will need to register an app in Azure. Go to https://portal.azure.com/ and select Azure Active Directory:
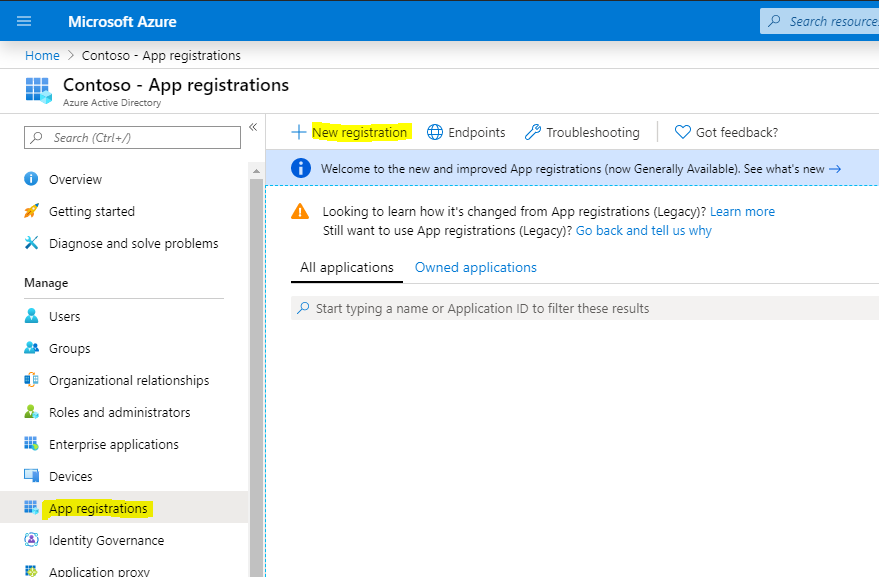
Select App Registrations and then New Registration:
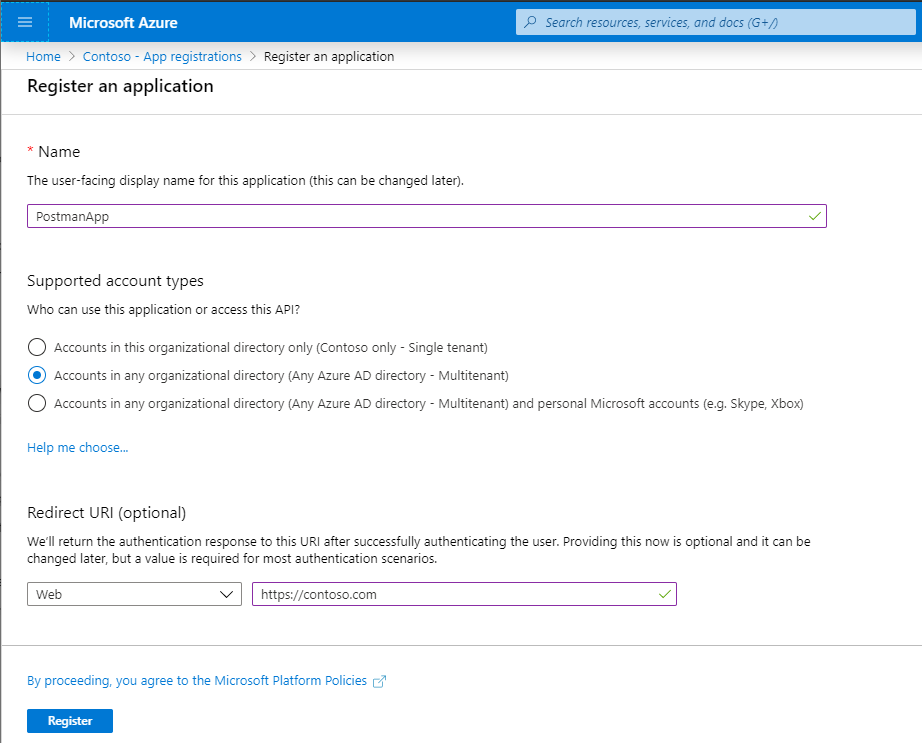
Give the App a name and select Accounts in any organization directory (Any Azure AD directory – Multitenant):
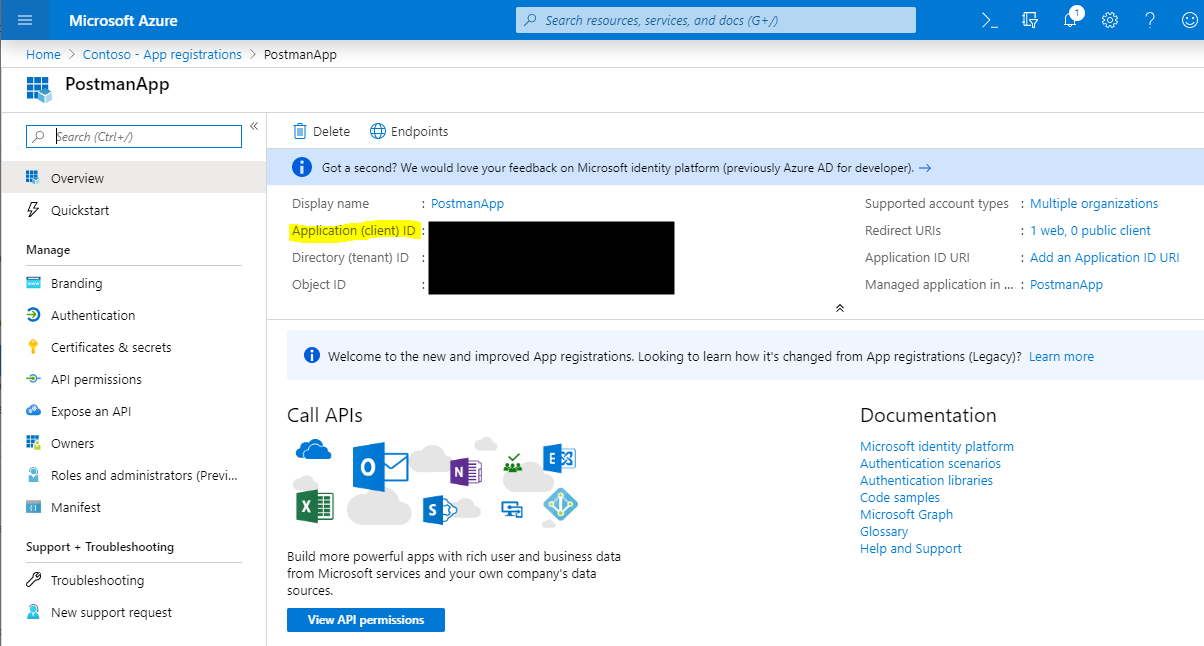
Copy the Application Id – we will use this later:
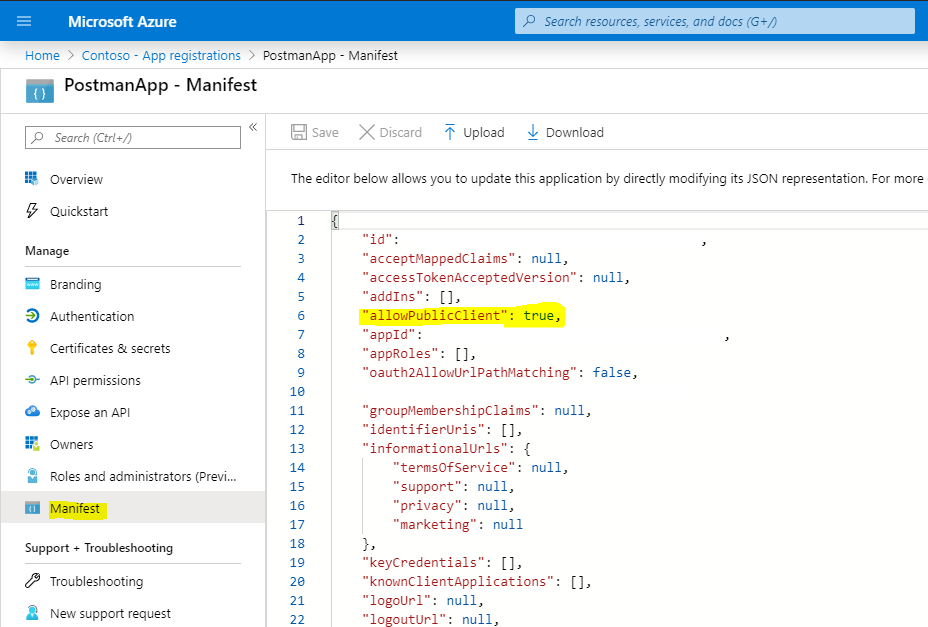
Set “allowPublicClient” to true and Save:
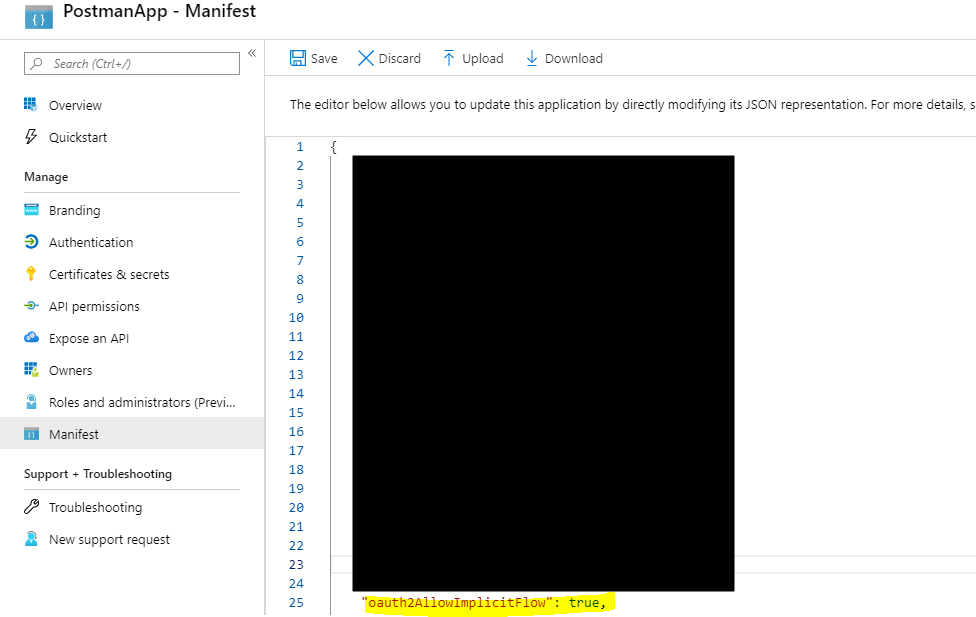
Also, set “oauth2AllowImplicitFlow” to true, or you may run into a “AADSTS700051: response_type ‘token’ is not enabled for the application” error (see bottom of screen shot):
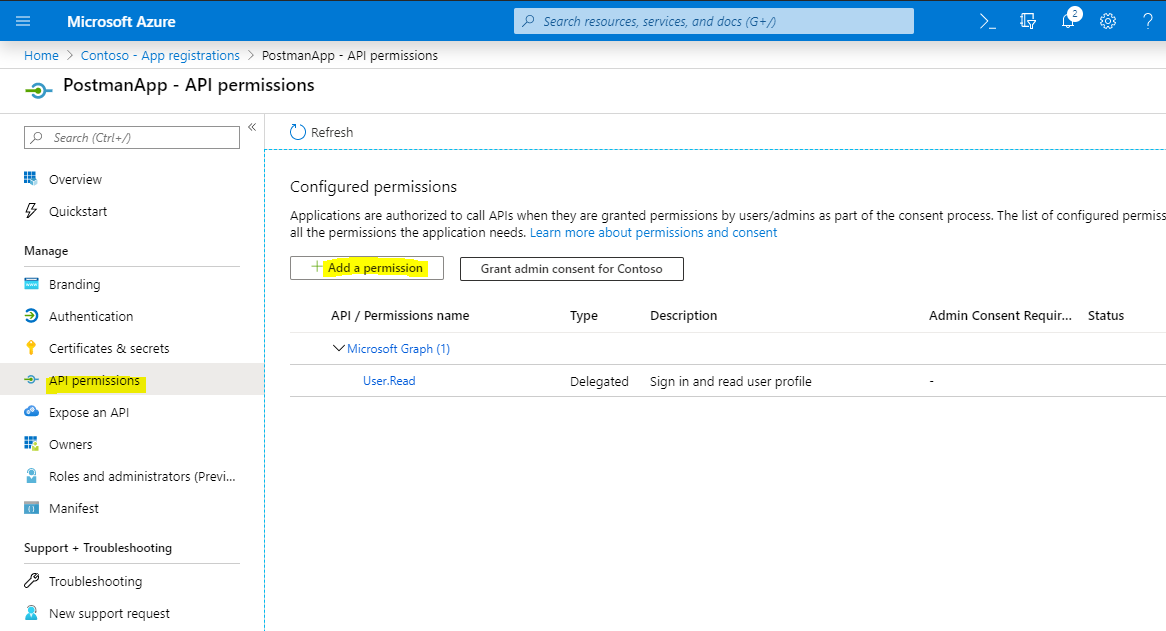
Under API permissions, add a permission:
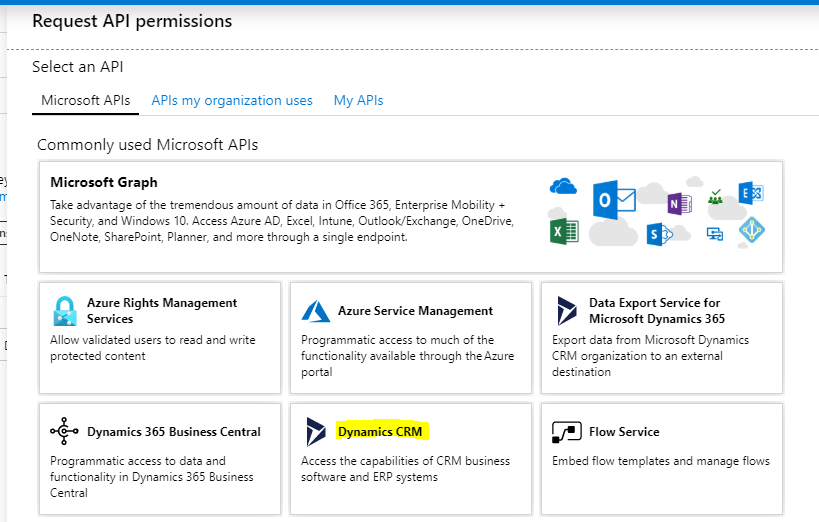
Select Dynamics CRM:
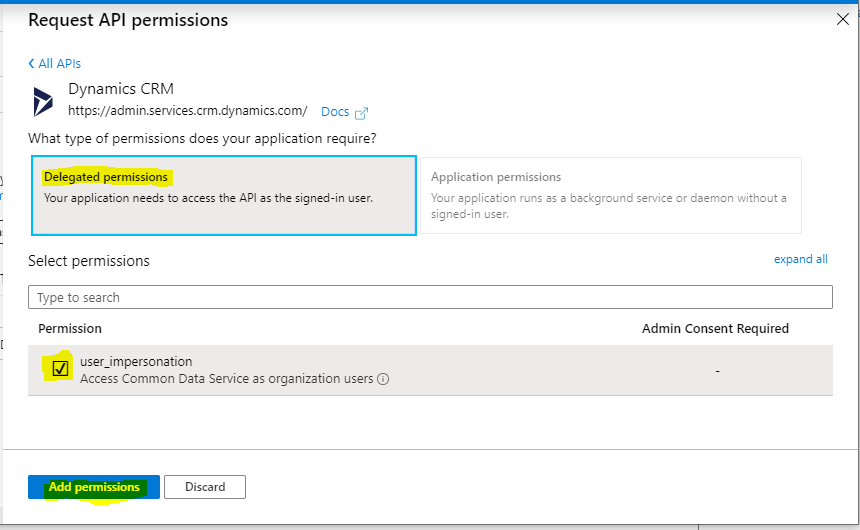
Select Delegated Permission
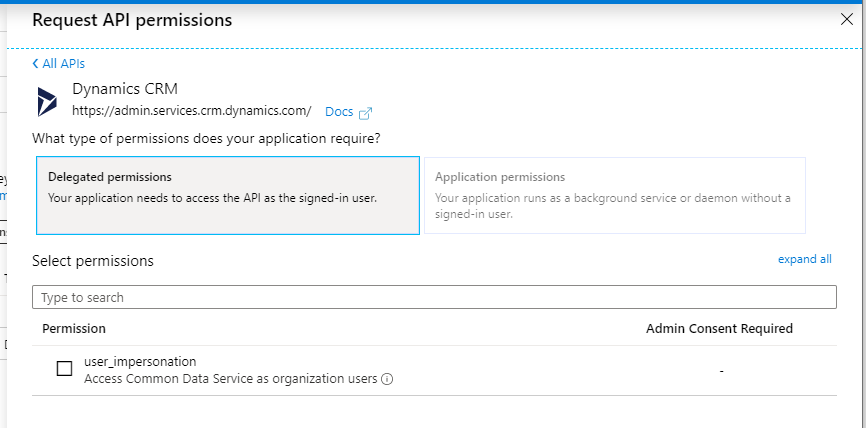
Check user_impersonation and click Add Permission:
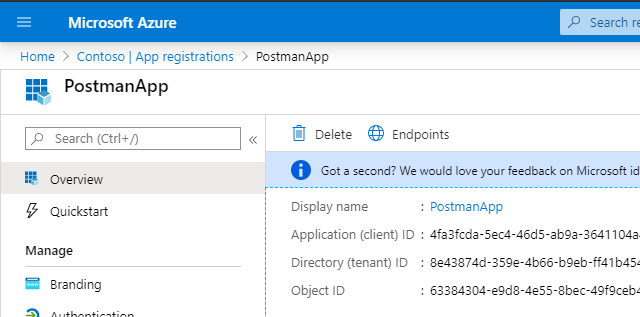
Note the ClientId and other information, we will use this later:
Setup Postman
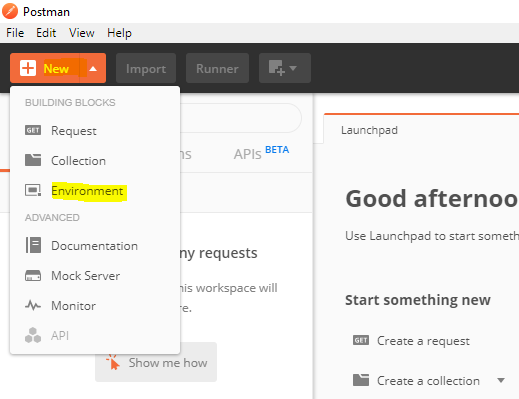
Next, install the Postman Windows client and open it up. Then select New->Environment:
Enter below:
URL: https://yourorg.crm.dynamics.com/
clientid: The application id from Azure AD App
version: 9.1 (or your Web API version)
webapiurl: https://yourorg.crm.dynamics.com/api/data/v9.1
callback: Ensure the callback url is the same as in the App we specified above, e.g. http://contoso.com.
authurl: https://login.microsoftonline.com/common/oauth2/authorize?resource={{url}}
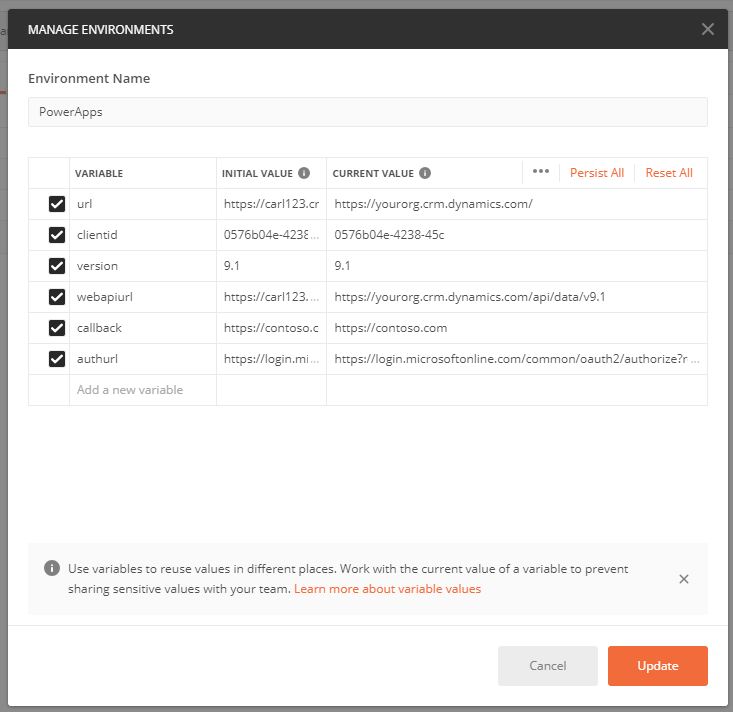
Click Add:
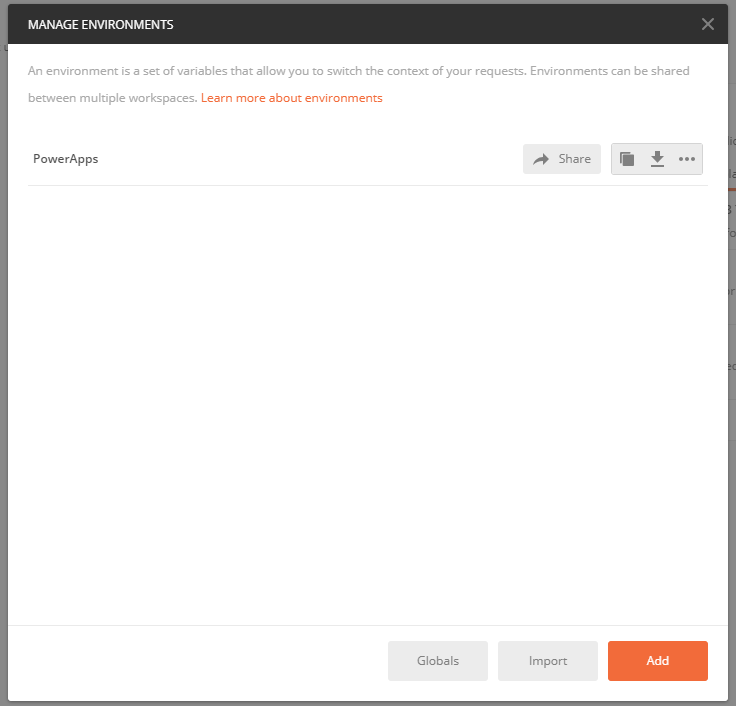
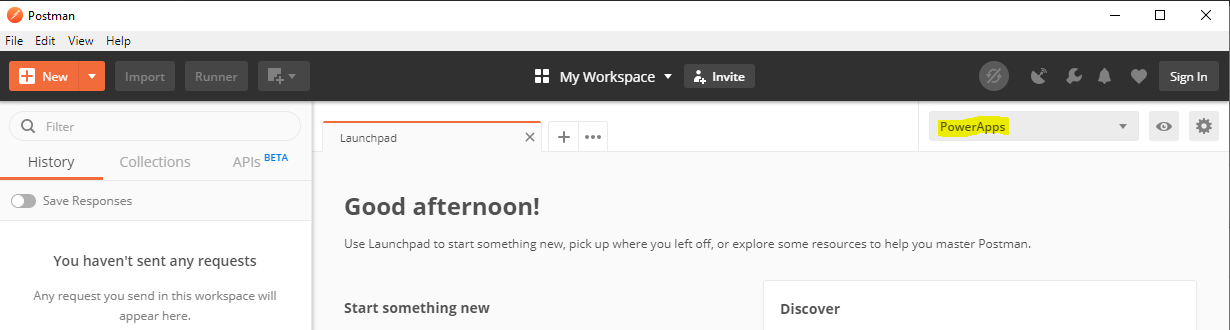
Now, select the environment:
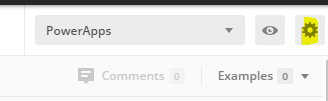
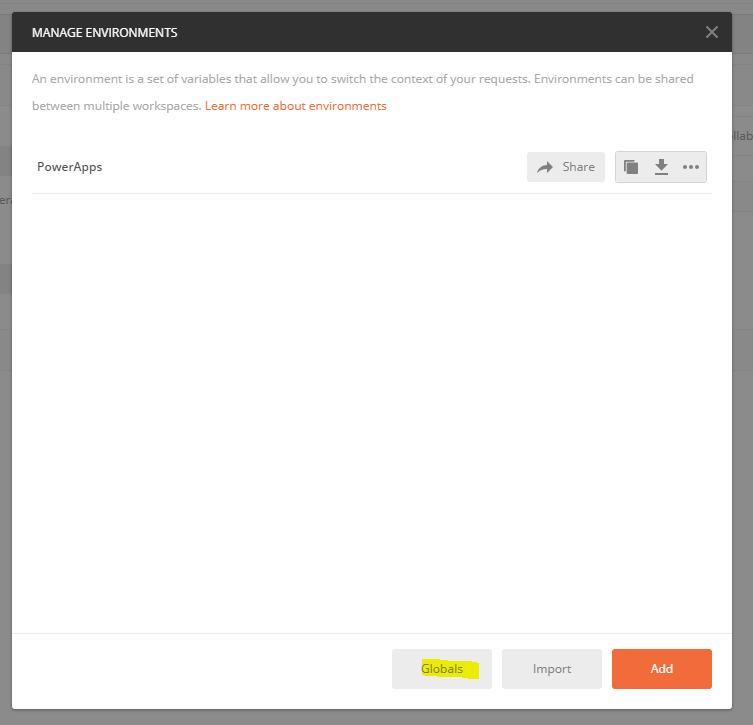
Let’s set up some variables for this environment. Go to settings:
And Globals:
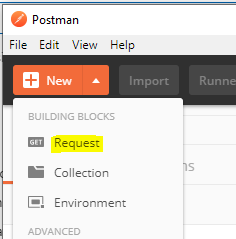
And Create a new Request:
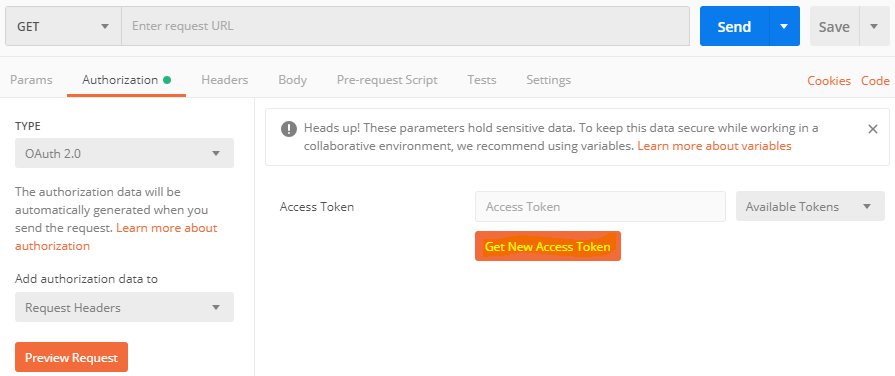
On the Authorization tab, select OAuth 2.0:

Click Get New Access Token:
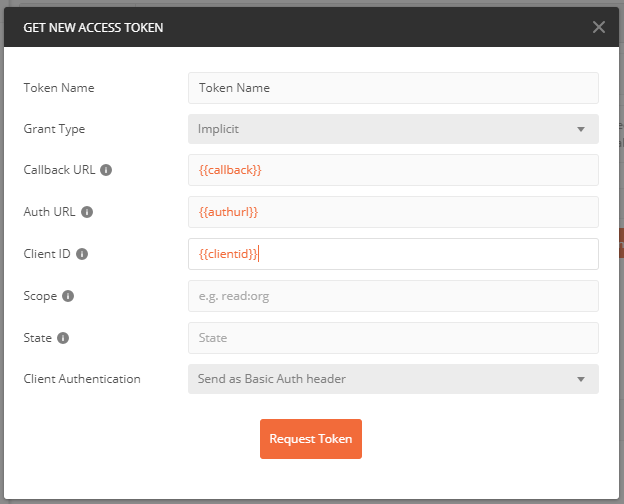
Enter the fields like below. On entering {{ field names will be selectable:
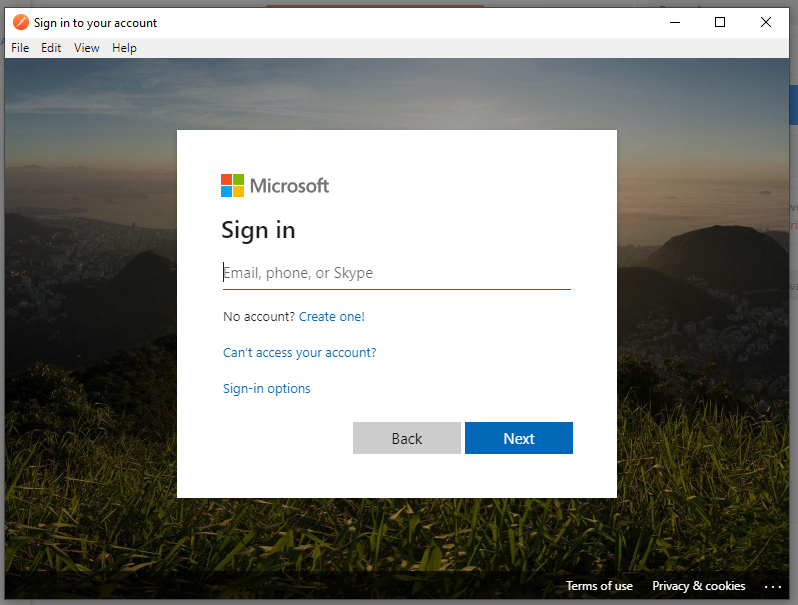
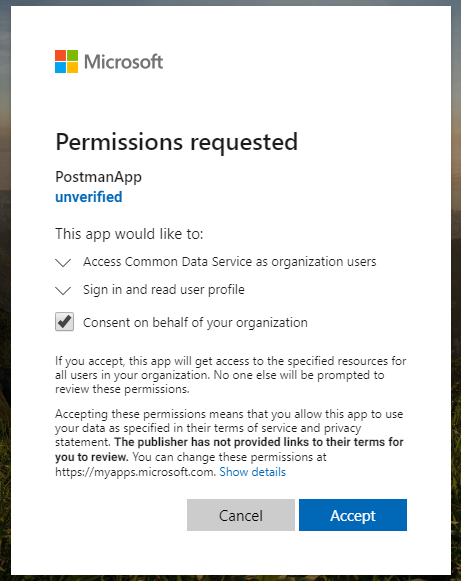
You will be prompted to sign in:
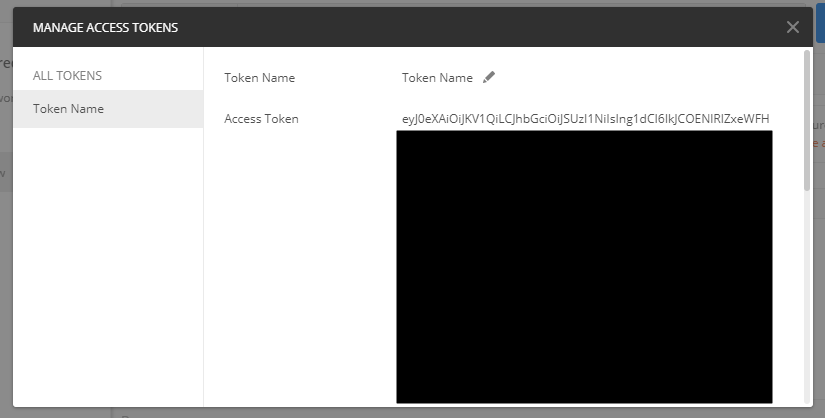
We get a token:
Scroll down and click Use token:
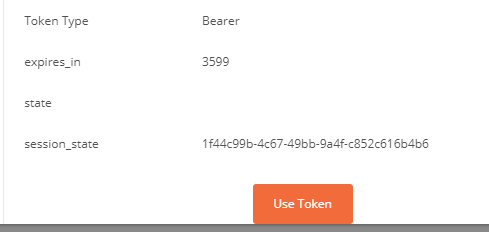
We now see:

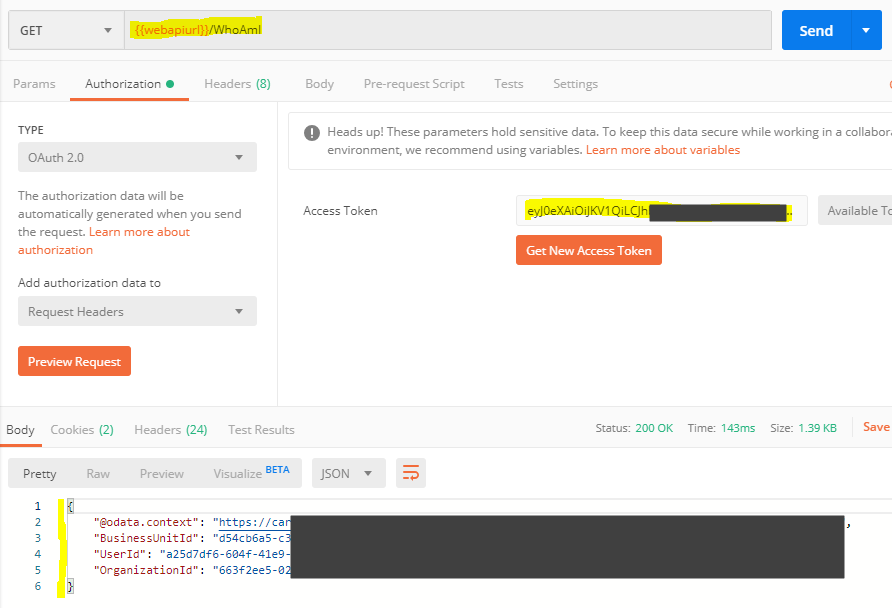
Now let’s send a basic request, which is the {{webapiurl}}/WhoAmI (note the base url does not have a trailing / in my case, so I’m adding one). In the body at the bottom, we get a response:
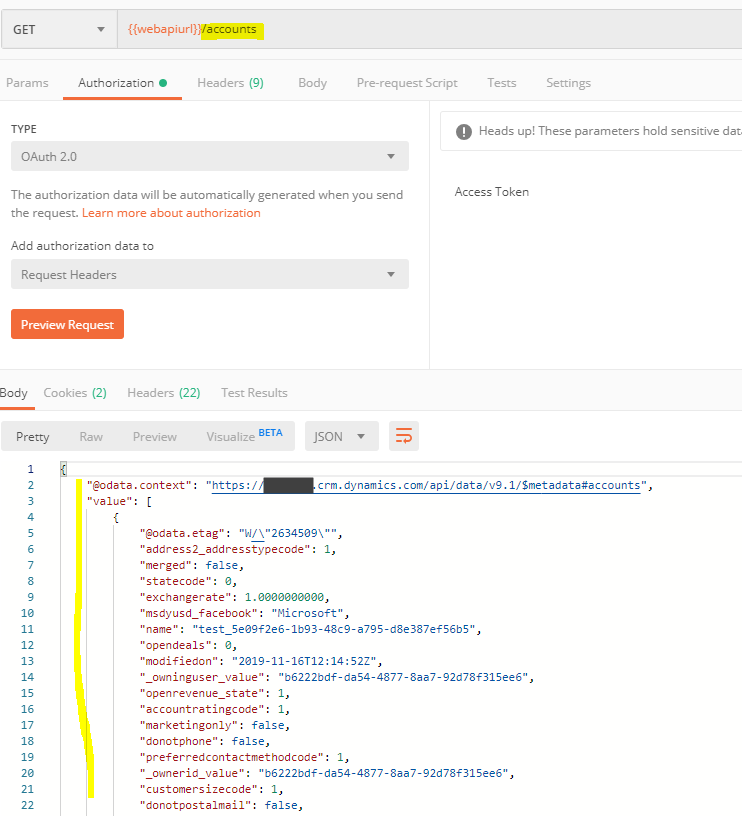
Let’s get all Accounts by sending /accounts:
We now have a working Postman environment.
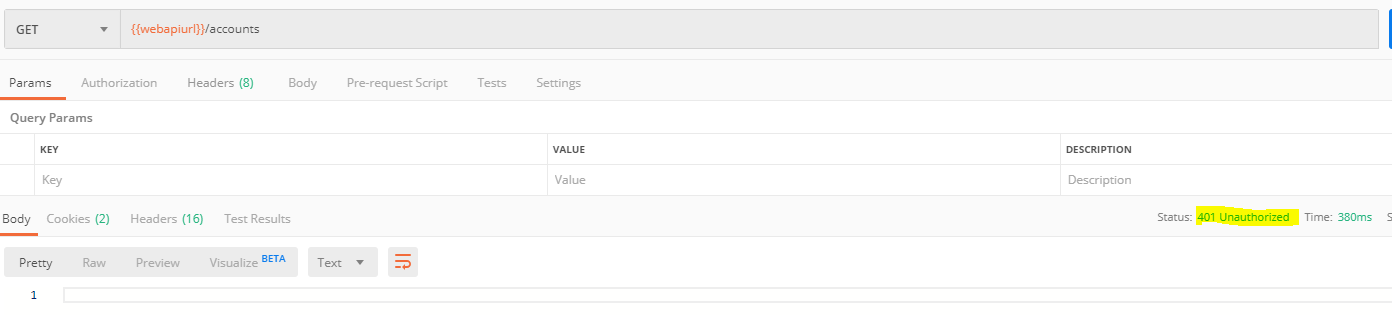
Now, after setting this up, let’s say tomorrow we come back and run this again. We may get a 401 Unauthorized response:
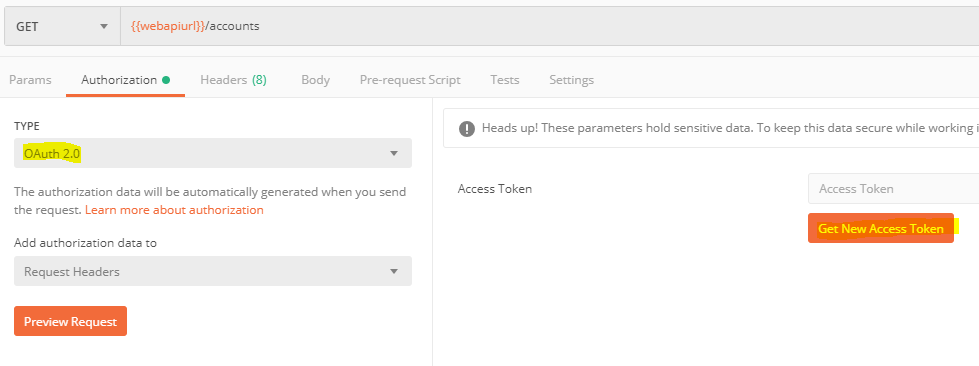
If we get this, we need to get the token again. Go to the Authorization tab, set it to OAuth 2.0 and Get Access Token:
Click Use Token again:
![]()
On rerunning, you will get a response.
I AM SPENDING MORE TIME THESE DAYS CREATING YOUTUBE VIDEOS TO HELP PEOPLE LEARN THE MICROSOFT POWER PLATFORM.
IF YOU WOULD LIKE TO SEE HOW I BUILD APPS, OR FIND SOMETHING USEFUL READING MY BLOG, I WOULD REALLY APPRECIATE YOU SUBSCRIBING TO MY YOUTUBE CHANNEL.
THANK YOU, AND LET'S KEEP LEARNING TOGETHER.
CARL
