Once Power BI Reports are created, they will point to one or more data sources. In this post, we will look at how to change a data source in a report after it is created. You may want to do this because the data source location has changed, or you are moving from one server to another such as from a development to a production environment.
First, let’s look at the scenario where we have 2 different data sources. You start with a text file and want to change it to different text file. We are starting with Customers.txt and are changing it to Customers2.txt.
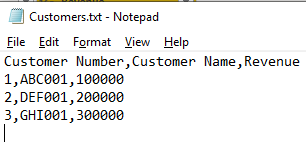
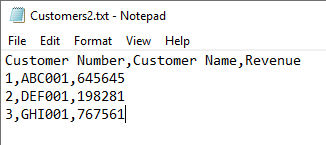
The text file, Customers.txt, looks like below:
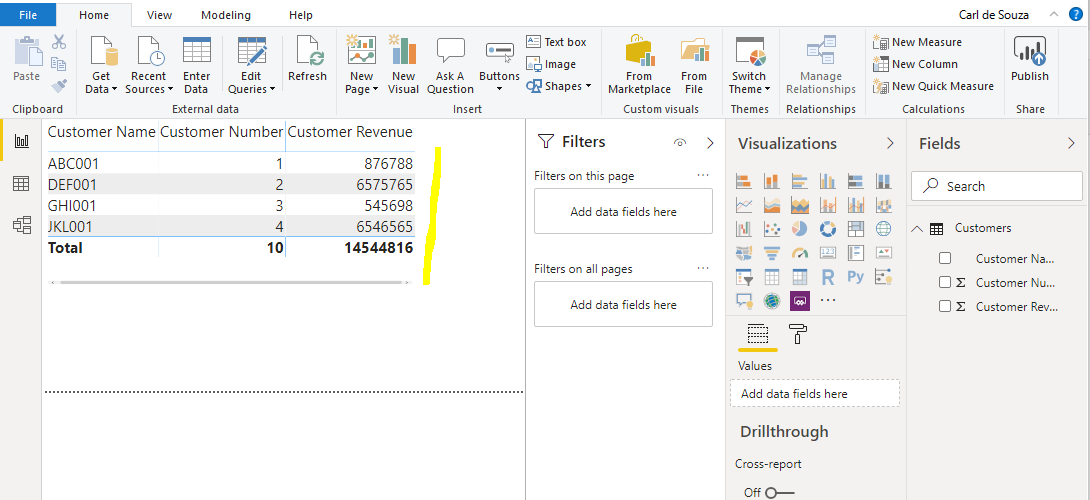
In Power BI Desktop, we have a simple report that displays the data in a table.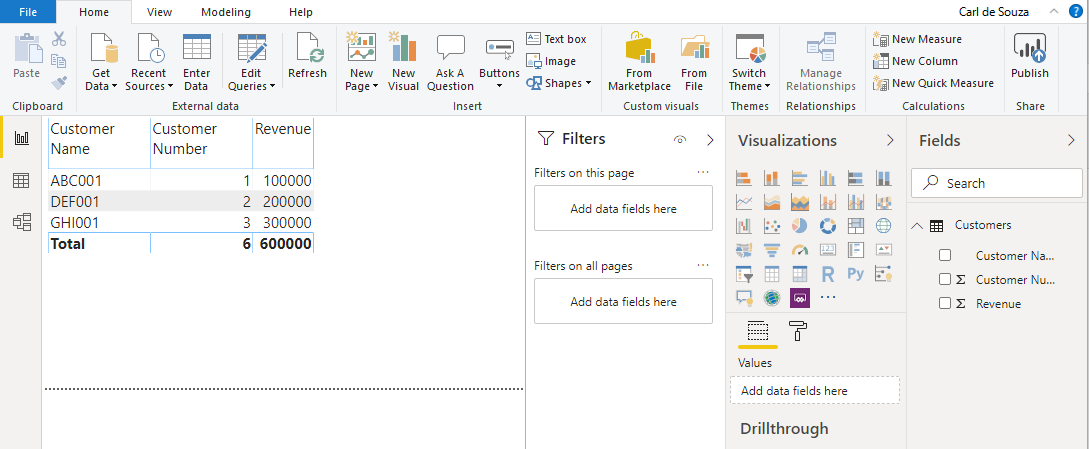
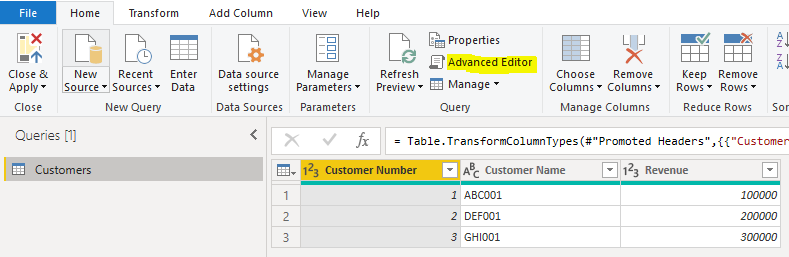
This opens Power Query. Click on Advanced Editor:
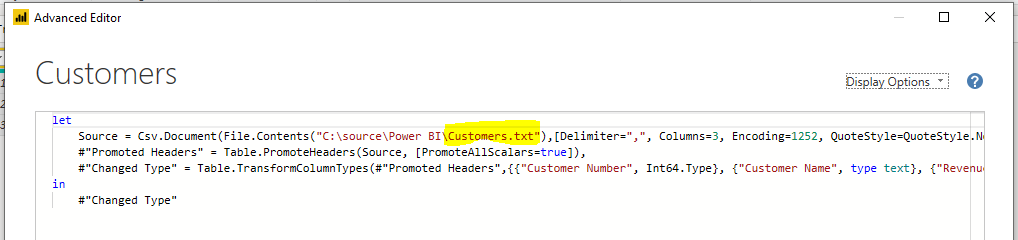
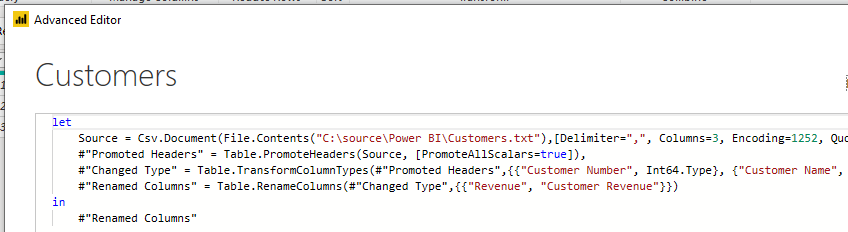
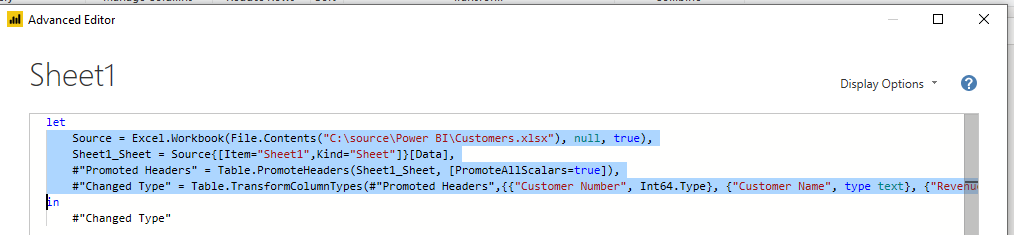
We see the data source is pointing to my Customers.txt file located at C:\source\Power BI:
Let’s rename the Revenue column to Customer Revenue to add an extra step:
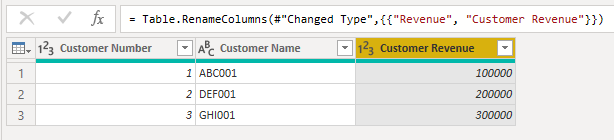
Our Advanced Editor steps now look like:
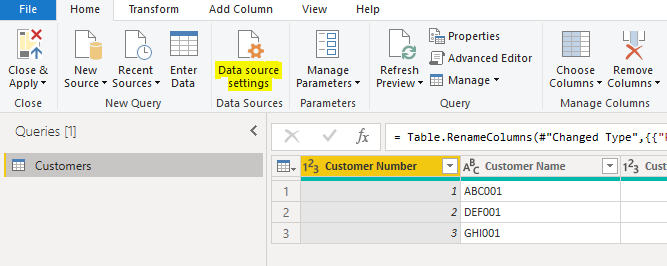
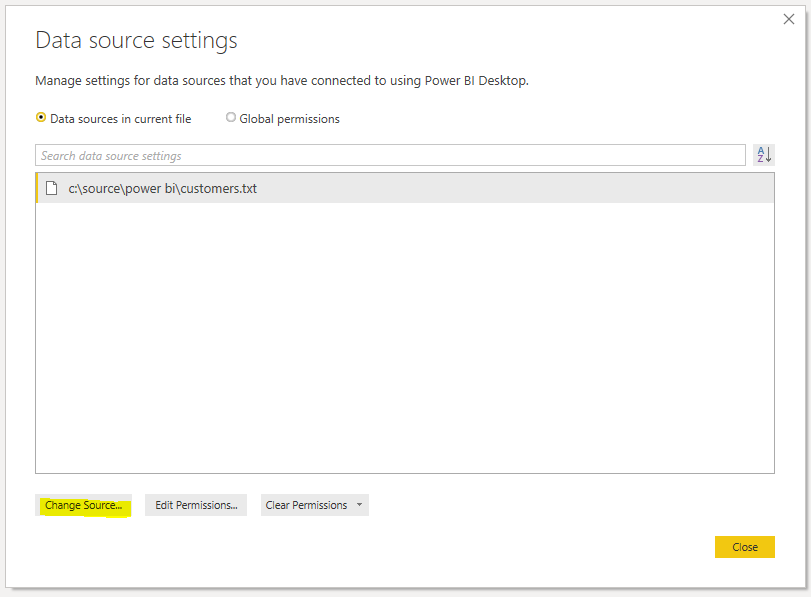
Now, to change the data source, click on Data Source Settings:
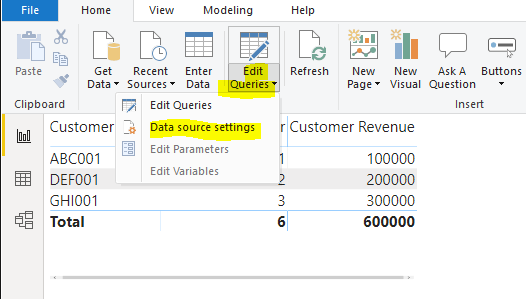
Note you can also get to this by clicking on Edit Queries->Data Source Settings on the first Power BI Desktop report page:
We see below. Click Change Source:
Now let’s say the user creates a new file, Customers2.txt with updated data, located in the same folder:
Select Browse and change the file from Customers.txt to our new Customers2.txt:
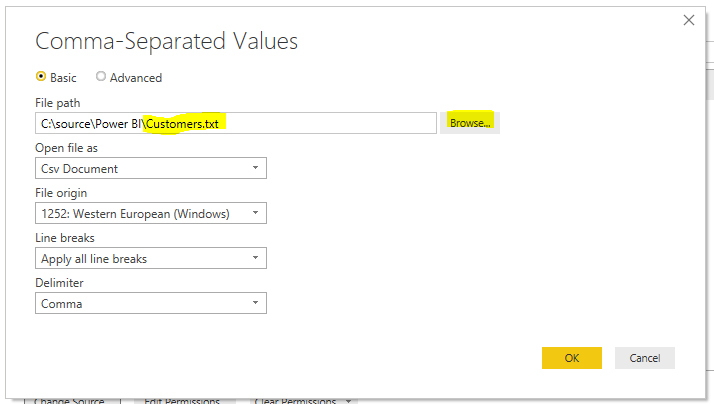
Click OK, Close and hit Refresh. We can see data has refreshed as it is now pointing to our new file:
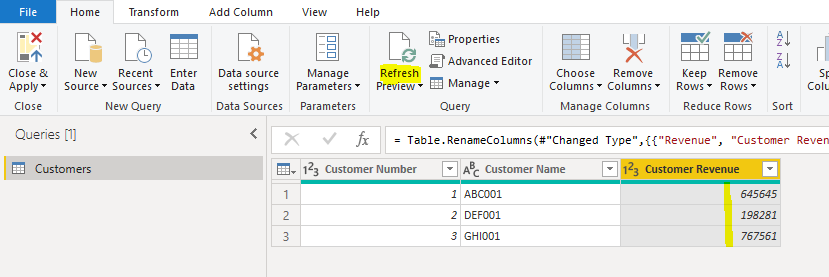
Note the other steps such as the renaming of the Revenue field still works. You may have a lot more steps in your Power BI file.
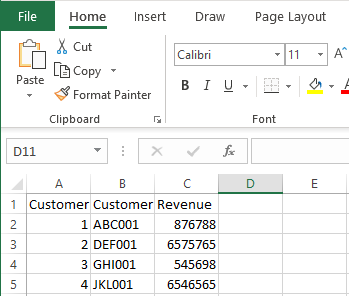
Now let’s say a user decides a txt file is not the best way to manage these customers, and they want to use Excel instead. The excel file, Customers.xlsx, looks like below. Note the first row headings are the same:
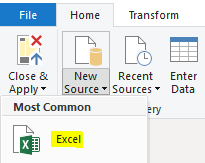
Let’s import the spreadsheet into Power BI in order to get the Power BI initial import steps for a spreadsheet, which are a little different from other data sources. Note if you are doing this for other data sources, you may notice it looks different too. Note also, after we import the spreadsheet we will be deleting it:
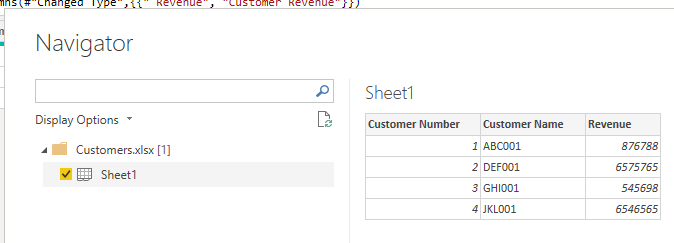
Select Sheet1:
Go to the Advanced Editor for Sheet1:
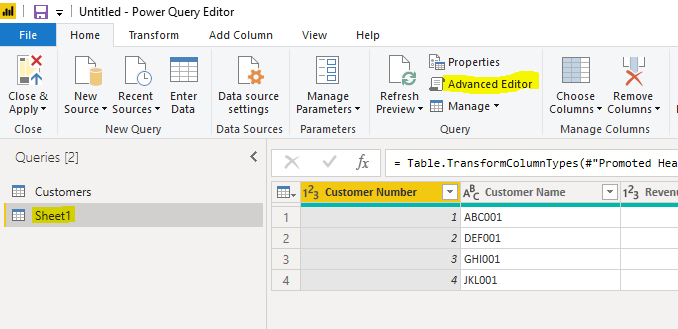
We see the top lines are doing different things from when we imported the text file. Copy these lines, which are connecting to the sheet, promoting headers, and changing the types:
Go back to the Customers query in Advanced Editor and paste it into the top lines, noting to add a comma at the end of the last pasted line:
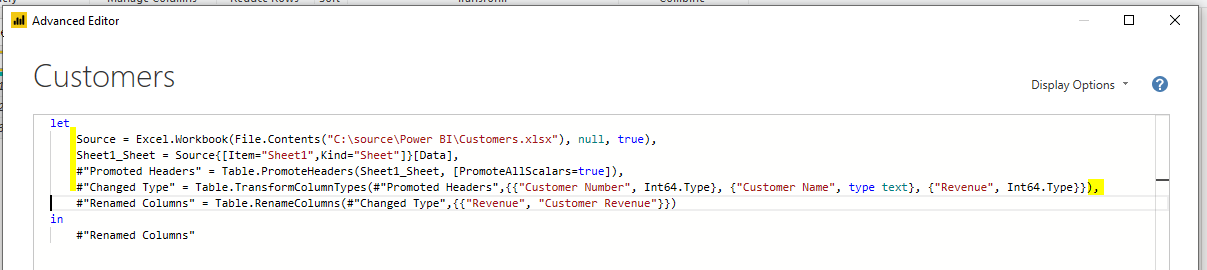
Be sure the step names match up between lines, so Power BI knows where to get the previous step from:
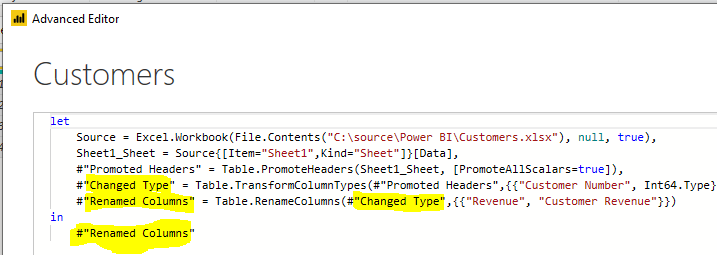
Click Done and delete the Sheets1 query. We now see Customers is pointing to our new spreadsheet and has retained the steps after:
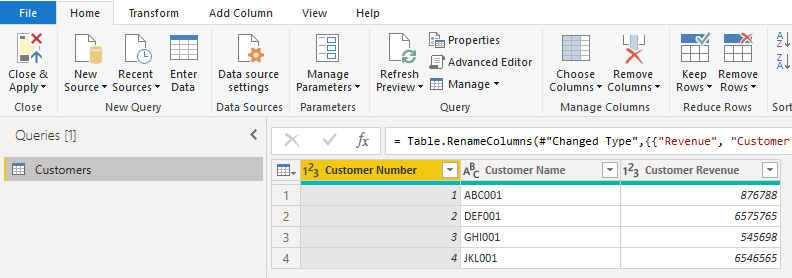
Click Close and Apply. Our data is now updated on the report, pointing to the new spreadsheet data source:
Note this process may be more involved depending on what data sources you are changing to and from. Hopefully this simple example gives you an idea of how to do this with your Power BI reports.
I AM SPENDING MORE TIME THESE DAYS CREATING YOUTUBE VIDEOS TO HELP PEOPLE LEARN THE MICROSOFT POWER PLATFORM.
IF YOU WOULD LIKE TO SEE HOW I BUILD APPS, OR FIND SOMETHING USEFUL READING MY BLOG, I WOULD REALLY APPRECIATE YOU SUBSCRIBING TO MY YOUTUBE CHANNEL.
THANK YOU, AND LET'S KEEP LEARNING TOGETHER.
CARL

Hi Carl,
Would it be possible to switch the CDS connection in Power BI report.
Thanks
Nilesh
How can this be done if we don’t have the Desktop version (i.e. with just the web version) of PowerBI?
I too have a same question. Can you pls.confirm.