To install the Sales Management for Dynamics 365 Solution Template, go through the following steps.
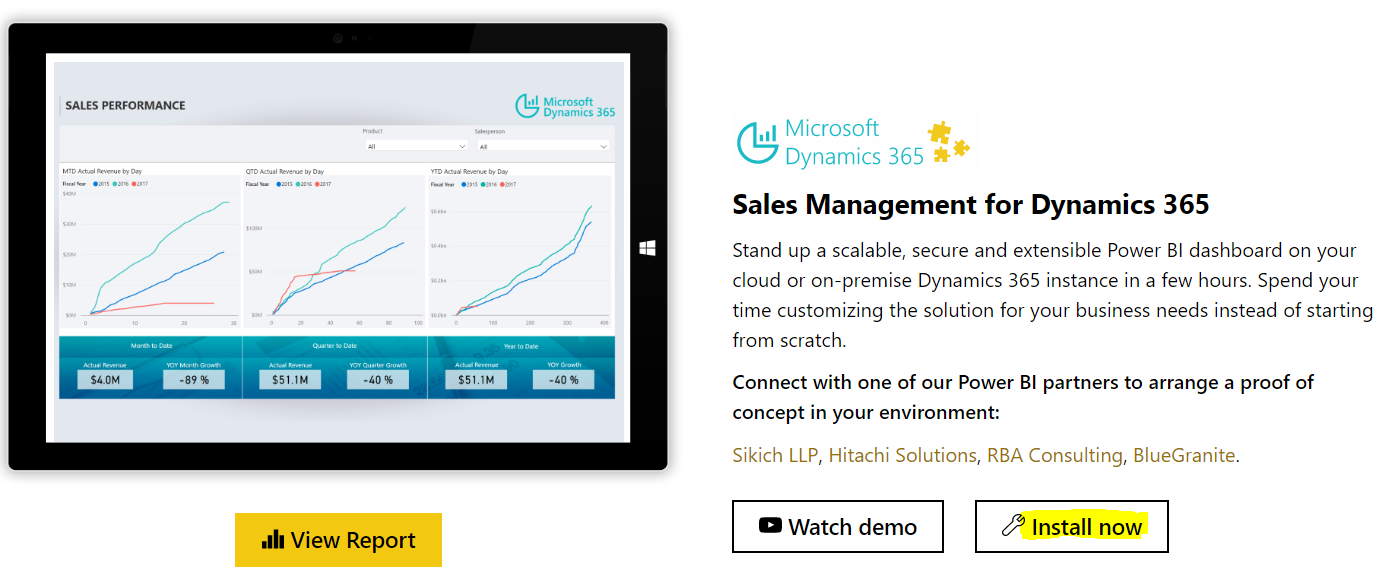
Go to https://powerbi.microsoft.com/en-us/solution-templates/dynamics-crm/
Click Install Now:
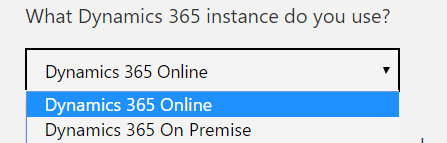
Select the instance of Dynamics 365, on premise or online and click next:


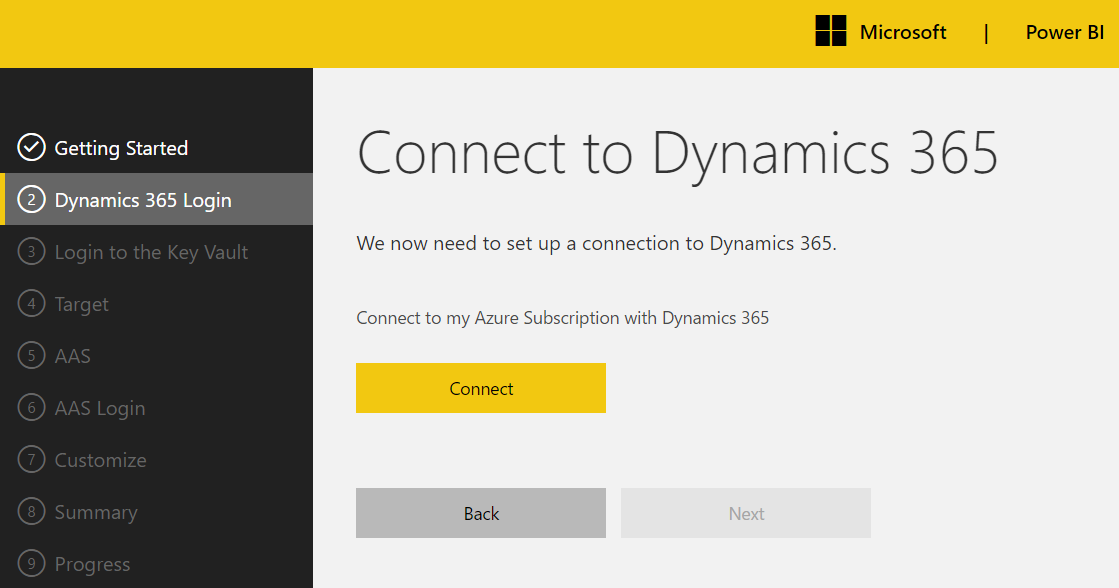
Click Connect:
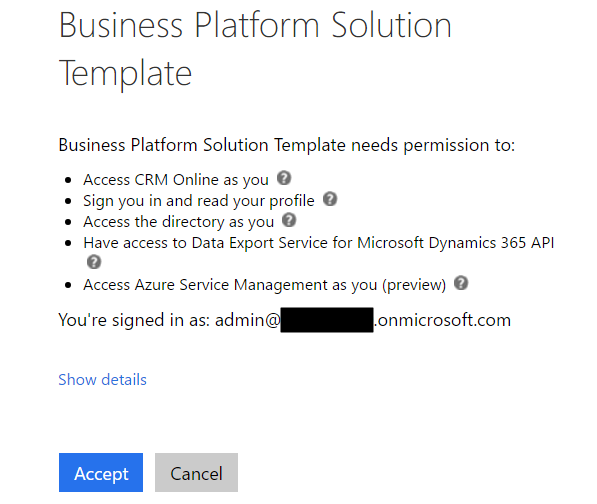
Click Accept:
If you do not have an Azure account, you will see this message:
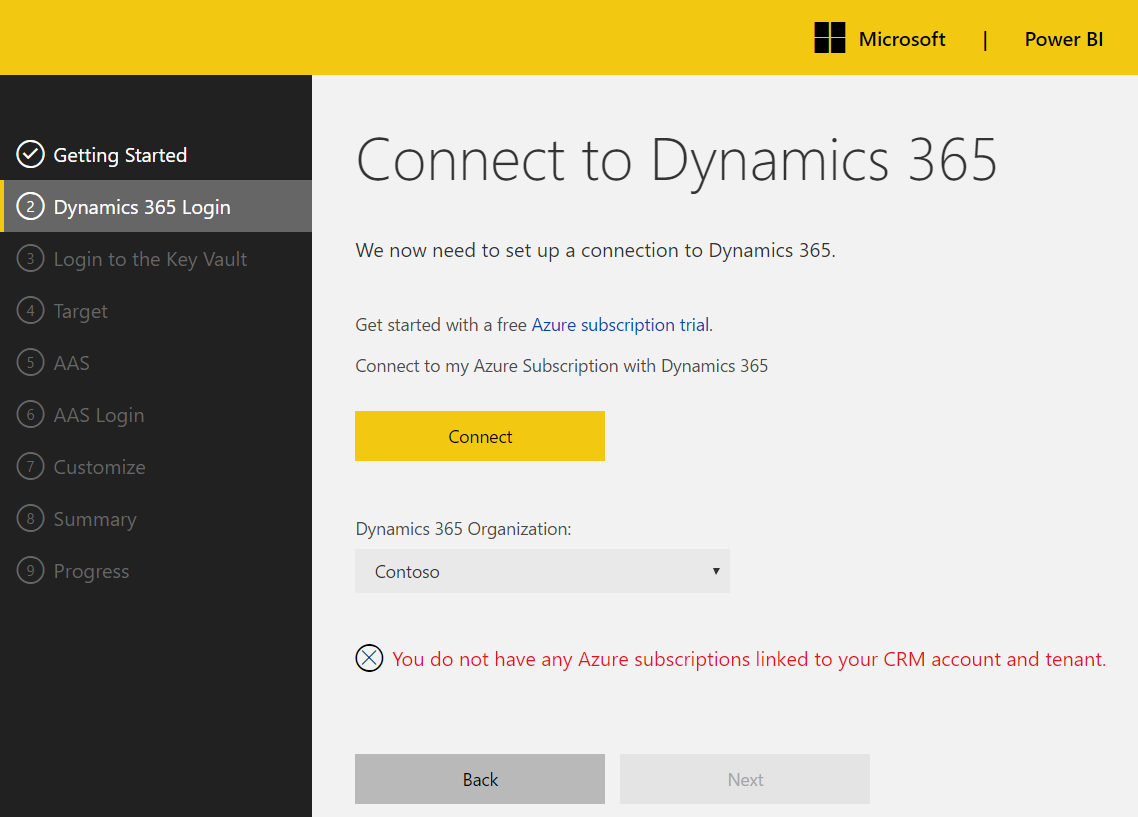
Sign up and click Connect again. Select the organization and the subscription:

Pricing calculator: https://azure.microsoft.com/en-us/pricing/calculator/
Estimated costs (link not working but previous link: https://github.com/Microsoft/BusinessPlatformApps/tree/master/Source/Apps/Microsoft/Released/Microsoft-CRMSalesManagement#dynamics-365-export-pricing)
Connect to Azure Key Vault:
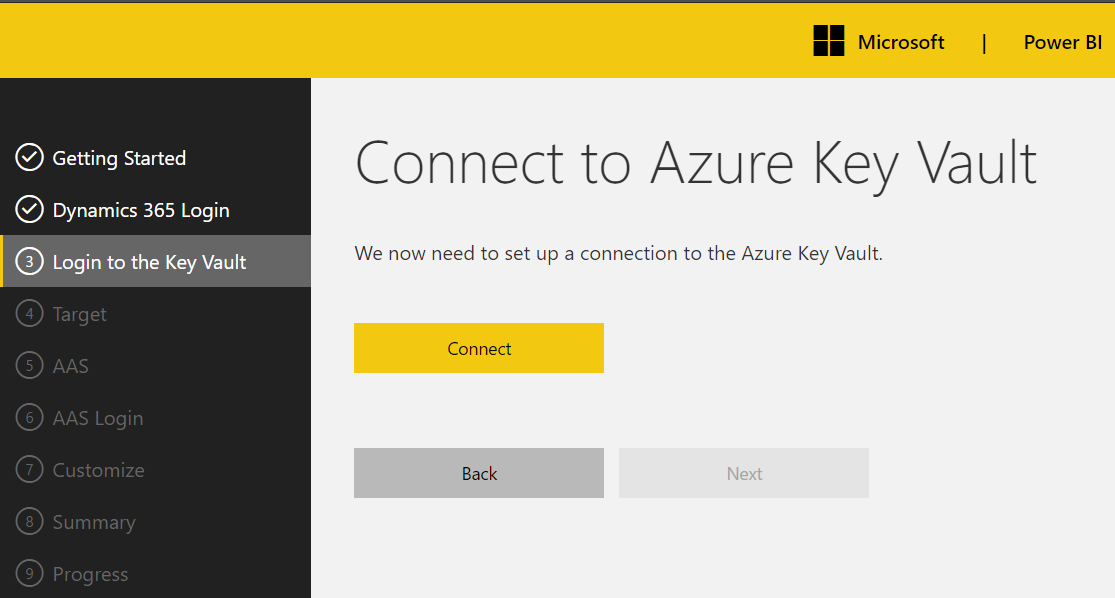
Click Next:

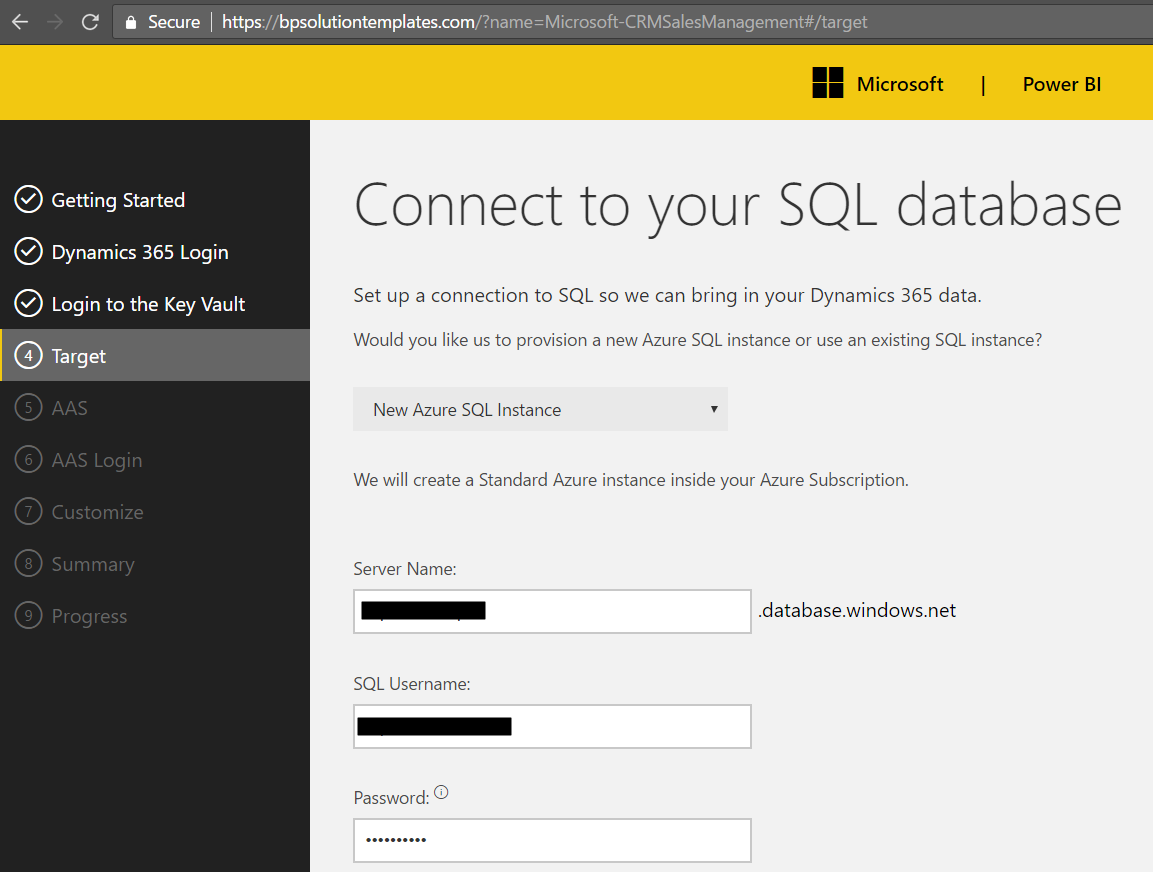
Connect to SQL. Either select an existing database or create a new one:
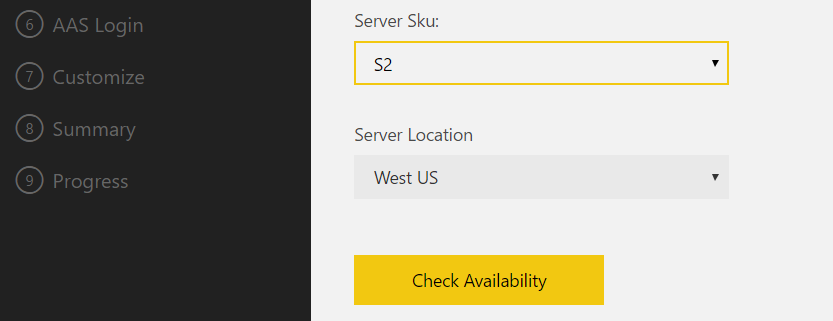
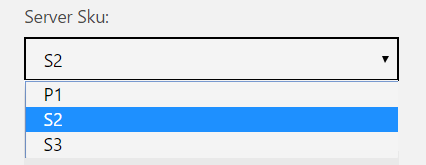
Server sku options:
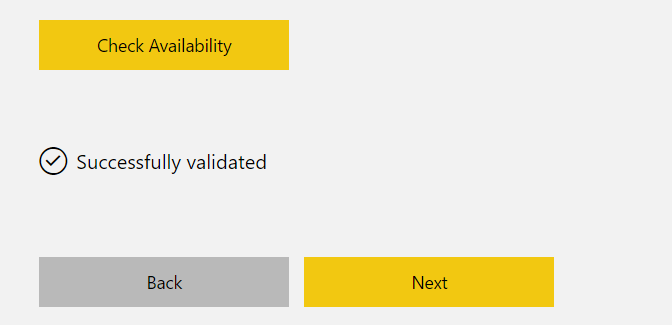
Click Check Availability and Next:
Determine if you want to use Azure Analysis Services or not:
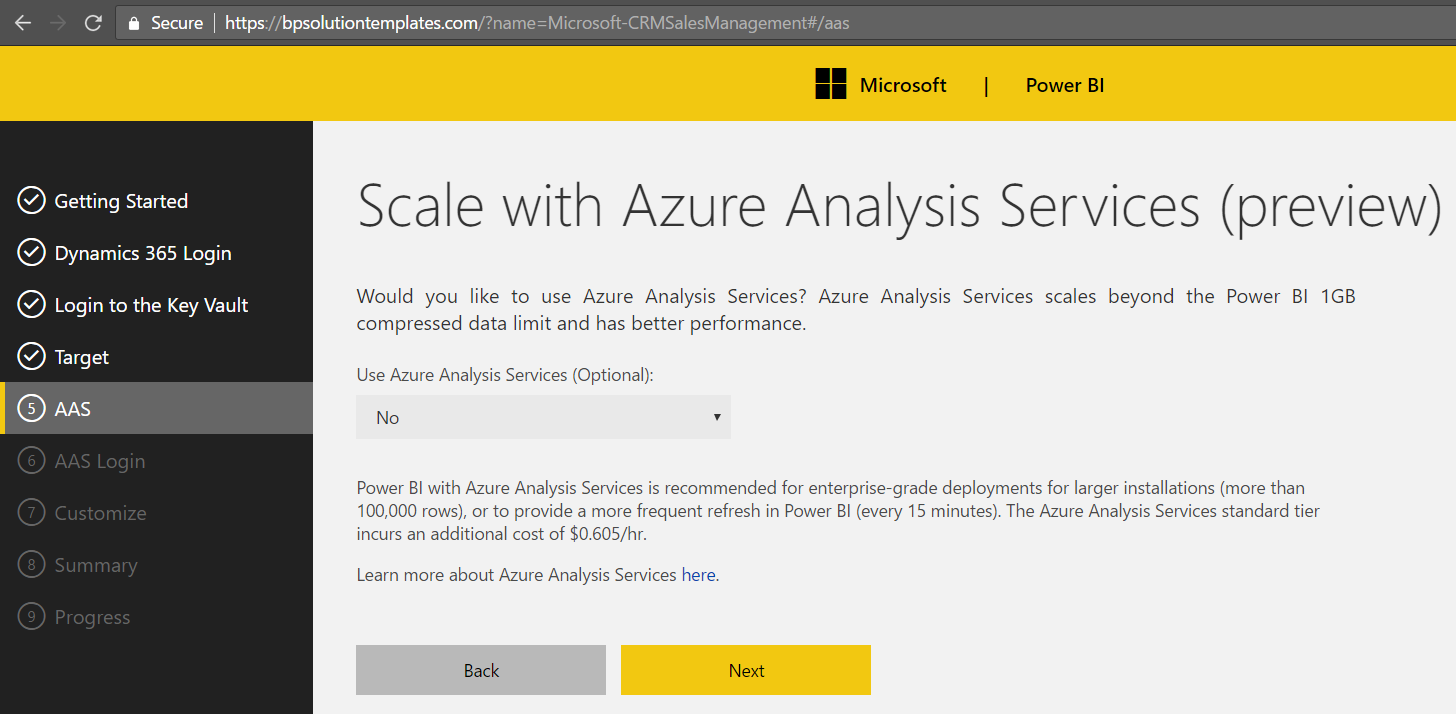
Link to analysis services information: https://azure.microsoft.com/en-us/services/analysis-services/
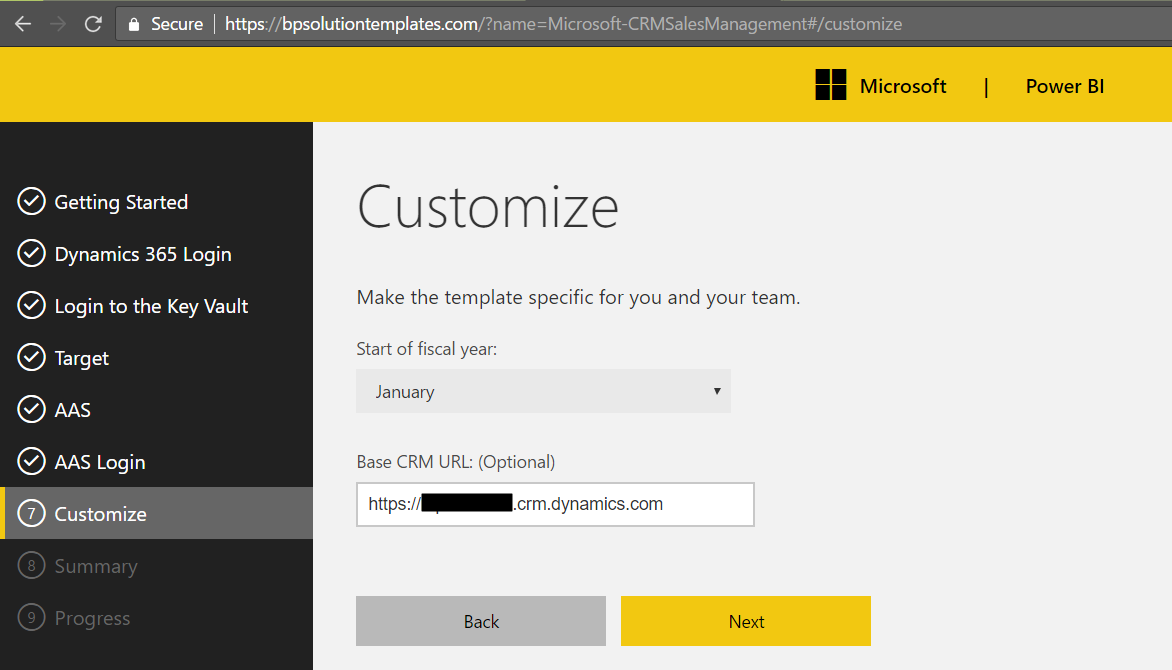
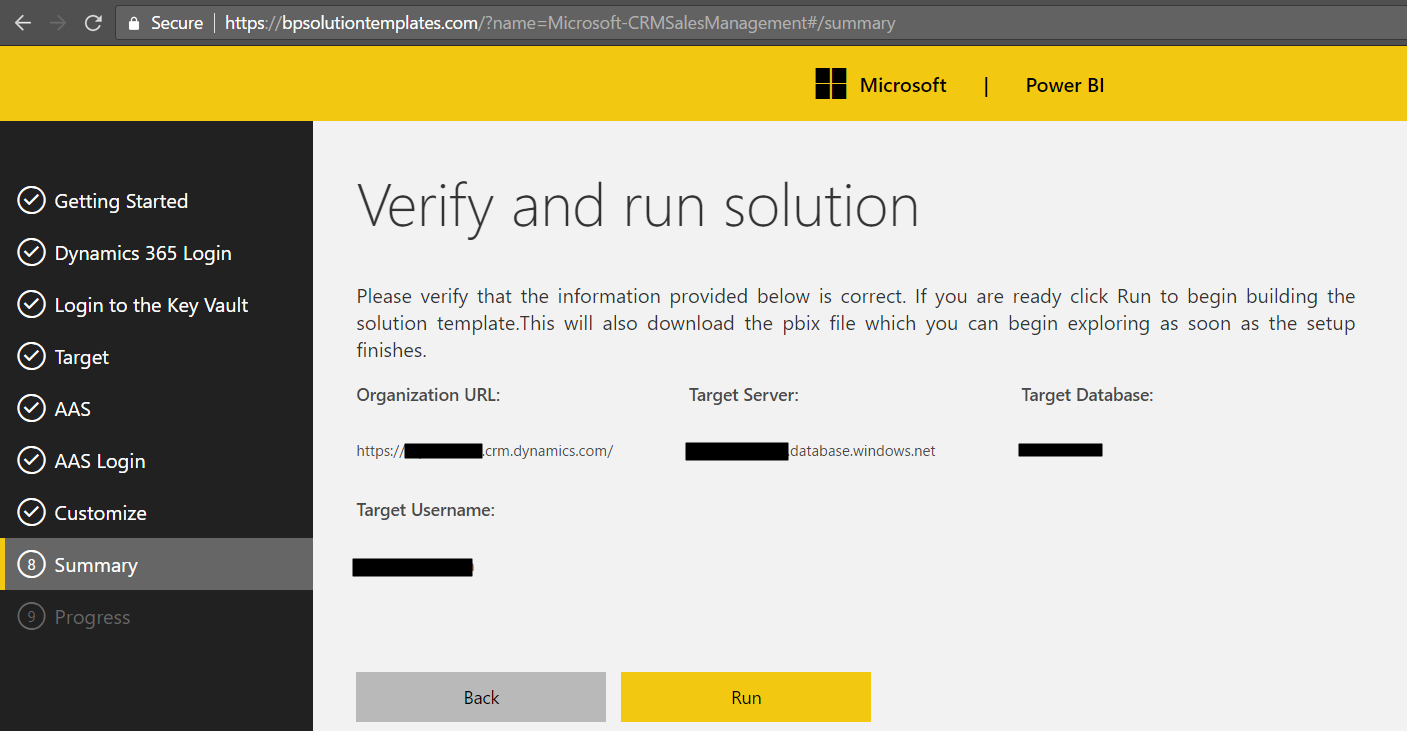
Set the fiscal year:
Run:
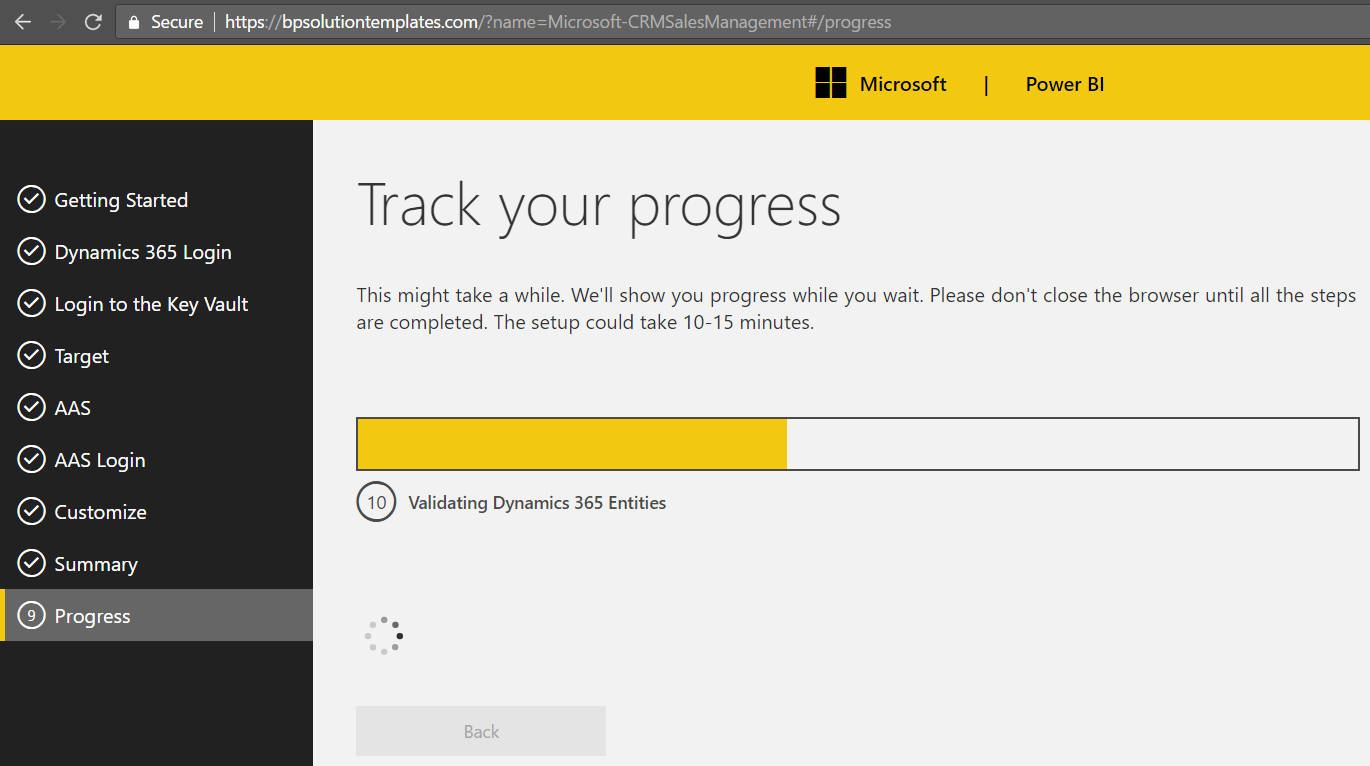
The solution will process.
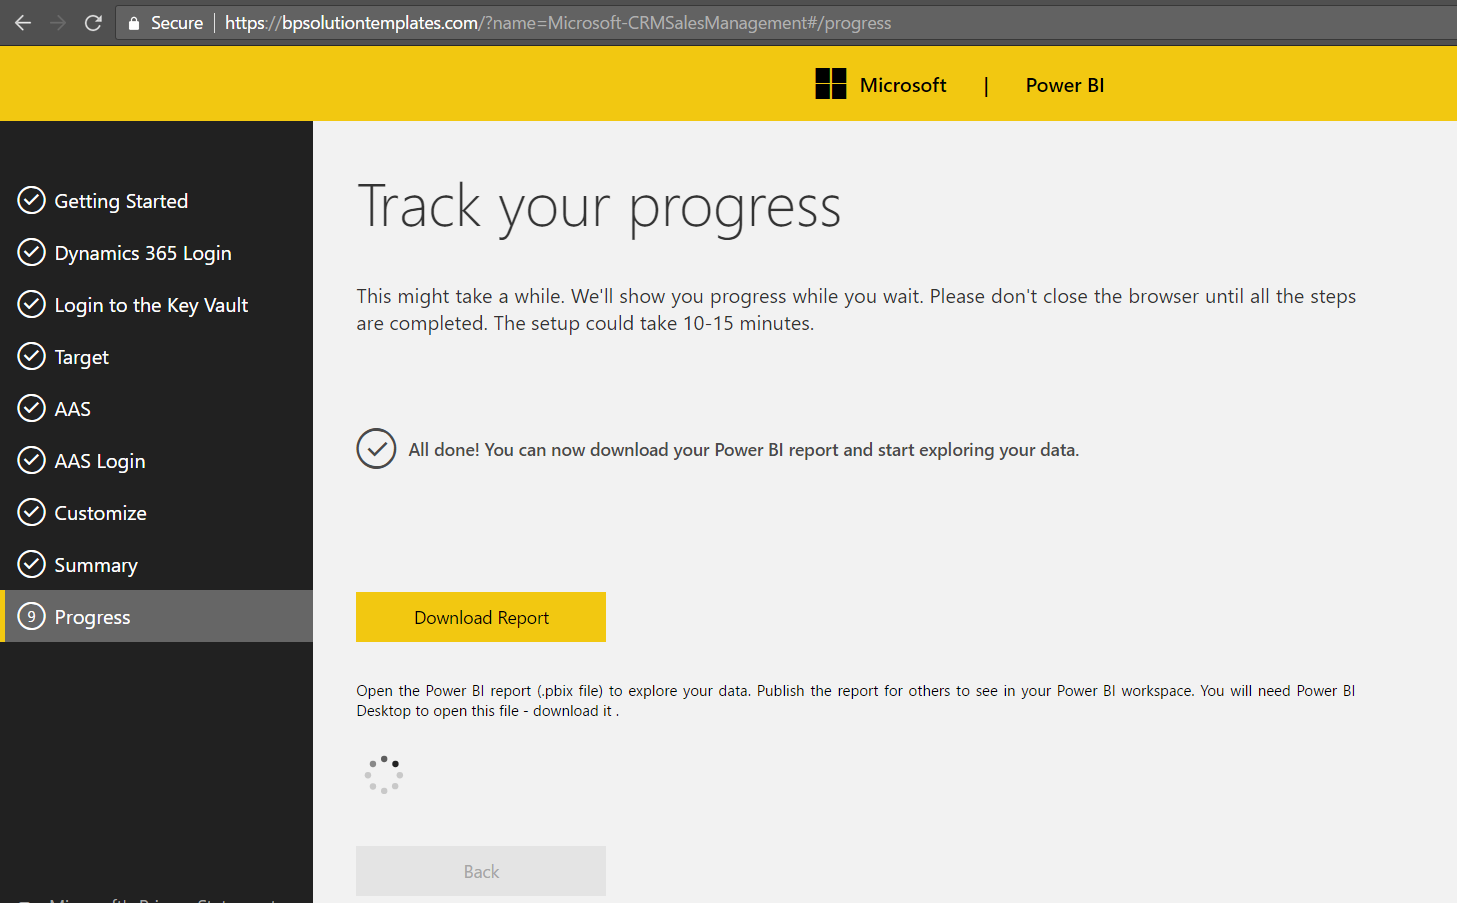
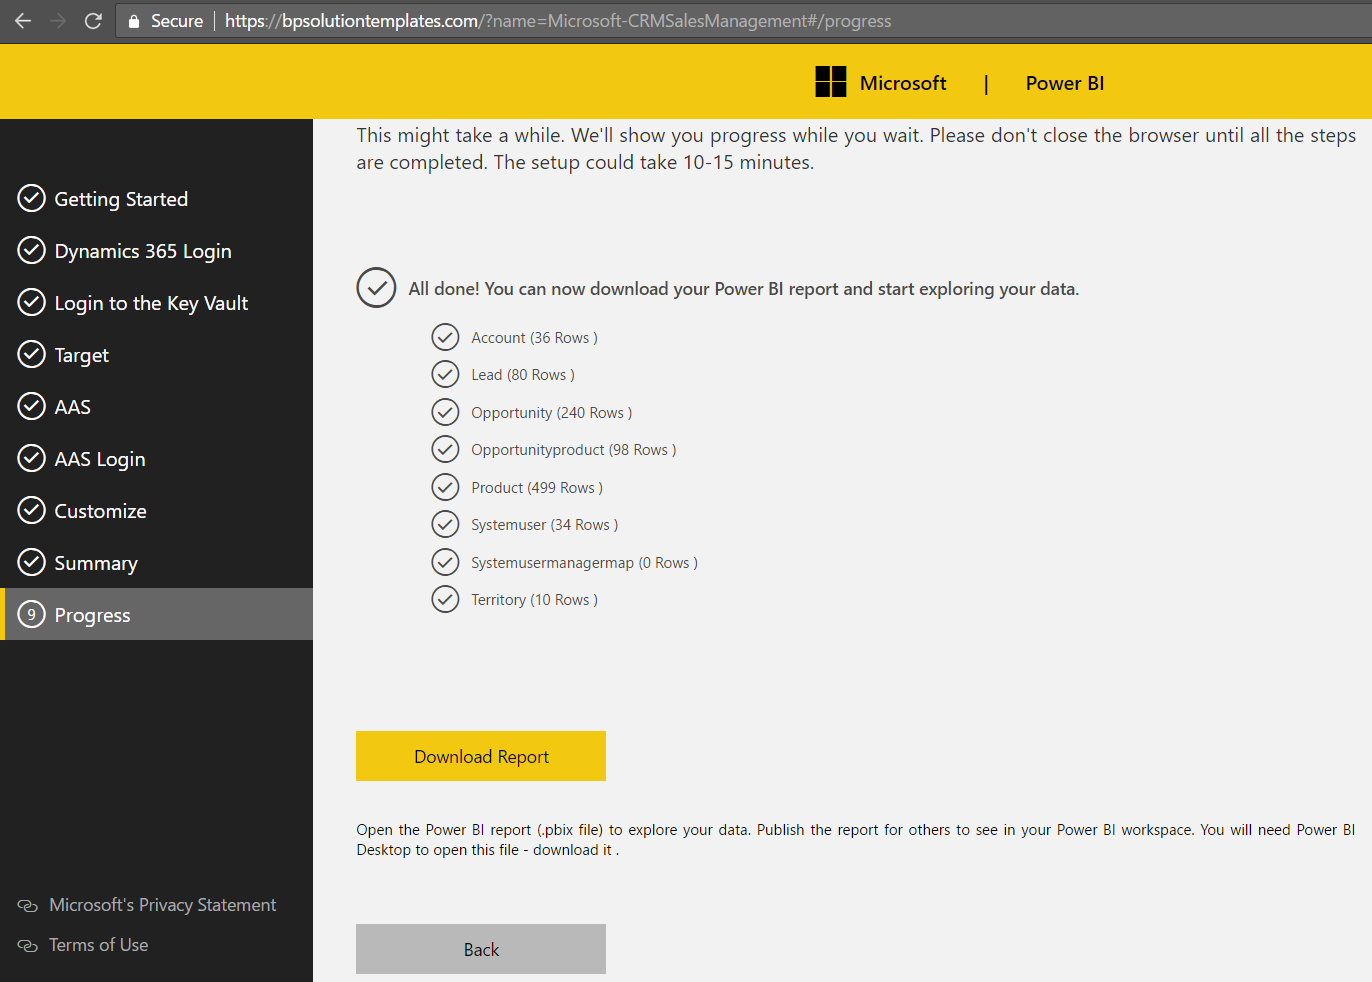
Wait for the all done and download the PBIX Report file:
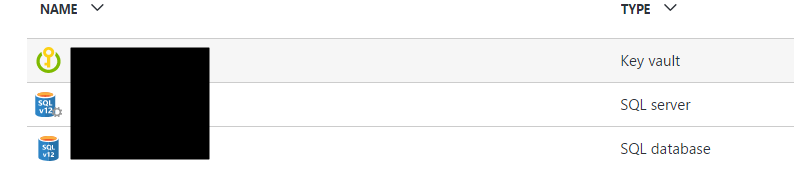
In portal.azure.com you will see these 3 resources created:
Open the downloaded PBIX file:
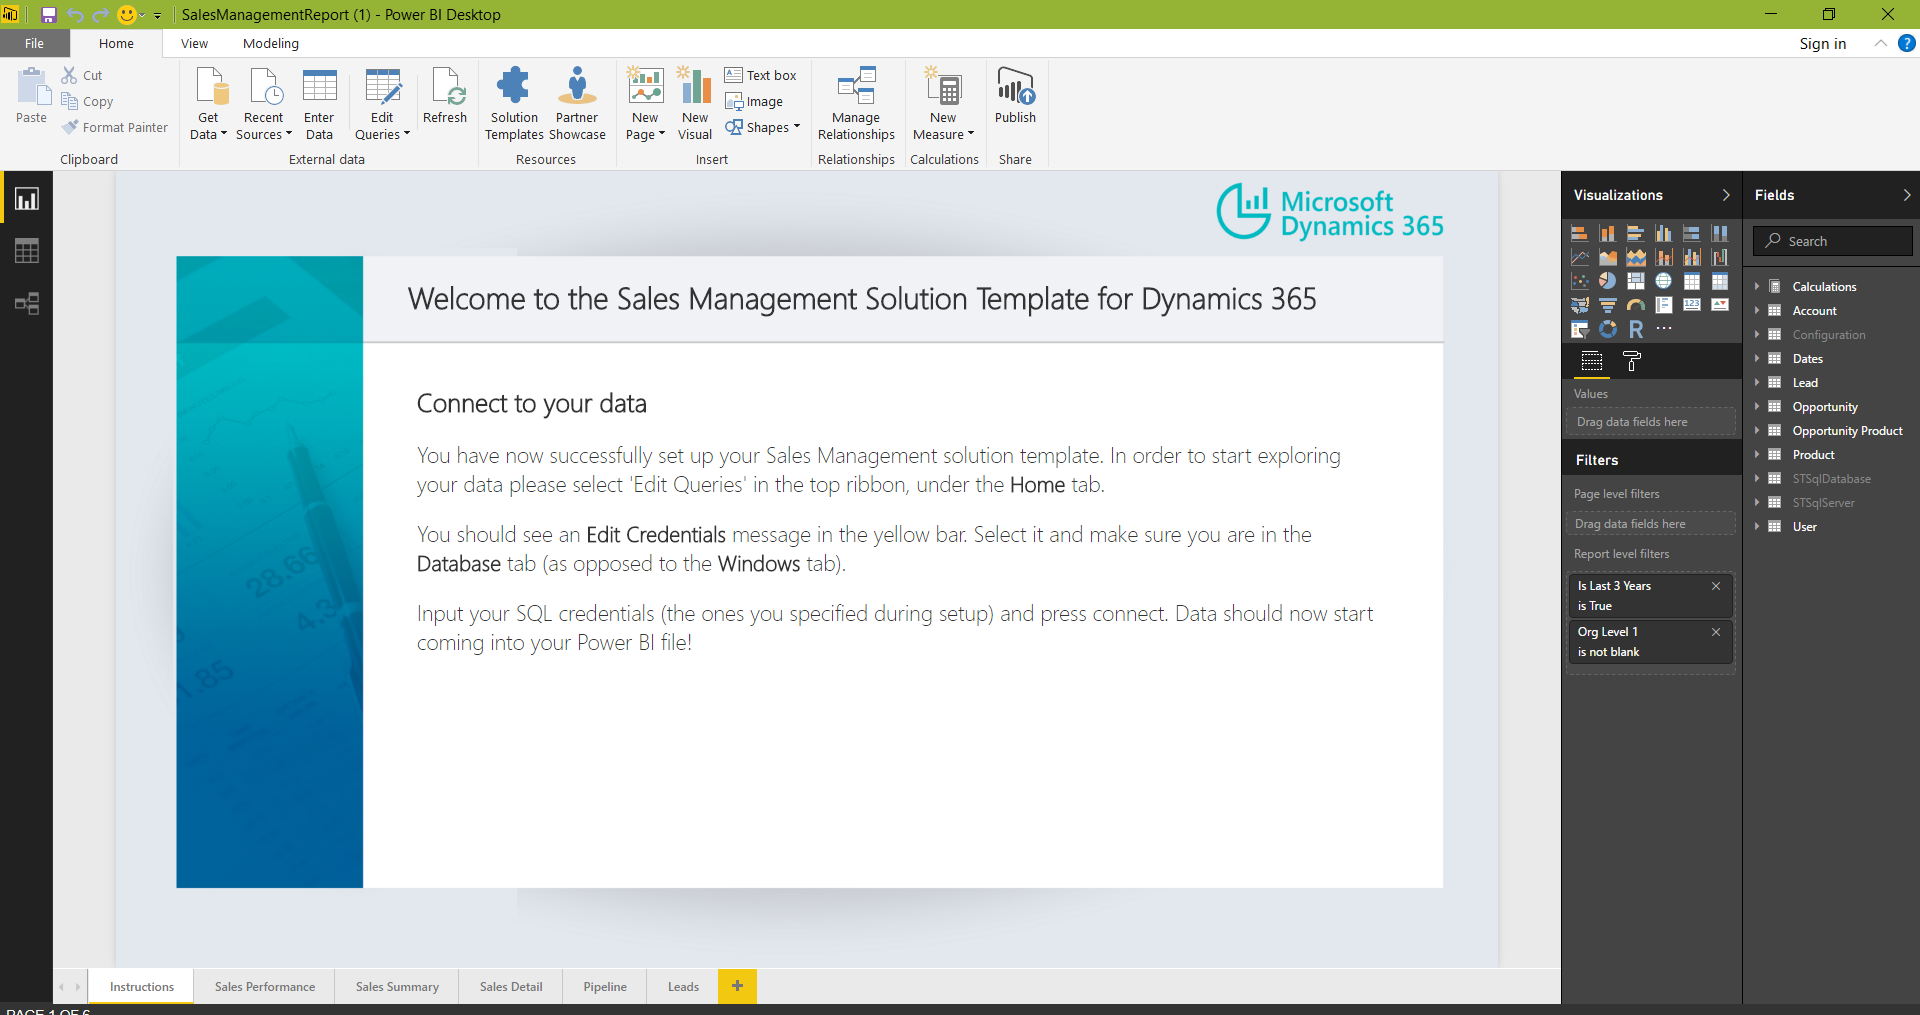
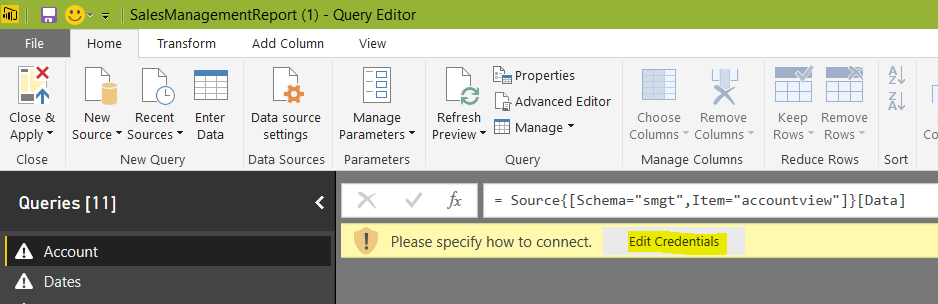
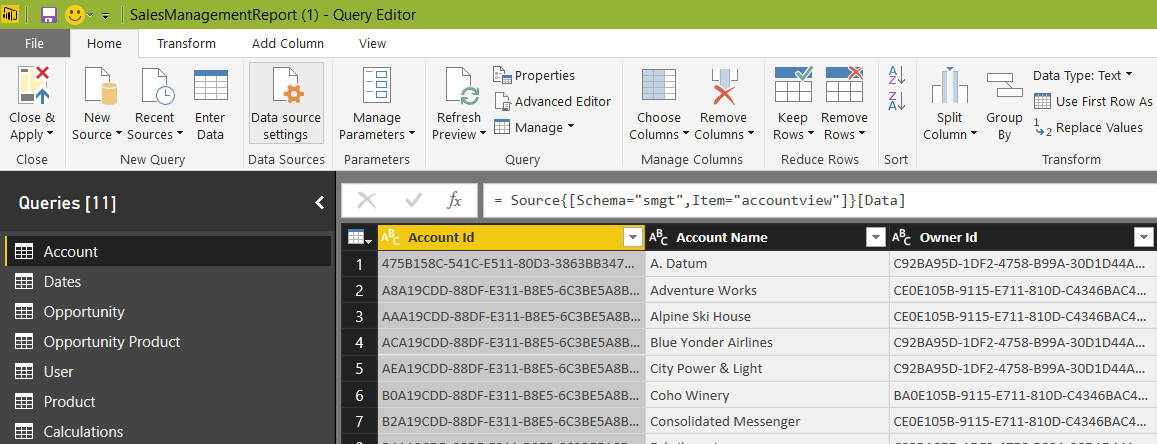
Click Edit Queries and then Edit Credentials:
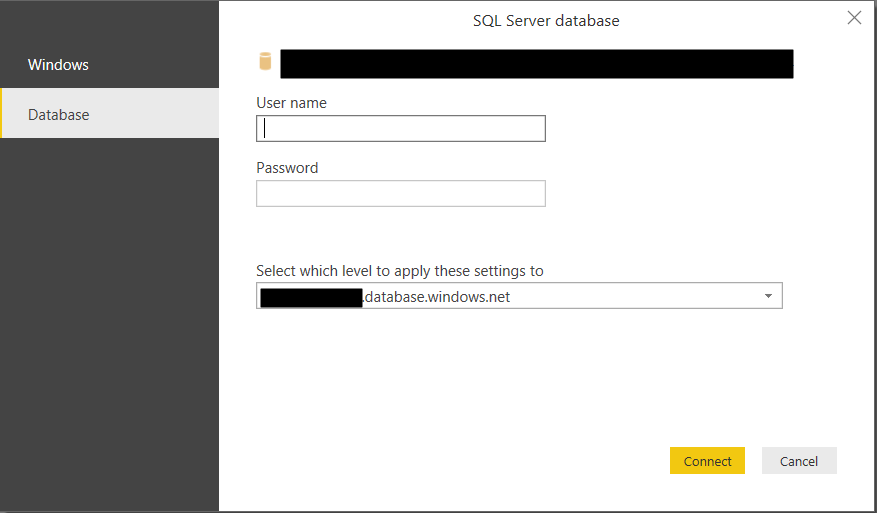
Change the authentication type to Database and enter the credentials:
You will now see your data. Click Close and Apply:
Click Refresh:
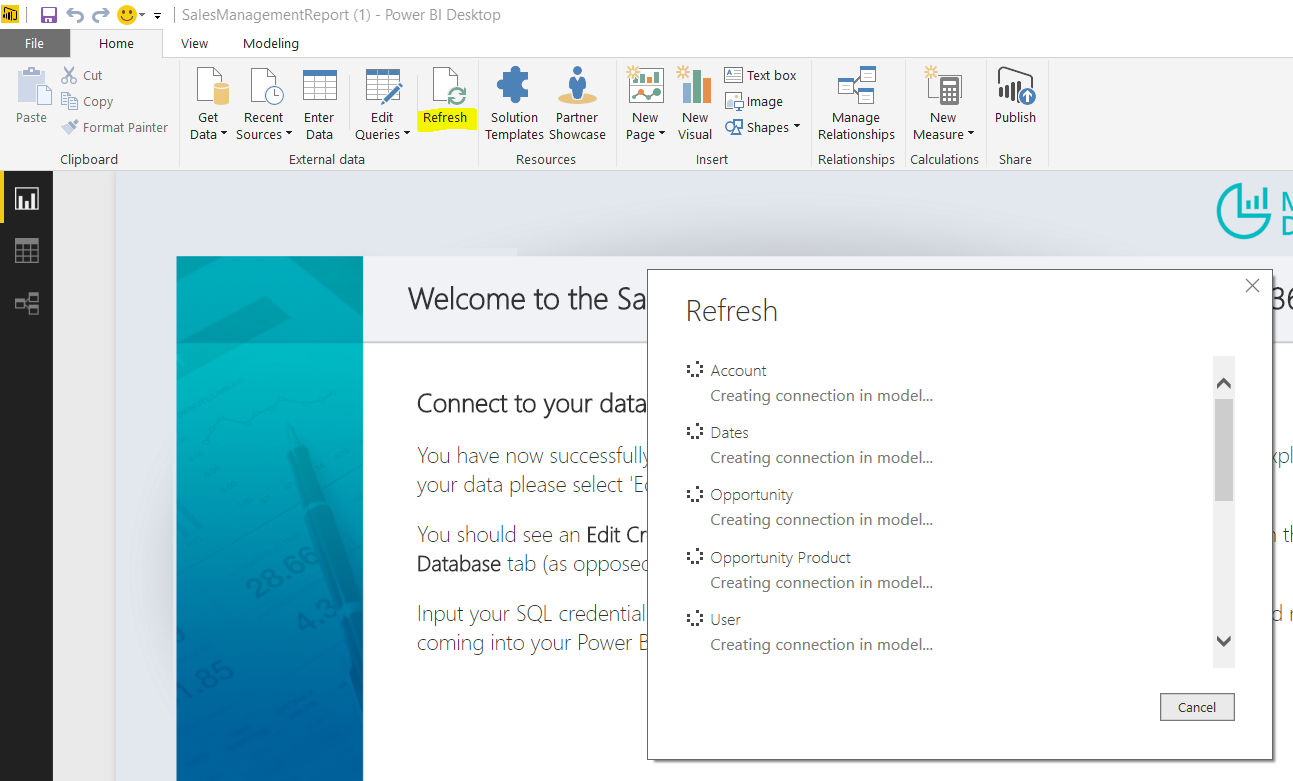
The report data will update.
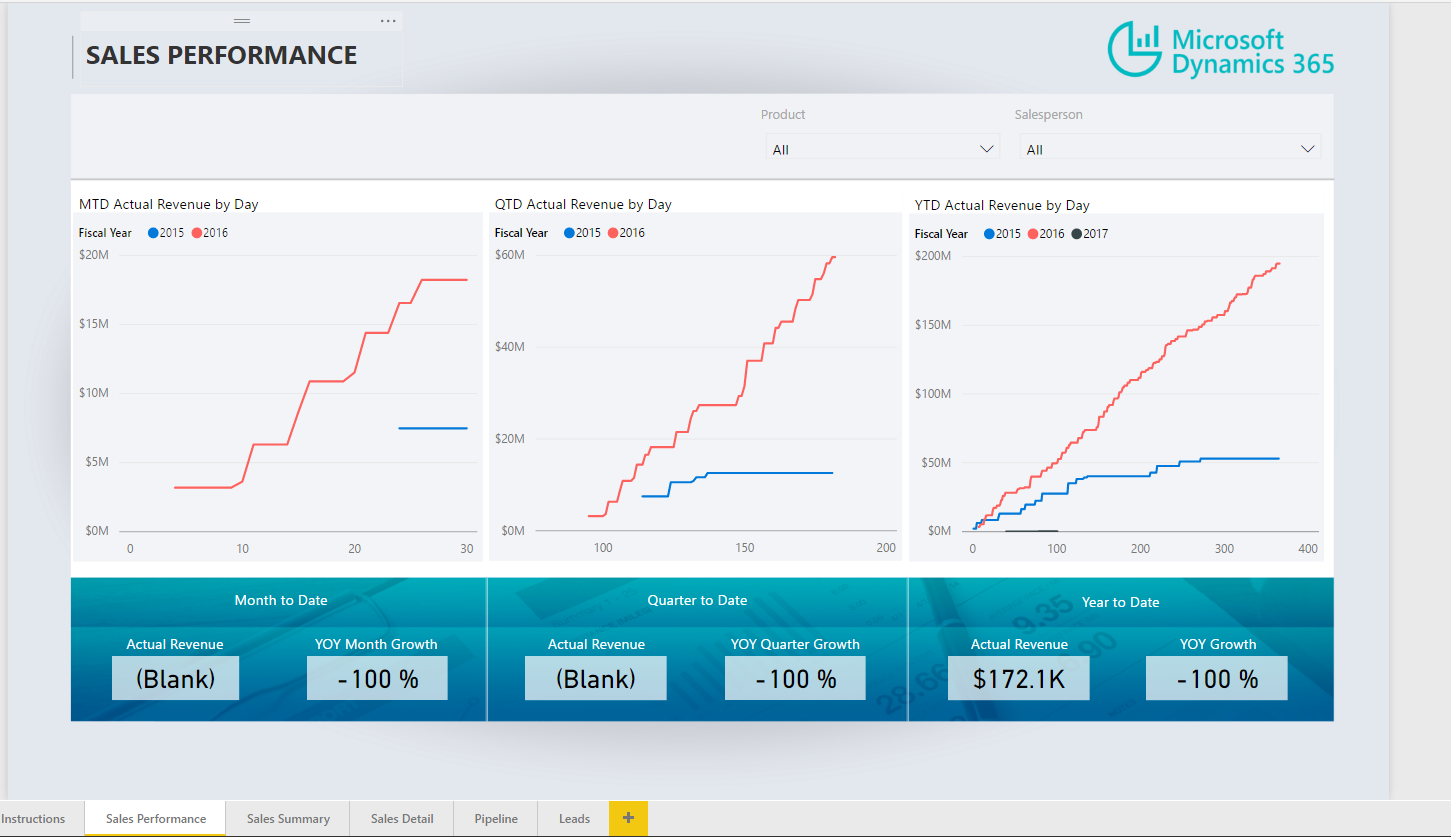
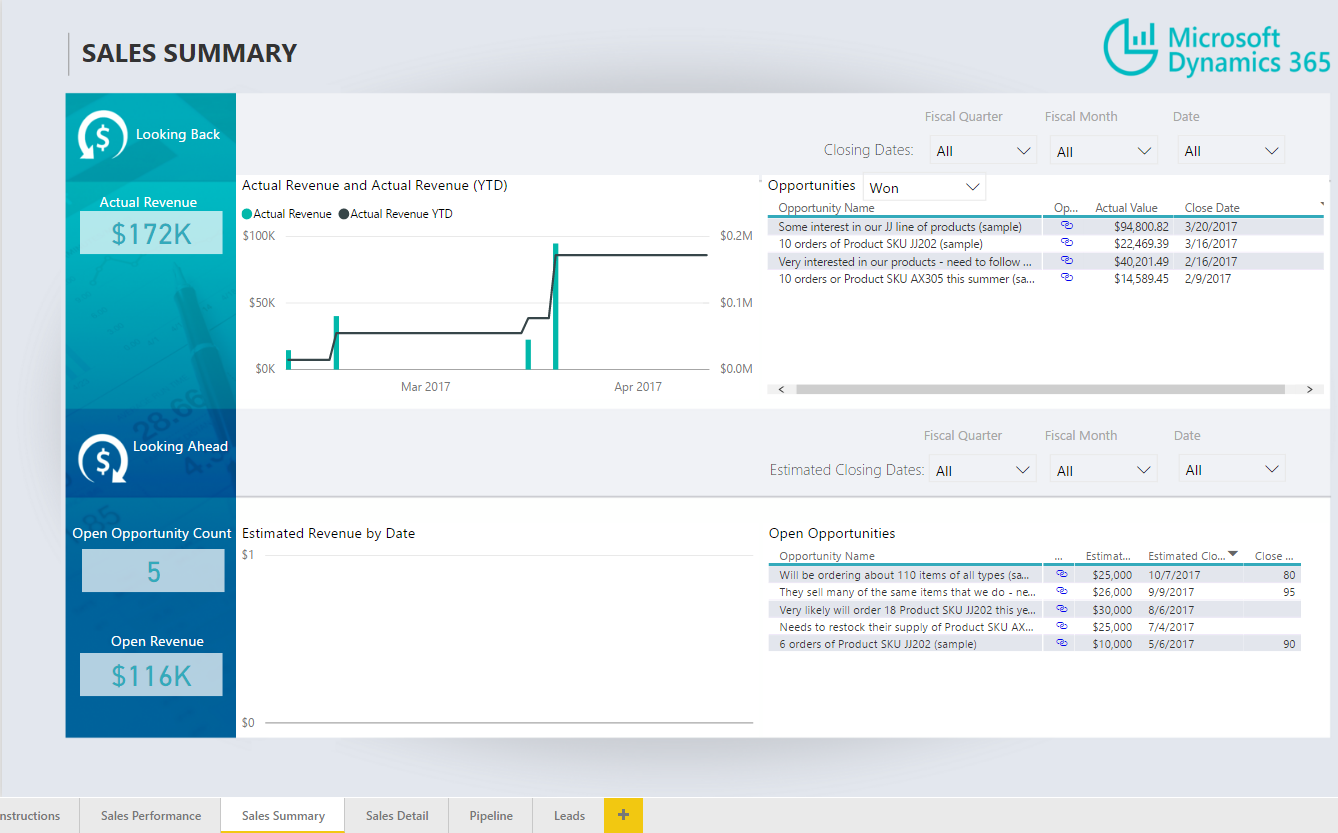
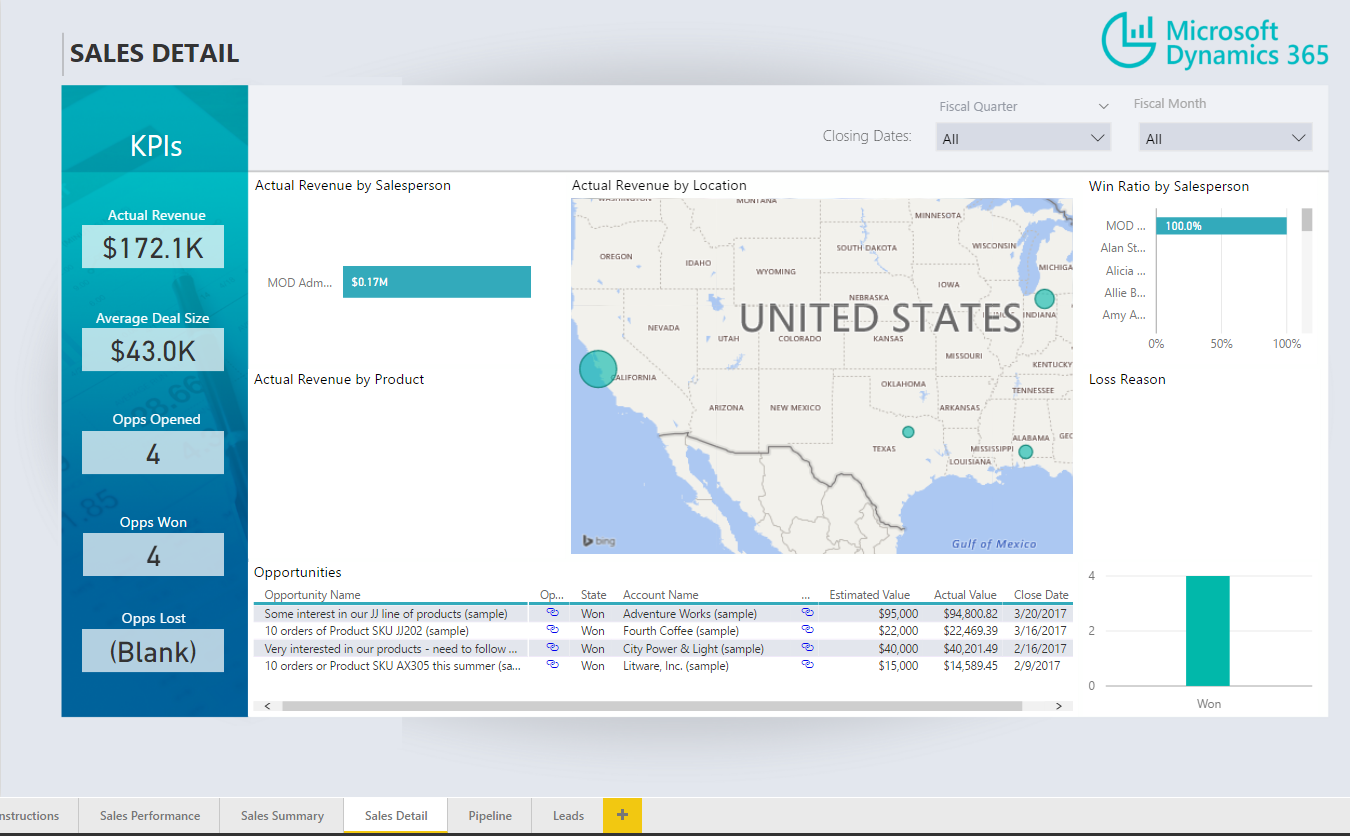
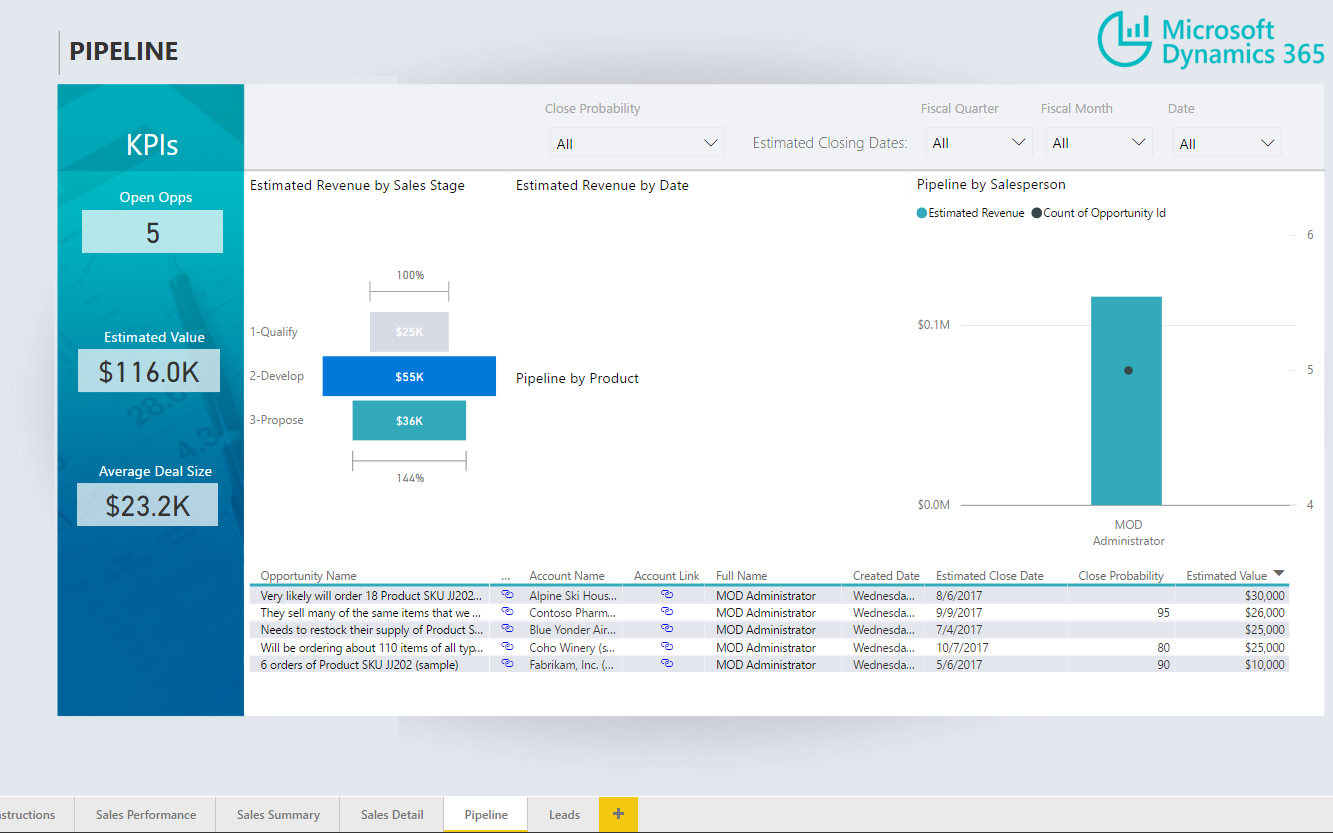
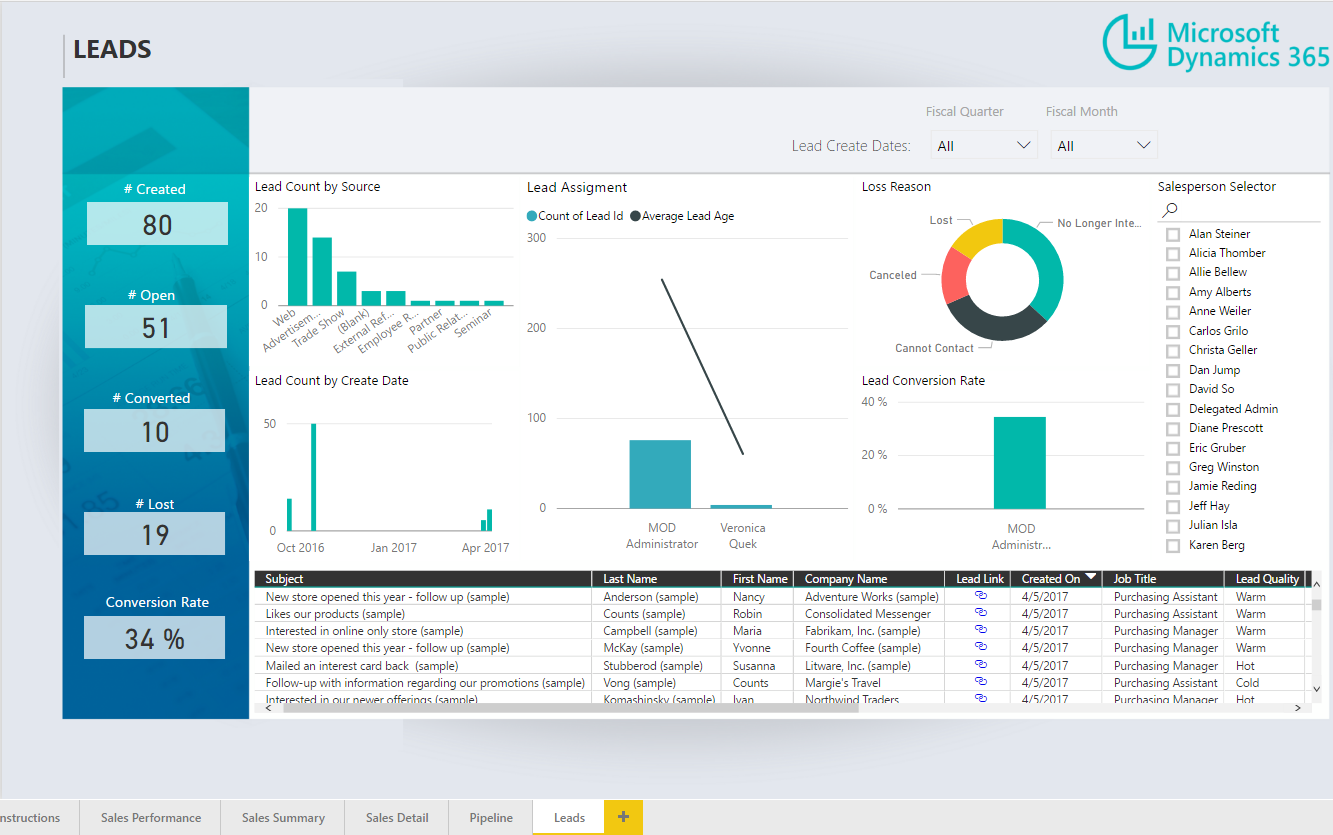
Tabs:
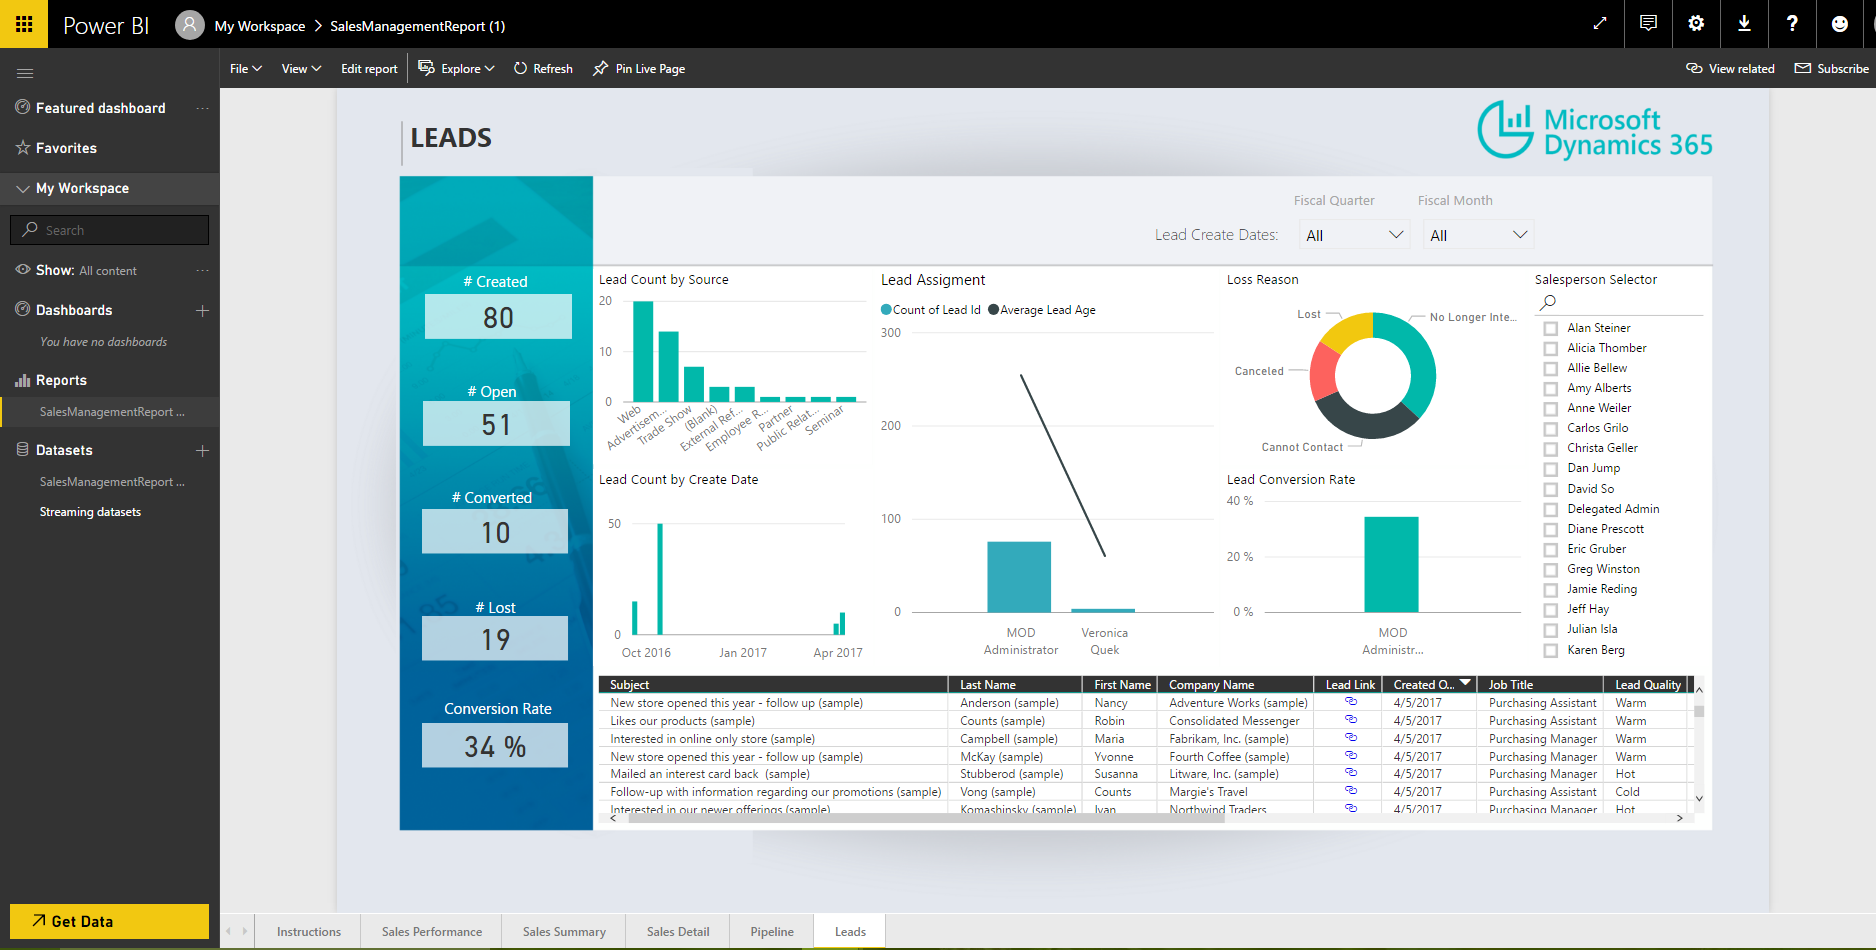
To publish to powerbi.com, select Publish and enter your Power BI credentials:

I AM SPENDING MORE TIME THESE DAYS CREATING YOUTUBE VIDEOS TO HELP PEOPLE LEARN THE MICROSOFT POWER PLATFORM.
IF YOU WOULD LIKE TO SEE HOW I BUILD APPS, OR FIND SOMETHING USEFUL READING MY BLOG, I WOULD REALLY APPRECIATE YOU SUBSCRIBING TO MY YOUTUBE CHANNEL.
THANK YOU, AND LET'S KEEP LEARNING TOGETHER.
CARL
