In this post, we will look at how to use the AI Builder for PowerApps and Dynamics 365 to predict an outcome in the Microsoft Power Platform. Note at the time of writing this is Preview functionality.
The AI Builder is an Artificial Intelligence feature of the Microsoft Power Platform that is used to perform AI functionality. In this post, we will look at a Binary Classification example.
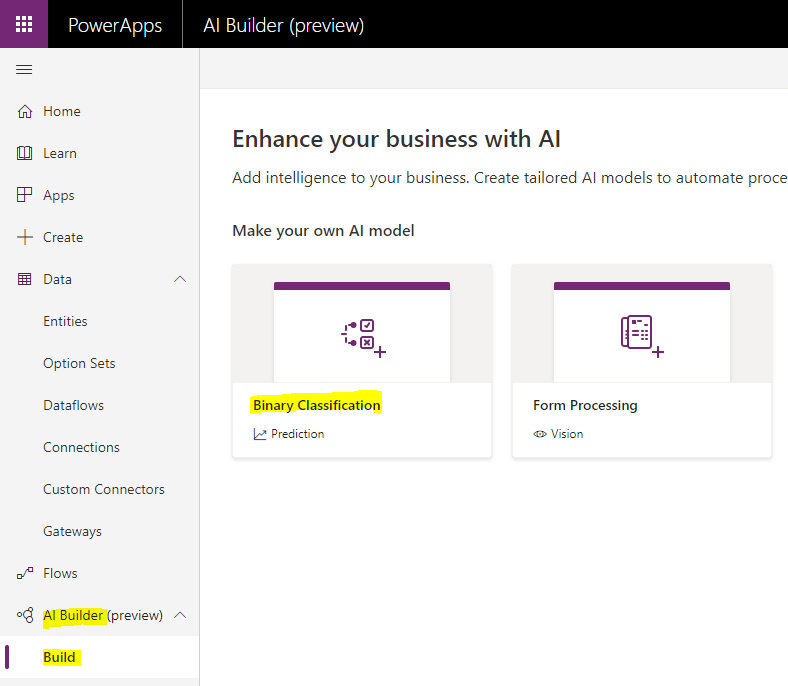
First, go to https://make.powerapps.com/ and select your environment. You will see AI Builder in the bottom left of the menu. Select to expand it, then click on Build:
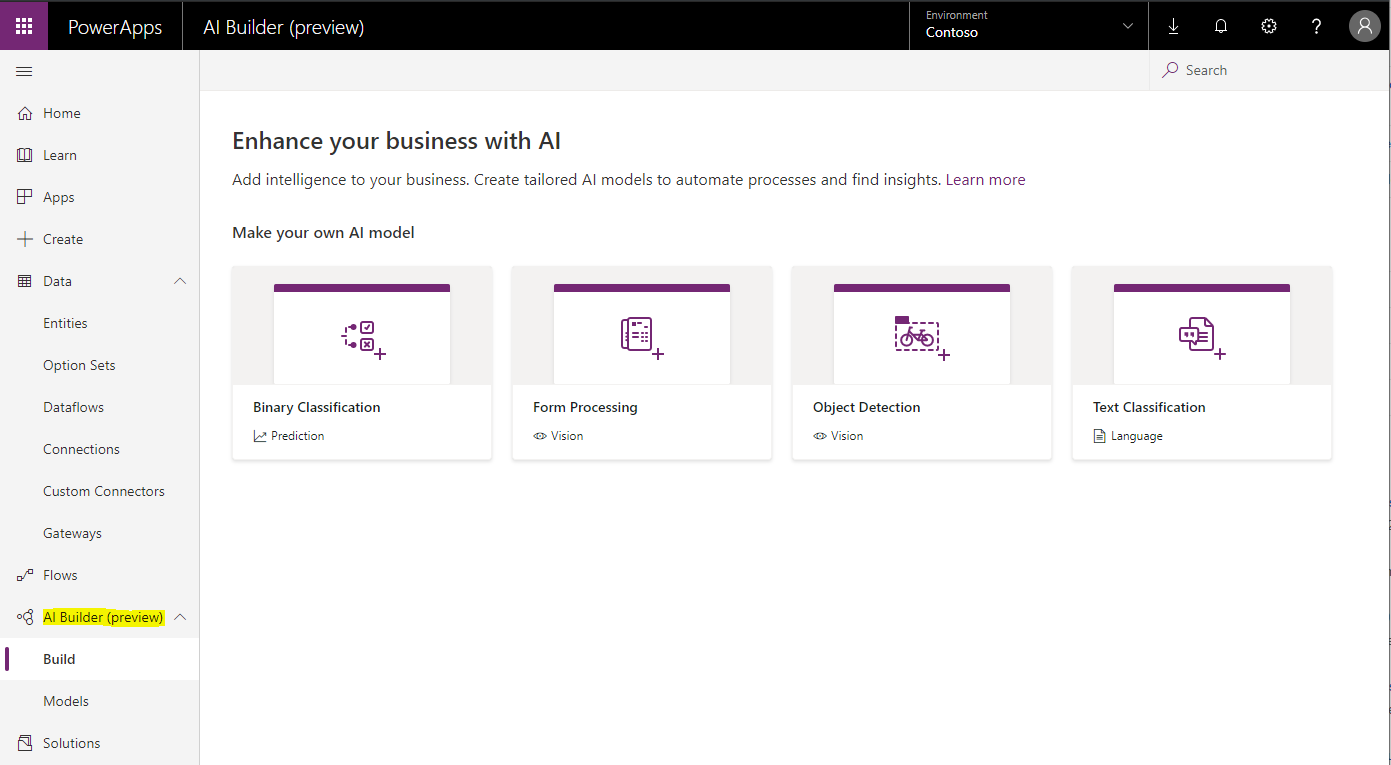
We can see there are 4 types of AI models we can create:
- Binary Classification
- Form Processing
- Object Detection
- Text Classification
Let’s create a Binary Classification (we will go through other examples in other posts).
The binary classification models predict one of two outcomes, such as yes/no, true/false, etc. Let’s go through a Microsoft sample of the Binary Classification, where we predict a Yes/No field called Revenue to determine if the customer will produce any revenue.
Create or Prepare a PowerApp / Dynamics 365
We will first upload a new solution to our PowerApps/Dynamics 365 environment that contains fields for our data. In our case, it holds data from online shoppers.
Go to https://go.microsoft.com/fwlink/?linkid=2093415 and download the solution file AIBuilderOnlineShopperIntention_1_0_0_0.zip:
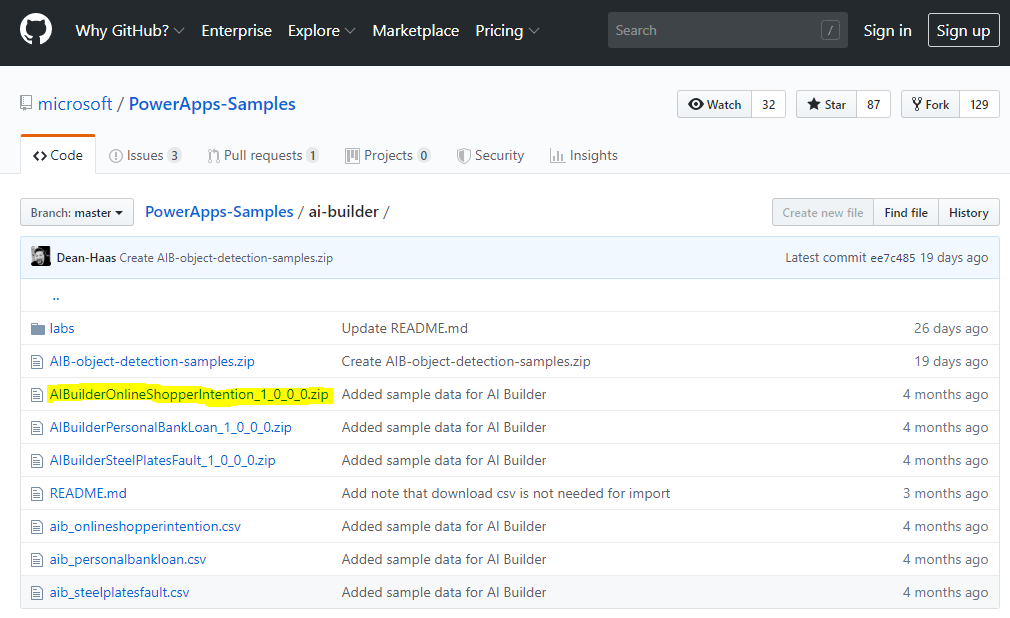
Click Download: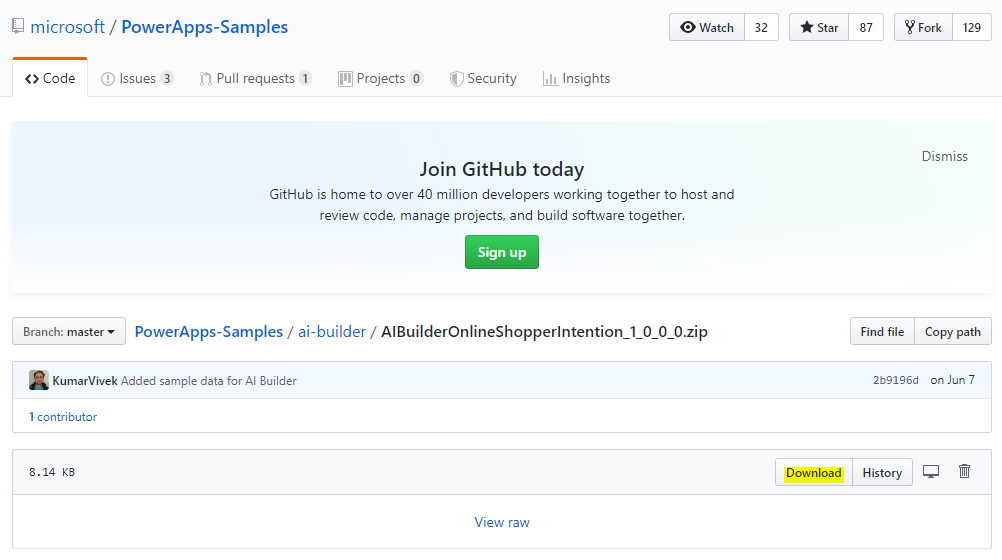
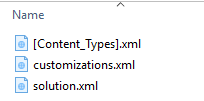
This will download:
![]()
We don’t need to open this file, but if we did, we can see it is a PowerApps solution:
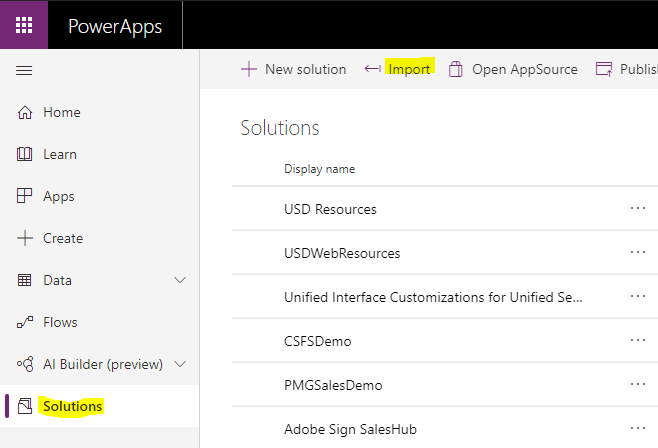
Import the downloaded Solution. Go to Solutions and select Import:
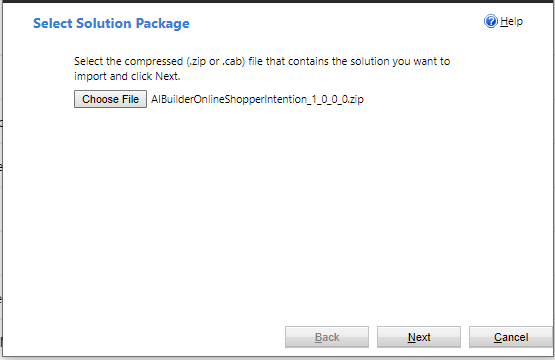
Select the file we downloaded and click Next:
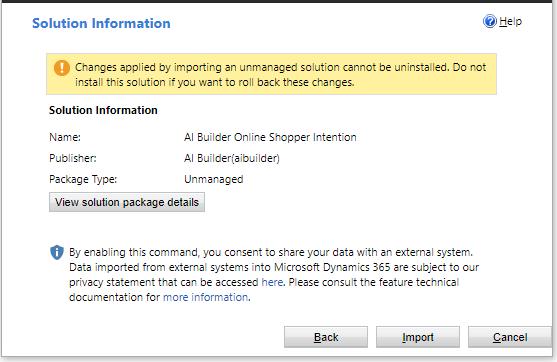
Click Import:
Once complete, Publish All Customizations:
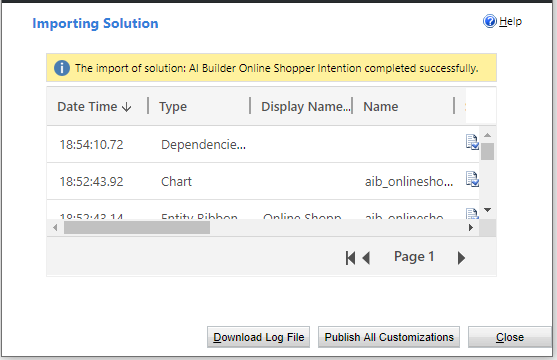
Click Close when complete.
Upload the Data
The Sample data is located in the same GitHub location at https://github.com/microsoft/PowerApps-Samples/tree/master/ai-builder. Go to the site and select the csv file:
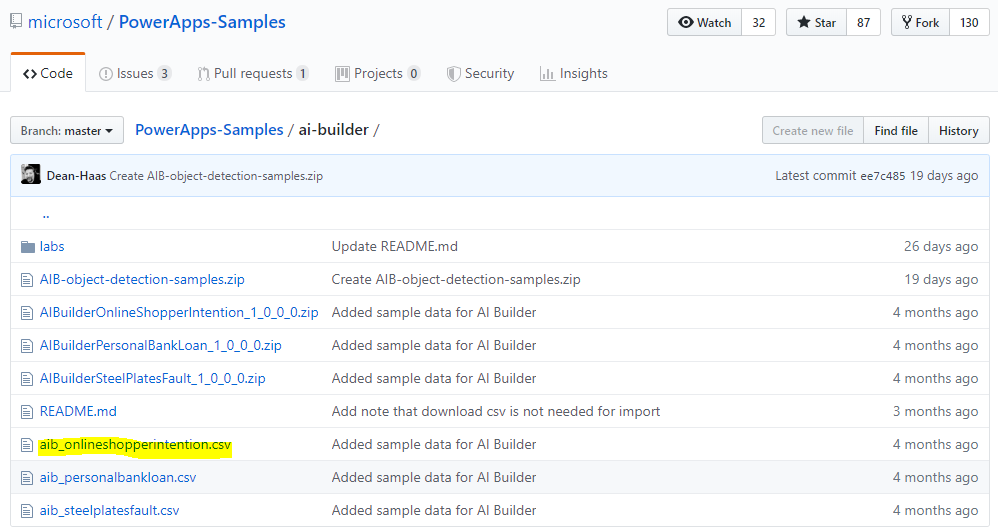
And Download:

In my case, this displays the file in my browser:
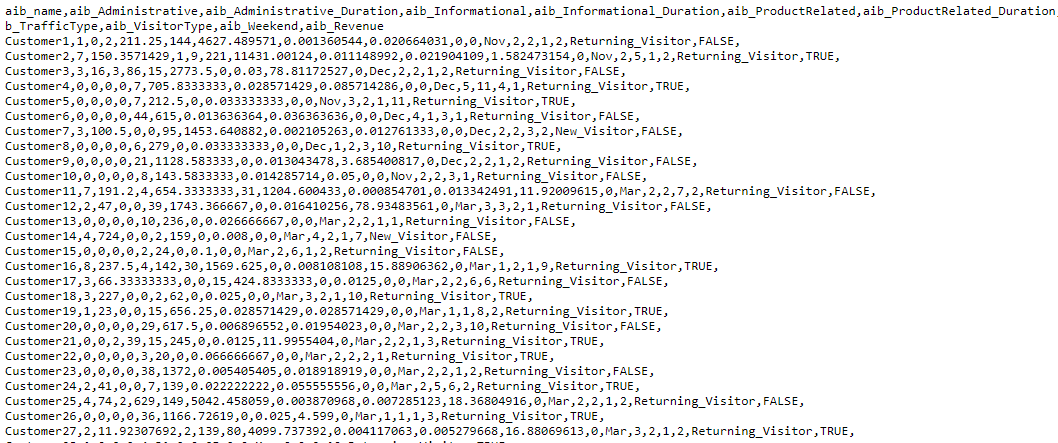
Right-click and Save and CSV:

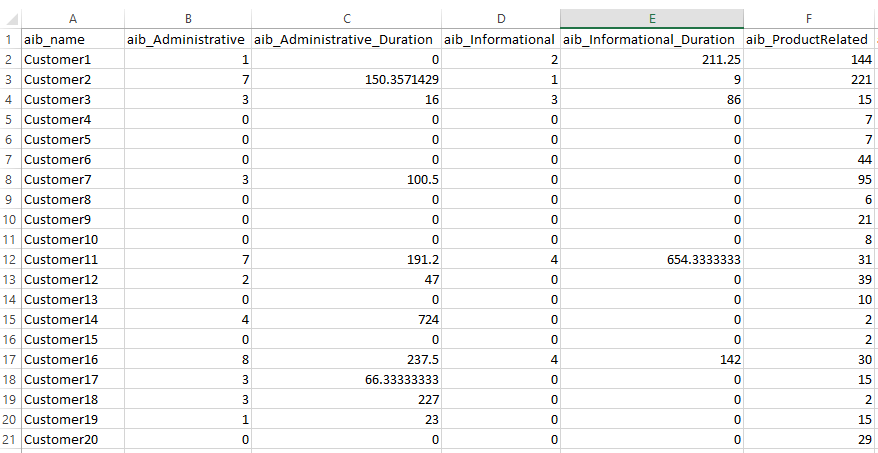
Open the CSV file in Excel to view the data (optional):
![]()
This is the data we are uploading.
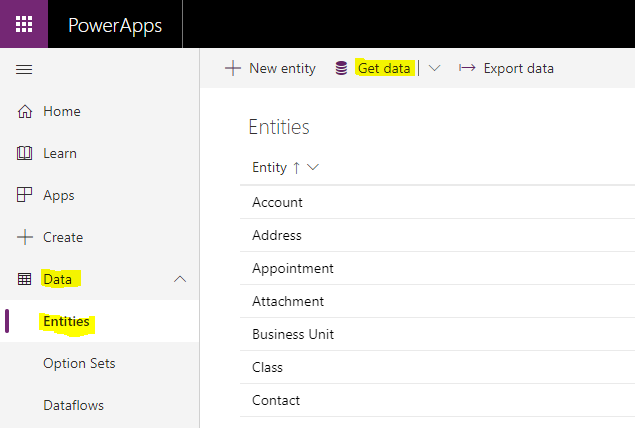
Click on Data->Entities, then Get Data:
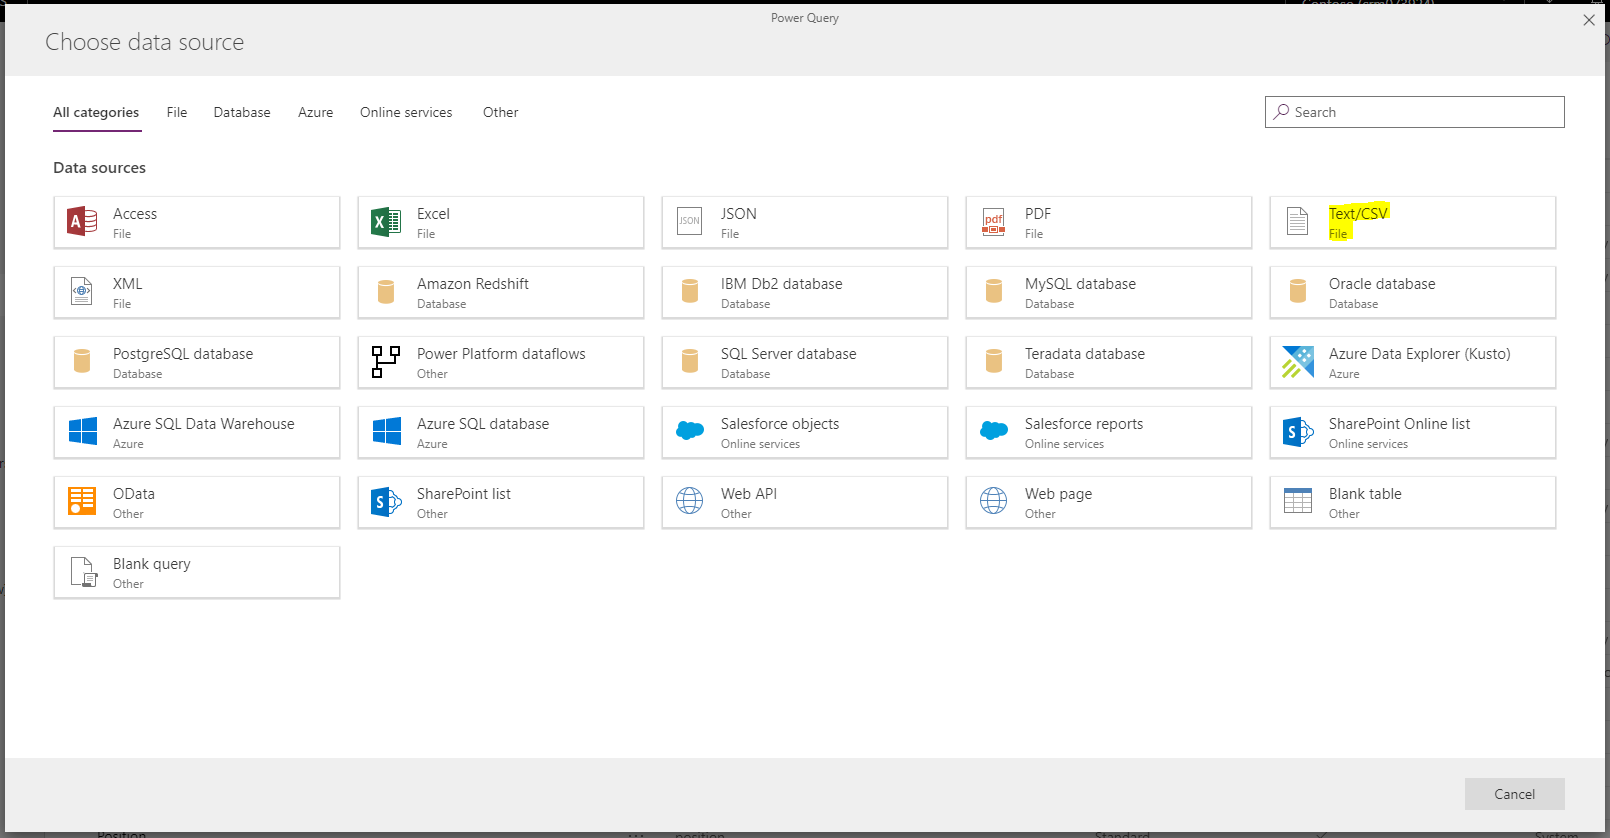
This opens Power Query. Select Text/CSV as the data source type:
Our CSV data is also hosted at the following location. Copy the location: https://raw.githubusercontent.com/microsoft/PowerApps-Samples/master/ai-builder/aib_onlineshopperintention.csv. Next, paste it into the File Path or URL field, then click Next: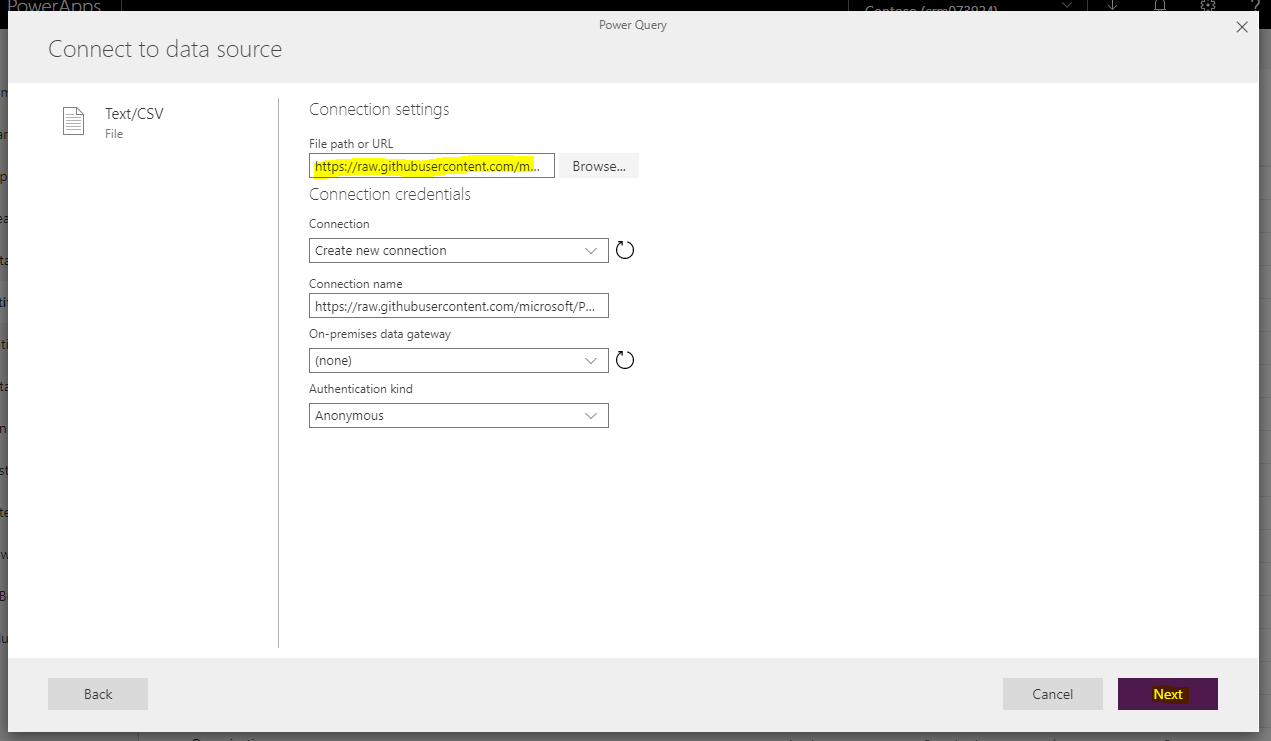
This brings us to the Power Query Editor.
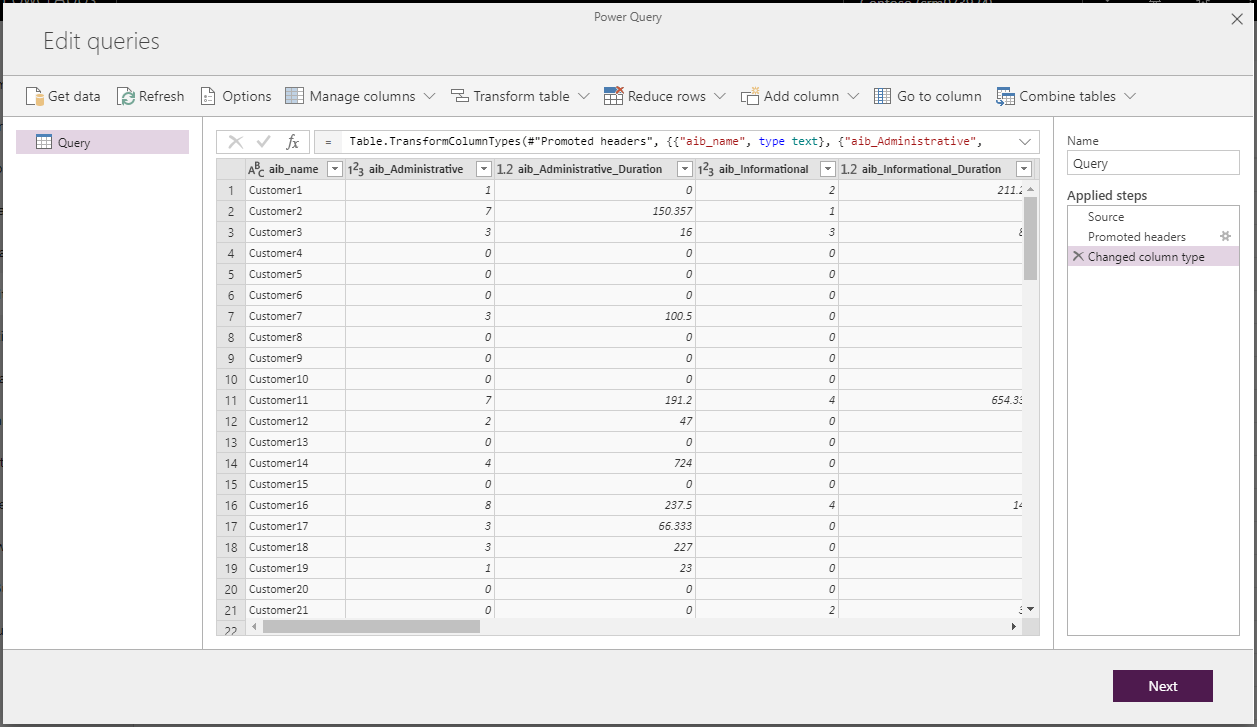
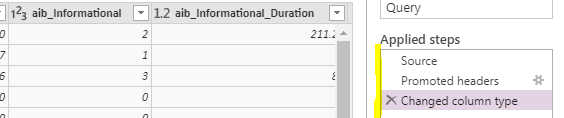
We can see Power Query has performed a couple of steps already – promoting the first row to headers of the table, and changing the column types:
Click Next. We see the Load Settings. Select Load to existing entity and select our new Online Shopper Intention entity:
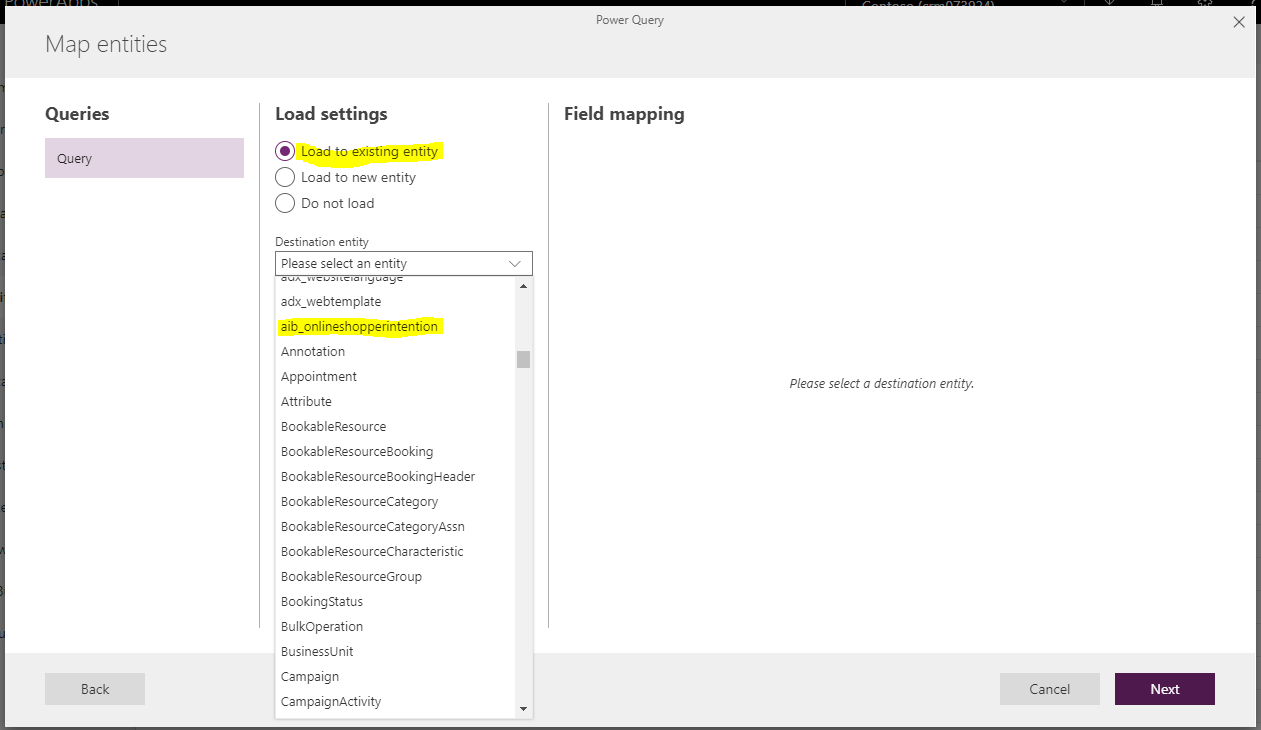
We see the source columns are not mapped:
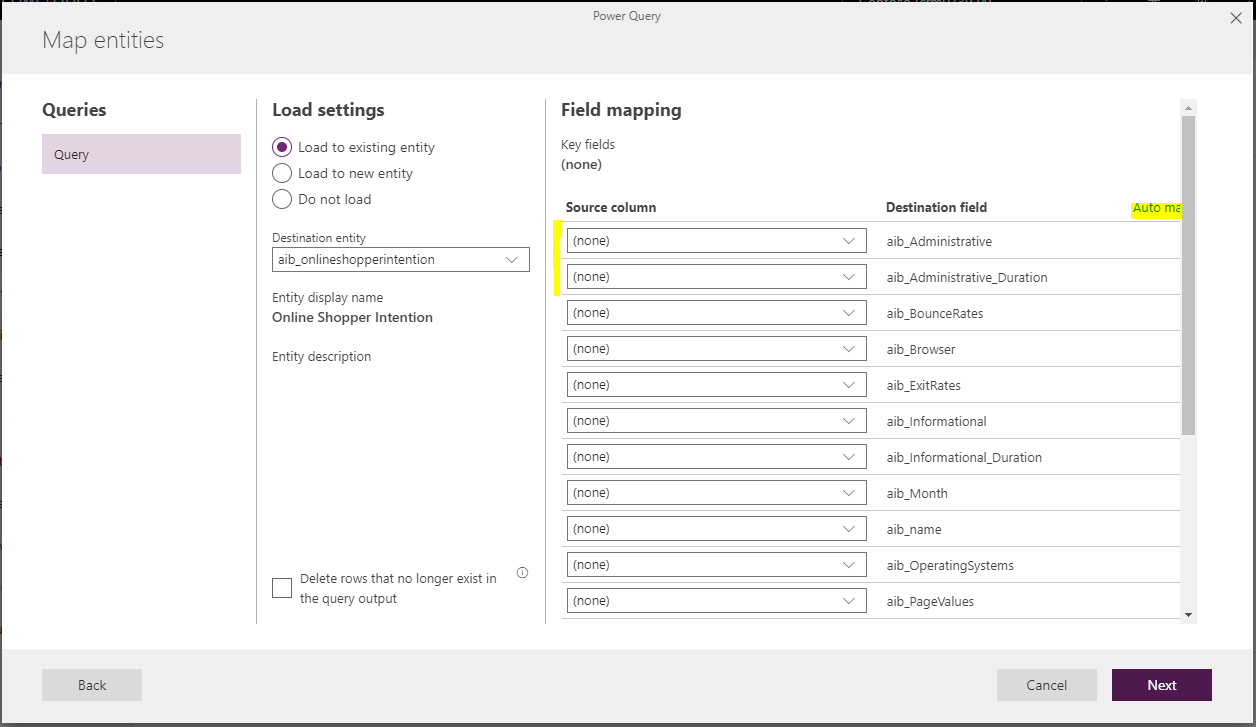
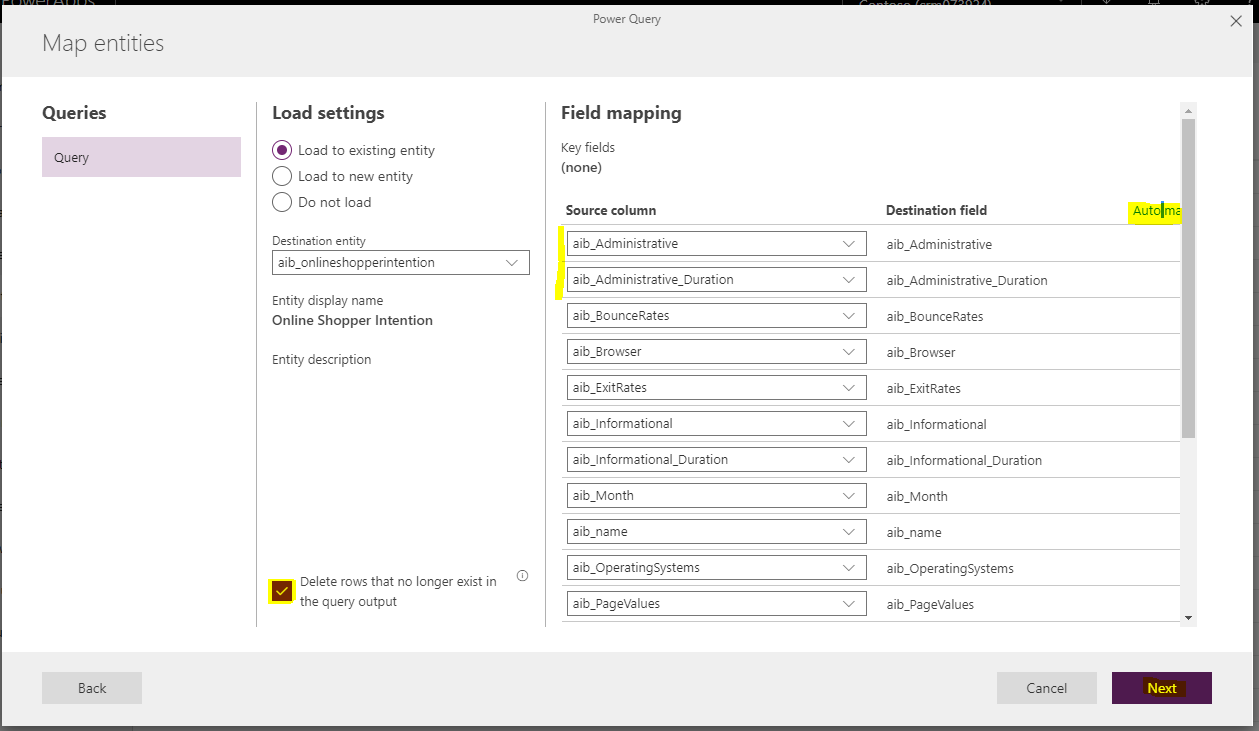
Select Auto-map to populate the source columns, check “Delete rows that no longer exist in the query output” and click Next:
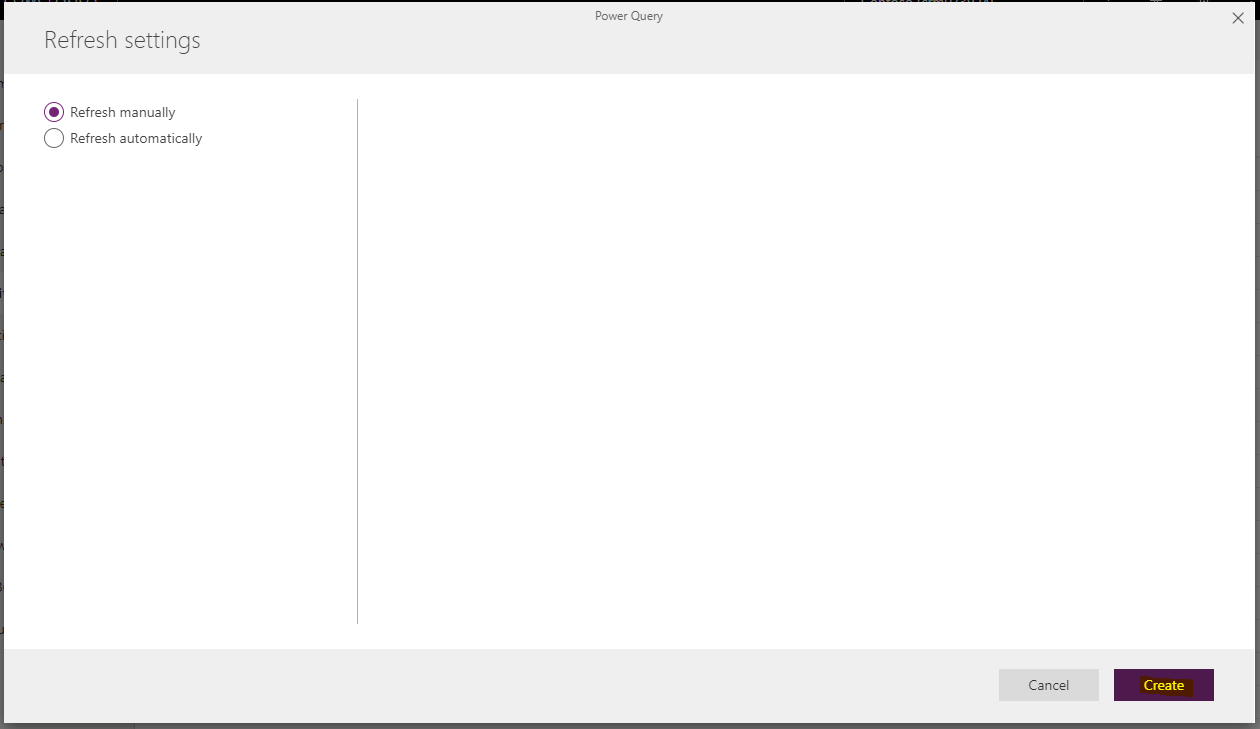
Select Refresh Manually and click Create:
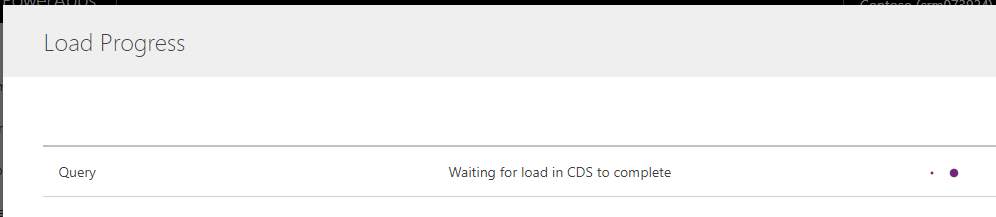
You will see Load Progress:
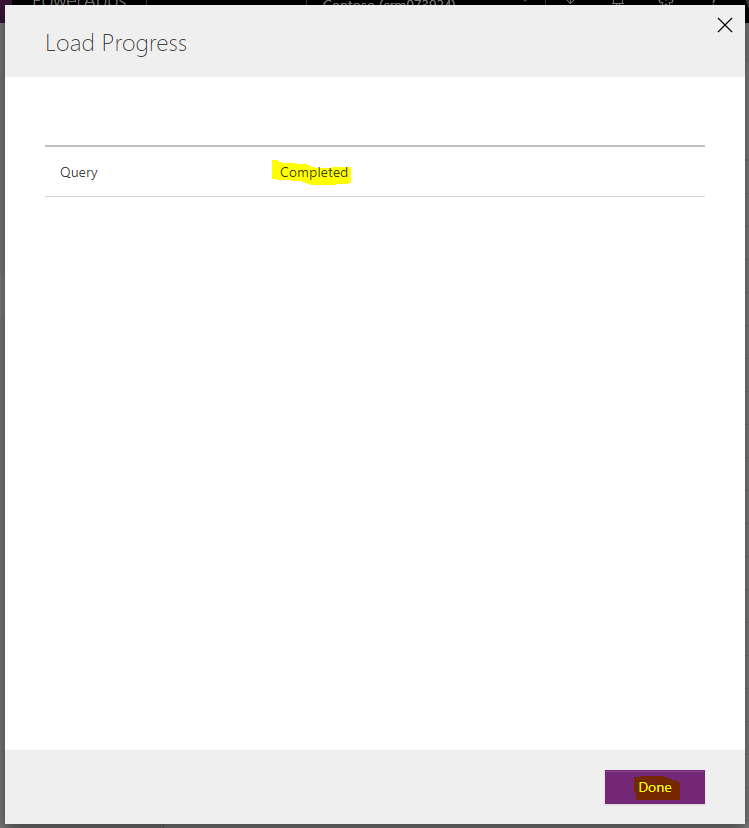
Once completed, click Done:
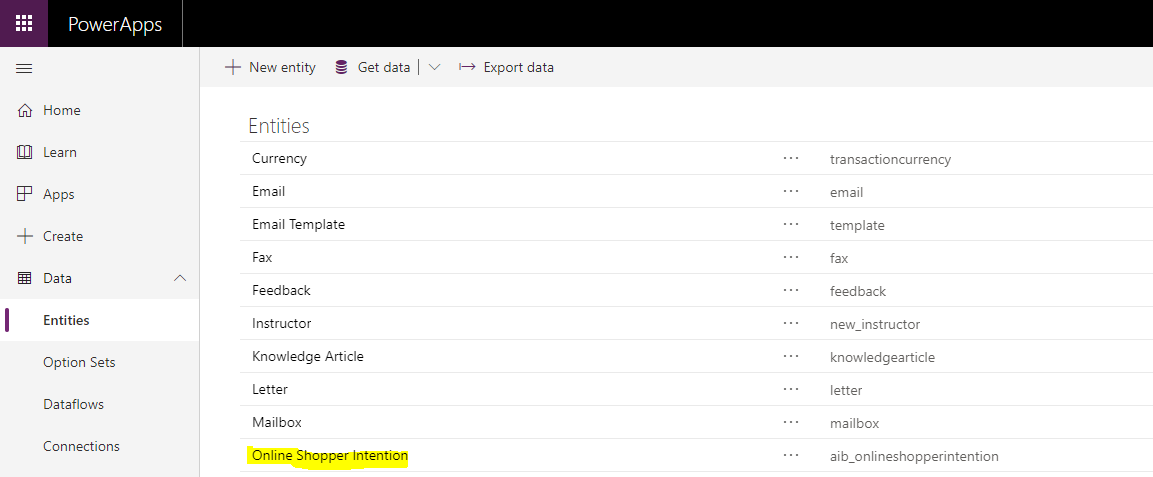
Now, under Entities select Online Shopper Intention:
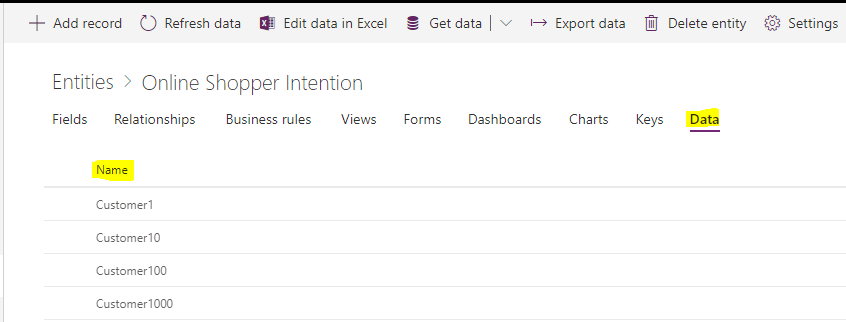
Click on Data to see the data that has been imported. We are now ready to build our prediction app:
Building the AI Model
Click on AI Builder->Build, then select Binary Classification:
Give this a name. We will call it Online Shopper Prediction. Click Create: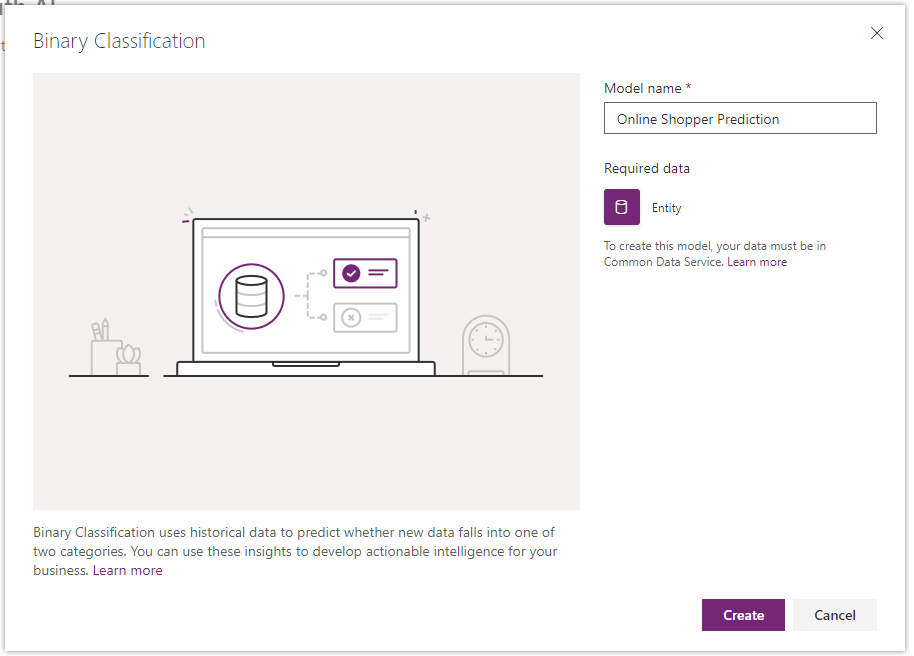
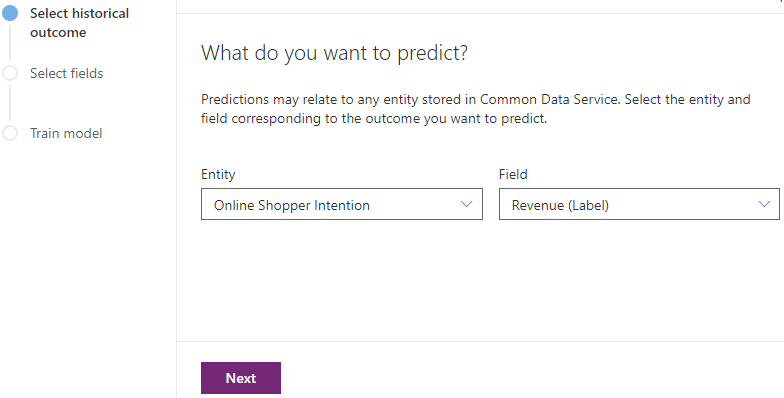
Select Online Shopper Intention has the entity, and we are presented with fields we would like to predict. In our case, it is showing the fields with Two Options data types that have 2 outcomes, Revenue and Weekend. We will select Revenue as our field to predict:
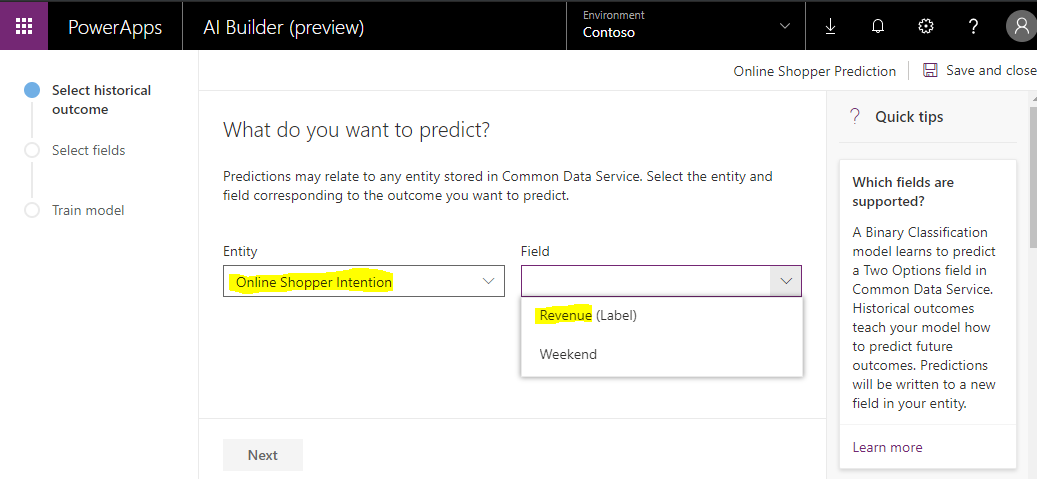
Click Next:
We now get to choose which fields to use in our prediction. All fields have been preselected, with some exclusions such as Customer, Owner, Lookup, Image.
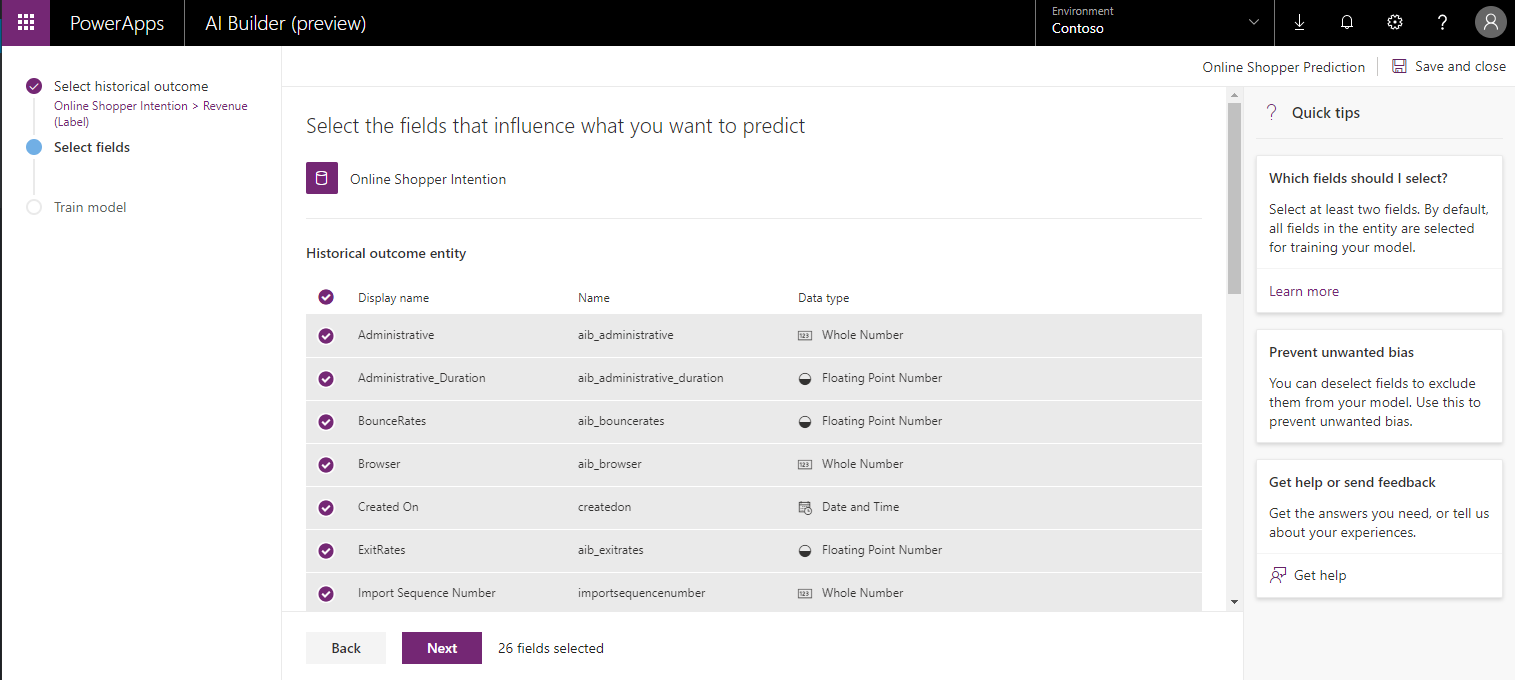
Uncheck any fields that you do not want the model to use, such as Name, Version Number etc, and click Next: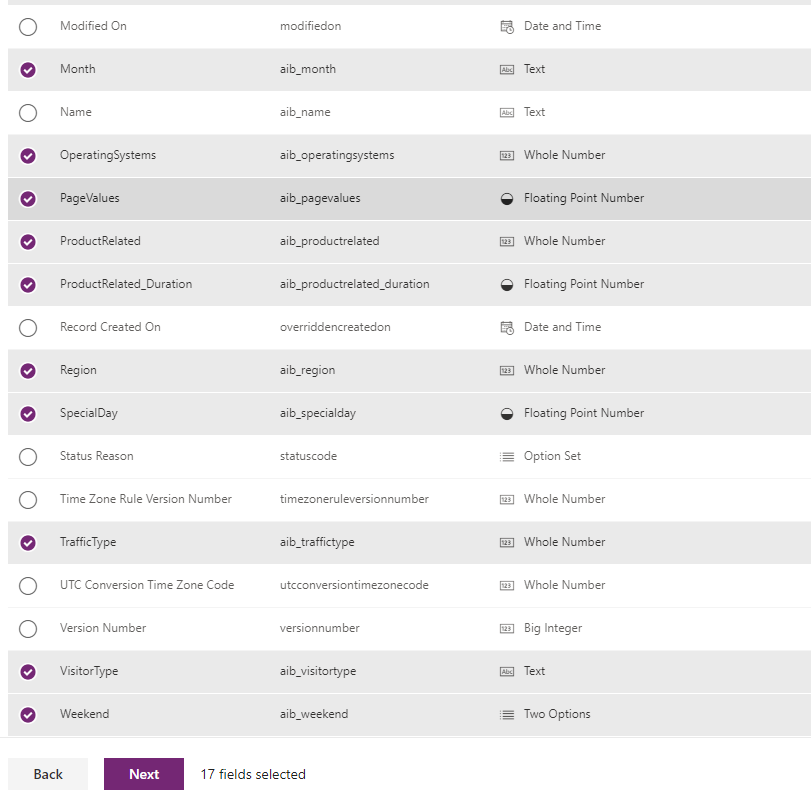
We are now ready to train the model. Confirm the information and click Train: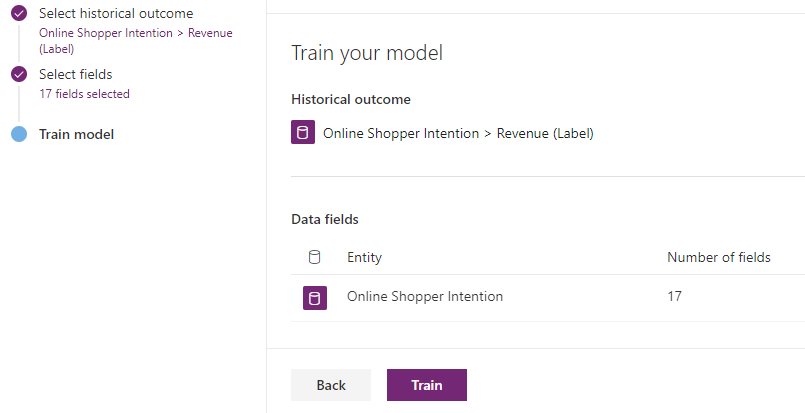
You will see the following message:
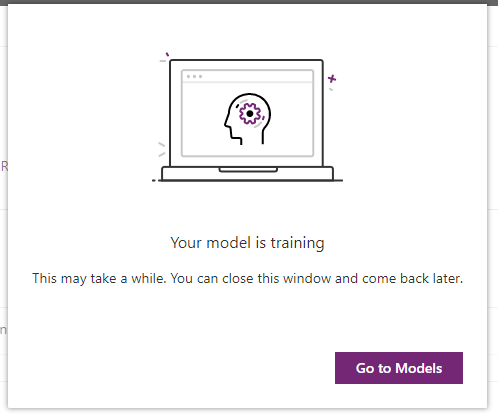
On clicking Go to Models, we can see the model is training:
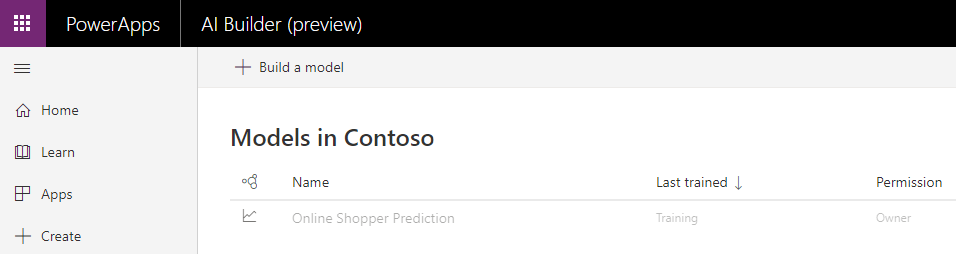
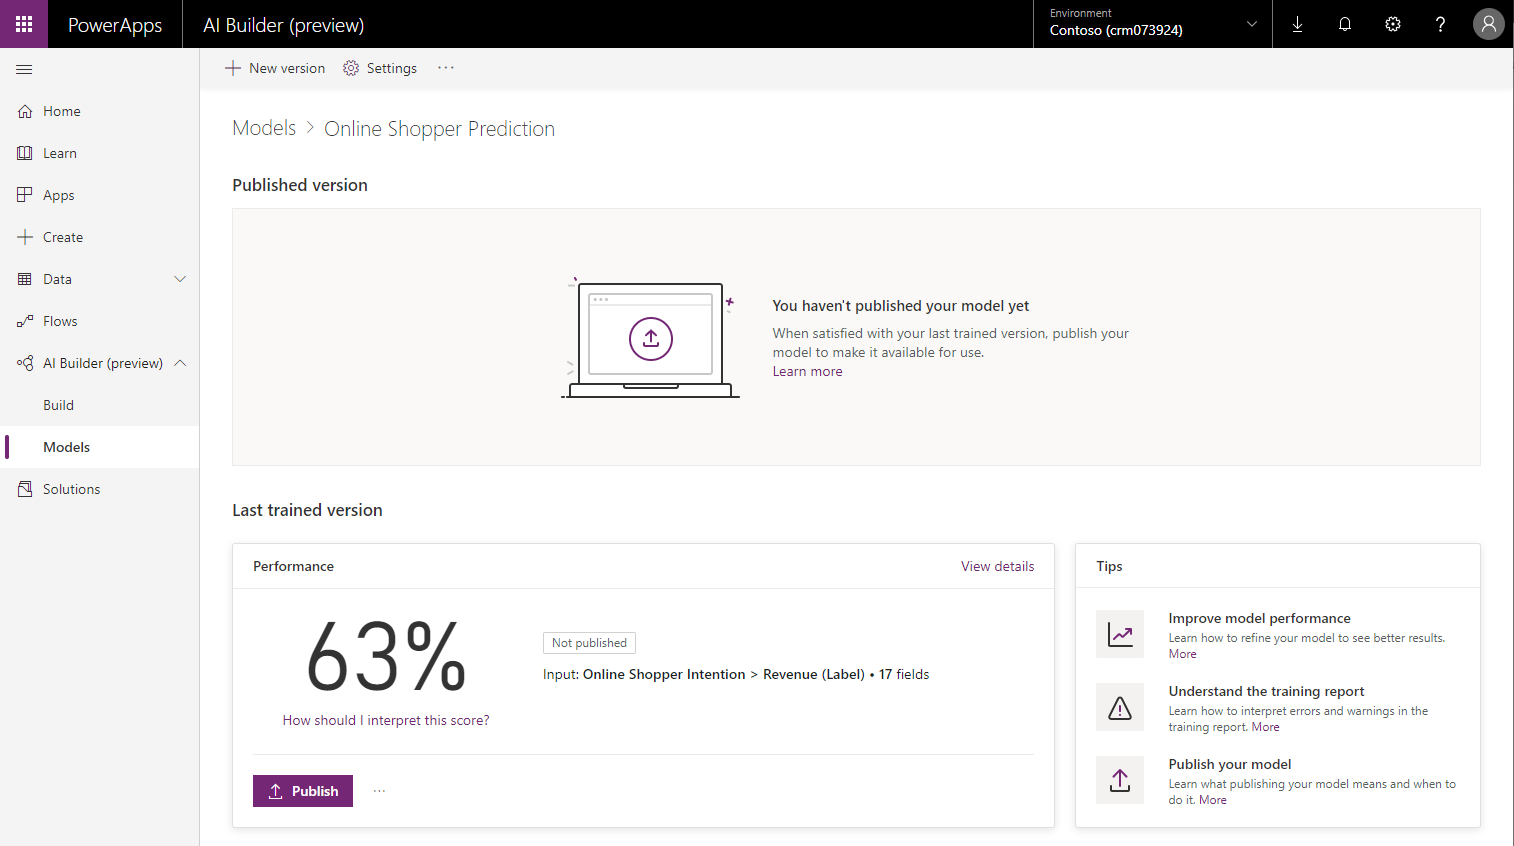
Once complete, select the model to open it. We can see a score provided with the model. See here for more information on model scores for binary classifications. The higher the score of the model, the better the model performs.
That it. We have now built an AI model using AI Builder. In the next post, we will look at how to embed and view these models inside PowerApps and Dynamics 365.
I AM SPENDING MORE TIME THESE DAYS CREATING YOUTUBE VIDEOS TO HELP PEOPLE LEARN THE MICROSOFT POWER PLATFORM.
IF YOU WOULD LIKE TO SEE HOW I BUILD APPS, OR FIND SOMETHING USEFUL READING MY BLOG, I WOULD REALLY APPRECIATE YOU SUBSCRIBING TO MY YOUTUBE CHANNEL.
THANK YOU, AND LET'S KEEP LEARNING TOGETHER.
CARL
