North52 has a Quick Button App that allows you to add buttons to Dynamics 365 forms.
In this post we will go through adding one of these buttons.
First, install the North52 Quick Button App.
Next, we will create a formula that sets a field on the Account. We will set the Description field of an Account to “Important customer”. Note there are many better uses for North52 formulas but this is a basic example.
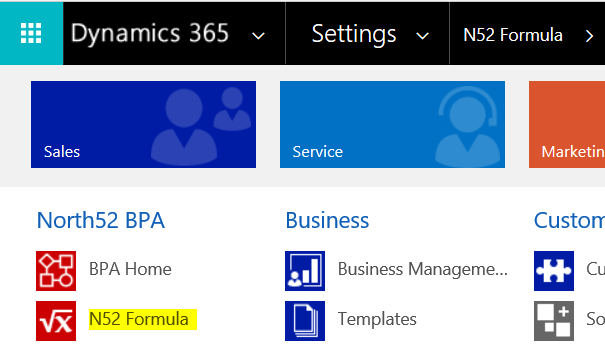
To create the North52 formula, go to Settings->North52 Formula:
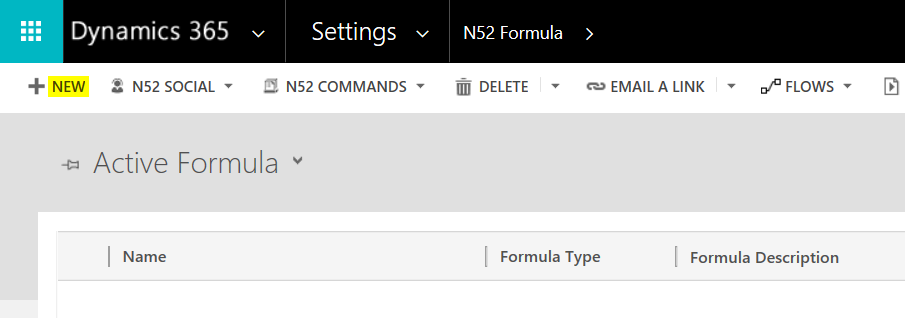
Click New:
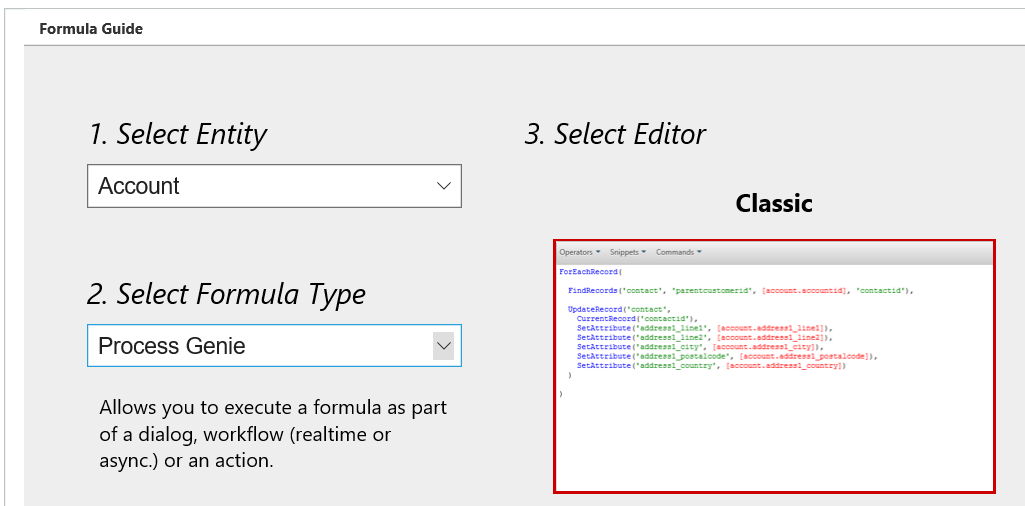
Select the Account entity and Process Genie:

Enter the formula below, which updates the account record with the new description:
UpdateRecord('account',
 [account.accountid],
 SetAttribute('description', 'Important Customer!'))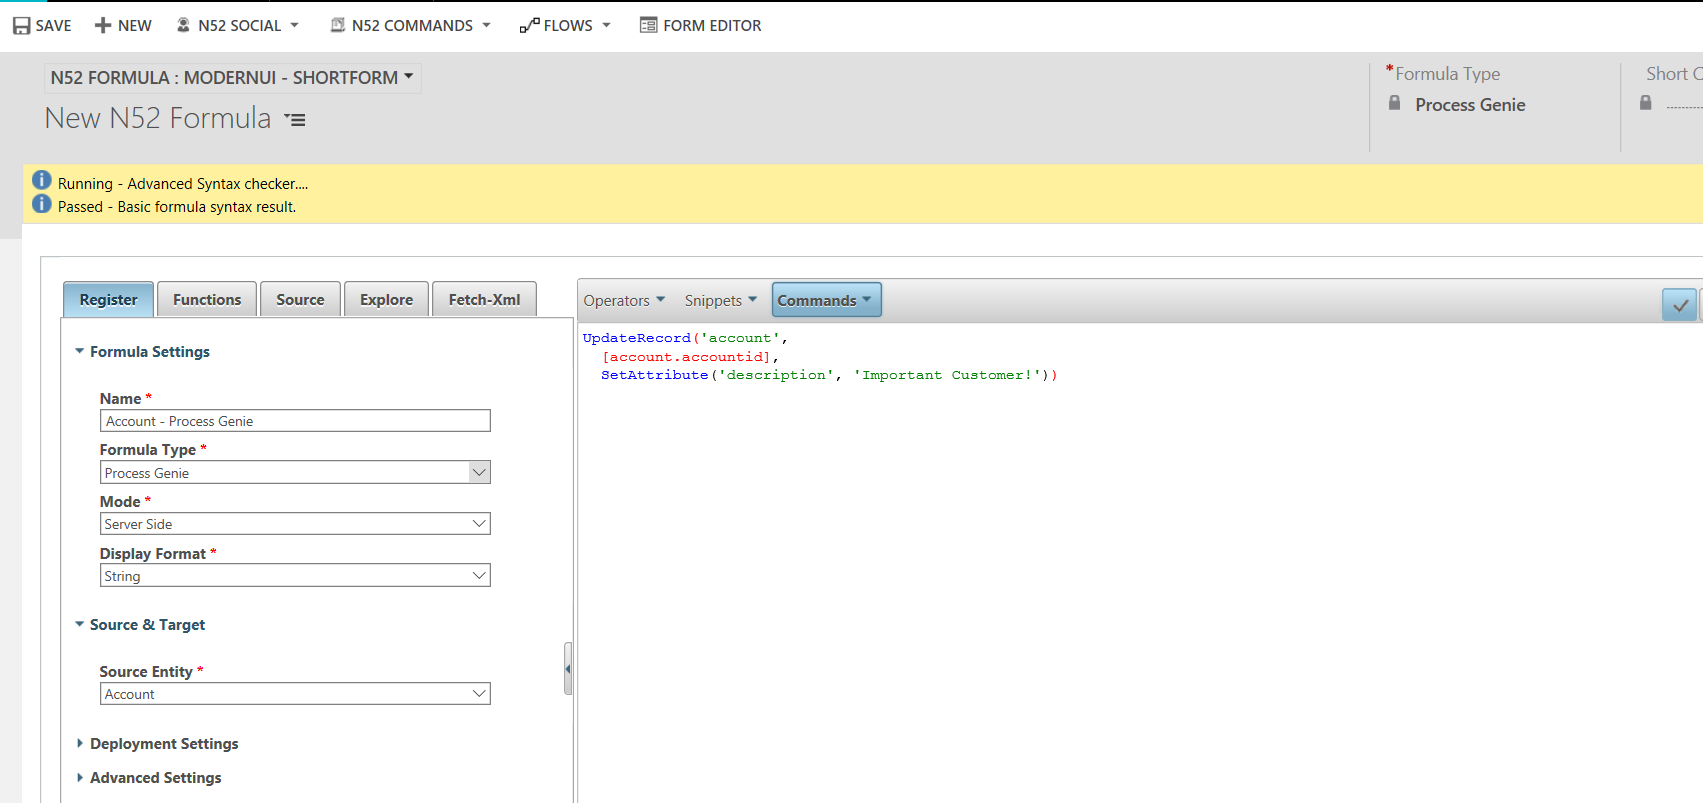
Note the formula shortcode on top right of the page. We will use this later:
Now we will add the North52 button.
Create a Solution and add the Account entity:

Open the Account form. We will add a quick button web resource:
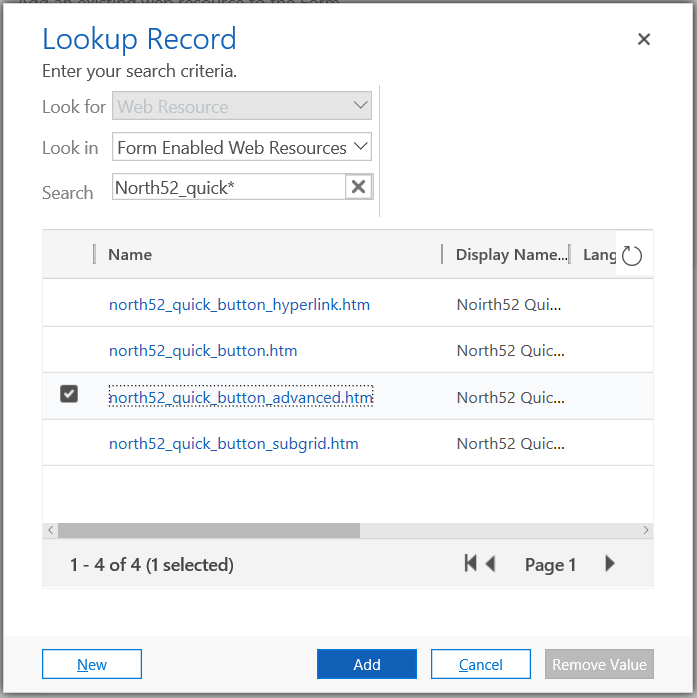
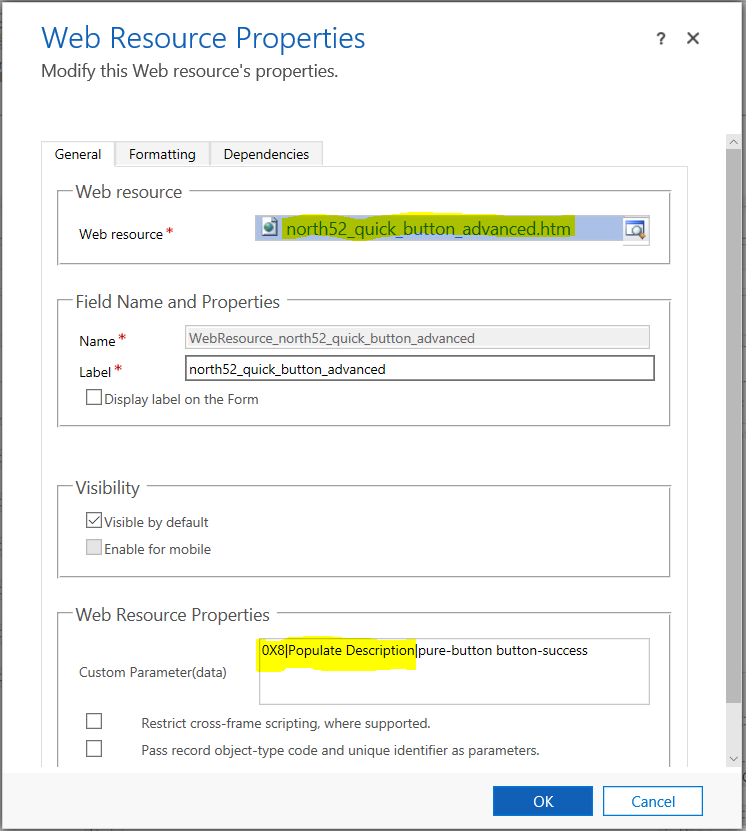
Set the properties. Note we will add to the custom parameters the short code and the button name:
0X8|Populate Description|pure-button button-success
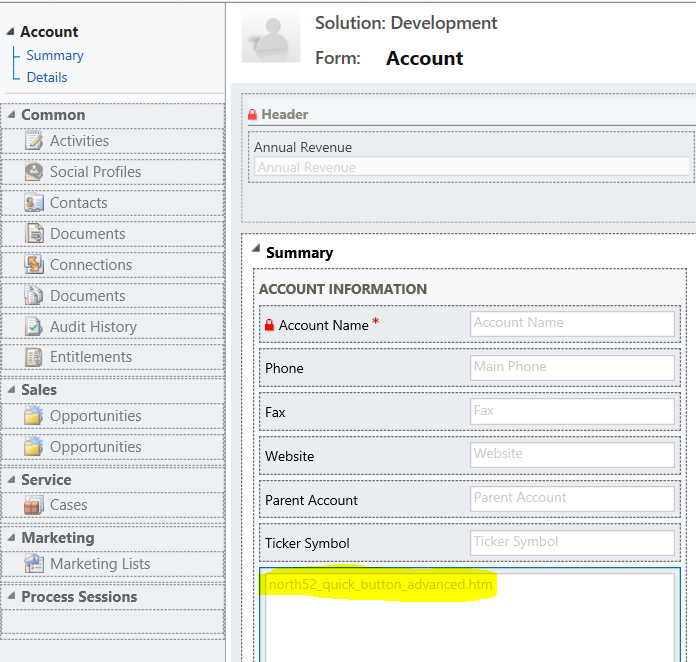
Click OK. You will see the web resource:
Click Save and Publish:
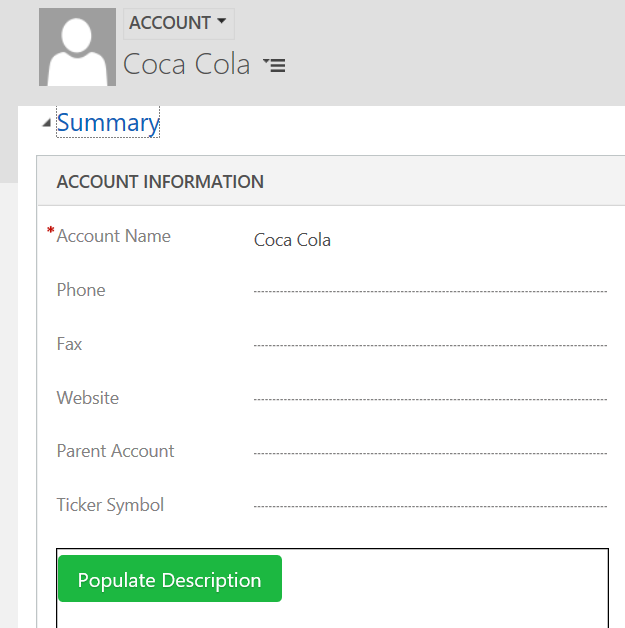
Now we will test the code. Open an Account. You will see the new button, Populate Description:
Click the button. You will see:

As the formula ran server side, refresh the page. You will see the formula has run as the Description has been populated:

I AM SPENDING MORE TIME THESE DAYS CREATING YOUTUBE VIDEOS TO HELP PEOPLE LEARN THE MICROSOFT POWER PLATFORM.
IF YOU WOULD LIKE TO SEE HOW I BUILD APPS, OR FIND SOMETHING USEFUL READING MY BLOG, I WOULD REALLY APPRECIATE YOU SUBSCRIBING TO MY YOUTUBE CHANNEL.
THANK YOU, AND LET'S KEEP LEARNING TOGETHER.
CARL


