In this post, we will look at how to add a button to a Dynamics 365 Power Apps Form that receives parameter data.
First, let’s look at passing context.
Create a new JavaScript web resource and add it to the Account form.
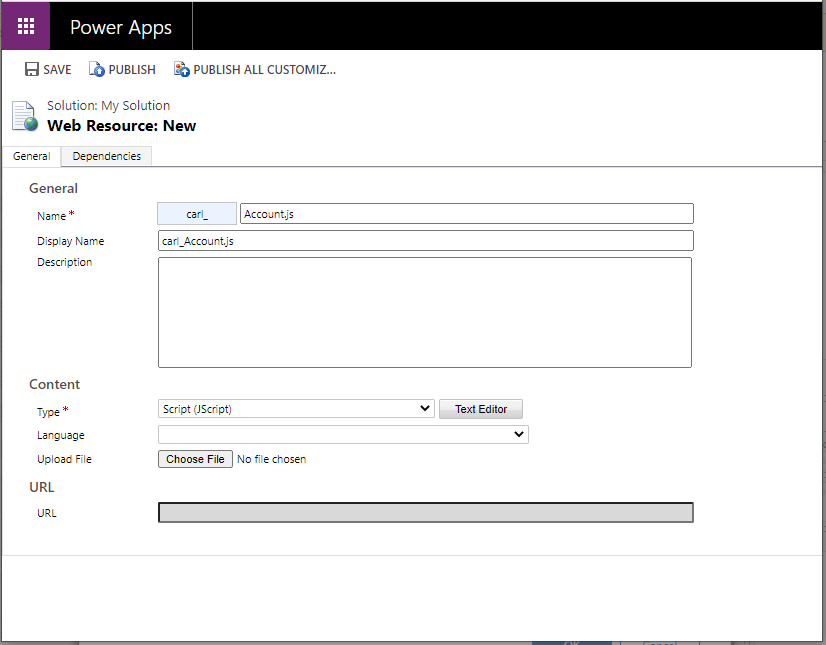
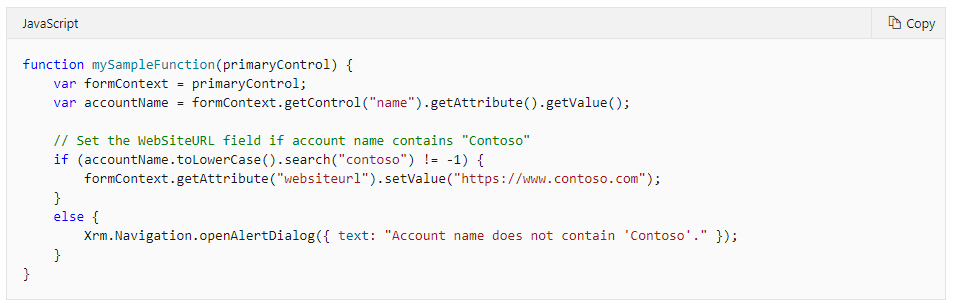
We will add the sample code below, which takes PrimaryControl as the first parameter, and if the name of the account is Contoso, sets the website field:
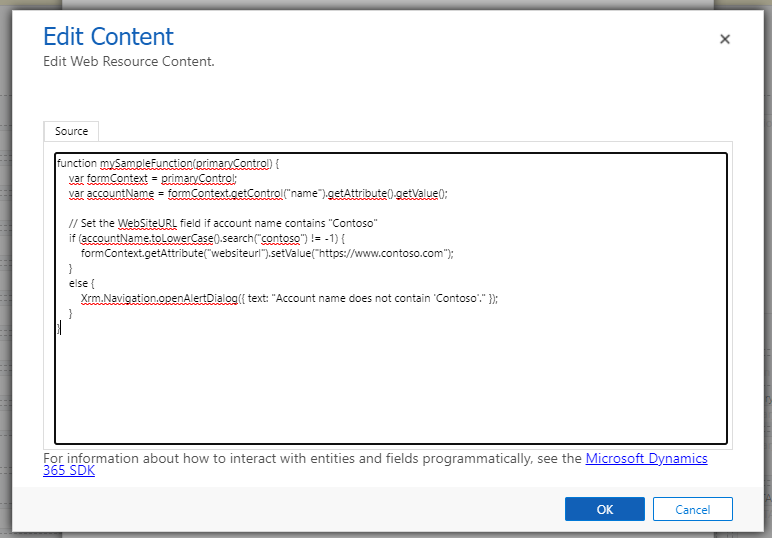
You can grab the code from the link here.
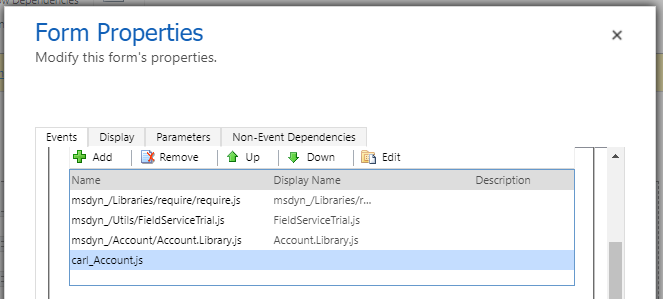
Now, add the web resource to the Account form:
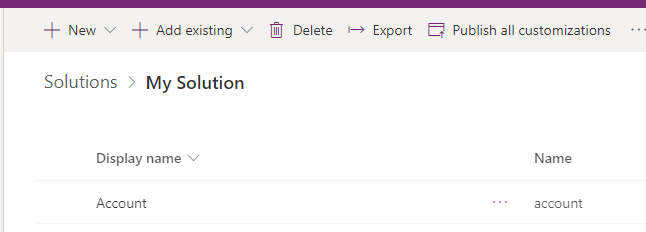
Next, create a new solution and add an entity that will contain the new button. We will do this on the Account entity:
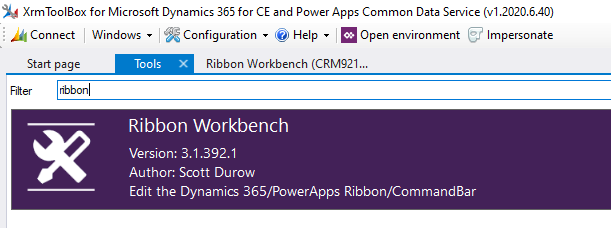
Next, open XrmToolbox and open the Ribbon Workbench solution:
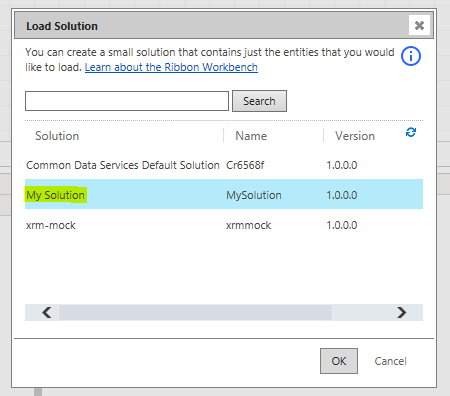
Load your solution:
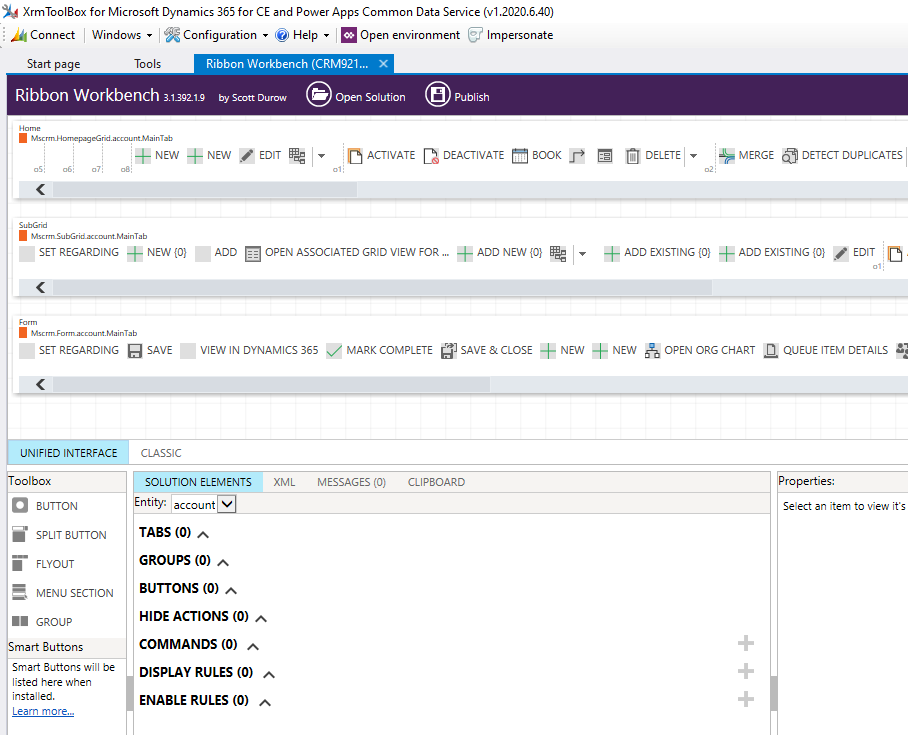
You will see:
We will add a new button to the Account Form:
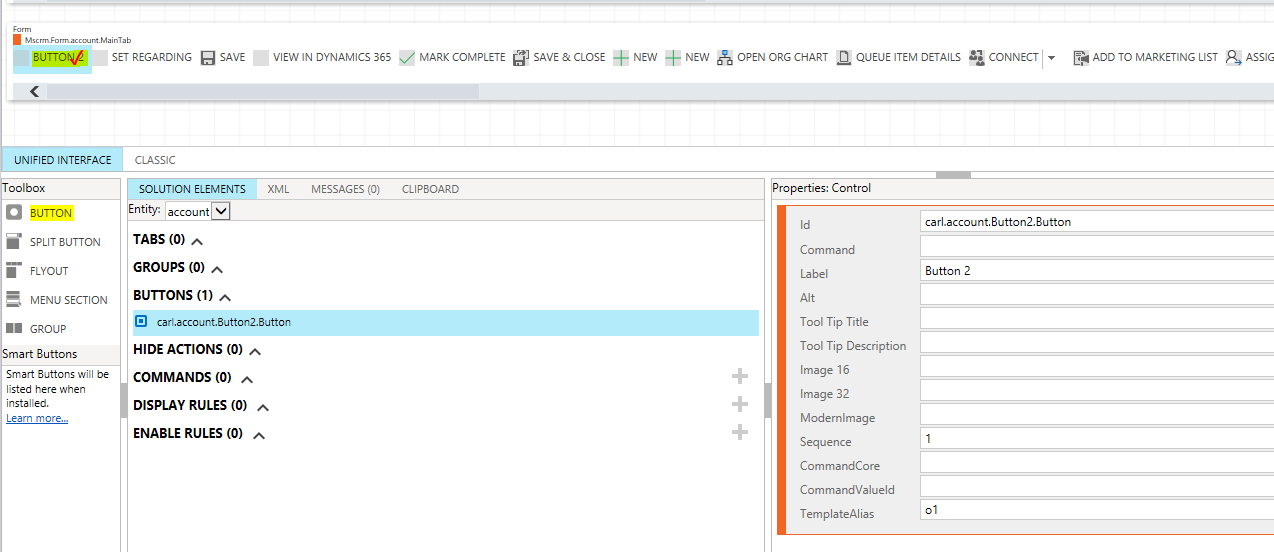
Create a new Command:

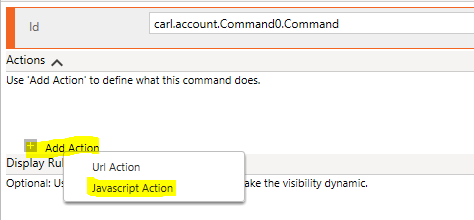
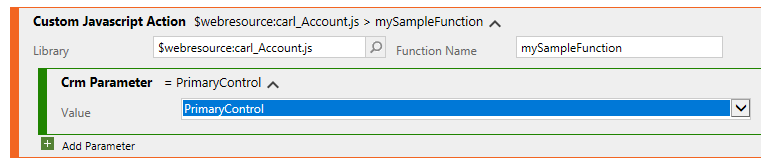
Add a new JavaScript action:
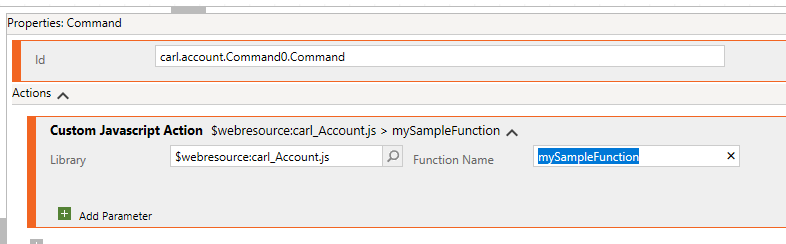
Select our web resource and enter the function name to call:
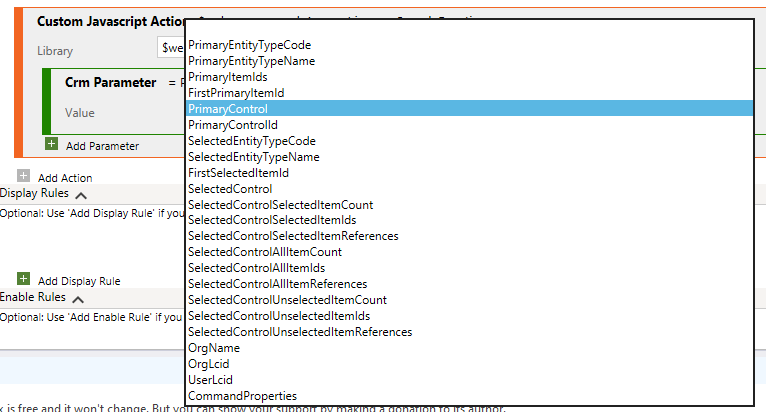
Now select a CRM Parameter:
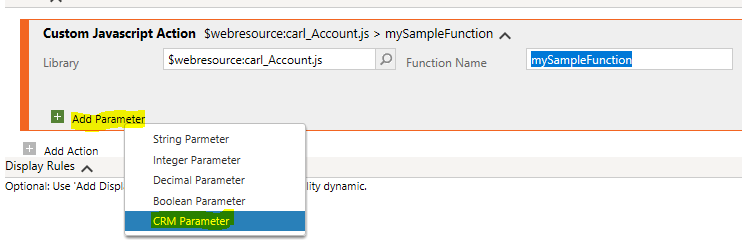
And select PrimaryControl. This will be passed to our JS function:
Publish:
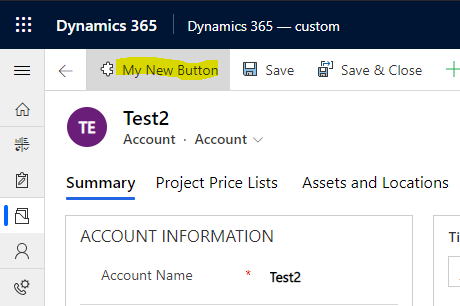
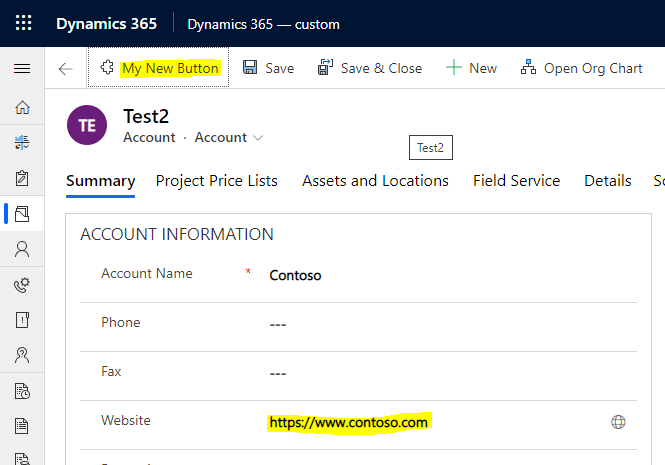
Now, refresh the Account form and you will see the new button:
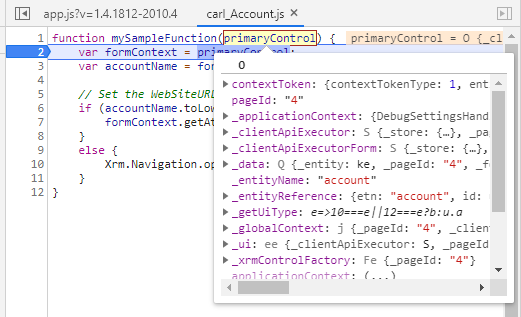
In the debugger, we are getting the Primary Control:
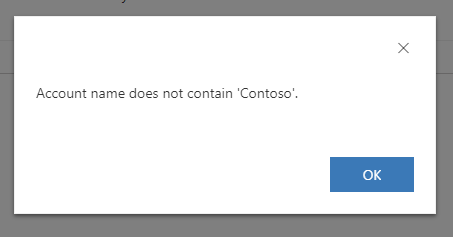
And the code runs as expected:
To pass other parameters, we can simply select these from Ribbon Workbench:
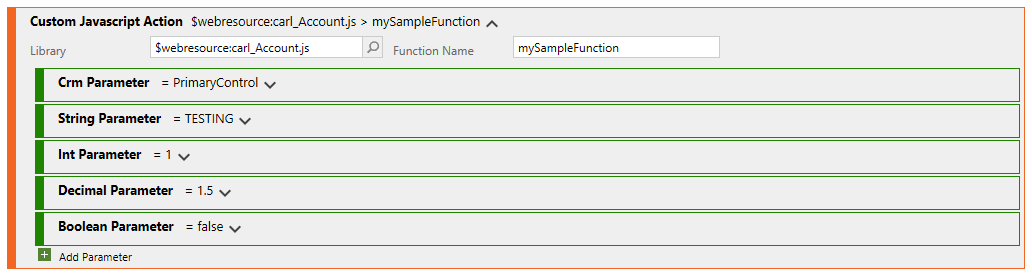
With the ability to type in the values:

I AM SPENDING MORE TIME THESE DAYS CREATING YOUTUBE VIDEOS TO HELP PEOPLE LEARN THE MICROSOFT POWER PLATFORM.
IF YOU WOULD LIKE TO SEE HOW I BUILD APPS, OR FIND SOMETHING USEFUL READING MY BLOG, I WOULD REALLY APPRECIATE YOU SUBSCRIBING TO MY YOUTUBE CHANNEL.
THANK YOU, AND LET'S KEEP LEARNING TOGETHER.
CARL
