Let’s say we have the following WPF form that has 3 rows and 2 columns:
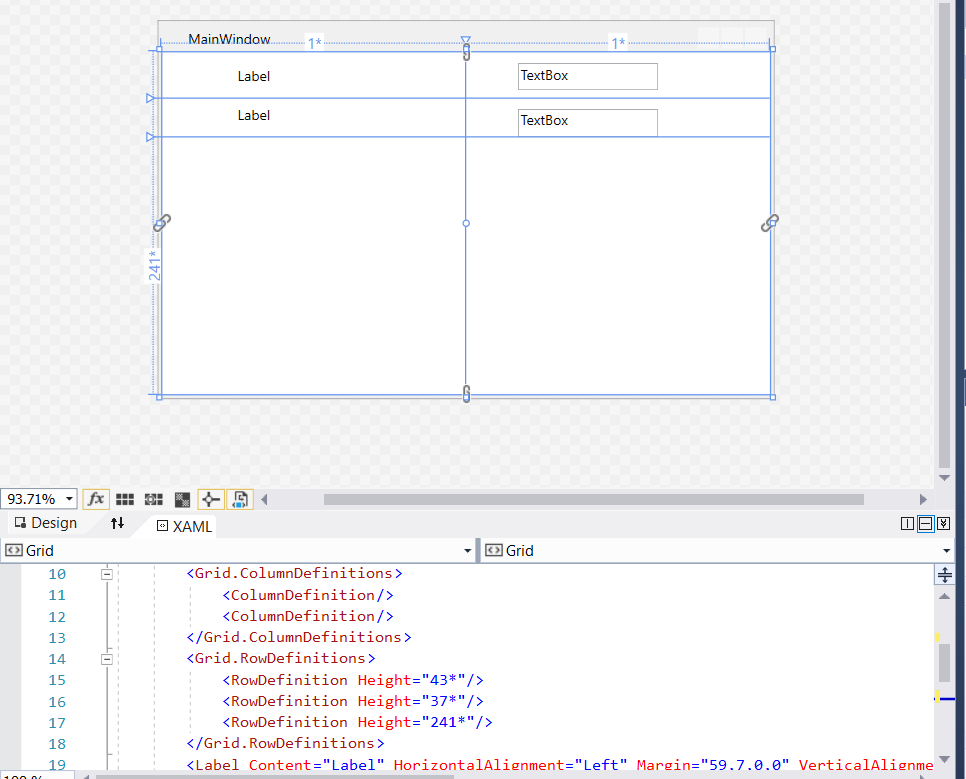
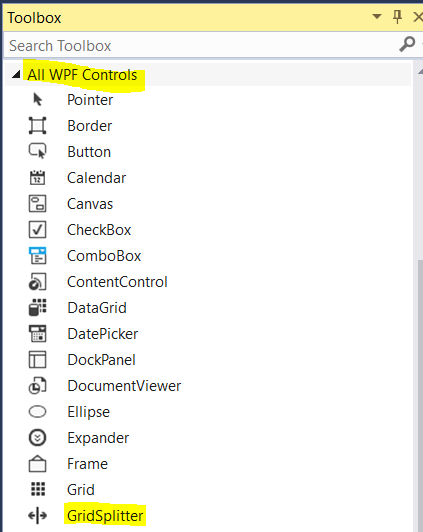
If we wanted to give the user the ability to resize the columns, we can use a GridSplitter. Under WPF Controls, you will see GridSplitter:
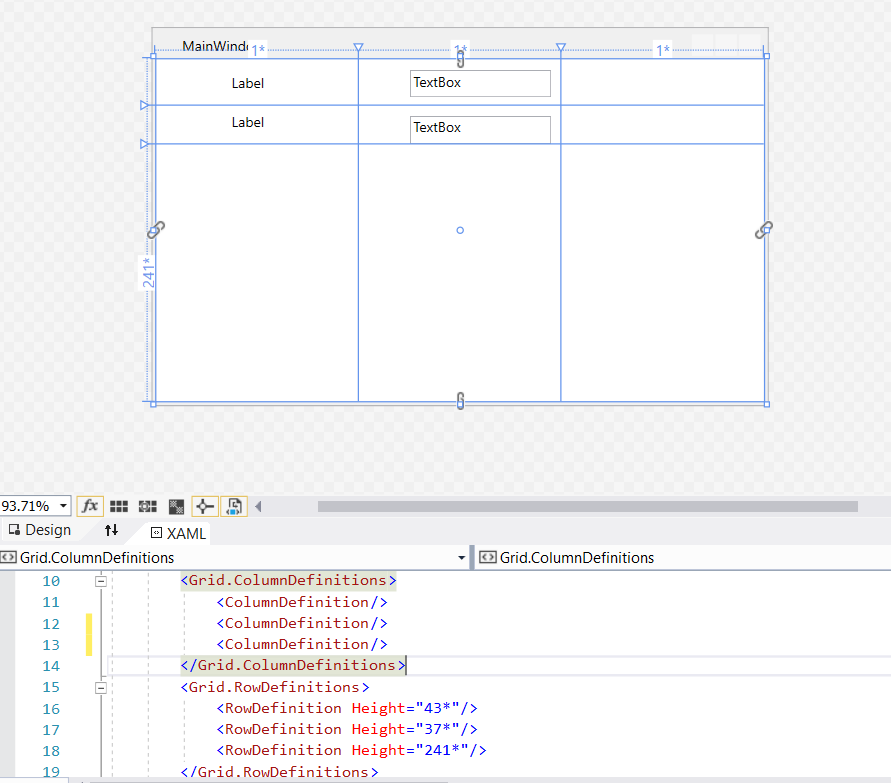
First, we will add an additional colum. This will hold the splitter:
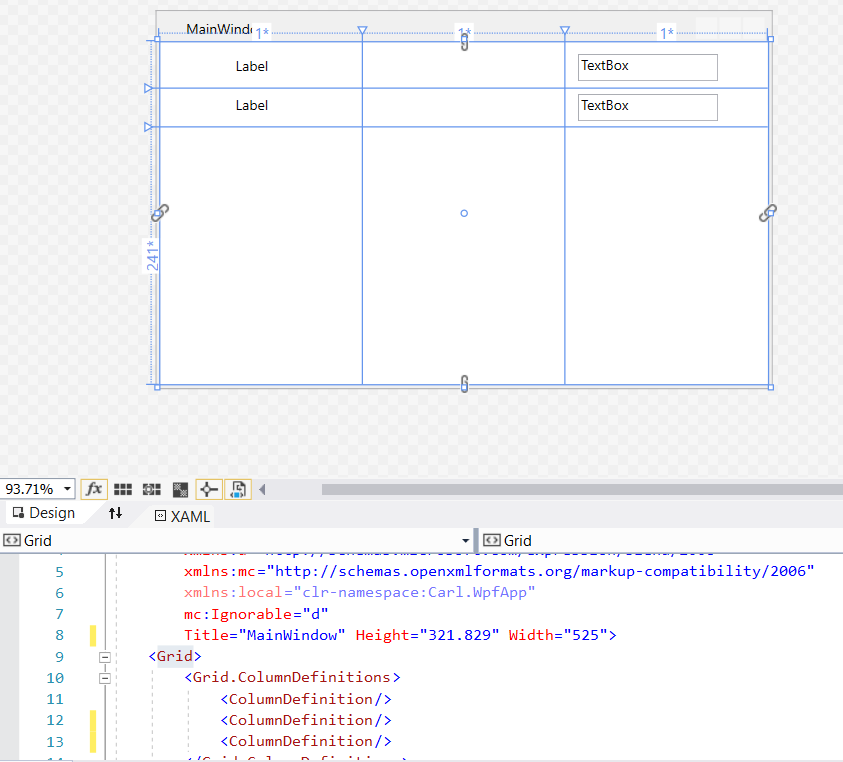
Next, we will move our textboxes to the right column, so it frees the middle column for resizing:
Now, we haven’t defined the widths of our columns. We will set these so the 1st and 3rd are * width, which is sized to the proportion of the grid. We will set the middle column to “auto”, so it will hold the size of the splitter:

Now, we will drag the GridSplitter onto the form. We can then define it. We will set the rowspan to 3 so it covers our form, and we will position it in column 1, the middle column. We will set the color to Blue, and the ResizeBehavior to “PreviousAndNext”:

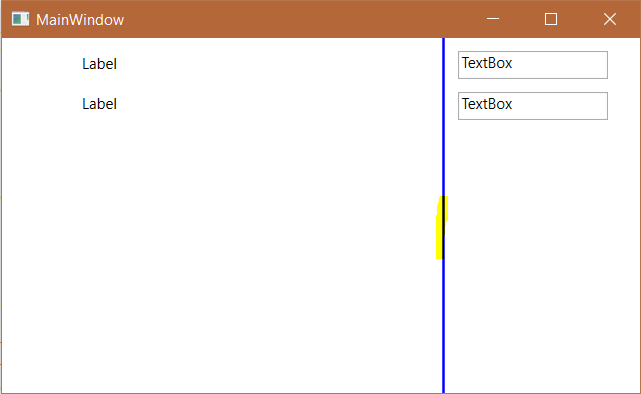
In running this, we are able to move our fields based on the splitter:


Explore AI, agents & Microsoft technology.
I share practical ideas, tutorials, and videos about AI, AI agents, Microsoft technologies, and the Power Platform.
Subscribe on YouTube →