In this post, we will look at how to use the Power Platform CLI with Power Pages.
First, you will need to install Visual Studio Code. and the Power Platform CLI. Note, you can install the Power Platform Tools extension in Visual Studio Code, which will enable you to run Power Platform CLI commands within the VS Code terminal, or you can run the Power Platform CLI separately and be able to run the CLI both inside and outside VS Code.
Once installed, open Powershell and type the command:
pac auth create -u [Dataverse URL]
In my case:

I now get prompted to log into my org:
Sign in, and you will see:

Now when we run the command below, we can see the number of Power Apps Portals and Power Pages in the environment:
pac paportal list

Using the WebSiteId, we can then pull down the portal content into a local path:
pac paportal download –path [PATH] -id [WebSiteId-GUID]
This will download a lot of the site resources (more than the screenshot below):
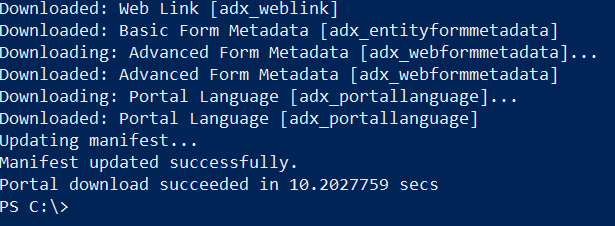
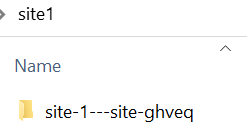
In our site folder, we see a subdirectory has been created:
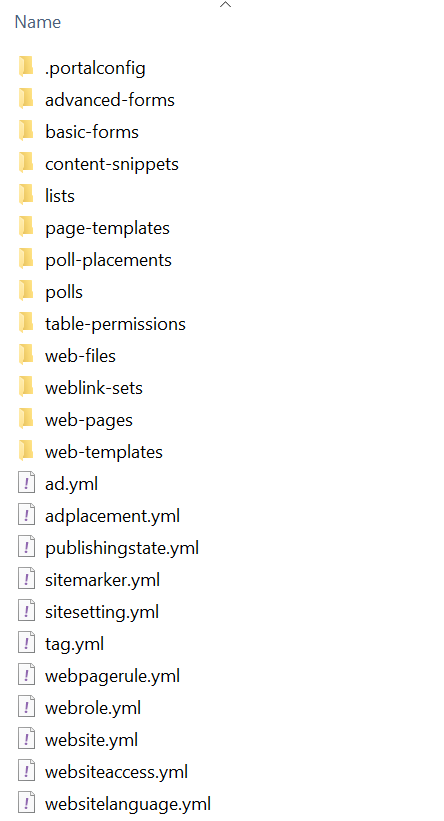
With the site files below it:
Let’s make a change to the footer, by adding the words “Thank You”:
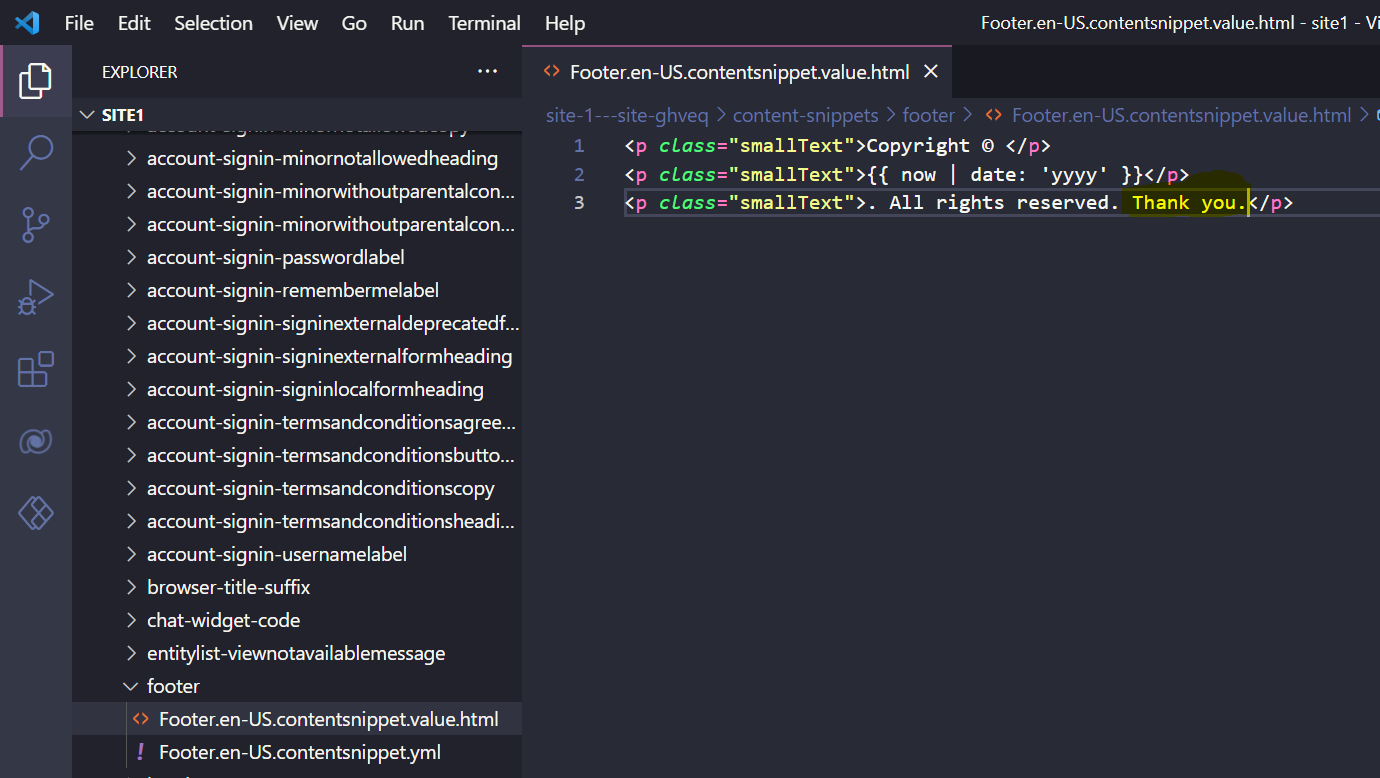
Next, we can upload these changes through the CLI, with the command:
pac paportal upload --path [Folder-location]
We see it has picked up the files changed and uploaded them:

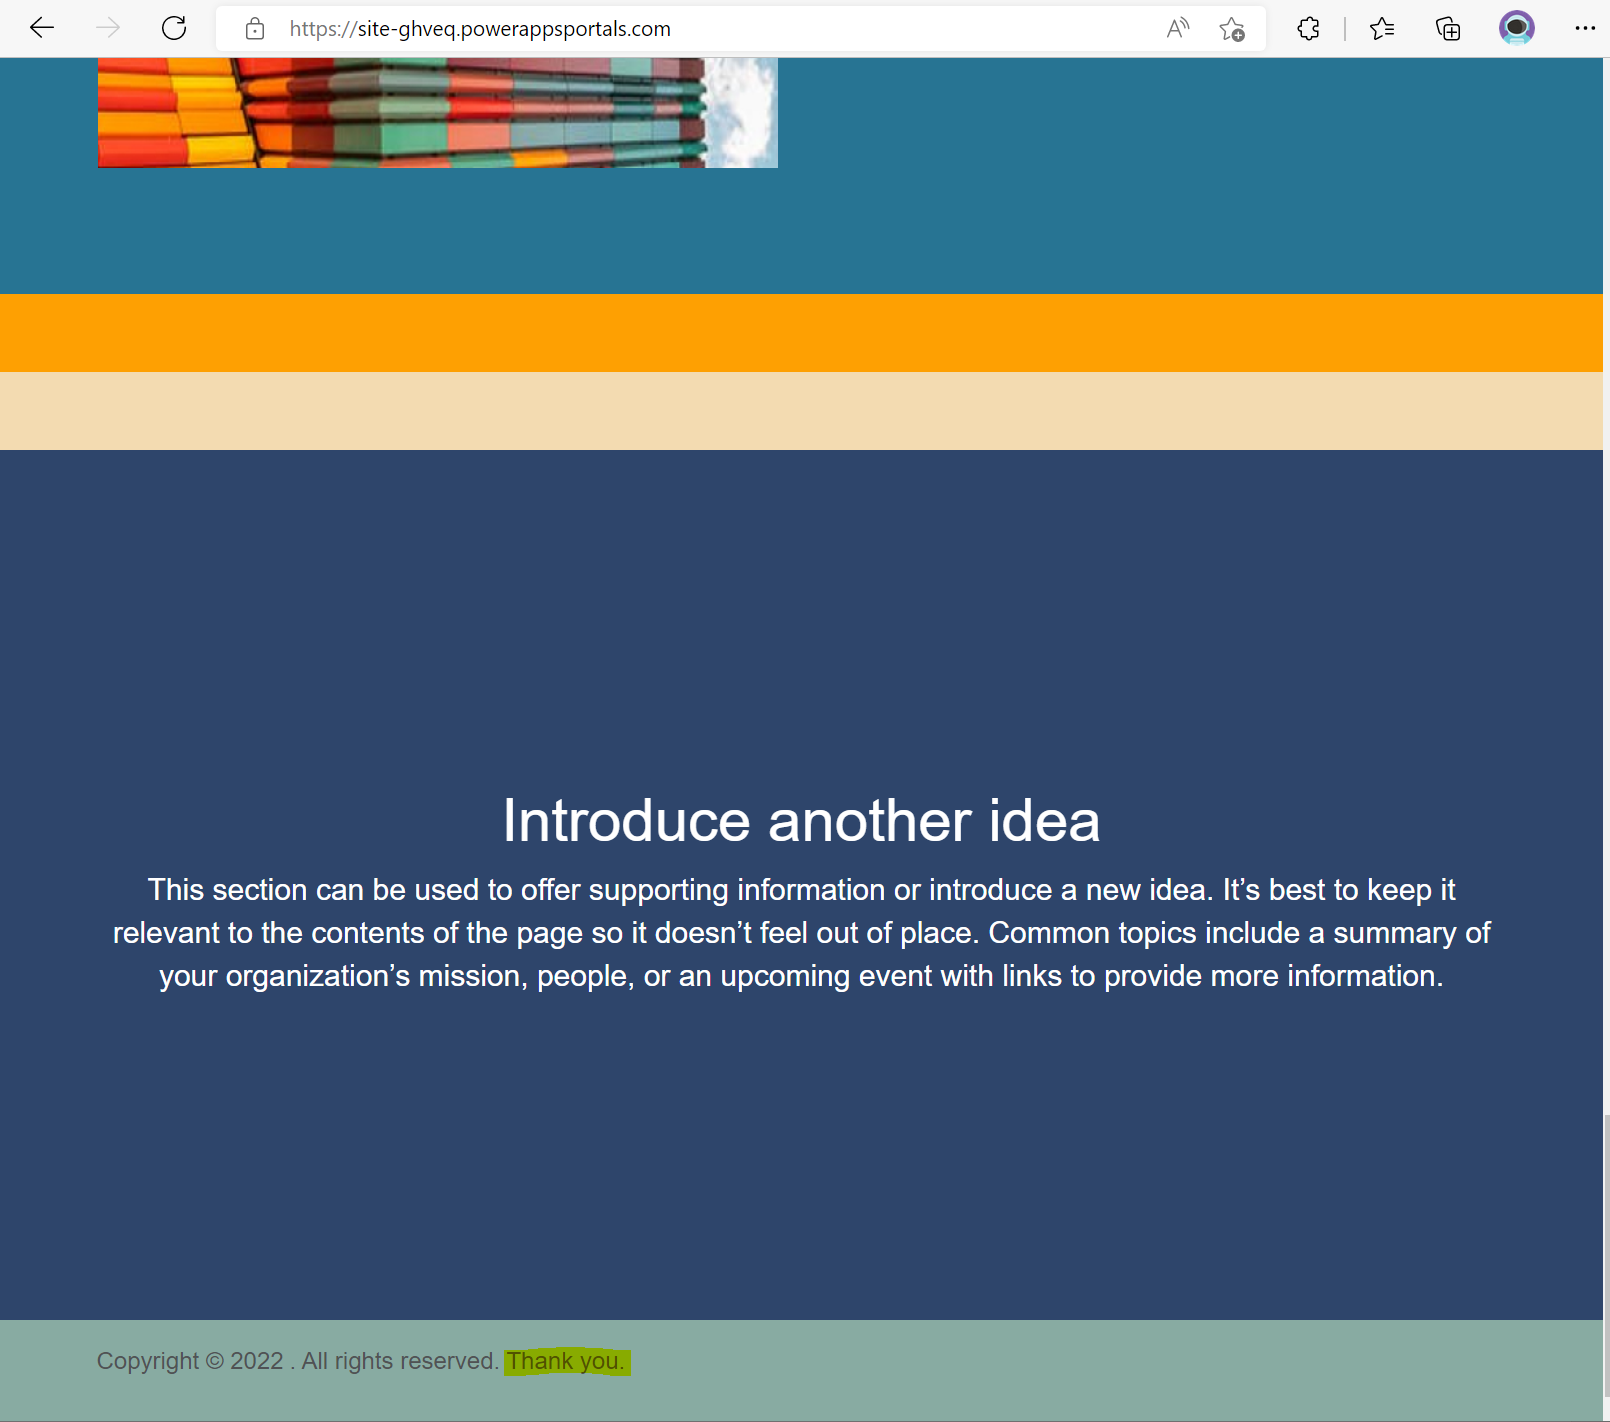
Now when we refresh the site, we see the changes are reflected:
I AM SPENDING MORE TIME THESE DAYS CREATING YOUTUBE VIDEOS TO HELP PEOPLE LEARN THE MICROSOFT POWER PLATFORM.
IF YOU WOULD LIKE TO SEE HOW I BUILD APPS, OR FIND SOMETHING USEFUL READING MY BLOG, I WOULD REALLY APPRECIATE YOU SUBSCRIBING TO MY YOUTUBE CHANNEL.
THANK YOU, AND LET'S KEEP LEARNING TOGETHER.
CARL


I’m new to the Power Platform CLI and this post was very helpful in understanding how it can be used with Power Pages. Can you recommend any resources for learning more about the CLI?