In this post, we will look at how to add an Omnichannel chat widget to a Power Apps Portal.
First, go ahead and create a new Power Apps portal in the Power Apps maker:
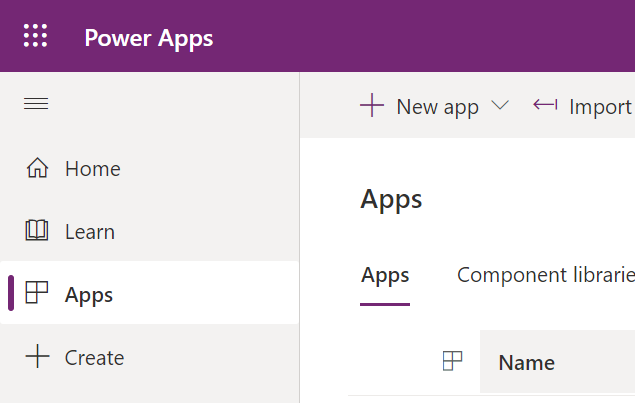
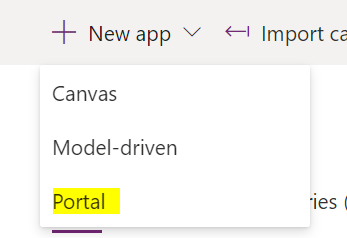
Next, give the portal a name and click Create:
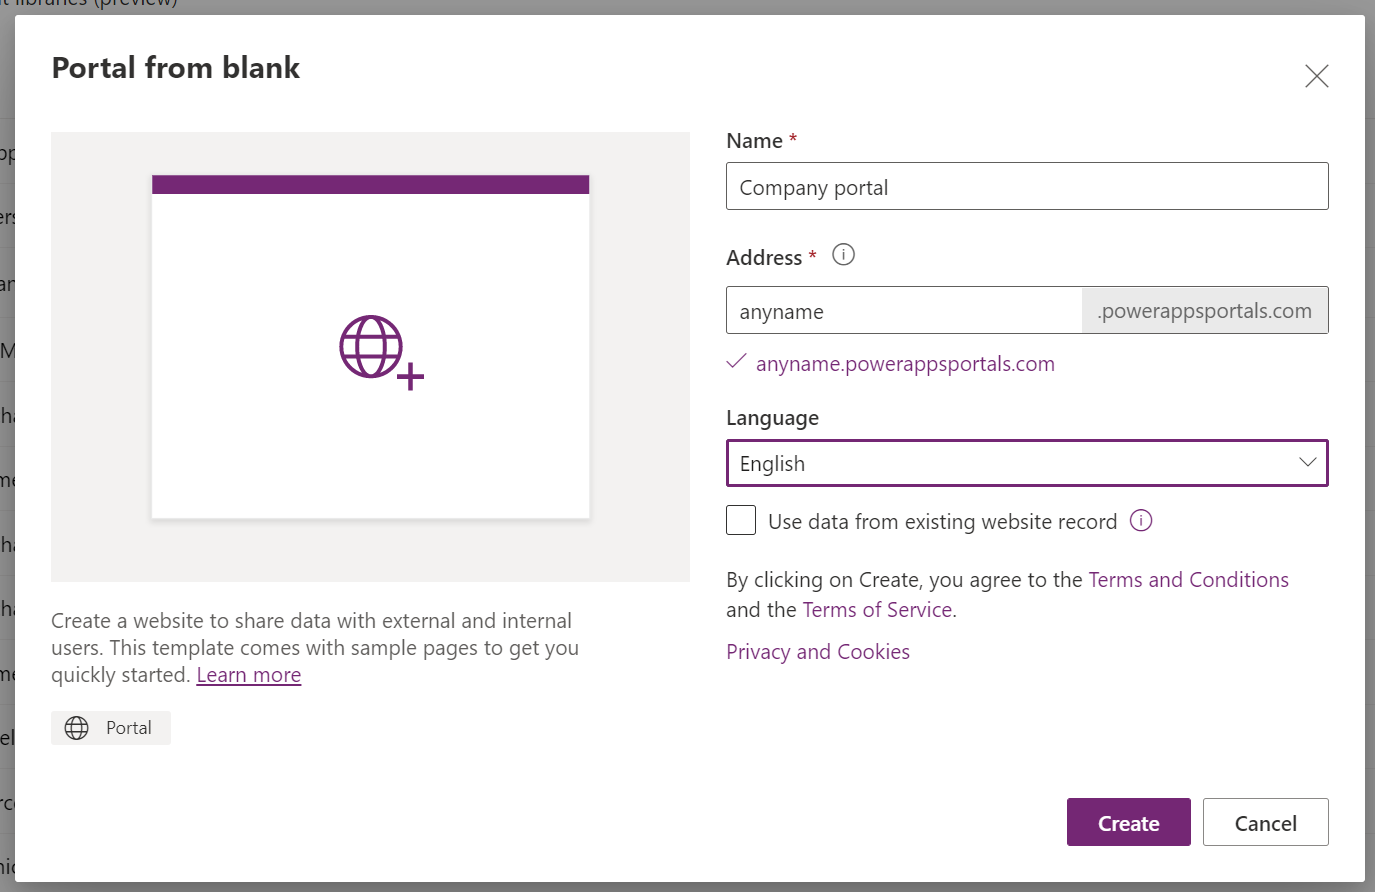
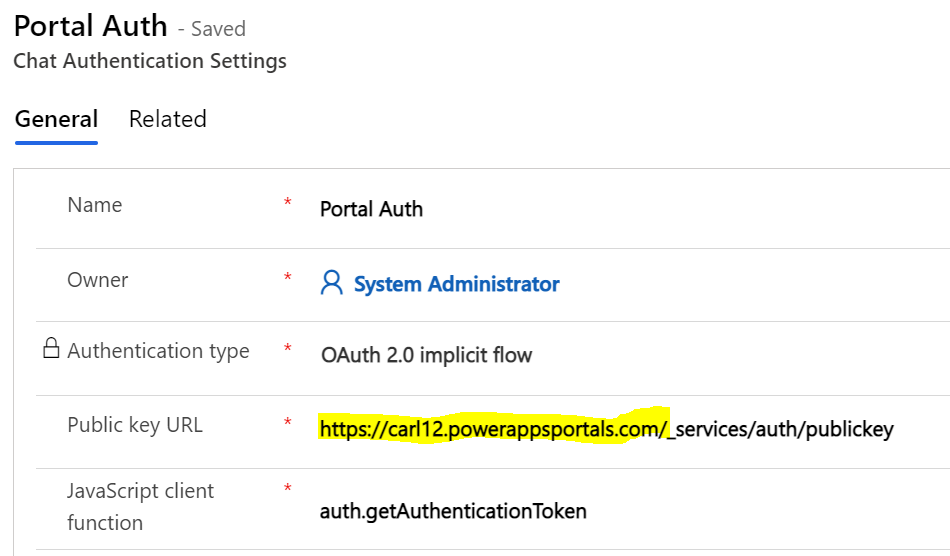
Once it’s done, let’s head back to the Omnichannel side. In the Omnichannel admin app, we will create a new Authentication Settings record:
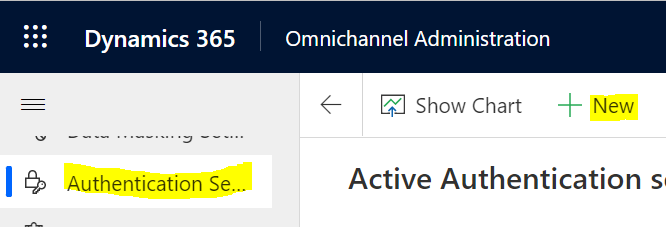
Copy the URL of your portal, and create a record like below:
- Authentication type = OAuth 2.0 implicit flow
- Public key URL = <your portal url>/_services/auth/publickey
- JavaScript client function = auth.getAuthenticationToken
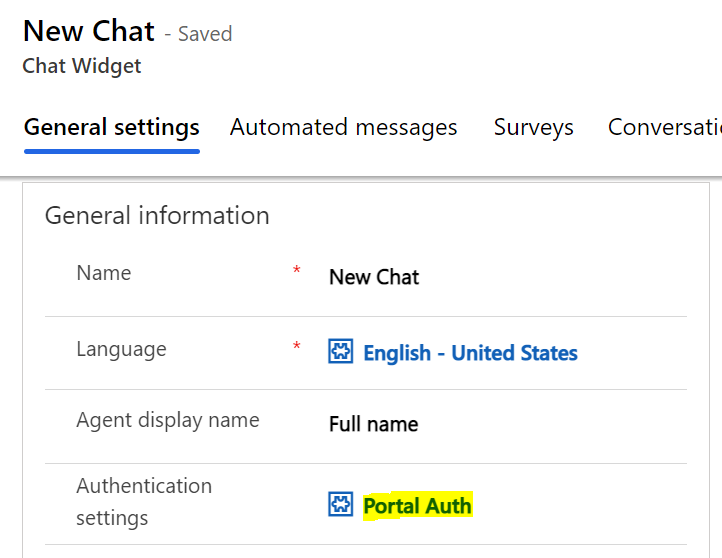
Click Save. Now in your chat settings, set the Authentication settings to Portal Auth that we created, and click Save:
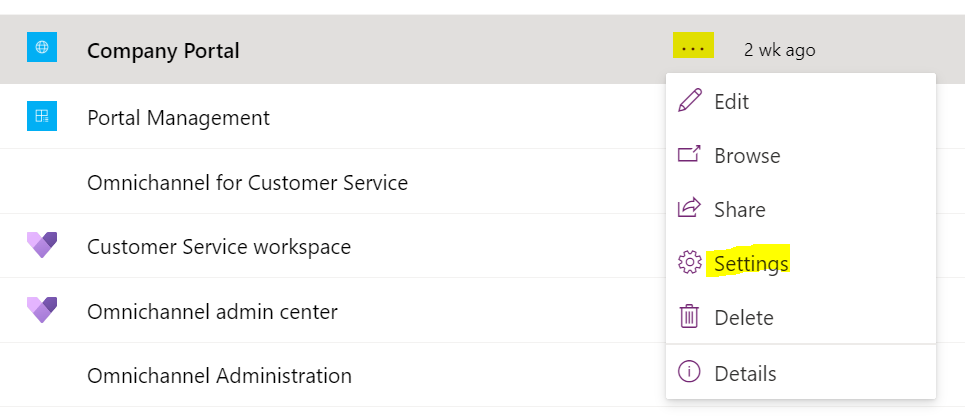
In the Power Apps maker, go to the Settings of the Portal:
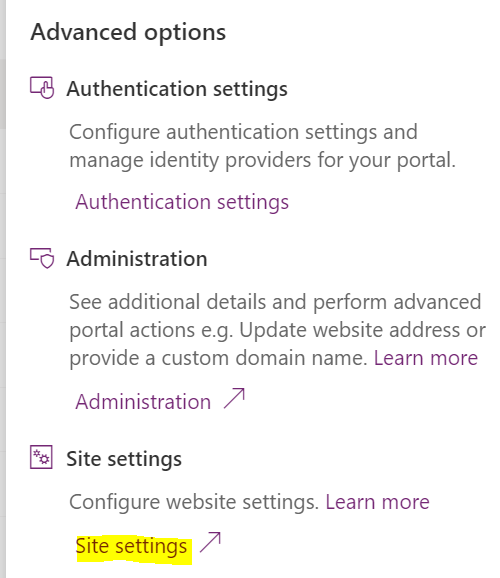
And then Site Settings:
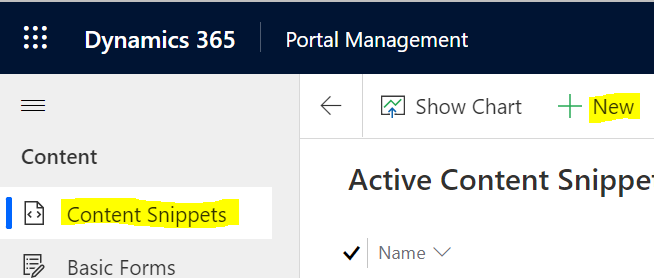
We now want to place our chat code in our portal. In Portal Management, go to Content Snippets, then new:
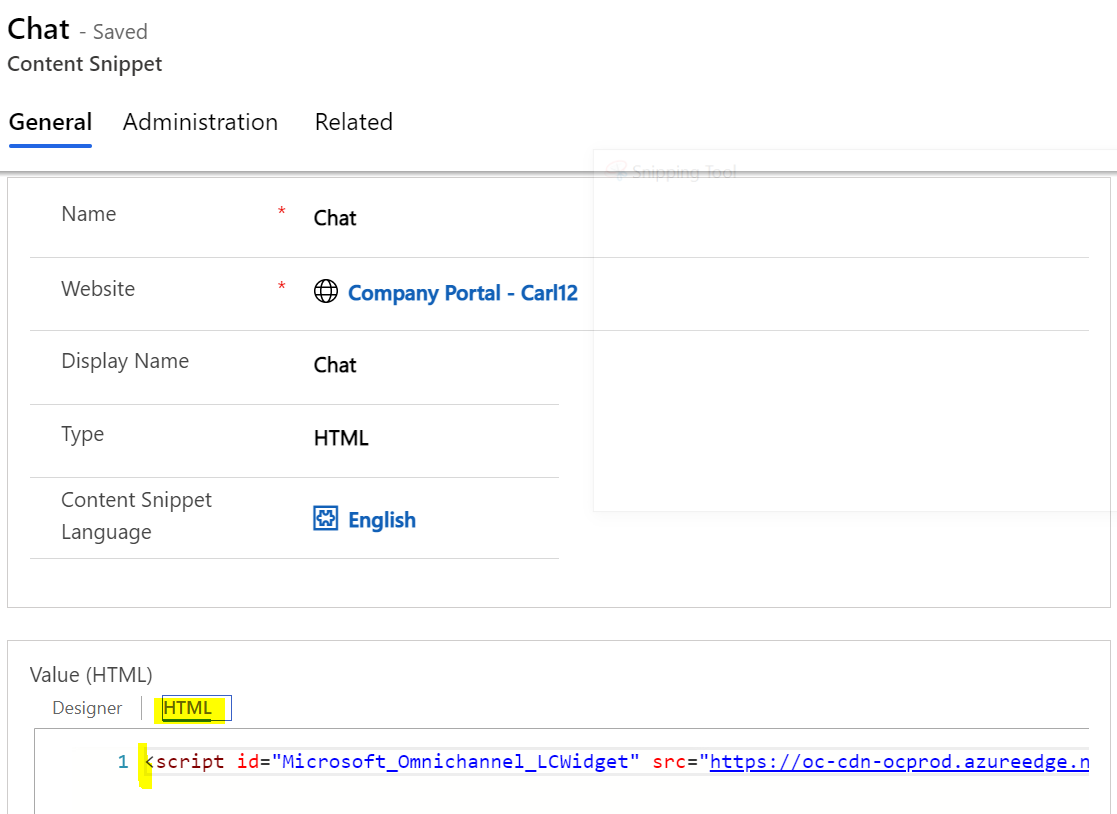
Create a new content snippet, and copy the Omnichannel chat code to the HTML section of the content snippet:
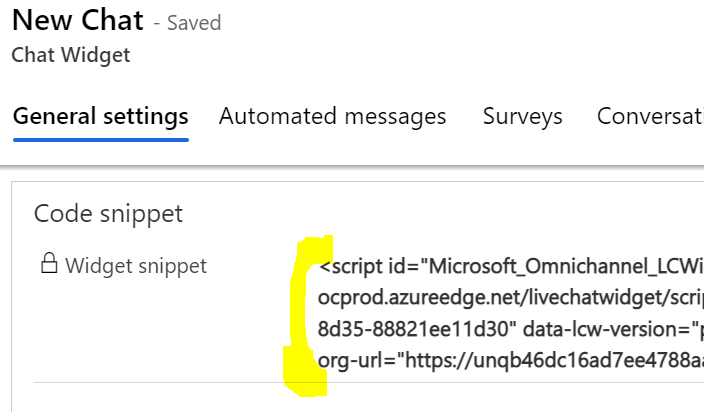
Now we need somewhere to place the code. We will place it in the footer of our site. Go to Web Templates and select Footer:
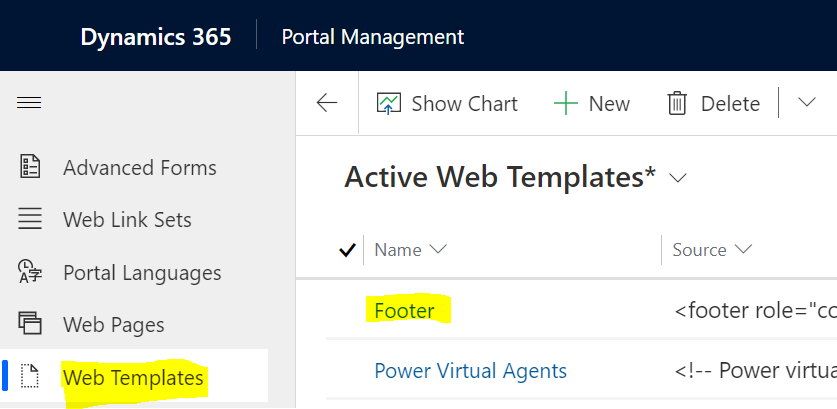
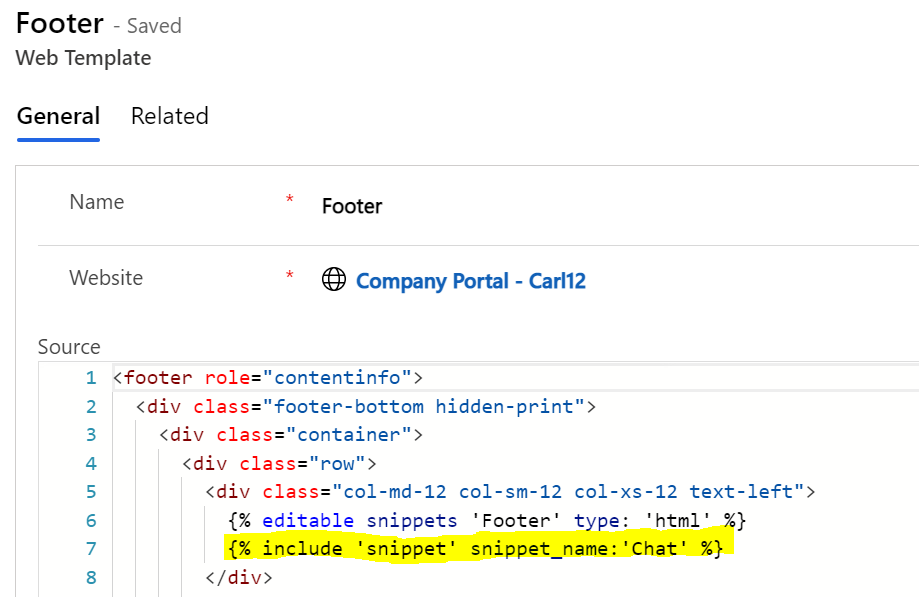
Add the snippet like below:
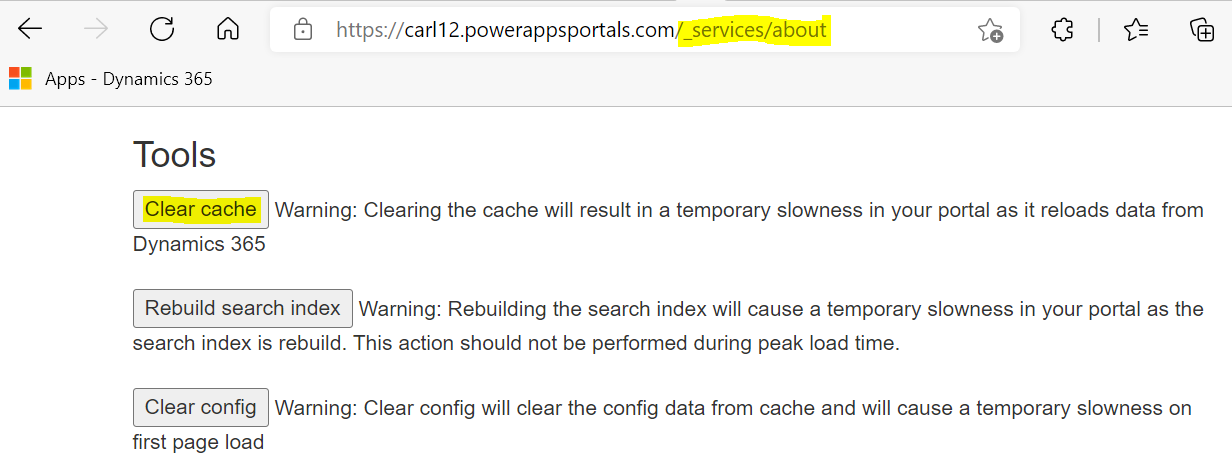
We’re done. You may need to refresh the portal cache by going here:
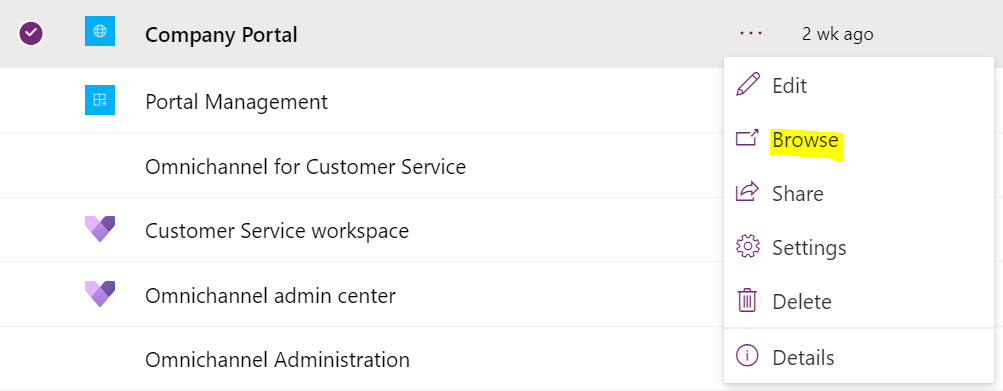
Now back in the Maker, browse out to the Portal:
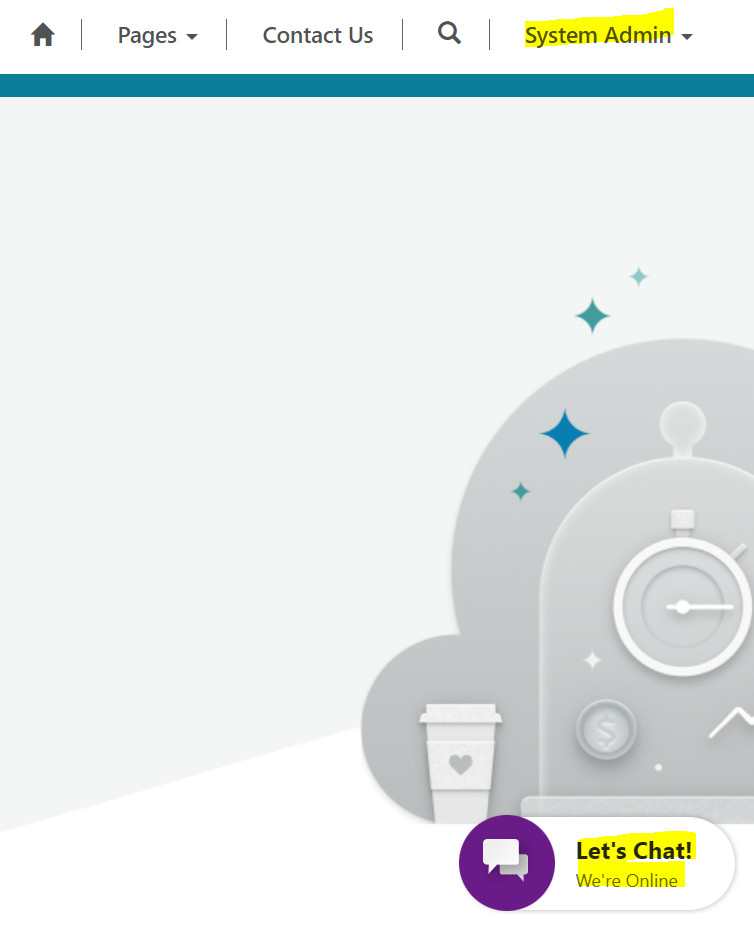
Sign into the portal. We see our Omnichannel widget in our Power Apps portal:
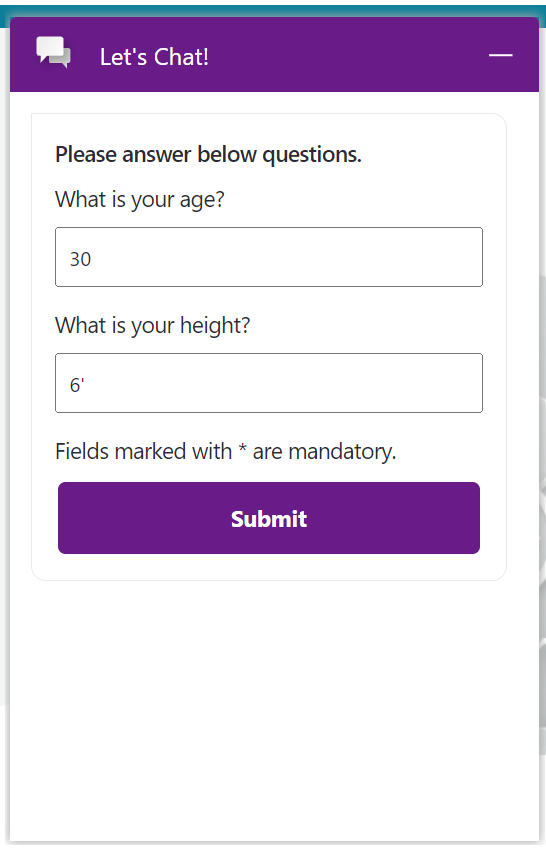
Click to open it, then enter any pre-chat survey you need to:
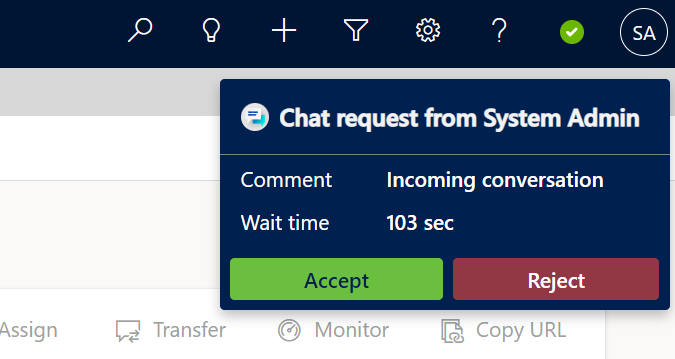
In the Omnichannel for Customer Service app, the agent sees the portal user name (System Administrator in this case) coming through into the chat:
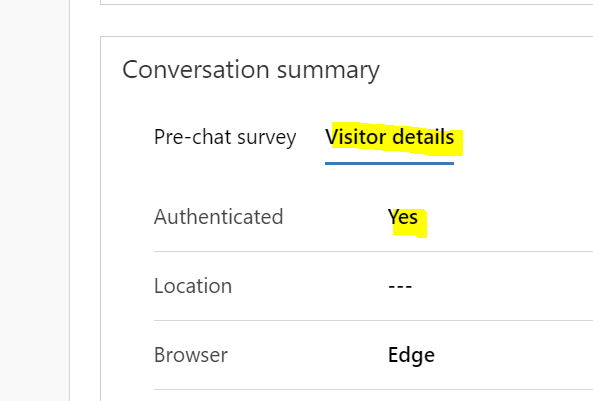
And the user is therefore an Authenticated portal user as we can see in the Omnichannel for Customer Service app:
I AM SPENDING MORE TIME THESE DAYS CREATING YOUTUBE VIDEOS TO HELP PEOPLE LEARN THE MICROSOFT POWER PLATFORM.
IF YOU WOULD LIKE TO SEE HOW I BUILD APPS, OR FIND SOMETHING USEFUL READING MY BLOG, I WOULD REALLY APPRECIATE YOU SUBSCRIBING TO MY YOUTUBE CHANNEL.
THANK YOU, AND LET'S KEEP LEARNING TOGETHER.
CARL


