Multistep Forms are a great way to capture information from Power Pages users. In this post, we will look at how to use multistep forms and some of the capabilities these forms have.
Let’s go through an example where we are asking a new contact to enter information about themselves on a Power Pages site. We will start with one step and one table, then add from there.
Adding One Step and One Table
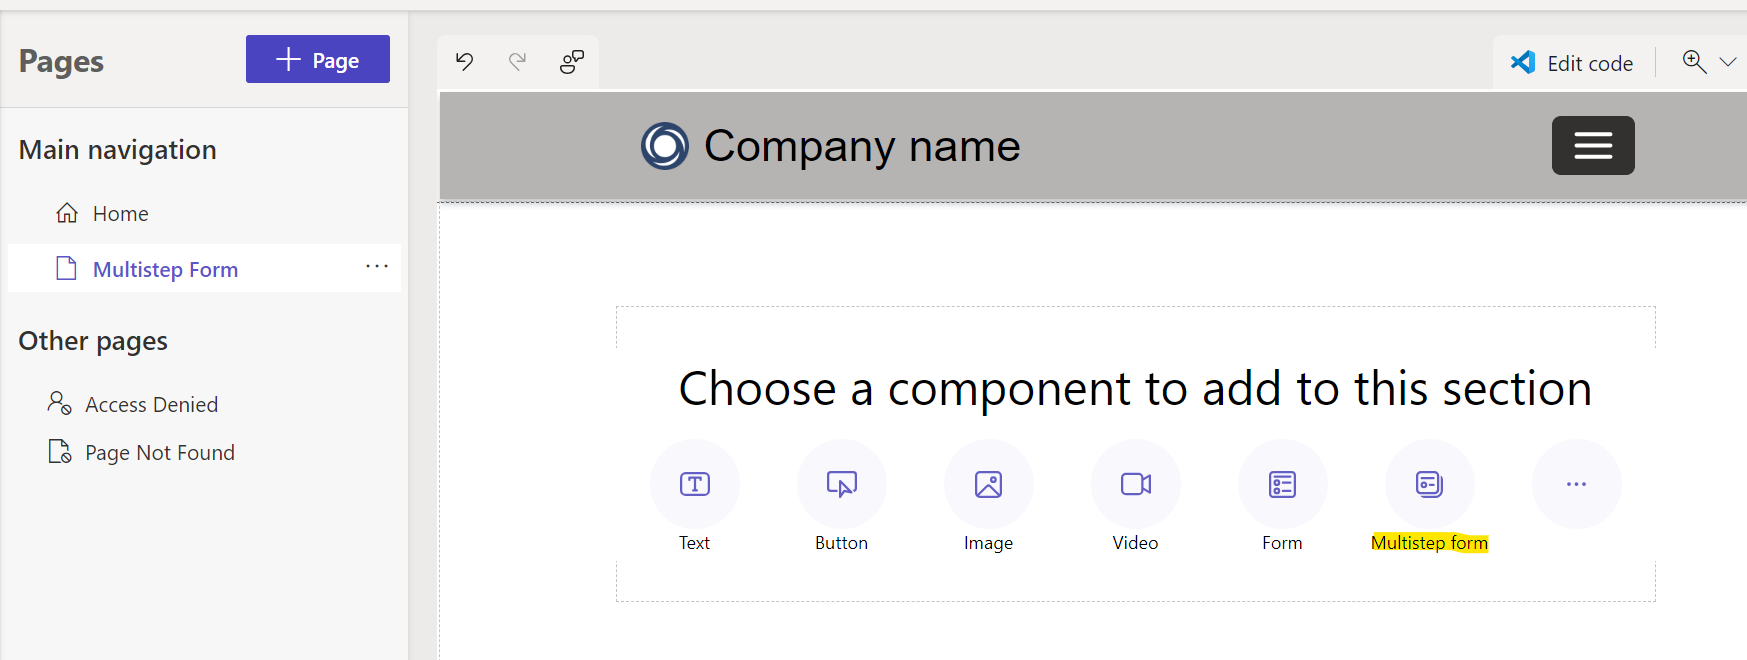
Let’s create a new page, and select new->Multistep form:
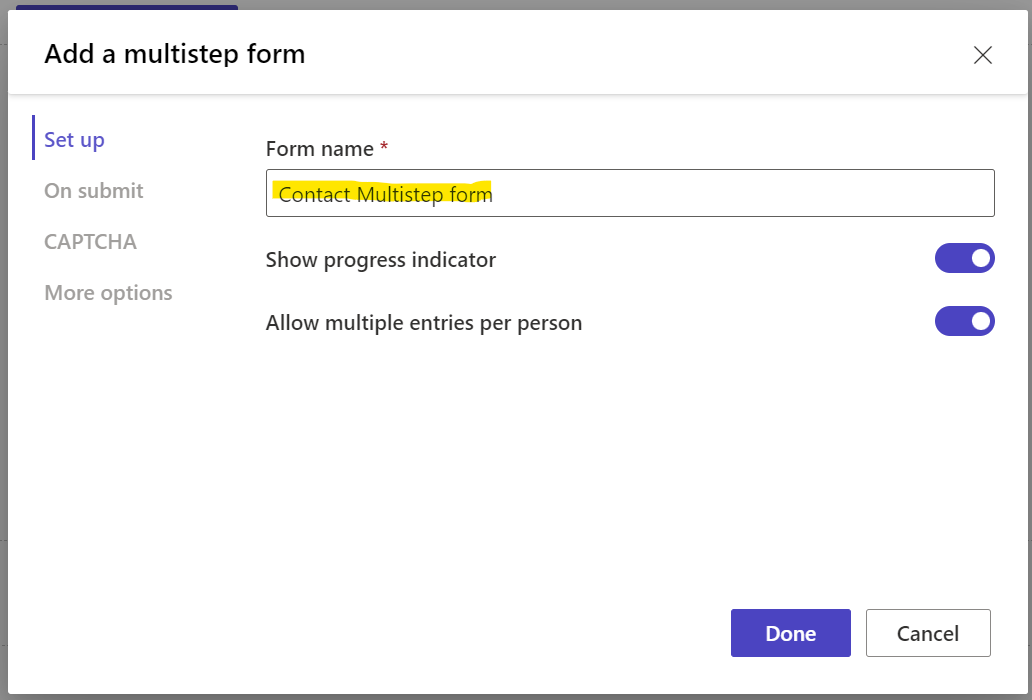
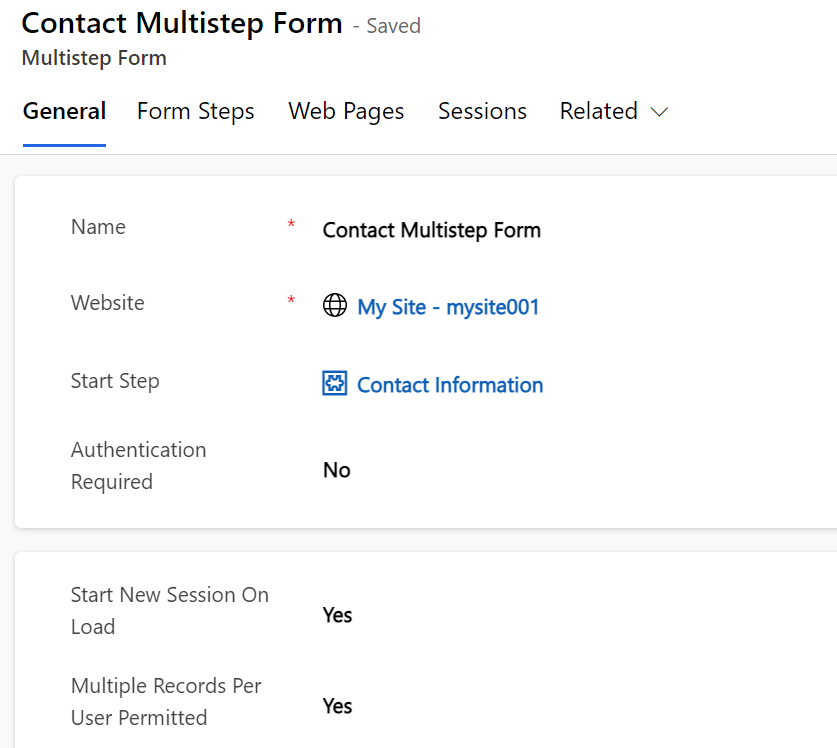
Let’s enter a name. We will call it Contact Multistep form. Note the options for Show progress indicator and allow multiple entries per form. We will show what this looks like later:
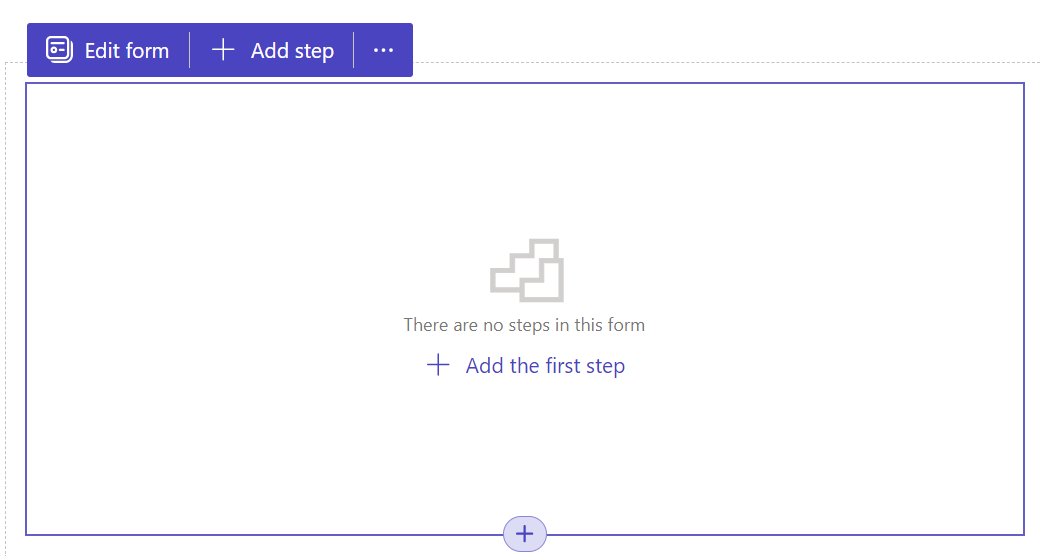
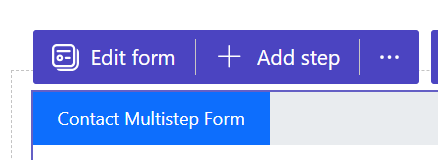
Click Done, and we now have the option to add steps to this form:
Now we’re prompted to select a table. These are Dataverse tables:
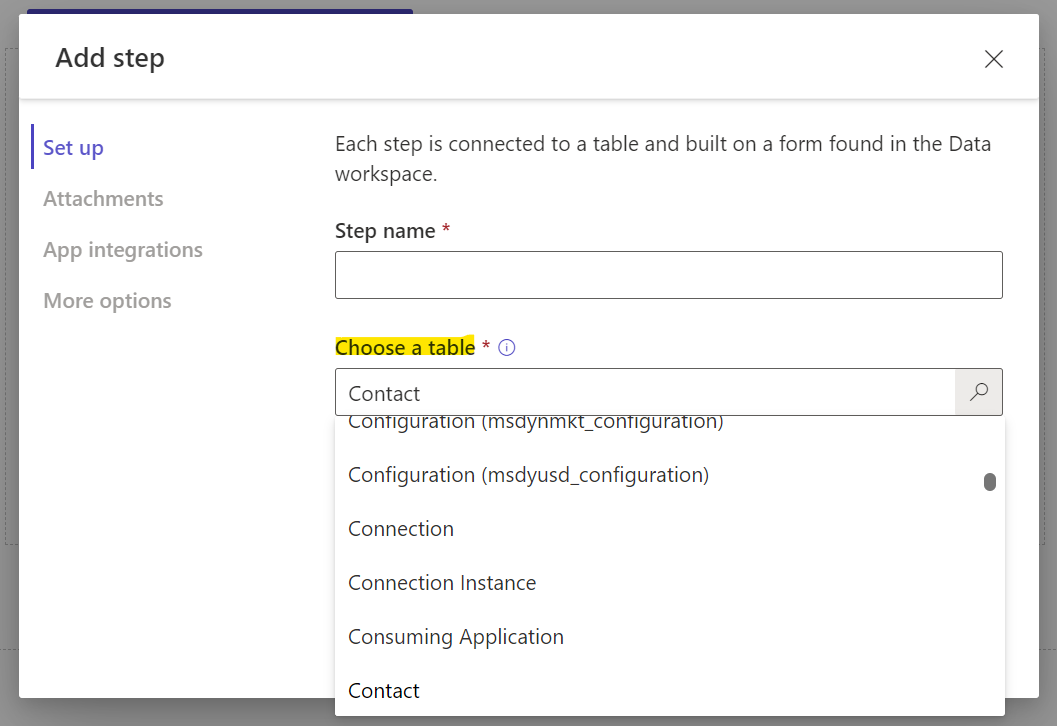
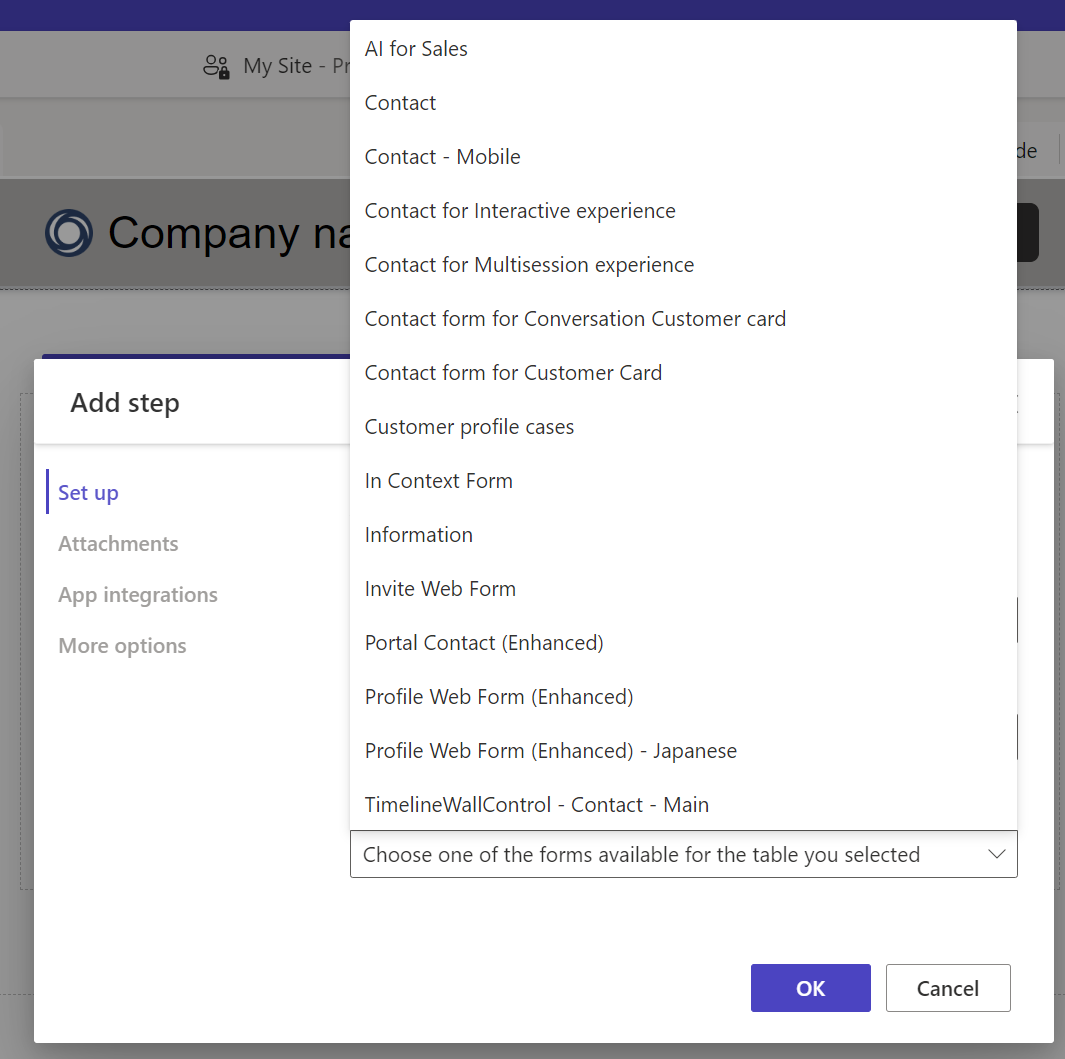
Once we select a table, we are prompted to select a form. These are the Dataverse forms tied to the table we selected, i.e. the Contact table.
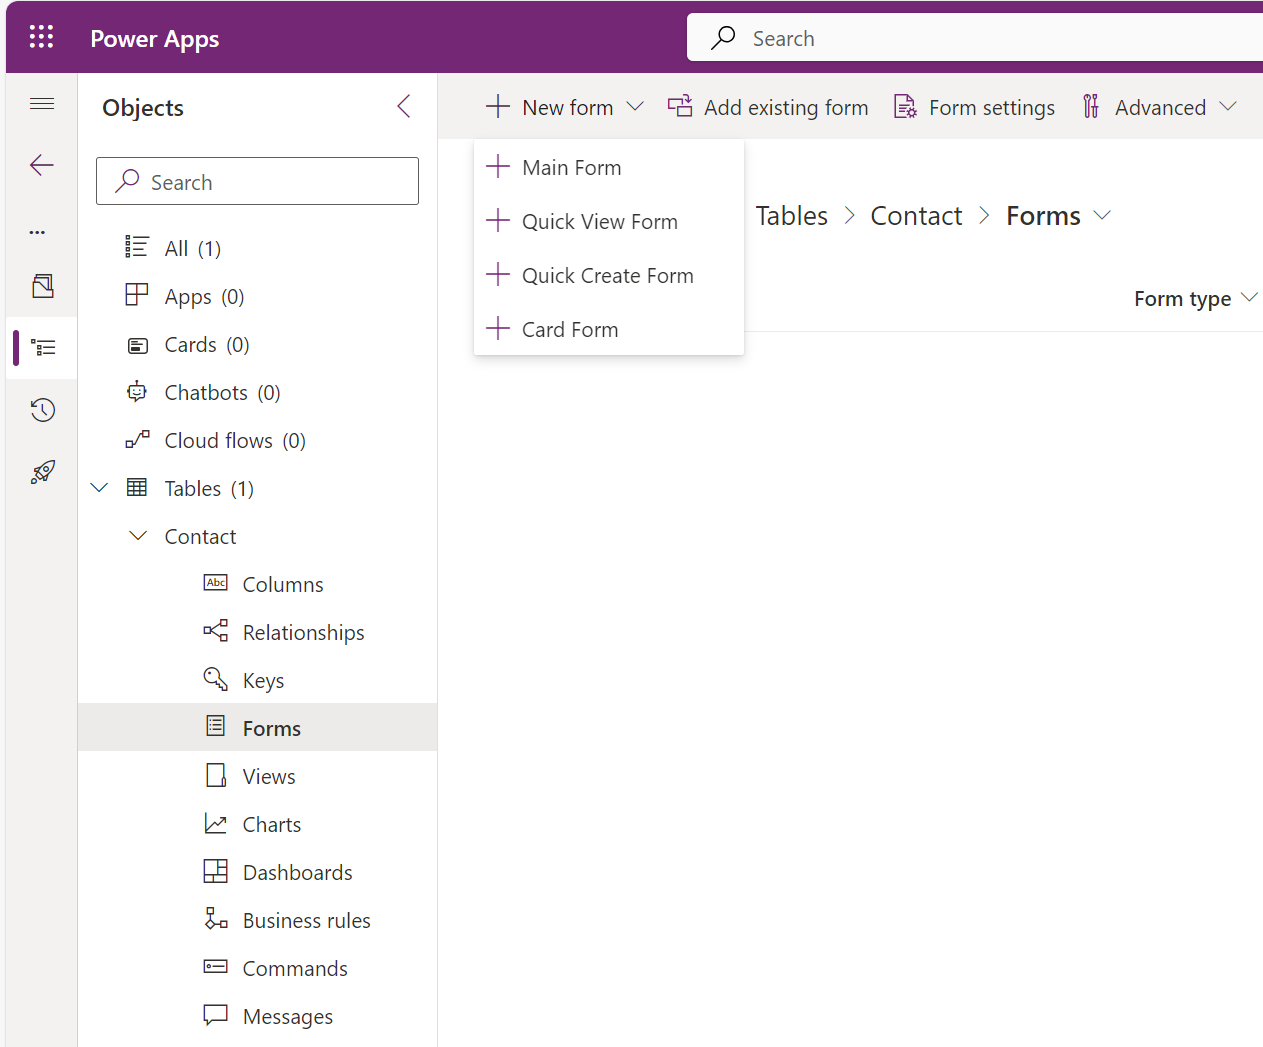
Let’s create a new form before we continue. In the Power Apps maker portal, add the Contact table and create a new Main form:
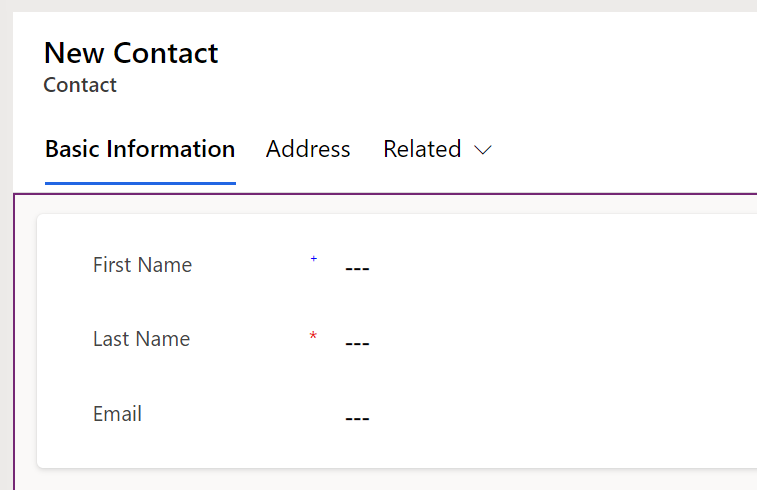
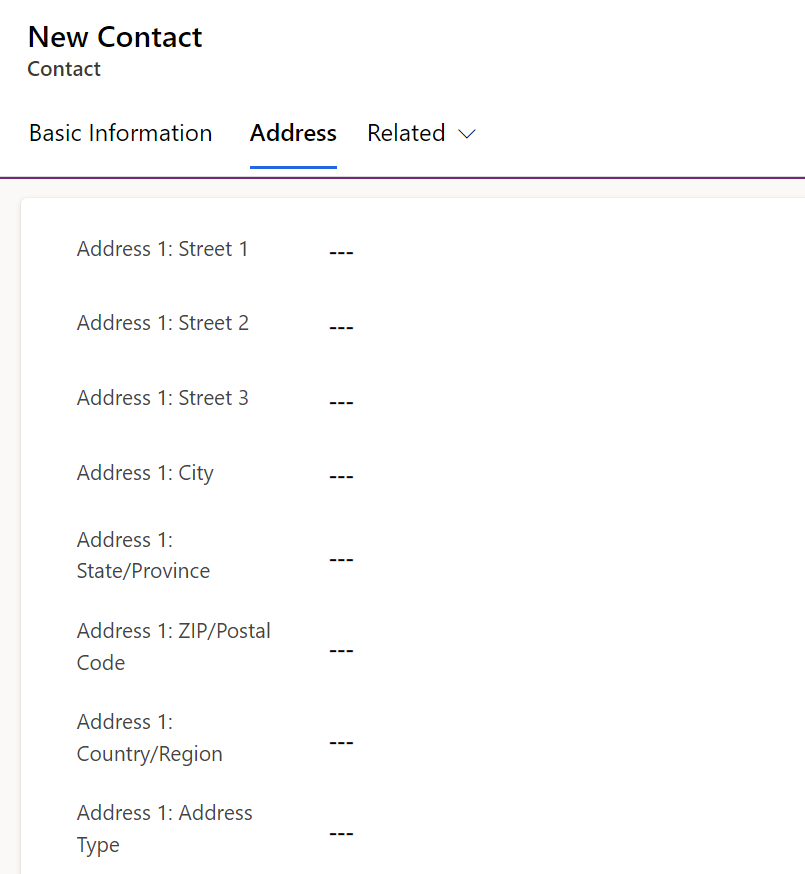
Let’s add some basic fields and name the form Contact Multistep. We have 2 tabs, Basic Information and Address, with some fields on each tab:
Let’s save and publish. Now in Power Pages, we will select this form:
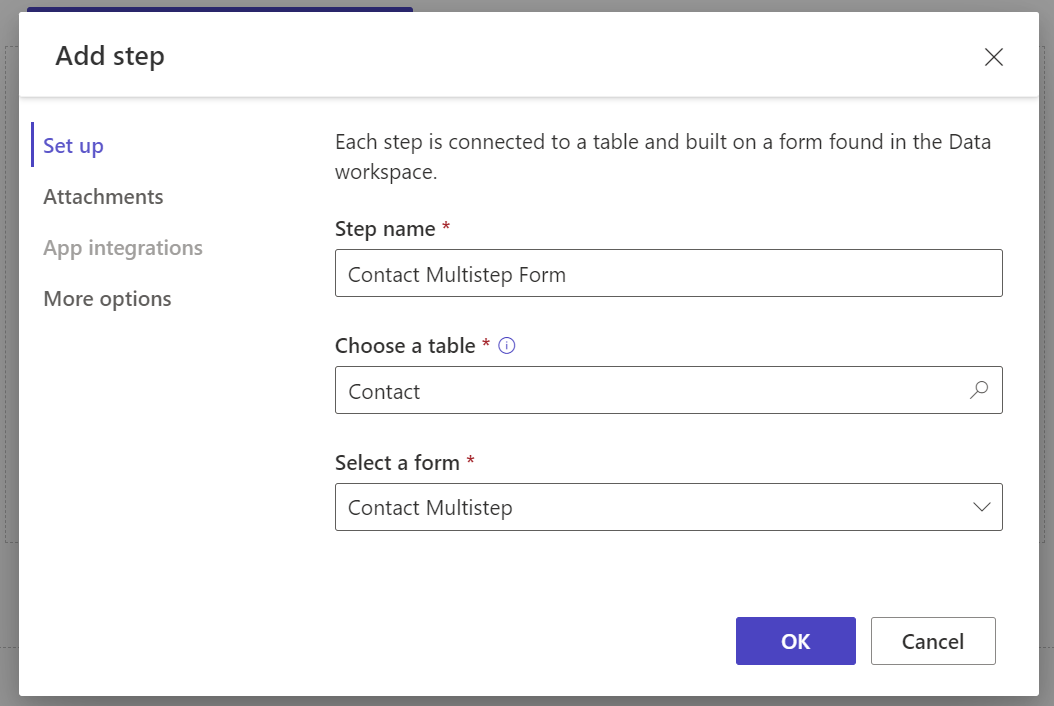
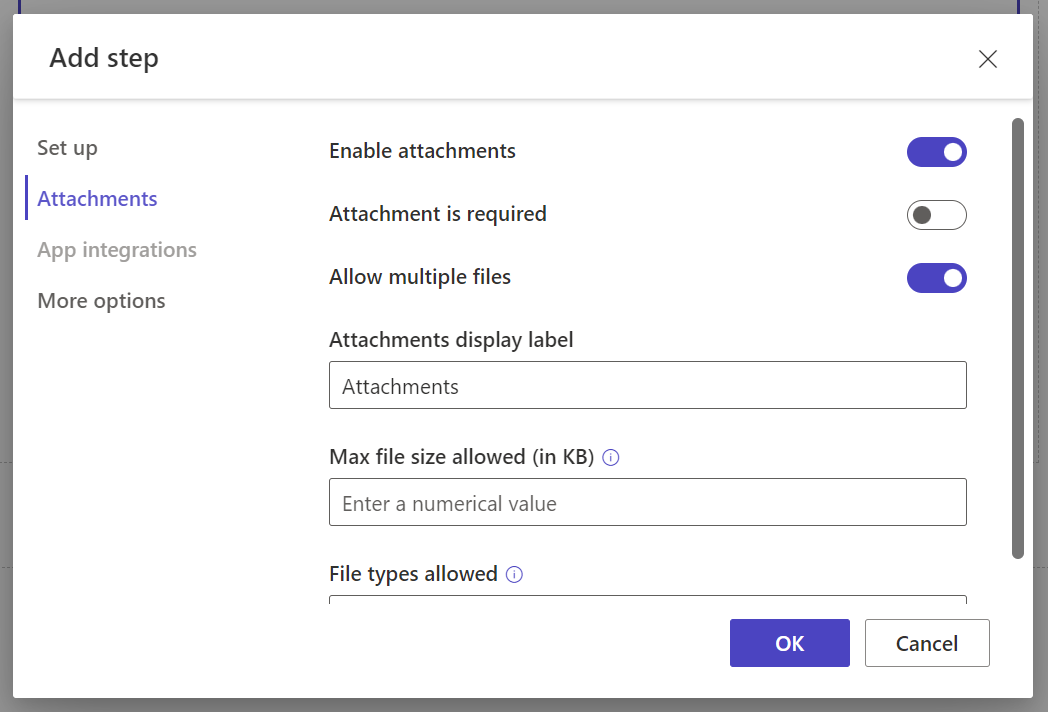
Let’s turn on Attachments as well. We will allow multiple files, make it non-required, and allow all file types (audio, image, video):
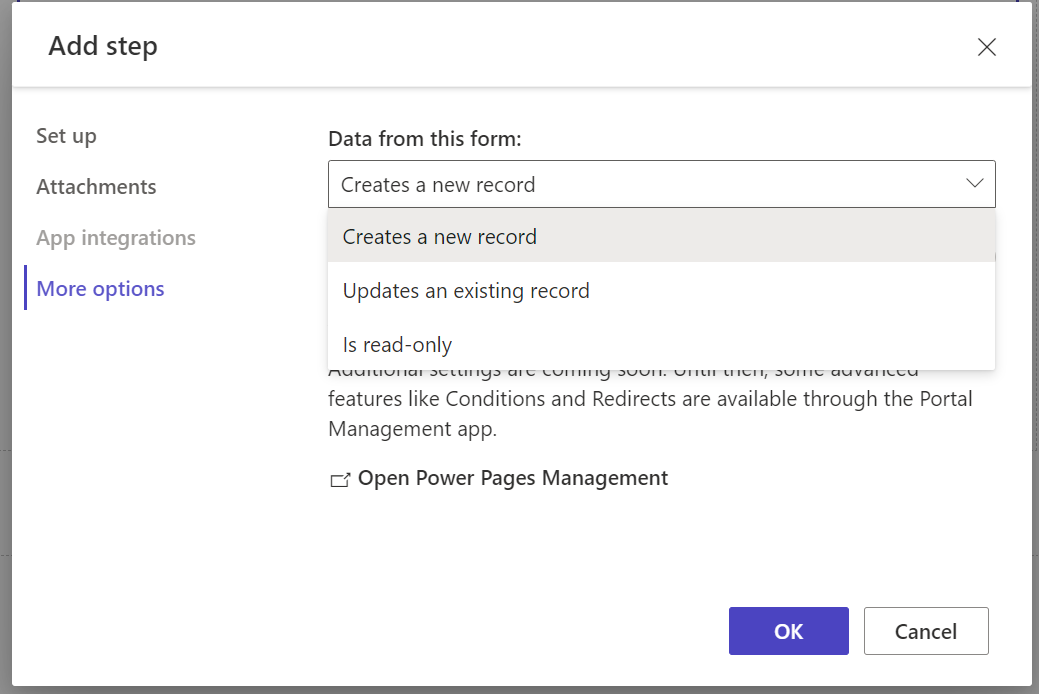
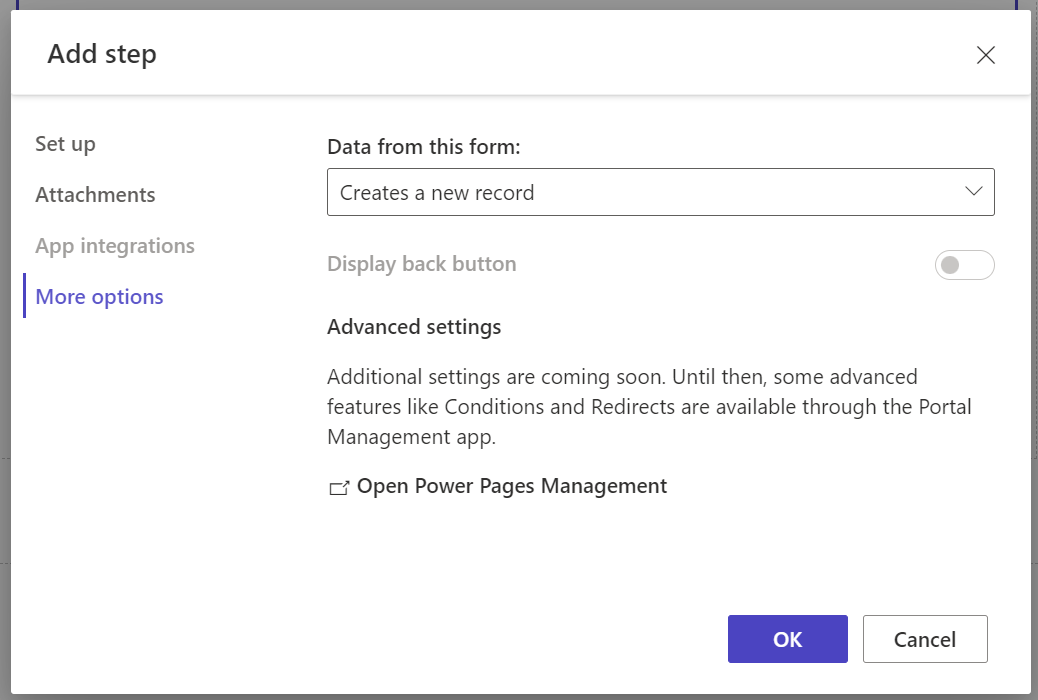
Under More Options, we can select what to do with the Data on this form. We can create a new record, update and existing record, or have it as read-only. We will keep it as Create new record:
We will keep the back button as unchecked and click OK (the back button option appears when you add more steps):
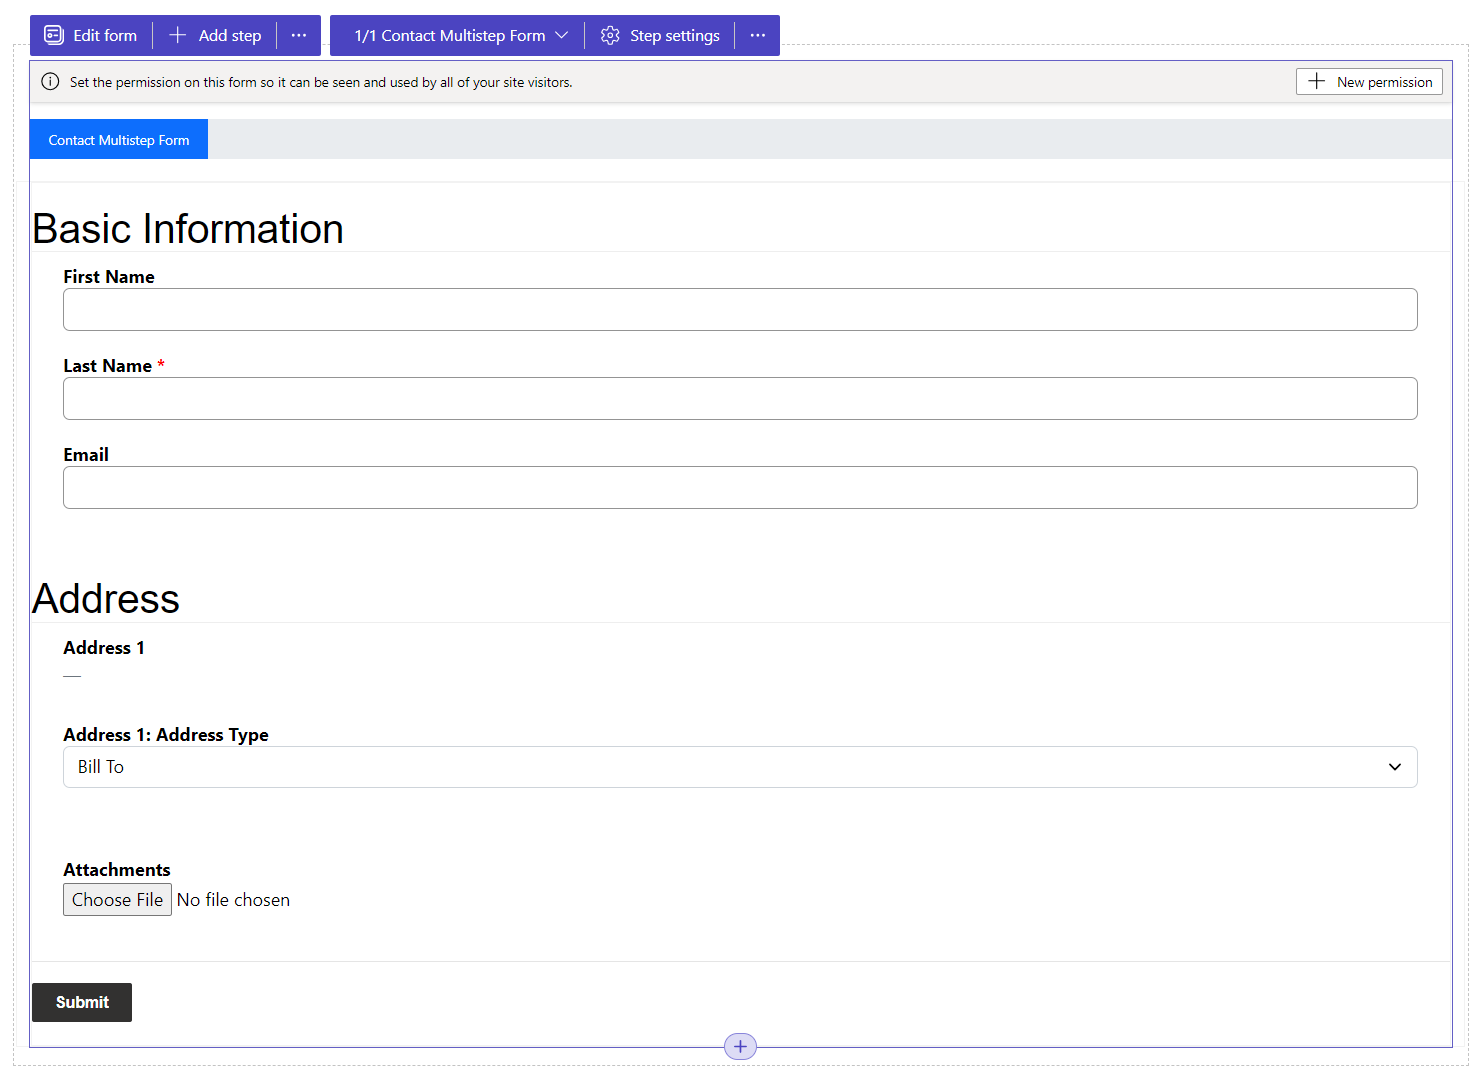
Our basic form is now displayed:
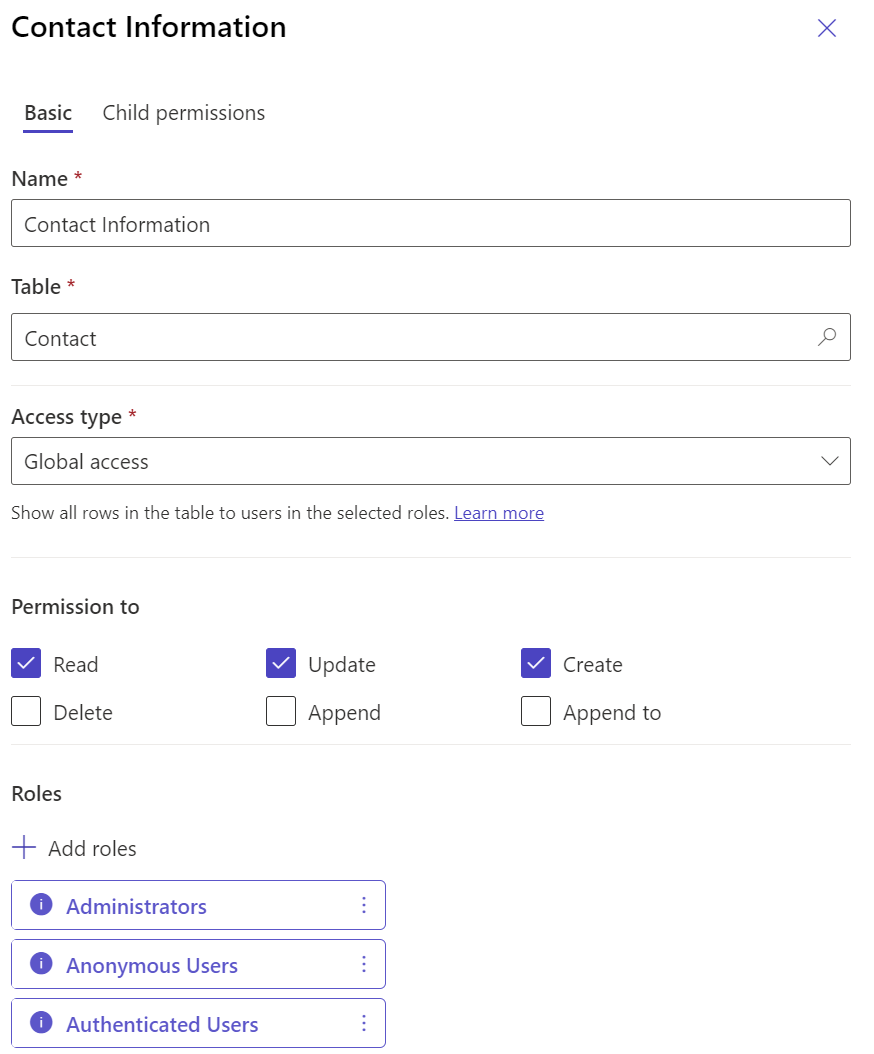
Now, we will need to add a New Permission (if we don’t do this we will get the “You don’t have the appropriate permissions” message):
![]()
For this exercise, we will grant Global Access with Read/Update/Create permissions (in the real world you may not want to give users this global access and can limit the user scope):
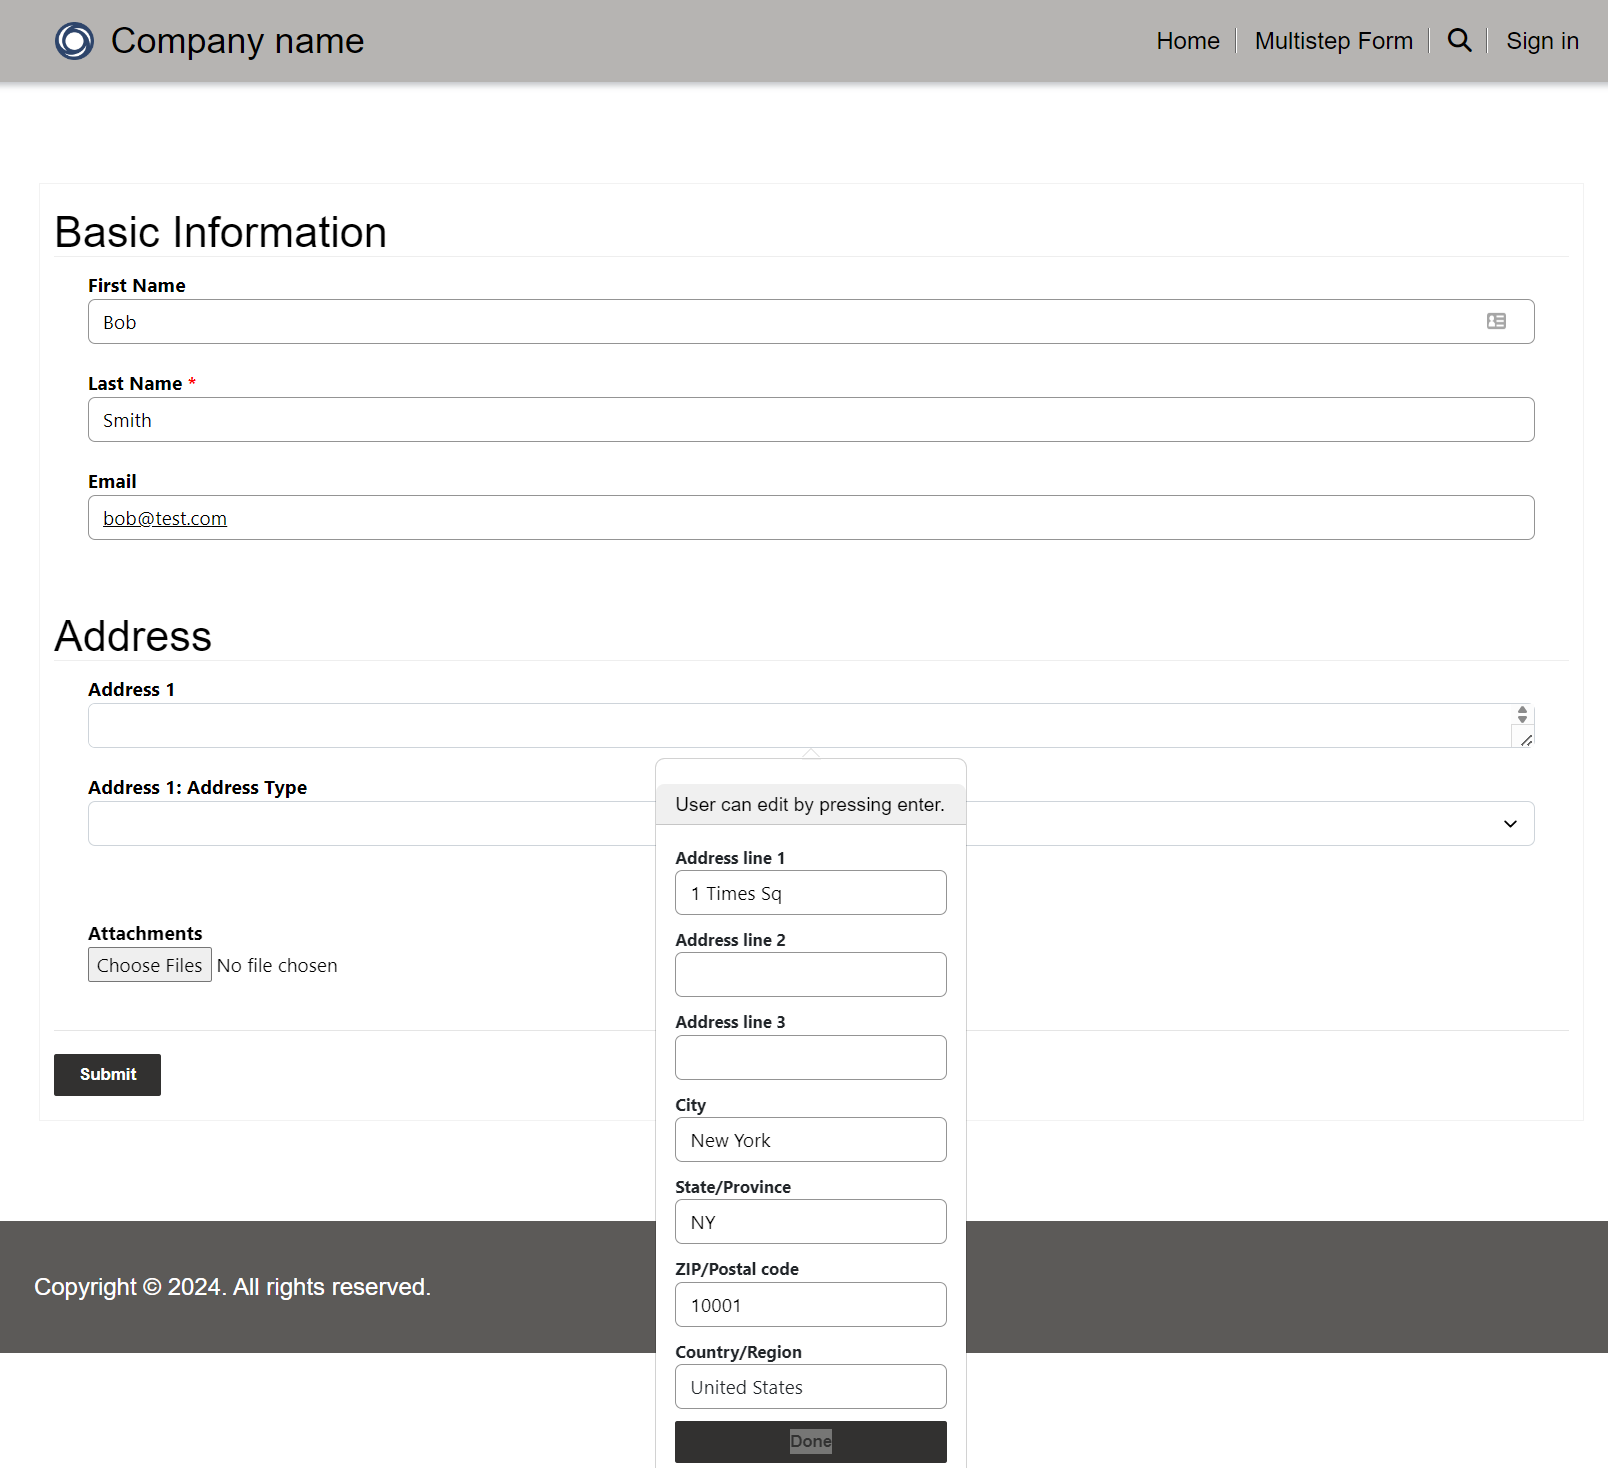
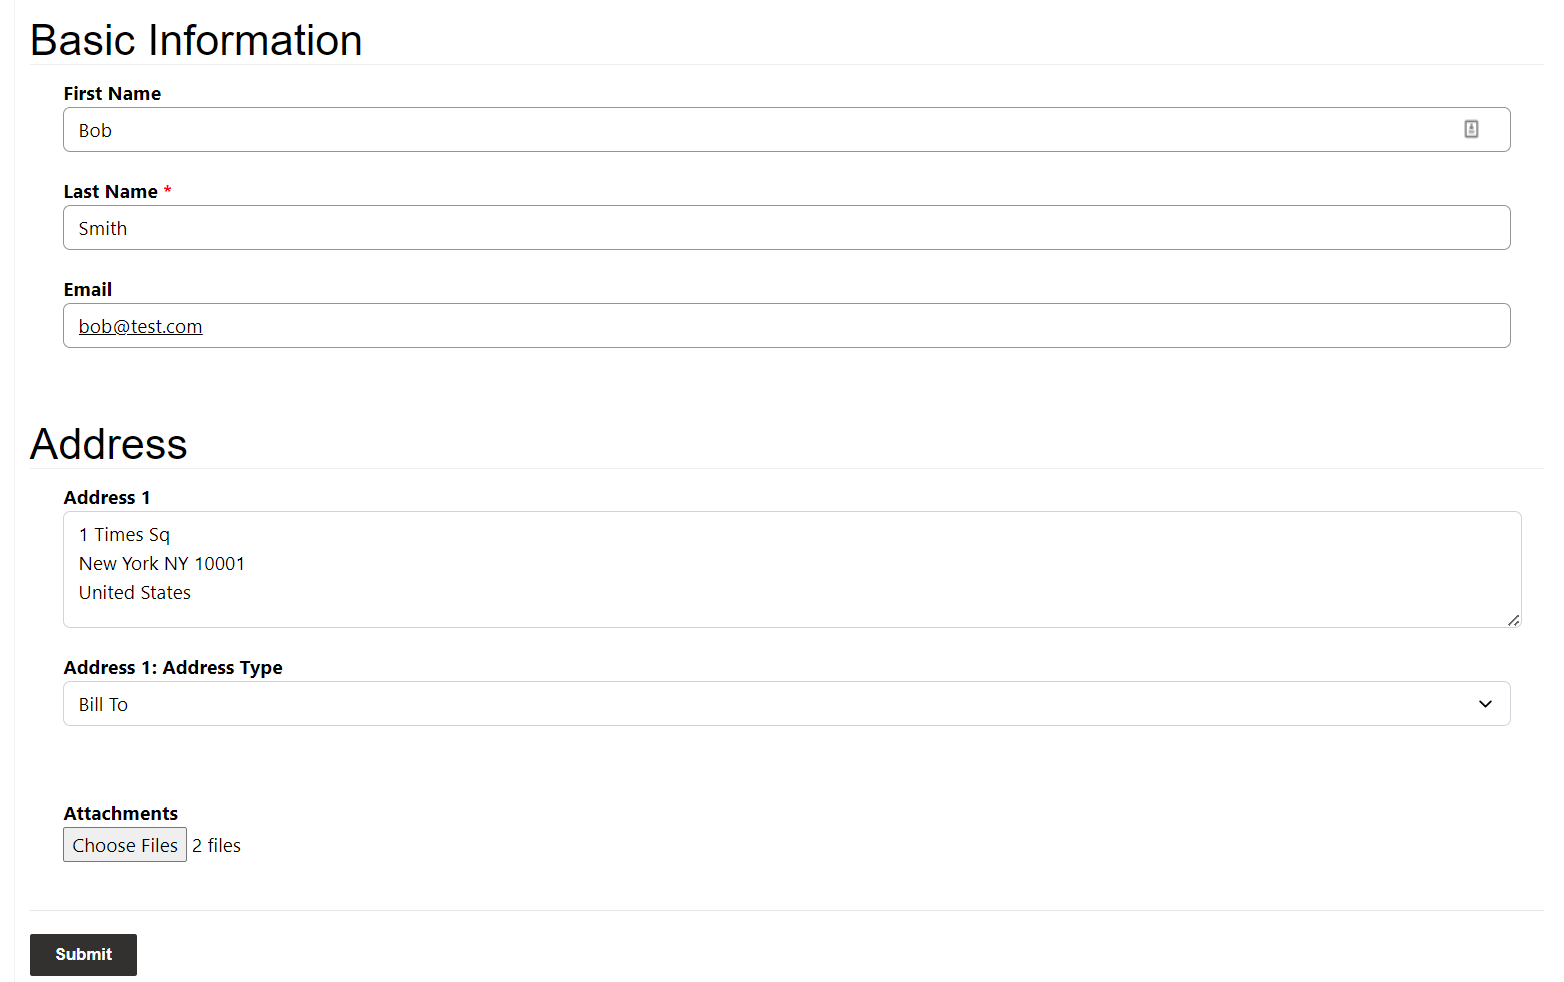
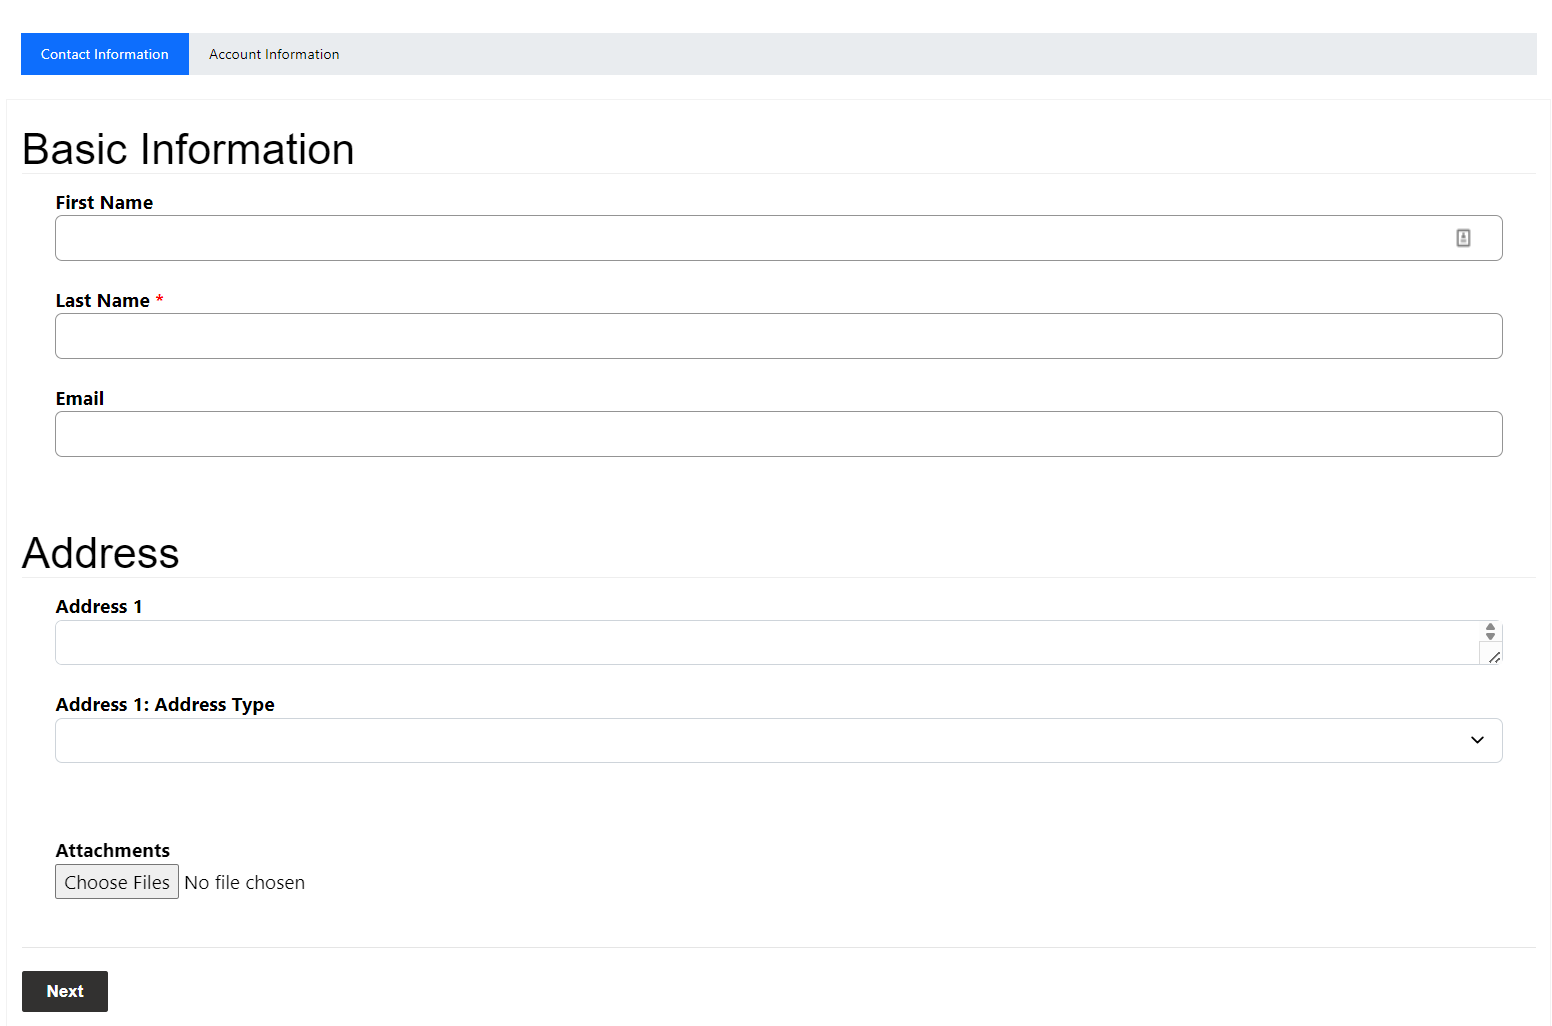
Let’s try it out. Sync and go to the portal. We can enter in our Basic Information and Address. Note when we click on Address the composite field shows a pop-up of all the address fields:
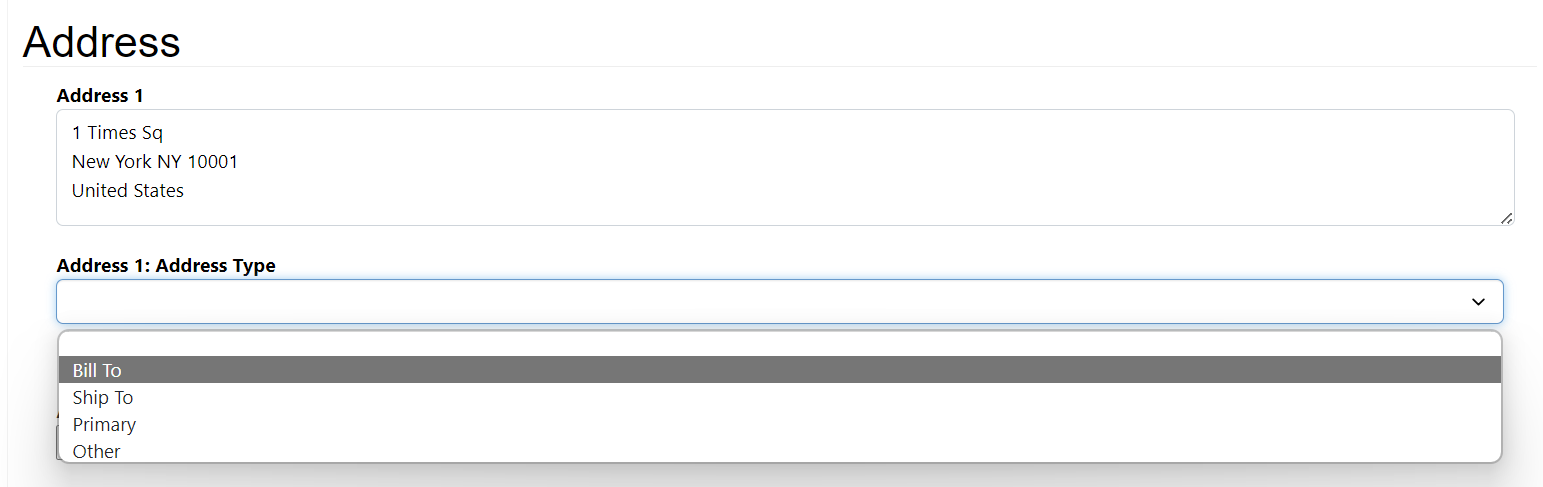
We can see the address once entered displays as a multiline textbox, and the address type being an option set displays as a drop-down list:
For attachments I have selected a couple of text files:

Now let’s go ahead and submit this form:
The button changes to Processing:

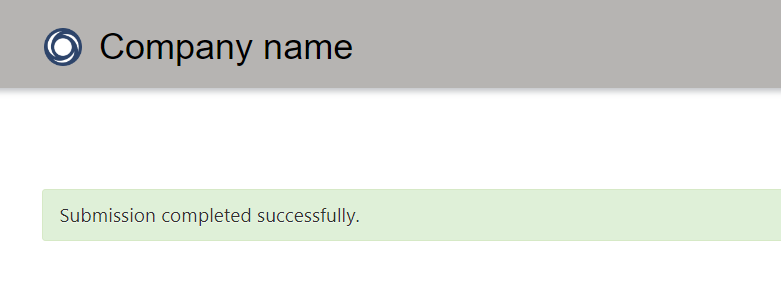
And then the message “Submission completed successfully”:
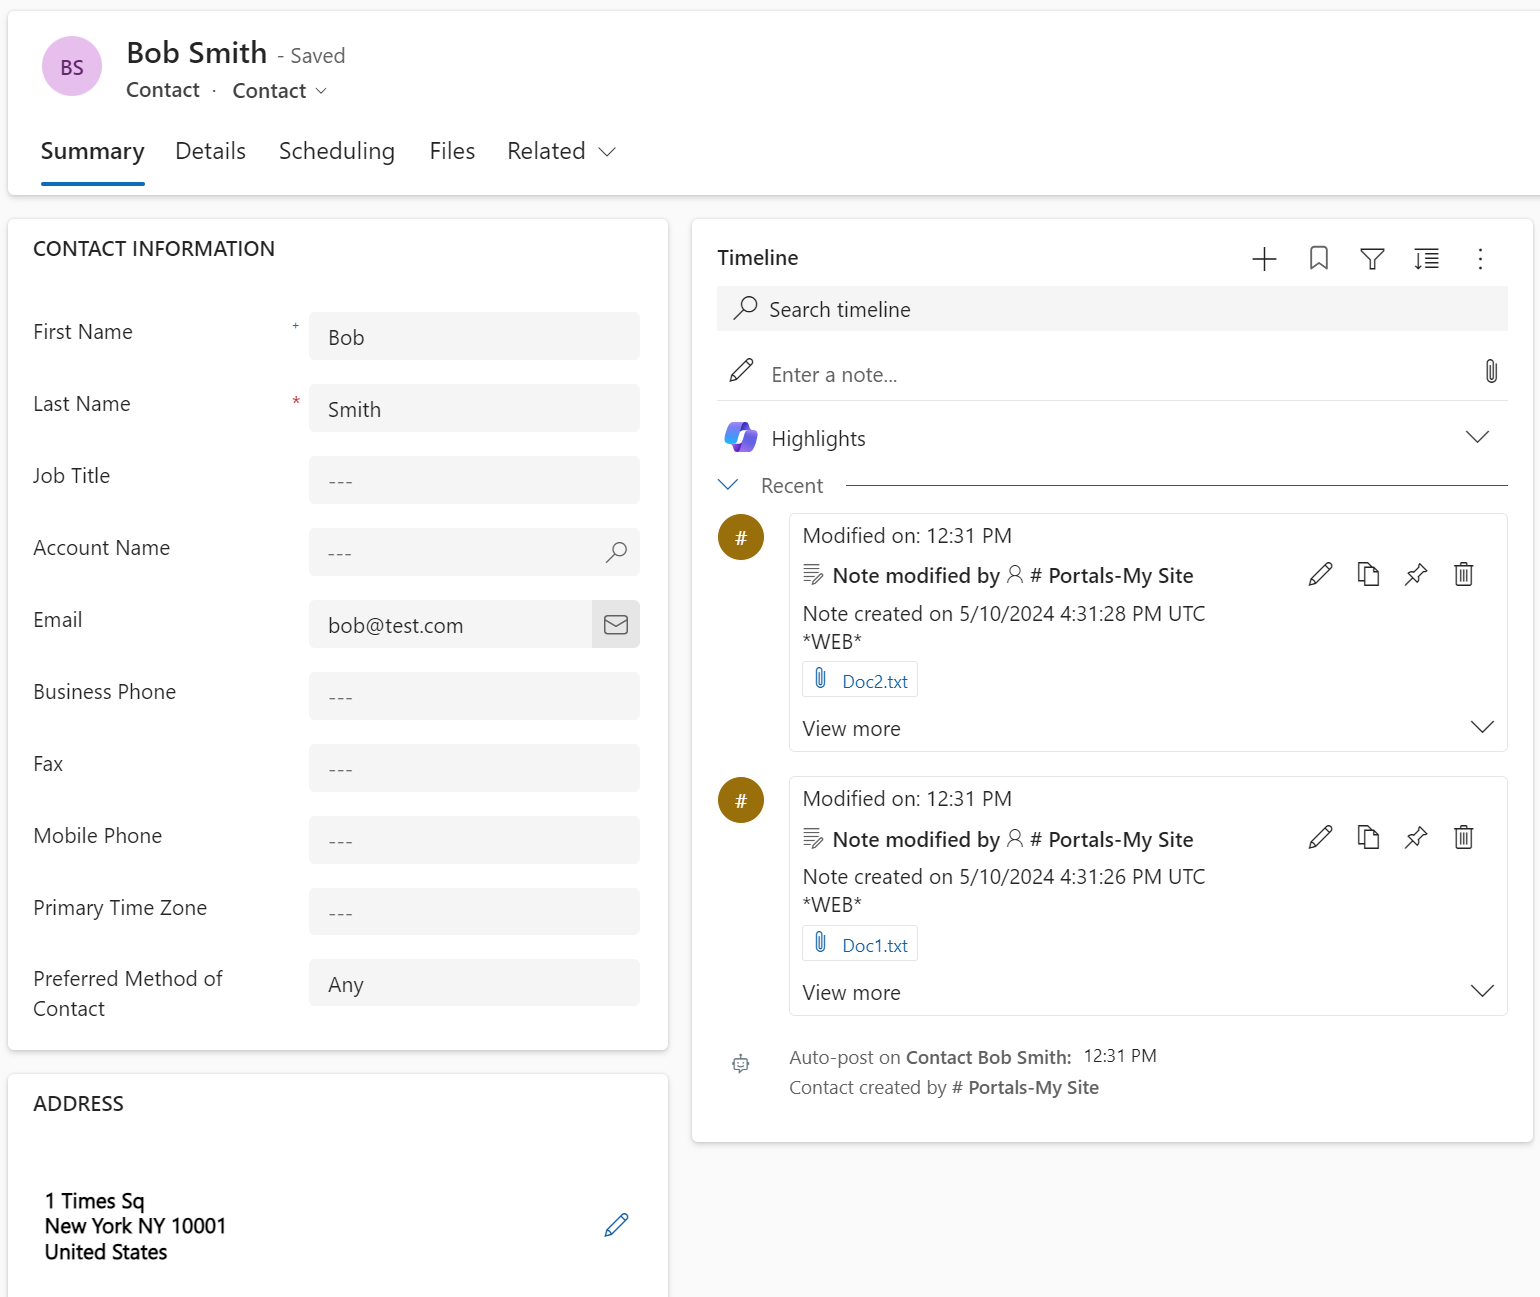
In Dynamics, our record is created with documents attached:
 Second Step with Second Table
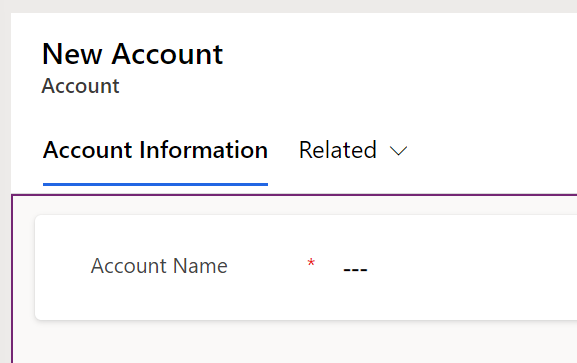
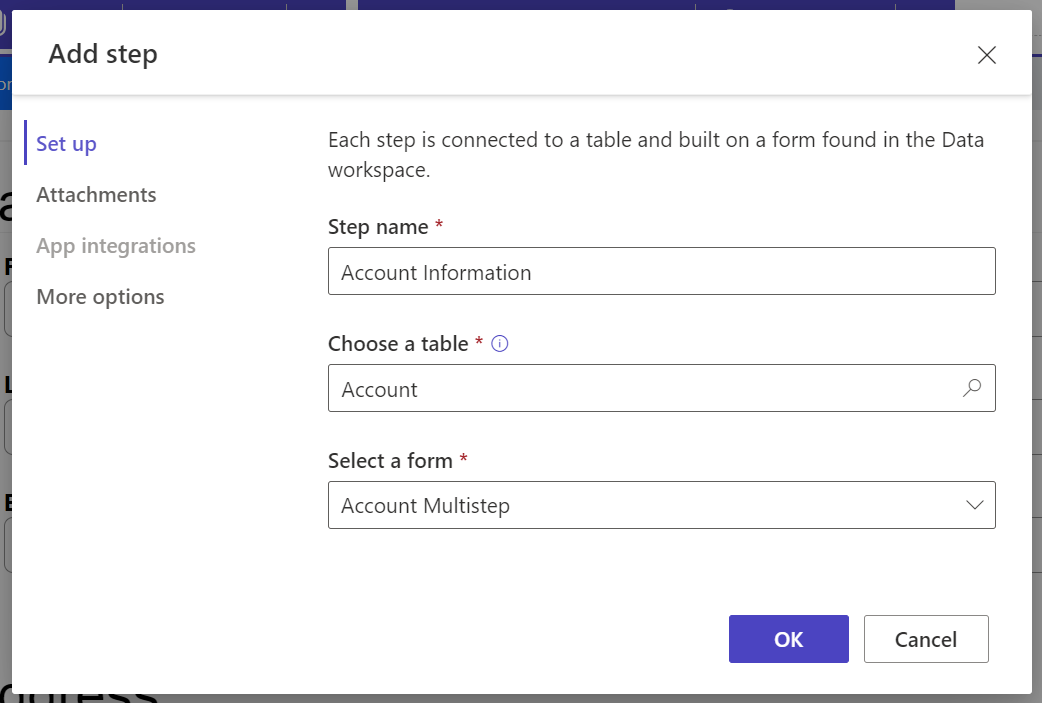
Let’s add another step, this time we will create an Account as part of the process, using a new Account form called Account Multistep:
Let’s add a step:
Select the Account form with the option to Create a new record:
We see that now as we have 2 steps we have 2 tabs appearing – Contact Multistep and Account Information (note, if we set Show Progress Indicator to “Off”, the tabs below disappear):
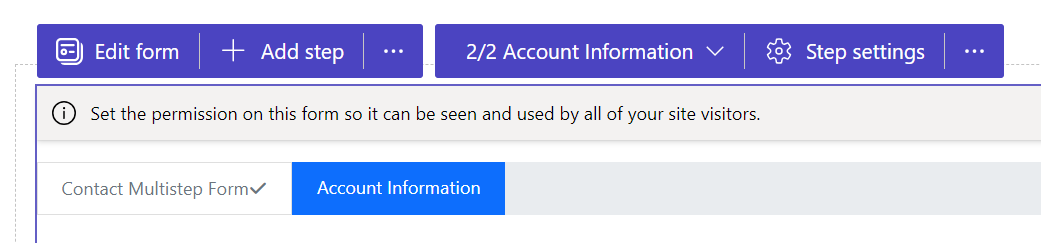
Let’s rename the Contact Multistep Form to something more user friendly, Customer Information. Add permissions for Accounts, save and sync. We now see our tabs:
Clicking next commits our Contact information to Dynamics 365, something to note. After entering Customer Information, we are brought to the Account Information tab, where we now have previous and submit buttons:
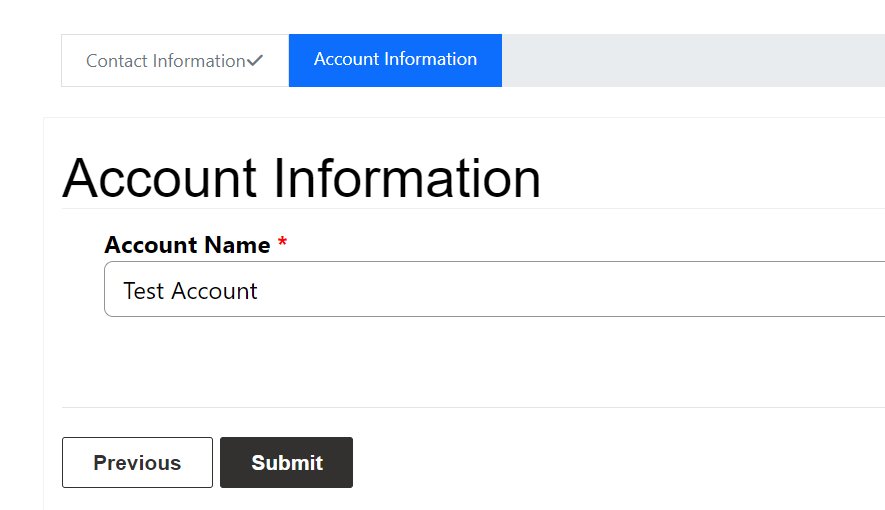
What’s interesting here is if a user clicks Previous, they may run into a permissions issue. We need to ensure a user has Read access to be able to see the record.
Pressing submit disables each of the buttons to prevent double posting. Our account is created in Dynamics:

Note the application user that creates these records, in my case:

The records created a not related at this point. We will look at related records later.
Conditions
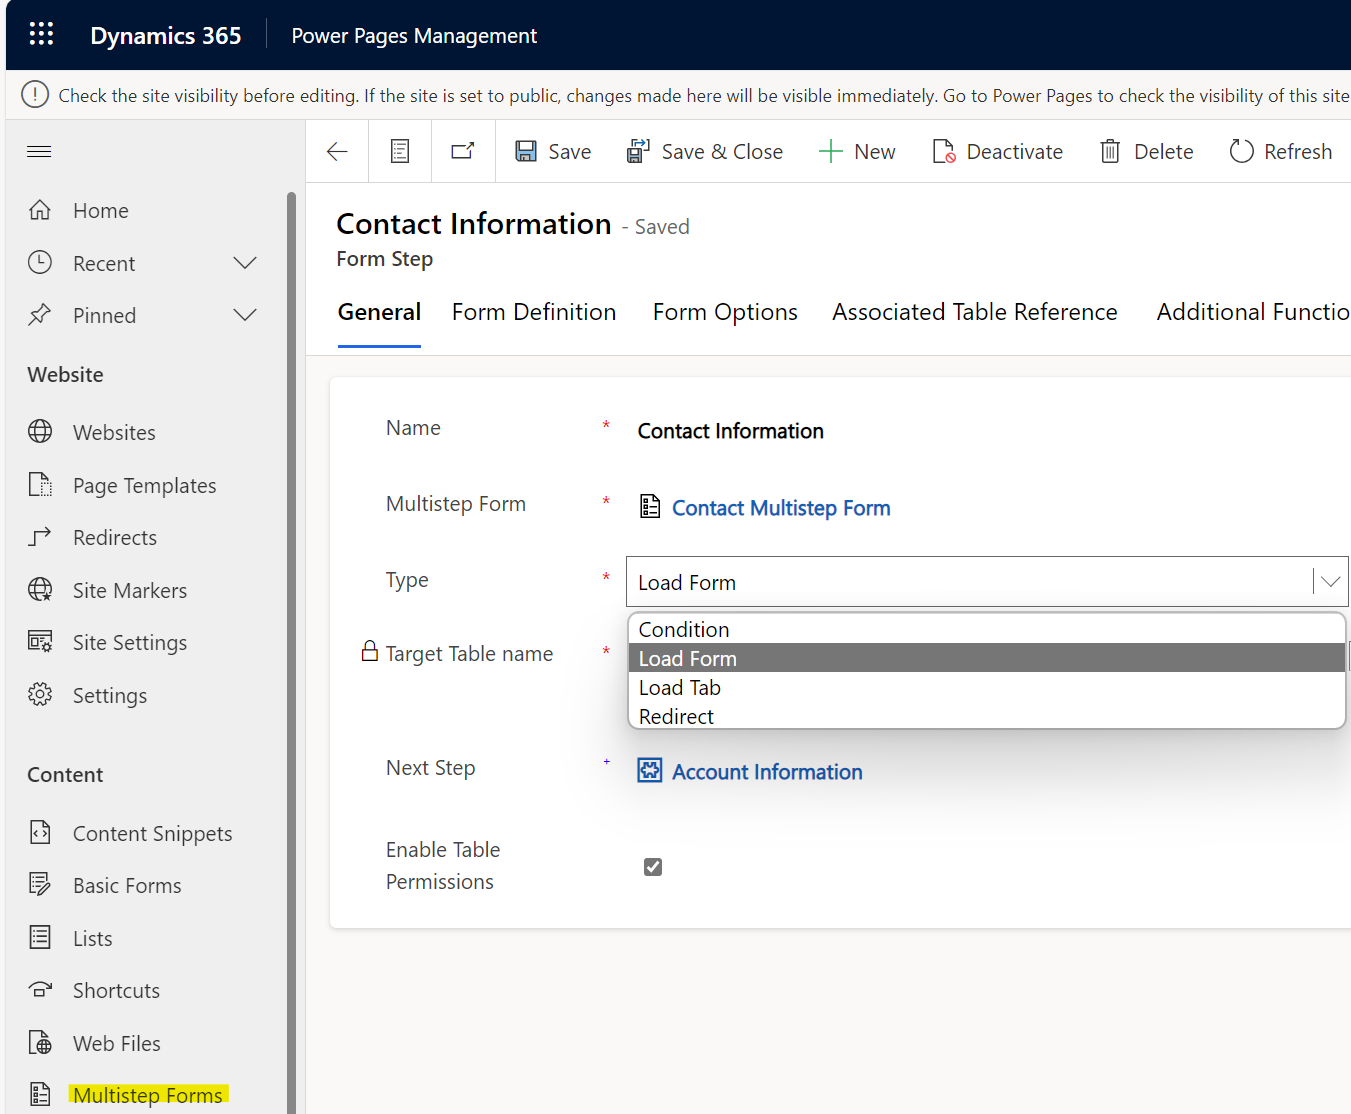
Now let’s look at adding form step conditions. If we head to the Power Pages Management app, and open an existing step, we see the types available are Condition, Load Form, Load Tab, and Redirect:
To demonstrate this, let’s create a new form called Account Multistep 2, which is like our original Account form but it has the Account Number field as well. We will redirect the user to this form or the original one based on a condition. Let’s consider the example where if a user’s first name is “Dave”, we want them to enter in an Account Number fields as well as the Account Name field. If their first name is not Dave, then we’ll direct them to enter only the Account Name.
To achieve this, we do the following:
- Create 2 model-driven app main forms in the Account:
- Account Multistep, which has the Account Name
- Account Multistep 2, which has the Account Name and Account Number
- In Power Pages Management, we open our Contact Multistep Form, then:
- Add a new Form Step of type “Load Form” to open the Account Multistep 2 above
- We already have a Form Step created of type “Load Form” to open the Account Multistep
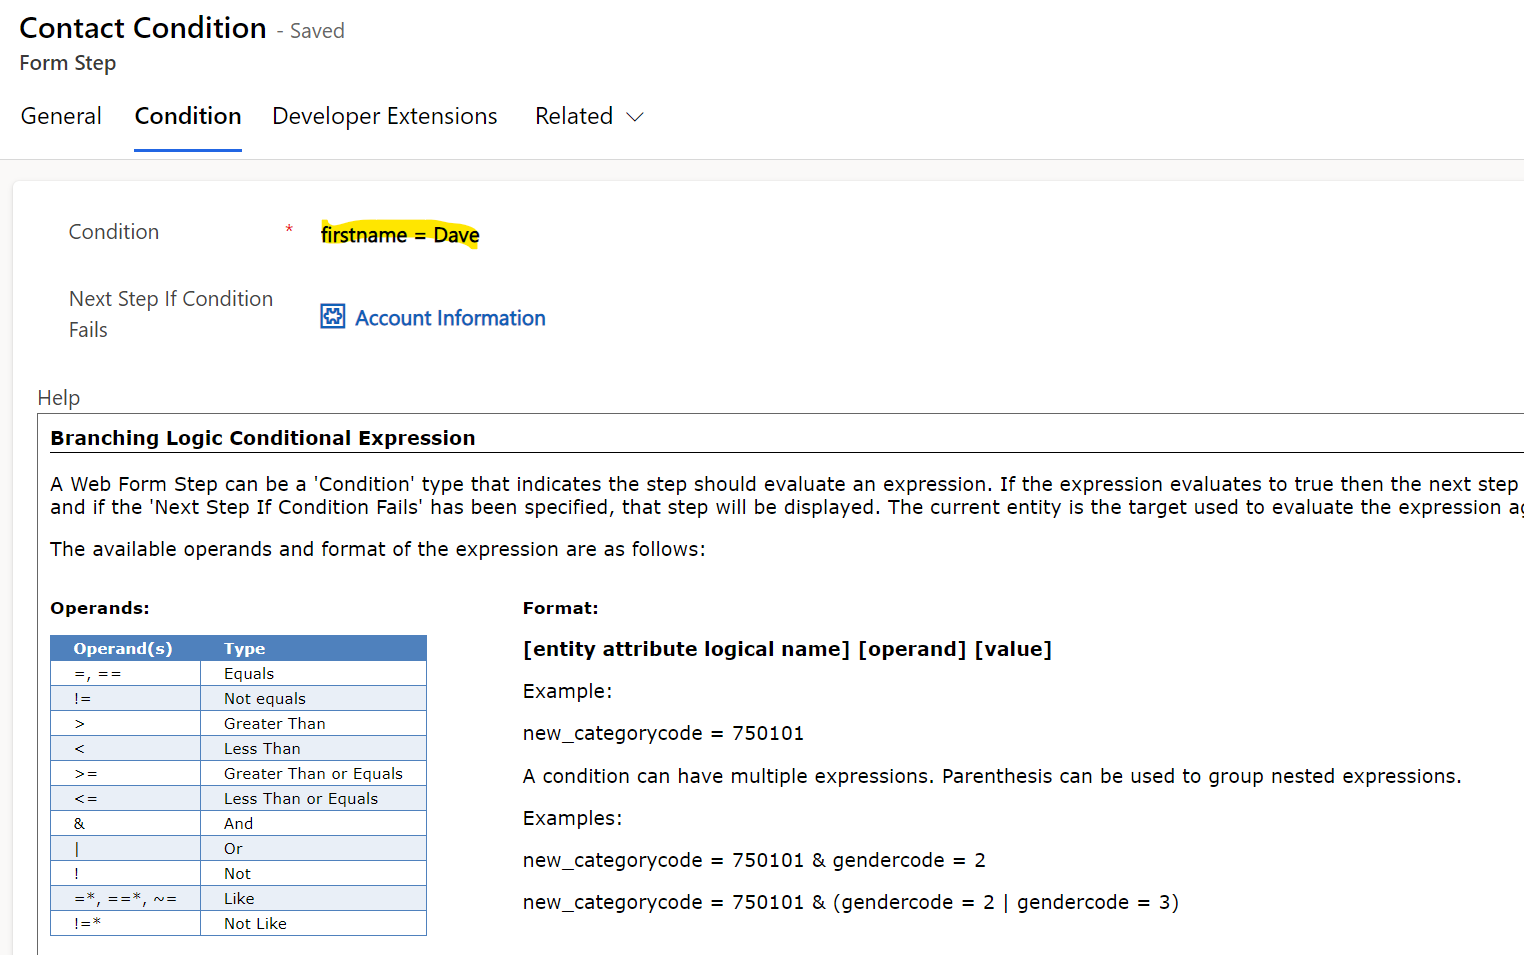
- Create a Form Step of type “Condition”. Add logic, if firstname=Dave, open the Account Multistep 2 form, else open the Account Multistep form.
Let’s try this out.
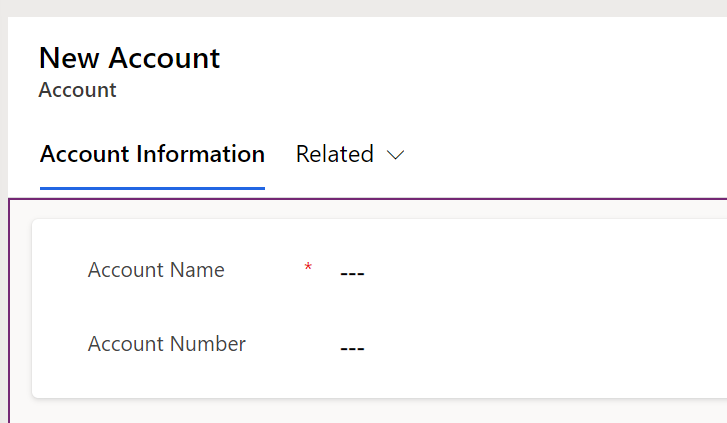
First, we create our new Account Multistep 2 form with the Account Number:
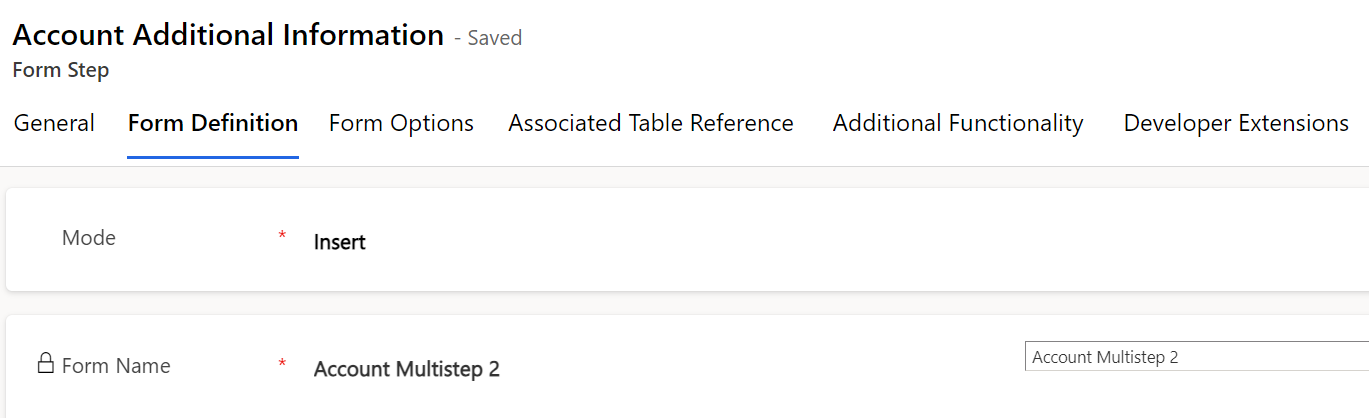
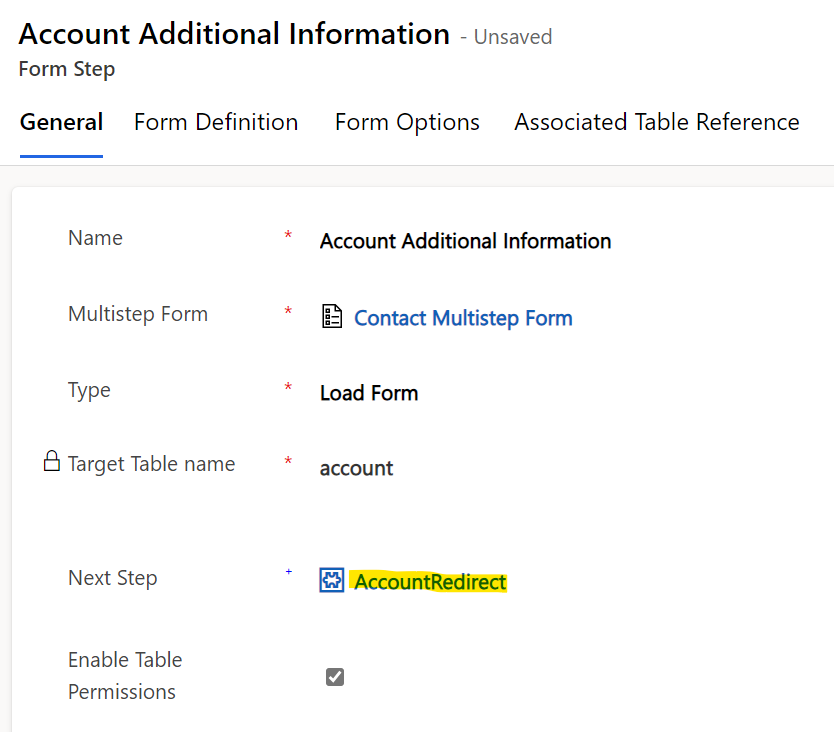
Based off this, we will create a new Step which loads this form. We will call the step Account Additional Information:
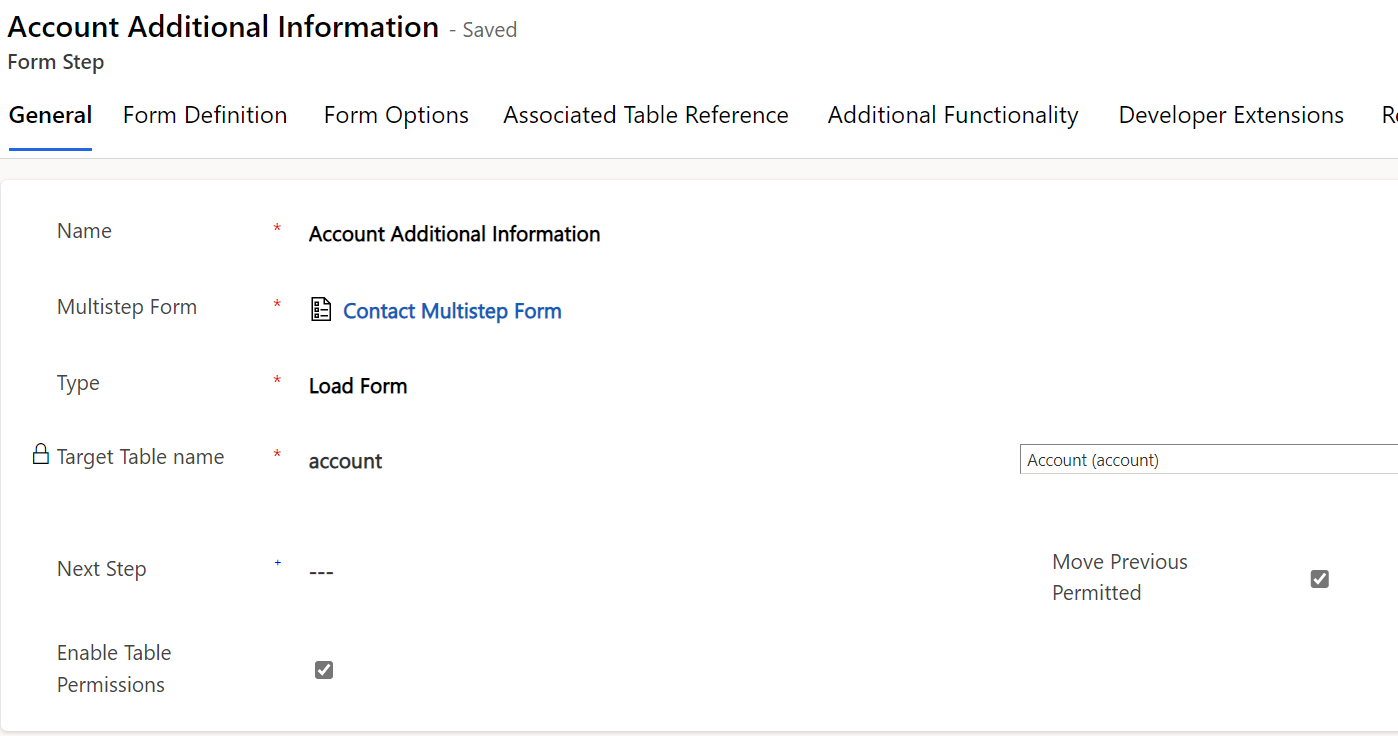
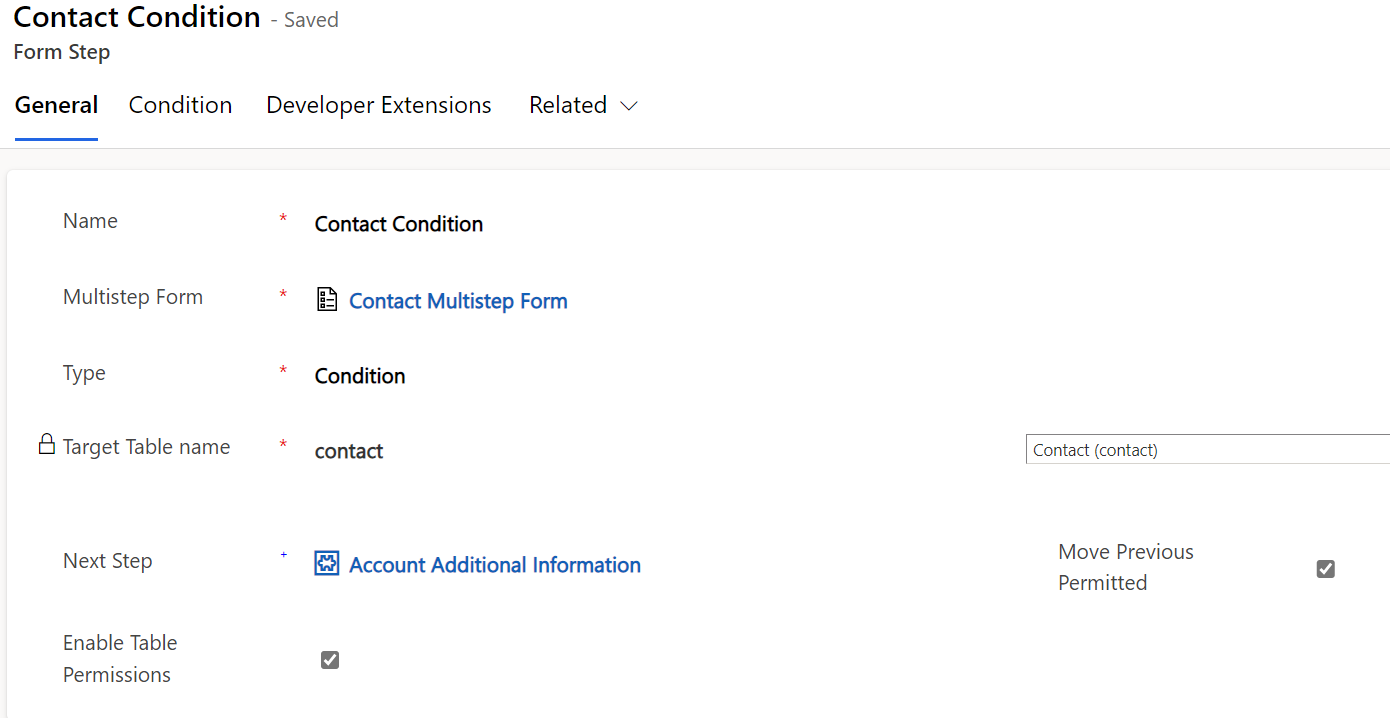
Now let’s create a new Form Step of type Condition. We have the next step as Account Additional Information, which means if the condition is met (which we will define shortly), this form will be displayed:
We now add a condition that says if the firstname = Dave is not met, we open the Account Information form. Note the syntax of these conditions.
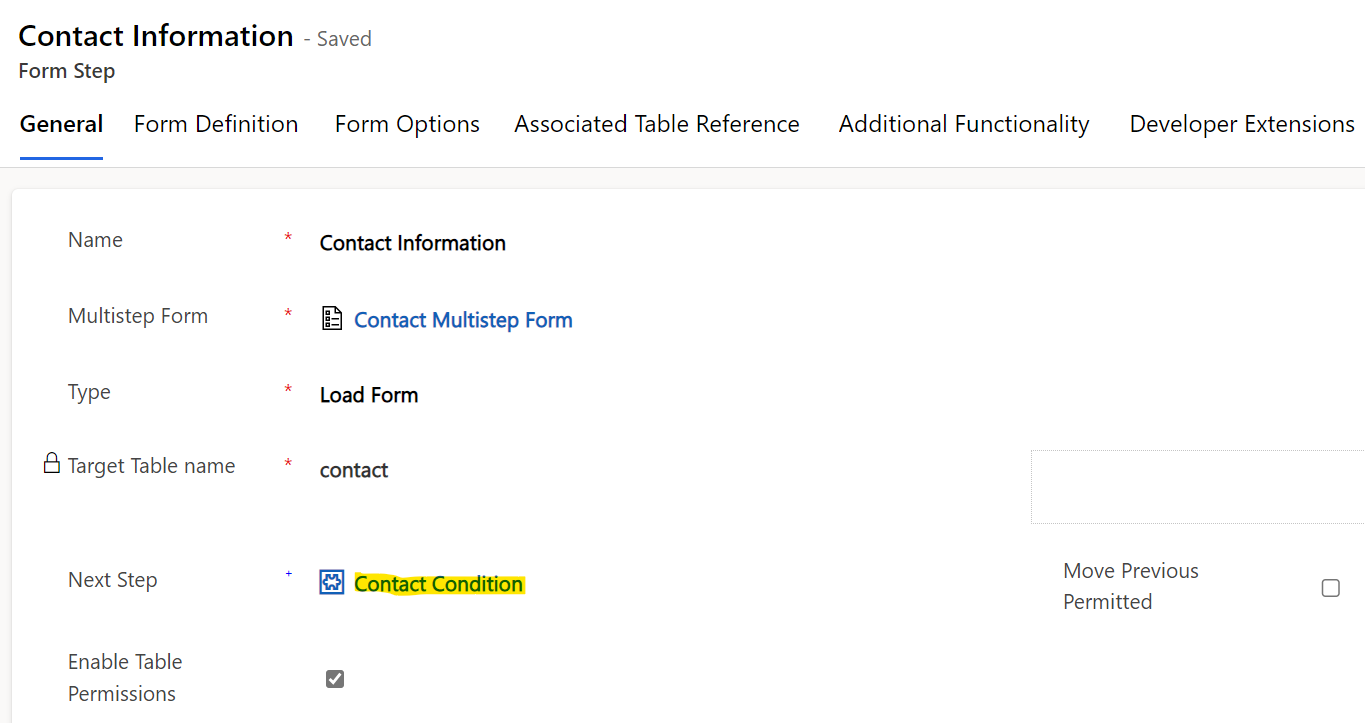
Finally, we change our Contact Information form which is the original form to have our new Contact Condition as the next step:
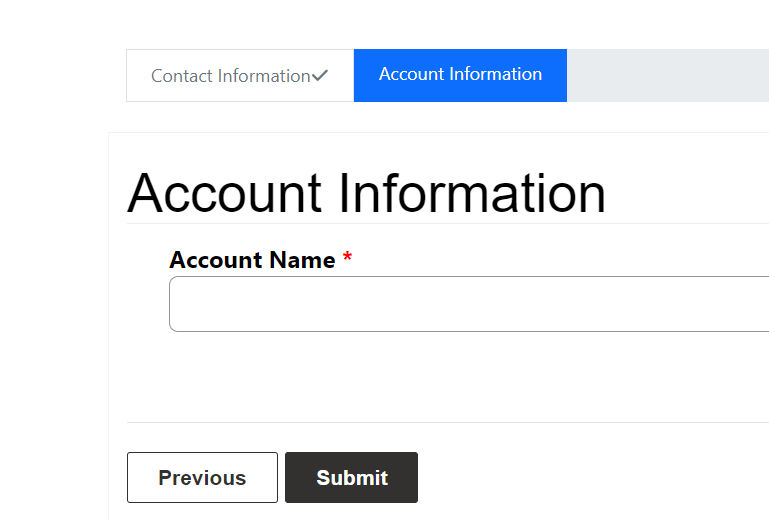
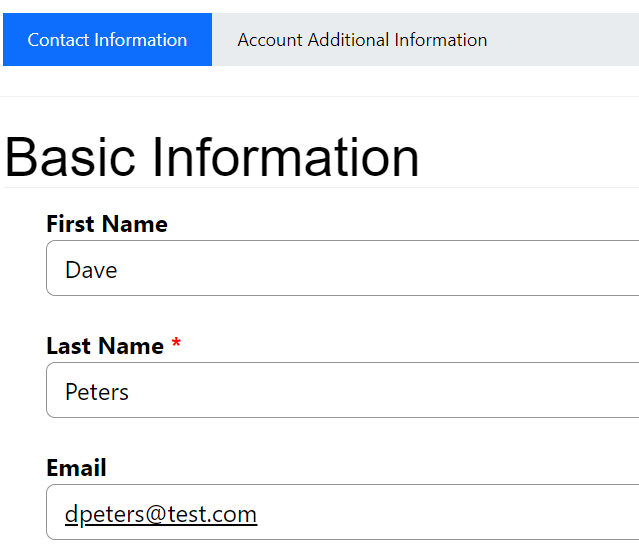
Now let’s test this. If we enter Bob as the first name and click Next:
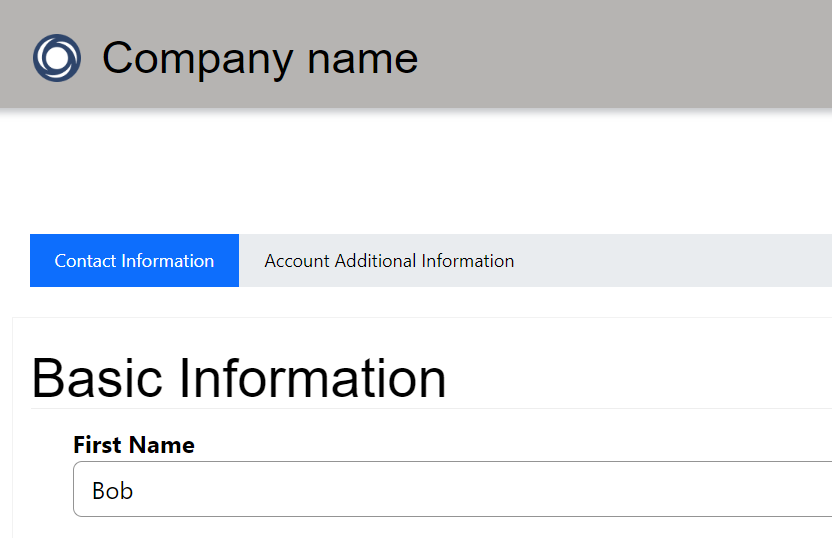
We are directed to the Account Information form:
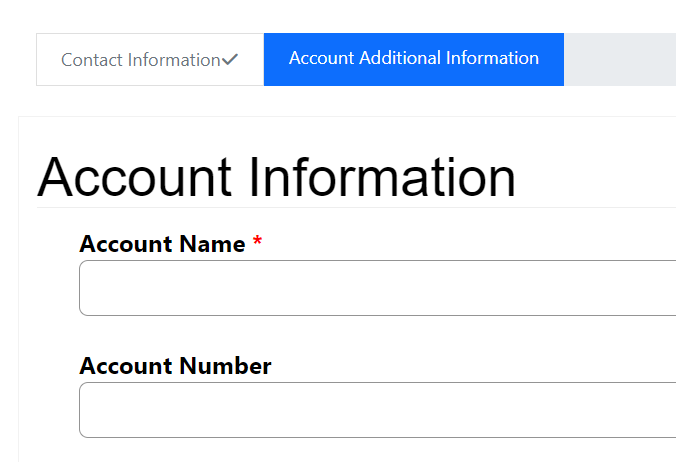
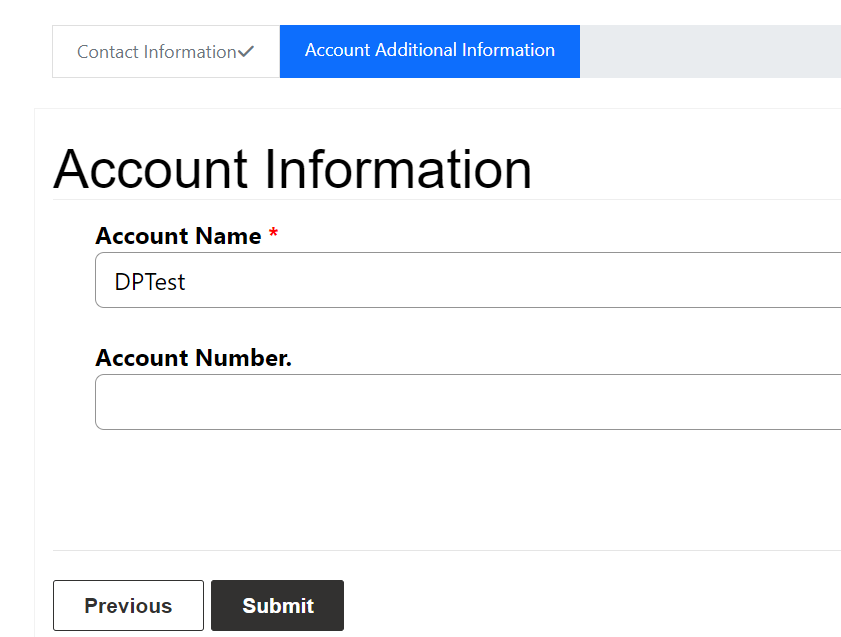
If we go back and enter Dave:

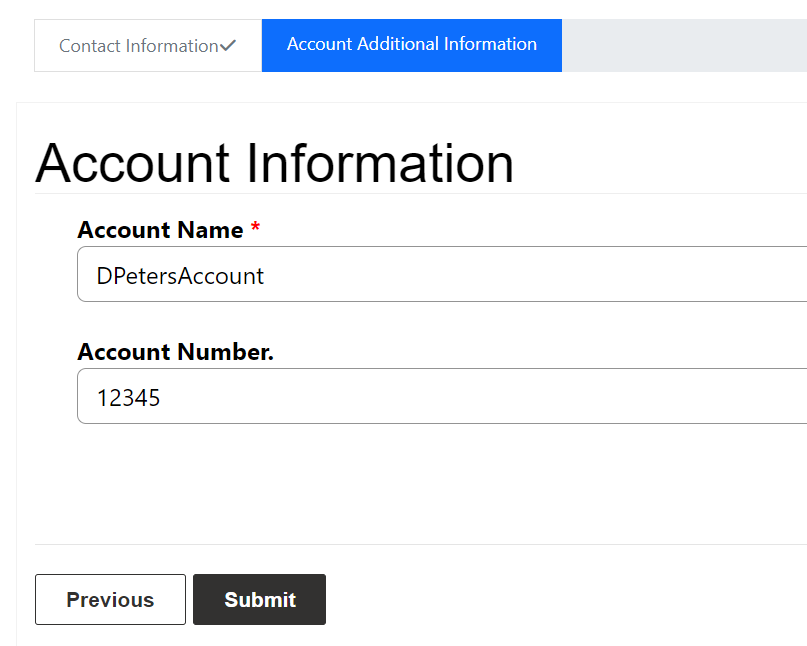
We get the Account Additional Information form:
This works nicely.
As you go through a multistep form you will see a stepid and guid in the URL, so if you’re on a site with this syntax you may possibly be using a multistep form:
![]()
One extra thing I did is set Start New Session on Load to true, so the same user can enter multiple forms with new data:
Redirects
Redirects allow us to redirect a form to a URL or portal page. Let’s create a new step:
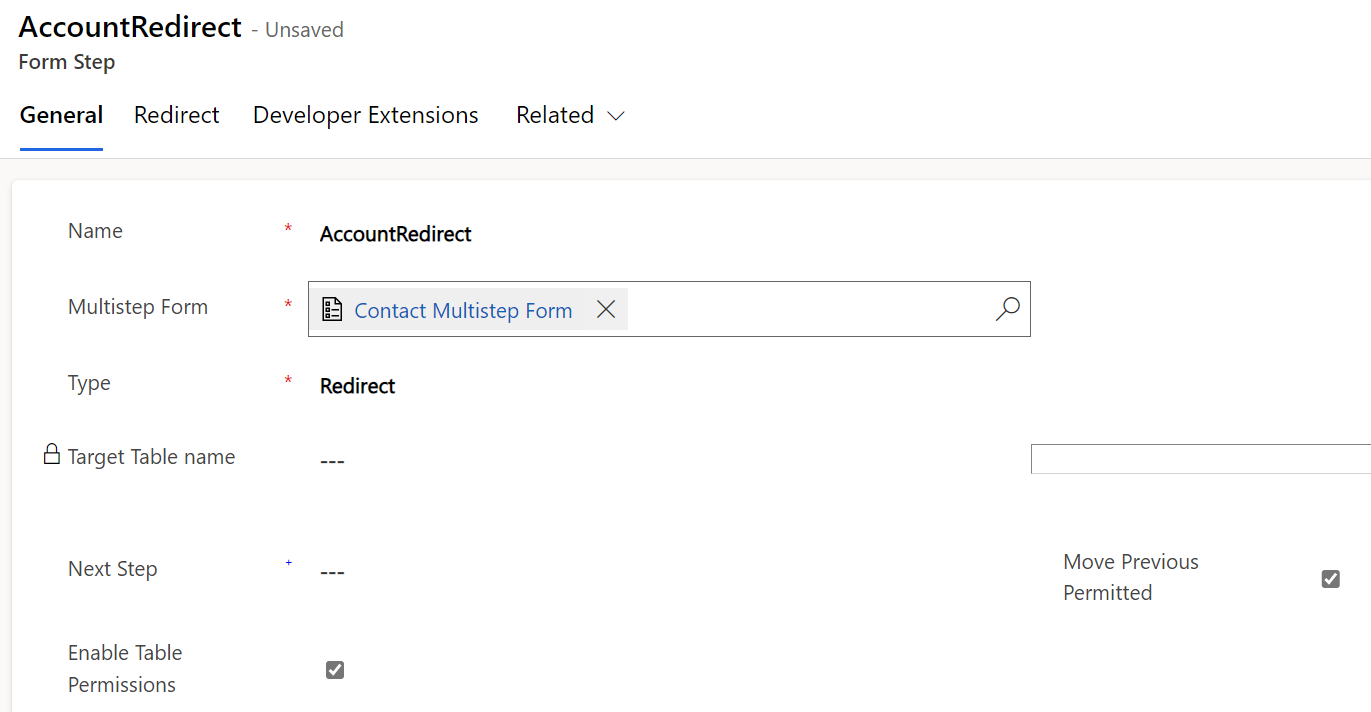
Let’s add an external URL:
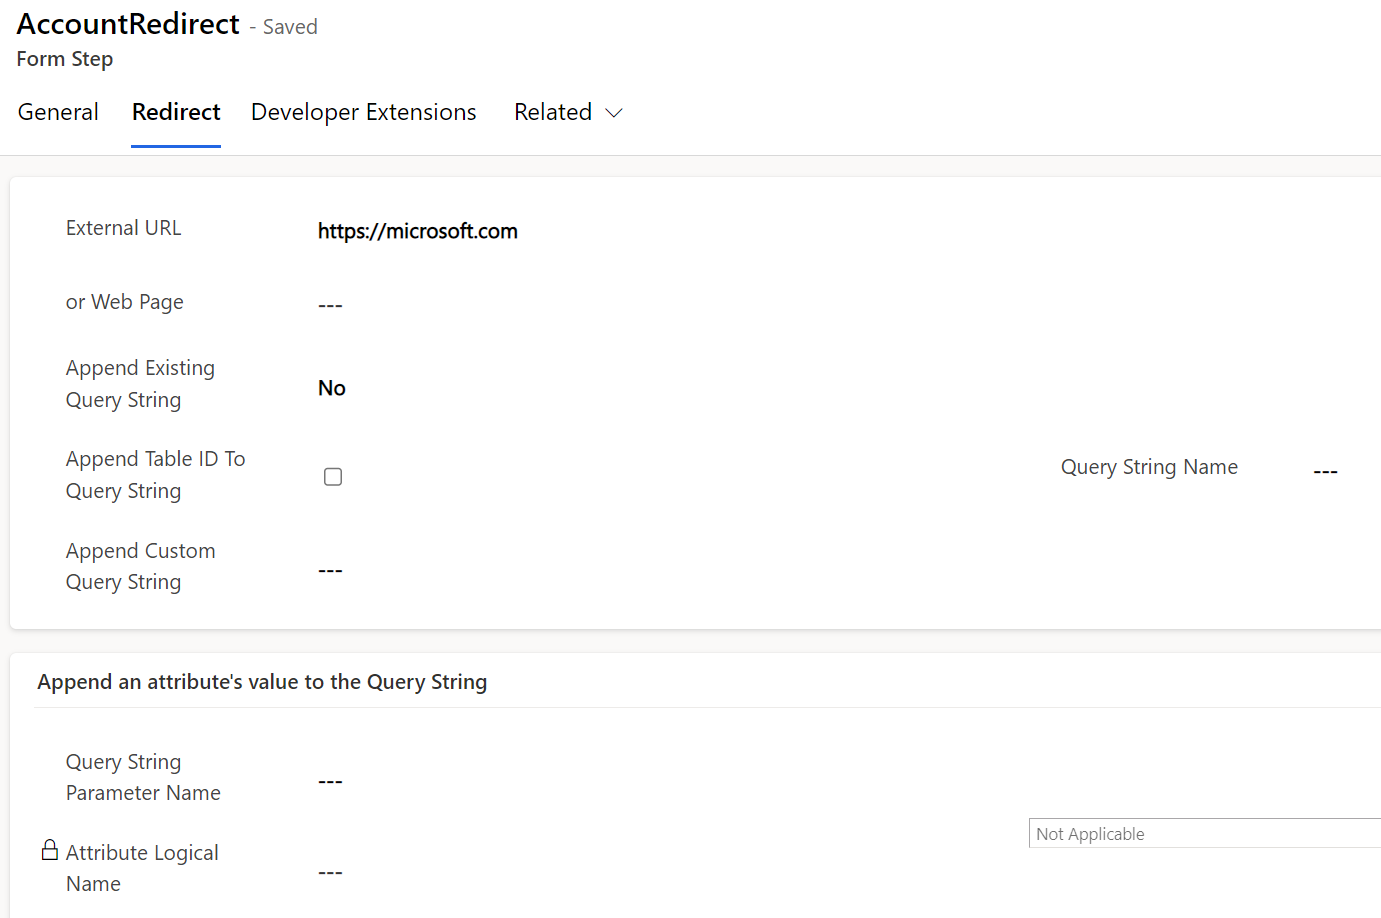
Now when we submit we get redirected to the Microsoft homepage:
If we check Append Existing Query String:
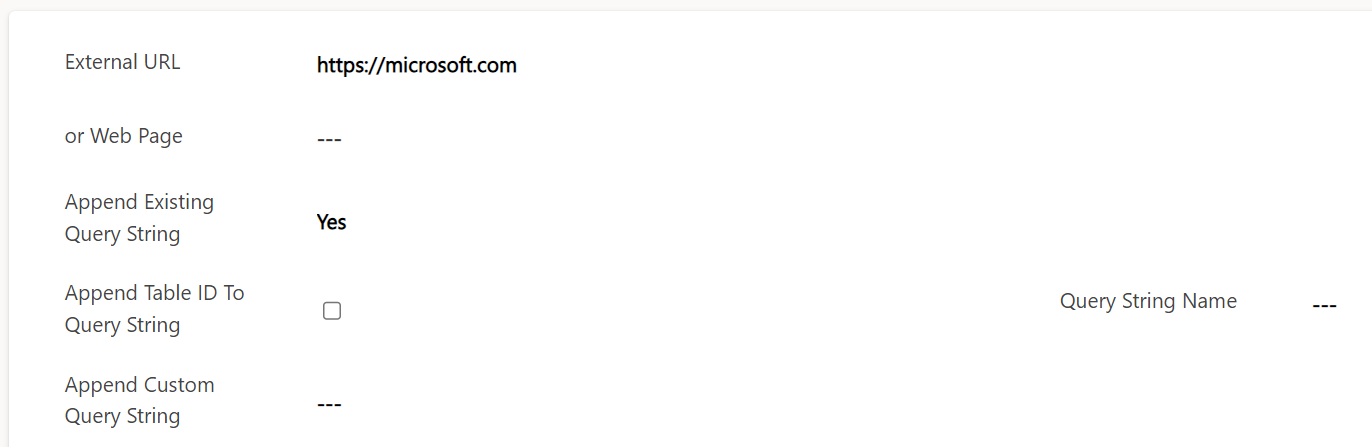
We get additional details in the URL:
![]()
Associating Records
Previously when we added the Account step, we saw that the contact and account are created without a relationship, i.e. they are 2 separate records not related. To make them related records, we can do the following.
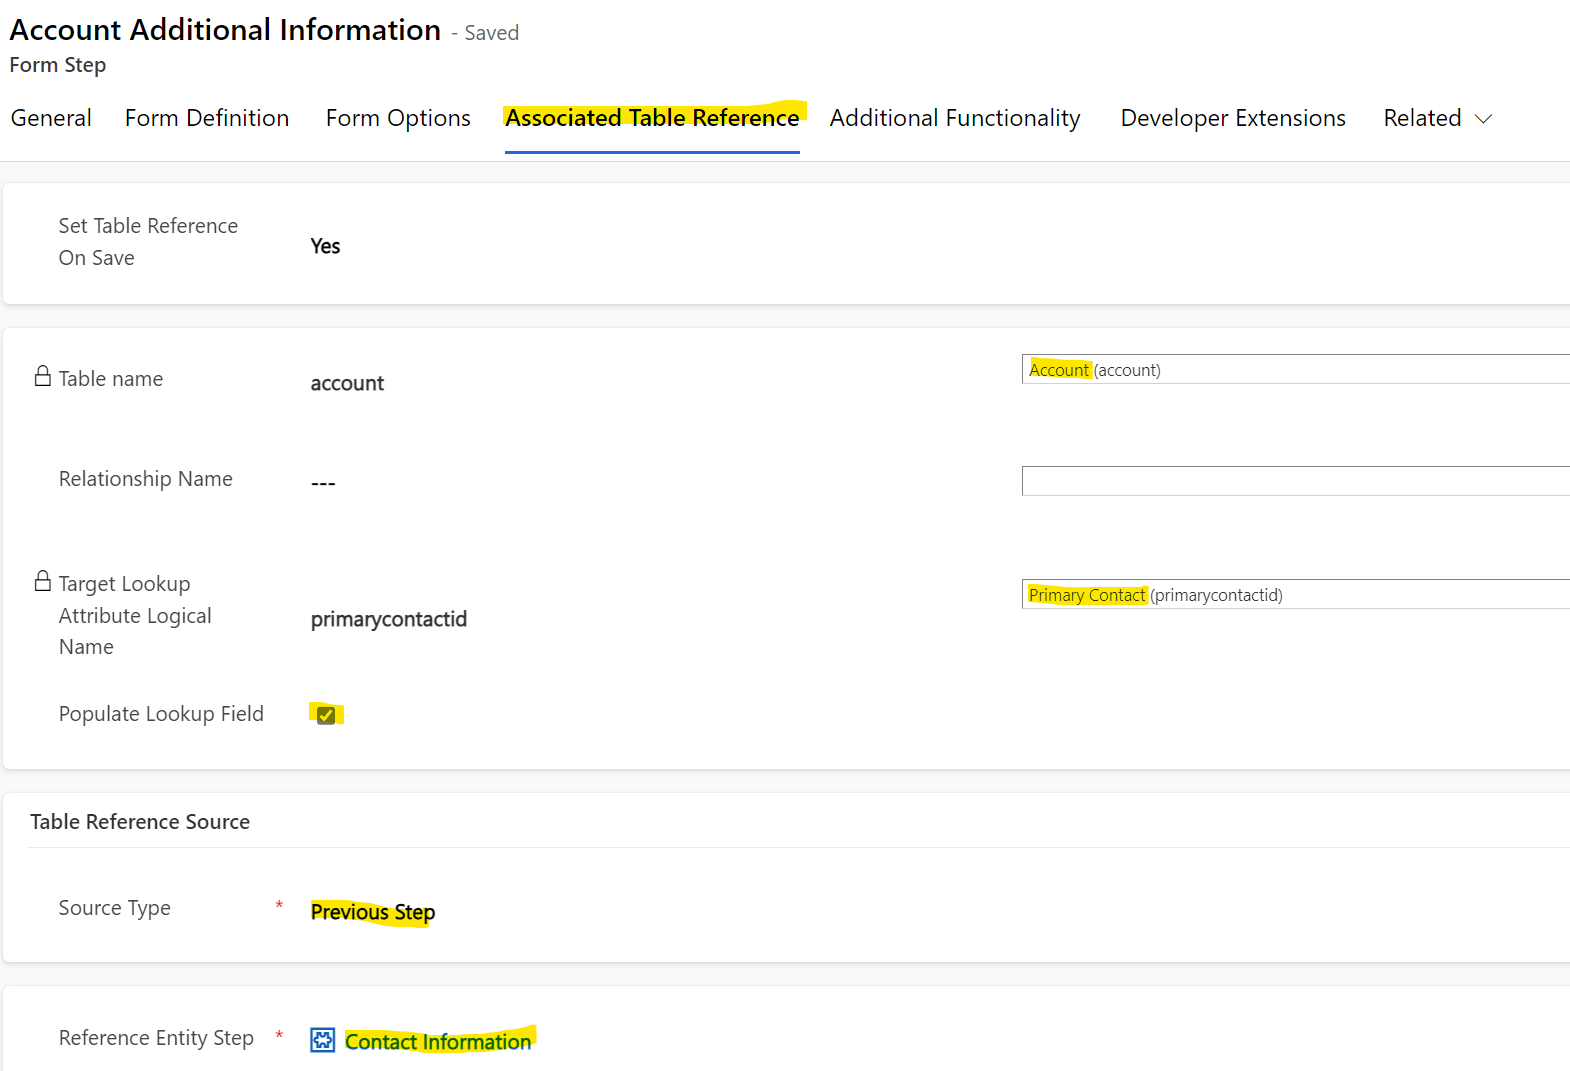
Go to the Power Pages Management form step where you would like the relationship added. In this case, let’s open the Account Additional Information form step, and go to the Associated Table Reference tab. We will set the Account’s primary contact field to be the contact from the previous step.
Now, when we add our contact and account:
The account has the contact lookup added:

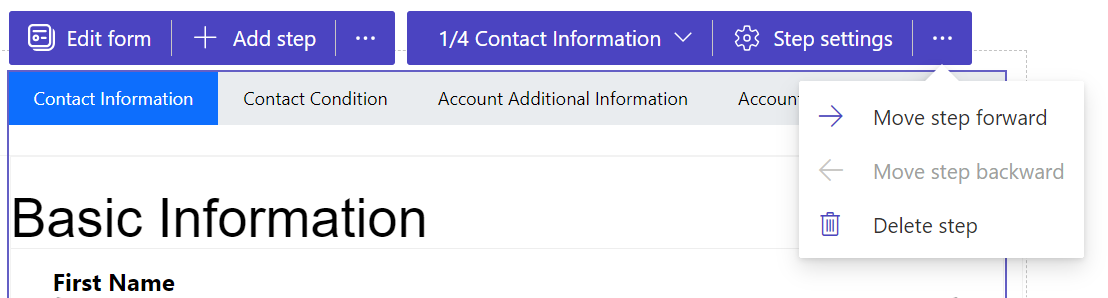
Finally, you can reorder steps by selecting a step and moving it forwards or backwards if you need to:
I AM SPENDING MORE TIME THESE DAYS CREATING YOUTUBE VIDEOS TO HELP PEOPLE LEARN THE MICROSOFT POWER PLATFORM.
IF YOU WOULD LIKE TO SEE HOW I BUILD APPS, OR FIND SOMETHING USEFUL READING MY BLOG, I WOULD REALLY APPRECIATE YOU SUBSCRIBING TO MY YOUTUBE CHANNEL.
THANK YOU, AND LET'S KEEP LEARNING TOGETHER.
CARL

Hi there,
Thanks for creating a descriptive post for multistep forms. I am able to follow the steps and create the form. Not sure why I am not getting submit/next button on step 1 of the form. Am I missing some thing?
Hey Carl! what is the onsave event for multi step form on which i can trigger my js?
Hi Carl
Thank you for the post. I tried similar thing with conditional step but it does not work as soon as you try to compare with a string that contains spaces, for example: fullname = Carl de Souza.
Do you have any advice on how to deal with this requirement?