In our last post, we created a Binary Classification model using the AI Builder in Microsoft PowerApps. In this post, we will continue the example and embed the results in a PowerApp / Dynamics 365 so users can view these results.
First, select the AI Model and in the bottom, click Publish:
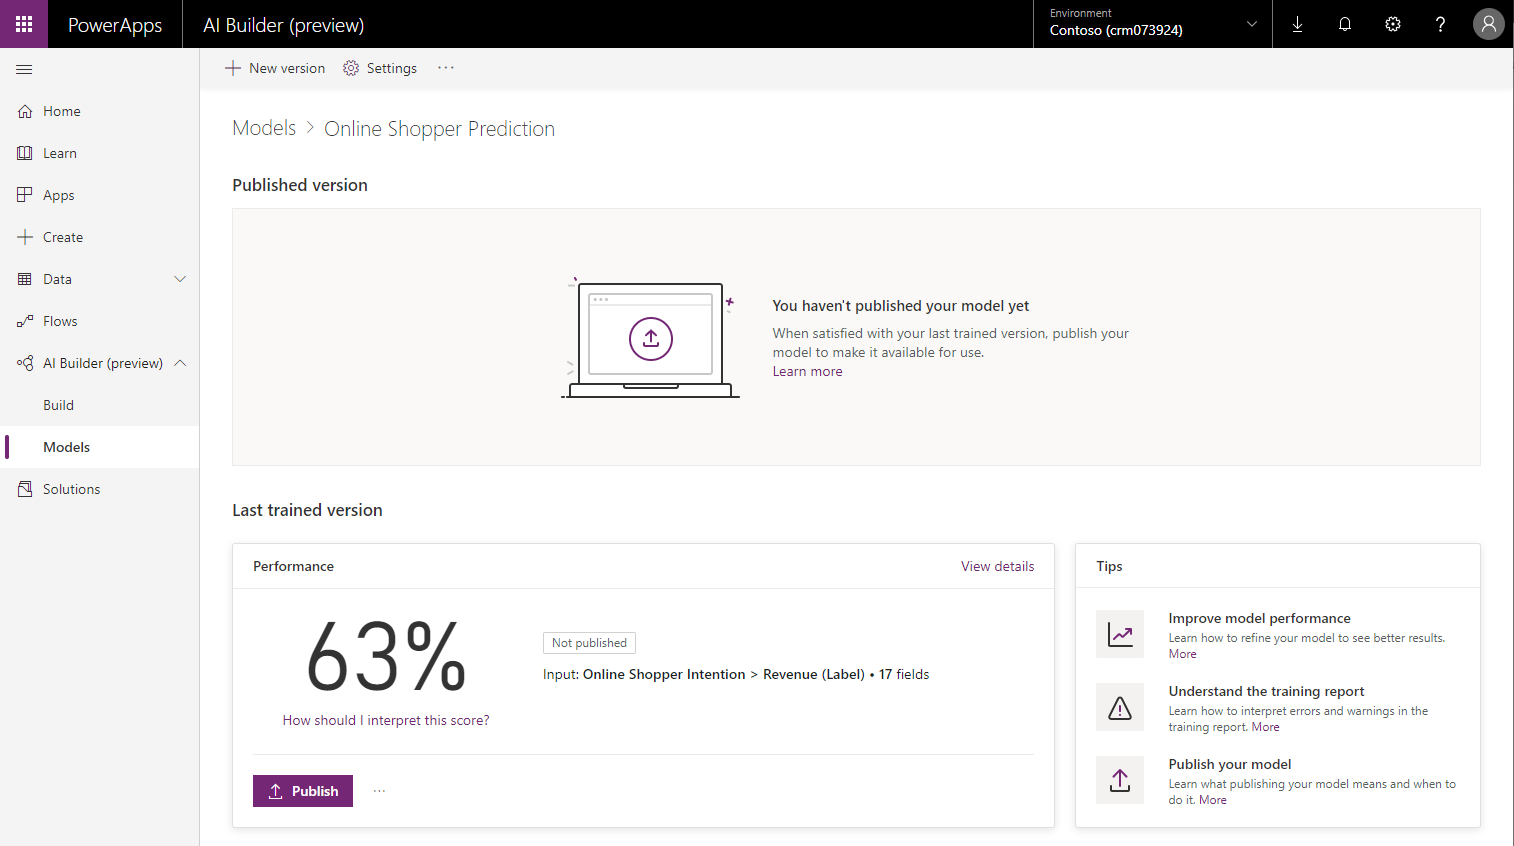
This will publish the model:

Once complete, the model will show as “Live”:
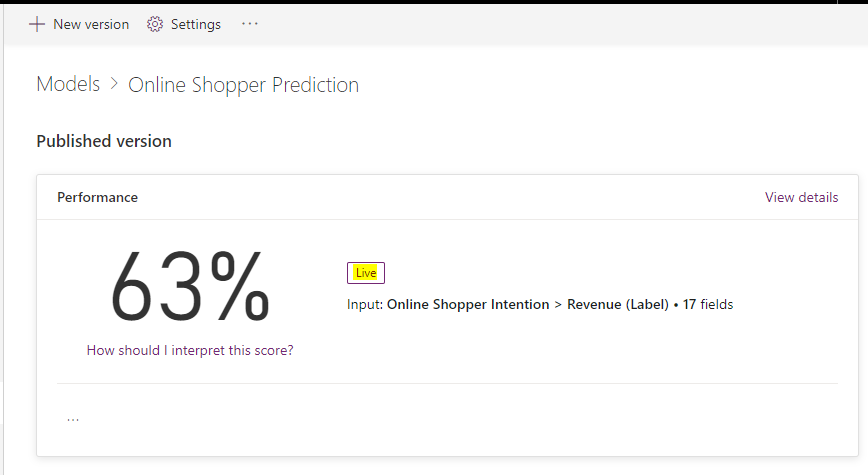
Now, let’s add this to an existing model-driven app (or, using similar steps you can add this to a new app).
We will show our AI model data in our app through a View, and we will set up our site map so users can access the view through our new entity which holds the online shopper data.
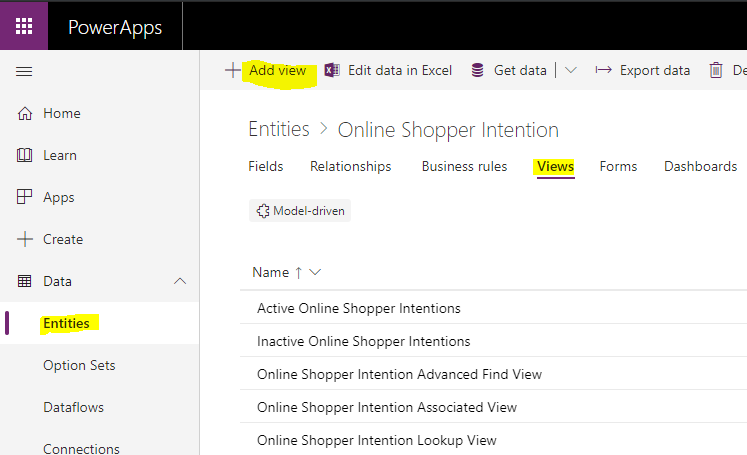
Click on Data->Entities, and select the new Online Shopper Intention entity, then go to Views:
Provide a name for the view and click Create:
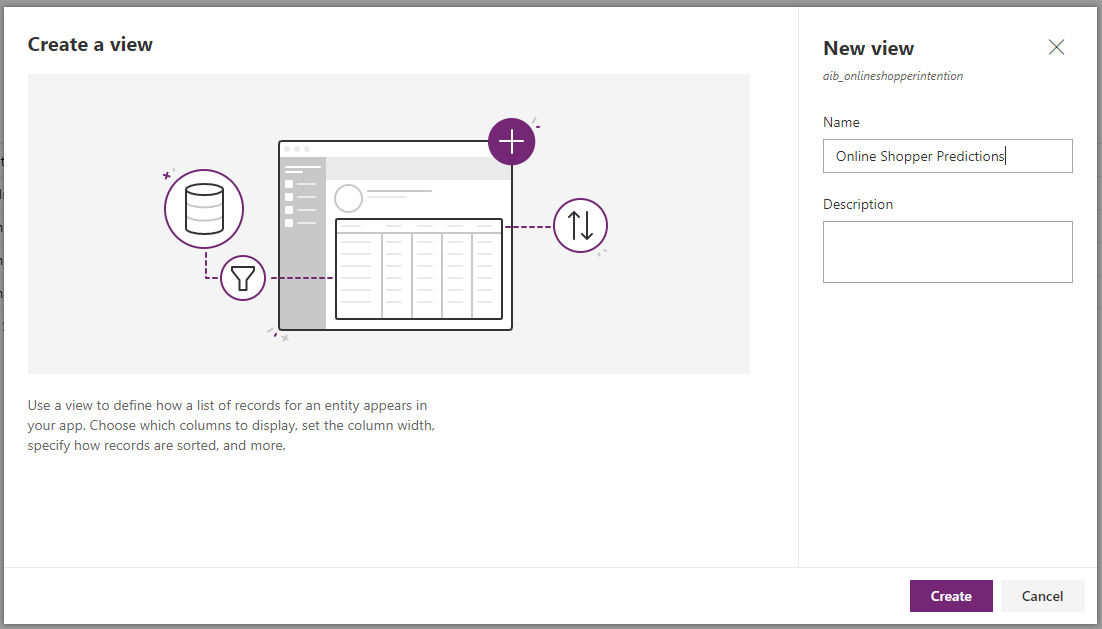
You will see below:
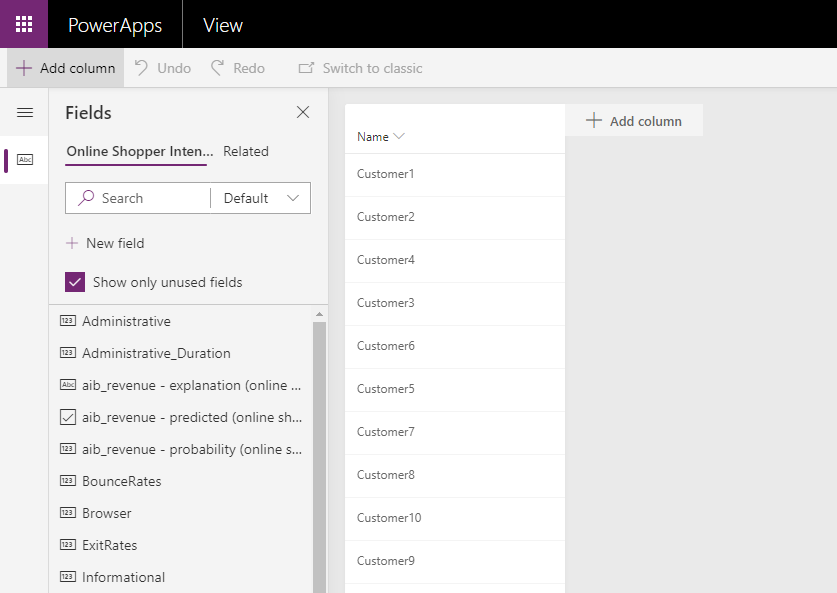
Add some columns, including the AI Model columns, then click Save and Publish:


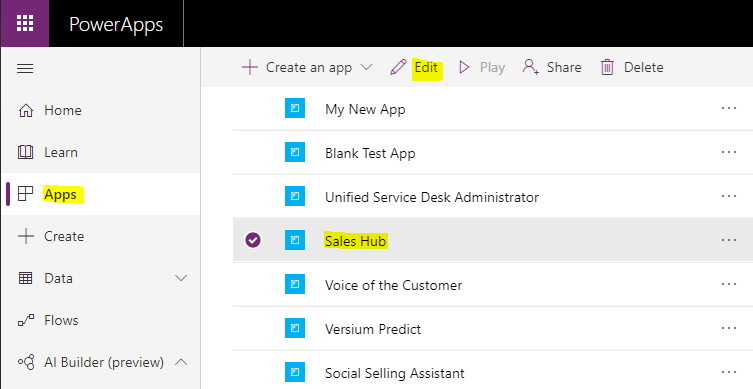
Now let’s add the view to the Site Map. Select an App. We will add this to our Sales Hub app. Select it and click Edit:
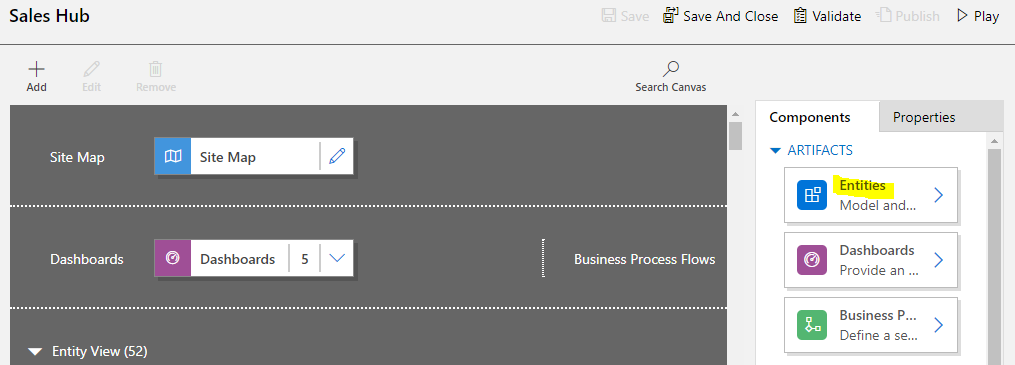
Select Entities:
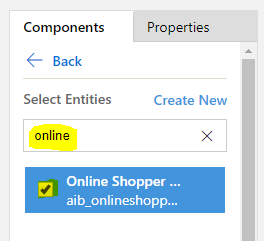
Search for our new Online Shopper Intention entity and check it, then click Back:
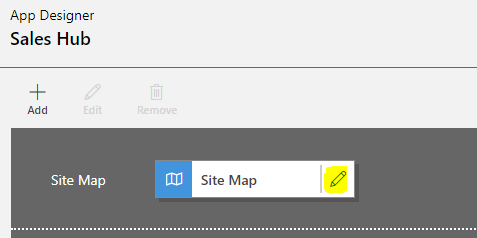
Edit the Site Map:
Click New->Group:
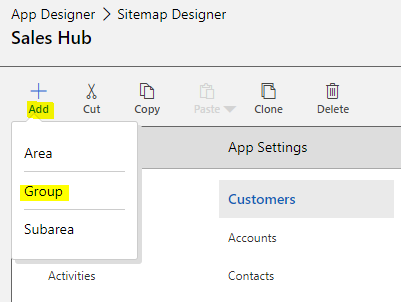
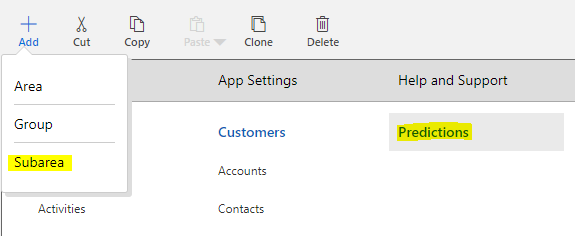
We will call it Predictions. Now create a new Subarea:
Select the entity as Online Shopper Intention:
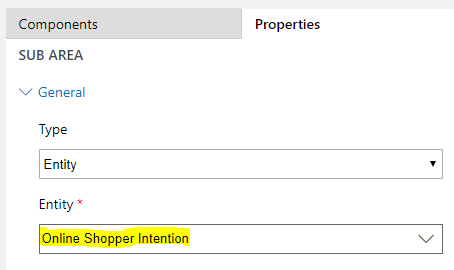
Click Save and Publish.
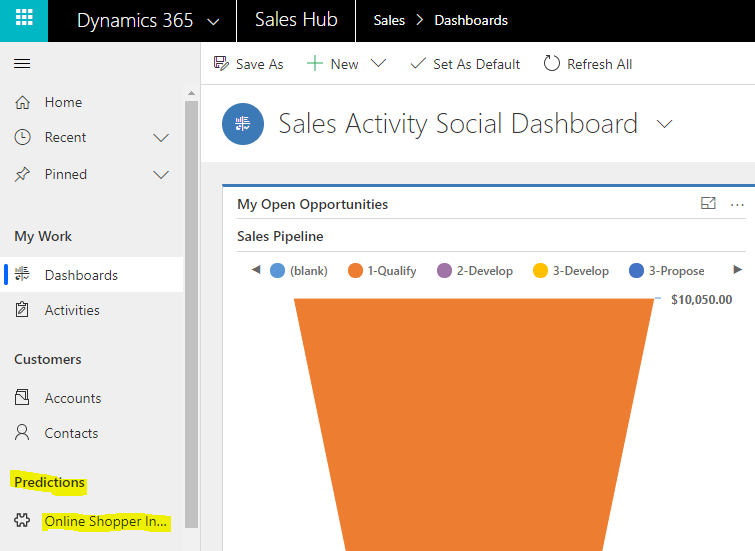
Go to the app. We see our new group, Predictions, and subarea, Online Shopper Intention:
We can change our view to our new Online Shopper Predictions view and see the prediction fields we added:
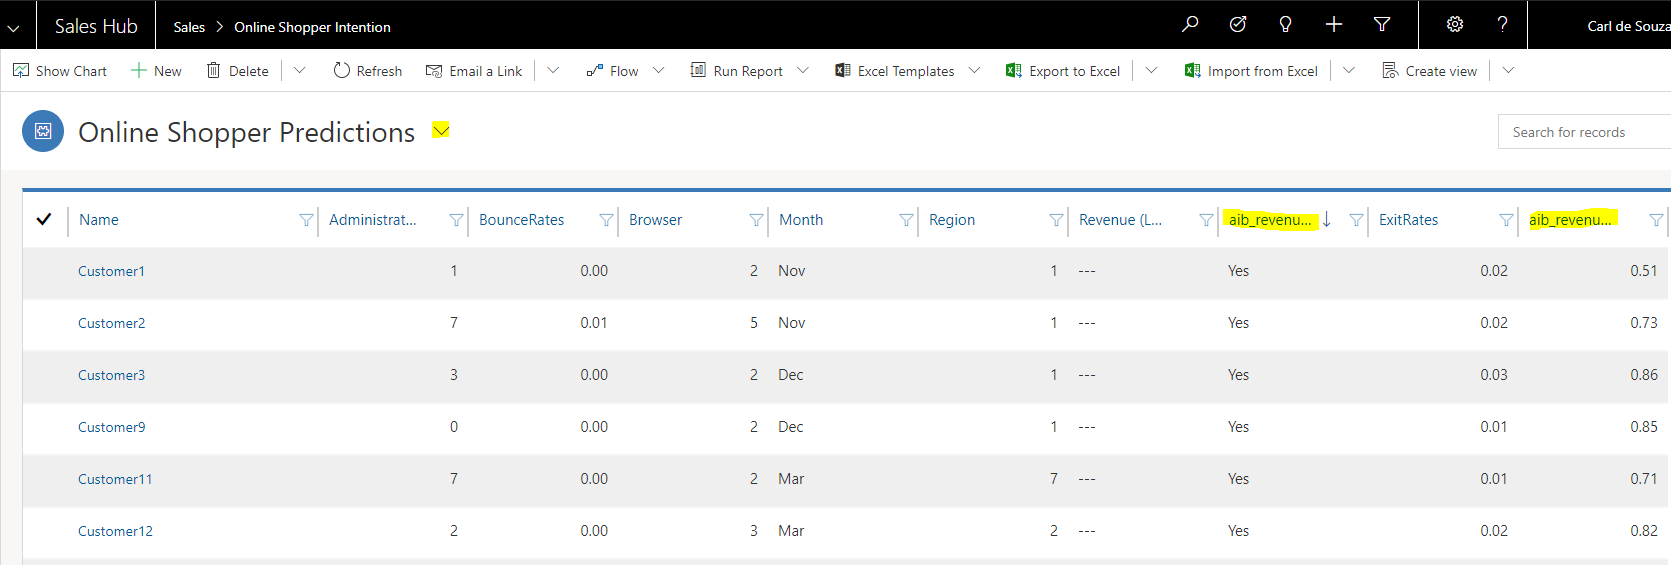
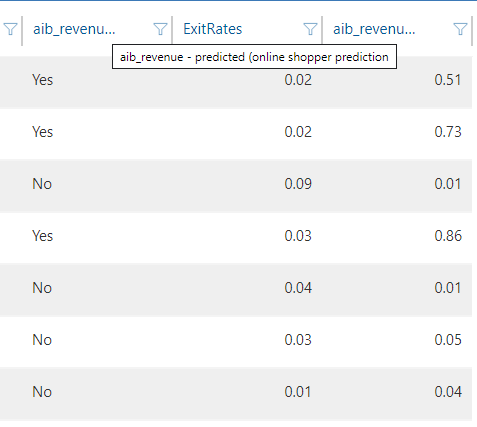
We are now viewing our prediction model inside our PowerApp / Dynamics 365.
I AM SPENDING MORE TIME THESE DAYS CREATING YOUTUBE VIDEOS TO HELP PEOPLE LEARN THE MICROSOFT POWER PLATFORM.
IF YOU WOULD LIKE TO SEE HOW I BUILD APPS, OR FIND SOMETHING USEFUL READING MY BLOG, I WOULD REALLY APPRECIATE YOU SUBSCRIBING TO MY YOUTUBE CHANNEL.
THANK YOU, AND LET'S KEEP LEARNING TOGETHER.
CARL


thanks for your effort. after a lot of documentation and reading, I can understand how to use AI and ML in the model driven app