Dialogs are a way to guide a user through a set of interactive questions and then perform actions based on their responses. They are designed for user interaction.
Let’s go through creating a dialog. Let’s say we want to create a dialog that is used for capturing information about how satisfied a customer is with our service.
Go to Settings->Processes and select Category = Dialog:
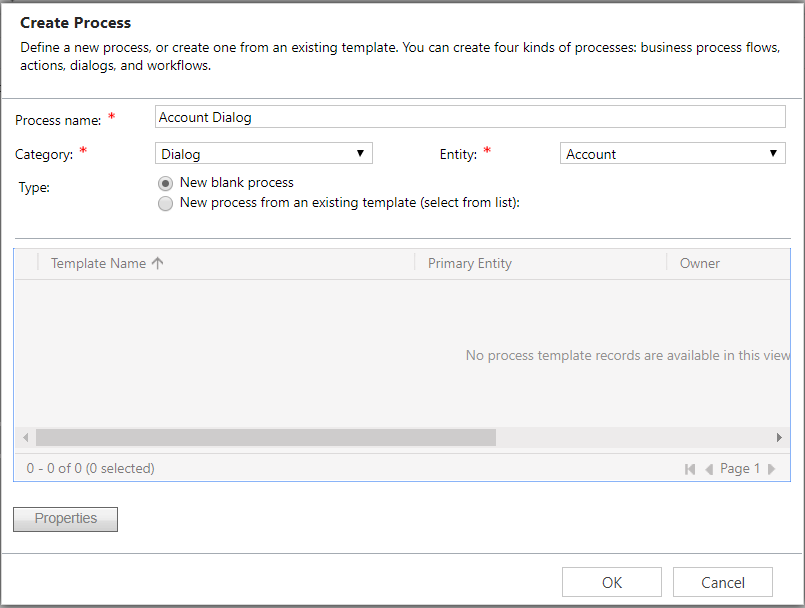
Click OK and it will open the dialog window:
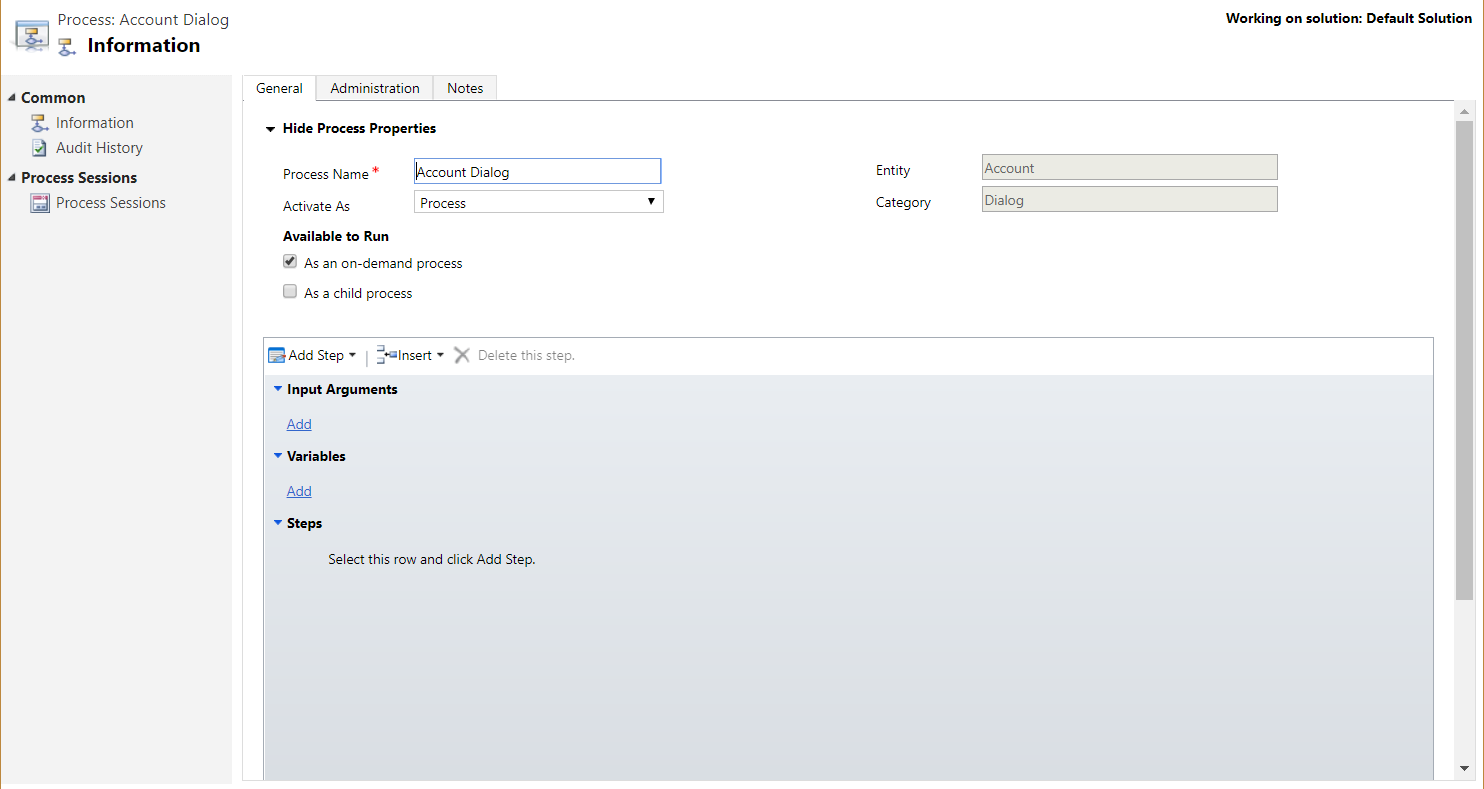
Click to add input arguments. Note you cannot add input arguments to an on-demand dialog. Clicking Yes will enable the dialog as a child process and remove the on demand process. We will keep our dialog as a on demand dialog:
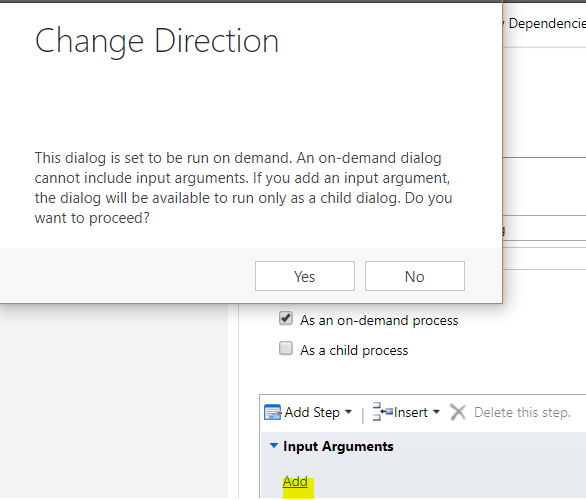
Click to add a step and choose a page:
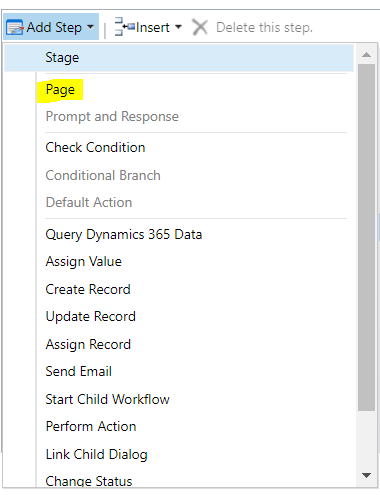
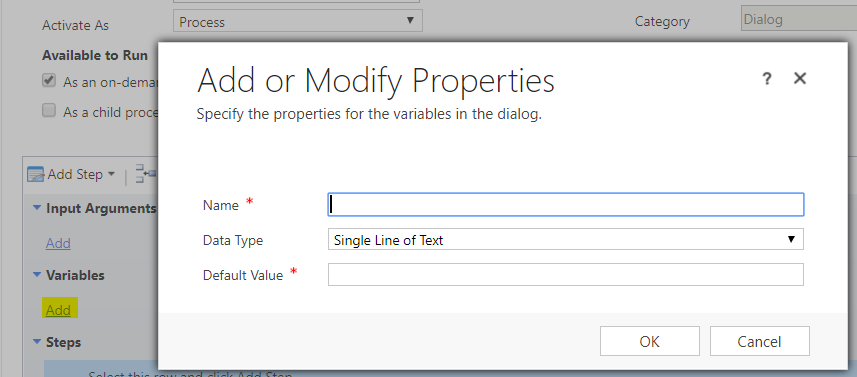
Click to add variables:
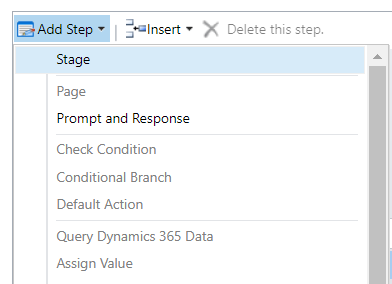
Choose the line and select Prompt and Response:
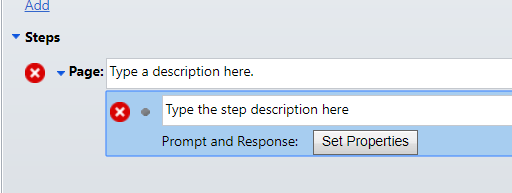
Click Set Properties:
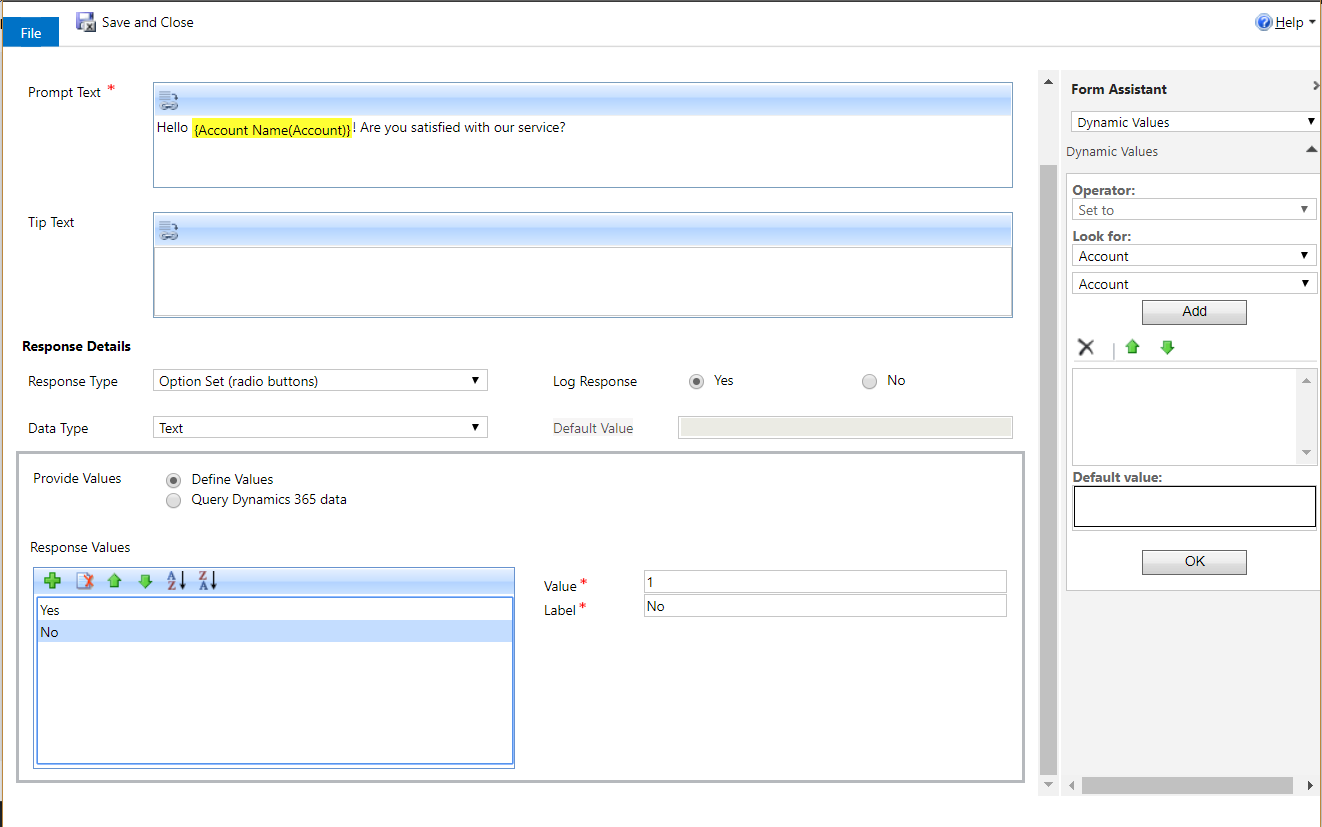
Based on their answer, we can add a condition:

If they answer no:

We can now add a step. Let’s create a task:

The task will be to call the client:
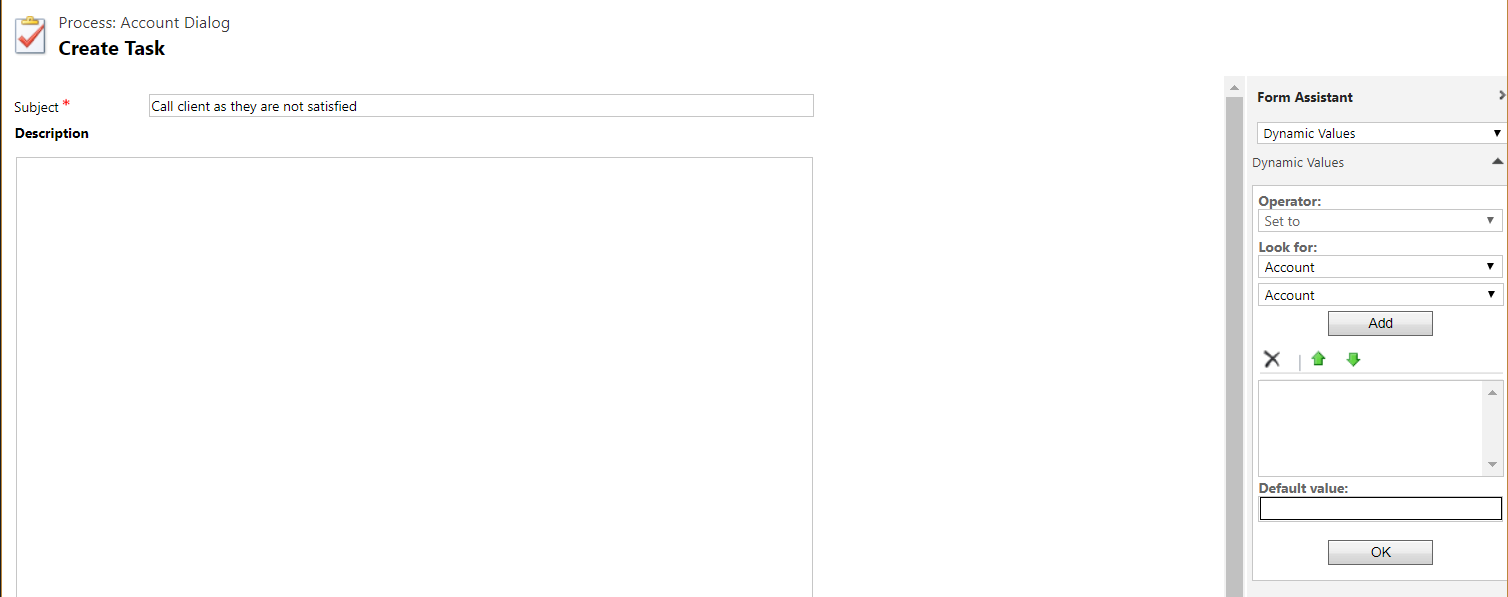
Save and exit. Back to the dialog, you can see there are many things we can do at this point, including running Actions:
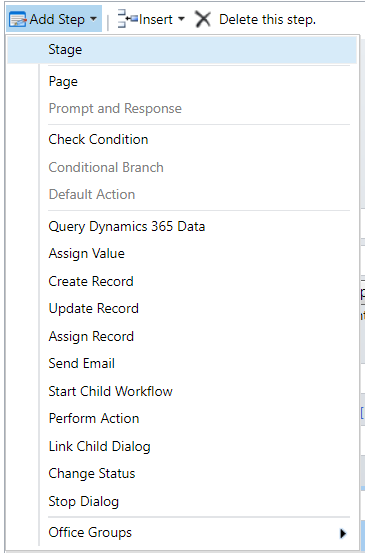
We will stop the dialog. Save and Activate the dialog.
Go to an account record and select Start Dialog:

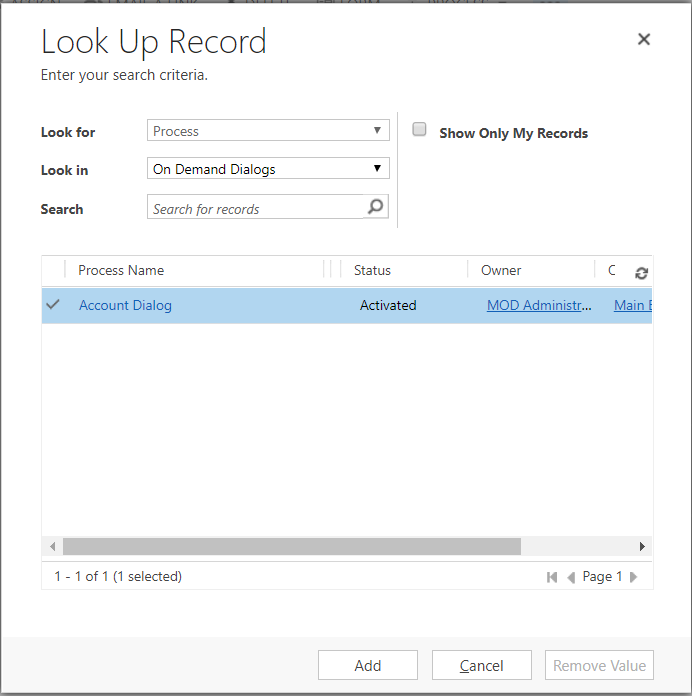
Select the dialog we just created:
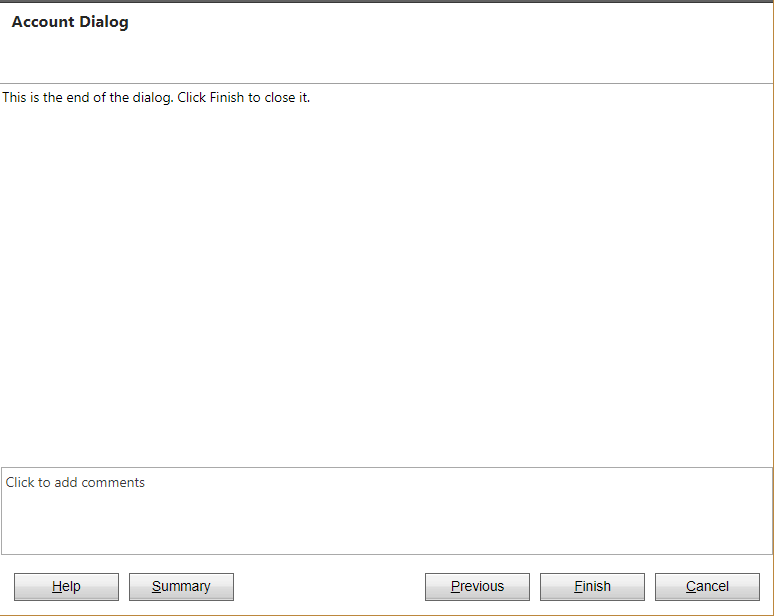
A window will open:
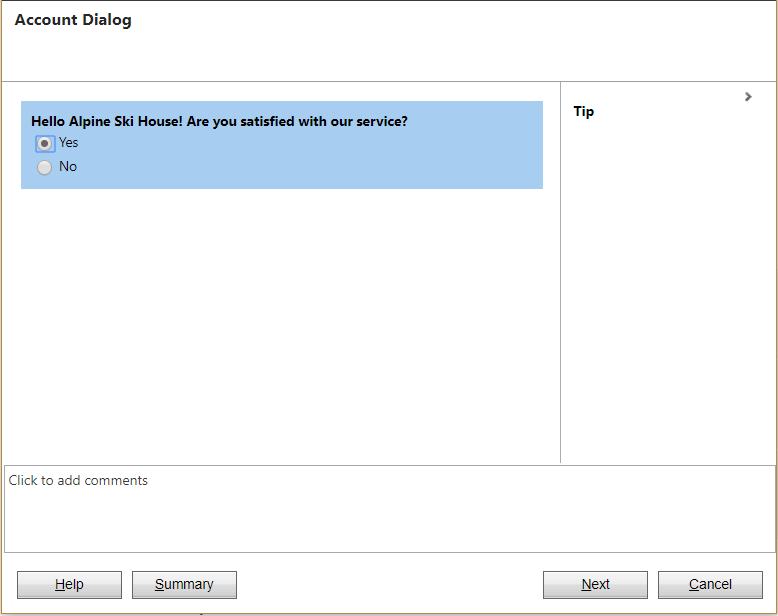
Click No and next:
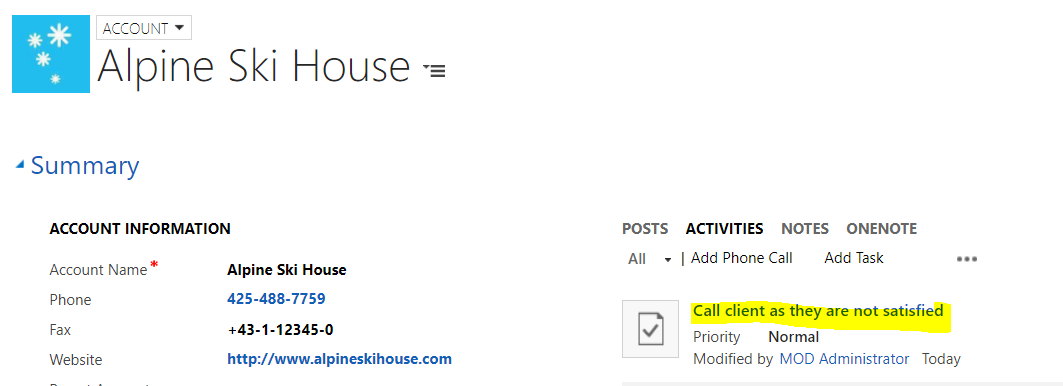
A new task is created:
I AM SPENDING MORE TIME THESE DAYS CREATING YOUTUBE VIDEOS TO HELP PEOPLE LEARN THE MICROSOFT POWER PLATFORM.
IF YOU WOULD LIKE TO SEE HOW I BUILD APPS, OR FIND SOMETHING USEFUL READING MY BLOG, I WOULD REALLY APPRECIATE YOU SUBSCRIBING TO MY YOUTUBE CHANNEL.
THANK YOU, AND LET'S KEEP LEARNING TOGETHER.
CARL


