The Power Pages Copilot is a fast way to get a Power Pages site up and running quickly. Copilot can be used to create Power Pages site structure and layout, website copy, and user input forms. In this post, we will look at how to use Copilot with Power Pages.
There are 3 main areas we will cover:
- Building Sites in the Maker Portal with Copilot
- Website Copy using Copilot
- Generating Forms using Copilot
Building Sites in the Maker Portal with Copilot
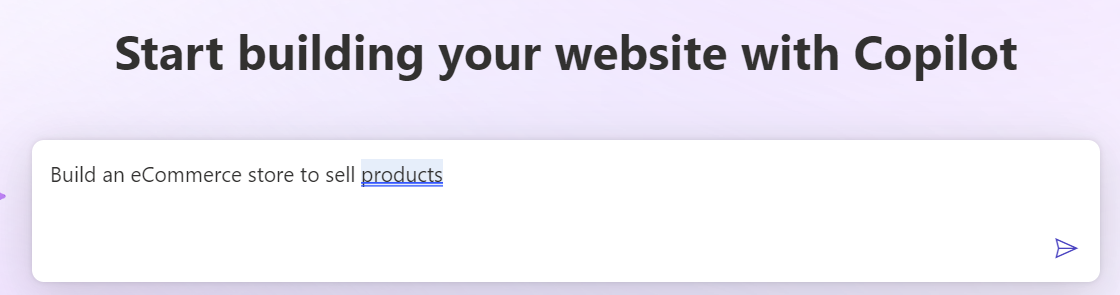
First, head over to the Power Pages maker portal located at https://make.powerpages.microsoft.com. In the home page, you should see in the middle of the screen an option to “Start building your website with Copilot”:
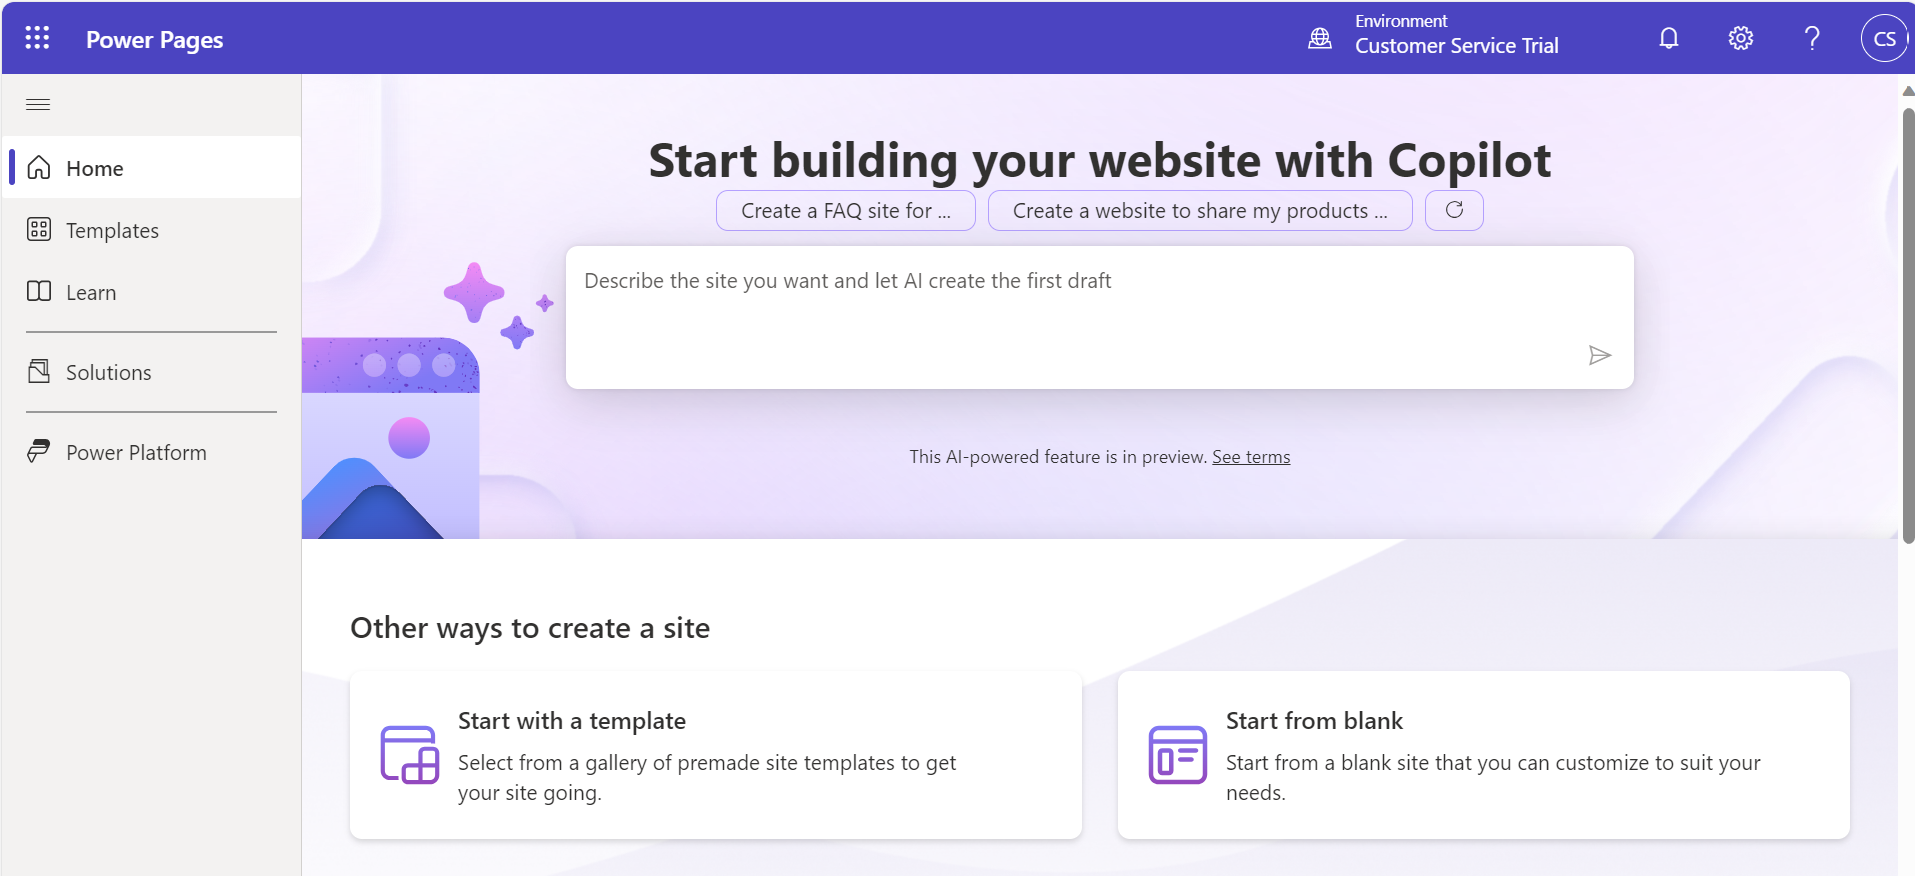
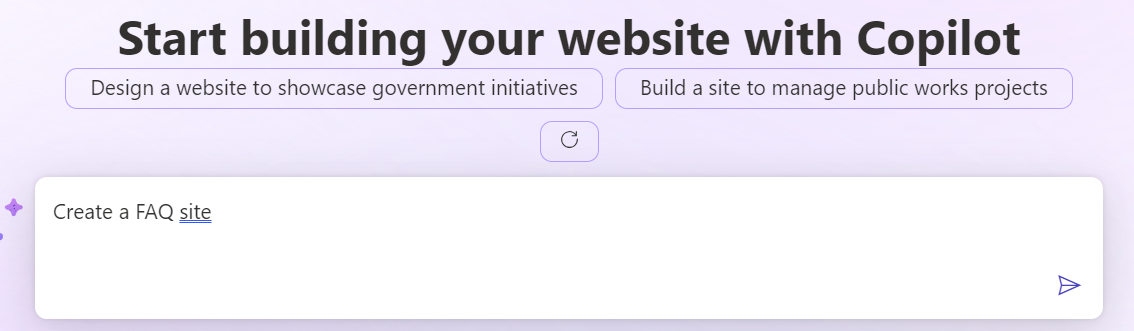
Underneath the text are a couple of examples, and you can click the refresh button to get new examples:
![]()
Some example websites include:
- Create a FAQ site
- Create a website to share my products
- Design a website for city government services
- Build a site to manage project workflows
- Develop a site to submit job applications
- Build a website to track inventory levels
- Build a website to manage employee benefits
- Develop a site for online training courses
- Design a website for public transportation schedules
- Create a site for business license applications
- Build a website for government contract bids
- Design a website for corporate events
- Build a site to manage fleet vehicles
- Build a site to manage utility bill payments
Some additional examples of sites I tried to type in:
- Build an eCommerce store to sell products
When we use Copilot to help build these sites, it creates for us the sitemap, site layout, home page and themes.
Let’s take a look at how these sites can be built using Copilot with Power Pages.
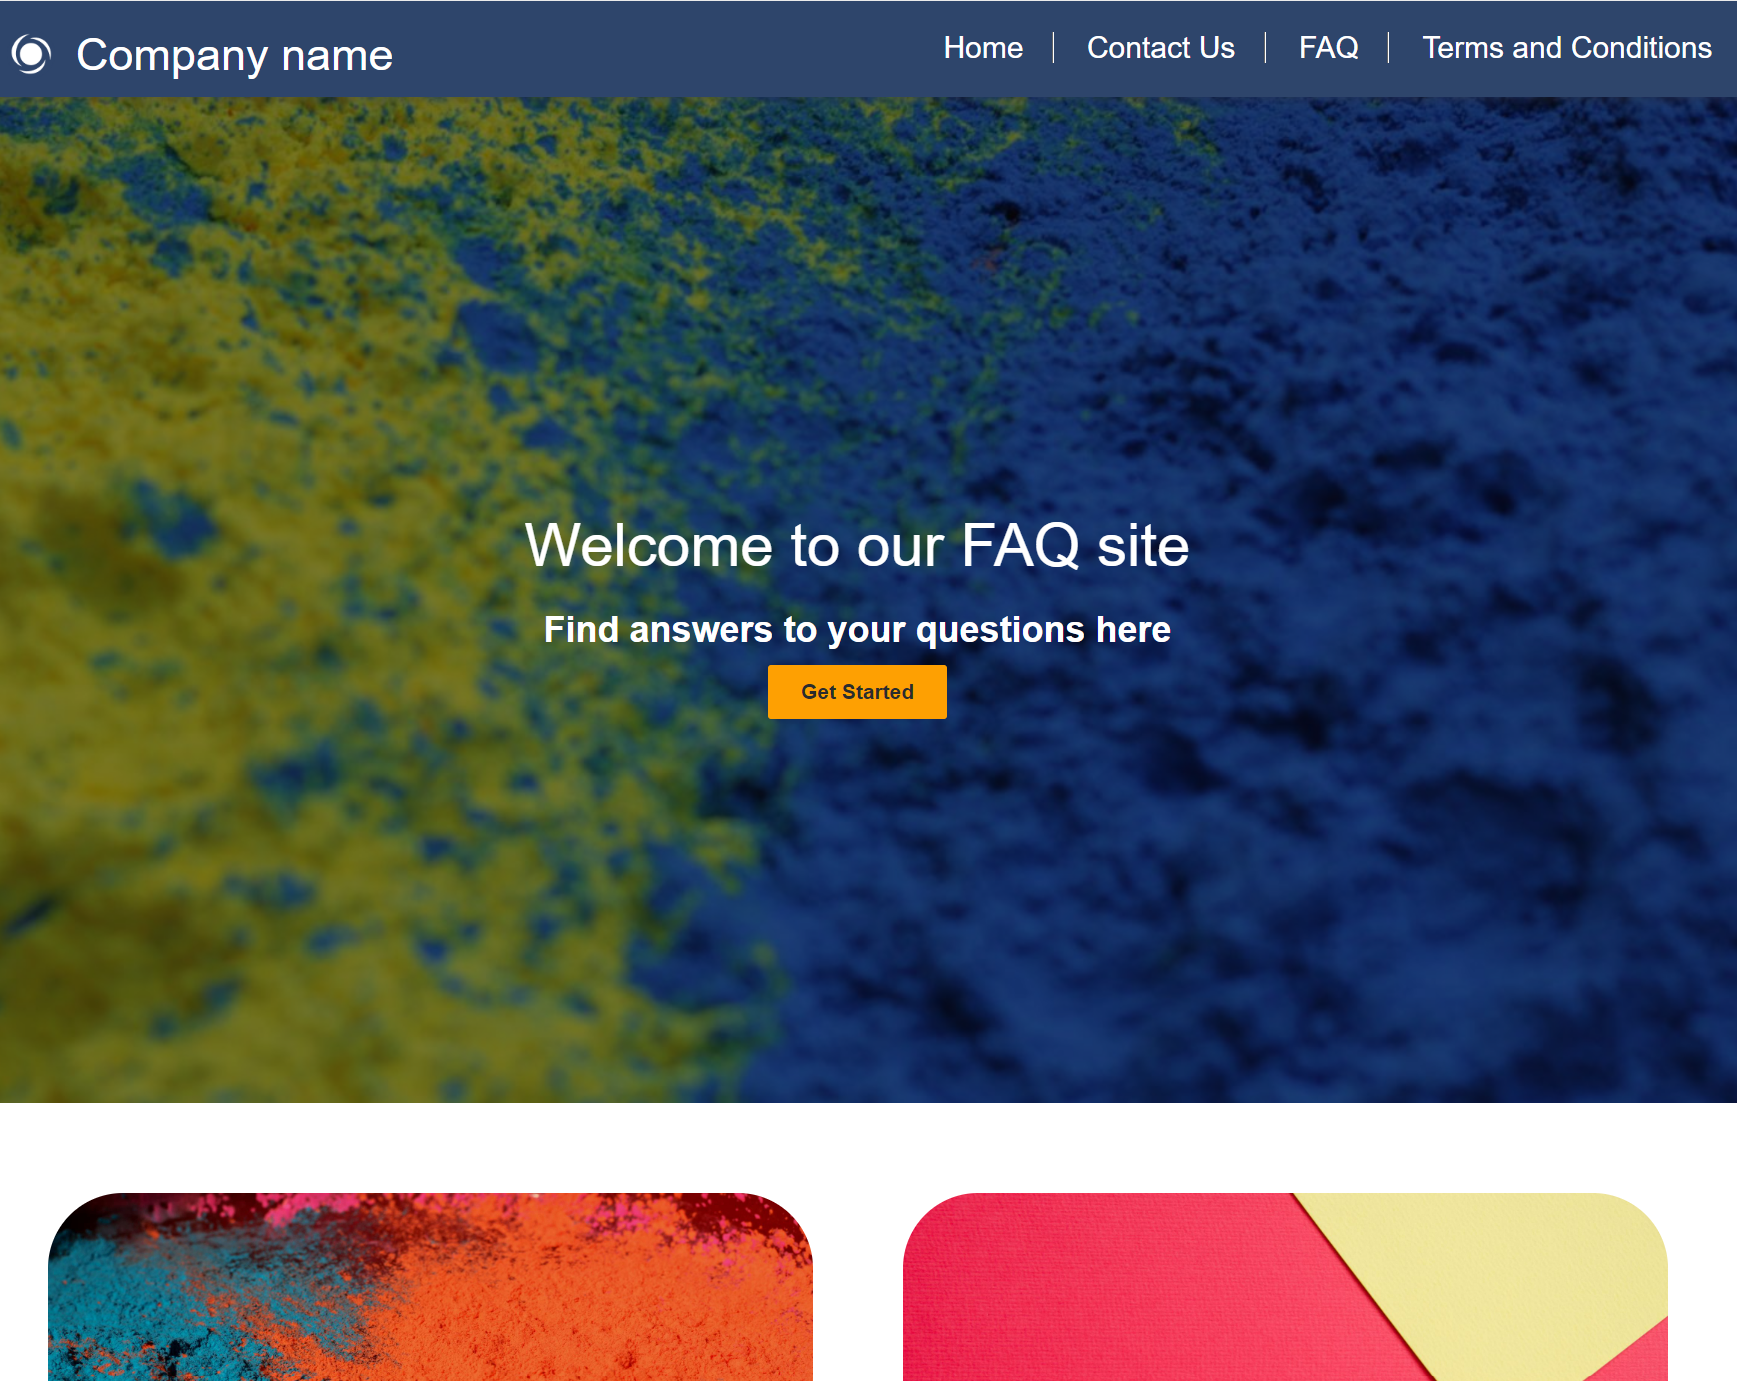
First, let’s start with a really simple FAQ site:
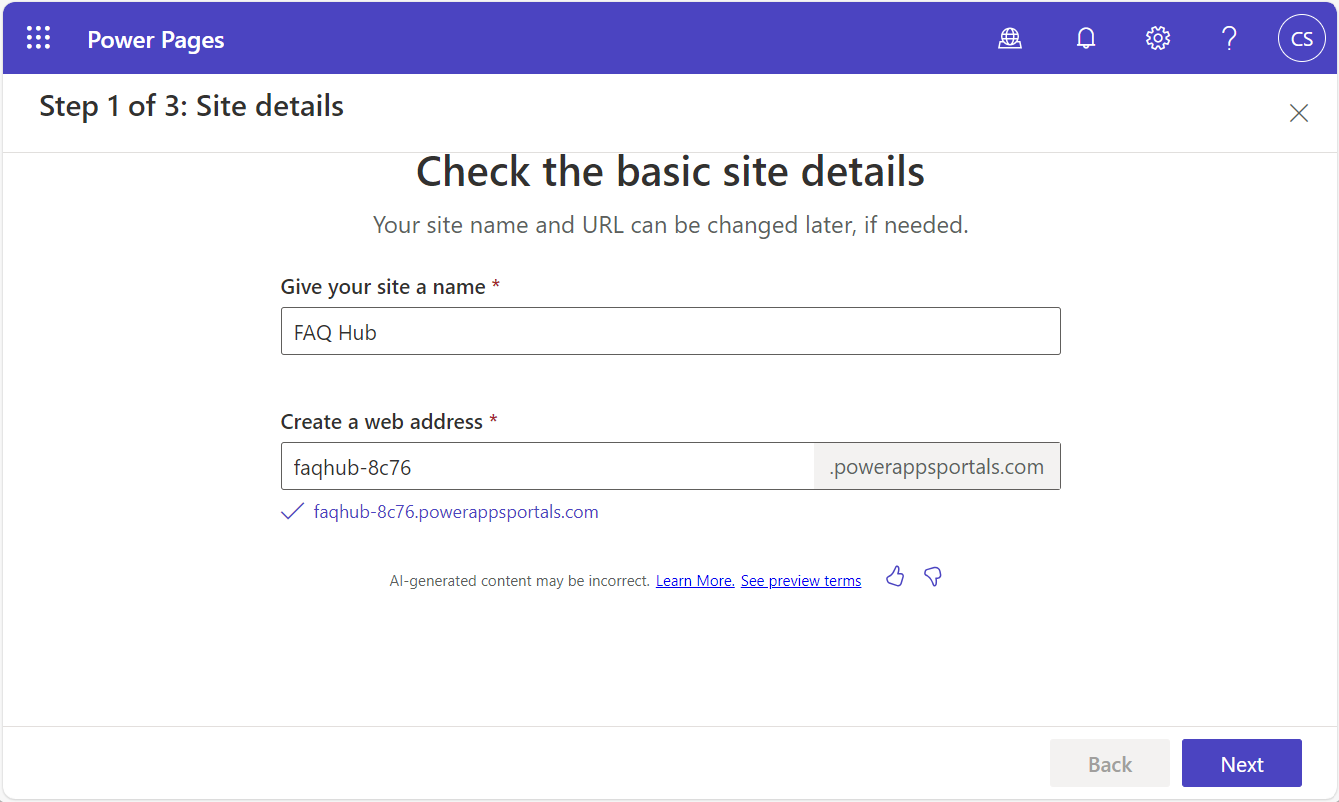
Clicking the next page, we get the site name and URL automatically assigned, but this can be overwritten. Copilot has guessed what the site should be called:
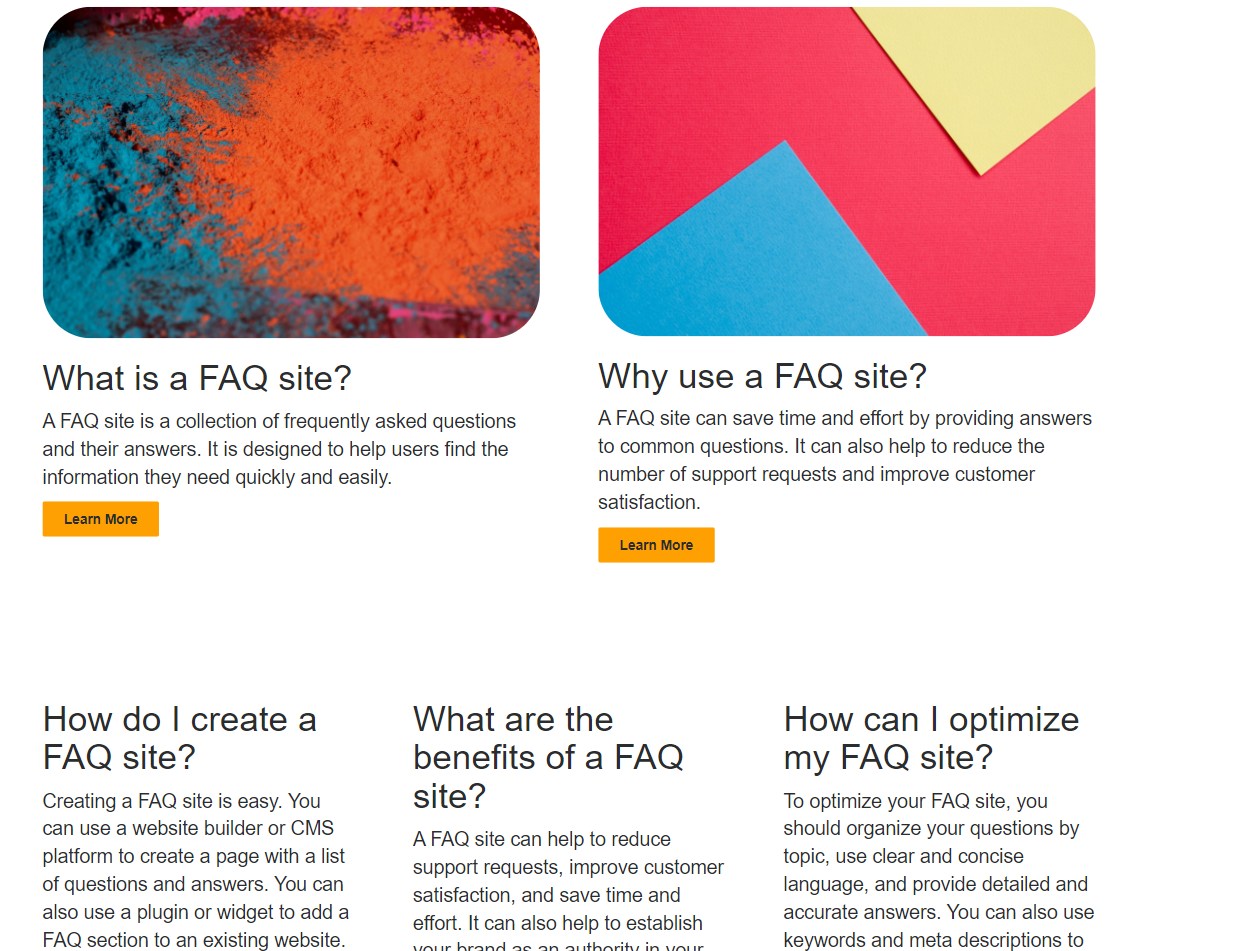
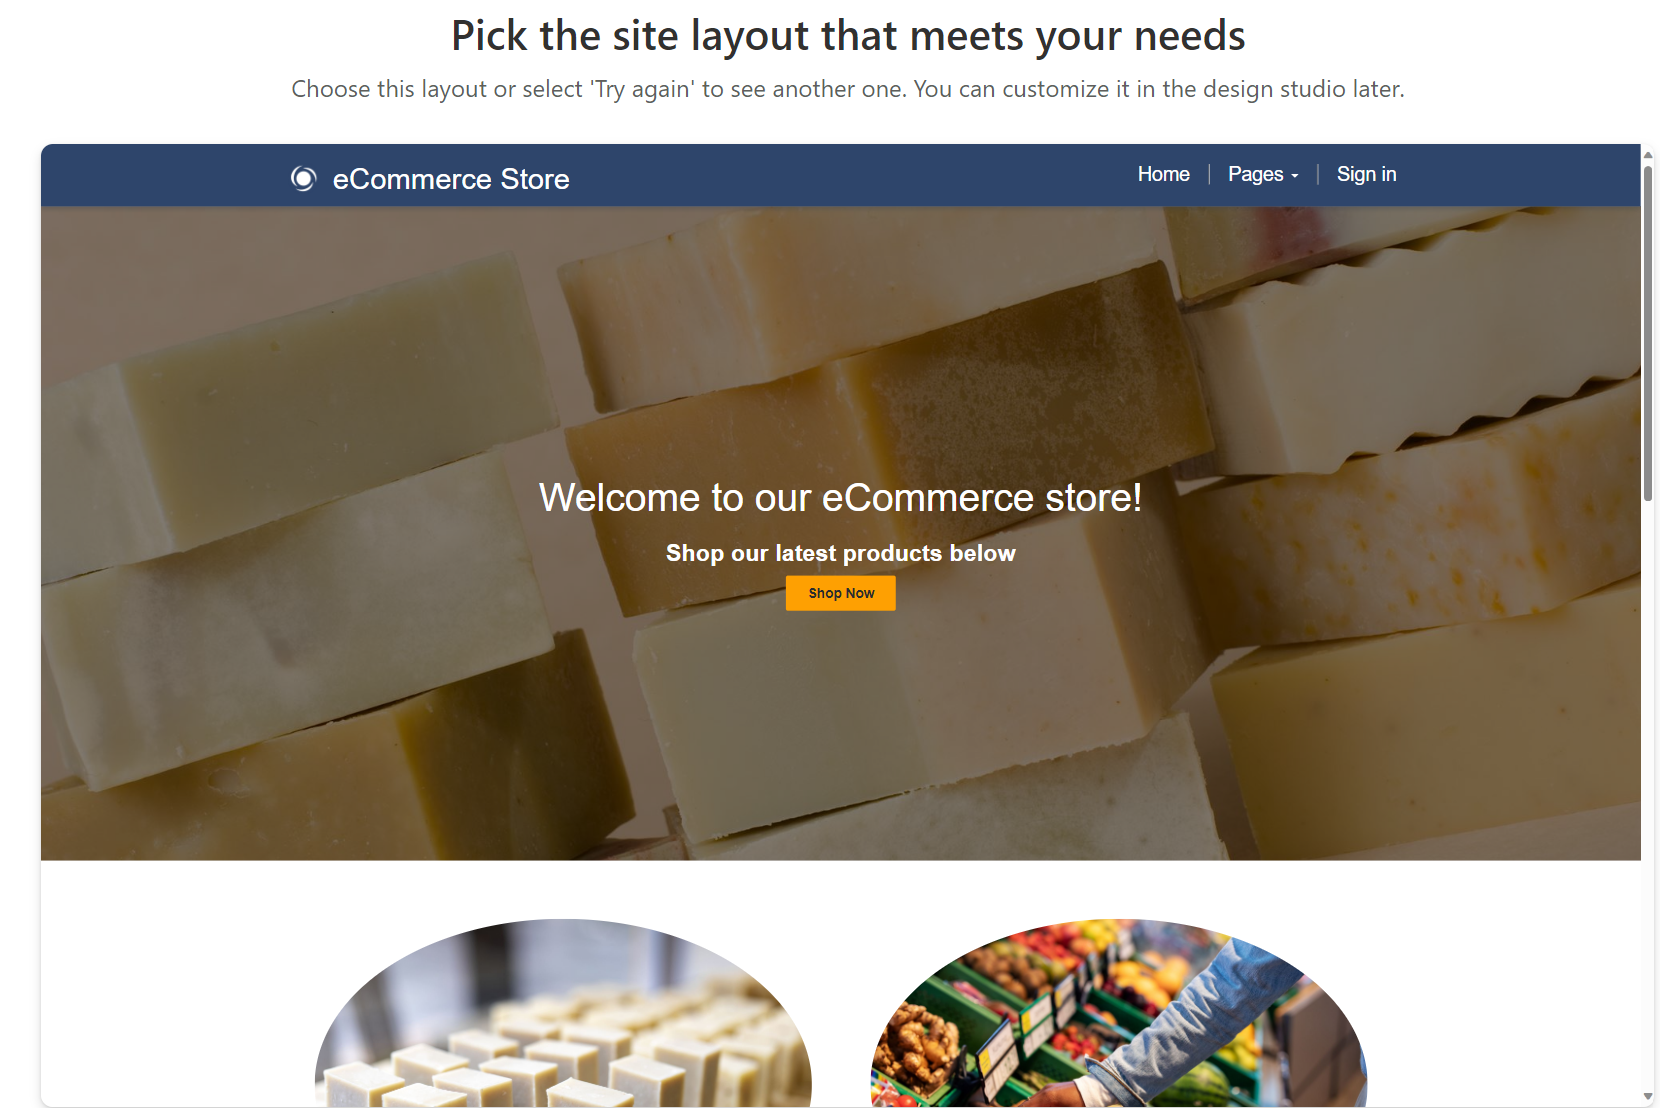
Clicking Next, we are now given the layout of the site. We see a home page presented, with the top of the page showing:
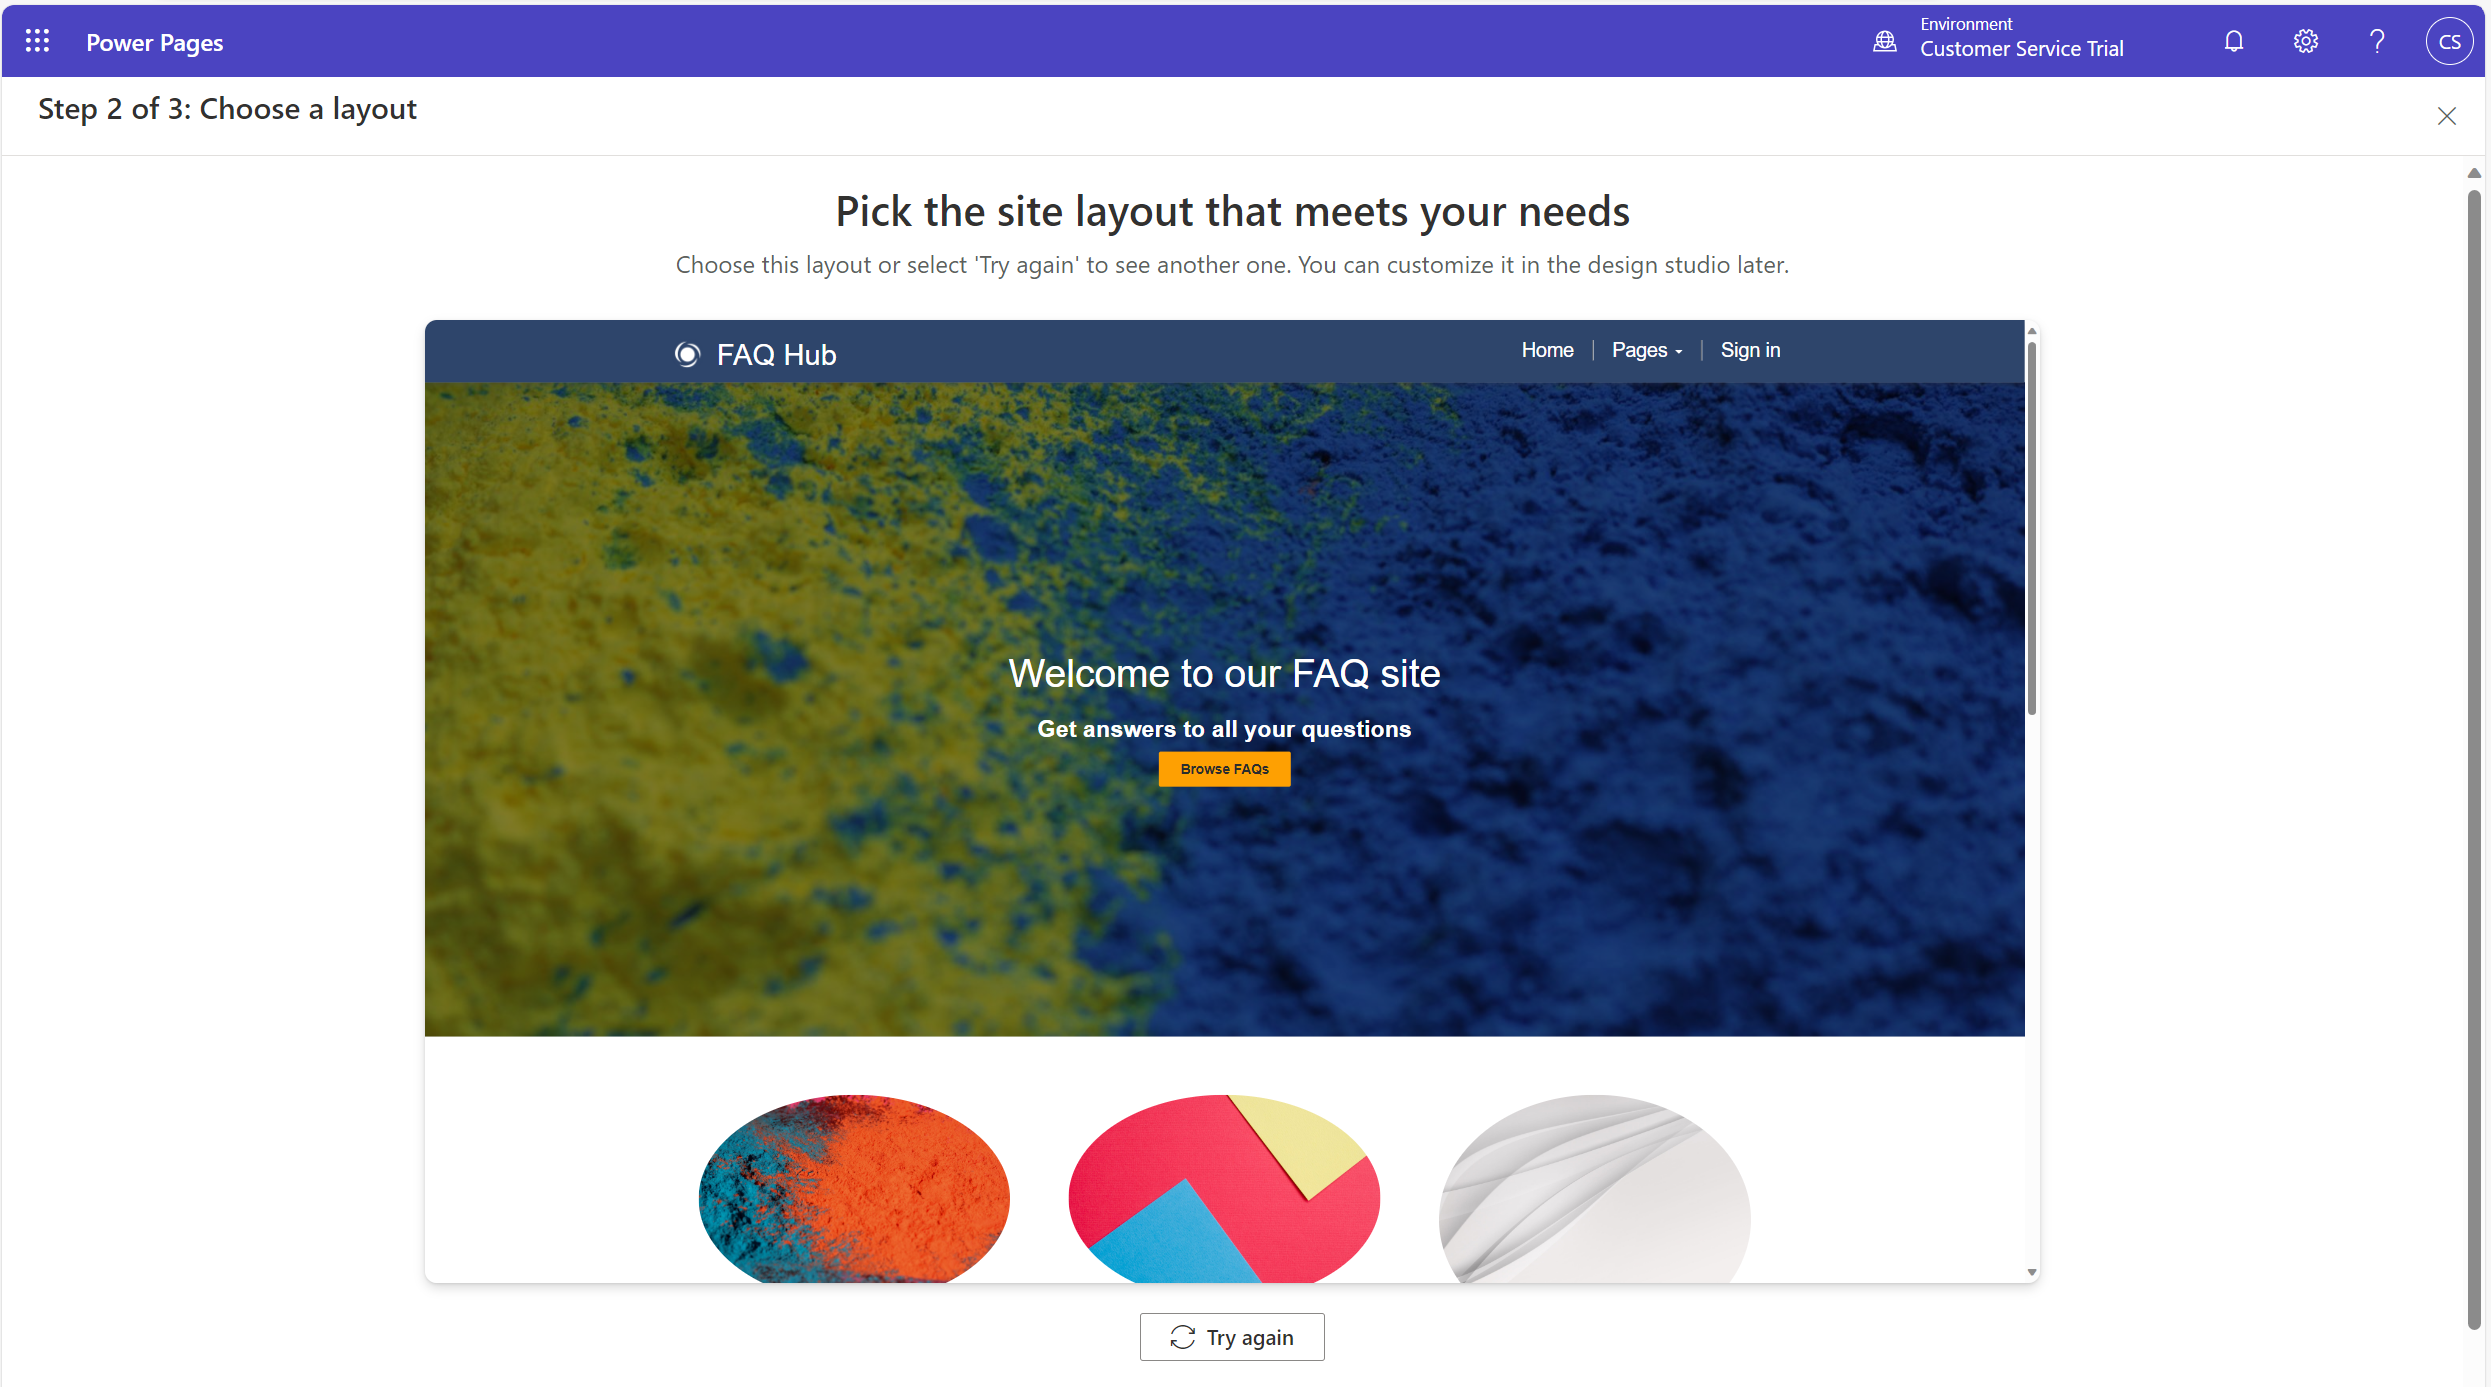
We can scroll down to see more of the page:

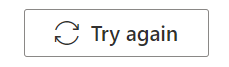
There is a Try Again button at the bottom of the page. Clicking this will produce a different design:
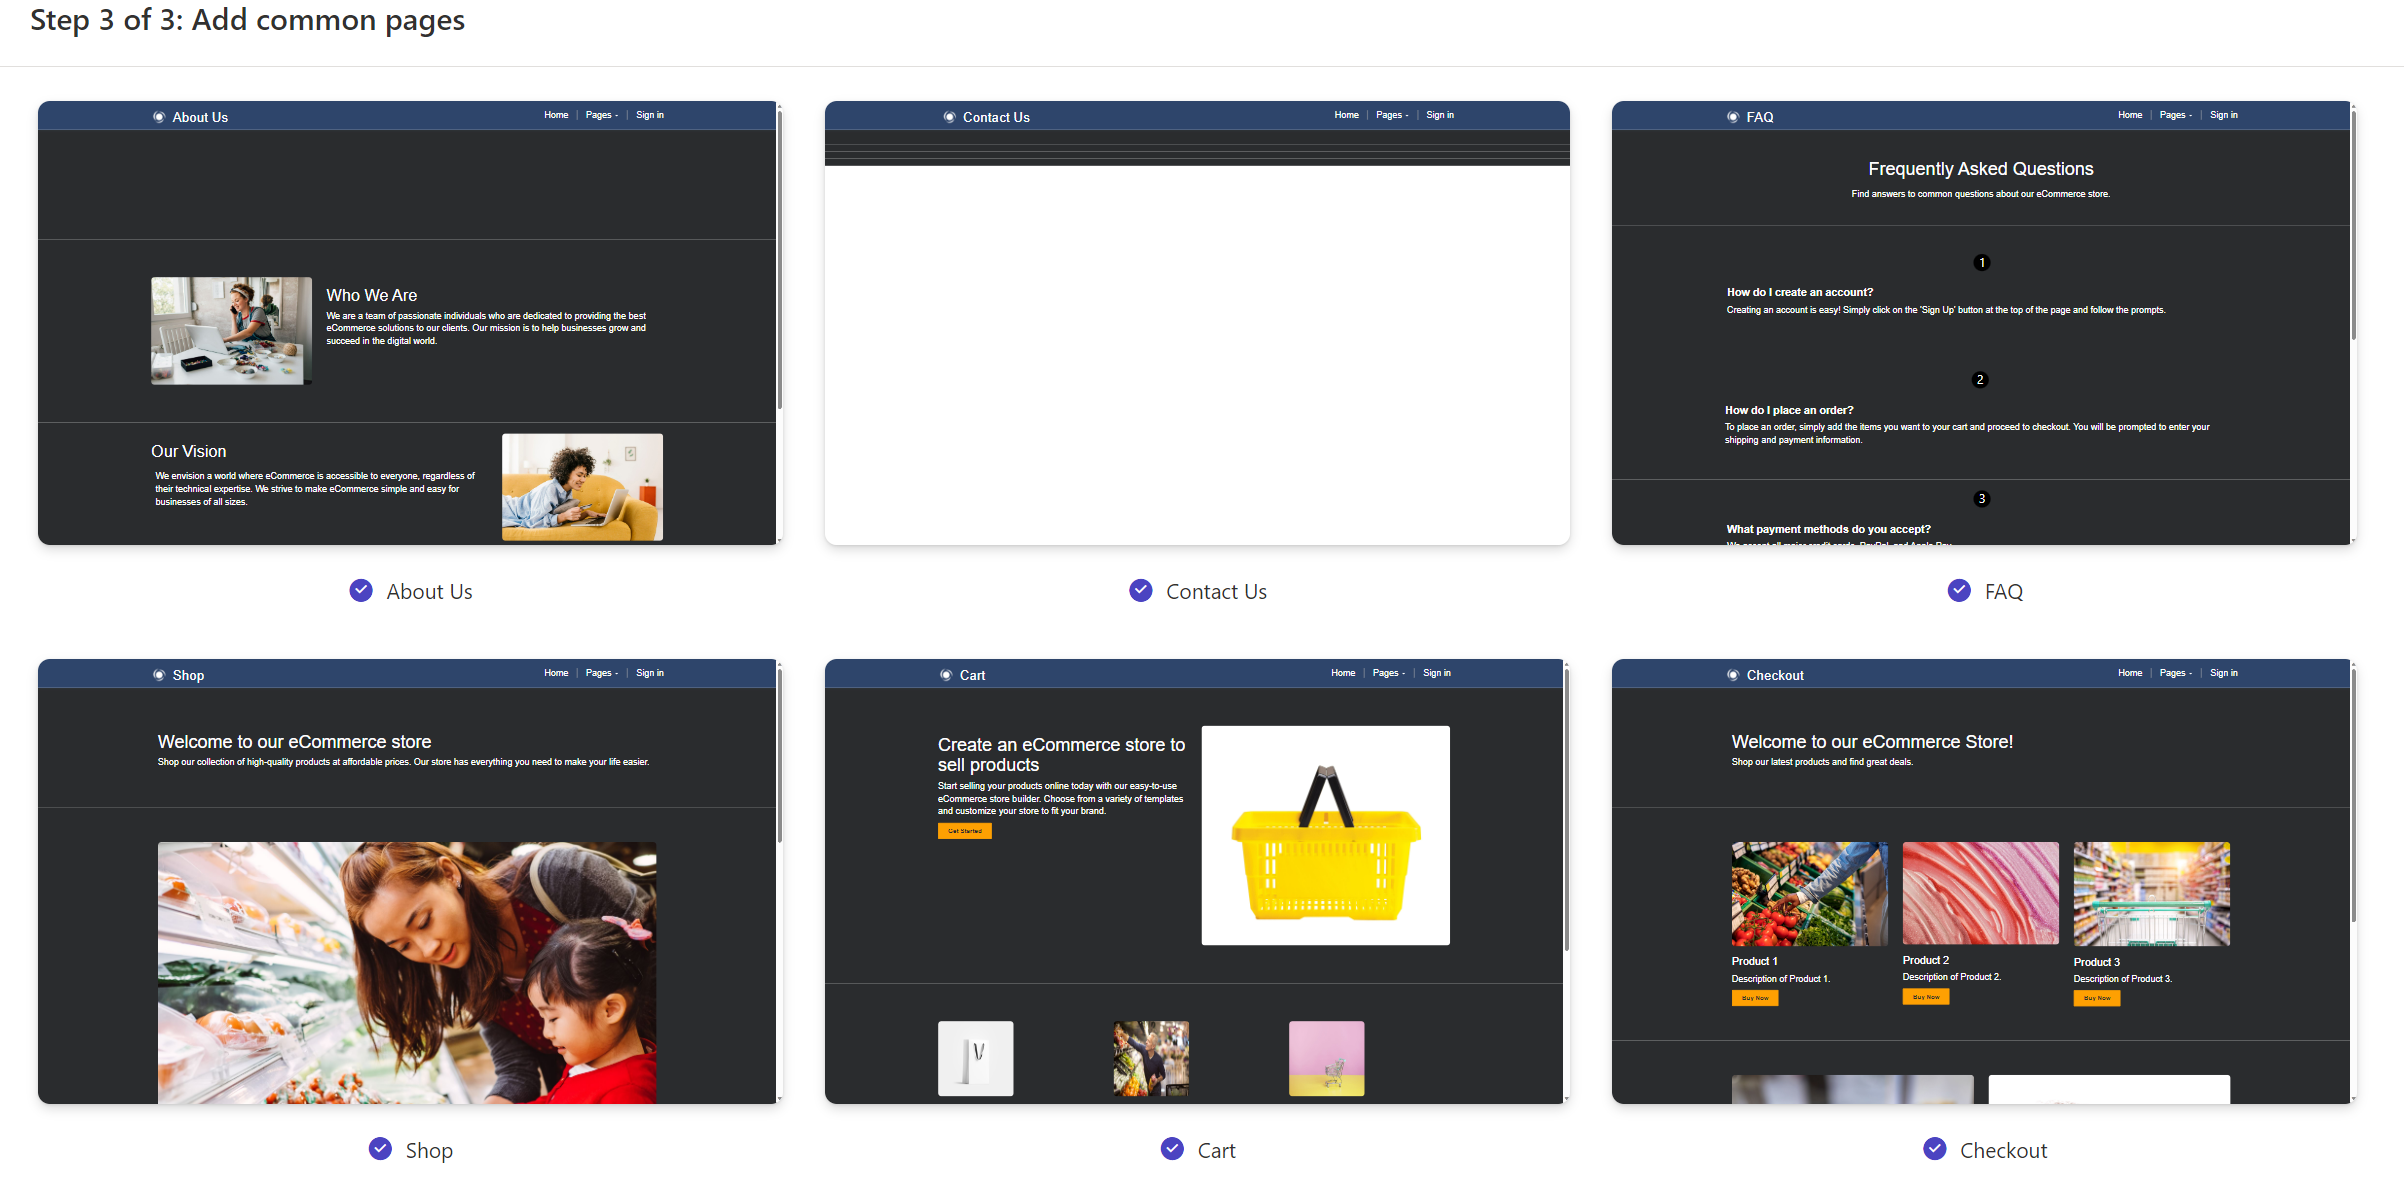
Let’s click Next. We now see all the pages we can add to the site.

We will select some pages, and click Done. Our site is now being generated, and once finished we can browse out to the site:
The site creates the 3 pages that we specified:

We can see with this simple example, it’s kinda useful to get up and running quickly.
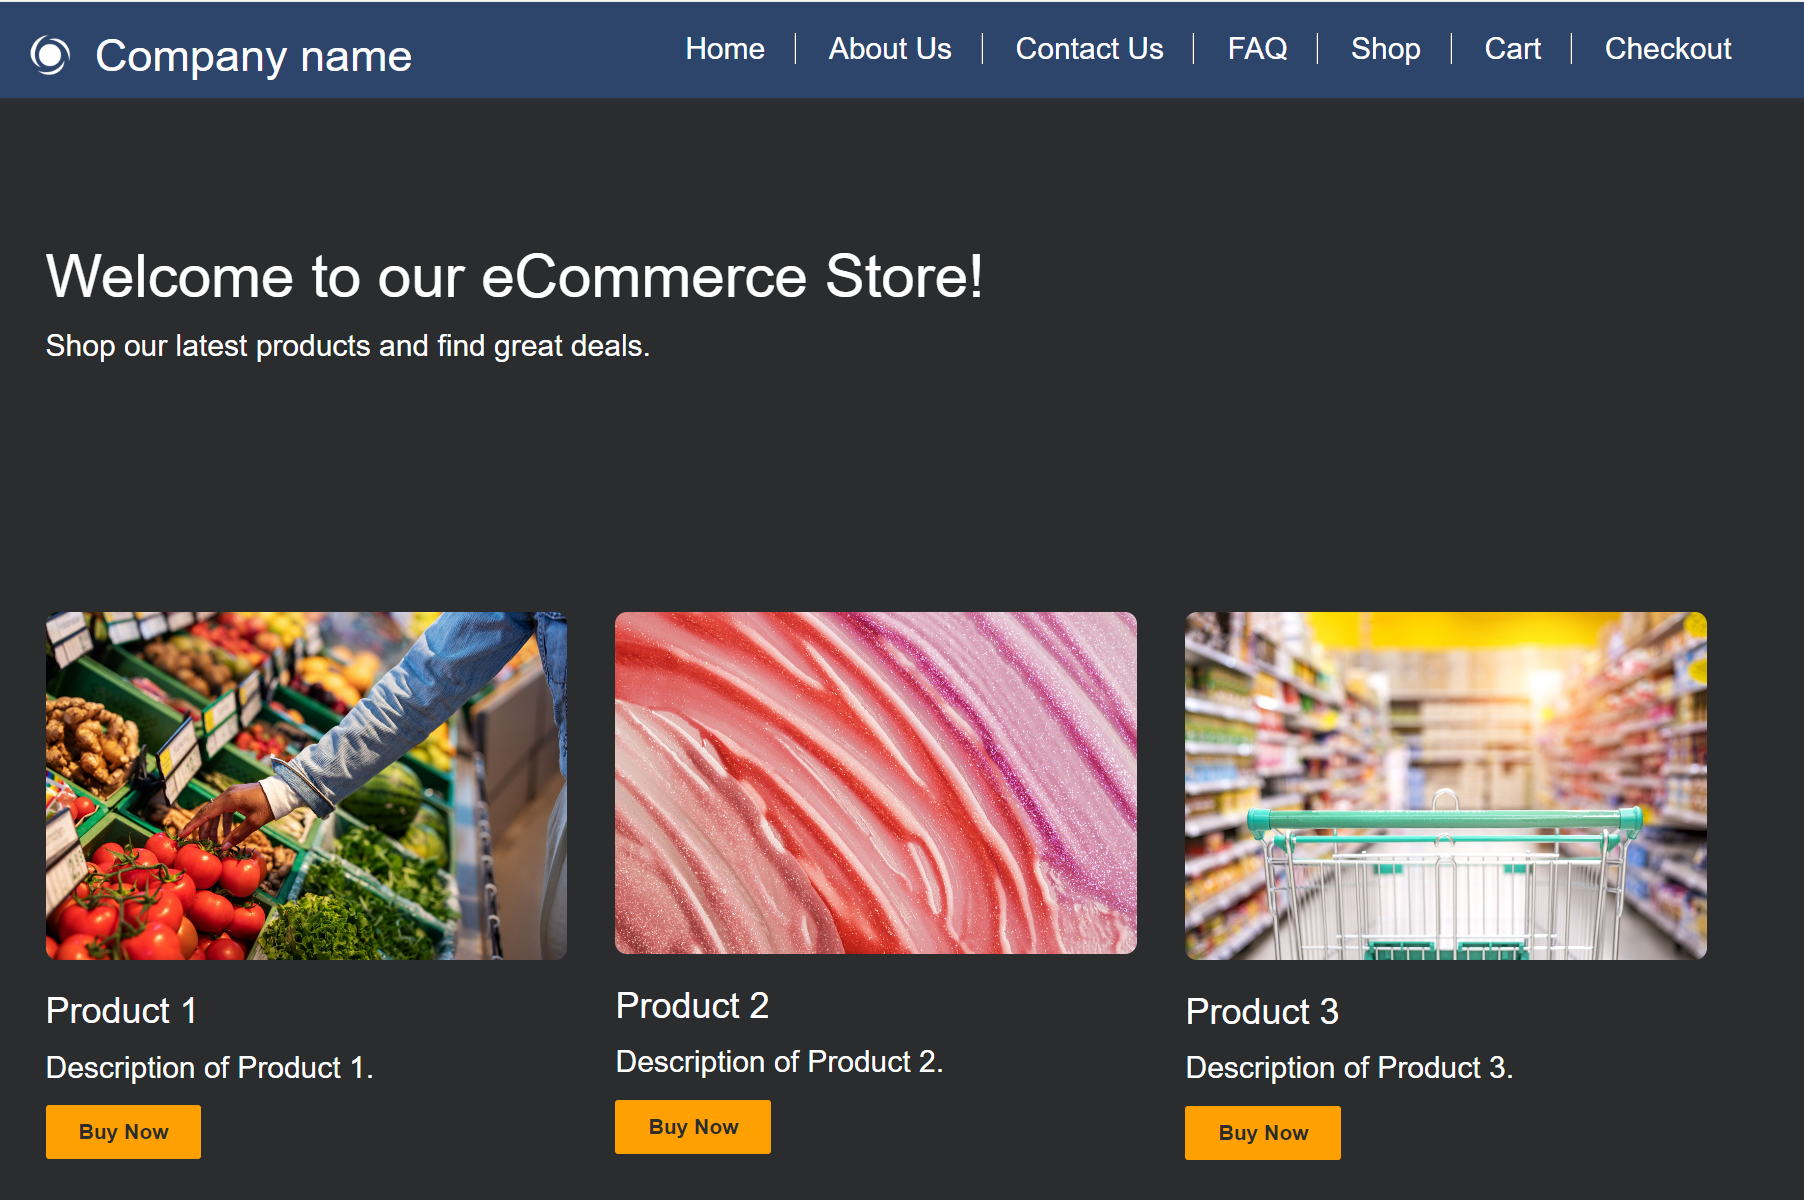
Let’s try a more complex example, an eCommerce store:

In this case, we get some more interesting pages, such as Shop, Cart, Checkout. We will add all the pages and click Done:
Our store is created! We see the pages of the store are created in the navigation, and the links work to open the pages themselves. However, note the functionality behind an actual shopping experience is not available, i.e. if we were to click Buy Now on one of the buttons, there is no action done. Also products can’t be added to any cart, and there is no checkout process:
It would be great if future releases of Copilot had this functionality!
Let’s try “Design a website for public transportation schedules”. We see the pages are created around transport schedules: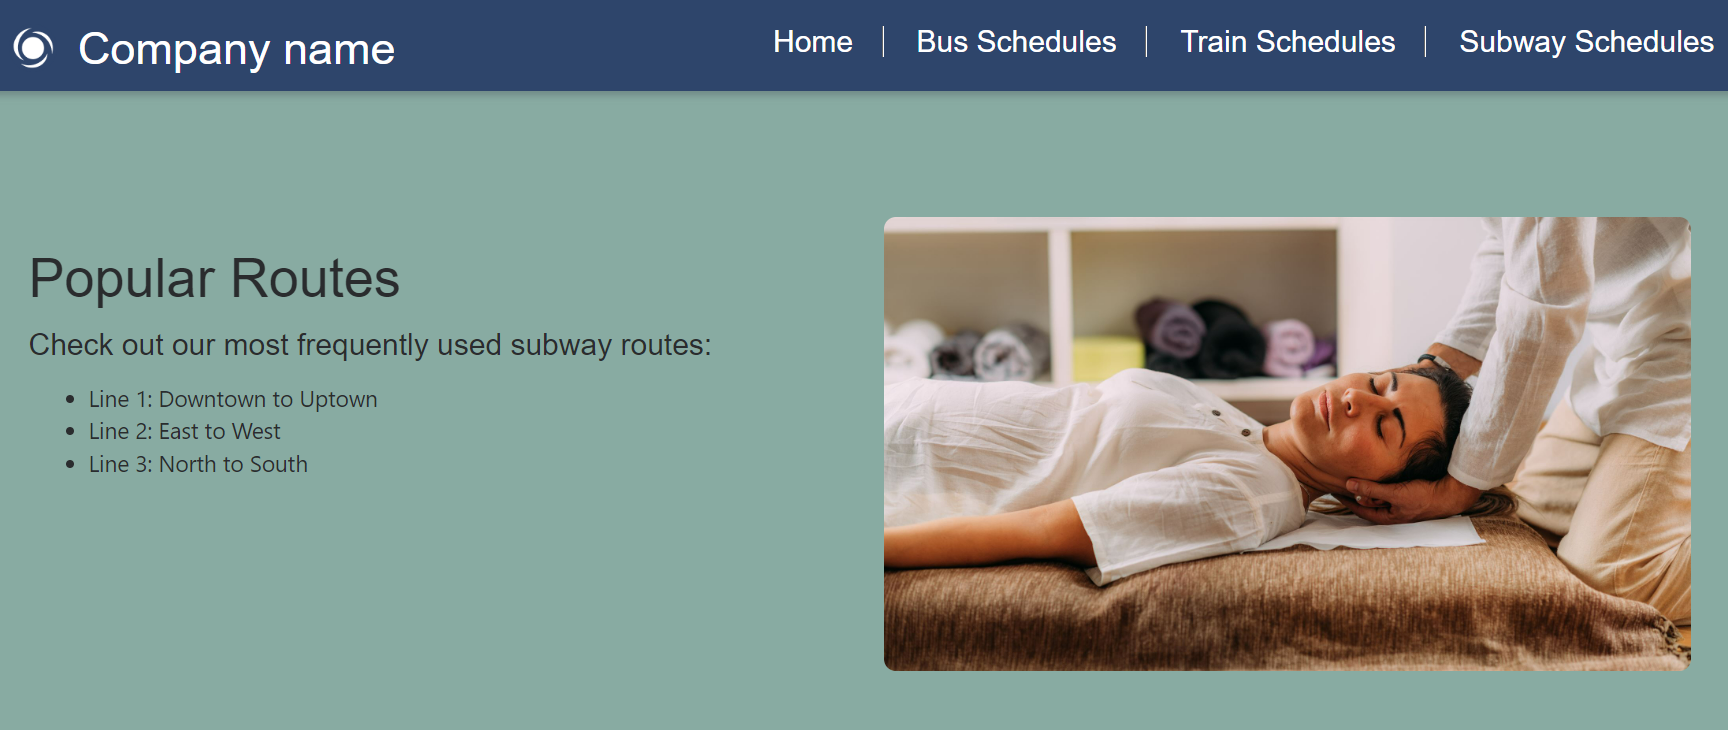
It’s then up to the content creator to add the actual schedules.
Website Copy using Copilot
Now, let’s look at utilizing Copilot to help with the wording on our pages. Let’s say with our Transport Schedules page we want to add an About page, with some wording of what the site is about. We can click on +Page to add a new page, then click on Text to add some text:
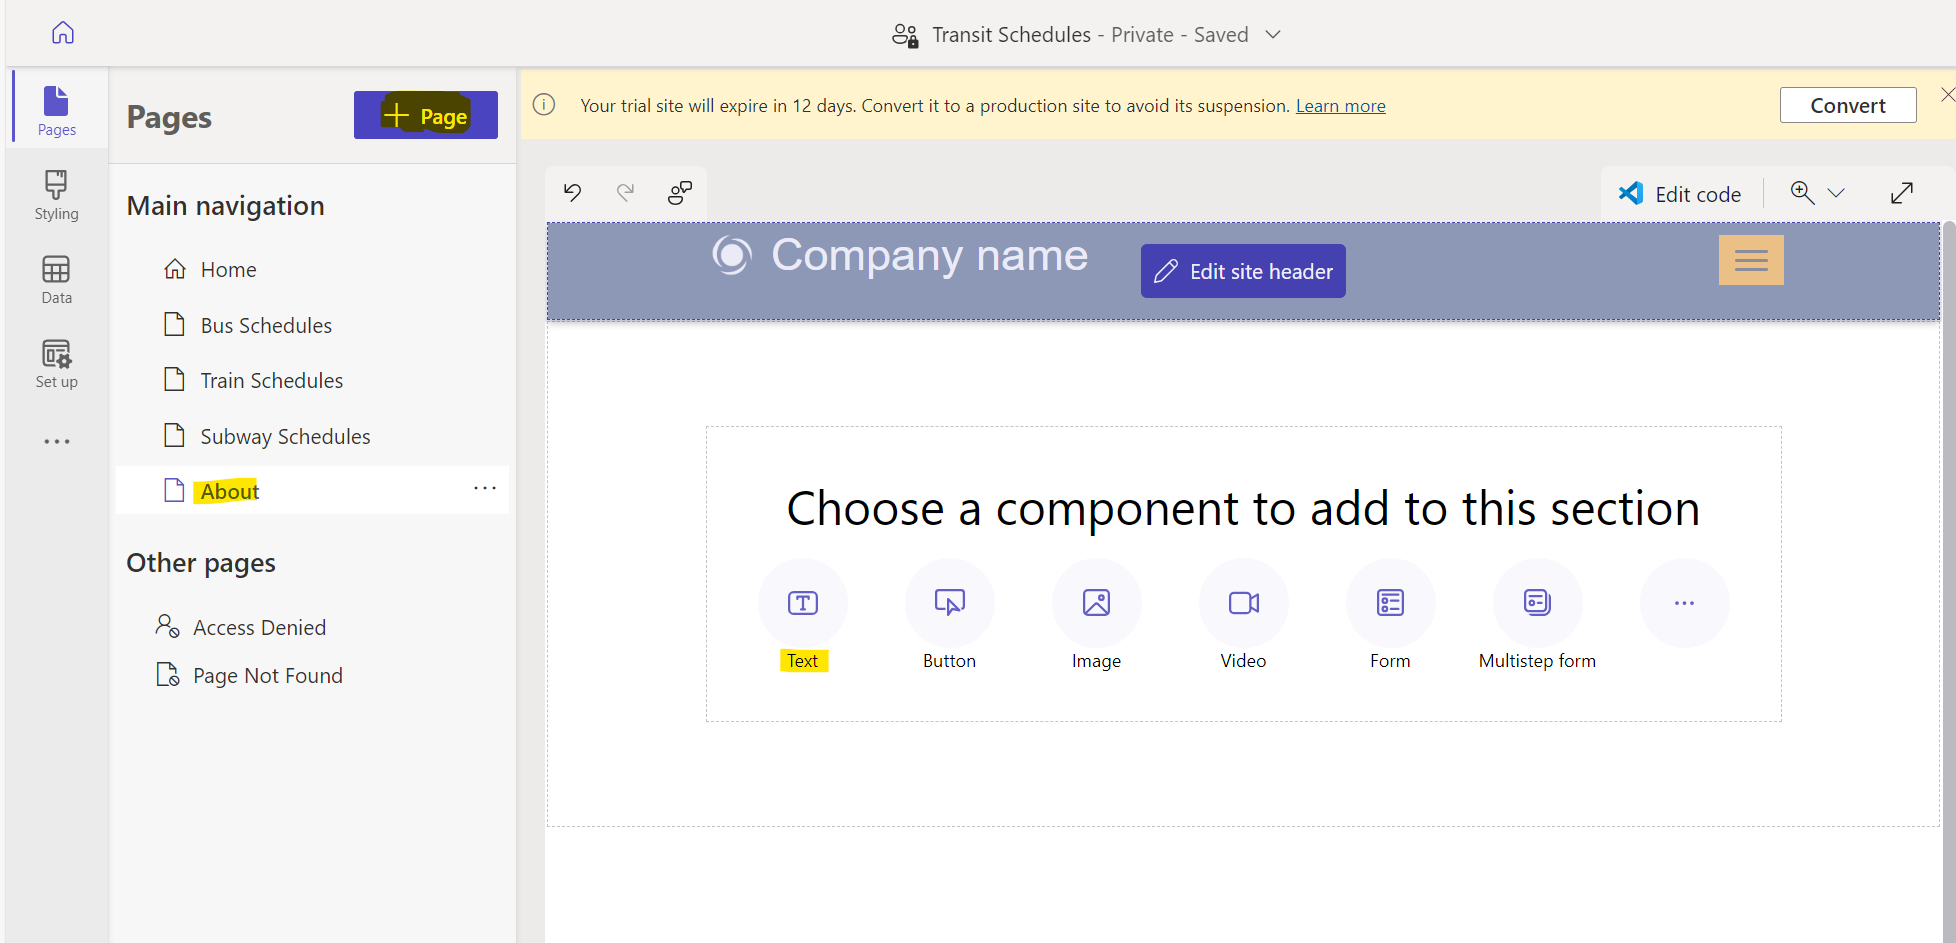
Now click on Copilot:

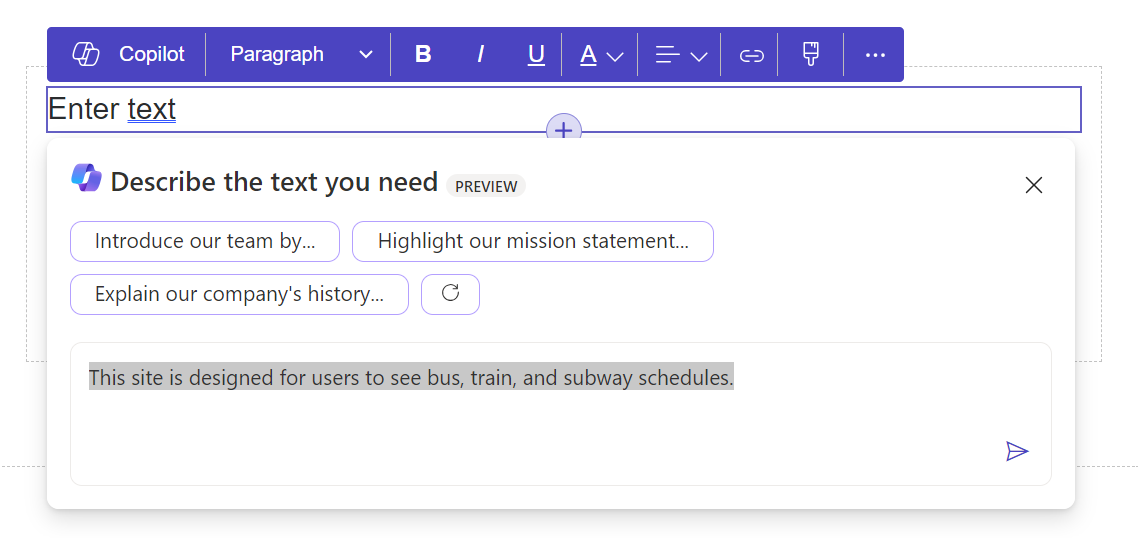
Let’s enter some basic text:
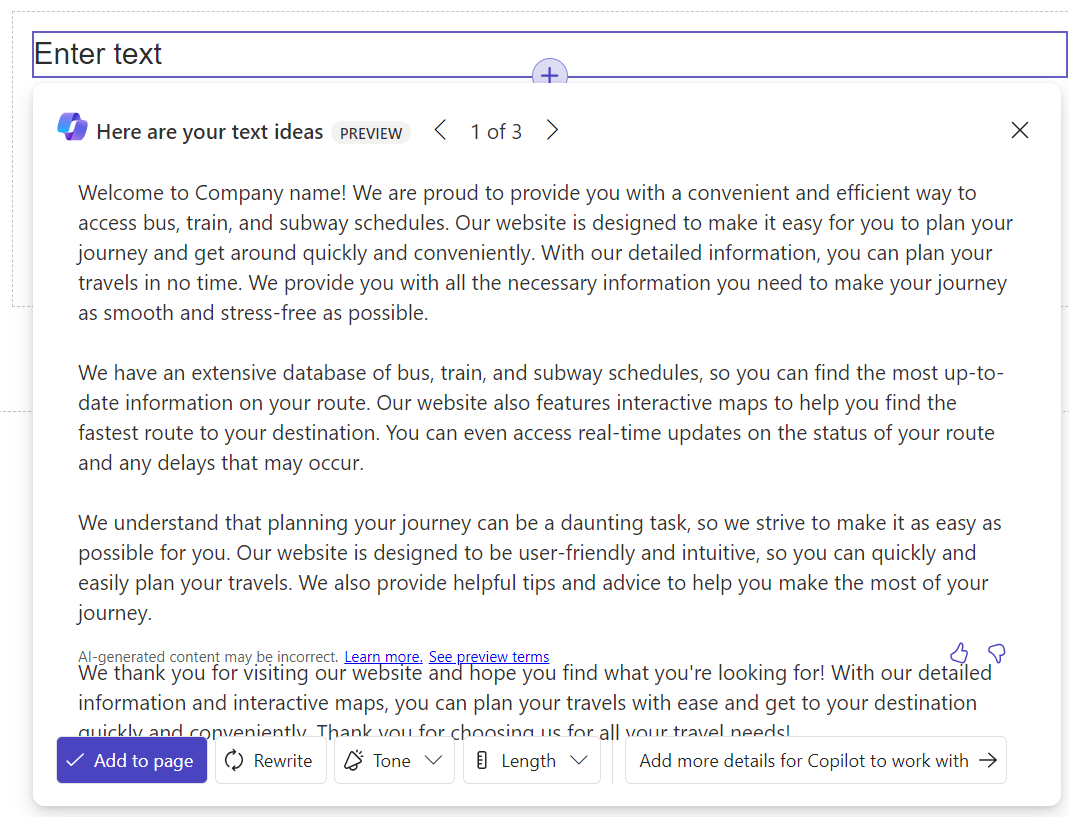
After clicking the arrow, Copilot has taken our text and expanded it, making it more user friendly:

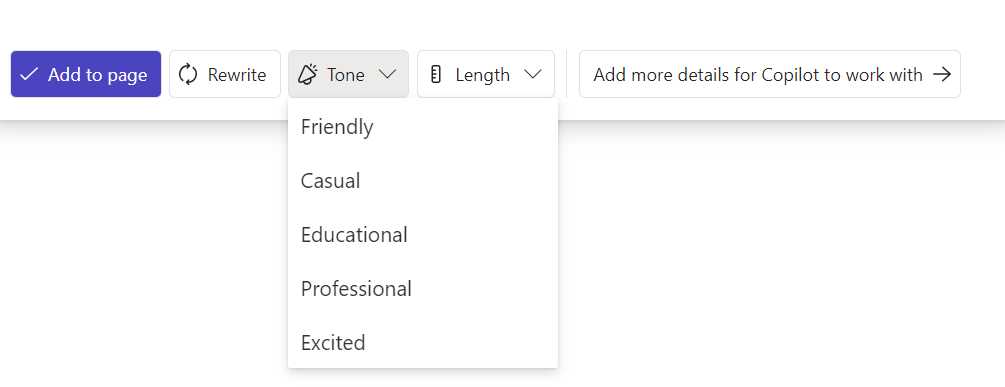
We have the option to change the tone to be more friendly, professional, excited, etc:
And we can make it shorter or longer by the click of a button:
Generating Forms using Copilot
Let’s now take a look at using Copilot to build forms. We will create a new form:
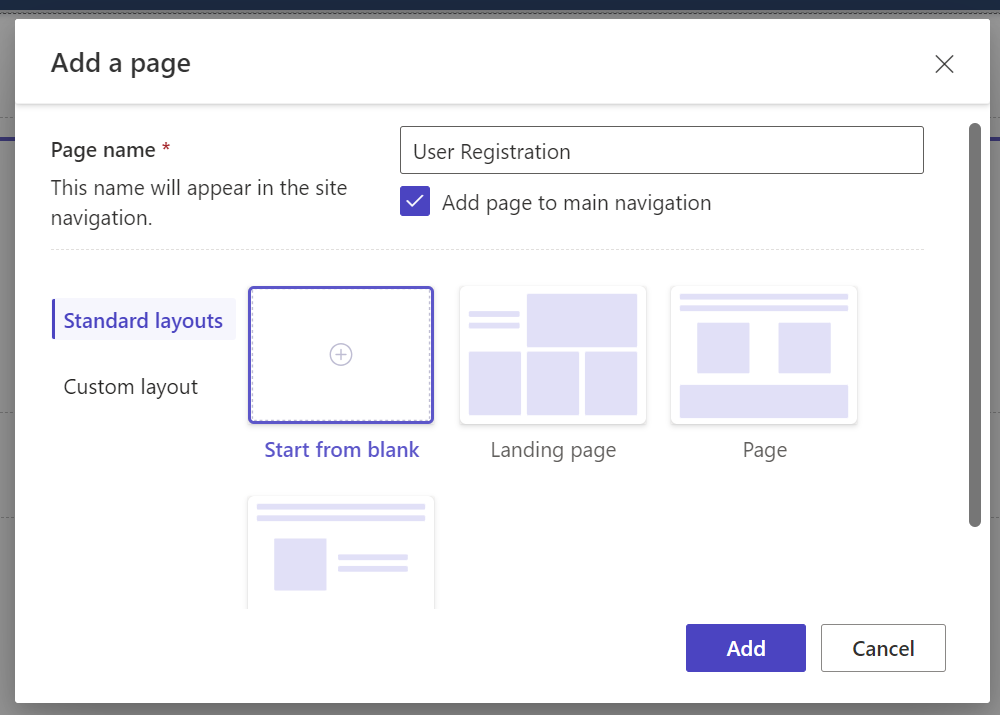
This time we will add a form:
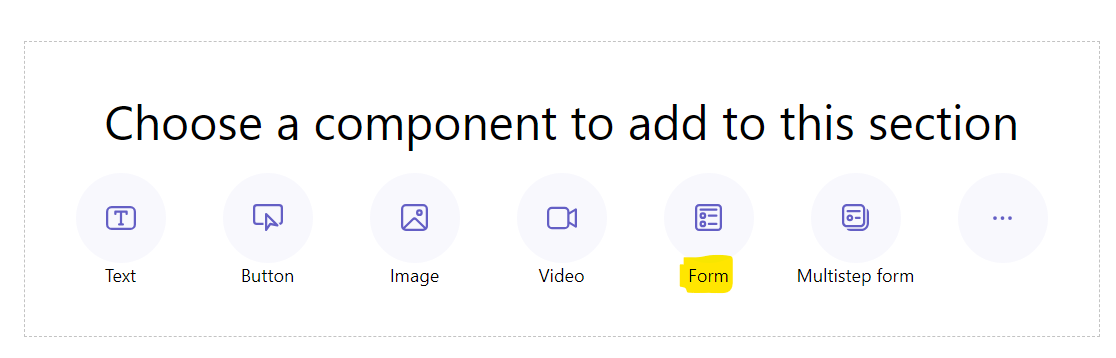
Selecting form opens this dialog where we can describe a form to create it using Copilot:
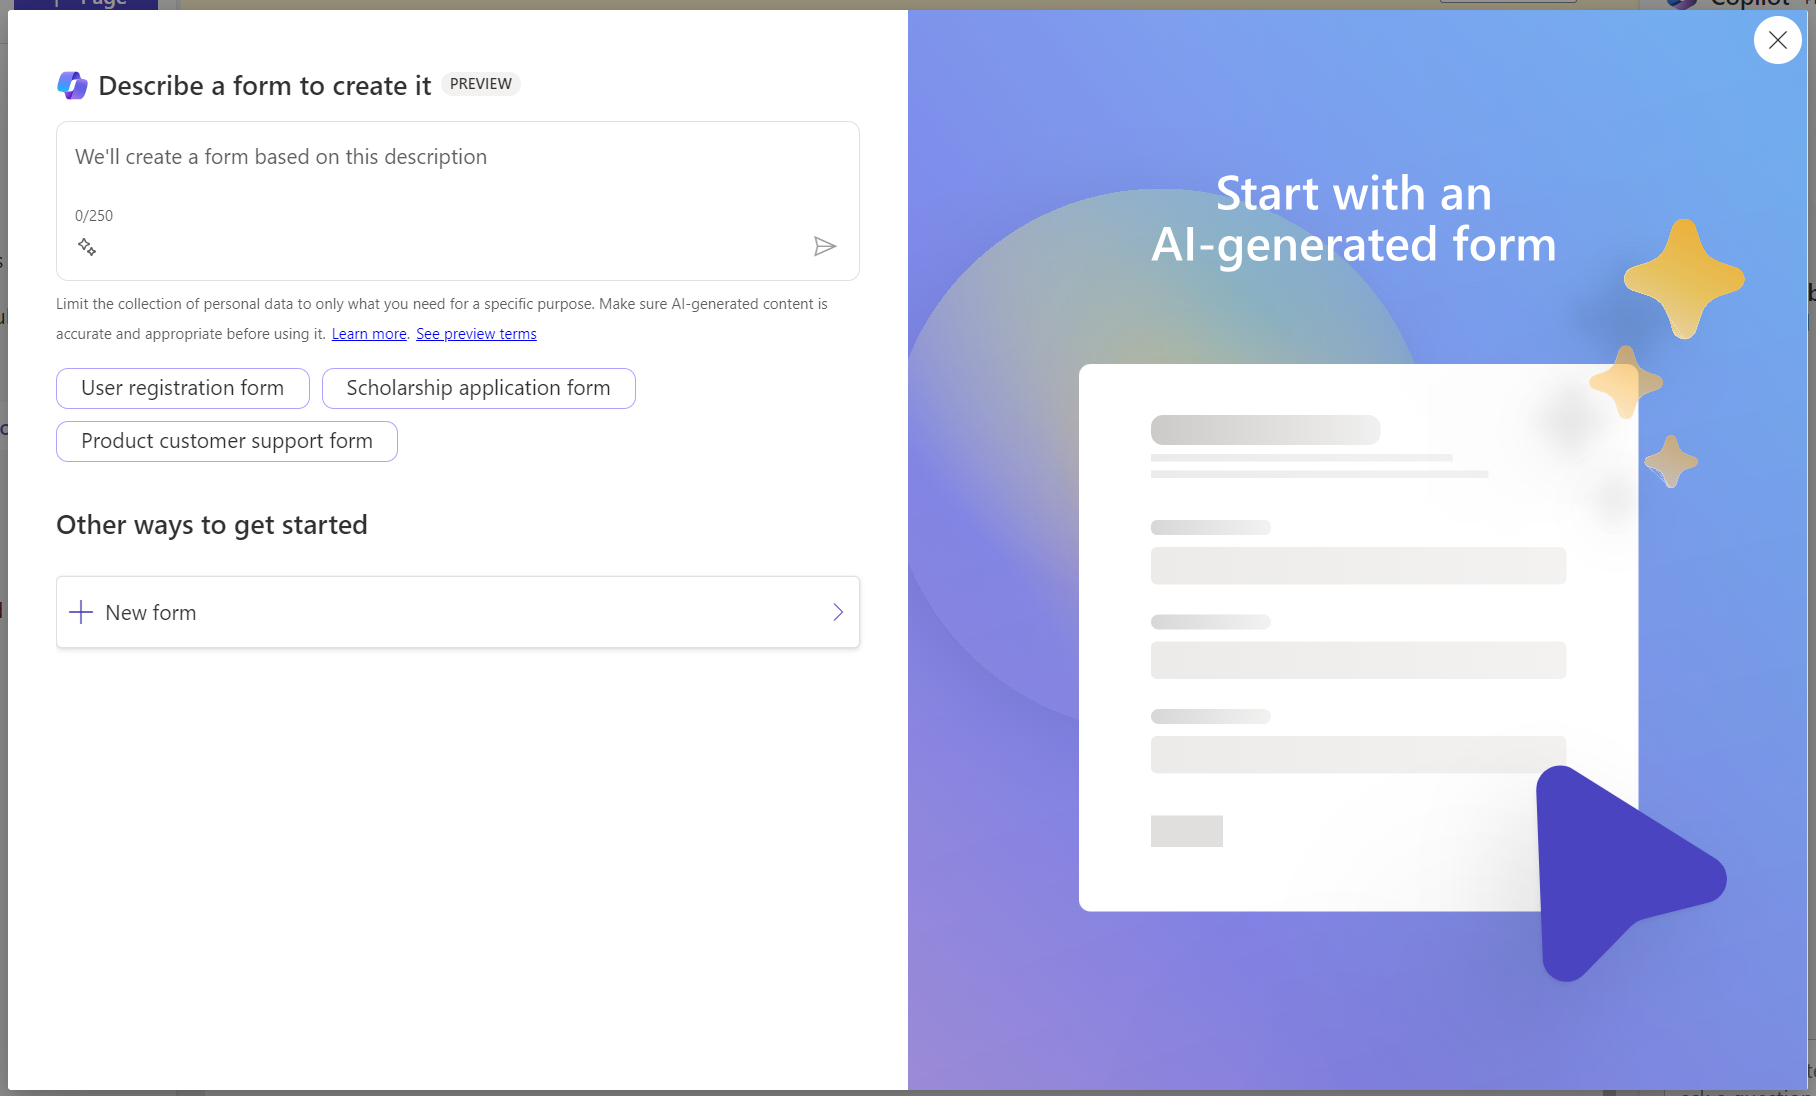
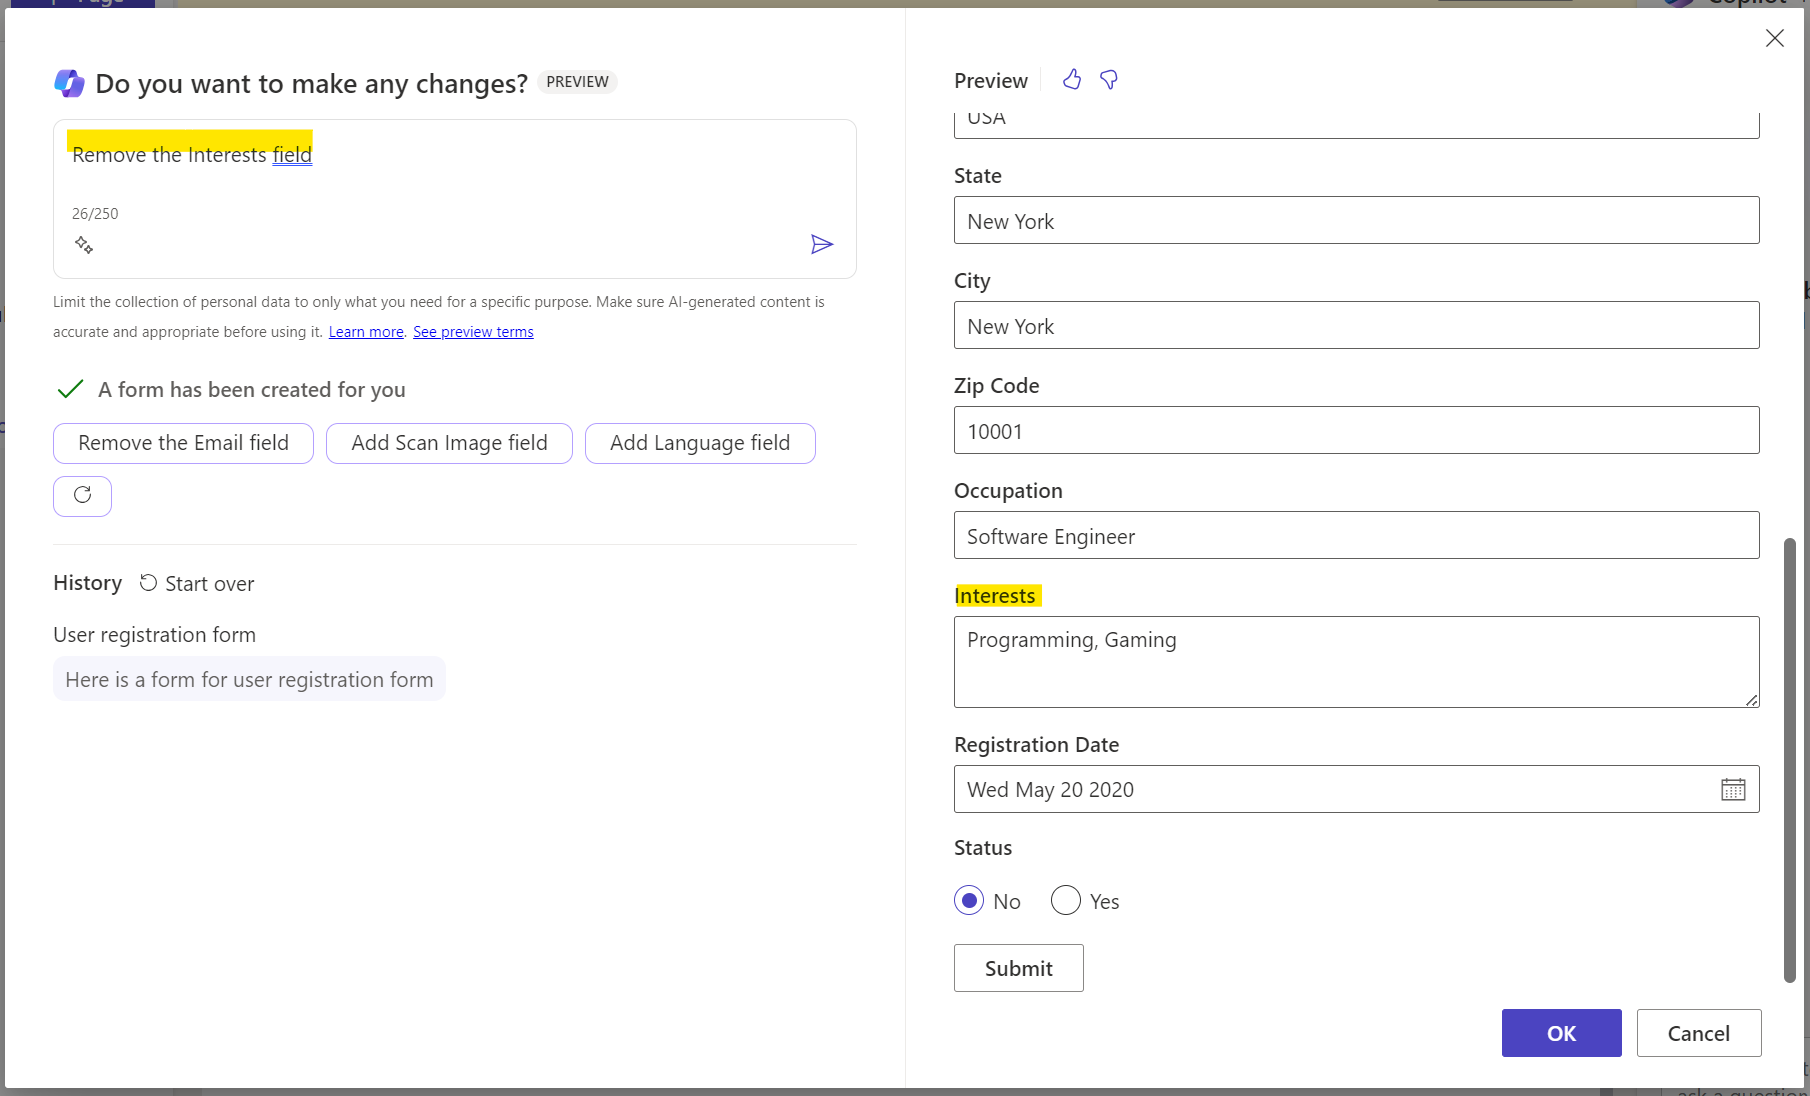
We will use “User registration form” which is a pre-defined option, and our form is created:
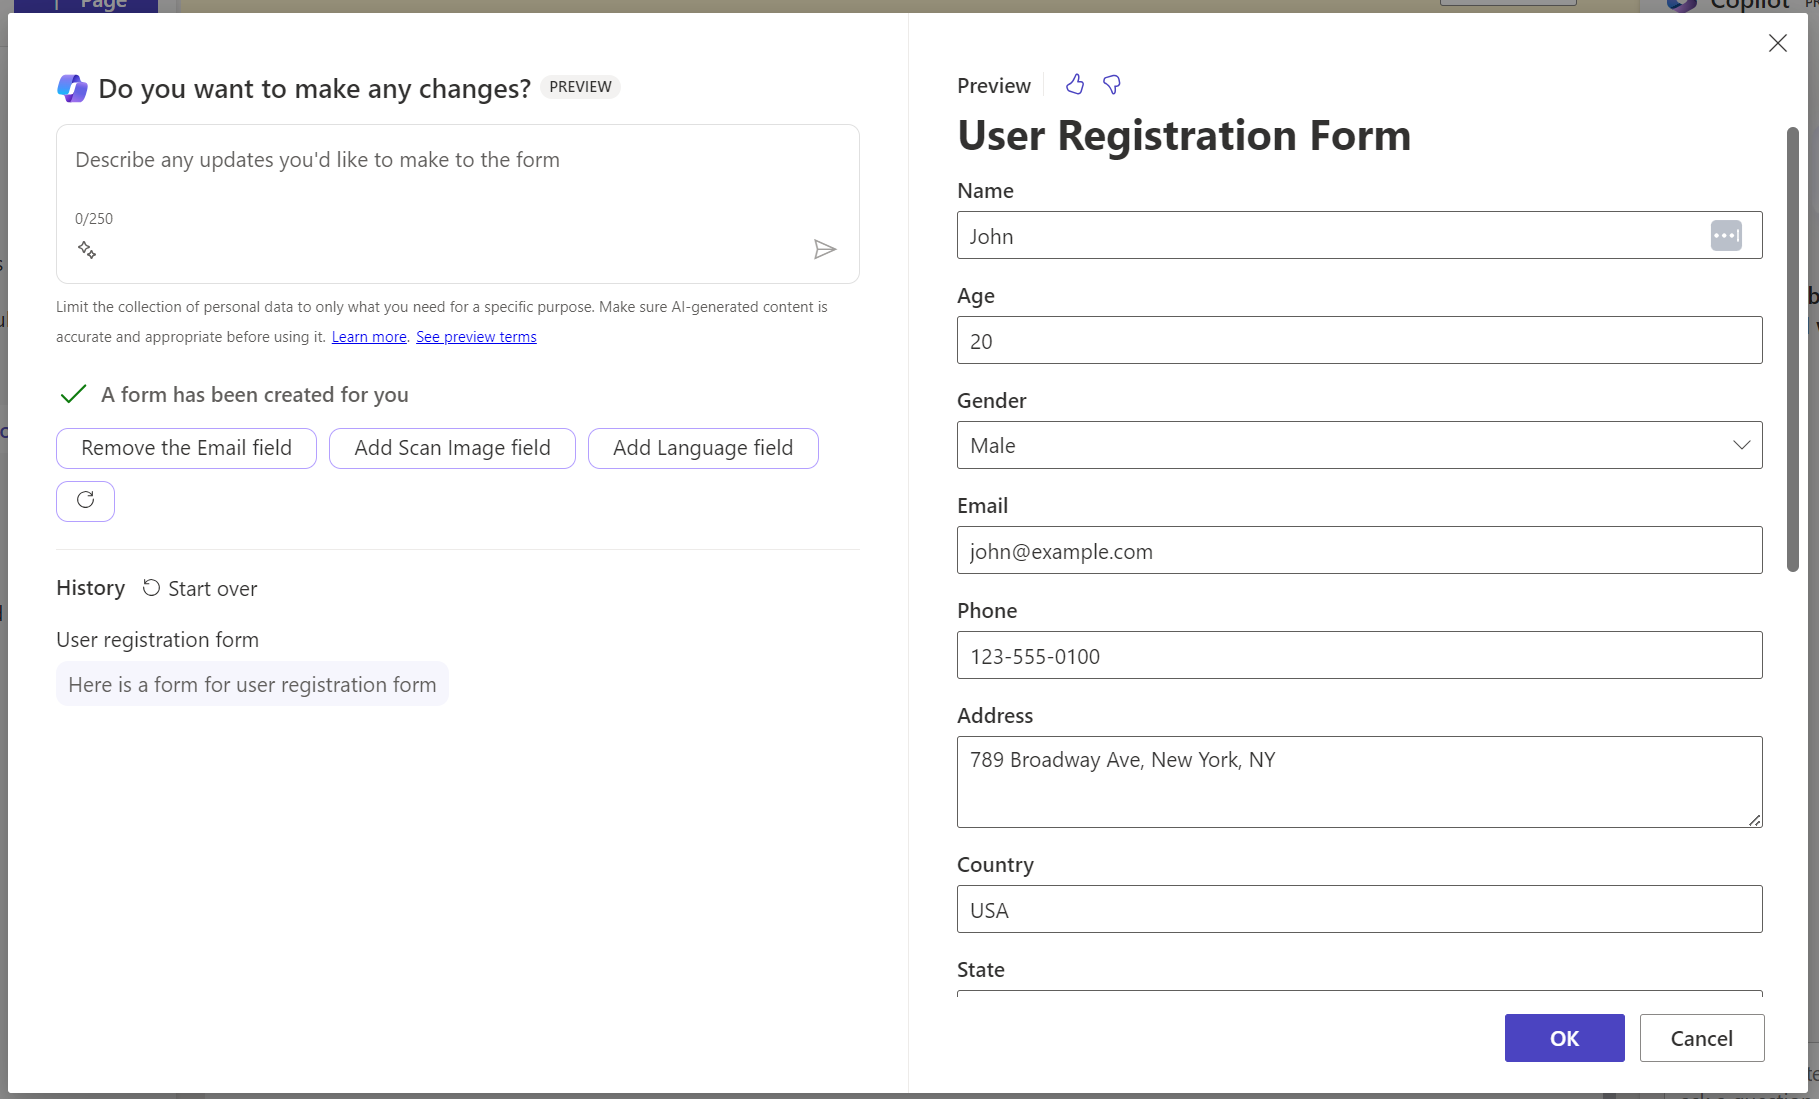
Note we can remove fields we don’t need:
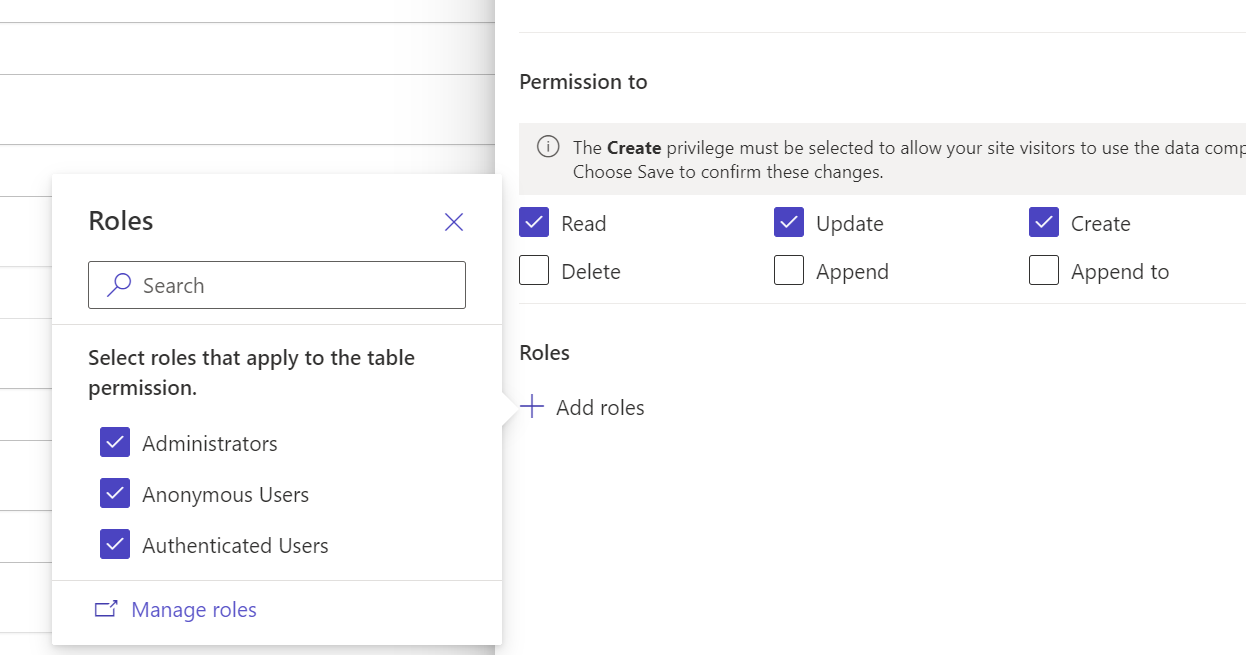
The form is now added to the page, and you will need to add permissions so the appropriate people can use the table:
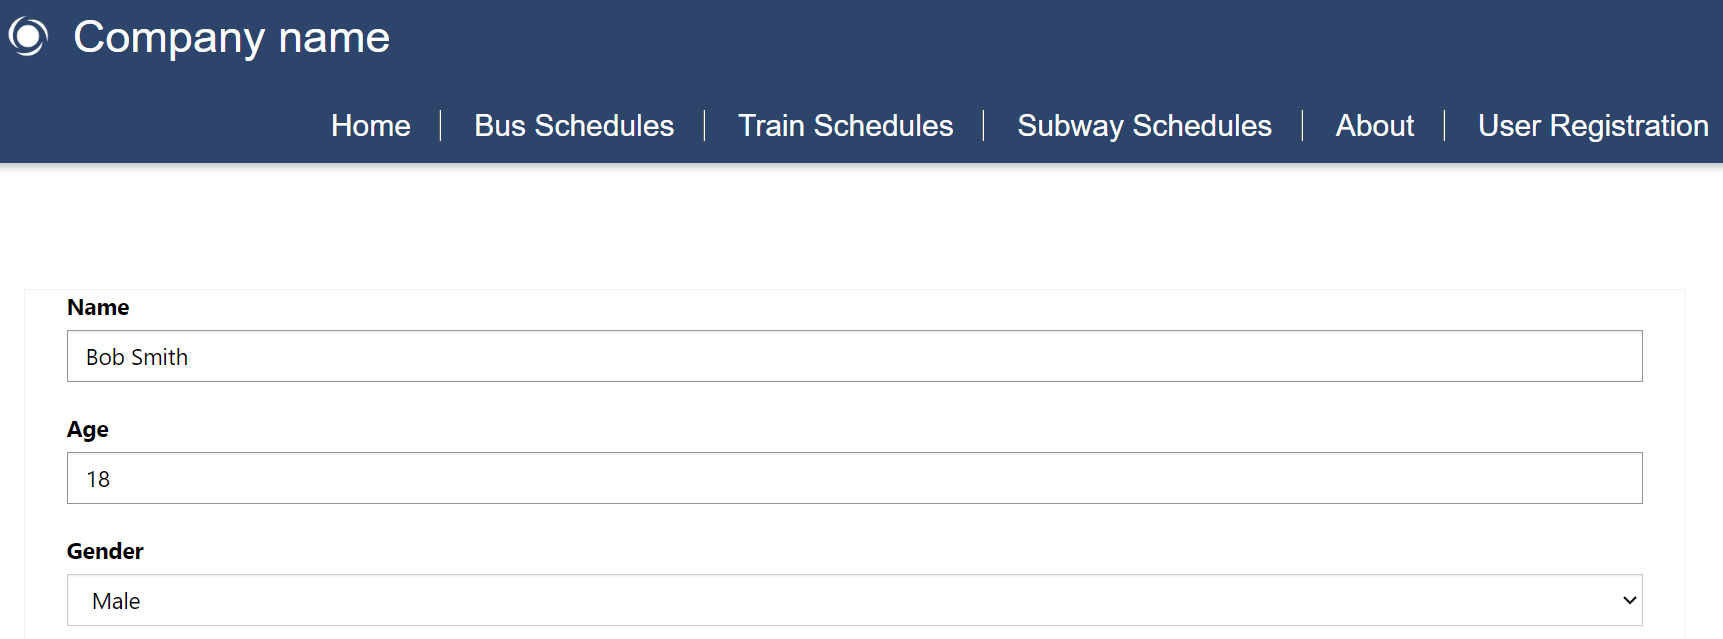
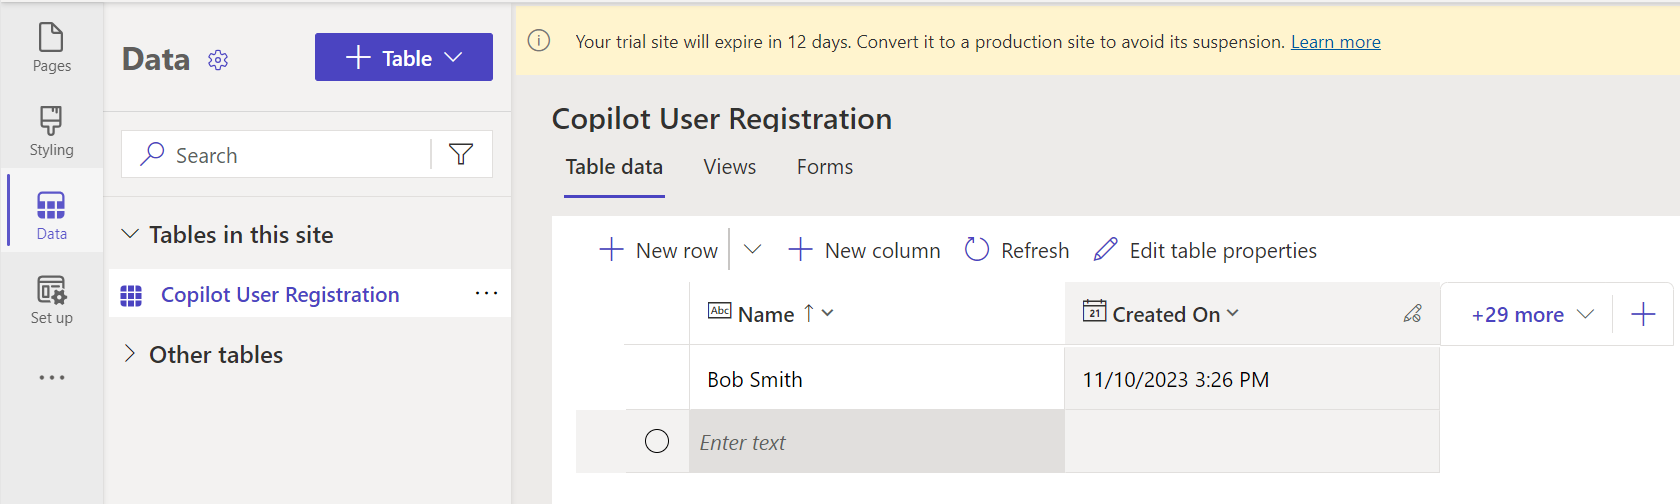
Let’s add a test record:
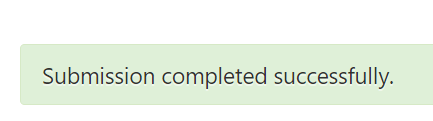
Clicking submit shows the record was created successfully:
In the backend, we can see the data in the Dataverse table:
There are other capabilities around Copilot with Power Pages that we will explore in future posts. For now, you can see there is a lot of ways to utilize Copilot to build sites quickly.
I AM SPENDING MORE TIME THESE DAYS CREATING YOUTUBE VIDEOS TO HELP PEOPLE LEARN THE MICROSOFT POWER PLATFORM.
IF YOU WOULD LIKE TO SEE HOW I BUILD APPS, OR FIND SOMETHING USEFUL READING MY BLOG, I WOULD REALLY APPRECIATE YOU SUBSCRIBING TO MY YOUTUBE CHANNEL.
THANK YOU, AND LET'S KEEP LEARNING TOGETHER.
CARL
