In this post, we will look at how to super-linter in a GitHub repository so your code quality can be improved.
The GitHub DevOps Engineering Team built super-linter to help with their own best practices. You can see the GitHub repo for super-linter here. The linter is a “Combination of multiple linters to install as a GitHub Action”. So when you use GitHub as a source code repository, you can add this one action that will handle scan many different languages and provide best practice feedback, prevent poor code from being checked into a branch, and get you to CI/CD. Some examples of languages supported include:
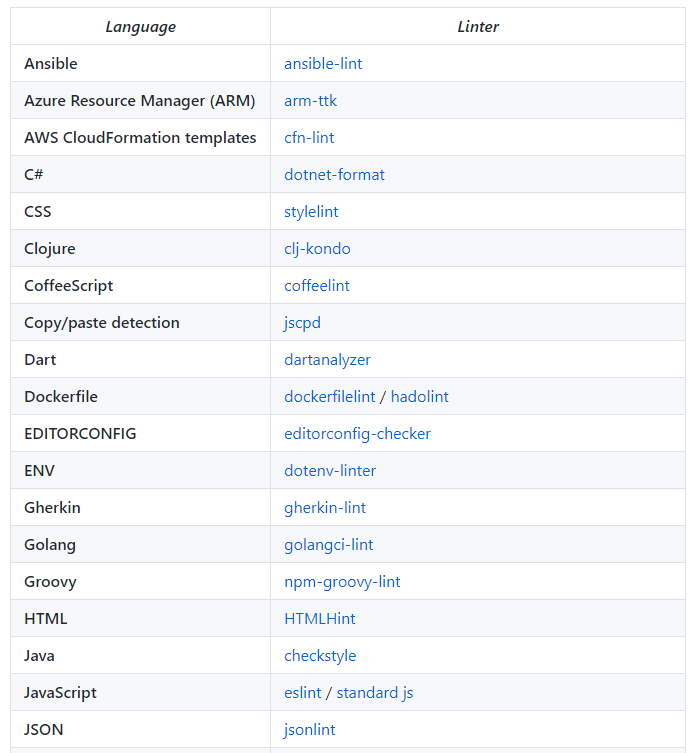
Let’s take a look at how this works. We will go through an example of using super-linter with a JavaScript file.
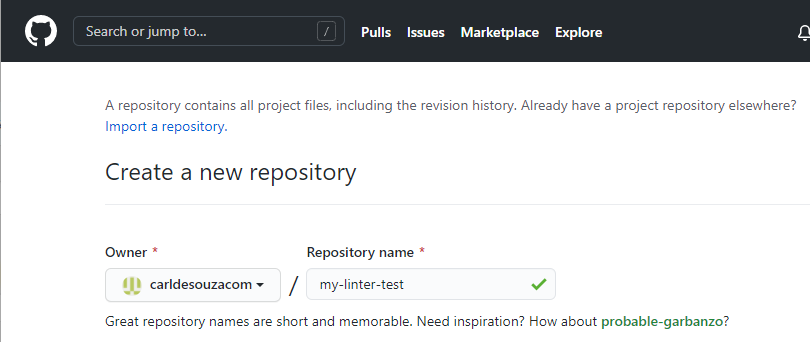
First, let’s create a new project on GitHub called my-linter-test:
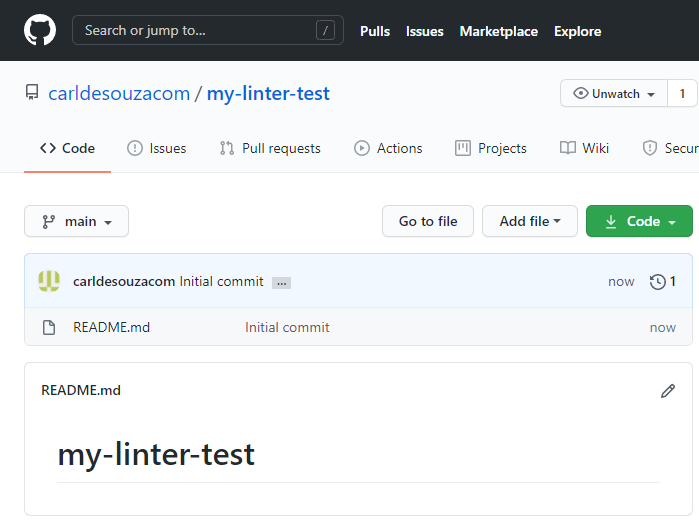
Our repo is ready to use:
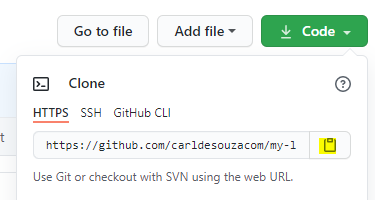
Let’s copy the URL:
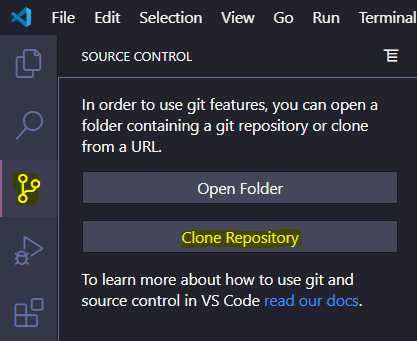
Now, let’s clone this repo locally and add some basic JavaScript. In VS Code, I’m going to click on the Source Control tab and Clone Repository:
Paste the URL into the

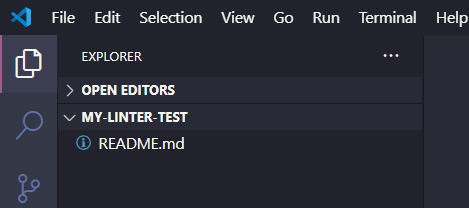
Select a local directory to save the clone, and then open it when prompted:
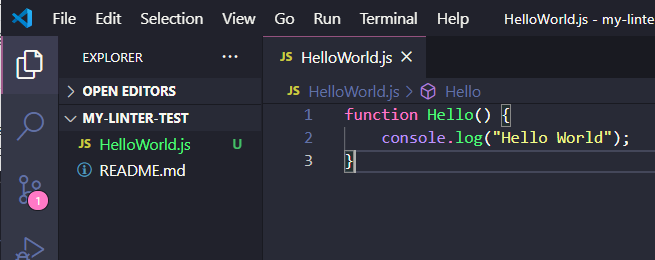
Now let’s create a new file called HelloWorld.js with one function, Hello:
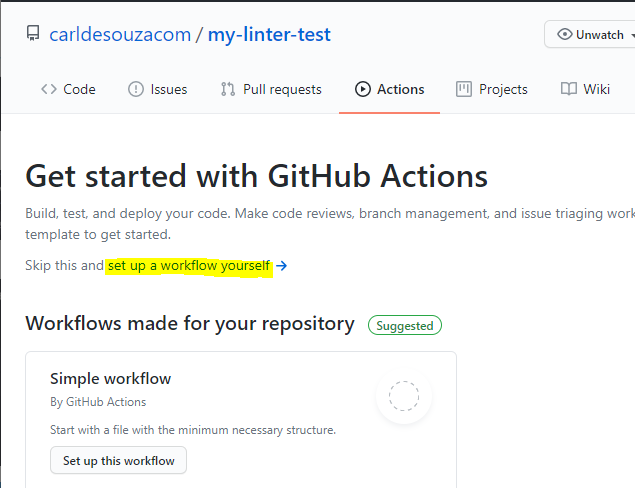
Our file is ready to push up to our repository. But before we do this, let’s go into GitHub and make some adjustments. Let’s click on the Actions tab in the repository. We see there are several GitHub actions we can use. Let’s click on Set up a workflow yourself:
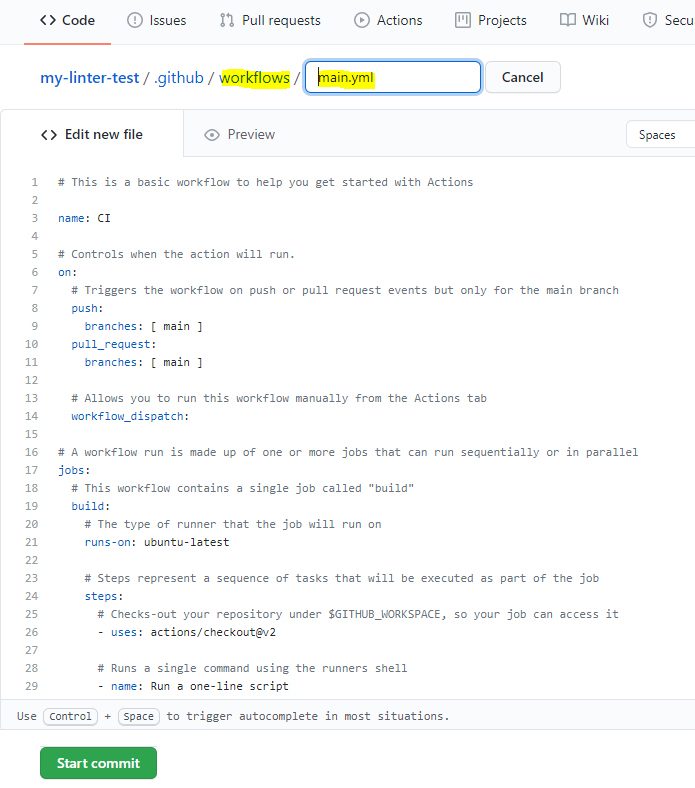
We see a Workflows directory has been created, with a main.yml file. Here is where we can use our linter:
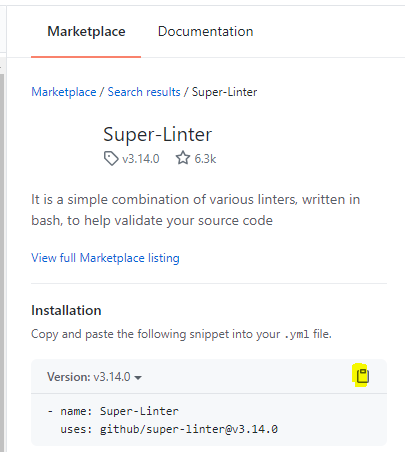
On the right, click on the Marketplace tab and find Super-Linter, then copy the code snippet:
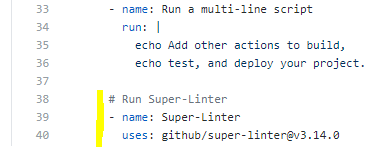
Let’s paste this into the bottom of our yml file:
We can our workflow is configured to run when a push or pull request is triggered:

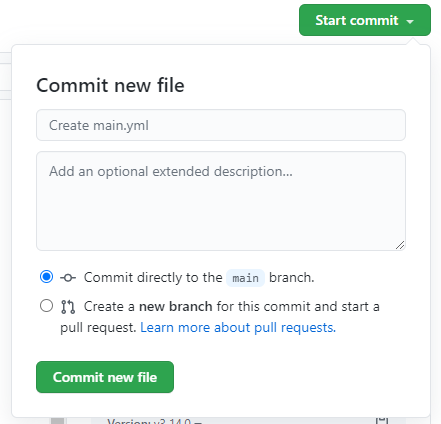
Click Start Commit to save the file, and we will commit it into the main branch:
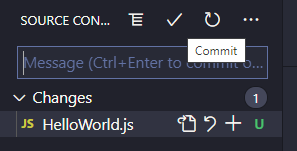
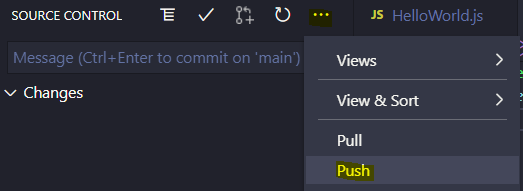
Now, let’s commit and push our JS file from VS Code to GitHub:
Now when we click on the Actions tab in our repo, we see there are 2 workflows running. The bottom workflow is
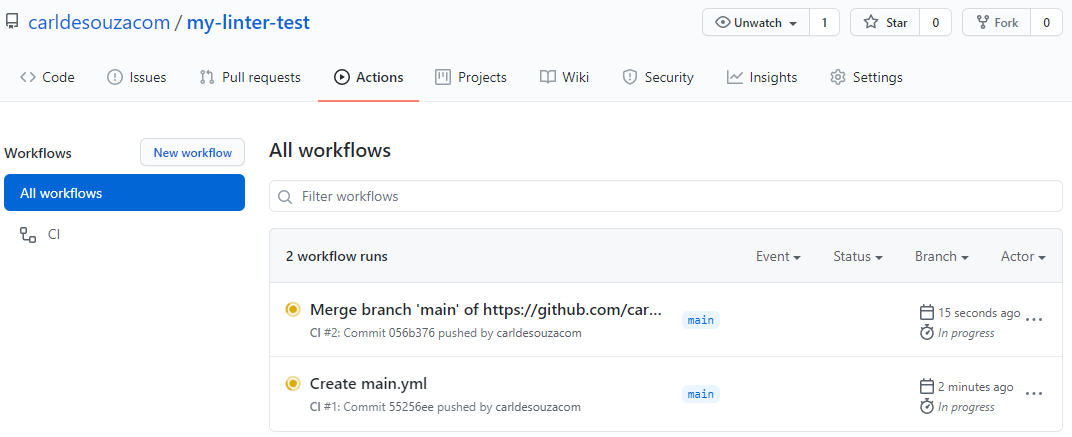
Once the run is complete, we see the workflow has run and failed. Click into it:

Click on build to get more details:
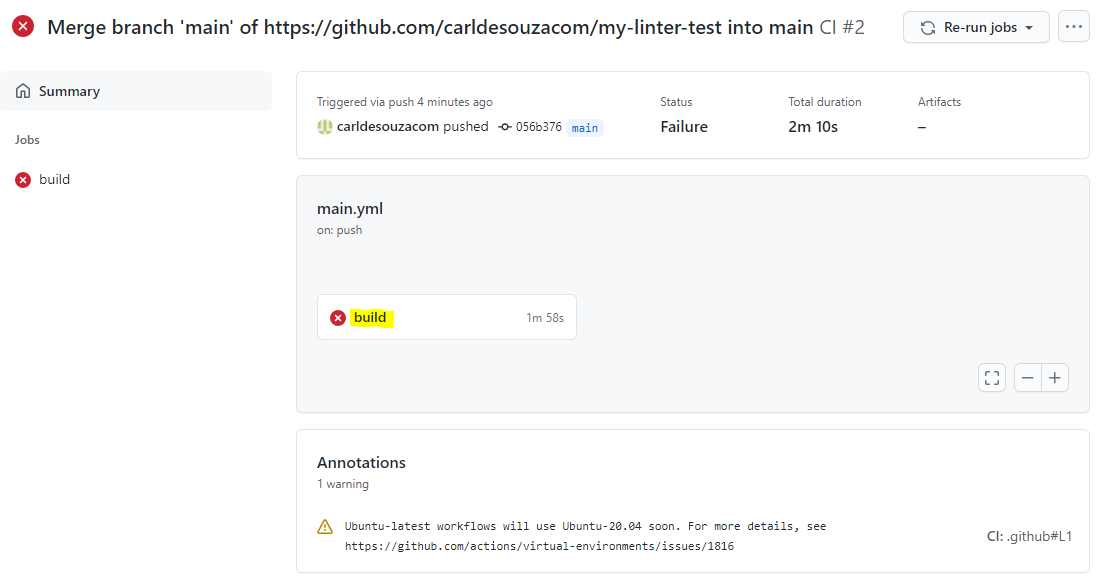
We see in our build, the super-linter has failed:
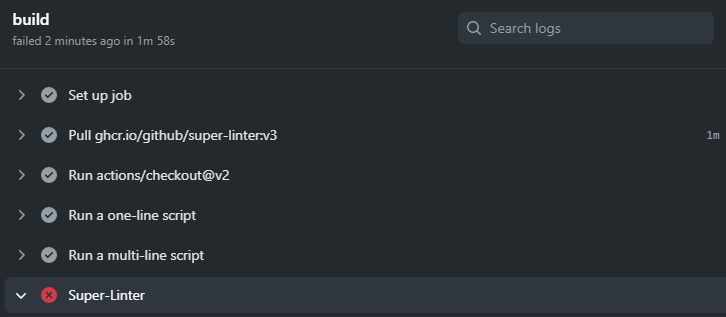
And scrolling down, we see the output of the linter. In this case, it is reporting:
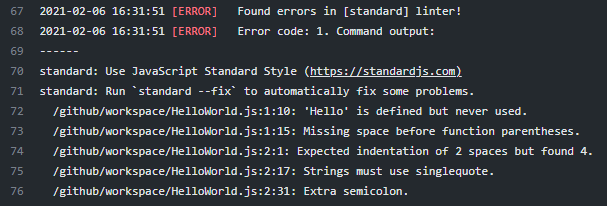
And it is recommending to use https://standardjs.com/.
Let’s update our code to make these recommendations.
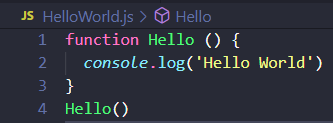
And commit and push to GitHub. We see a new workflow is now running:

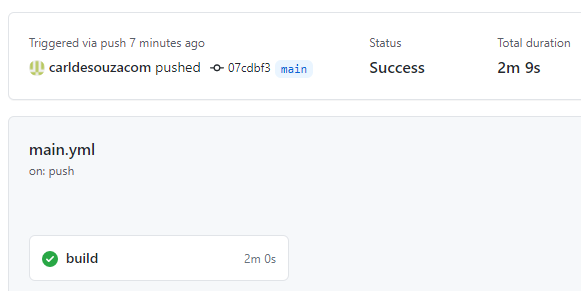
The workflow is now successful:

We get a green build:
In a future post, we will look at how to customize the error handling of Super-Linter and ESLint.
I AM SPENDING MORE TIME THESE DAYS CREATING YOUTUBE VIDEOS TO HELP PEOPLE LEARN THE MICROSOFT POWER PLATFORM.
IF YOU WOULD LIKE TO SEE HOW I BUILD APPS, OR FIND SOMETHING USEFUL READING MY BLOG, I WOULD REALLY APPRECIATE YOU SUBSCRIBING TO MY YOUTUBE CHANNEL.
THANK YOU, AND LET'S KEEP LEARNING TOGETHER.
CARL


Or you can have a look at MegaLinter for much more capabilities and better performances
https://nvuillam.github.io/mega-linter/mega-linter-vs-super-linter/