In USD, you can create toolbars through configuration in Dynamics 365.
To configure a toolbar, you go through the following steps:
- Create a toolbar container. This is a USD hosted control of type “Toolbar Container” which houses the new toolbar.
- Create a toolbar. This is the actual toolbar itself
- Create buttons under the toolbar. These buttons can go across the toolbar, be drop down buttons, and a menu tree of buttons
- Associate actions with those buttons, e.g. open a web page, CRM page, dashboard etc
- Associate the Toolbar with the Toolbar Container by selecting the toolbar, going to Hosted Controls drop down option, and adding the Toolbar Container hosted control to the associated view
At various stages, you can choose the enabling and visibility properties.
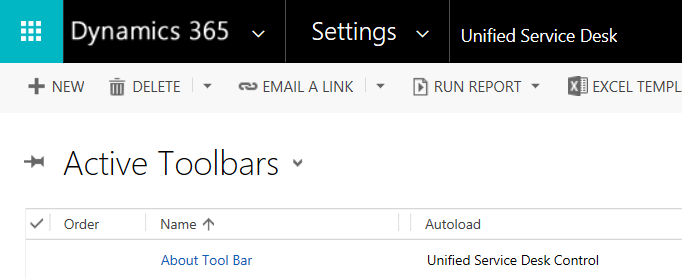
In Settings->Unified Service Desk, you will see Toolbars:

Click on the link, and you will see the About Tool Bar:
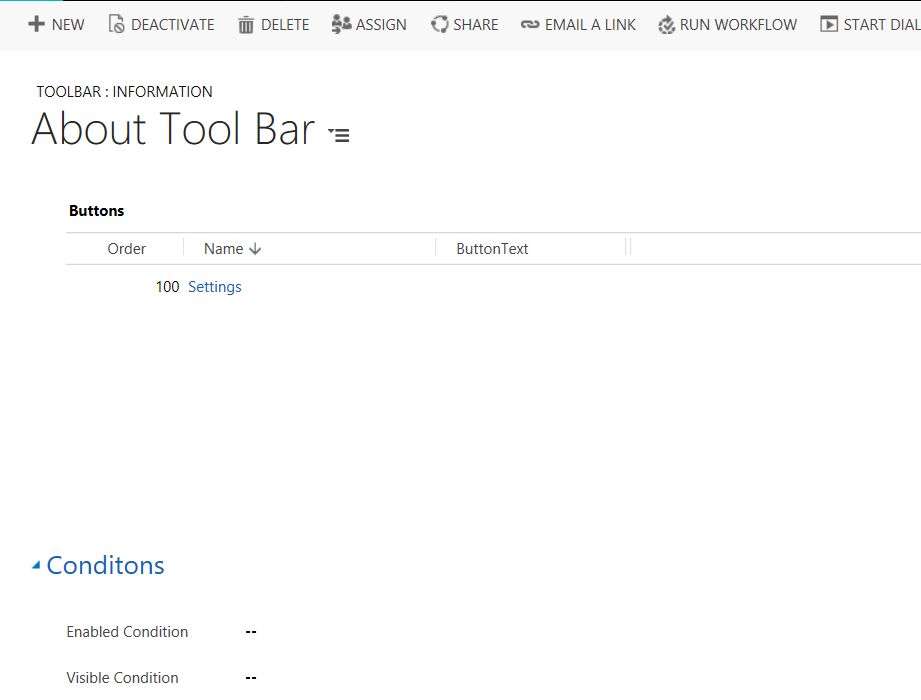
Click on the About Tool Bar and you will see the buttons associated with it, and any conditions for enabling and viewing:
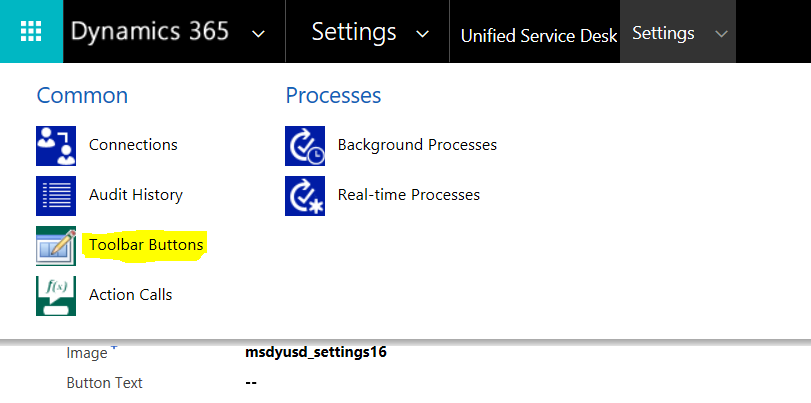
Clicking on Toolbar Buttons for this about toolbar, we see:

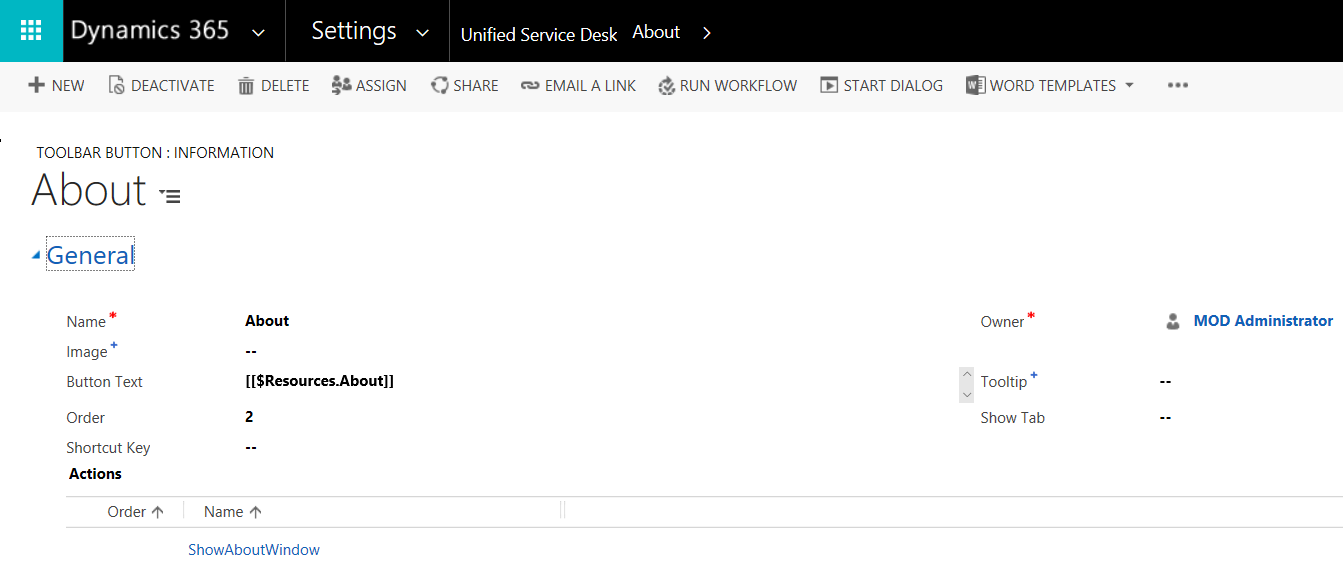
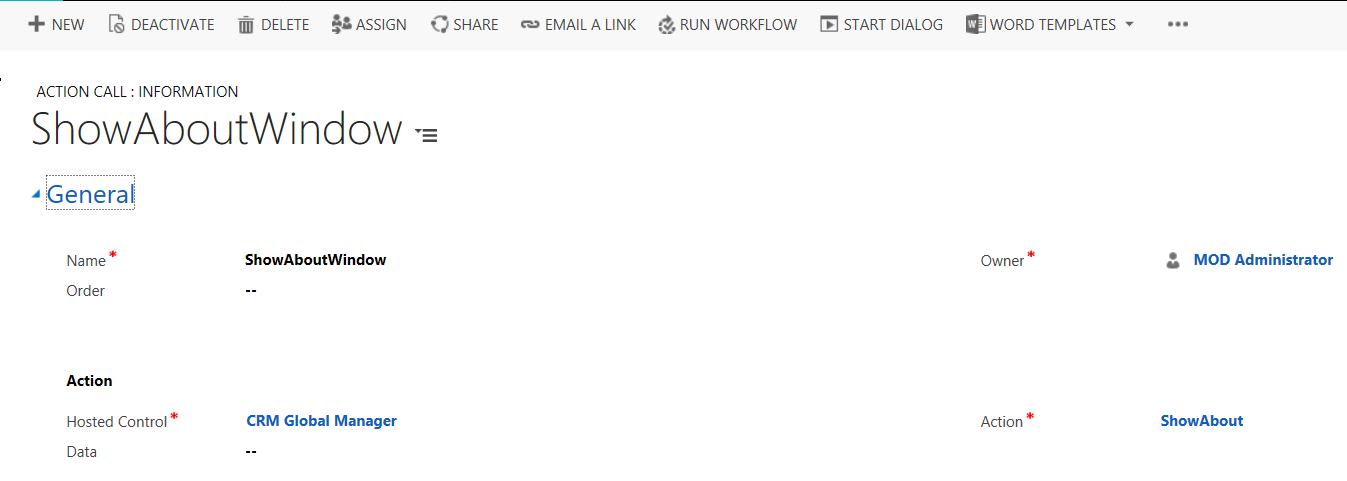
Selecting the About button, we see the action associated with it as ShowAboutWindow:
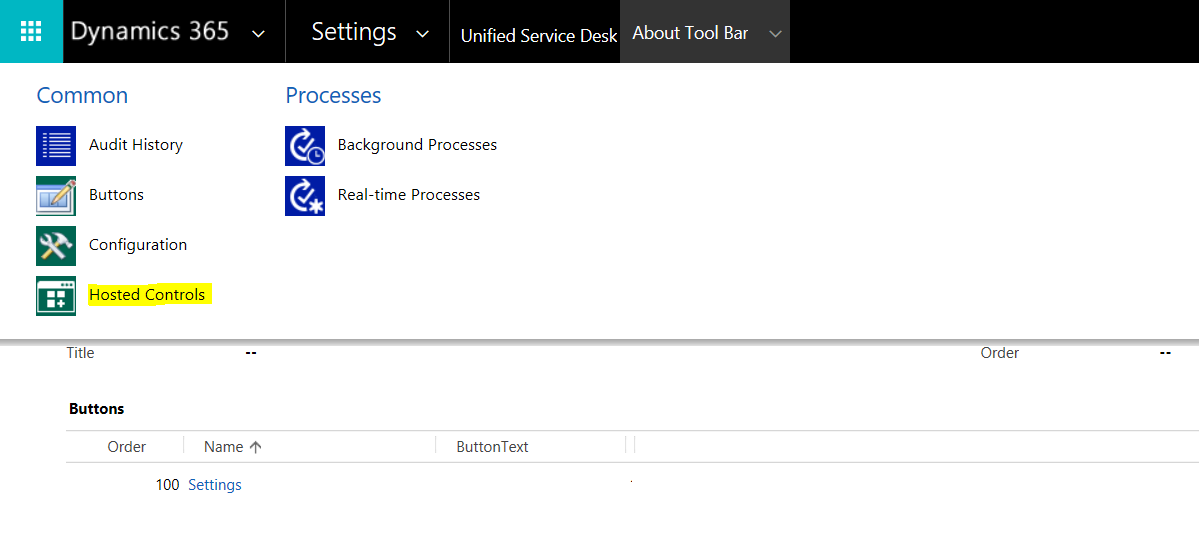
Back on the Toolbar page, select Hosted Controls:
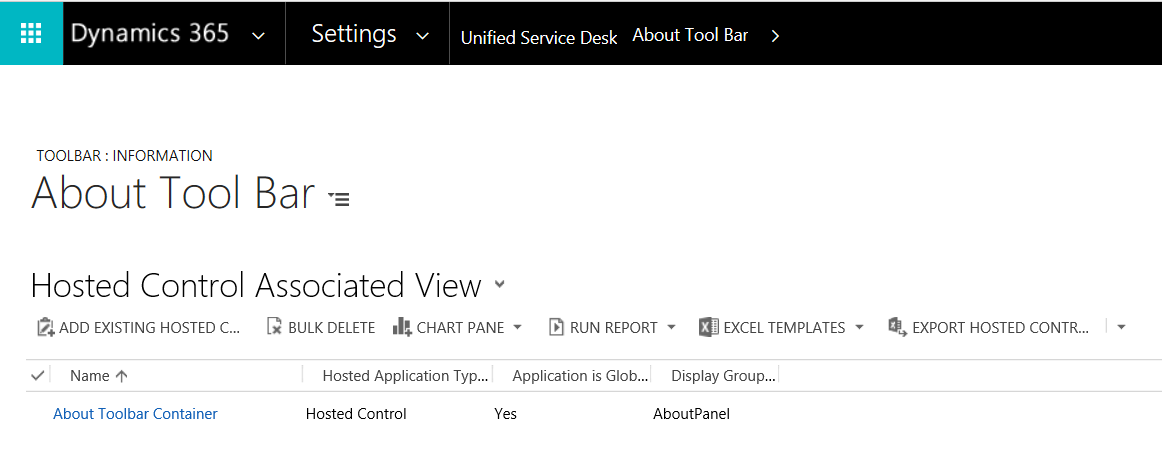
If we jump over to our Hosted Controls, you can see we have an About Toolbar Container of type Toolbar Container:

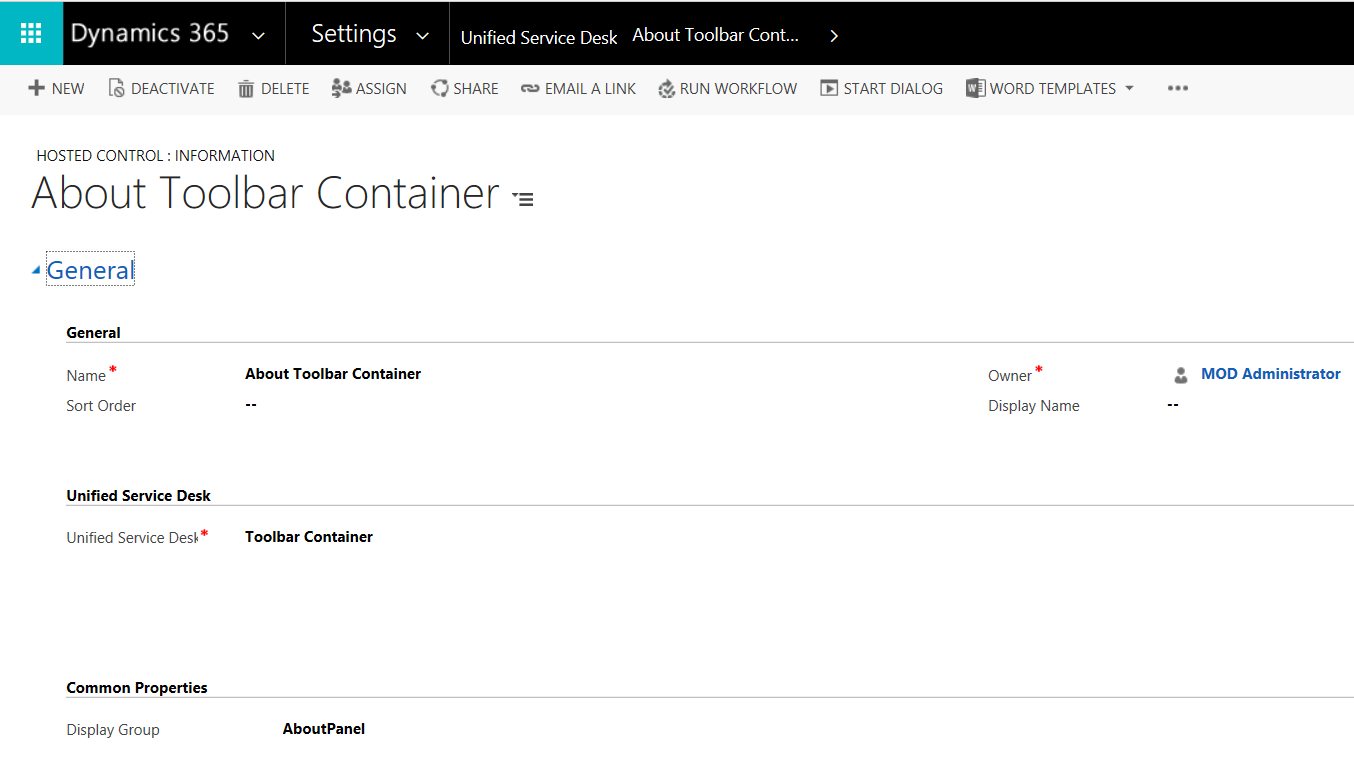
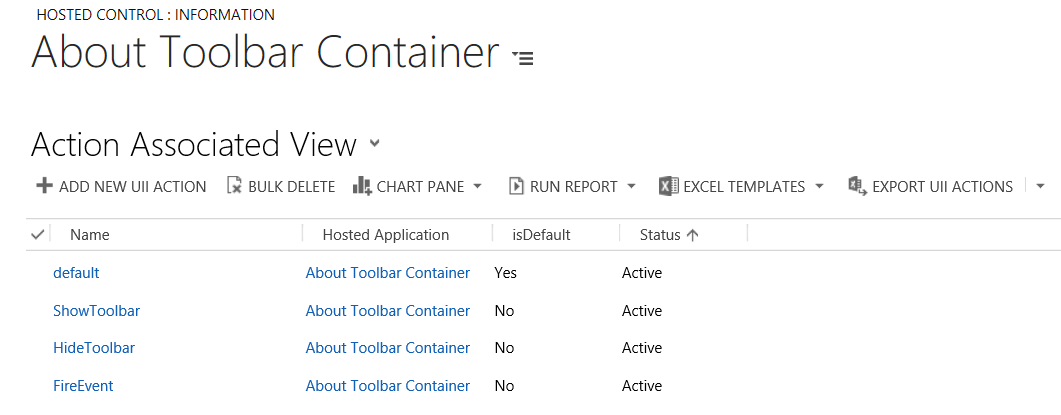
The toolbar container has actions associated with it:
If we take a look at this in the USD client, we will see the toolbar looks like this:

The summary of the About Toolbar in USD:
- There is a hosted control called About Toolbar Container, of USD Component Type “Toolbar Container”, displayed in the About Panel
- This toolbar container has actions default, ShowToolbar, HideToolbar, FireEvent associated with it
- In Toolbars, there is a toolbar called About Tool Bar
- The About Tool Bar has a button called Settings, with a “settings” image/icon and an action called Show Debugger
- The Settings button has two additional toolbar buttons:
- About, which has an action ShowAboutWindow, which in turn calls an action ShowAbout of CRM Global Manager
- Debug, which has an action ShowDebugger. This in turn calls an action CallDoAction, action=default and application=Debugger
- The About Toolbar is associated with the hosted control About Toolbar Container
- The Settings button has two additional toolbar buttons:
Let’s go through creating our own toolbar.
First, in Hosted Controls, create a new Toolbar Container. Note we will set the type to Toolbar Container, and the Display Name we will call Test Toolbar Container Display Name. Normally this is blank, but we will show something here for the demo. We will display this in the About Panel (we will change this later):
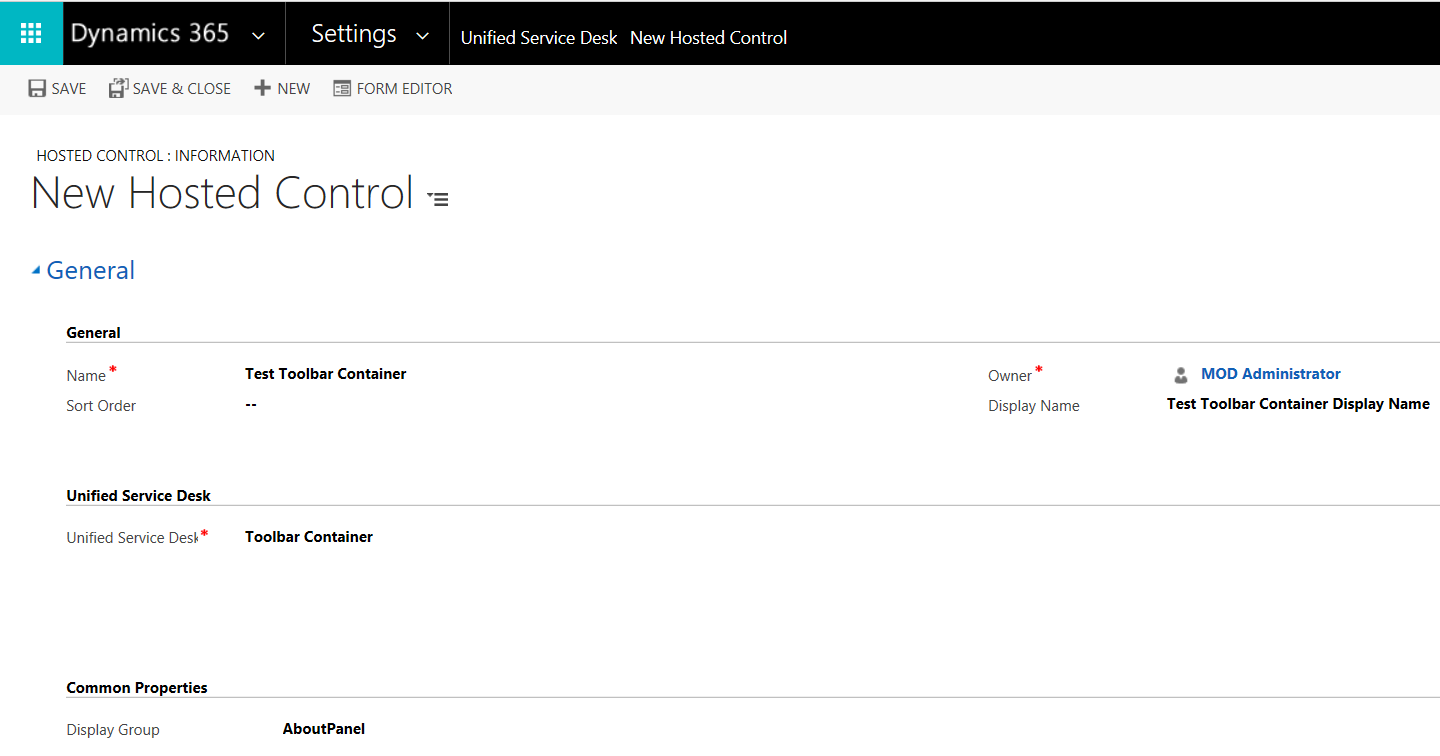
Save the control.
Now, navigate to Toolbars. Create a new toolbar called Test Toolbar 1:
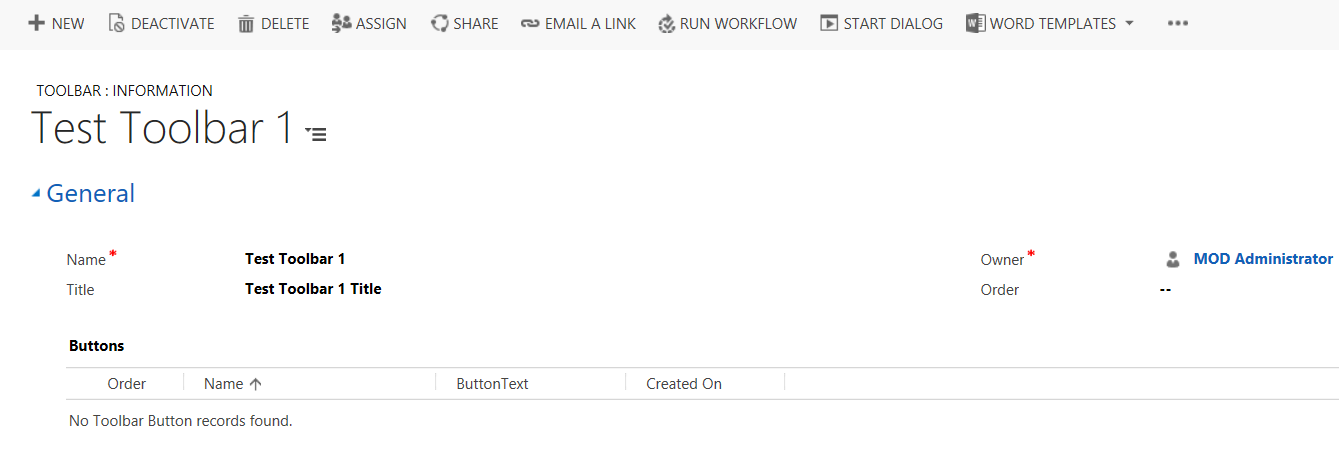
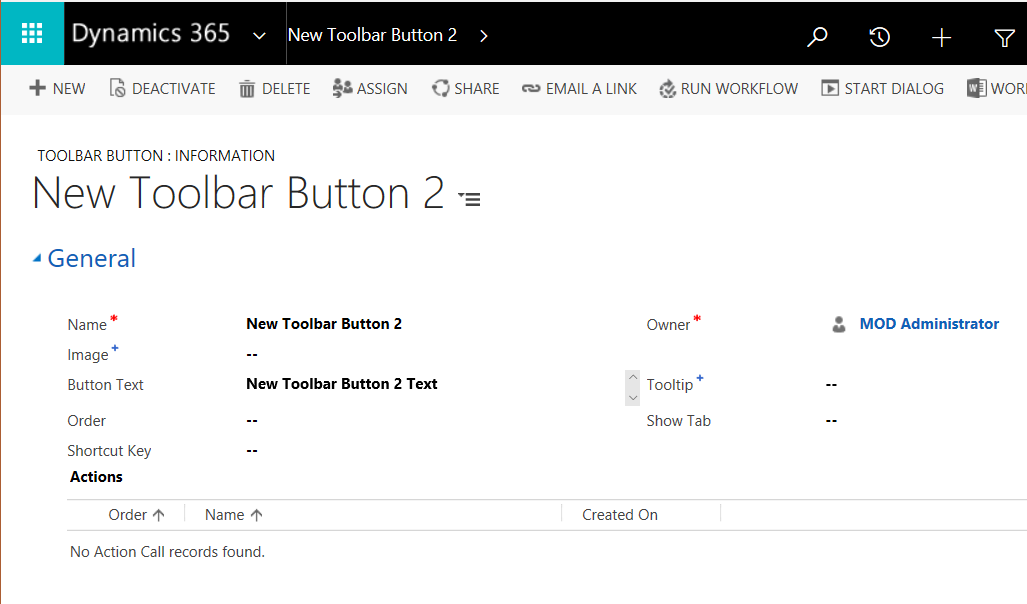
Save the toolbar and click to create 2 new buttons. We won’t add any actions for the sake of the demo:
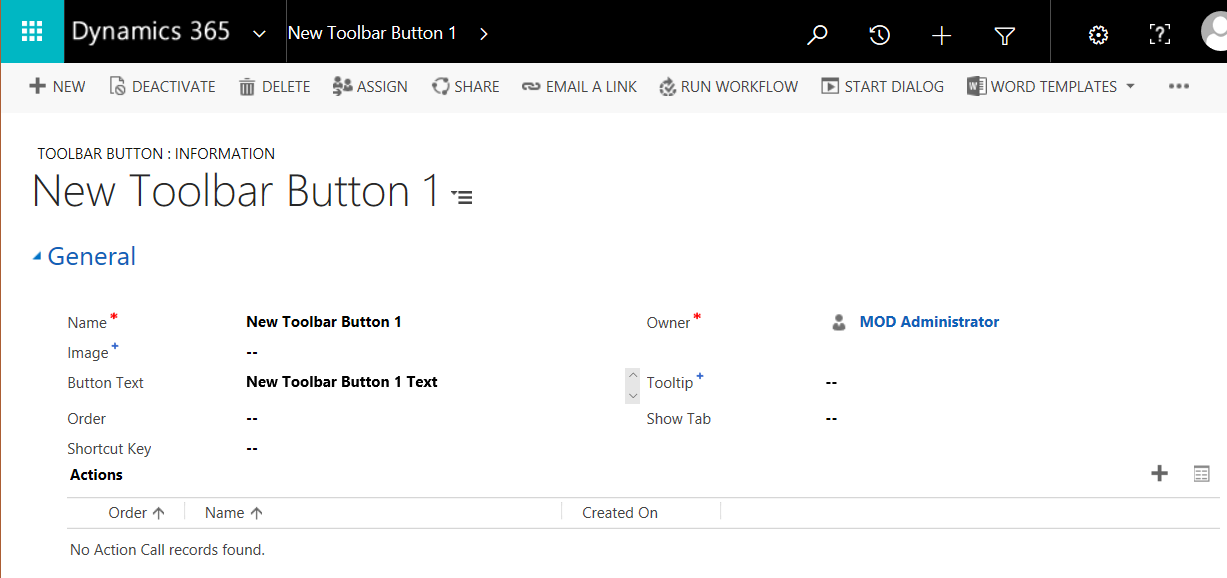
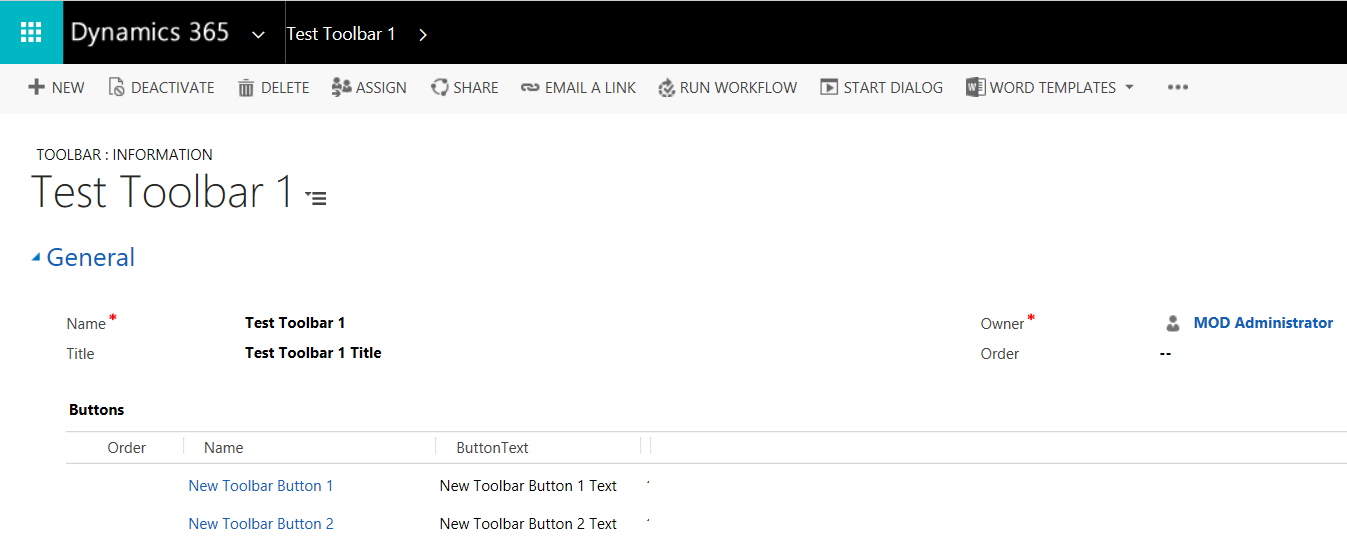
Your toolbar will look like this:
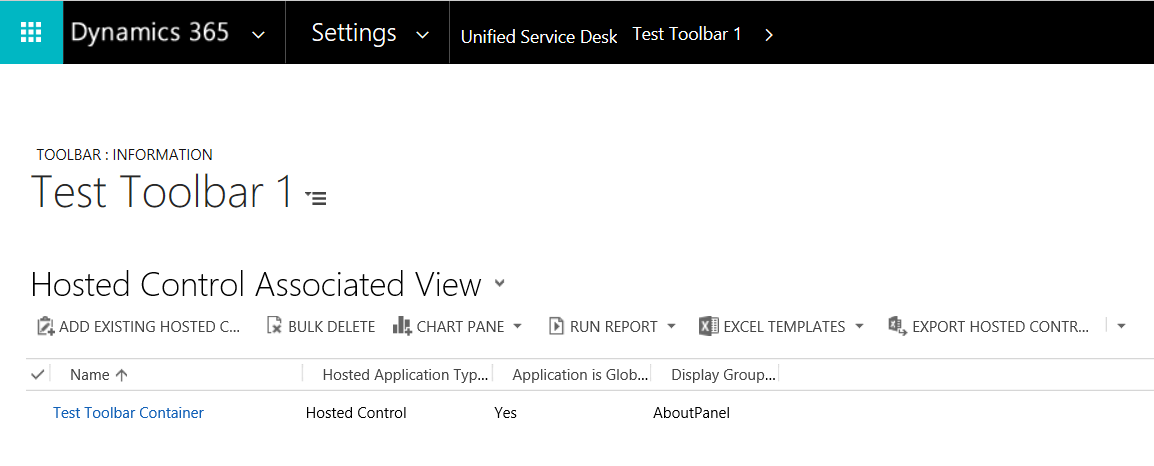
Now, select the drop down and Hosted Controls and add the Test Toolbar Container:
If we start USD, we can see the new buttons are appearing in the new toolbar:

Now, let’s add a submenu to the buttons. Open Toolbar Button 1 and select Toolbar Buttons:
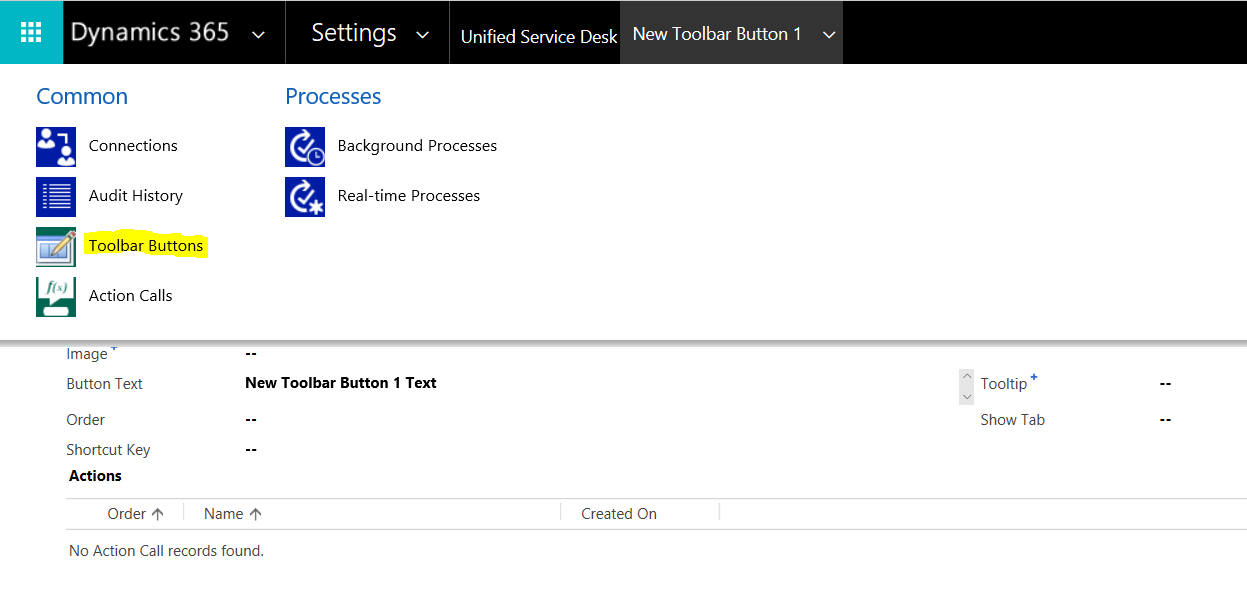

Add 2 new Toolbar Buttons:
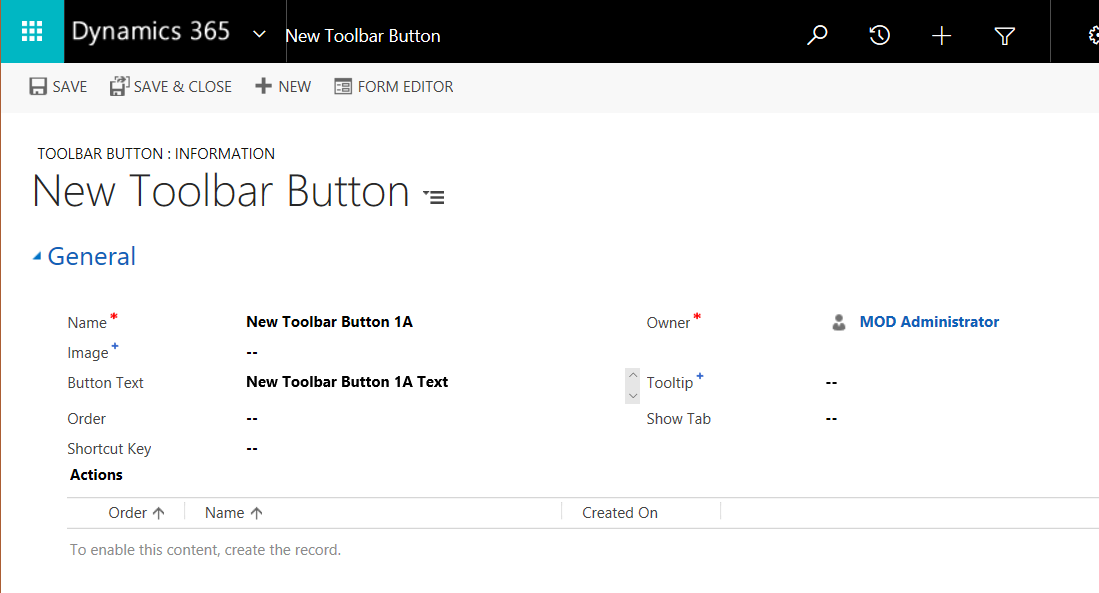

It should now look like this:
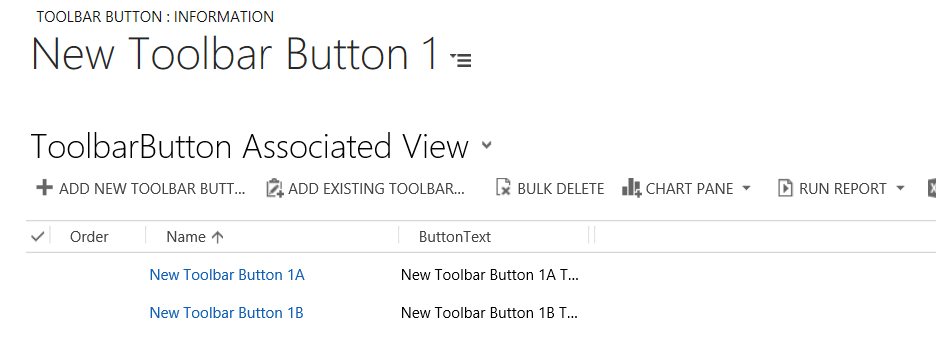
Now if we start USD, we have:

Now, let’s go to New Toolbar Button 1A. We will add another button the same way by select it’s Toolbar Buttons:
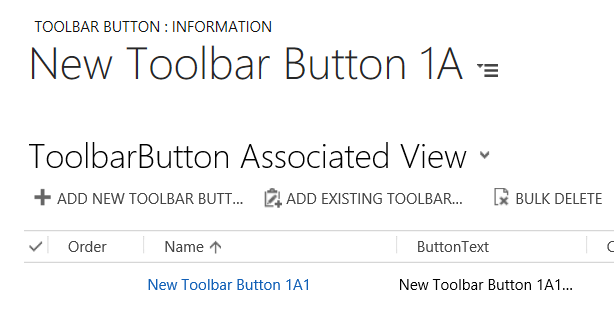
We now have:

Now let’s try moving the toolbar to the ToolbarPanel:
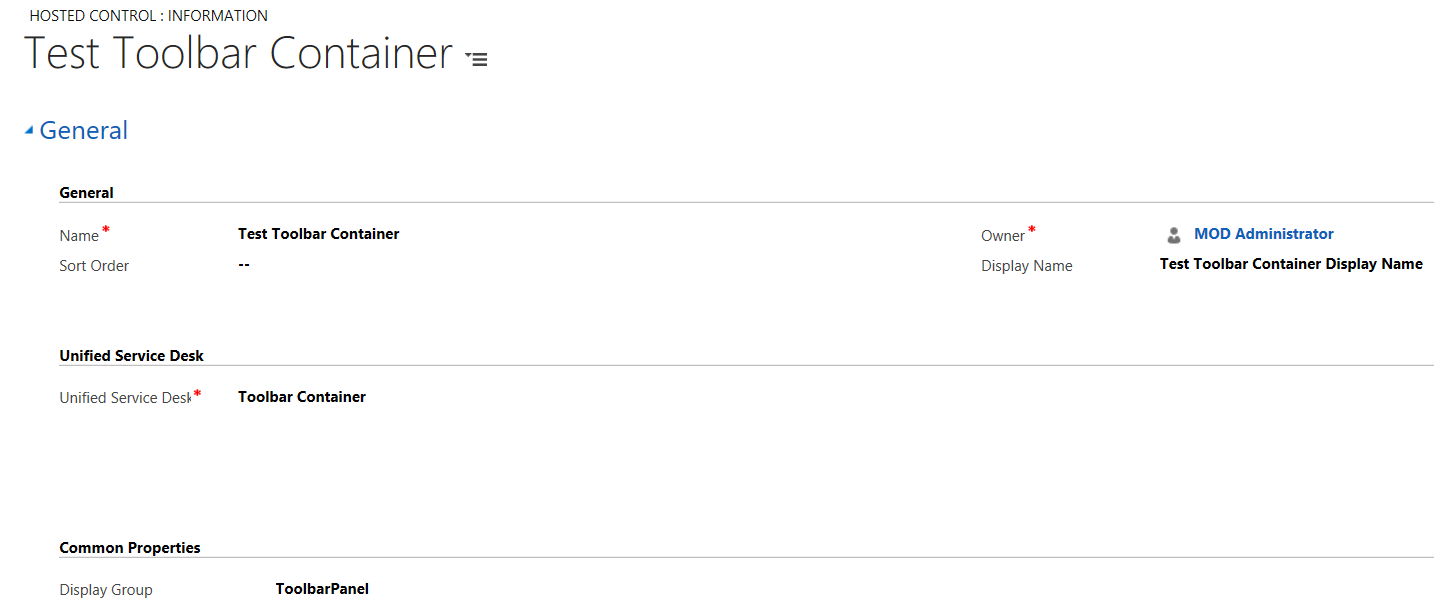
We can see the location of the toolbar move:

You can read more about the panel locations here.
I AM SPENDING MORE TIME THESE DAYS CREATING YOUTUBE VIDEOS TO HELP PEOPLE LEARN THE MICROSOFT POWER PLATFORM.
IF YOU WOULD LIKE TO SEE HOW I BUILD APPS, OR FIND SOMETHING USEFUL READING MY BLOG, I WOULD REALLY APPRECIATE YOU SUBSCRIBING TO MY YOUTUBE CHANNEL.
THANK YOU, AND LET'S KEEP LEARNING TOGETHER.
CARL


