In my previous post I discussed created custom hosted controls in USD. Now I will discuss creating custom actions for those controls.
When the USD custom code runs, it calls the DoAction procedure. Within the args passed is an Action property:

As can be seen from the sample code, we can check for which action is called from USD and write code accordingly:

The action needs to be set up in the USD configuration in CRM. Let’s go through an example.
Firstly, let’s create 2 UII Actions, one called “Action1” and one called “Action2”. These will be declared. The information is pretty minimal:
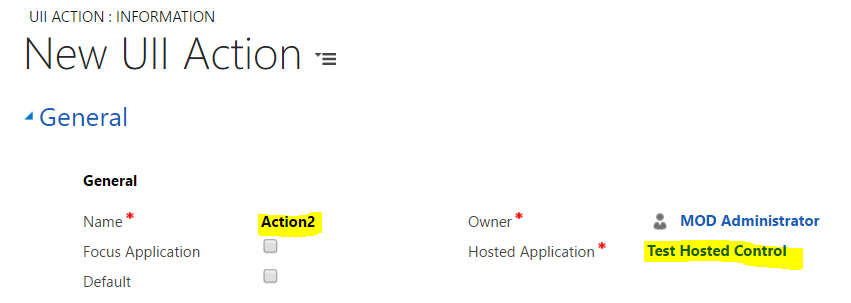
Restart the USD client and you will see these 2 new action calls:

The next step is to update to code to recognize these actions.
In Visual Studio, we will add code to check for which action is called:

Start USD client and run the action in the debugger:
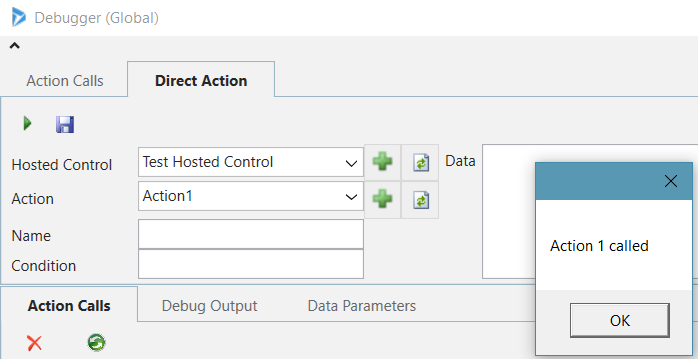
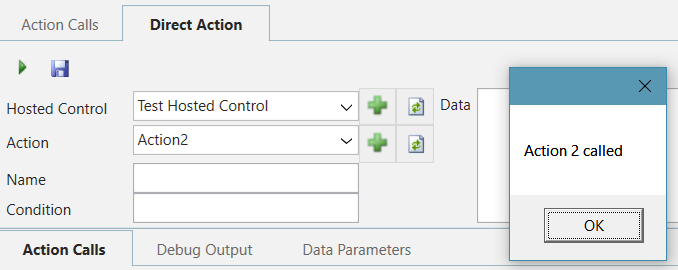
We can do the same thing with the Save action:

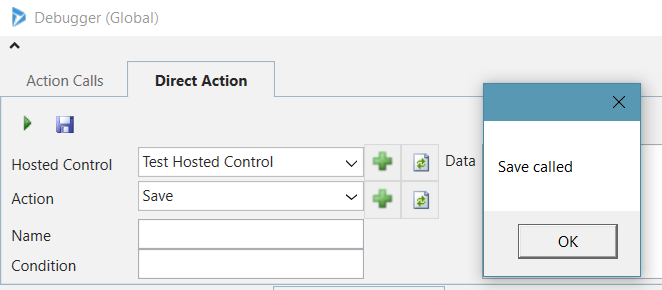
Now let’s go to the UI of the control and add some functionality. Open the control and drag across a button. We will label it Submit:

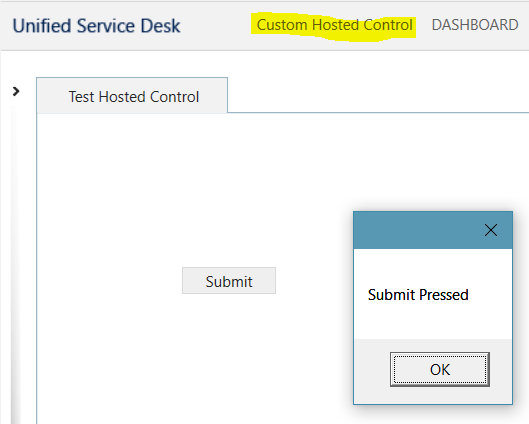
On pressing submit we will show a message box:

Now we will add the hosted control to a toolbar so we can open it. In USD configurations, under the Main toolbar, add a new toolbar button called Custom Hosted Control and add a new Action. The action will be Navigate (i.e. open the hosted control). There is no need for any Data parameters in this case:
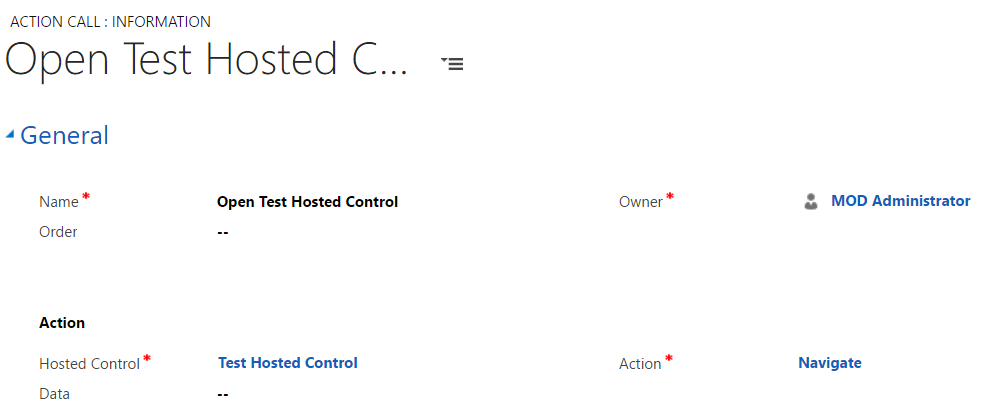
Assign the control:
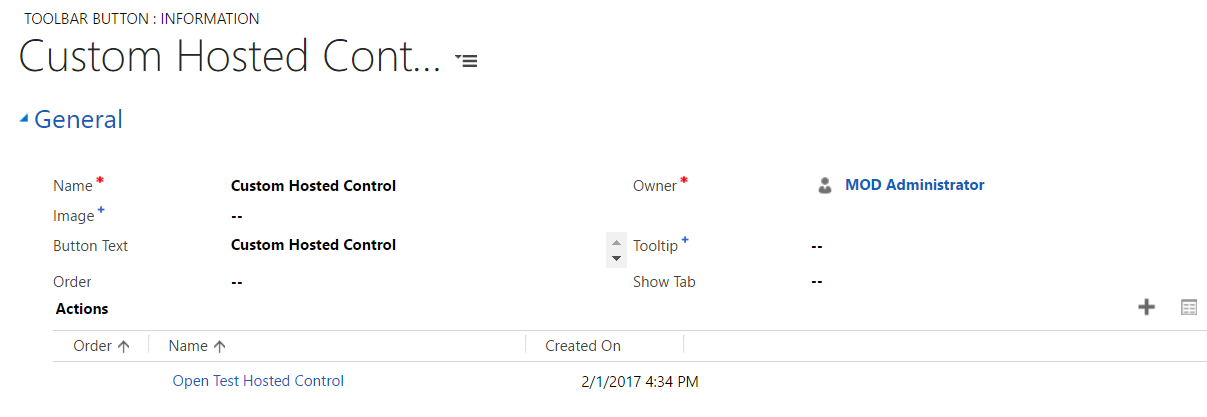
Restart USD client. You will now have a new menu option “Custom Hosted Control” which displays the XAML form. Clicking on Submit will show the Submit message:
I AM SPENDING MORE TIME THESE DAYS CREATING YOUTUBE VIDEOS TO HELP PEOPLE LEARN THE MICROSOFT POWER PLATFORM.
IF YOU WOULD LIKE TO SEE HOW I BUILD APPS, OR FIND SOMETHING USEFUL READING MY BLOG, I WOULD REALLY APPRECIATE YOU SUBSCRIBING TO MY YOUTUBE CHANNEL.
THANK YOU, AND LET'S KEEP LEARNING TOGETHER.
CARL


