Server Side Sync is a way to synchronize email and other supported entities between an email server and Dynamics 365. Here we will go through setting up server side sync.
To set up Server Side Sync, go to Settings->Email Configuration:

Select Email Server Profiles:

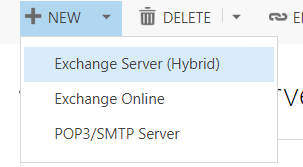
Here you will see email server profiles. Select New to create a new profile. You can enter select:
- Exchange Server (Hybrid)
- Exchange Online
- POP3/SMTP Server
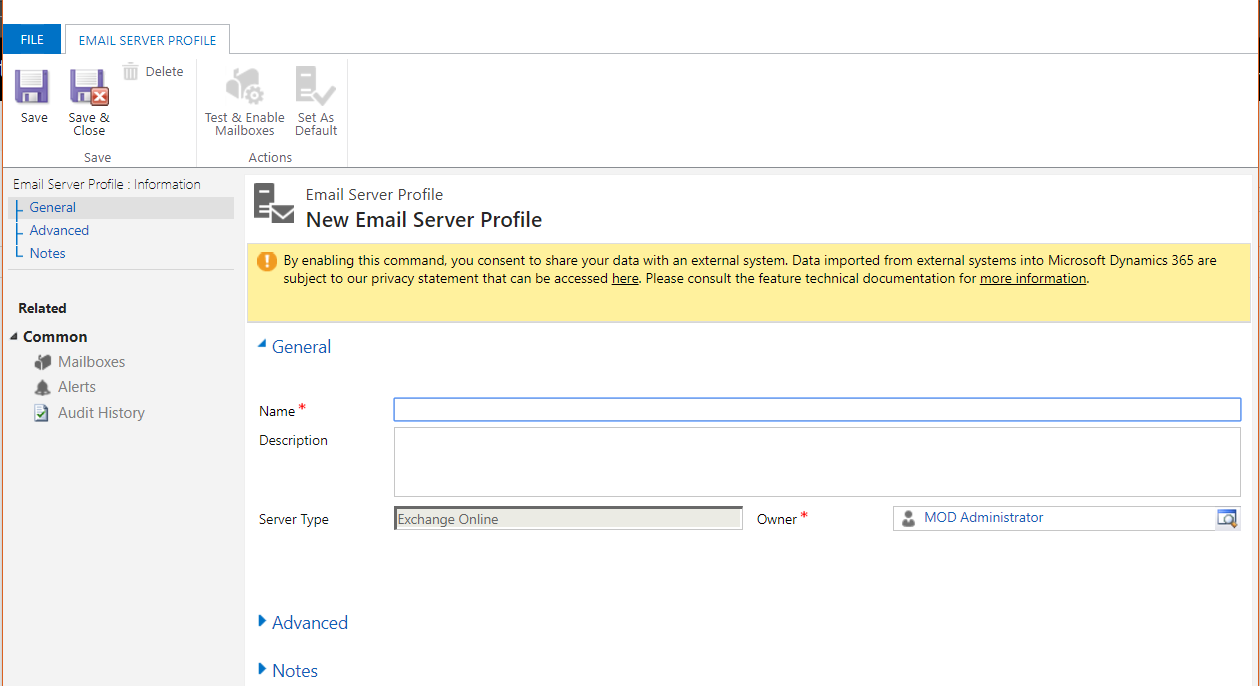
Selecting Exchange Online gives you the options:
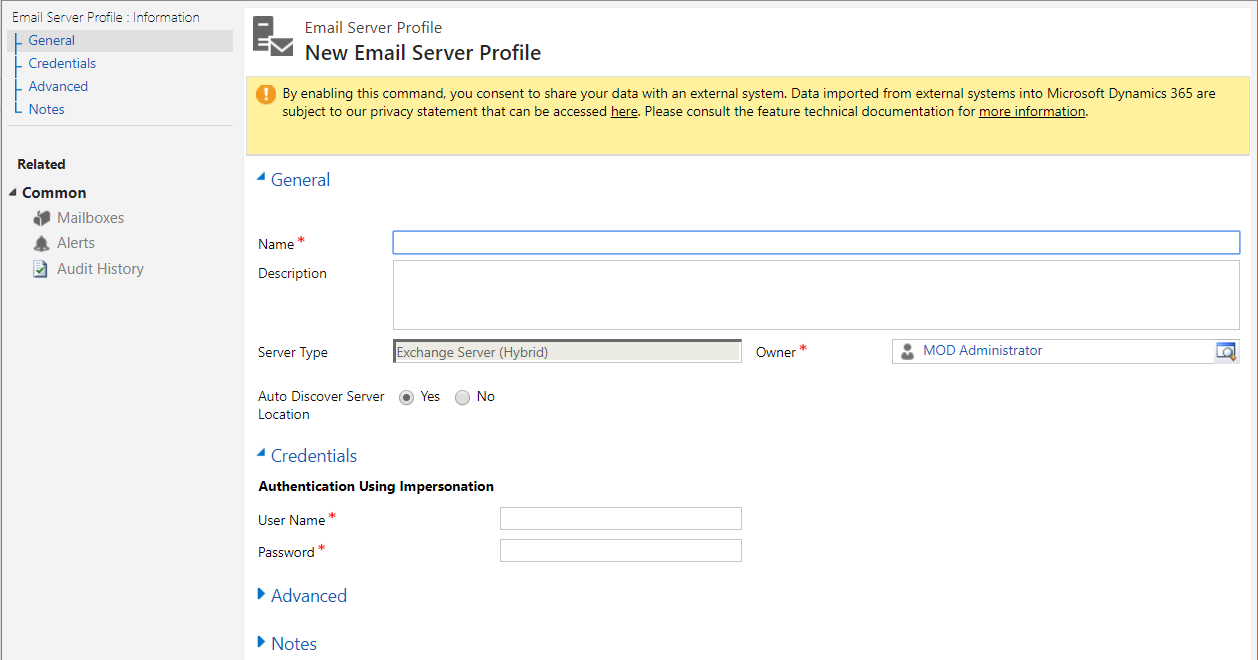
Exchange Hybrid:
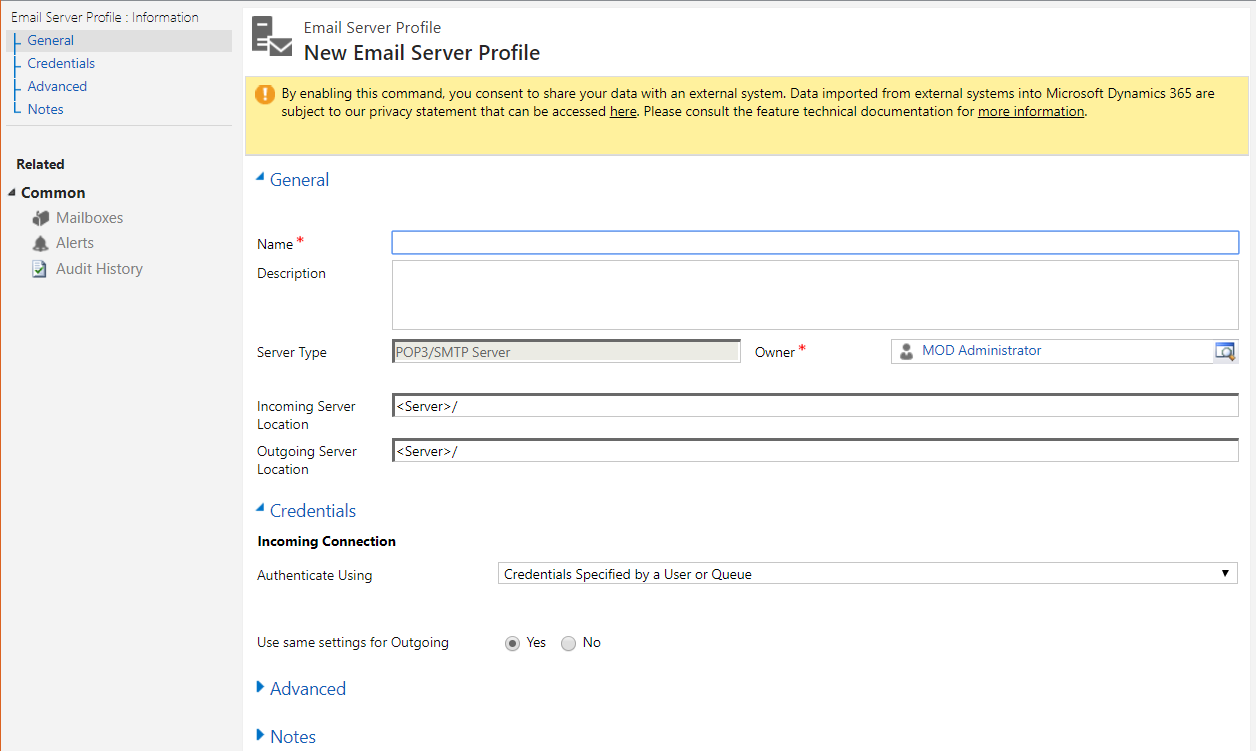
POP3/SMTP Server:
Enter one for Exchange Online. If you have an online subscription, it should already be listed:

Now go to Email Configuration Settings:

This will open the system settings to the Email tab. Select the profile created, and then the Incoming and Outgoing Email as “Server-Side Synchronization or Email Router”. Select Appointments, Contacts and Tasks as “Server-Side Synchronization”:
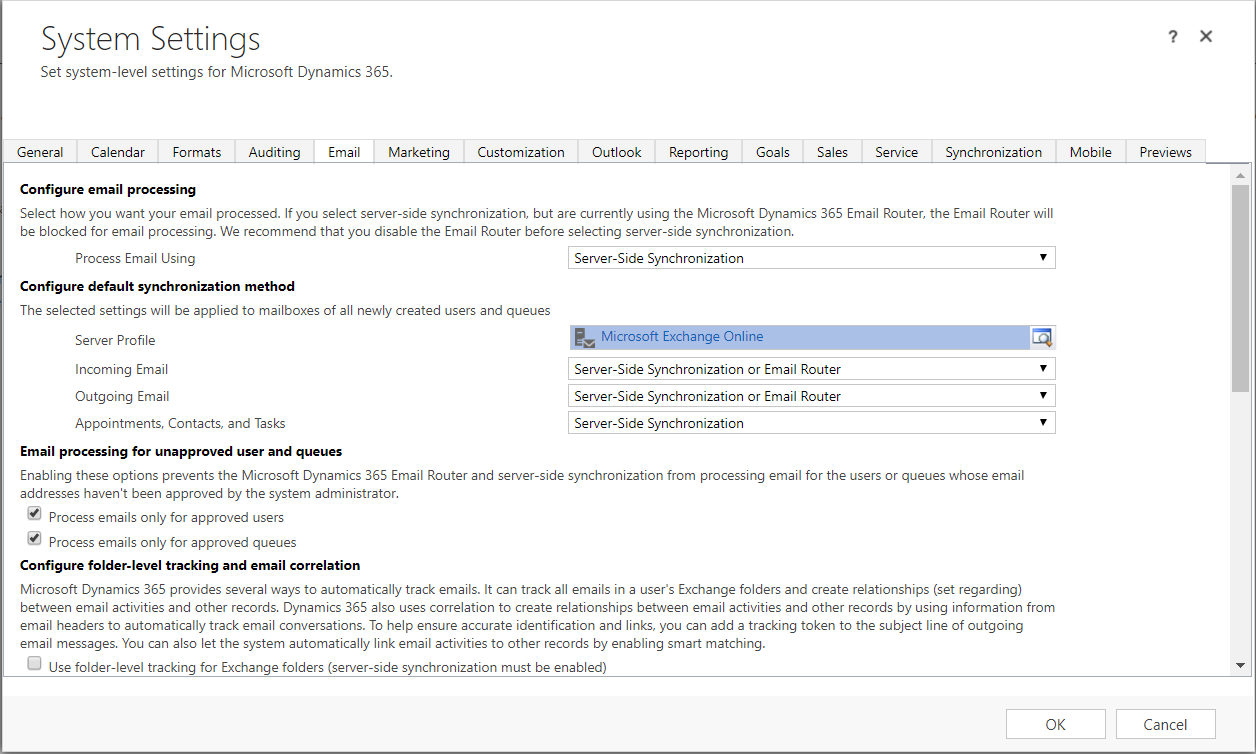
Note the options:


Next, we can configure individual mailboxes. Select Mailboxes:

Here we can see the mailboxes and how they are configured:

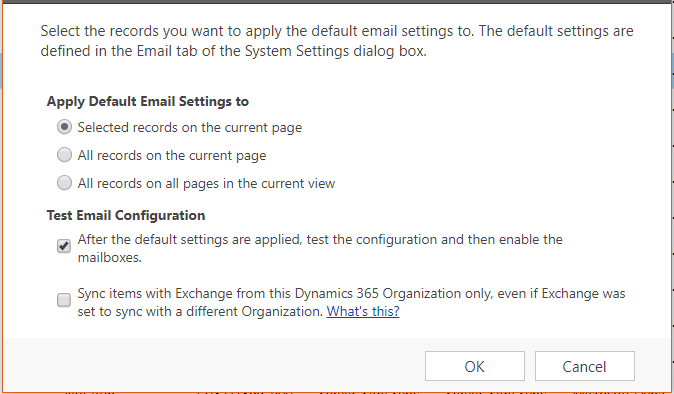
Select any mailbox you want to apply the default settings to and click Apply Default Email Settings:

Click the settings you would like to apply and OK:
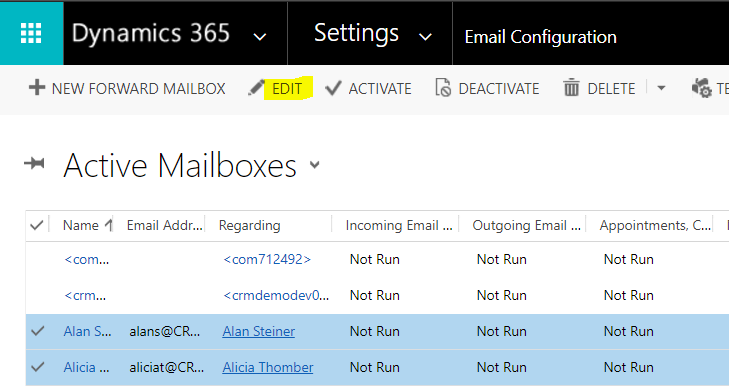
Select the multiple records to test and press Edit:
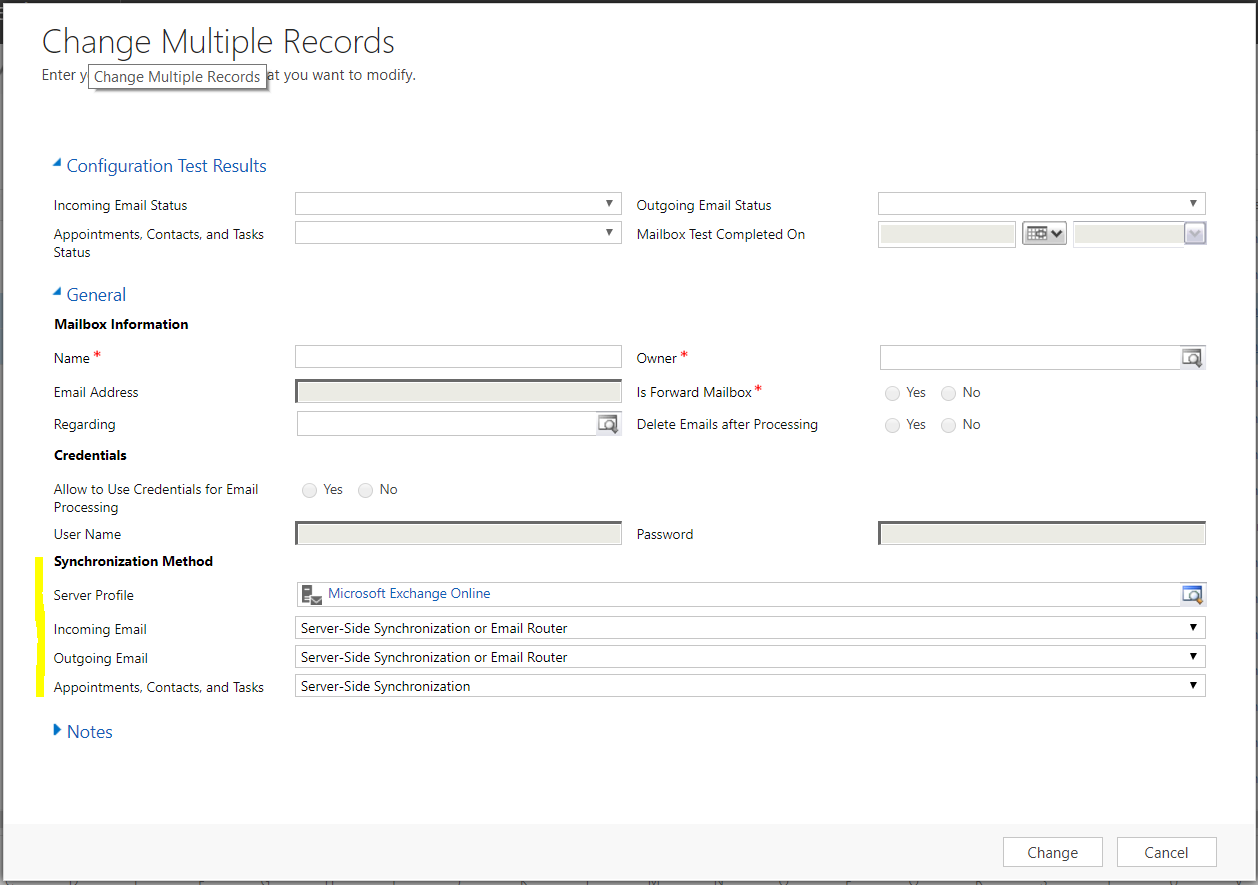
Set the options to the same as the system settings:
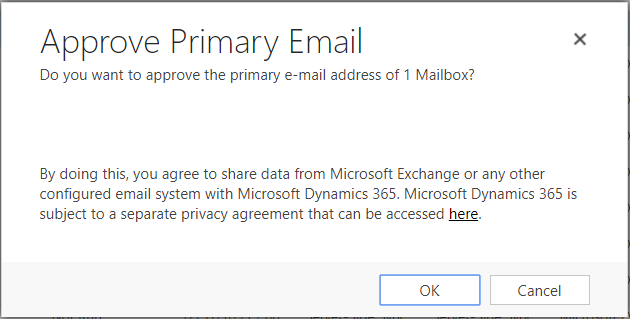
Now, select an email user and select Approve Email:

You will see the message appearing on the window. Click OK:
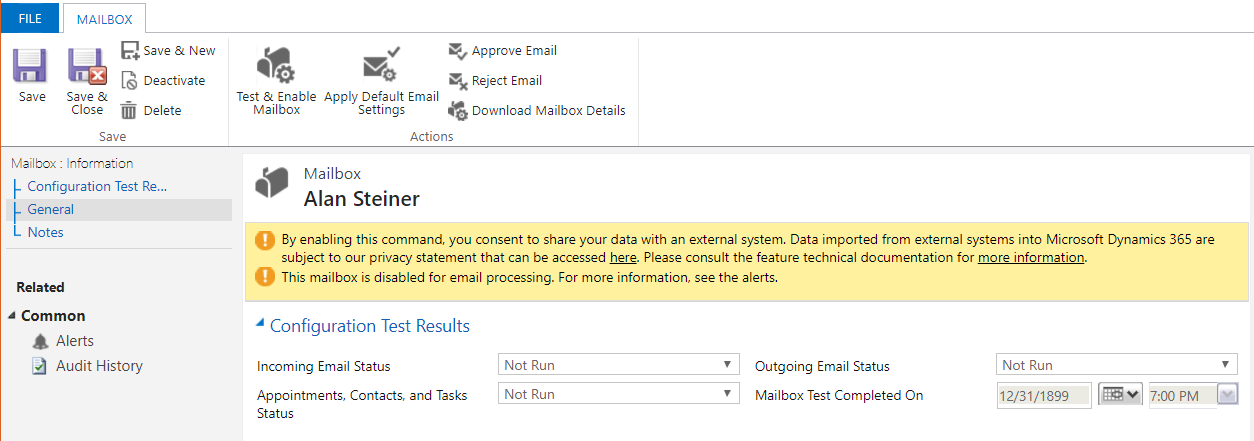
You can now test and enable the mailboxes. Open a user mailbox above and select Test and Enable Mailbox:
You will see the message:
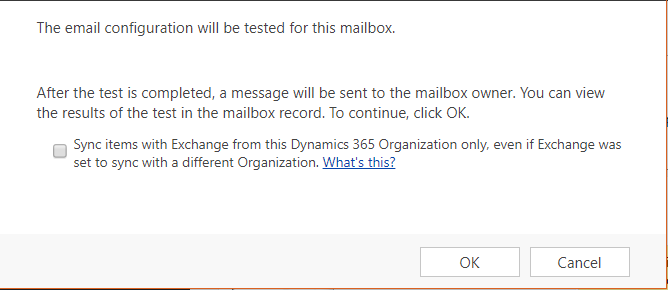
Note the checkbox displayed. You can read more information on this here.
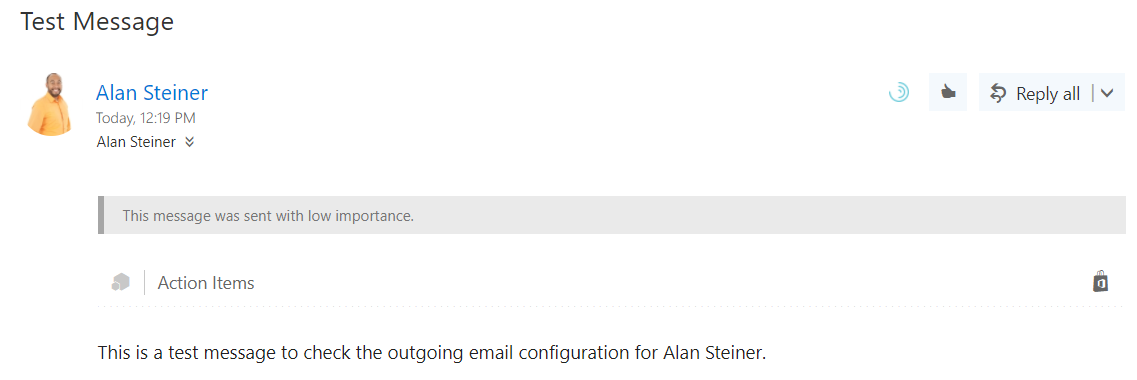
You will see the email test is scheduled:

Logging into Outlook, we can see the email test has been sent:
I AM SPENDING MORE TIME THESE DAYS CREATING YOUTUBE VIDEOS TO HELP PEOPLE LEARN THE MICROSOFT POWER PLATFORM.
IF YOU WOULD LIKE TO SEE HOW I BUILD APPS, OR FIND SOMETHING USEFUL READING MY BLOG, I WOULD REALLY APPRECIATE YOU SUBSCRIBING TO MY YOUTUBE CHANNEL.
THANK YOU, AND LET'S KEEP LEARNING TOGETHER.
CARL


