In Dynamics 365 there are 3 types of views – system, personal and public. Here we will go through each of these.
System views are automatically created when you create a new custom entity, and exist on system entities.
Let’s create a new system view for the Accounts entity:
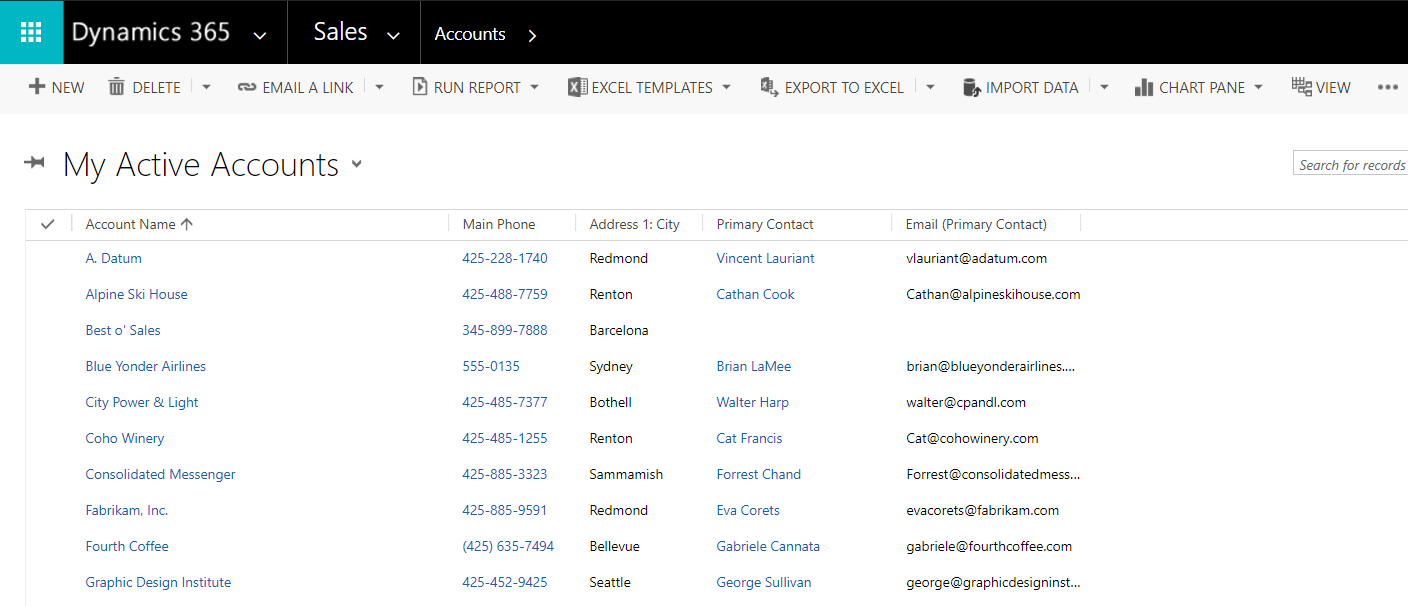
From the top right, select the elipse and New System View:

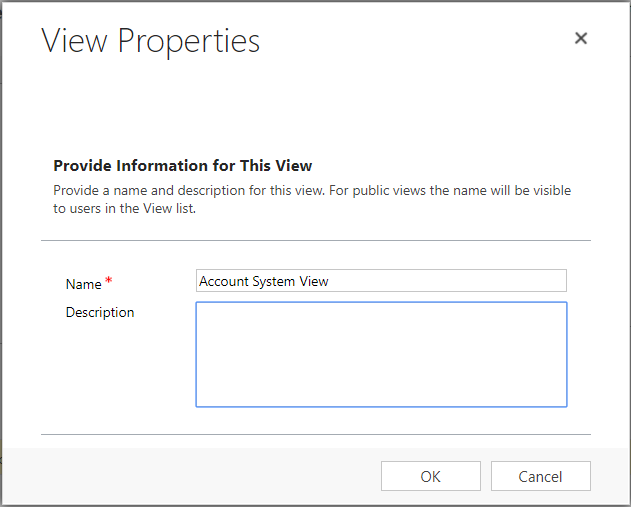
Give it a name. We will call it Account System View:
You now have the option to add fields and filters as you normally do with views.
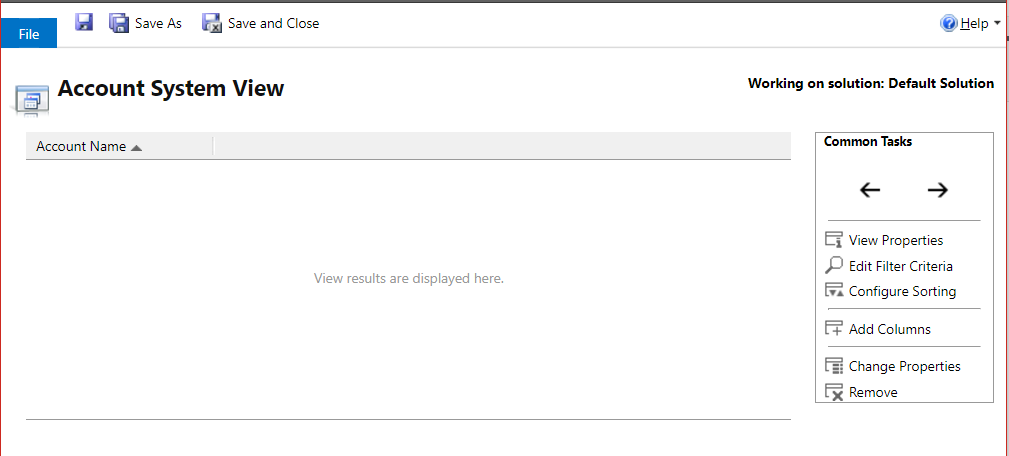
We will keep as it is and Save.
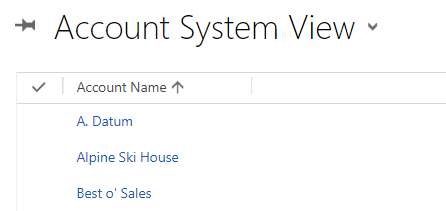
To access system views, use the drop down of the view selector. You will see Account System View is now a new view:
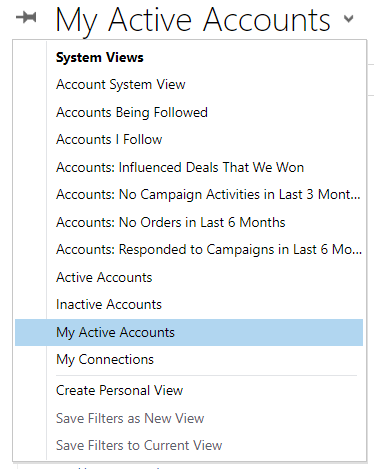
Selecting it will display the view.
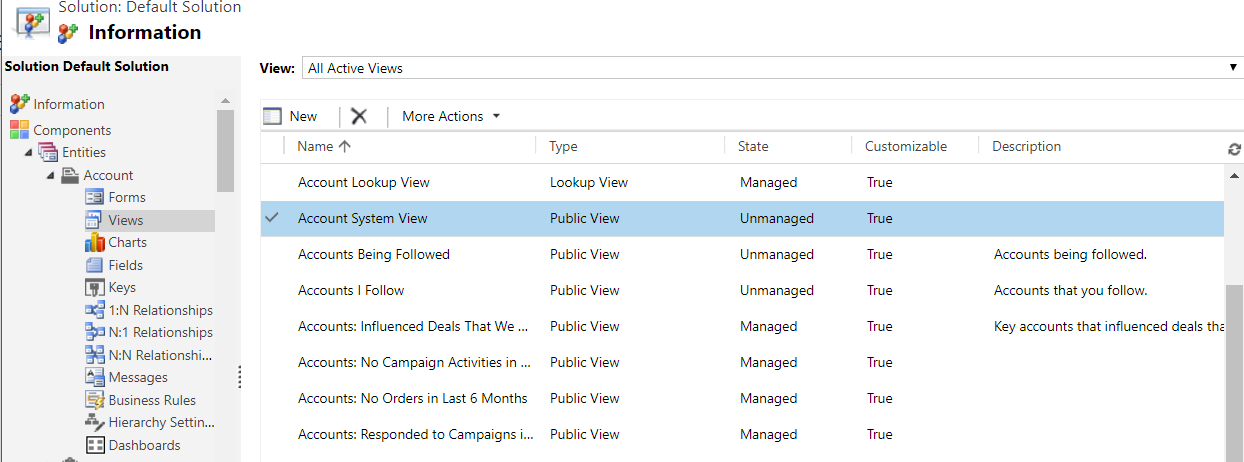
If you customize the entity, you can now see the new view under Views:
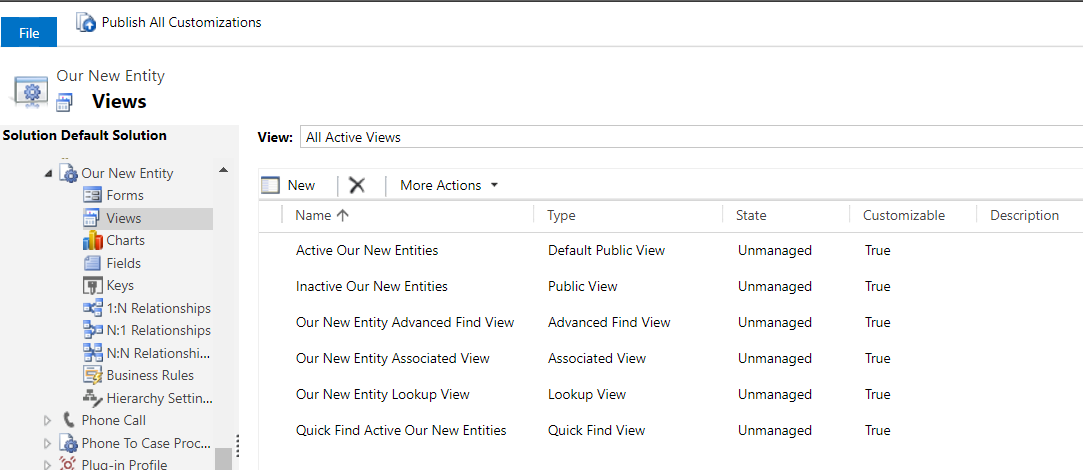
If we create a new entity called “Our New Entity”, we can see the following views are automatically created:
- Active
- Inactive
- Advanced Find View
- Associated View
- Lookup View
- Quick Find
Note the different types of these views, including Public View.
We can see each of these views below for the Accounts entity.
Active:

Inactive:

Advanced Find View:


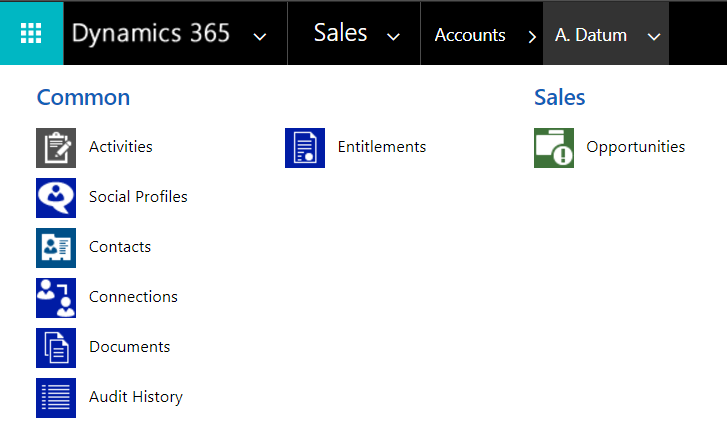
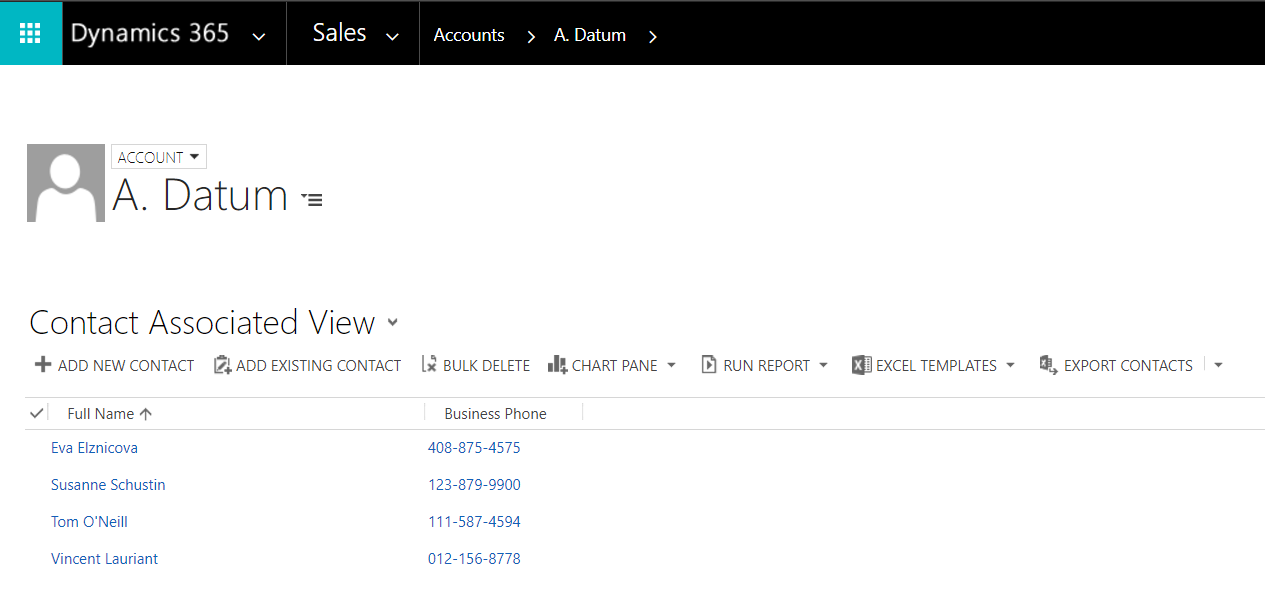
Associated View:
Using the drop down of the record.
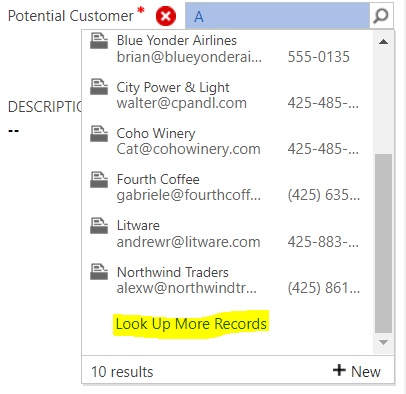
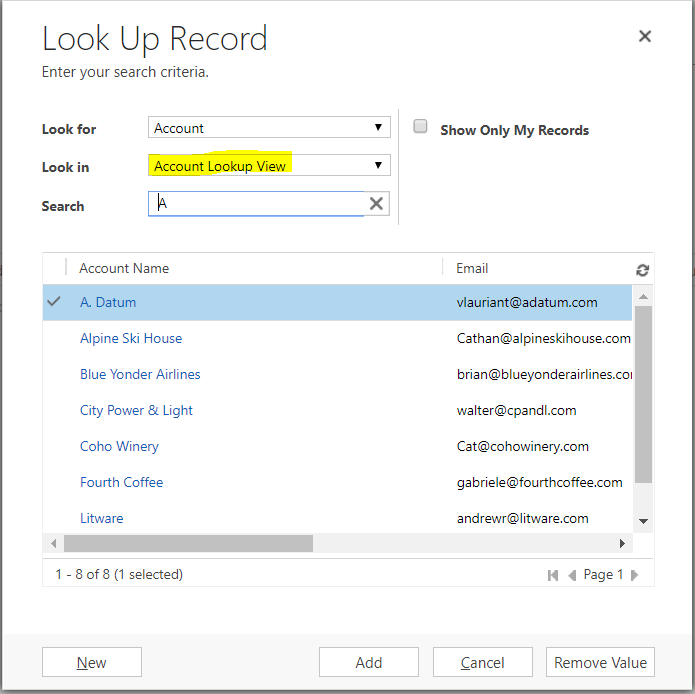
Lookup View:
Quick Find:


Note if you make changes to System Views, you will need to Save and Publish.
To create a Personal View, go to:
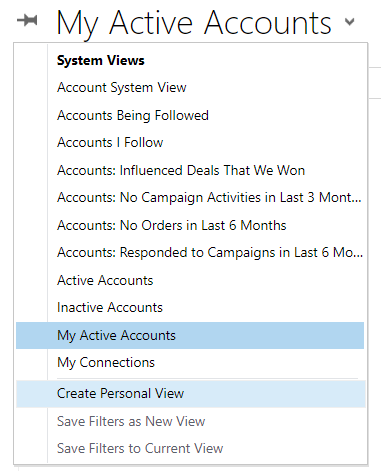
This will open Advanced Find:

From here, as with other views, you can add columns:
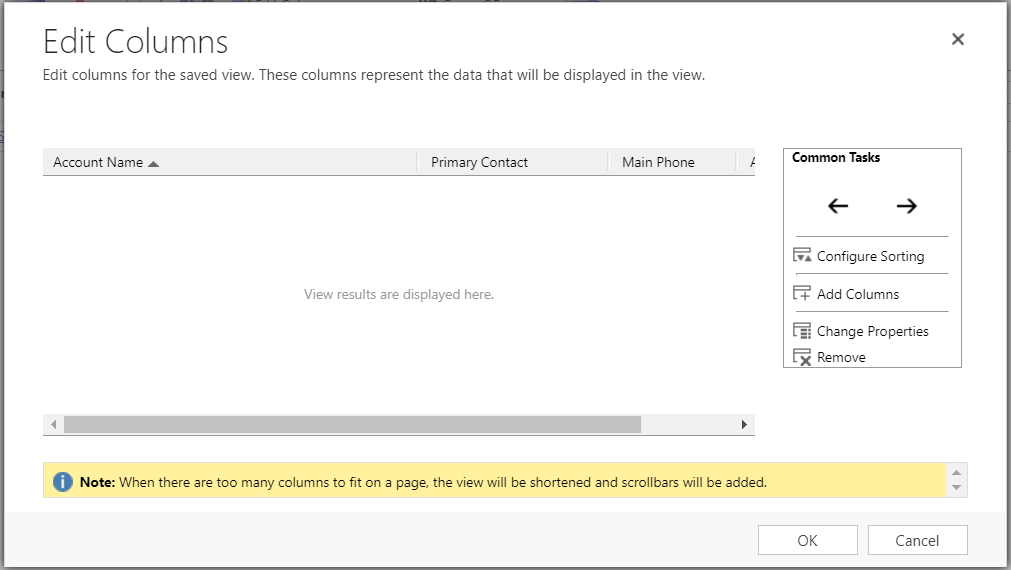
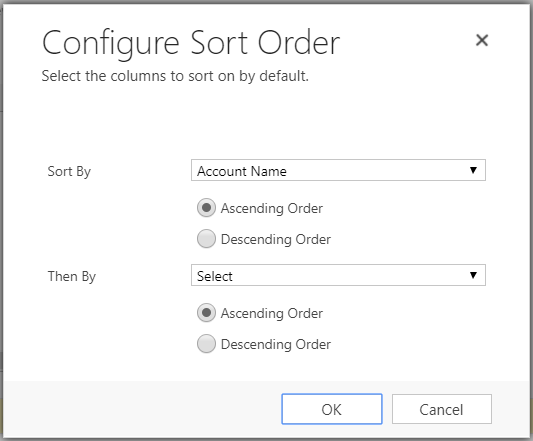
And configure sorting of the chosen fields:
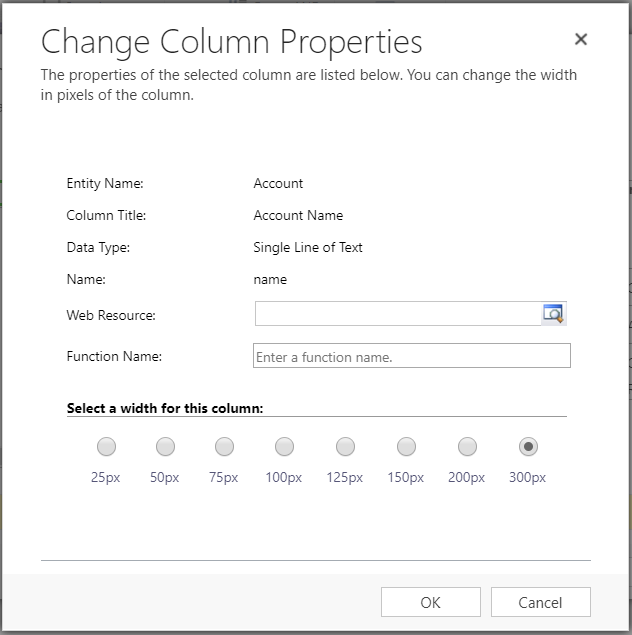
You can also change the properties of a selected column:
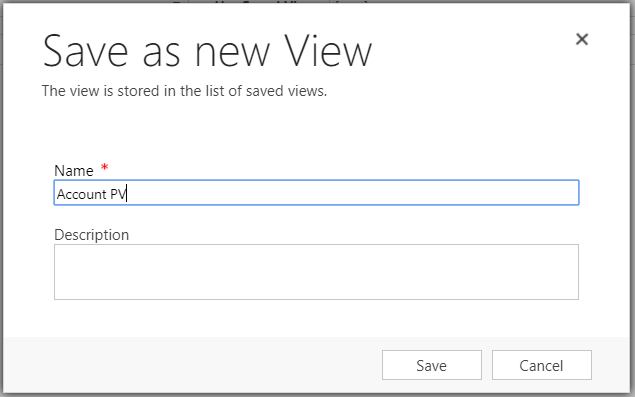
Save the view:
And you will now see it in your Views list:
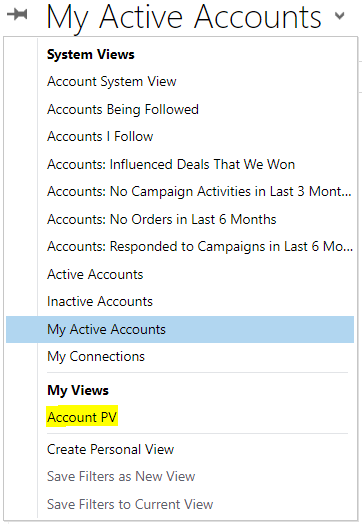
To download a saved personal view, go to Saved Views:
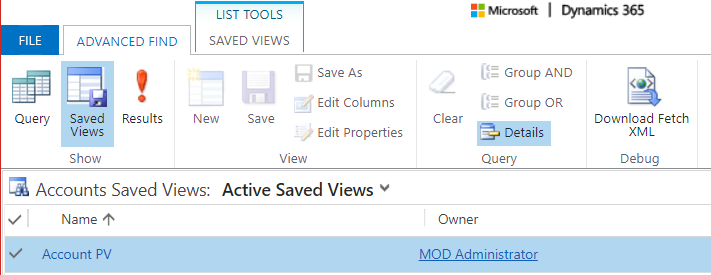
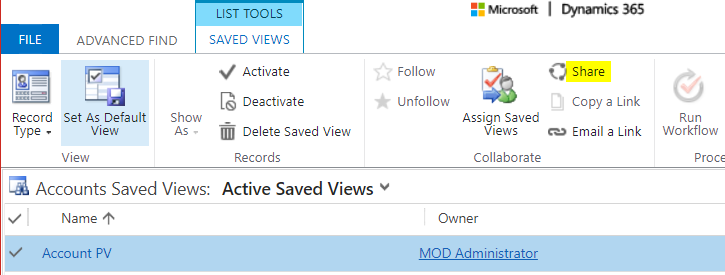
Click Saved Views tab and Share:
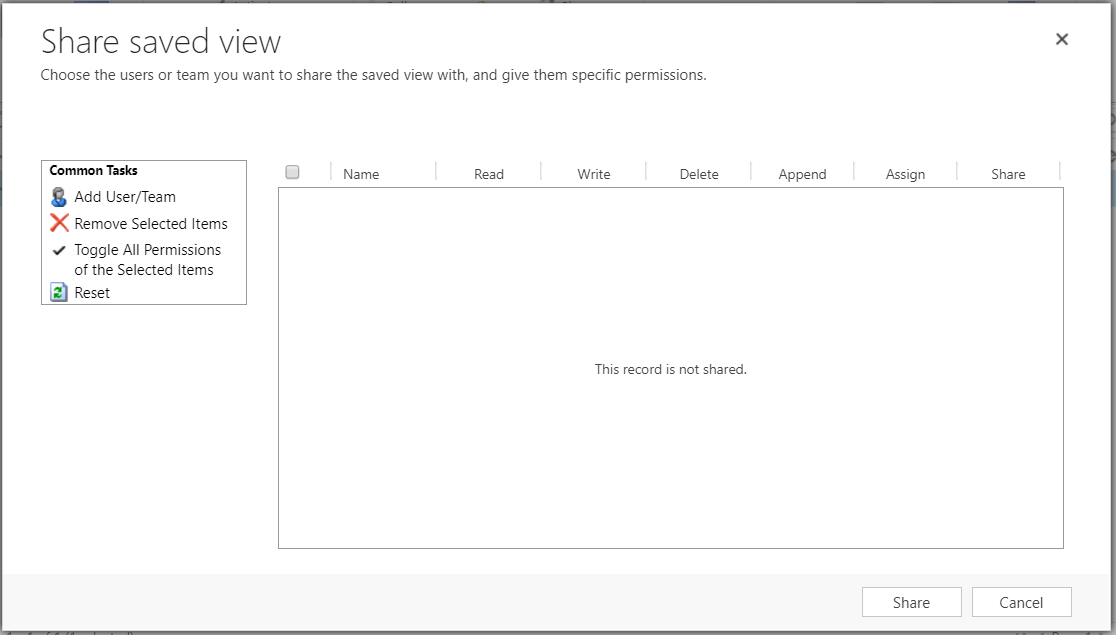
From here you can share with users and teams and assign permissions:
I AM SPENDING MORE TIME THESE DAYS CREATING YOUTUBE VIDEOS TO HELP PEOPLE LEARN THE MICROSOFT POWER PLATFORM.
IF YOU WOULD LIKE TO SEE HOW I BUILD APPS, OR FIND SOMETHING USEFUL READING MY BLOG, I WOULD REALLY APPRECIATE YOU SUBSCRIBING TO MY YOUTUBE CHANNEL.
THANK YOU, AND LET'S KEEP LEARNING TOGETHER.
CARL


