Microsoft CRM now has the ability to embed Power BI tiles. This means, Microsoft CRM users are able to view Power BI report charts directly from within Microsoft CRM, without having to leave the application.
To do this, perform the following steps.
- Firstly, enable Power BI in Microsoft CRM. To do this, go to Settings->Administration->System Settings and go to the Reporting tab:
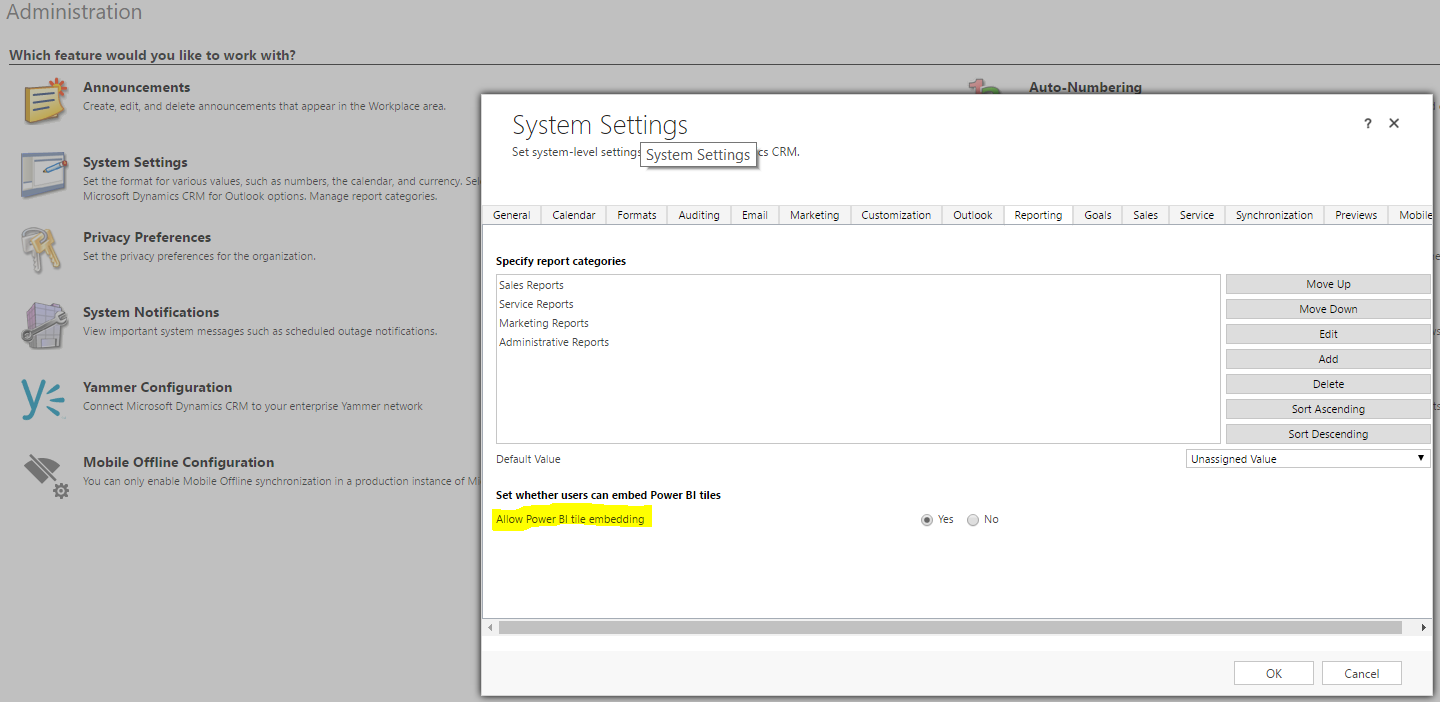
- Set “Allow Power BI tile embedding to “Yes”
- Create a new Dynamics CRM dashboard. Note – this feature is only available for Dynamics CRM personal dashboards, not system dashboards (at the time of writing). This will hopefully change in the near future. To create a dashboard, go to the area in Dynamics CRM you would like the dashboard to appear, e.g. Sales->Dashboards. Select “New”:

- Select the dashboard type and click “Create”:
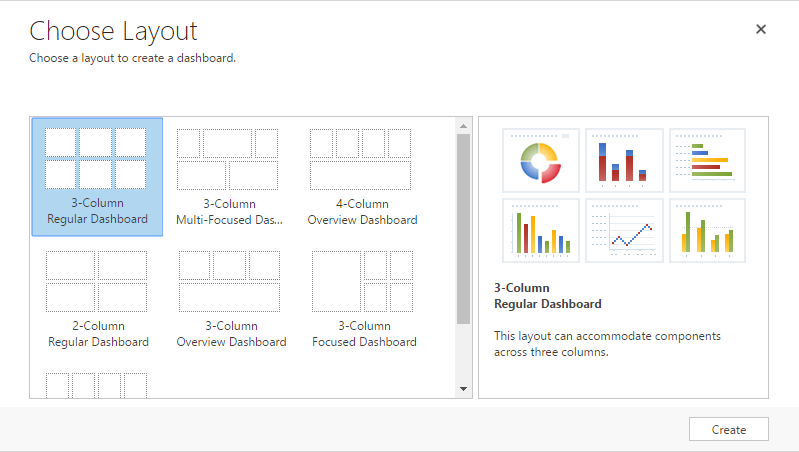
- You will see there is an option now to add a Power BI tile to a dashboard:

- Click on the Power BI icon. A pop-up will appear with the option to select your Power BI Dashboards and Tiles within the dashboards. Select one of each and click OK:
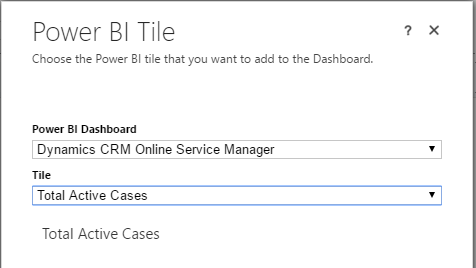
- The Power BI tile will now be displayed in the CRM dashboard:
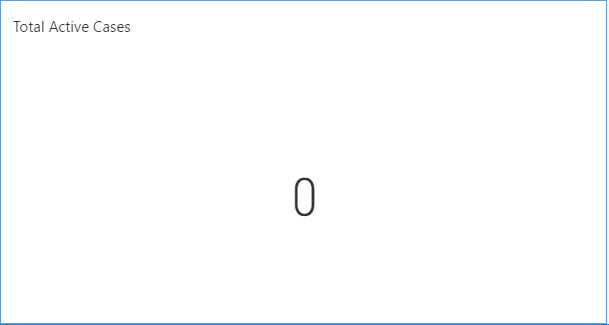
- Name and save the dashboard in CRM. You will now see your Power BI tile on the dashboard. You will now have the option to share the dashboad with other users:

- Select the users to share with. Ensure these same users have access to the dashboard in Power BI. To do this, go to the Power BI dashboard and click “Share”:
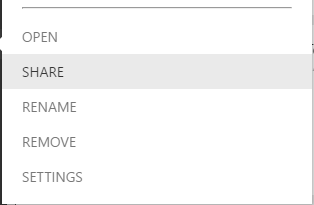
- Enter the users you would like to share the dashboard with:
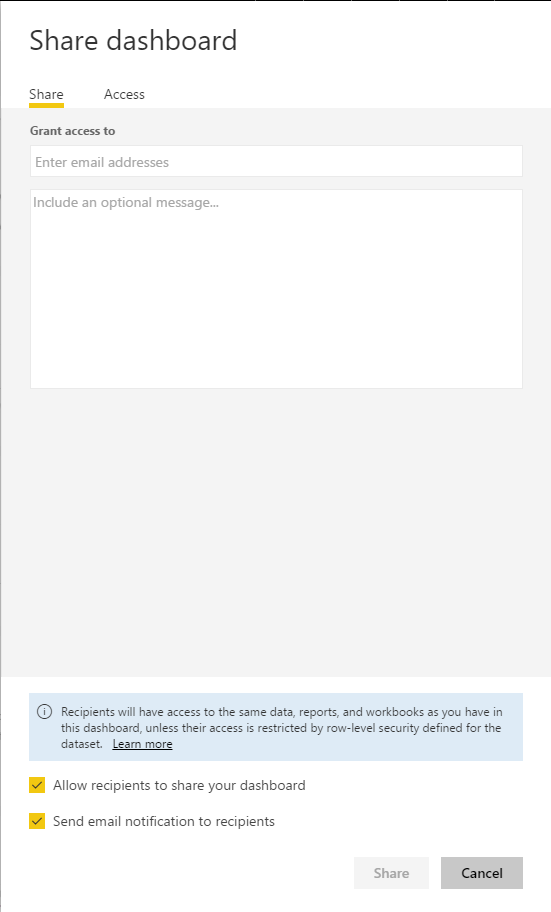
Once complete, users will be able to view the Power BI data in Microsoft CRM using the new Tiles functionality.
THANKS FOR READING. BEFORE YOU LEAVE, I NEED YOUR HELP.
I AM SPENDING MORE TIME THESE DAYS CREATING YOUTUBE VIDEOS TO HELP PEOPLE LEARN THE MICROSOFT POWER PLATFORM.
IF YOU WOULD LIKE TO SEE HOW I BUILD APPS, OR FIND SOMETHING USEFUL READING MY BLOG, I WOULD REALLY APPRECIATE YOU SUBSCRIBING TO MY YOUTUBE CHANNEL.
THANK YOU, AND LET'S KEEP LEARNING TOGETHER.
CARL


