In a previous post we looked at creating Gen Pages using VS Code. In this post, we will look at how to do this using the Copilot CLI.
First, install and configure the Copilot CLI.
Once complete, run copilot to start the CLI and log into GitHub with login:
copilot


To use gen pages, we’re going to run the command:
/genpage

Our AI comes back with:

And we’re now prompted to create a new page or edit an existing one:

My prompt:
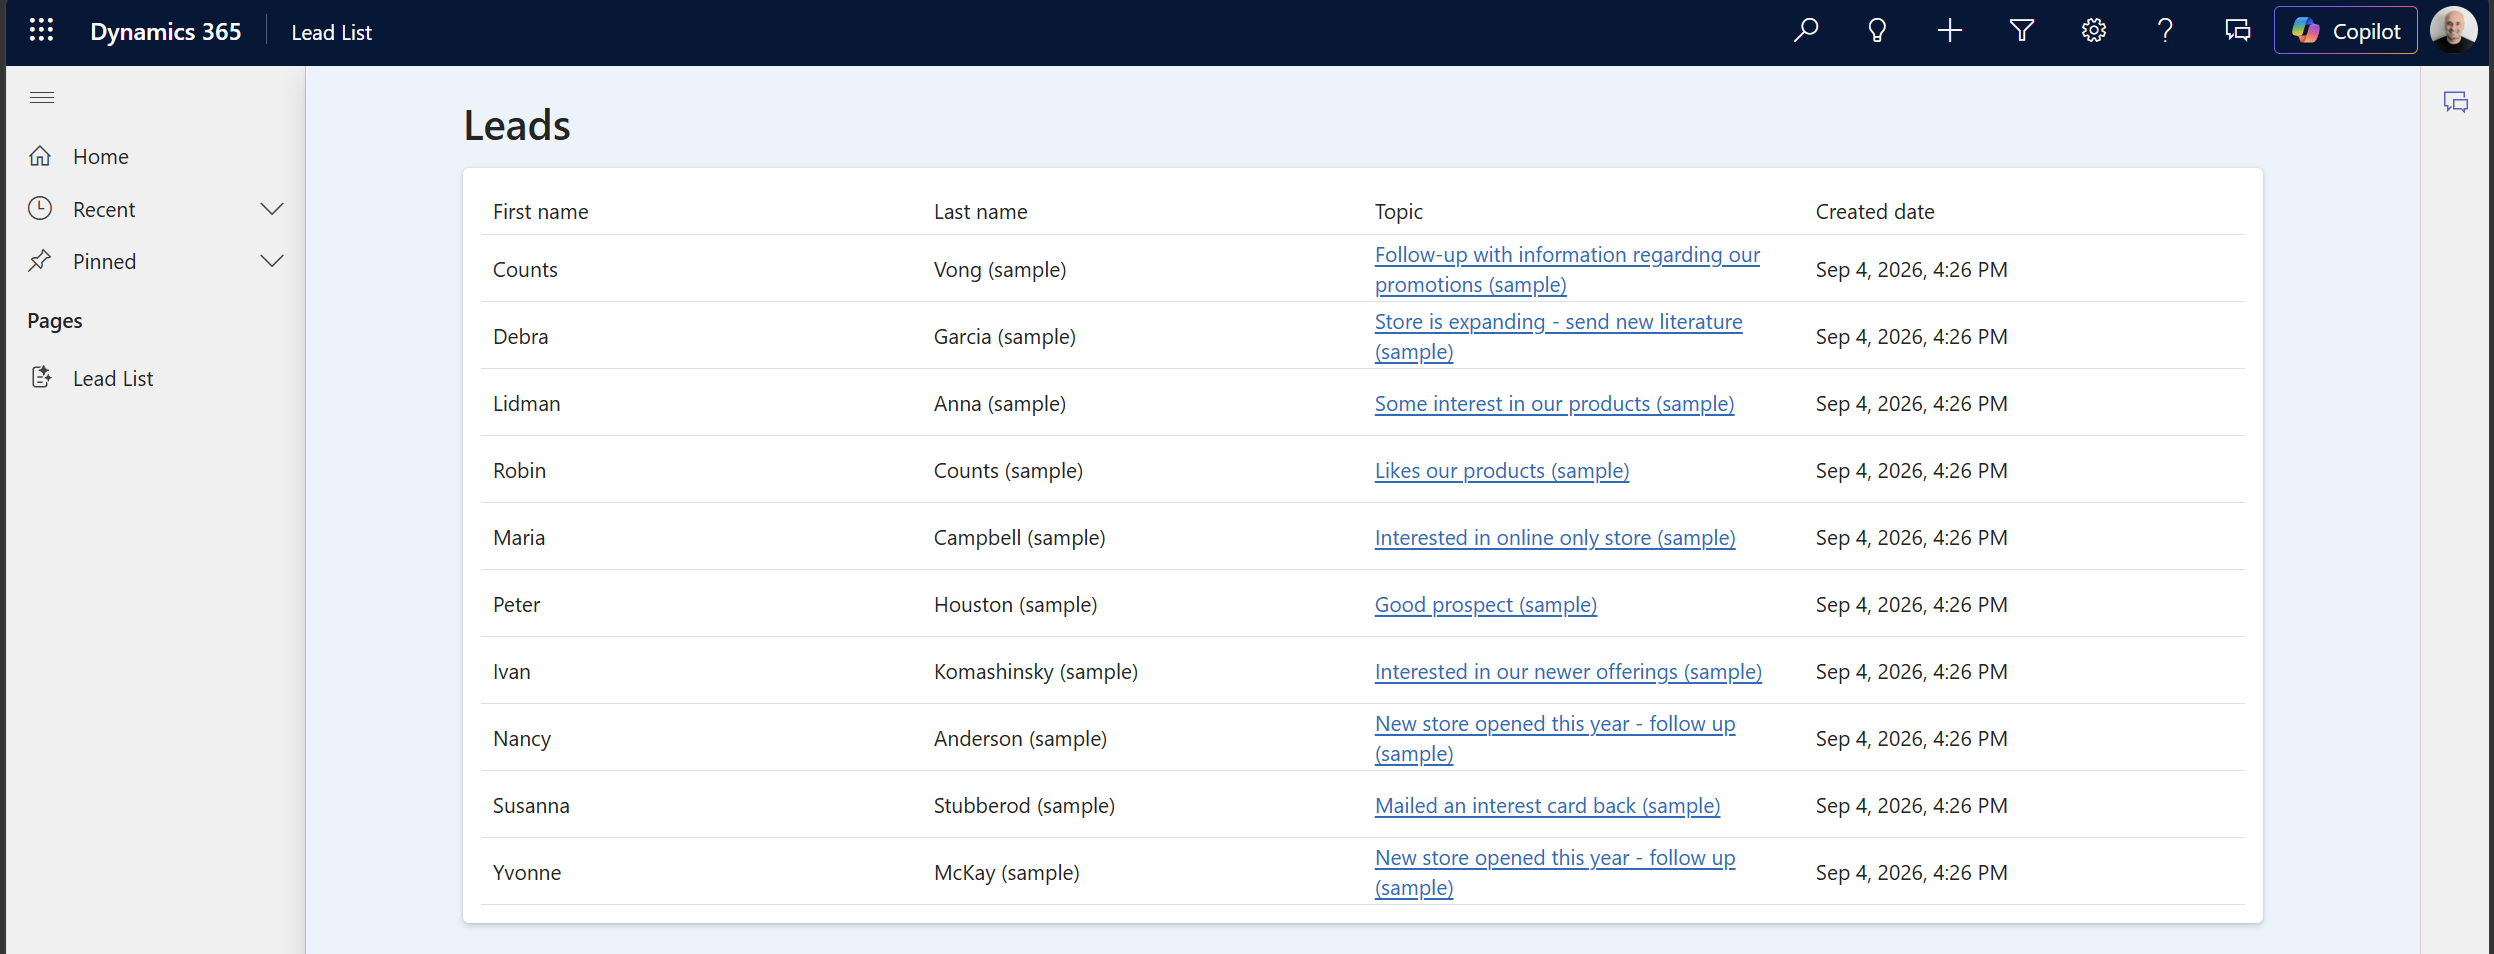
List all leads in the system. Make the background of the list light blue. The lead fields to display should be: First Name, Last Name, Topic, Created Date. Sort by
Created Date.

We can see here the page was deployed successfully, and it is now prompting us to verify in a browser using Playwright:

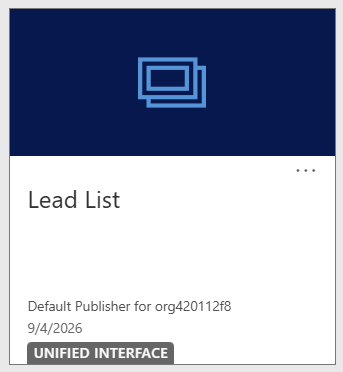
Once complete, we see a new app has been created:
And a page has been created to our specifications:
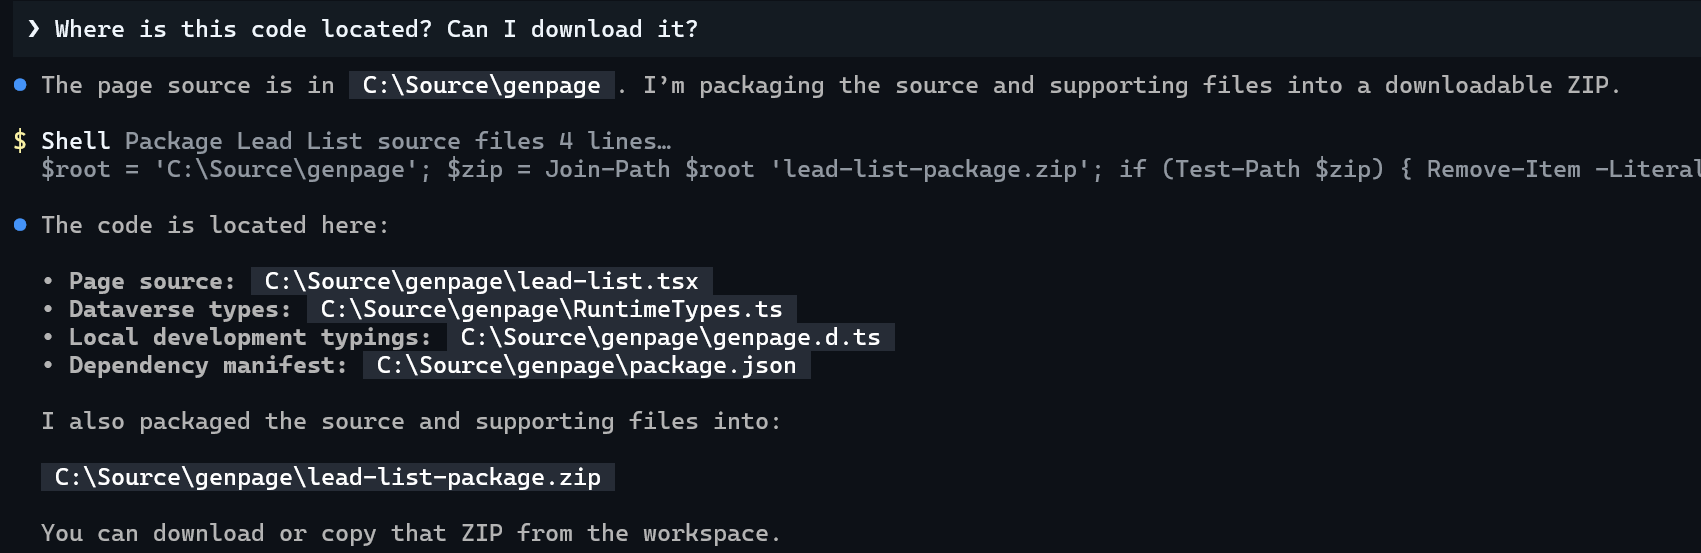
We can see the code is located in genpage folder that was created:
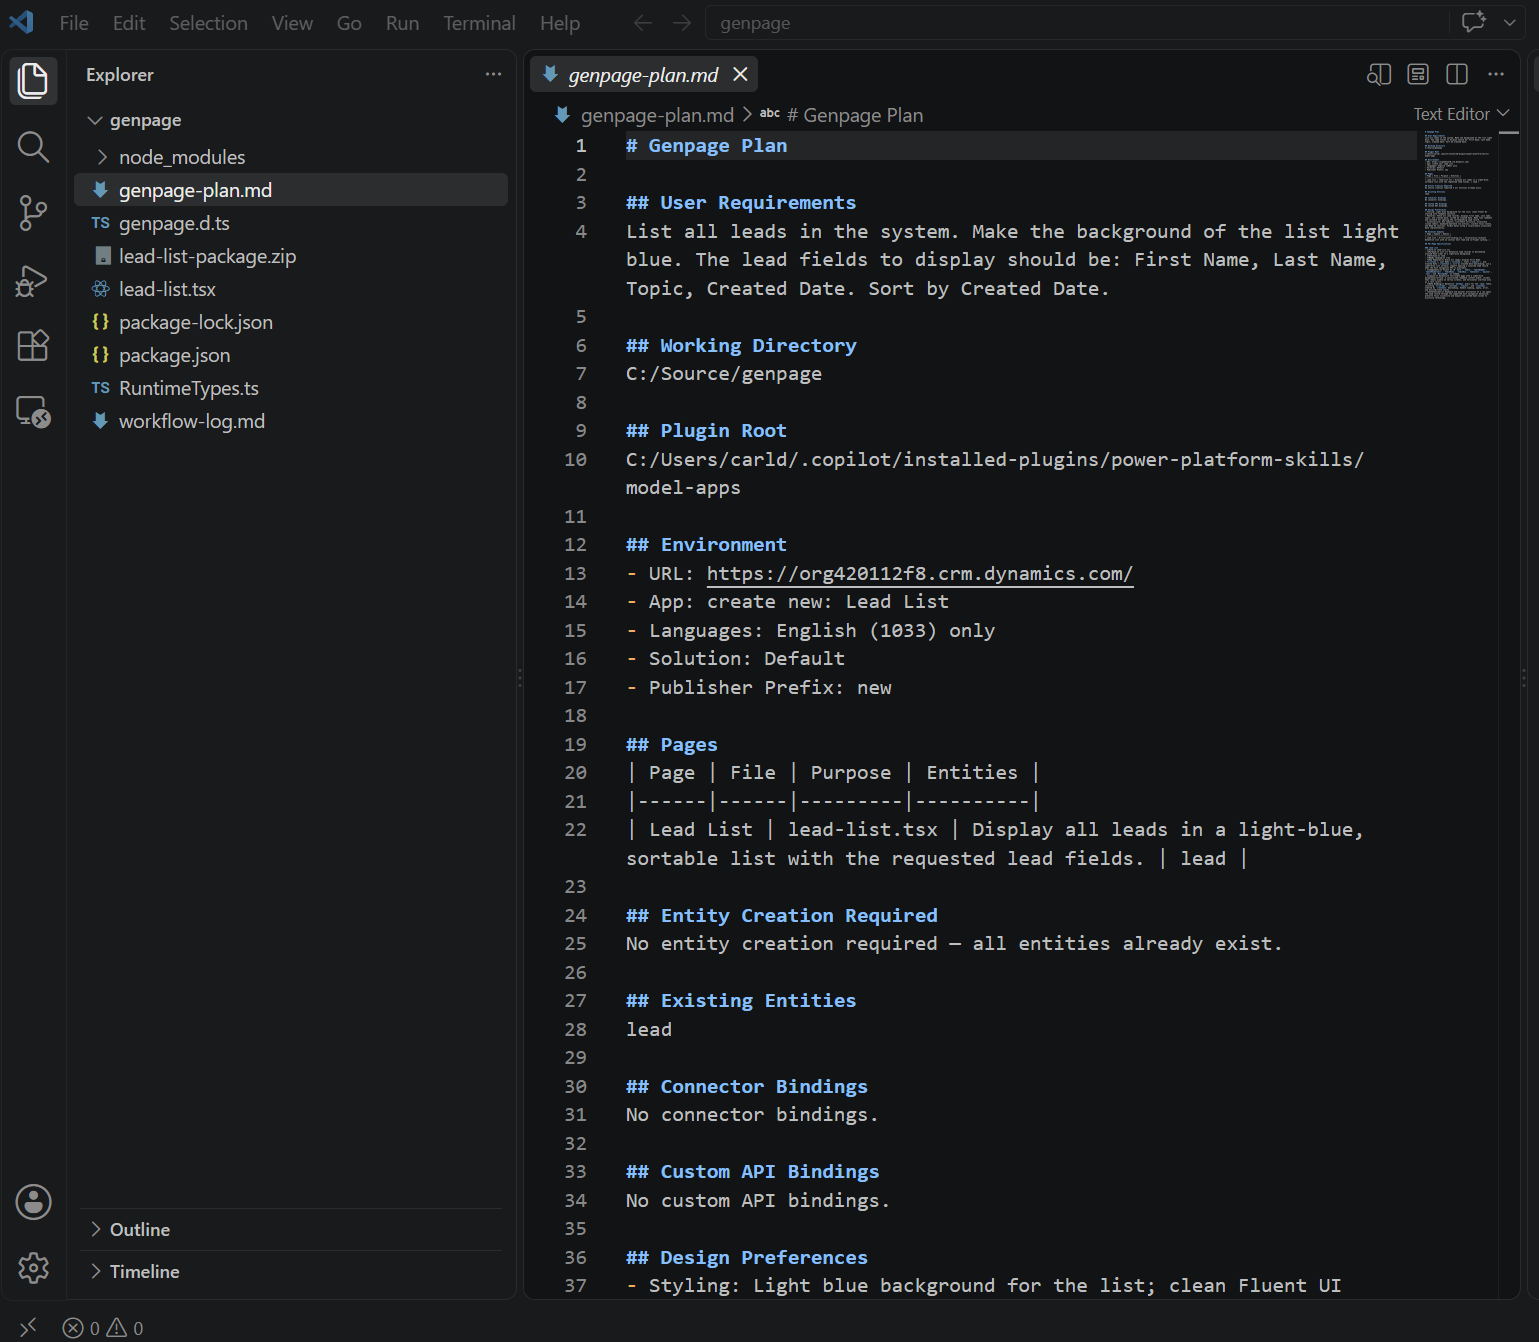
And we can see the Plan used by the Planner to create the page:
Once again, we can continue to iterate over our page and improve it through feedback loops.

Explore AI, agents & Microsoft technology.
I share practical ideas, tutorials, and videos about AI, AI agents, Microsoft technologies, and the Power Platform.
Subscribe on YouTube →