PCF controls are a great example of where AI coding agents can become extremely useful with Power Platform. PCF controls are pro-code projects built with technologies such as TypeScript, CSS, npm packages, build commands, and a local test harness. Today we will look at how to use OpenAI Codex to build a Power Apps Component Framework (PCF) control. We will create a PCF control from scratch, open the project with Codex, describe what we want in natural language, run the control locally, iterate on it, and finally push it into Power Platform.
Let’s explore this together.
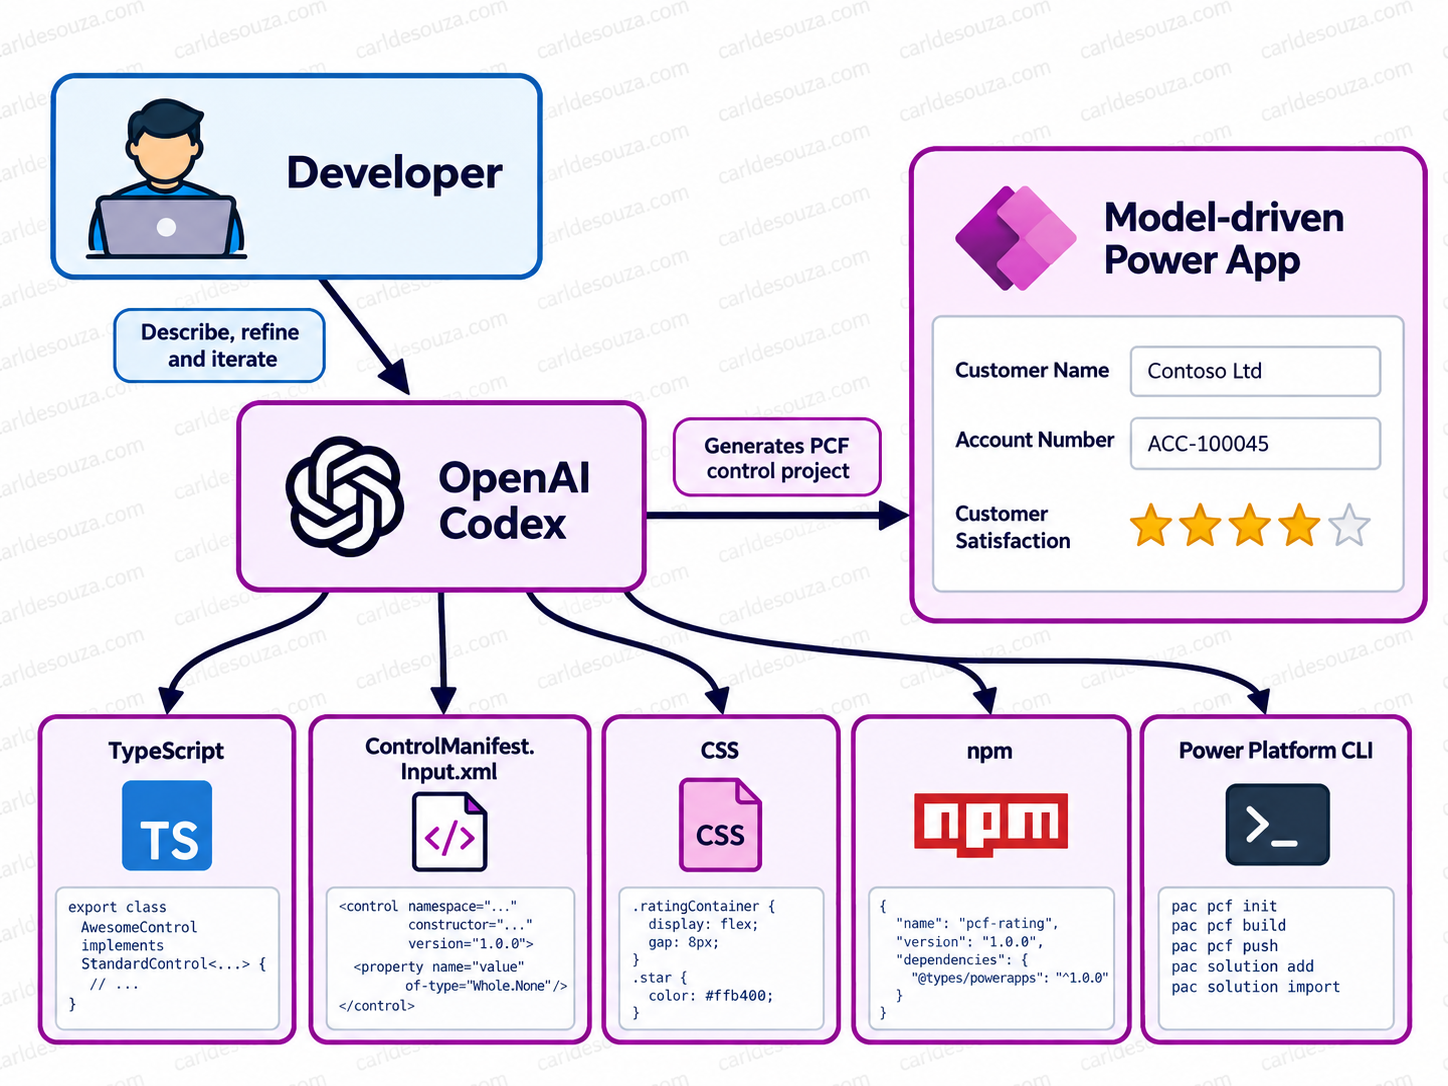
What Is a PCF Control?
PCF stands for Power Apps Component Framework. It allows developers to create custom code components that can be used in Power Apps. These controls can be used in model-driven apps and canvas apps and can provide experiences that go beyond the standard controls available in Power Apps.
For example, instead of displaying a number using a normal text box, we could create:
- A rating control
- A dial
- A slider
- A progress indicator
- A custom color picker
- A map
- A calendar
- A rich dataset grid
If you need a primer, check out my YouTube course on Building PCF Controls.
Why Use Codex to Build a PCF Control?
Normally, building a PCF control involves several steps. We create the project using Power Platform CLI, understand the generated files, edit the control manifest, write TypeScript, potentially add React, create CSS, build the project, debug errors, run the local harness, and eventually deploy the component.
An AI coding agent such as OpenAI Codex can participate in almost every part of that workflow. Instead of asking Codex for isolated snippets of TypeScript, we can give it access to the project, let it understand how the files fit together, make changes across the codebase, run builds, and help us iterate on the result.
Note:
At the time of writing, Codex is not explicitly documented by Microsoft as a supported PCF development tool. In this post, we are using Codex as a general-purpose coding agent against the standard PCF project files and Power Platform CLI.
What Are We Going to Build?
In this example, we will build a simple Customer Satisfaction Rating control.
Instead of displaying a numeric satisfaction value such as:
4we want to display an interactive five-star control:
★ ★ ★ ★ ☆The user should be able to click one of the stars and update the underlying Power Apps field.
We want the control to:
- Support values from 1 to 5
- Highlight the selected rating
- Allow the user to change the rating
- Update the bound Dataverse value
- Have a clean modern appearance
- Support keyboard accessibility
- Work properly when resized
The interesting part of the exercise is not the rating control itself, it is seeing how much of the PCF development workflow Codex can help us perform.
Our Development Architecture
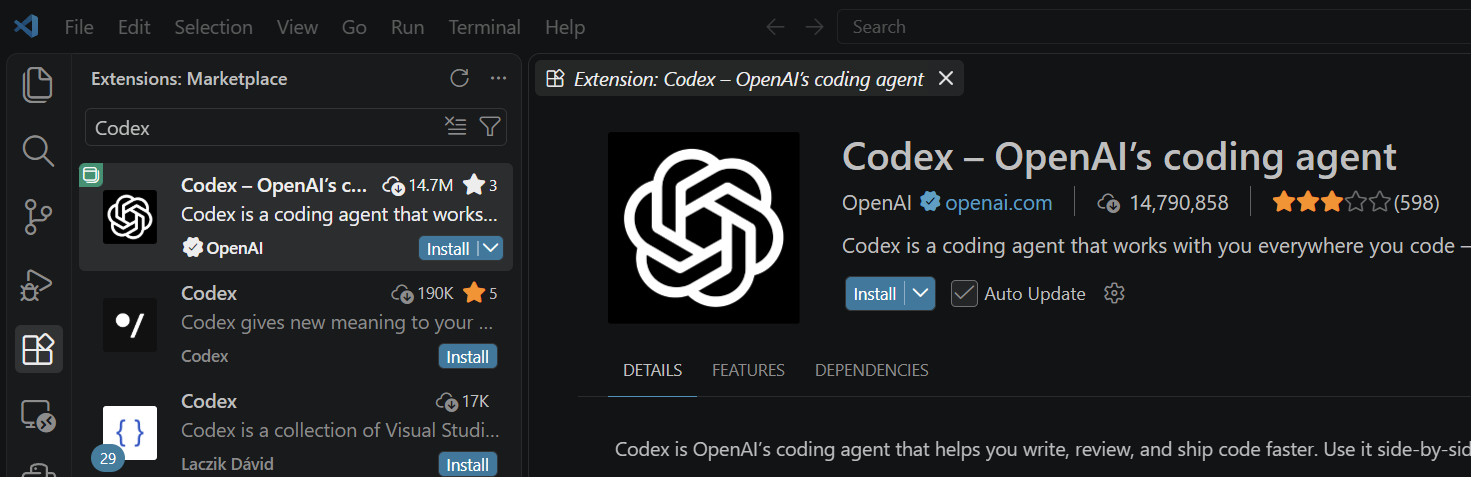
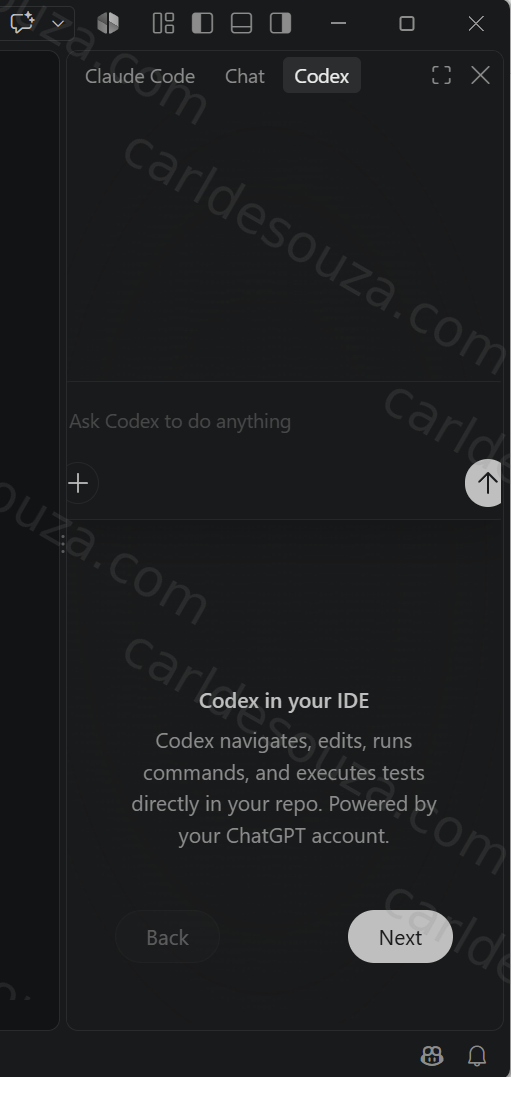
We can work with Codex in several ways. For this project, the two most useful options are the Codex extension in Visual Studio Code and the Codex CLI from the terminal.
To use it in VS Code, install the extension:
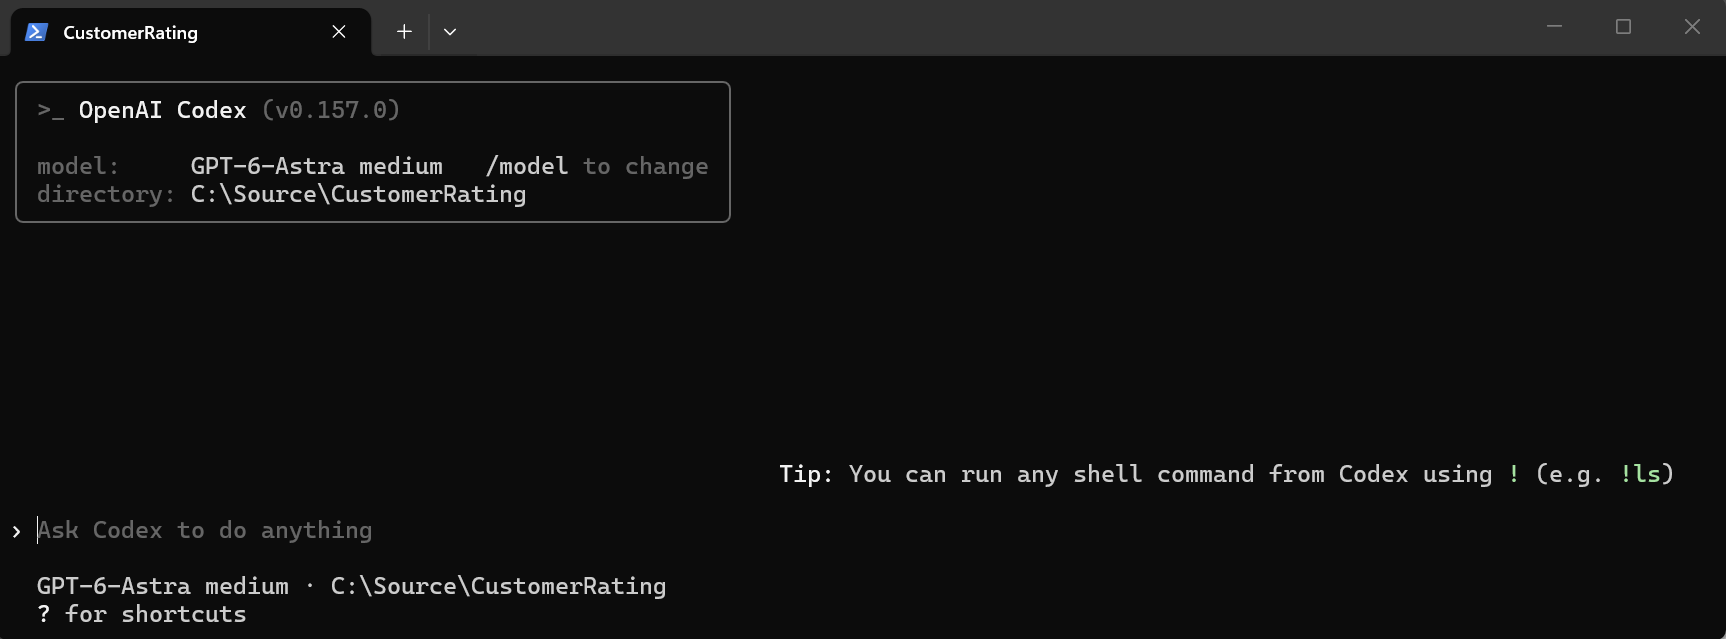
To run the CLI from the Terminal, run:
npm install -g @openai/codex
Then:
codex
Note:
On some Windows environments, Codex may report that the host Job Object prevents daemon detachment. If that happens, run
codex --no-daemon.
Prerequisites
Before we start, we need a few development tools installed:
- Visual Studio Code
- Node.js, using an LTS version
- Microsoft Power Platform CLI
- OpenAI Codex (any of the ones in the previous section)
Create the PCF Project
Let’s create a folder for our component.
mkdir CustomerRating
cd CustomerRating
Now we can initialize the PCF project.
Microsoft provides the pac pcf init command for this. The command creates the basic PCF project structure for us.
Run:
pac pcf init --namespace CarlControls --name CustomerRating --template field --run-npm-install
We are using:
namespace = CarlControls
name      = CustomerRating
template  = field
Note here that this is a normal source-code project.
Open the Project with Codex
Now we can start working with Codex from our development environment.
Let’s start with a prompt, for example:
Review this PCF project.

We are going to build a Customer Satisfaction Rating control.

The control should:

- Bind to a numeric field
- Support values 1 through 5
- Display five interactive stars
- Highlight stars up to the selected value
- Allow the user to click a star to change the value
- Notify Power Apps when the value changes
- Support keyboard navigation
- Use clean modern styling
- Resize correctly inside the available container

First inspect the existing project and explain which files need to change.
Before asking Codex to change anything, it is useful to let it inspect the project first. This gives Codex context about the manifest, generated types, TypeScript files, and project configuration before it starts making changes.
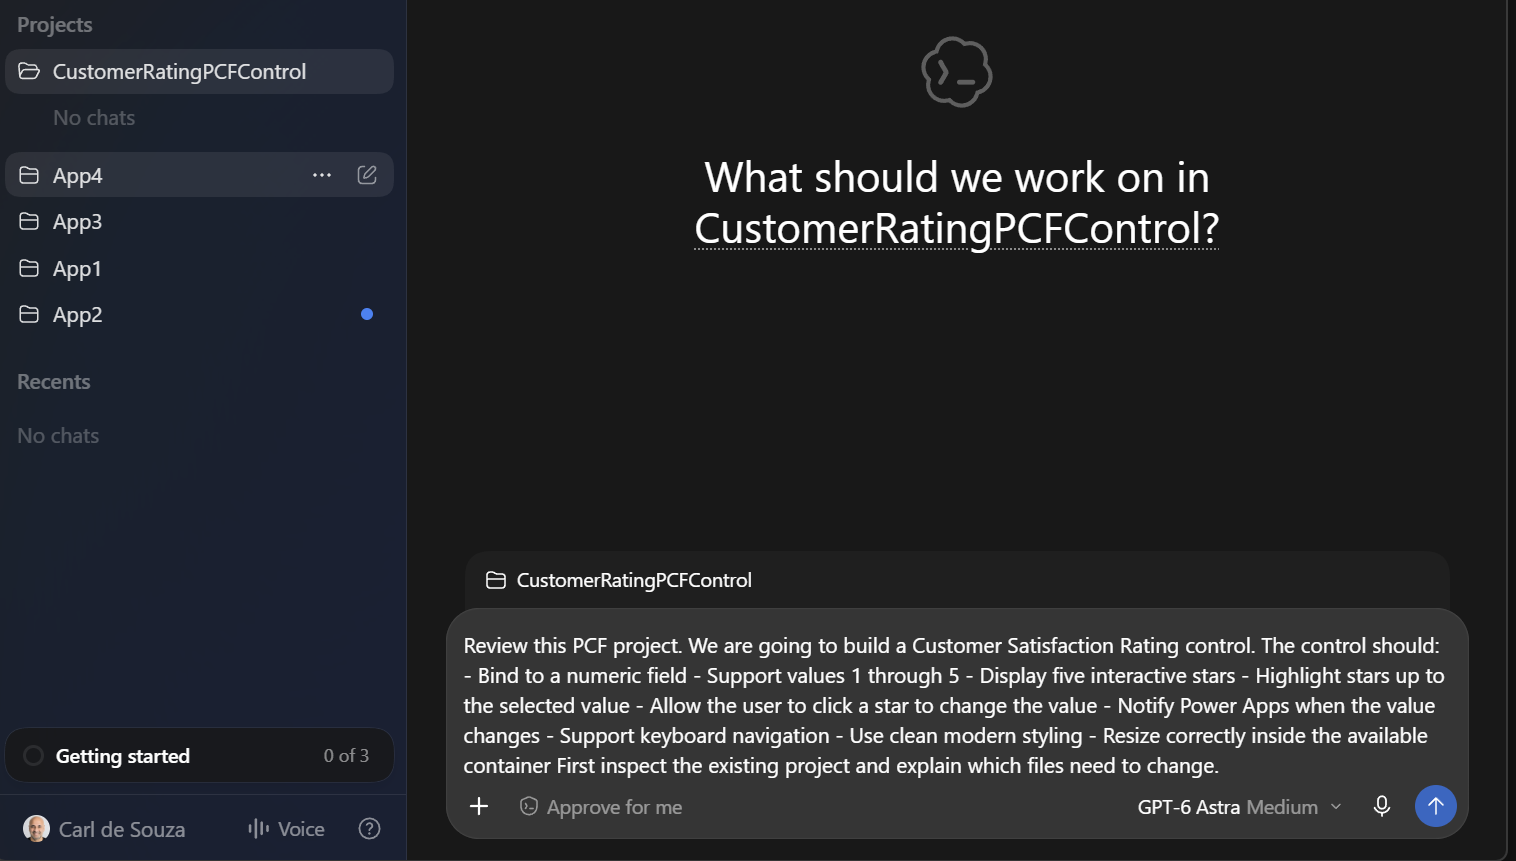
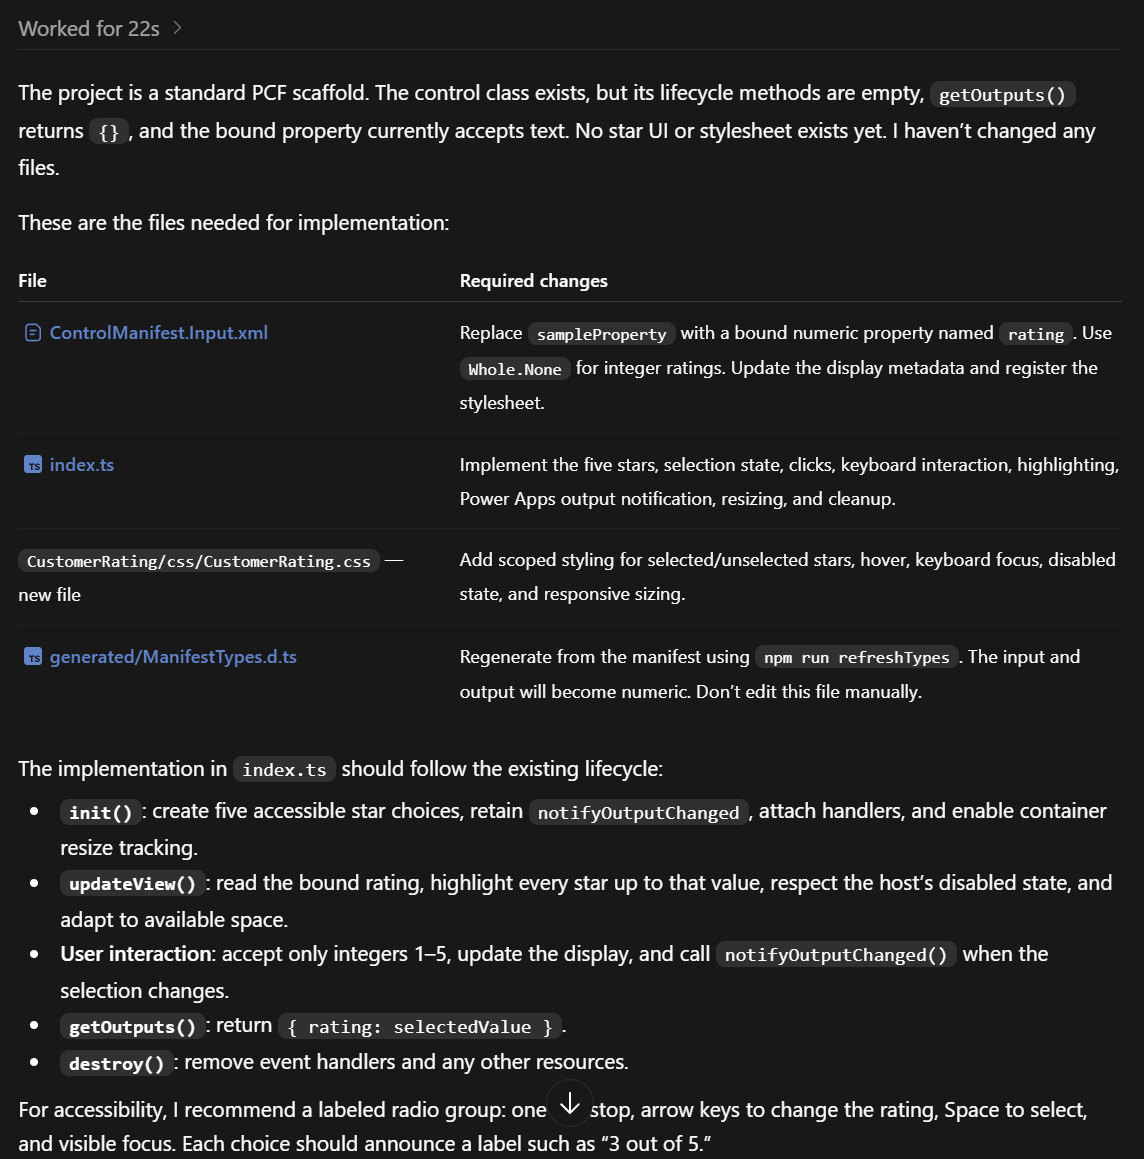
This gives us a good foundation on what changes will happen where:
Ask Codex to Build the Control
Now we can move onto the actual implementation.
We might tell Codex:
Implement the Customer Rating control.

Render five stars horizontally.

The bound numeric value should determine how many stars appear selected.

When the user selects a star:

1. Store the new rating.
2. Call notifyOutputChanged.
3. Return the updated rating through getOutputs.

Make the control accessible using buttons and appropriate ARIA labels.

Keep the implementation simple and maintainable.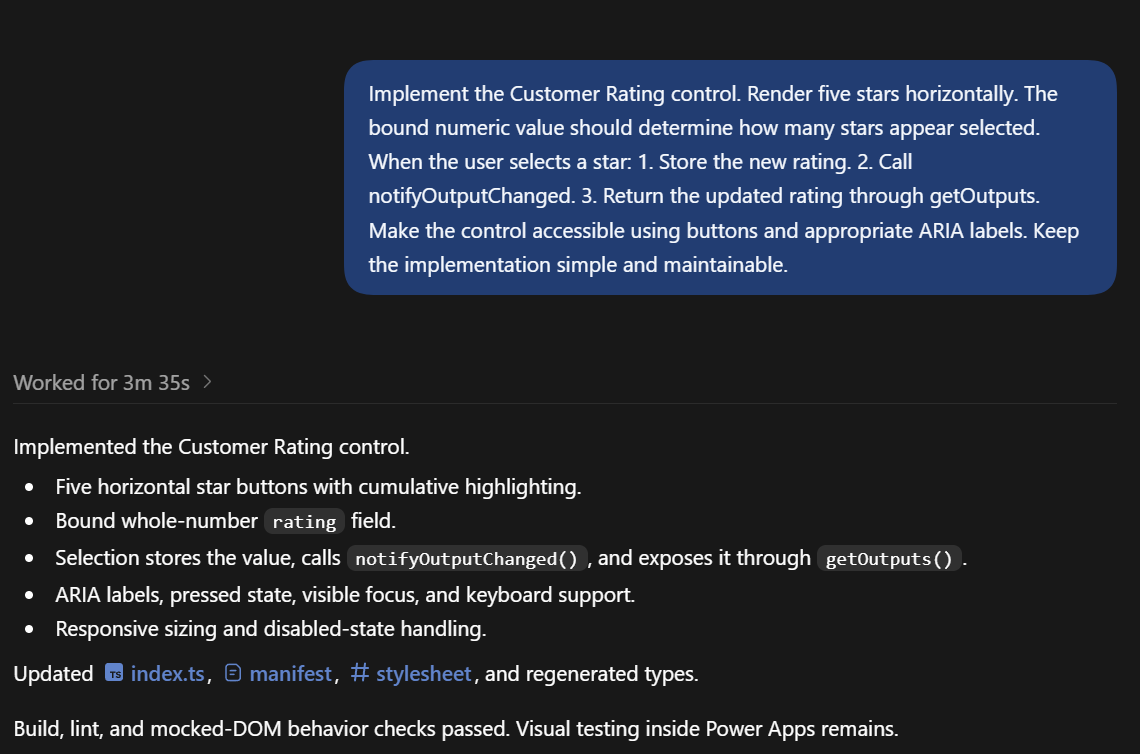
Codex can now modify the relevant TypeScript.
Build the Project
This is where Codex becomes much more useful than simply generating code. If the build fails, Codex can inspect the TypeScript or manifest errors, modify the project, and run the build again. The compiler effectively becomes part of the feedback loop.
Run:
npm run build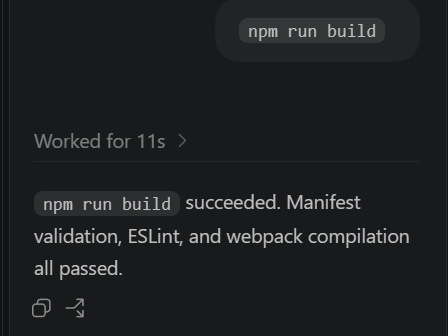
Run the PCF Test Harness
We don’t need to deploy our component every time we want to see it.
PCF includes a local browser test harness.
Run:
npm startor:
npm start watch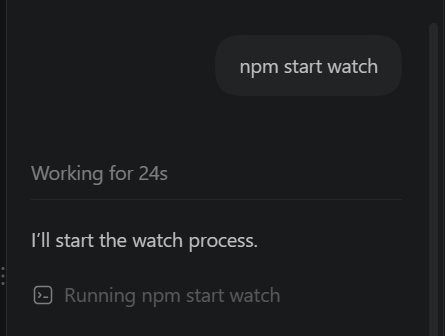
The PCF tooling builds the component and opens the test harness in a browser. Running in watch mode is especially useful because changes can be rebuilt while we work.
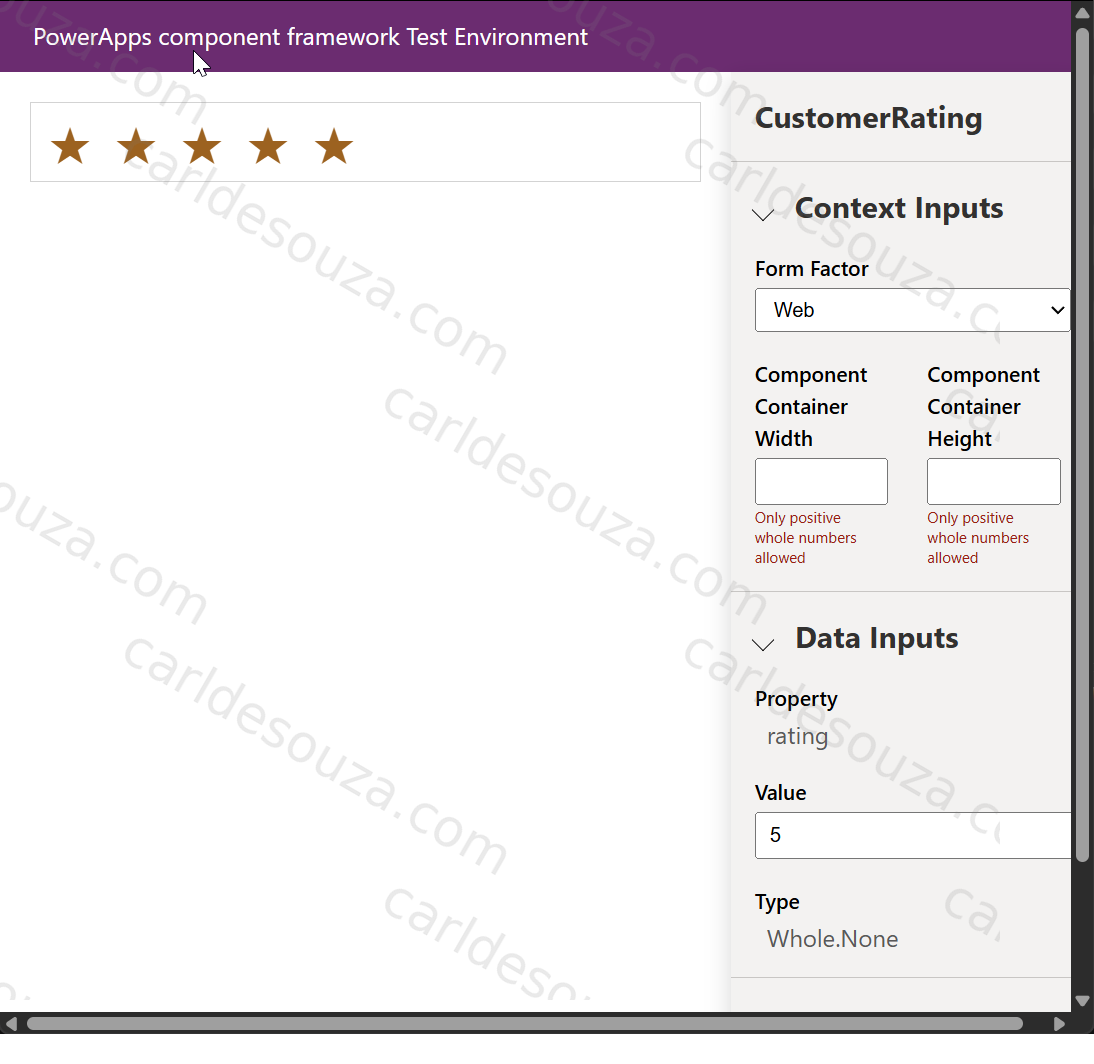
The test harness lets us provide sample values for properties defined in the manifest.
So we should be able to test:
Rating = 1
★ ☆ ☆ ☆ ☆
then:
Rating = 3
★ ★ ★ ☆ ☆
and:
Rating = 5
★ ★ ★ ★ ★
Iterate Using Natural Language
The first version technically works, but looks very basic. We can tell Codex to improve on this:
The control works, but let's improve the visual design.

Make the stars larger.

Add subtle hover feedback.

Keep selected stars visually distinct.

Add spacing between the stars.

Do not use excessive animation.

Make sure the control still works with keyboard navigation.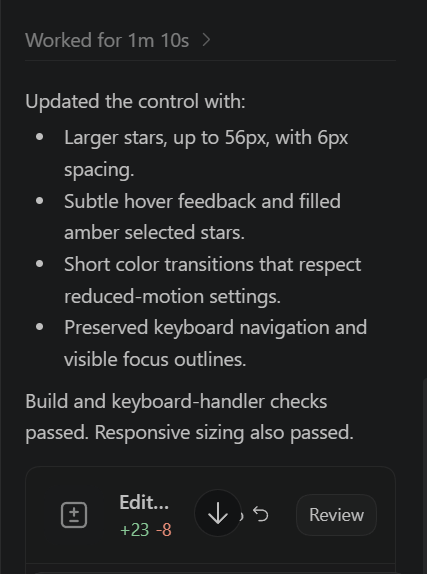
Then refresh the test harness to see changes, and keep iterating.
Using Codex With the Terminal
Codex becomes even more useful when it can work with the command line. A PCF development workflow contains many commands:
pac pcf init
npm install
npm run build
npm start watch
pac auth create
pac pcf push
The Power Platform CLI currently provides dedicated pac pcf commands including init, push, and version.
So we can give Codex tasks such as:
Build the project.

If the build fails, fix the errors.

Once the build succeeds, tell me what changed.
Or:
Review package.json and tell me whether any unnecessary dependencies have been added.Or:
Run the production build and check for warnings.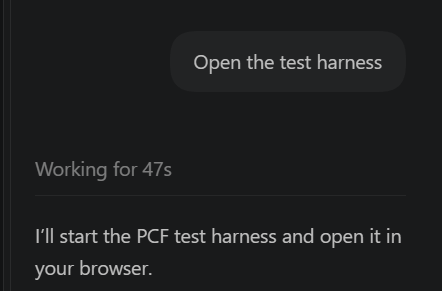
Adding React
PCF also supports React controls.
When creating the project, Power Platform CLI supports:
--framework reactfor React-based components.
For example:
pac pcf init `
  --namespace CarlControls `
  --name CustomerRating `
  --template field `
  --framework react `
  --run-npm-install
For a five-star rating control, plain TypeScript may be enough.
But imagine we wanted to build something more sophisticated:
- A Kanban board
- A timeline
- A rich customer card
- A visual scheduling component
- An interactive dataset grid
- A dashboard visualization
React may become a much better fit. And this is another area where Codex can be extremely helpful because we are now dealing with a development ecosystem it already understands very well.
Push the PCF Control to Power Platform
Once the component is working locally, we can deploy it to a Power Platform environment. First we need to authenticate Power Platform CLI against our environment.
Then we can use:
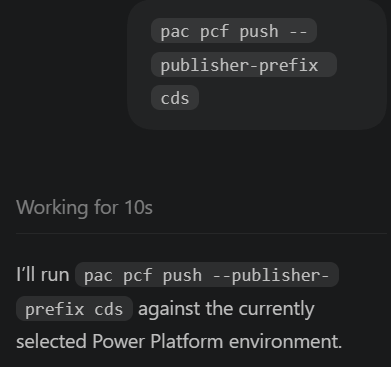
pac pcf push --publisher-prefix cdsThe pac pcf push command imports the PCF project into the current Dataverse environment.
Test the Control Inside Power Apps
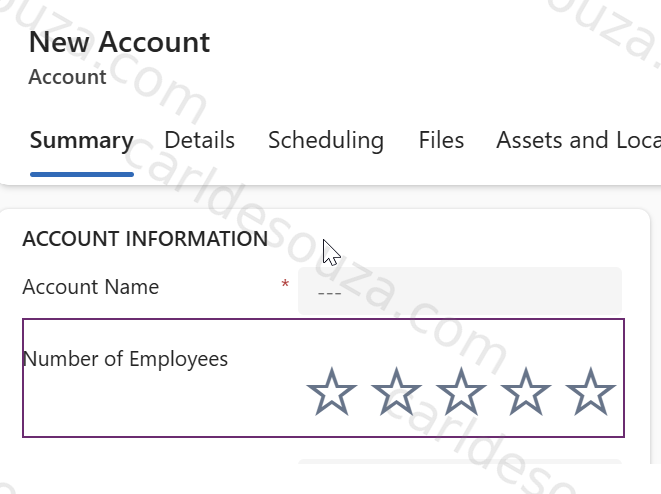
For our example, we need a whole-number column to bind to the rating control. We will use the existing Number of Employees column for demonstration purposes, although in a real application we would create a dedicated column such as Customer Satisfaction Rating:
Number of Employees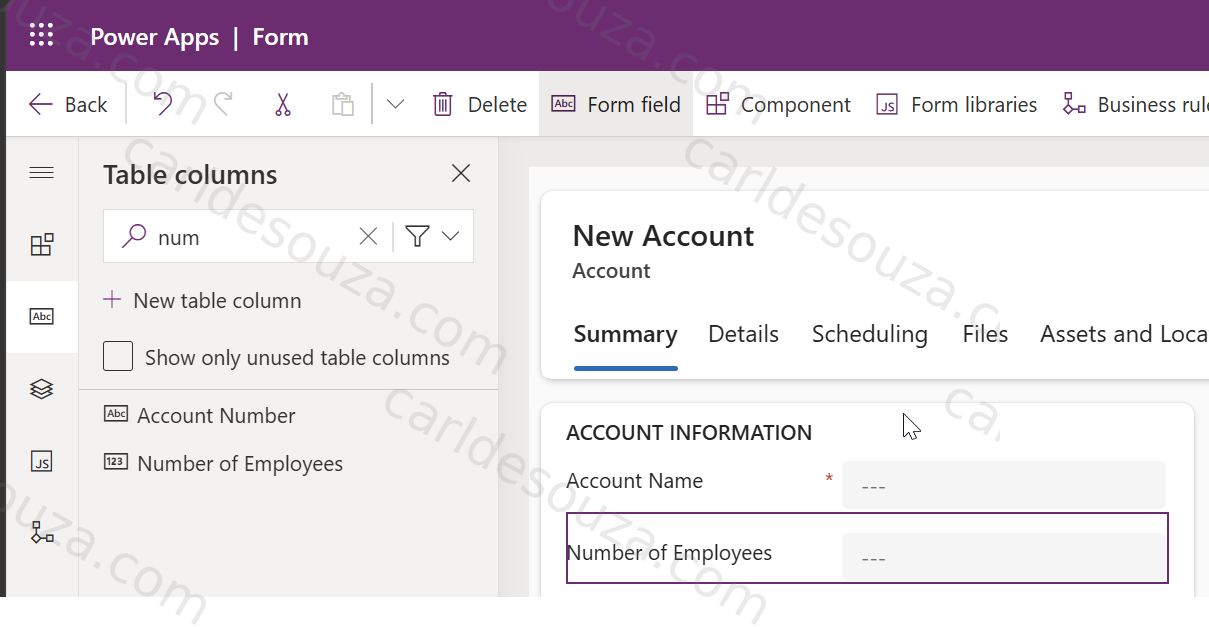
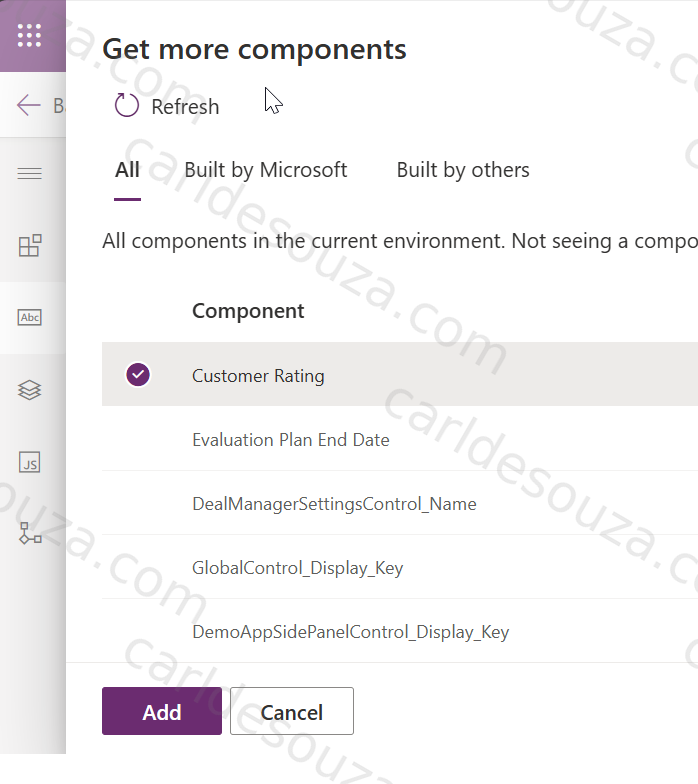
Click Add Component, then Get more components:
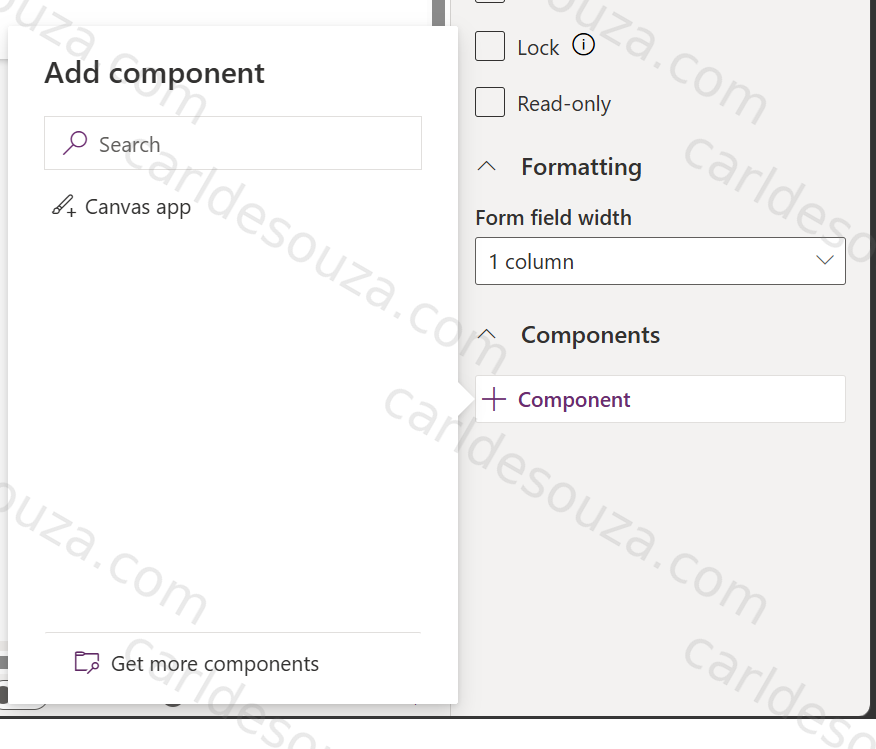
And select our Customer Rating field:
We can now see our new field:
Let’s publish the form and we can test this in the UI. Selecting a rating can be done and saved against the current record:
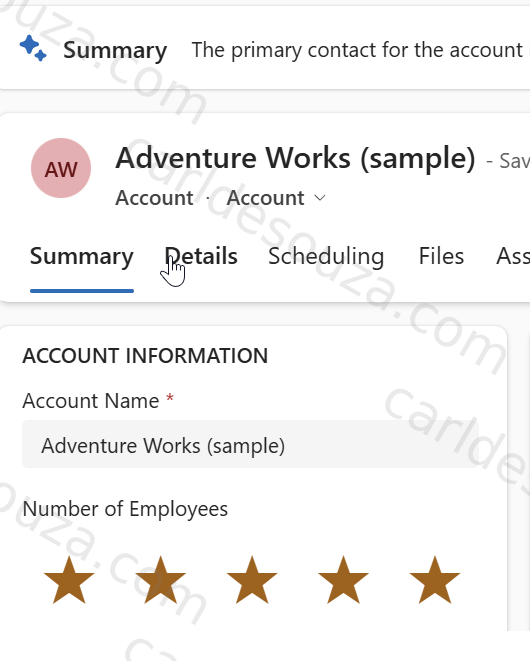
At this point we have built a working PCF control and deployed it to our environment!
Building Grid Controls
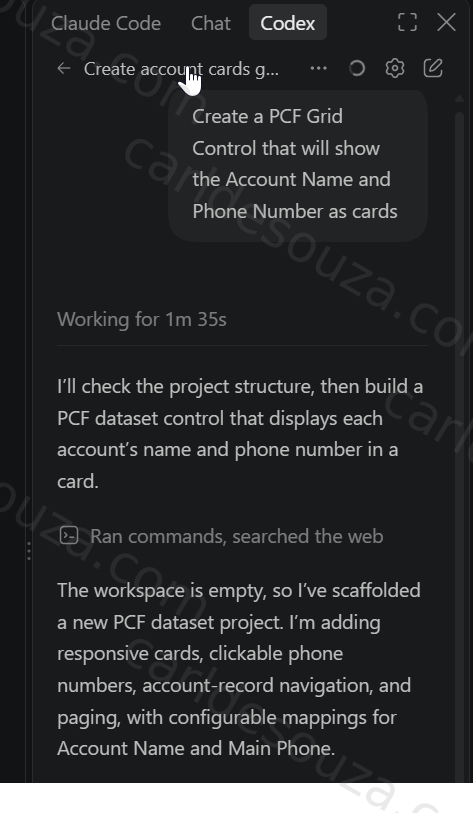
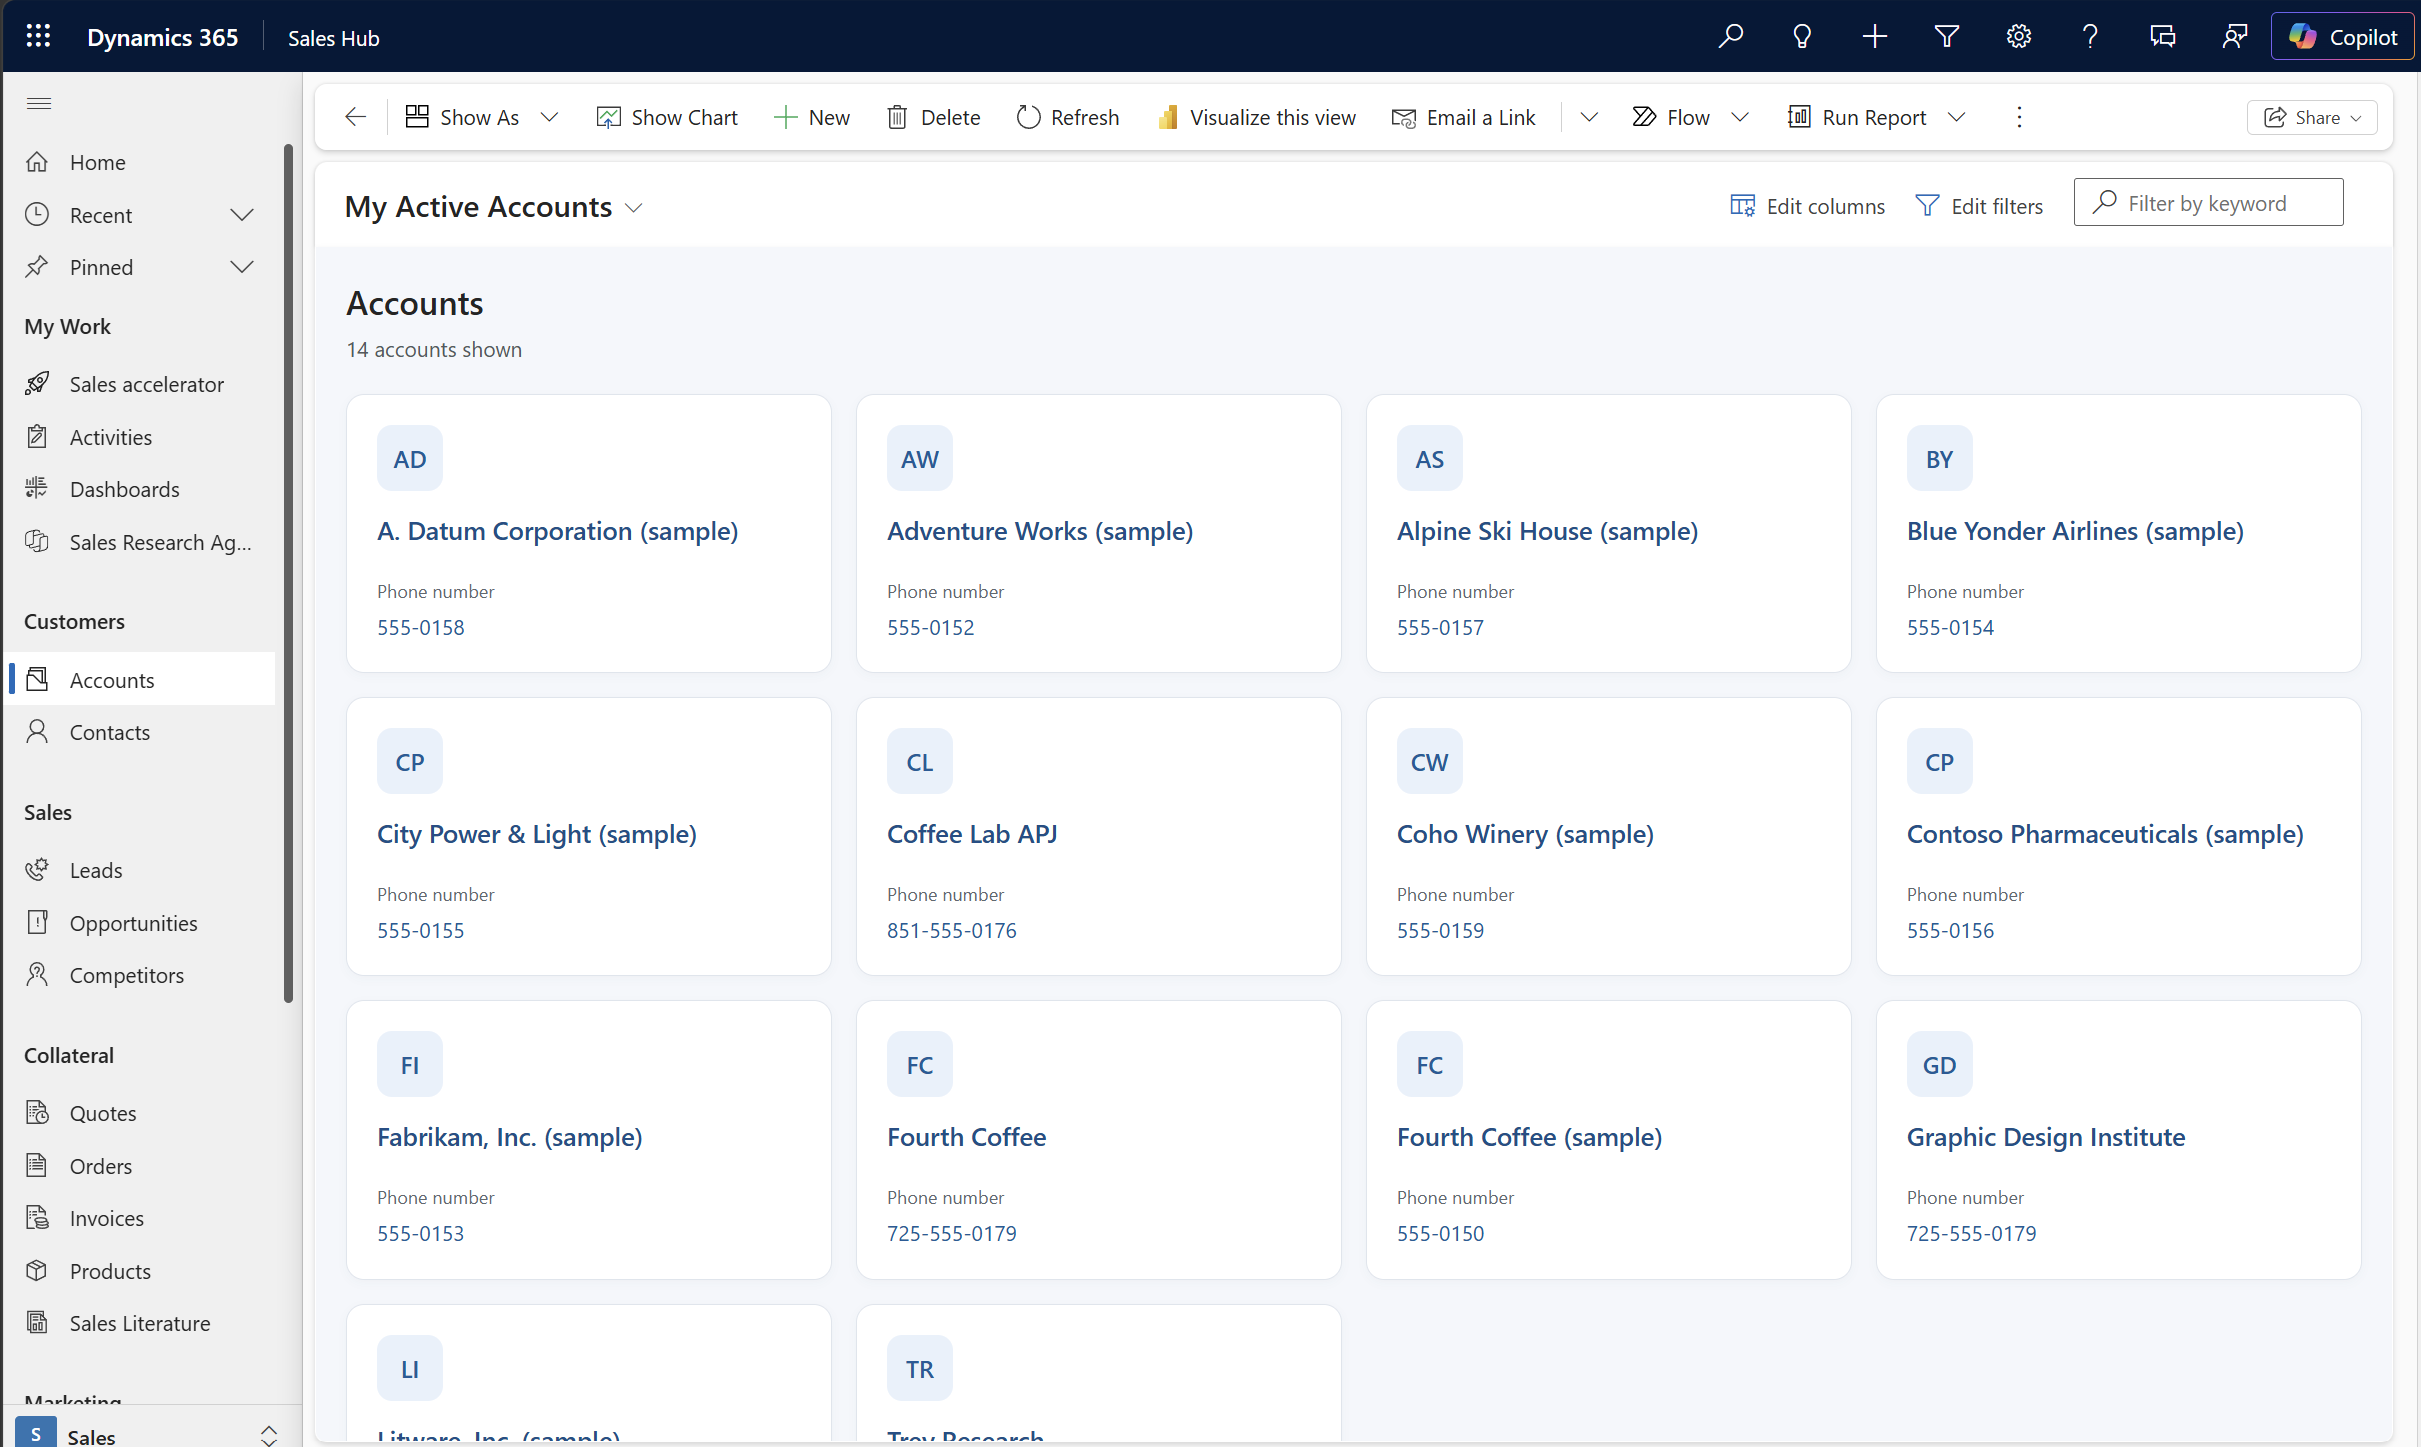
Dataset components are another major area to explore. Power Platform CLI supports both field and dataset PCF templates. That means Codex could potentially help us build significantly richer components than the field control we created here.
Be Careful With Generated Code
As useful as this workflow is, we shouldn’t assume generated code is automatically correct. Codex can make mistakes. Always review the generated code and test thoroughly.
Final Thoughts
Building a PCF control with Codex is a great example of how AI coding agents and Power Platform can work together.
We started with a standard PCF project, gave Codex access to the project and described the control we wanted. Codex could work across the manifest, TypeScript, styling, and project structure. We could test locally and deploy to the cloud.
This opens many possibilities when building controls for the Microsoft Power Platform.

Explore AI, agents & Microsoft technology.
I share practical ideas, tutorials, and videos about AI, AI agents, Microsoft technologies, and the Power Platform.
Subscribe on YouTube →